Materials joined – watercolour paper, craft paper, postcard, leaves, hand made felt
Methods and materials used to join – glue, paper fastener, hand sewn buttons, wrapped embroidery thread, machine stitching
Simple overlaps, joined by a fastener and by slotting strips together make angles that can easily be manipulated into other shapes.
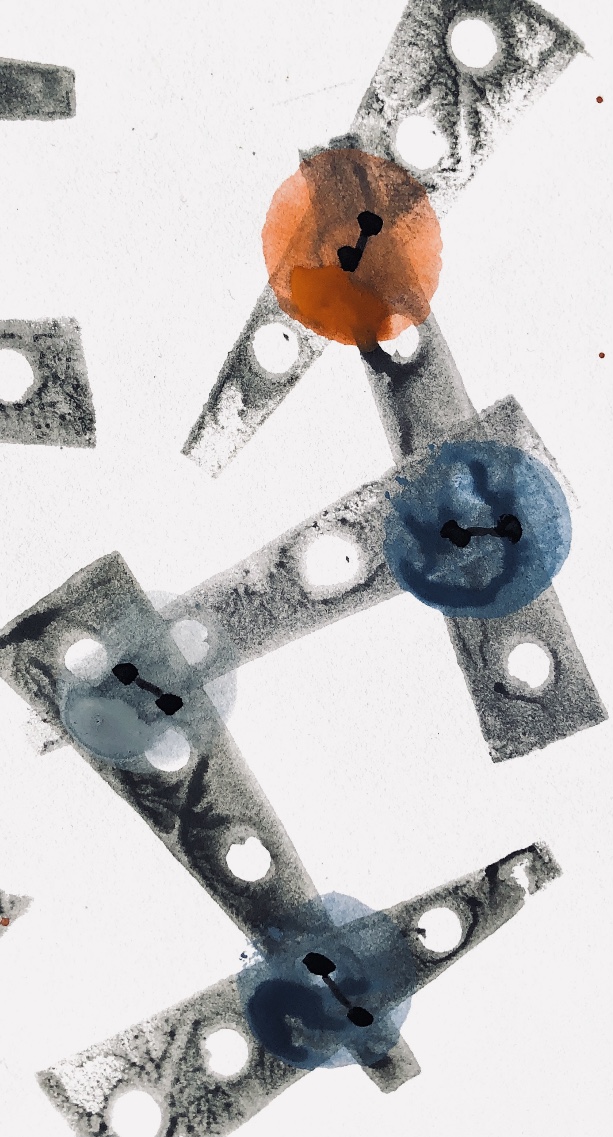
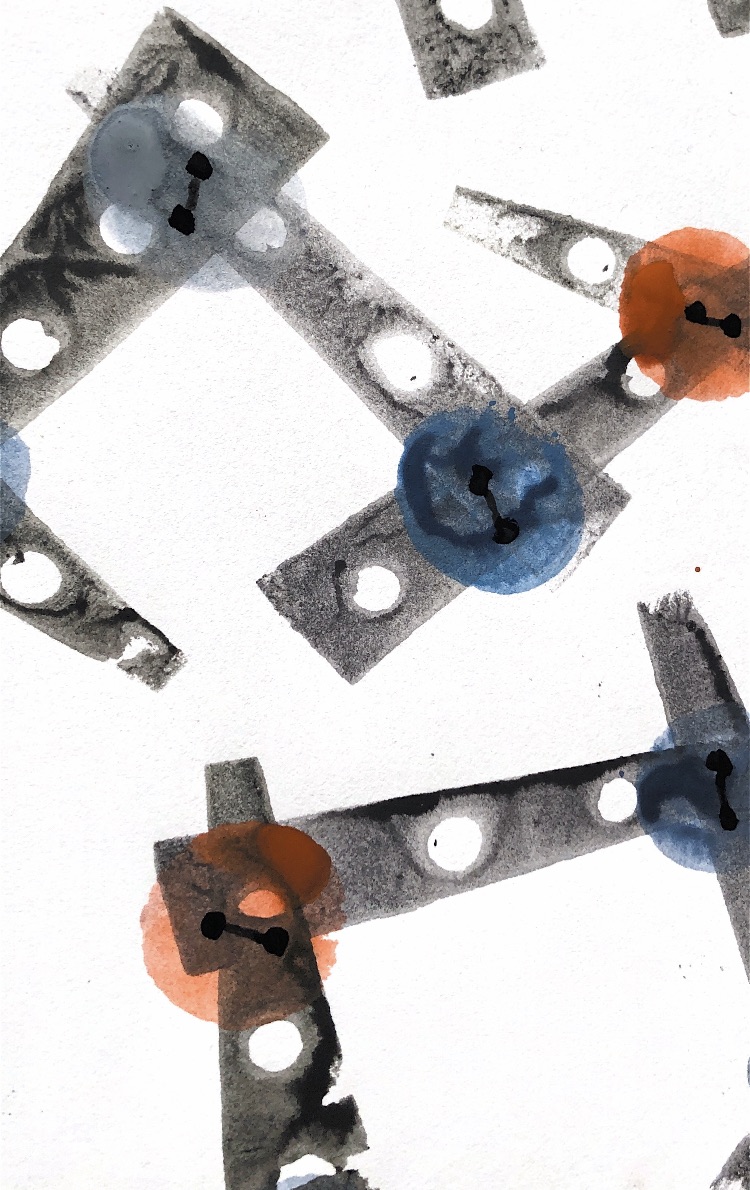
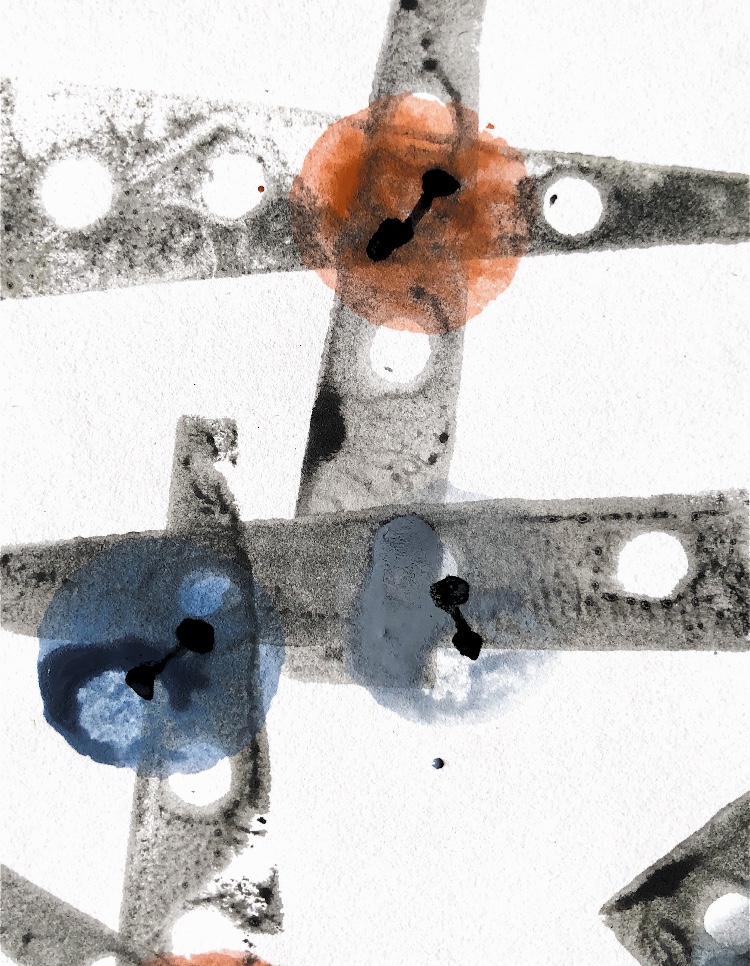
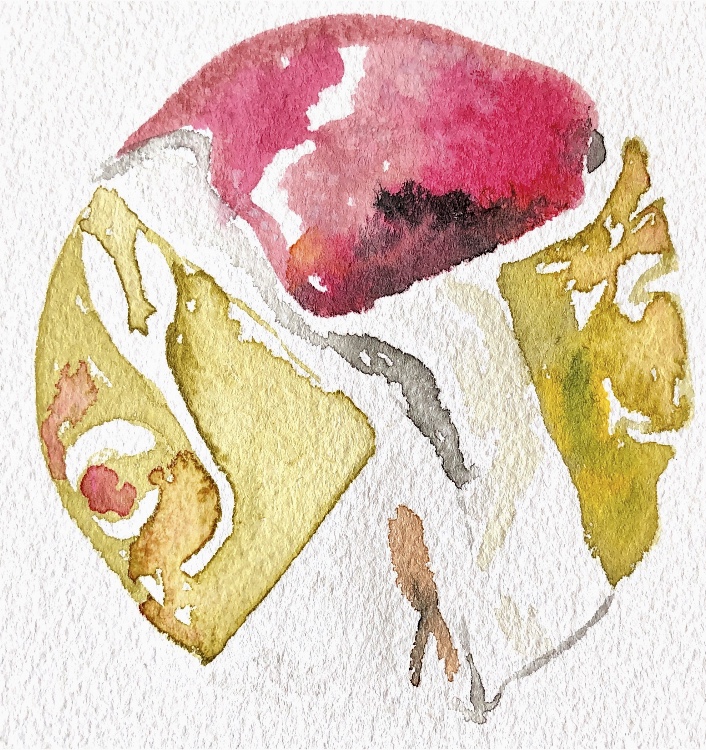
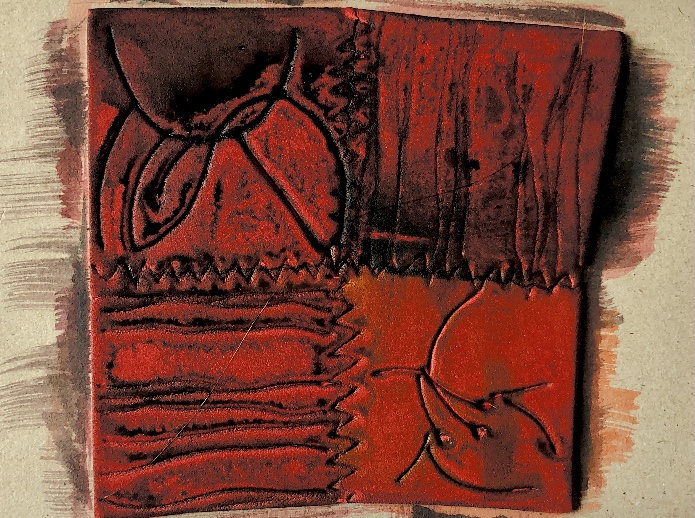
Some very wet, loose watercolours captured the look of this sample made from a postcard.
The angles in this sample are made with the paper, and the thread used to wrap around and join. Simple print blocks emphasise the corners and different angles.
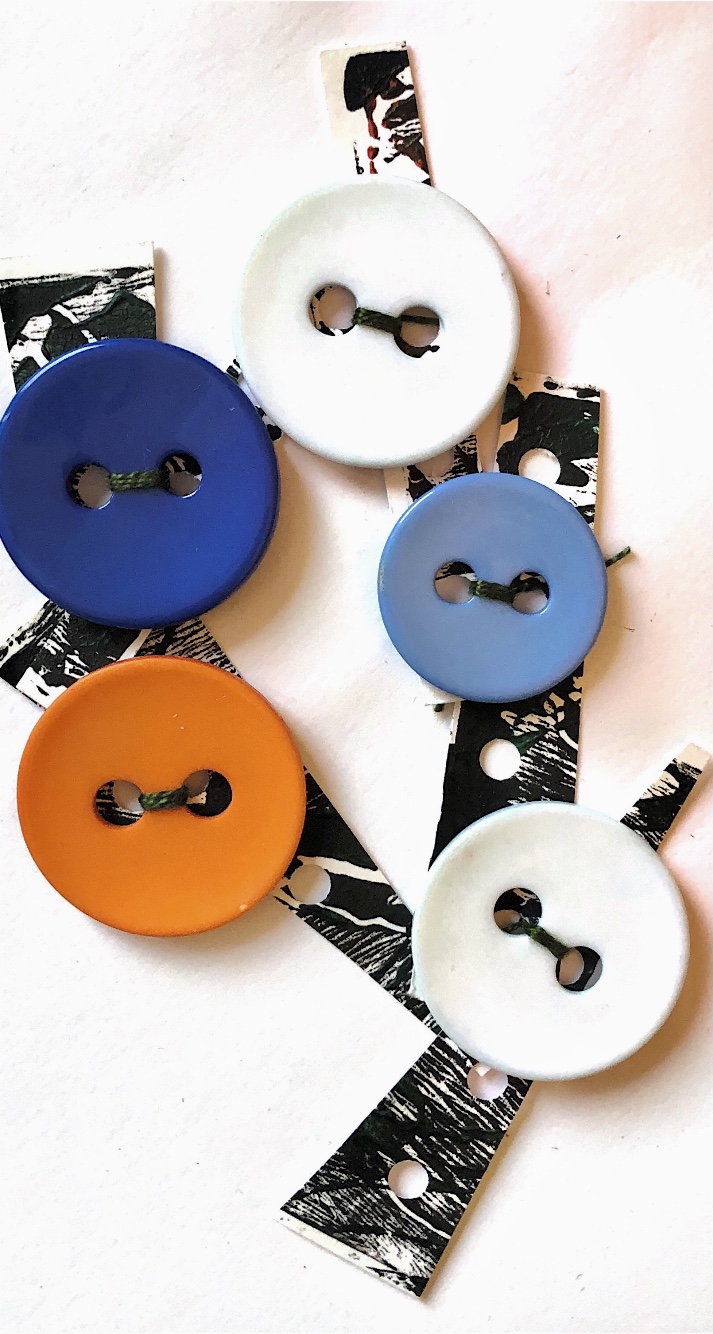
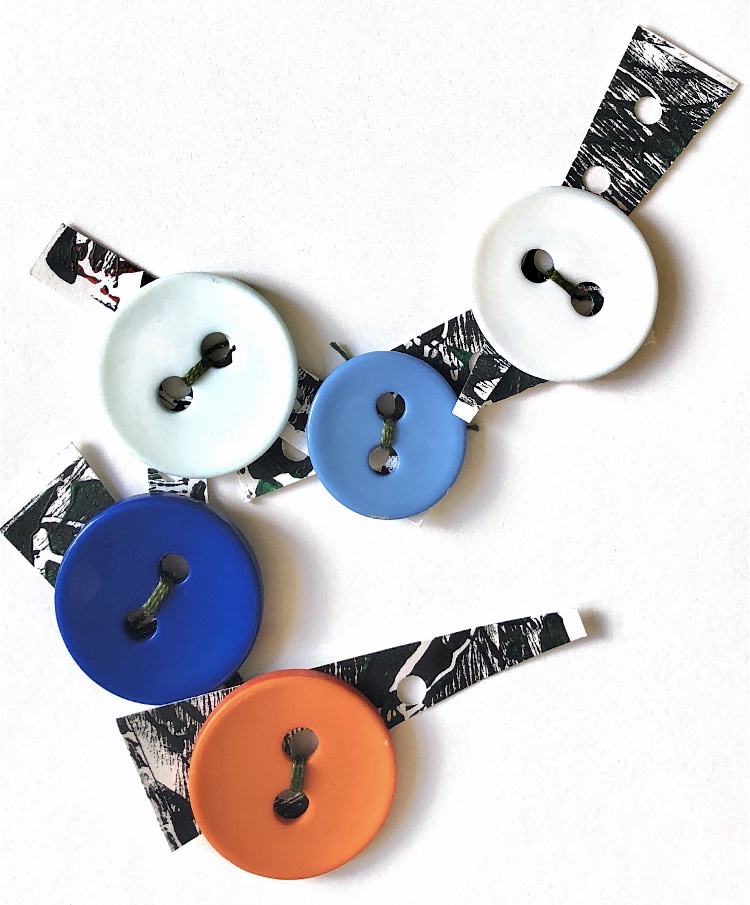
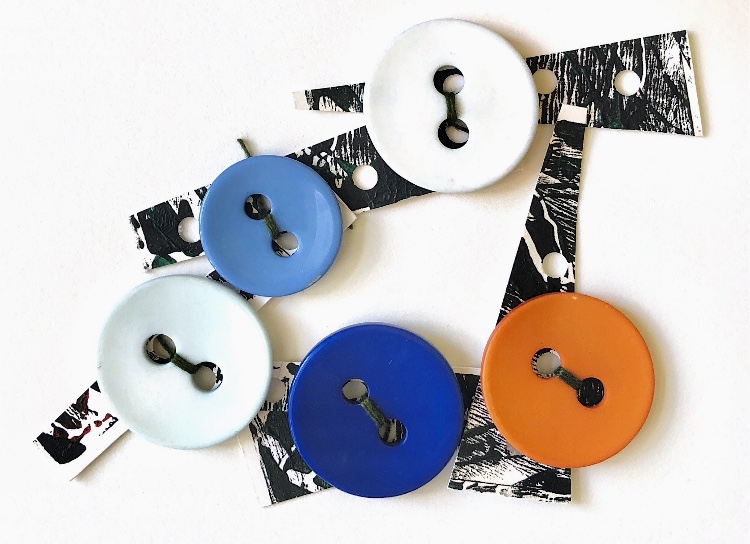
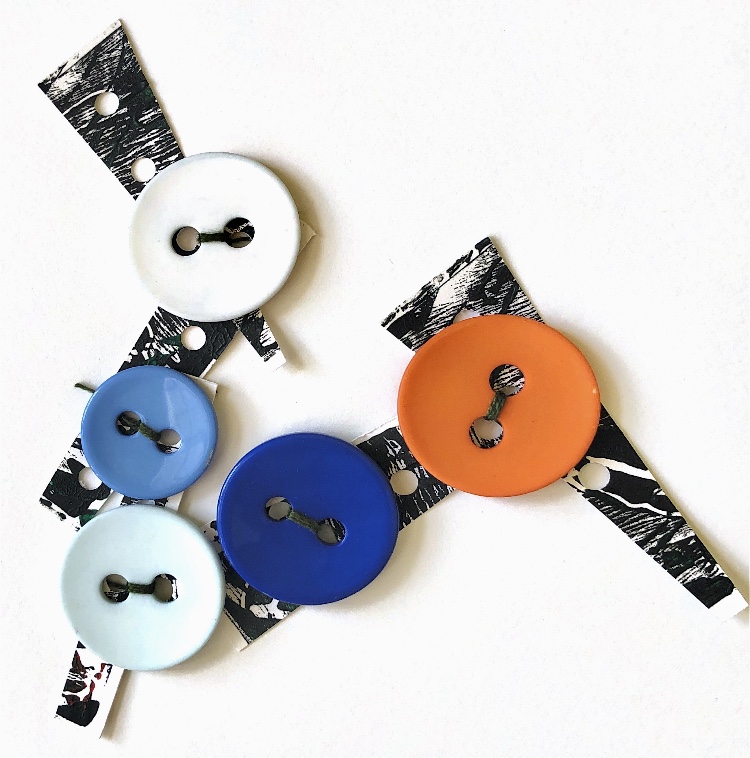
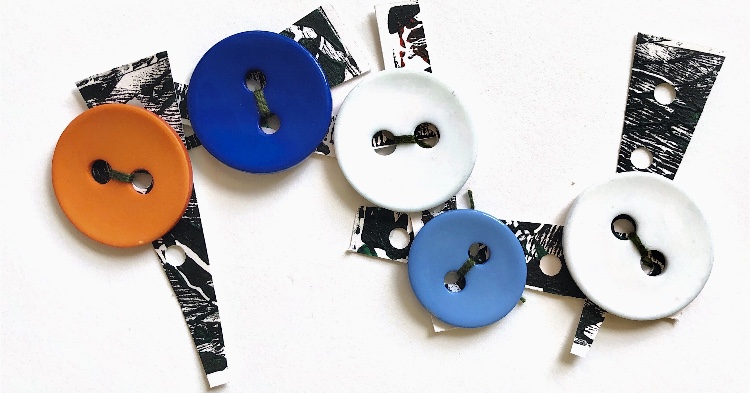
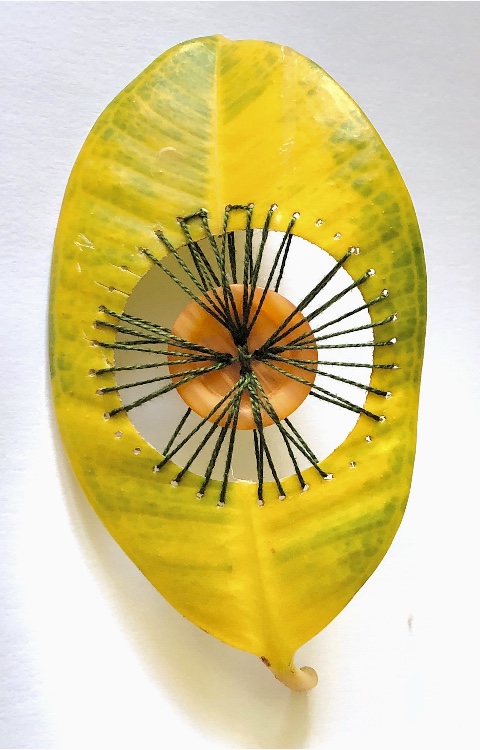
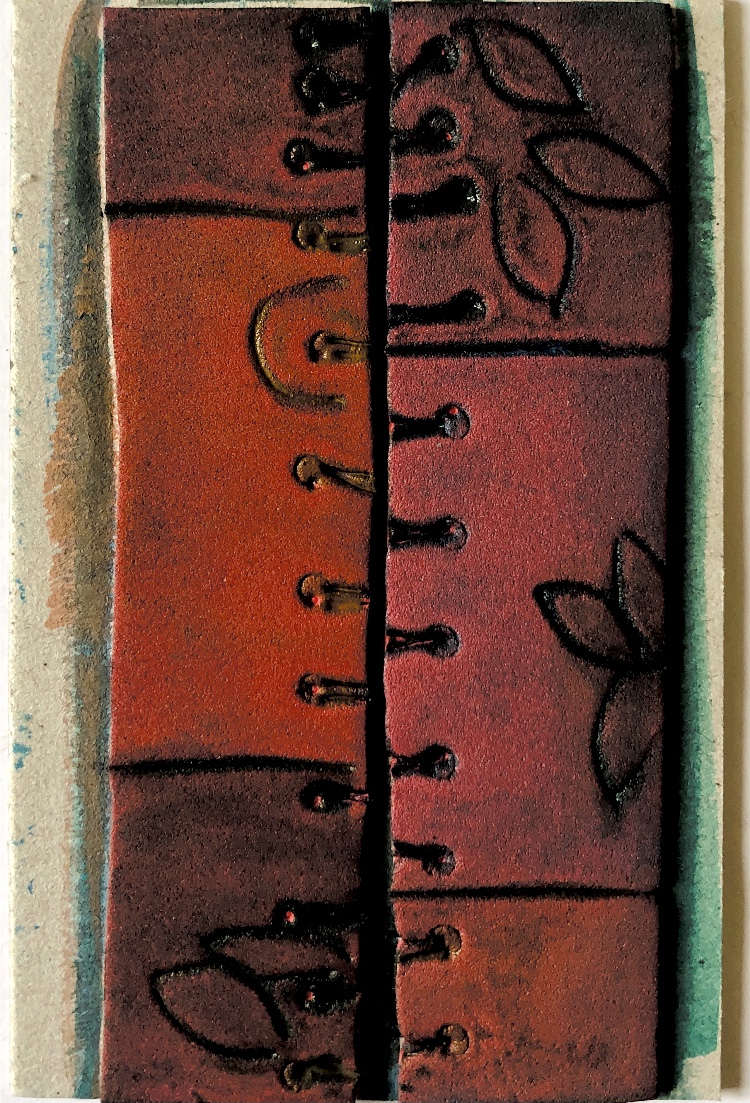
For the following sample I used heavy paper into which holes were punched. Buttons were stitched on using the holes and the resulting piece can be changed into many shapes, all containing multiple angles.
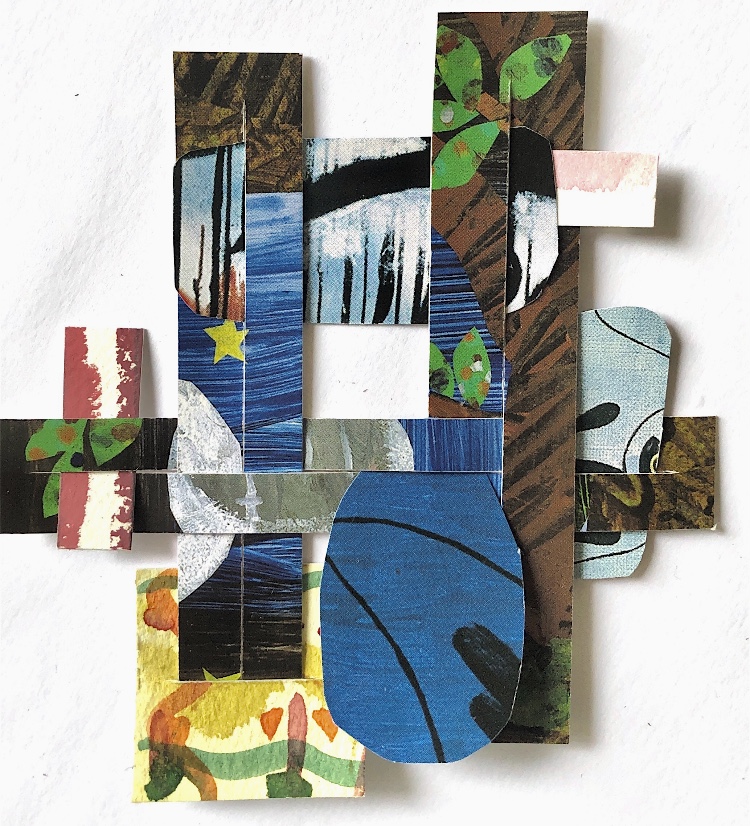
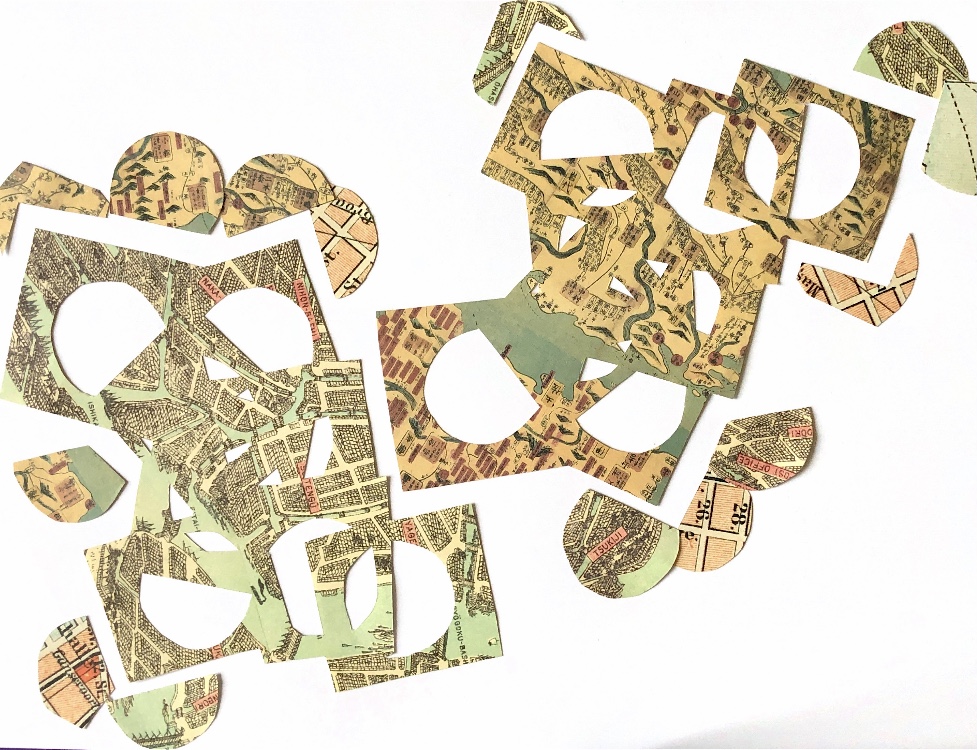
Using circles both on their own and with straight lines produced a different sort of corner/bend/angle. Having made two simple collages I then looked for and photographed some of the angles, corners and shapes within.
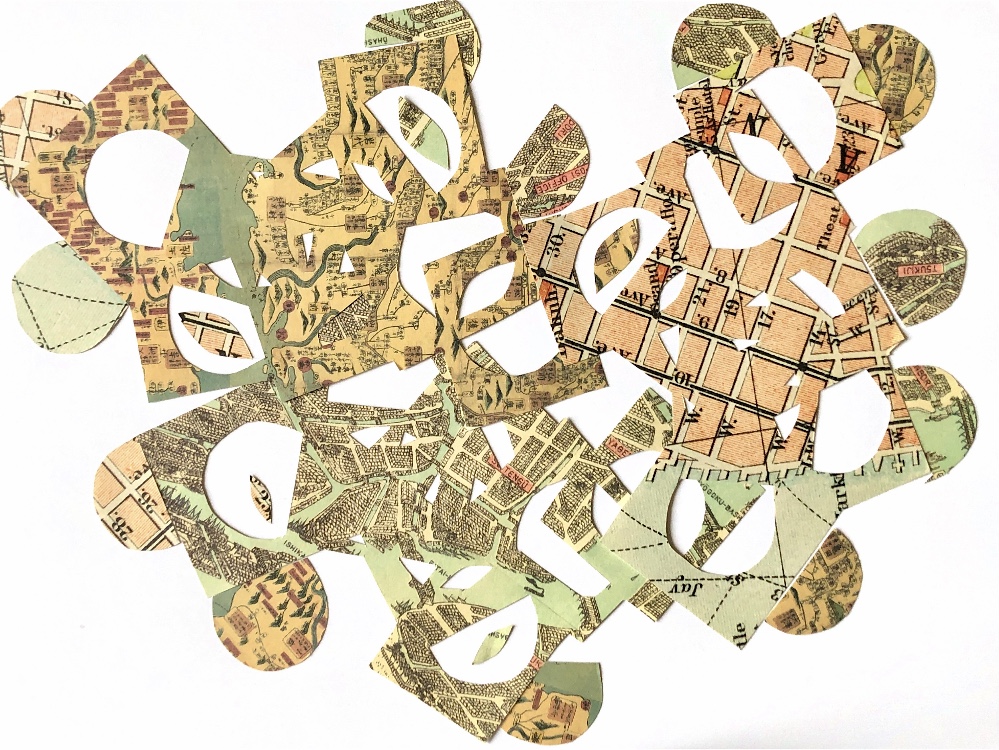
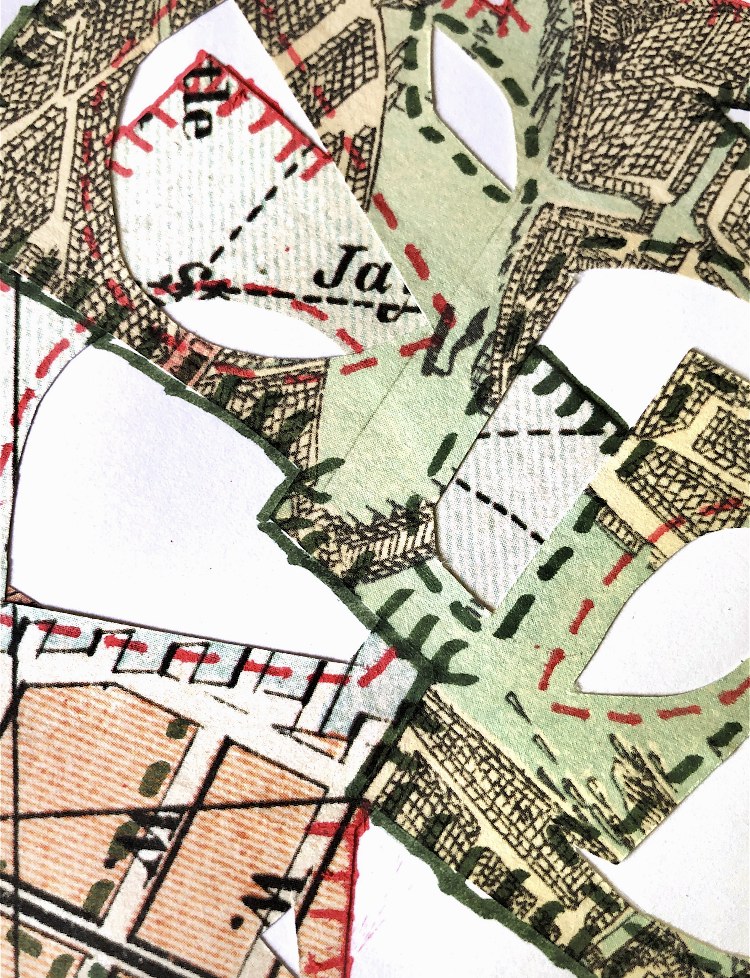
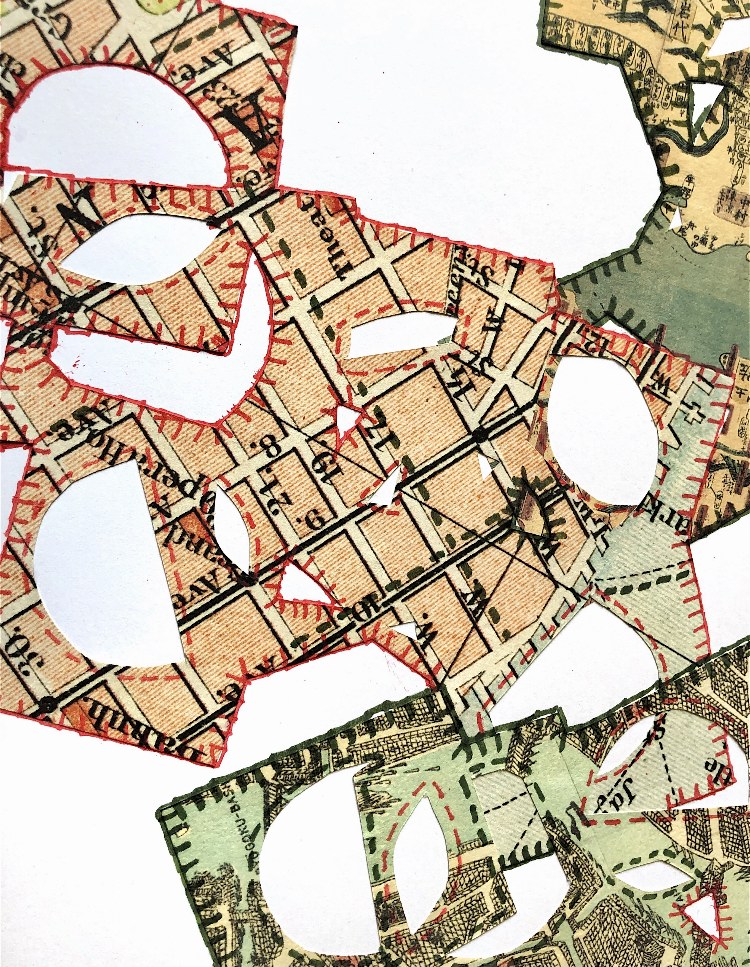
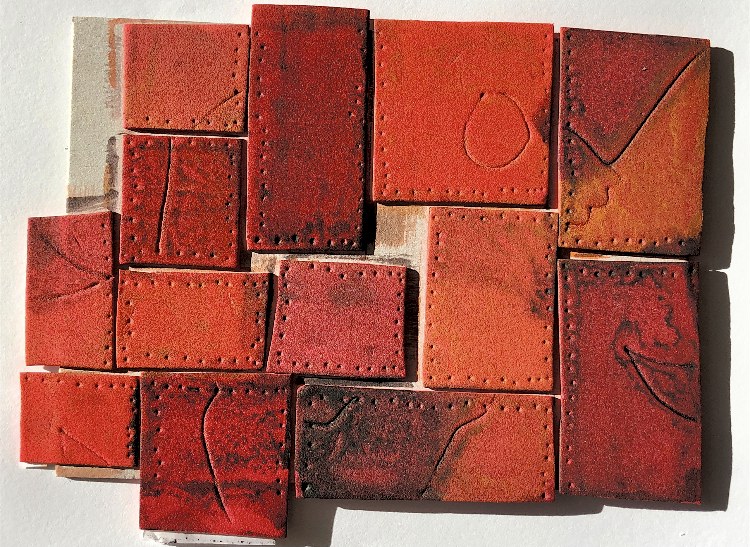
Using a tracing of one of the collages as a starting point, I cut out a series of shapes from different papers and created more samples. I concentrated on creating pleasing compositions with the shapes and colours. I think a bigger colour contrast might be useful to consider in future samples like these – maybe a dark colour as a background or an accent colour. However maybe this could be added with stitch?
The addition of hand drawn ‘stitching’ makes the collages look like applique.
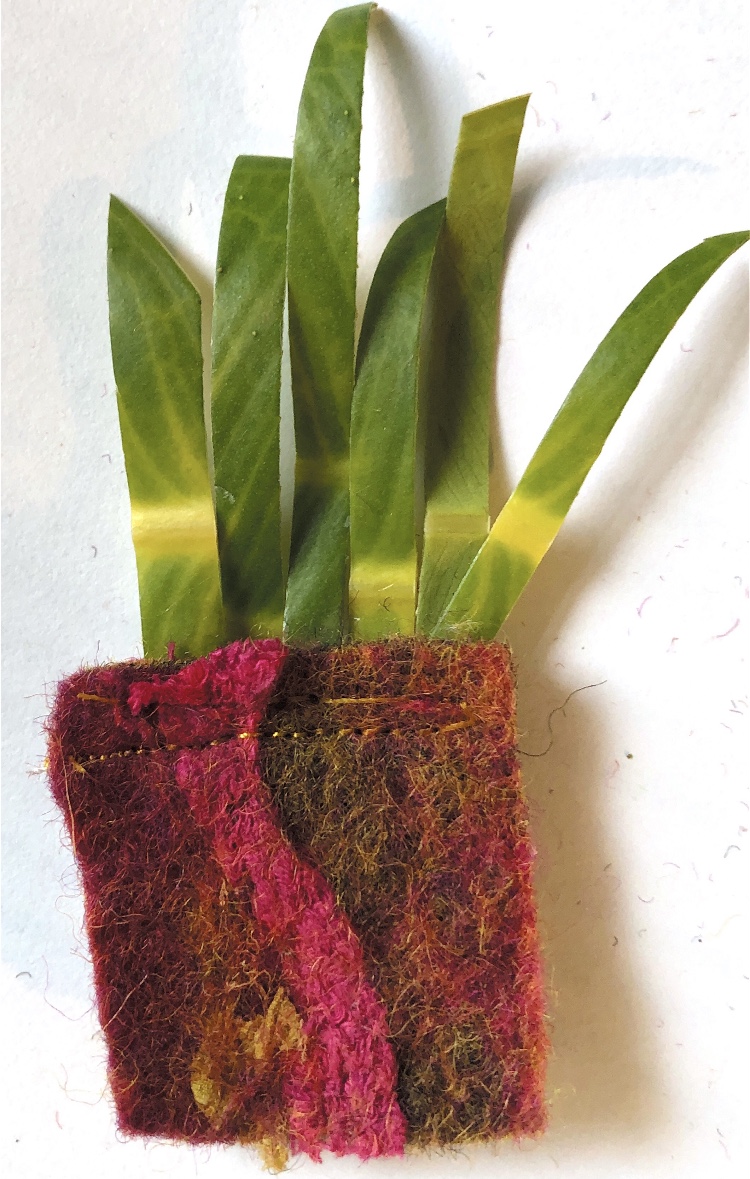
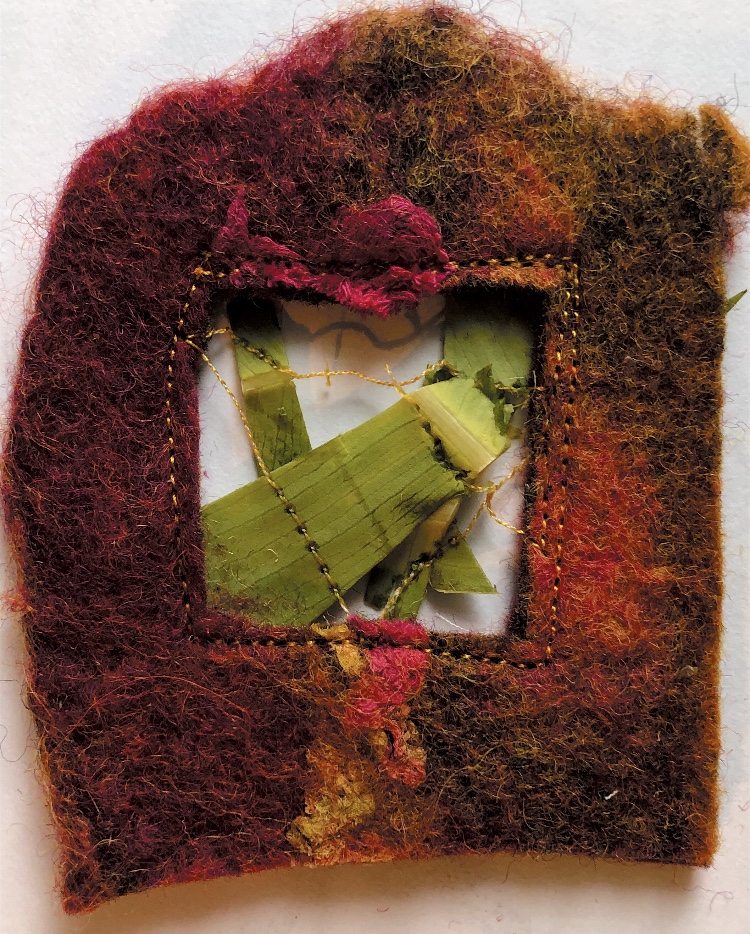
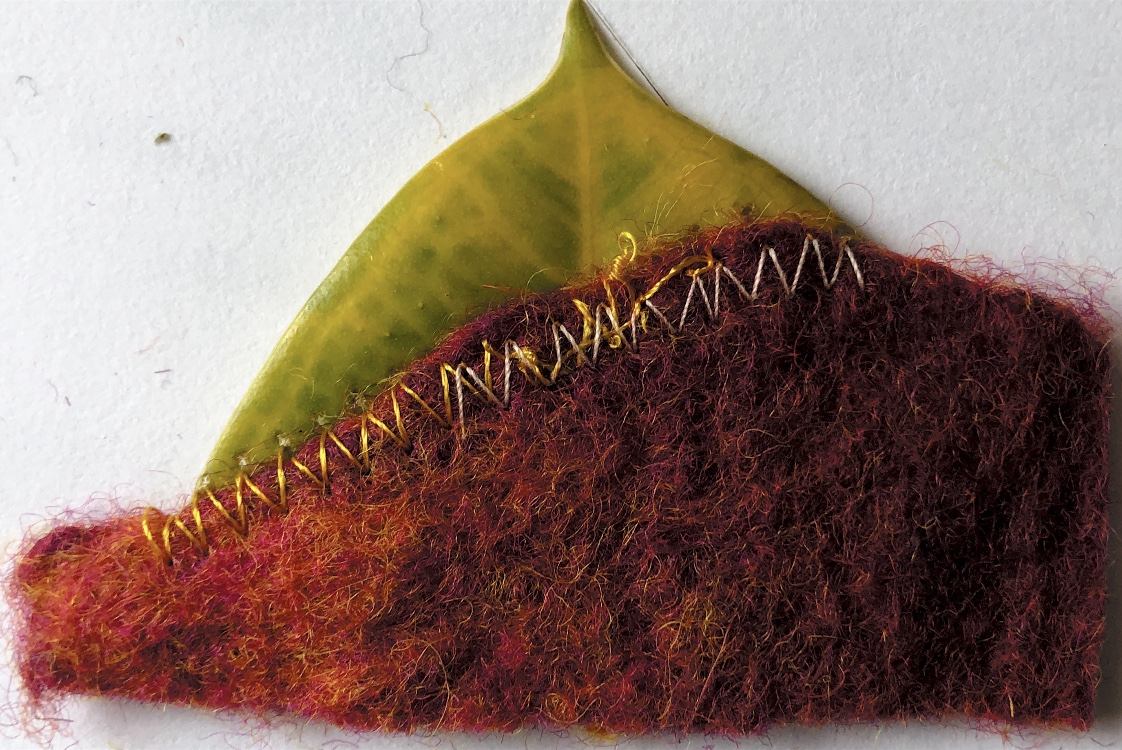
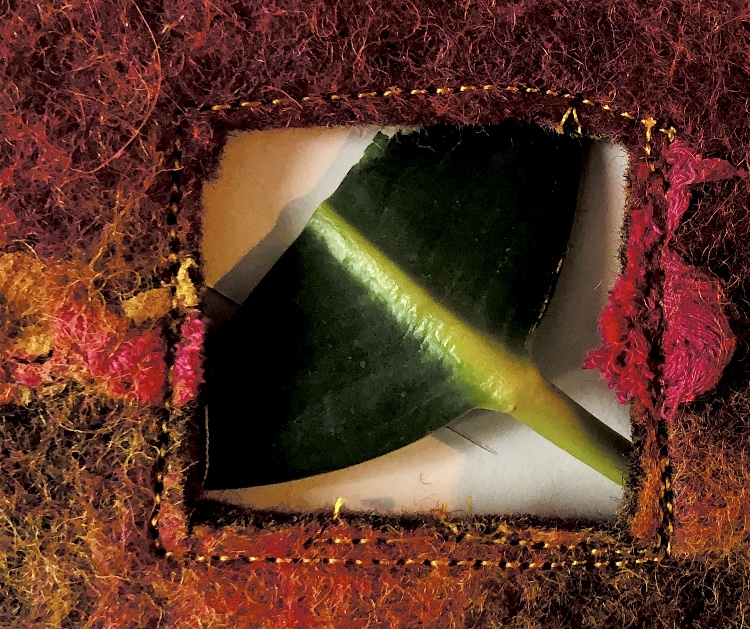
I have discovered working through these exercises, that almost every join makes some sort of angle. In the following samples I have stitched leaf strips to hand made felt. The fact that both are natural fibres pleases me and also the total difference in strength, texture, colour and permanence. Machine stitching on leaves is not easy and causes the leaf to become very fragile, but as the leaf will break down quickly and the samples will not last, this did not really matter too much.
So now I need to choose which samples to develop from this project. I think the ones that excite me and inspire me most are the following. There are too many here but maybe I could combine some?
Materials joined – watercolour paper, chenille upholstery fabric, silk chiffon, plastic, newspaper, metal sheet, hand made felt, heavy card, corrugated card, cross stitch canvas
Methods and materials used to join – glued strips, machine stitch, hand stitch, cocktail sticks, paper fasteners, wire with beads, cross stitch, folding, safety pins
Simple shapes joined with hand stitch, glued strips and machine stitch, plus printed samples joined with paper fasteners and cocktail sticks.
Exploring translucency with stitch and newspaper – this sample is a bit messy but I think it has possibilities for further exploration. It was a challenge to capture the qualities of this sample in watercolour but I think I have achieved a fairly good representation.
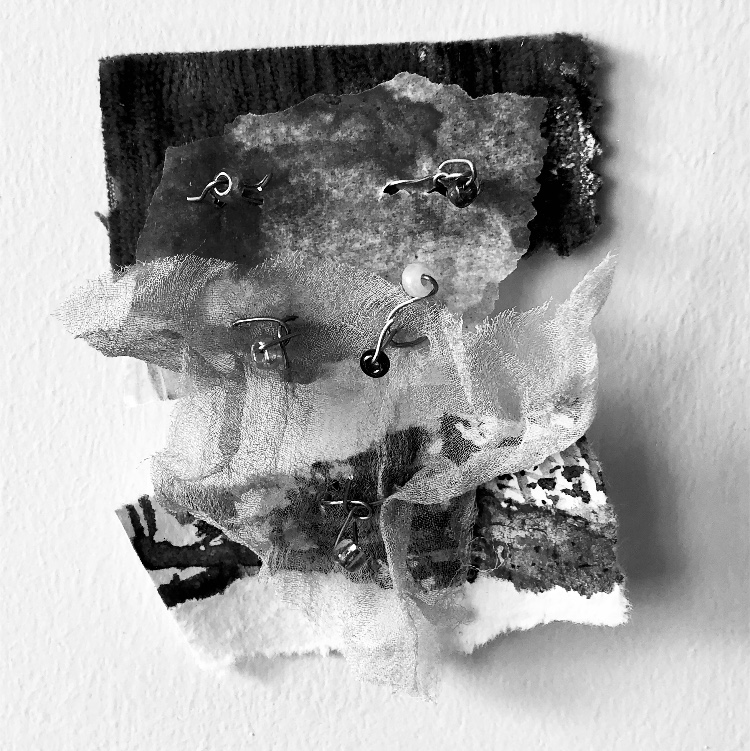
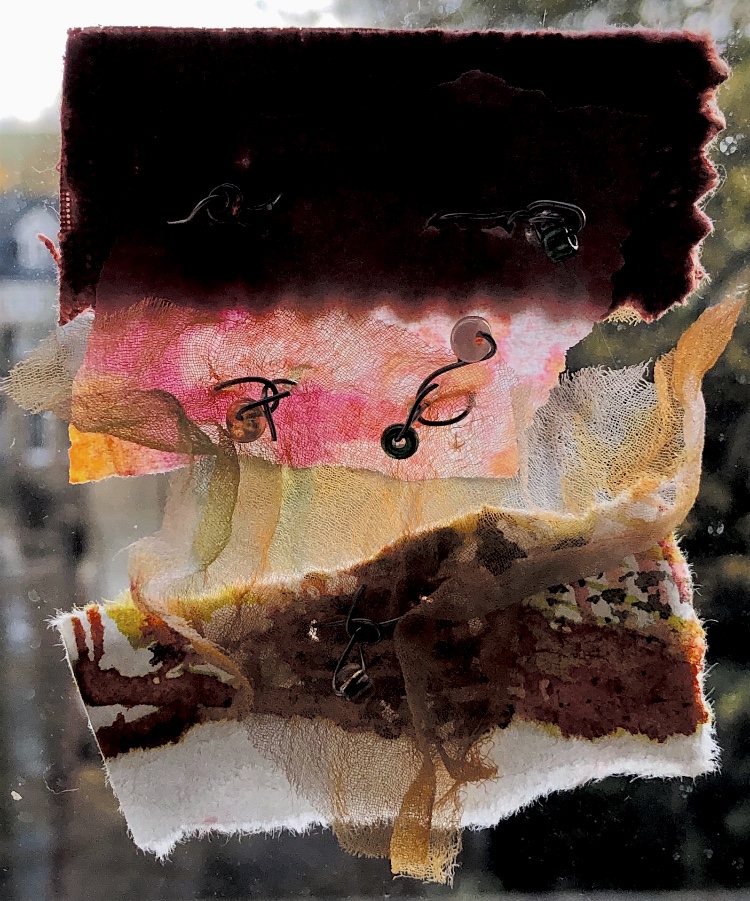
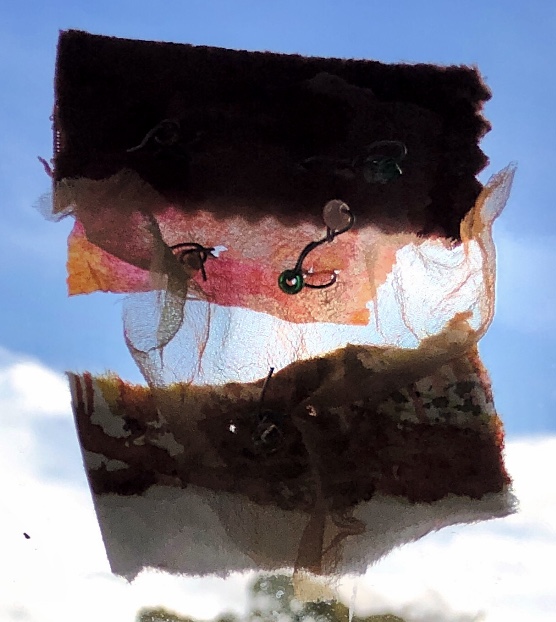
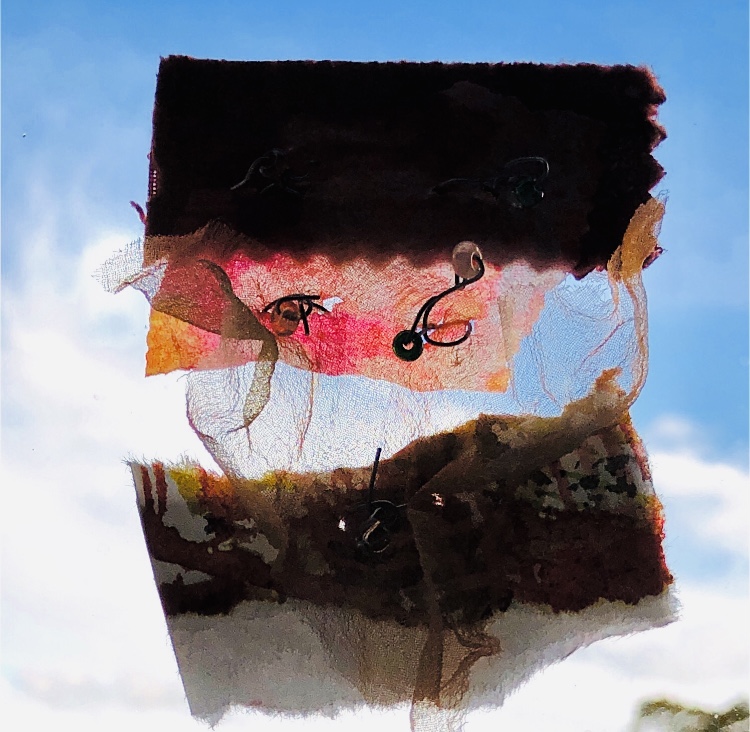
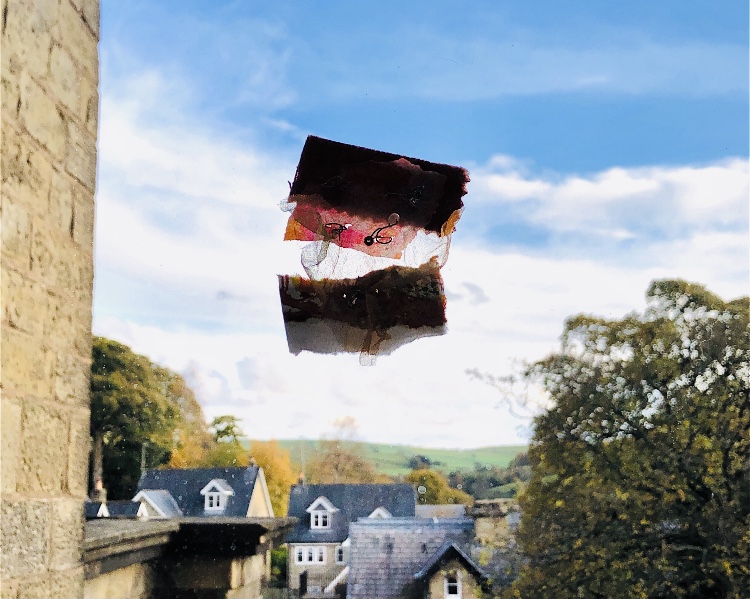
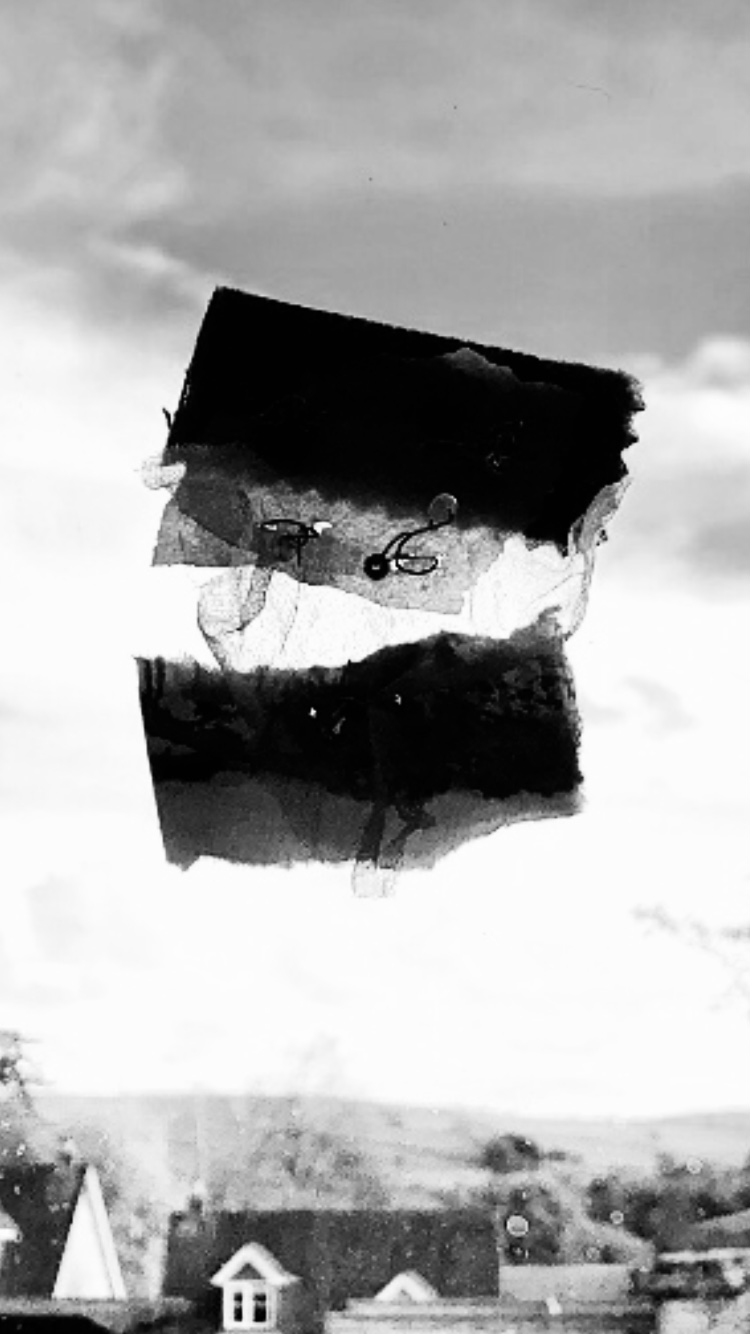
Moving on to translucent fabric overlapped onto a heavy furnishing fabric and watercolour paper, secured with wire and beads – this was a successful sample with lots of possibilities for development. The sample looked very different when photographed against a window – highlighting the transparency of the fabric and darkening the other more solid materials. There is a lot of movement in this piece. I like the way it appears to be floating away in the sky.
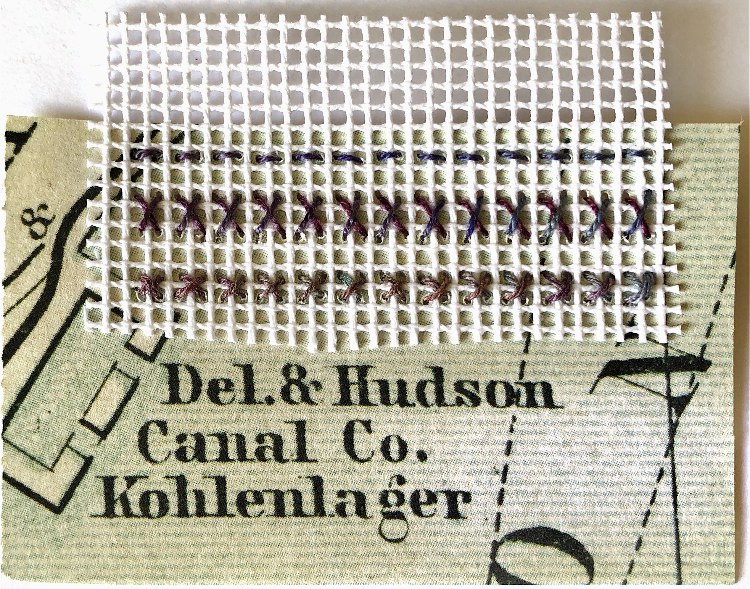
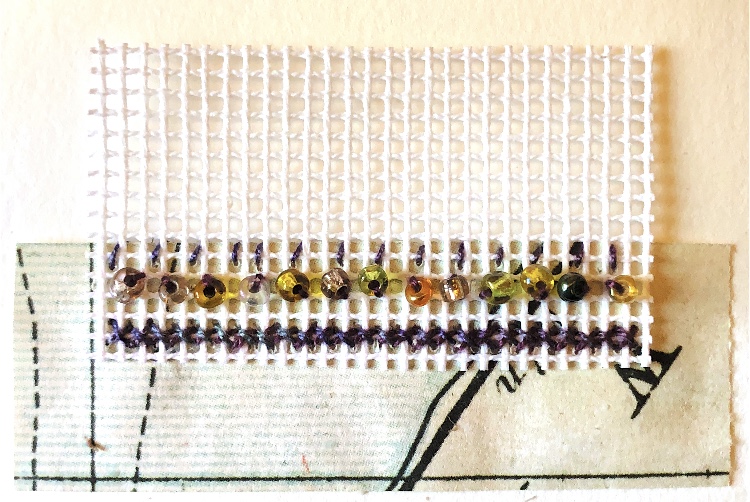
I overlapped cross stitch canvas onto a piece of map paper and used cross stitch, running stitch and beads to hold the materials together. I like the even, ordered stitching contrasting with the writing and map drawings on the paper. The idea of completely contrasting materials and patterns intrigues me.
Corrugated card and a cut up piece of hand made felt were glued together and photographed from different angles. The soft, uneven edges of the felt sit in with the smooth, hard card to create a tactile sample.
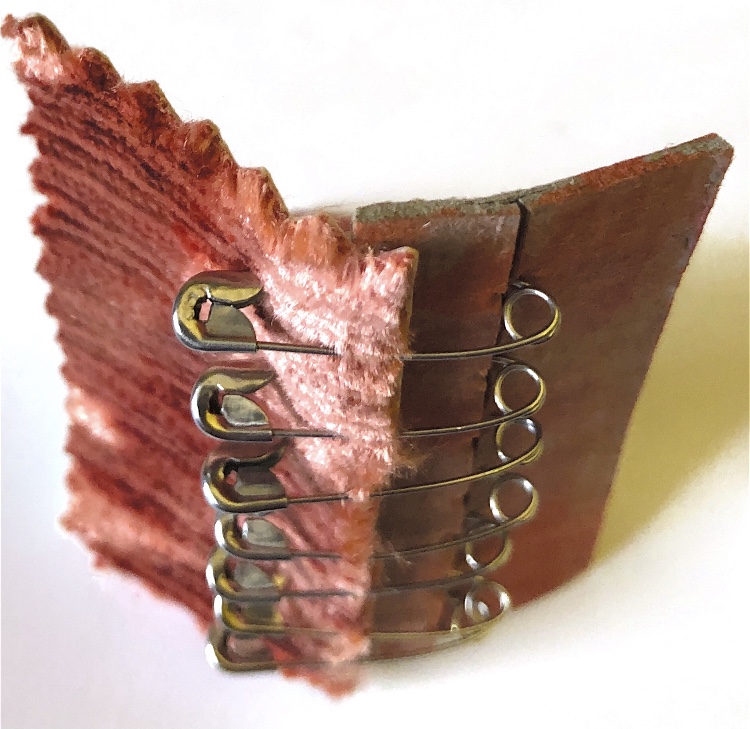
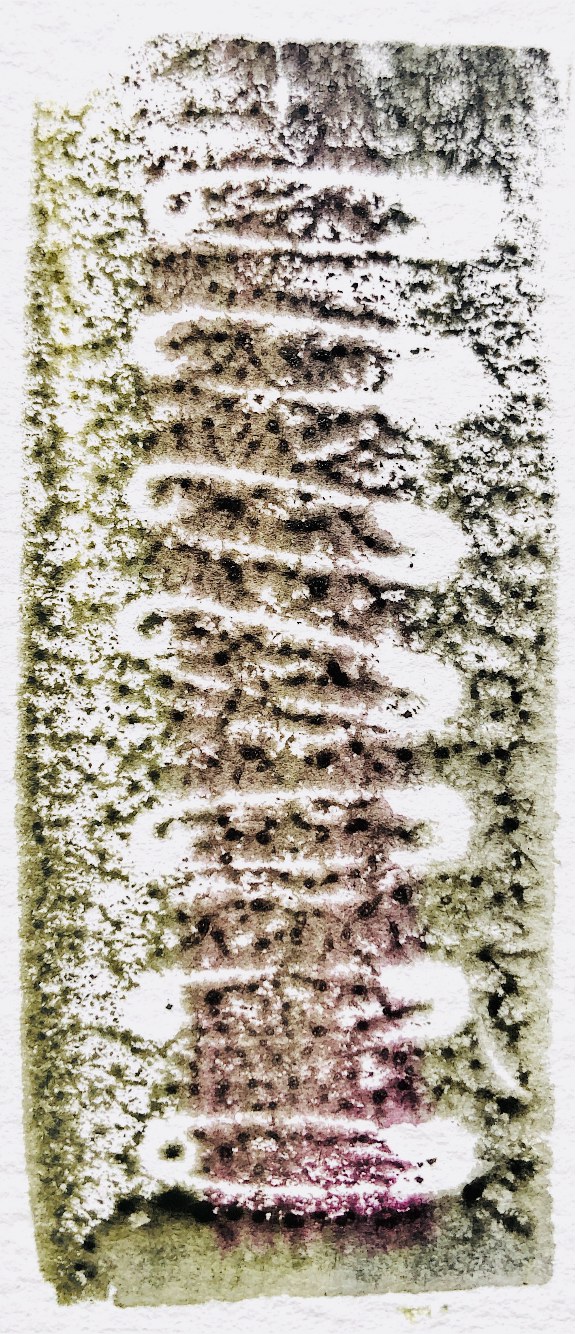
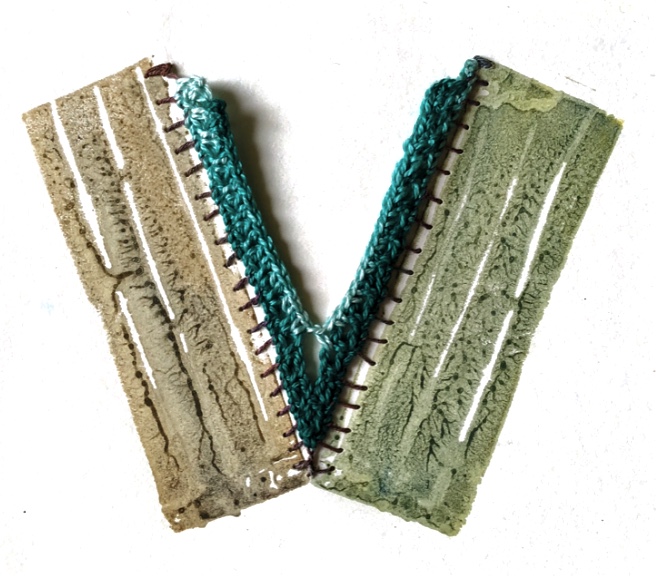
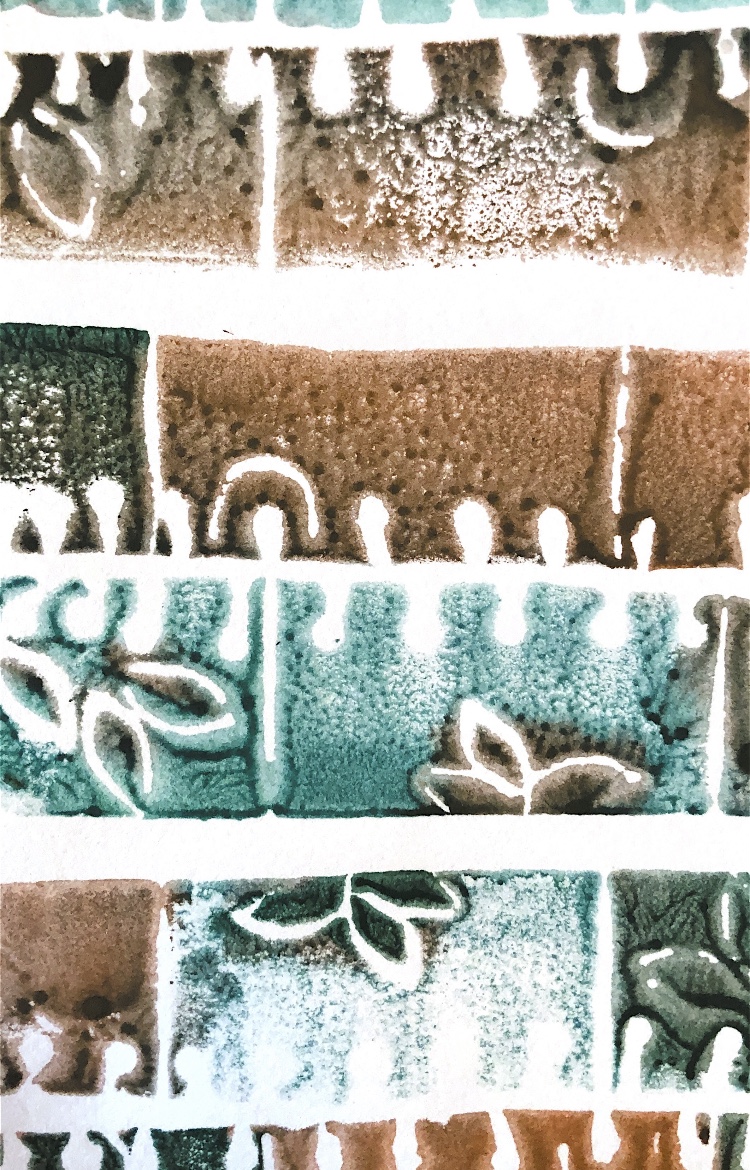
Thick card (this would also work with a thin piece of wood) had holes made with a bradawl and was joined with chenille fabric with safety pins. The method of joining allowed for the materials to be moved up and down and also to be positioned in a ‘v’ shape. I was keen to use the safety pins to make a print – it was easy to imprint a foam sheet with the pins and then print.
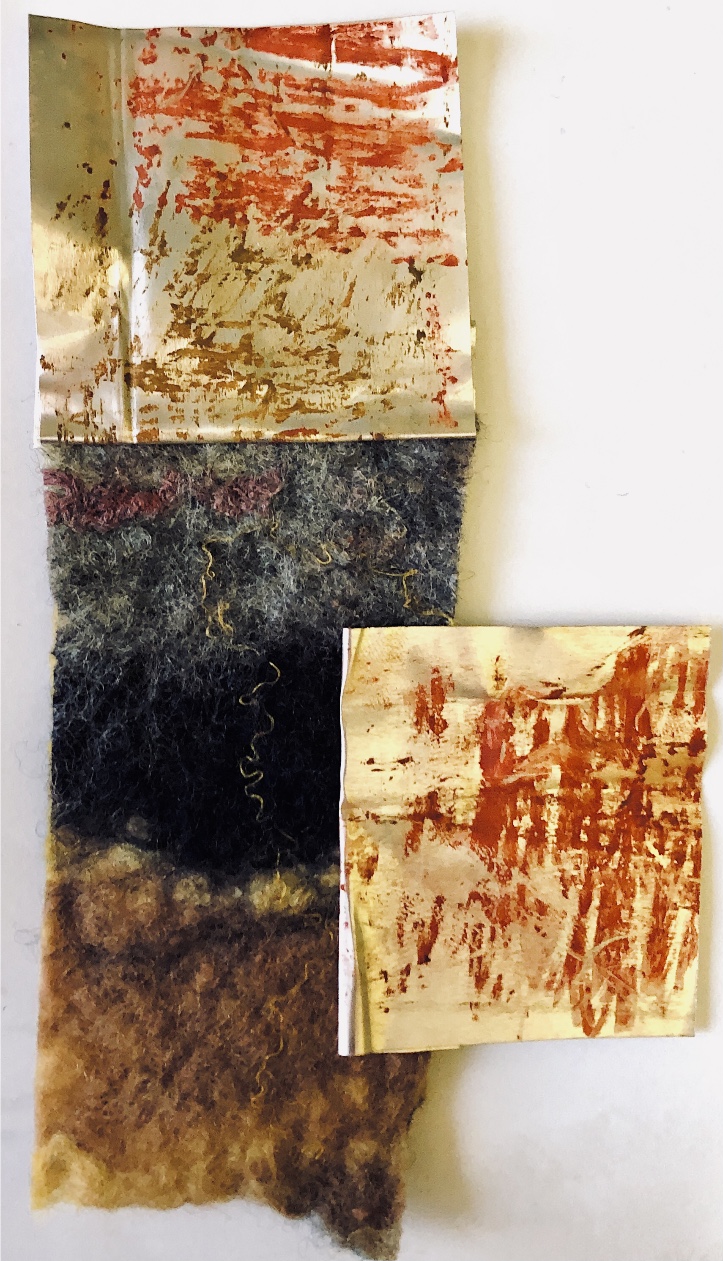
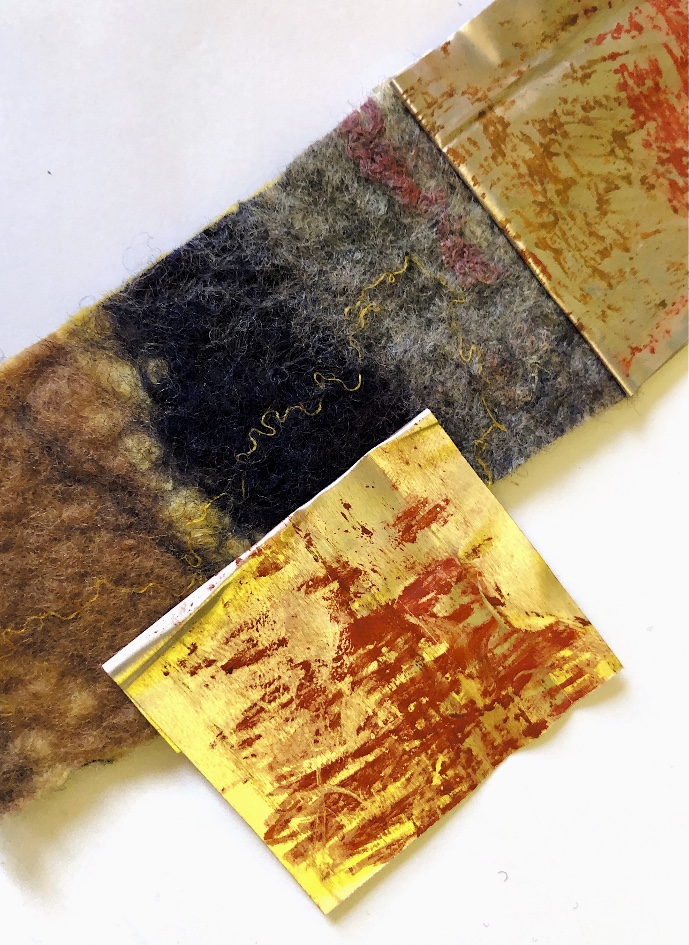
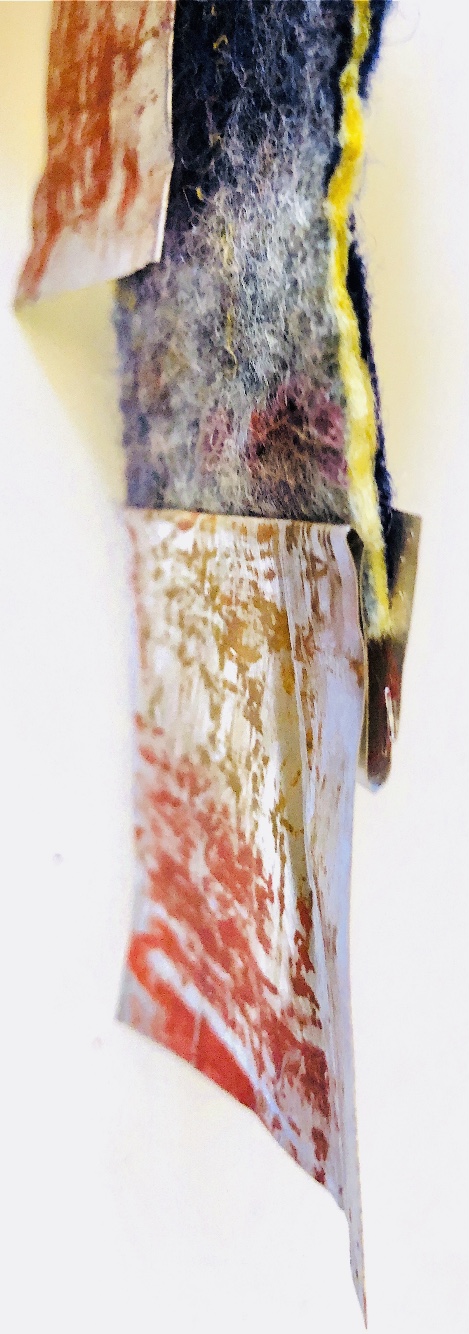
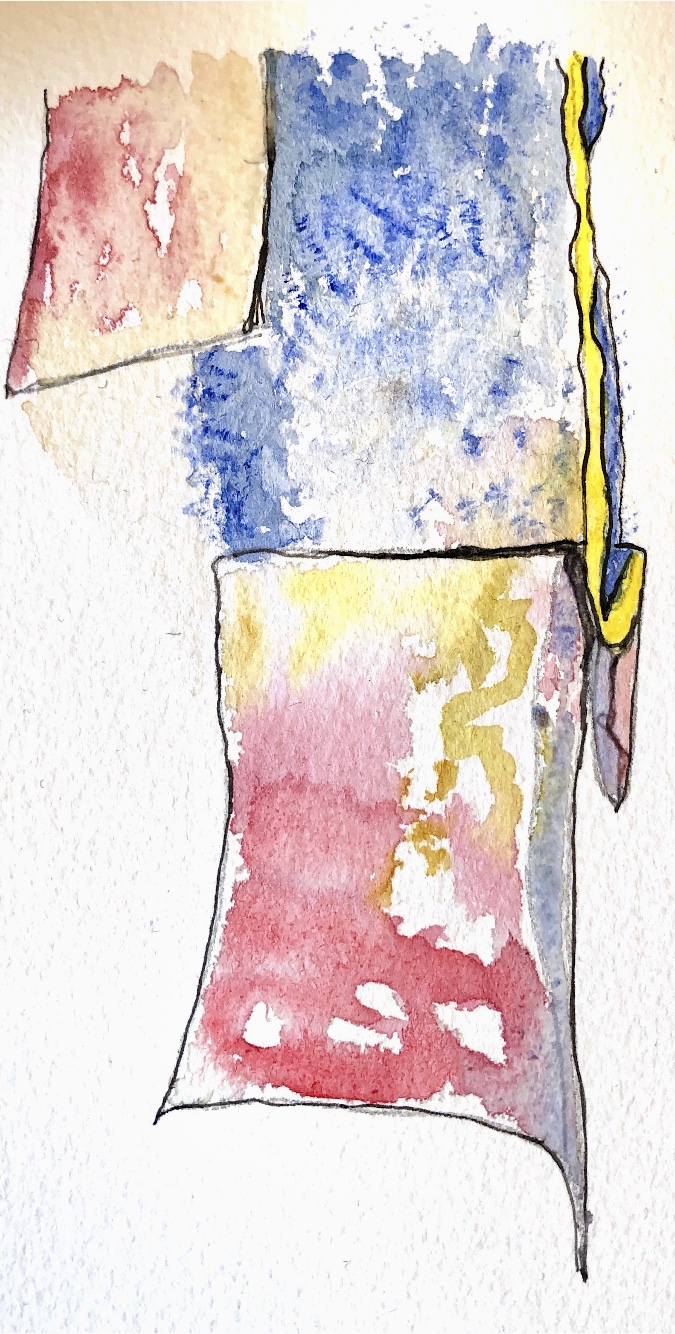
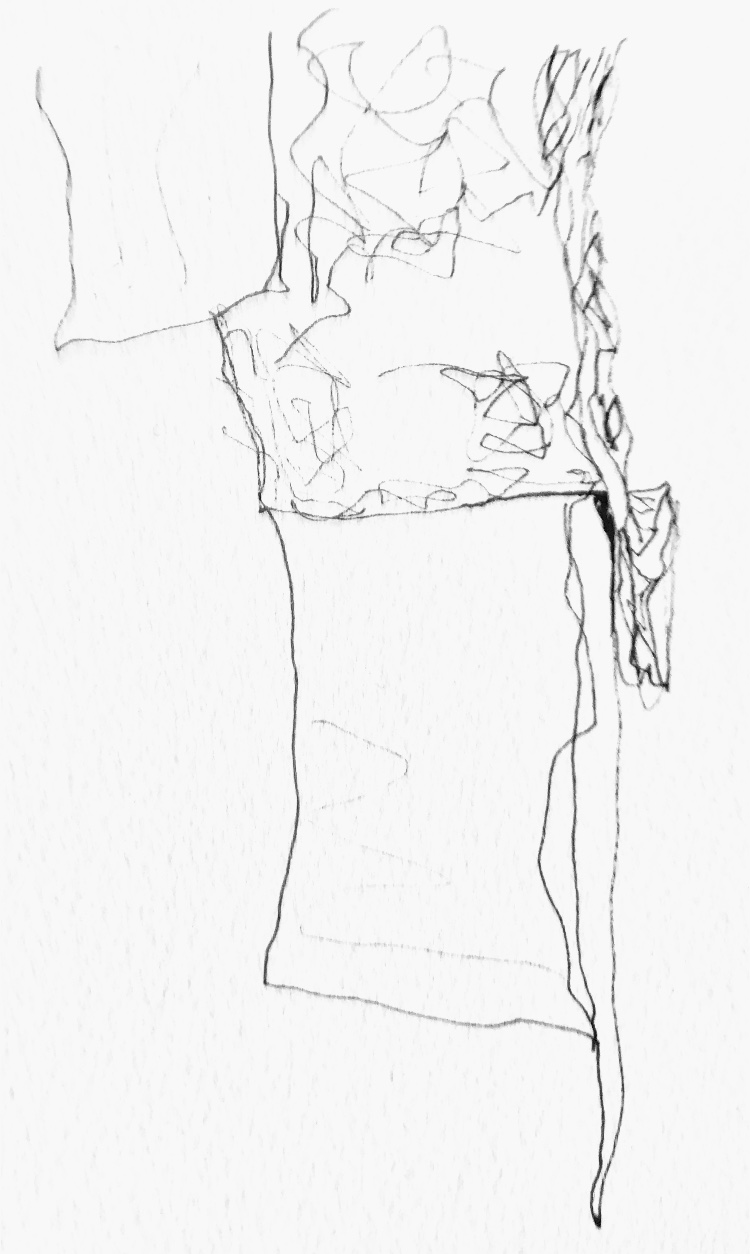
Handmade felt and thin metal sheet are very different materials, – the sheet could be folded to enclose the felt without another joining method. Photographed from the edge of the sample makes an interesting line pattern. What was difficult was translating the textures into the drawing.
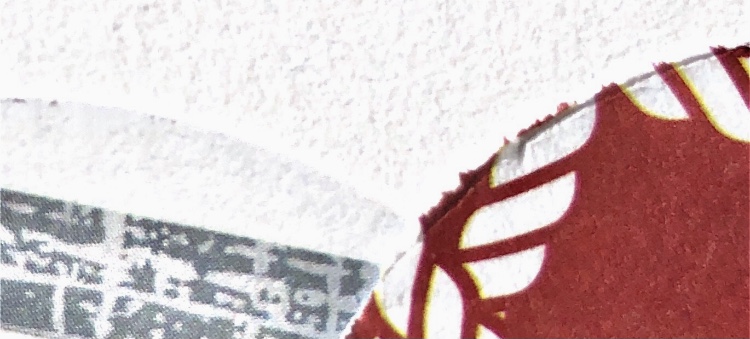
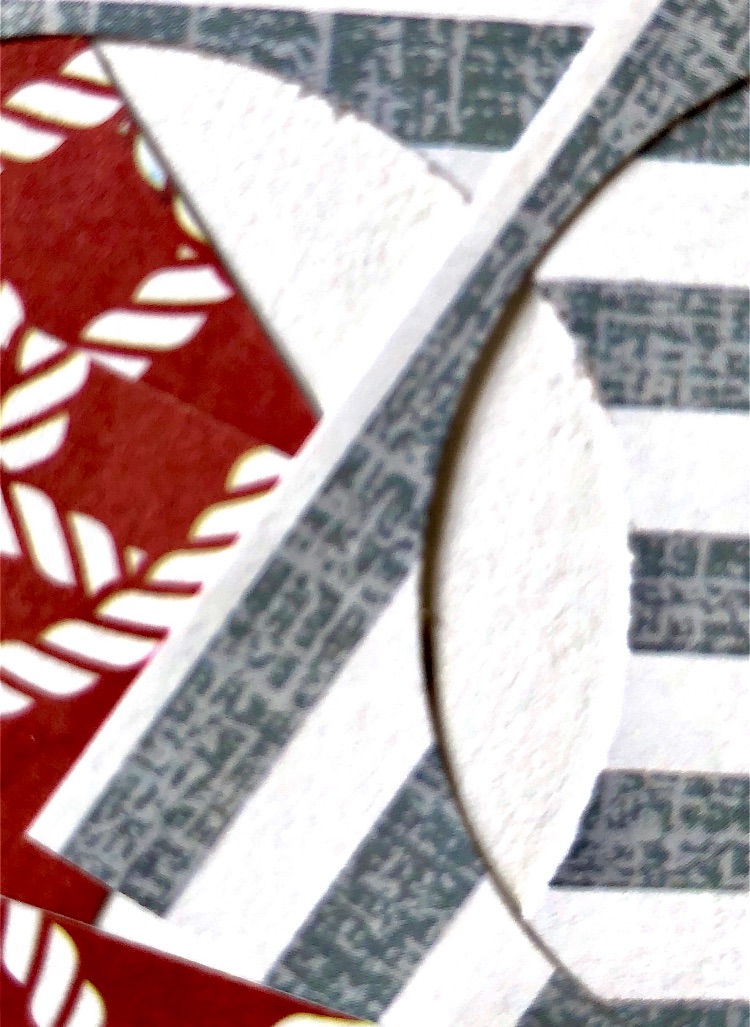
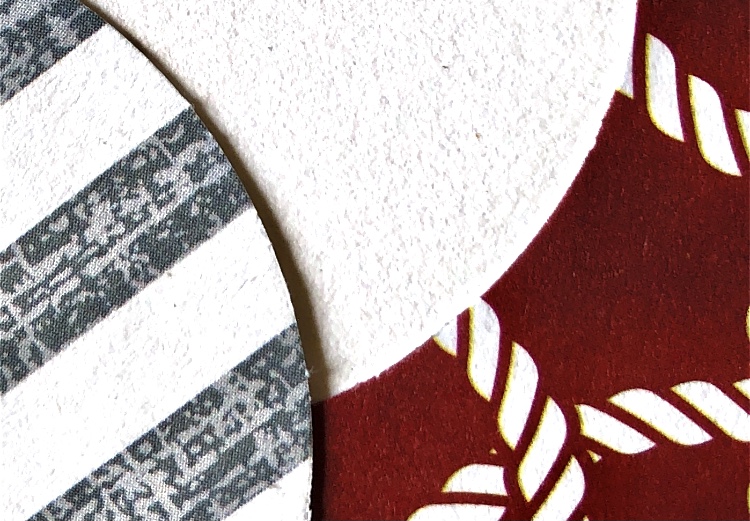
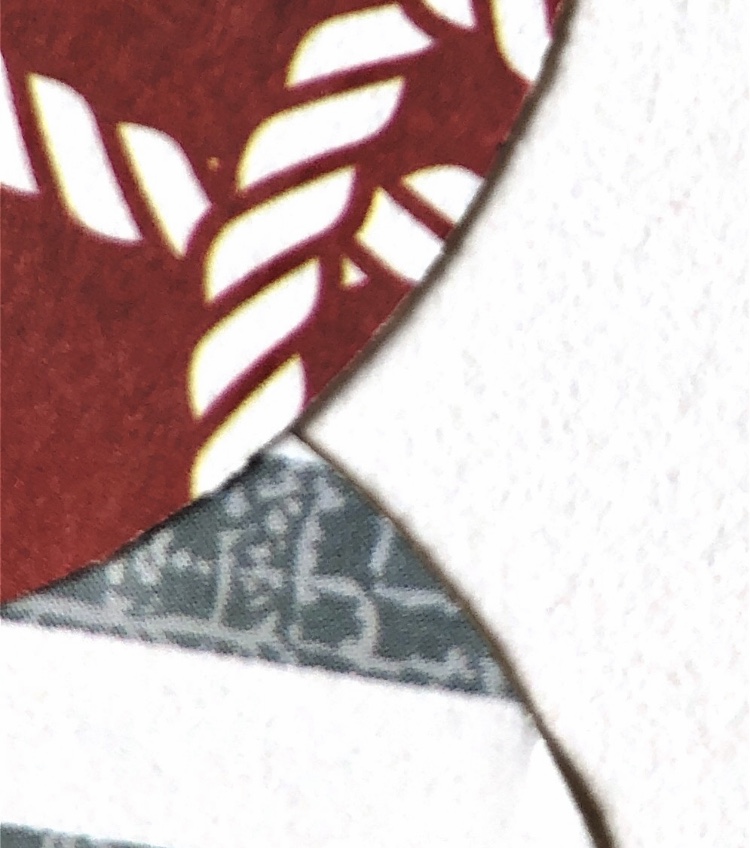
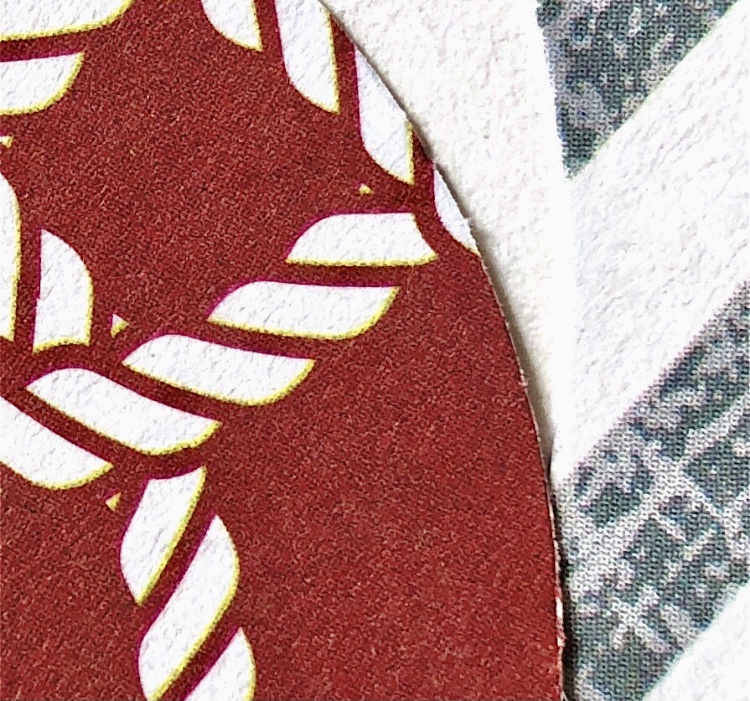
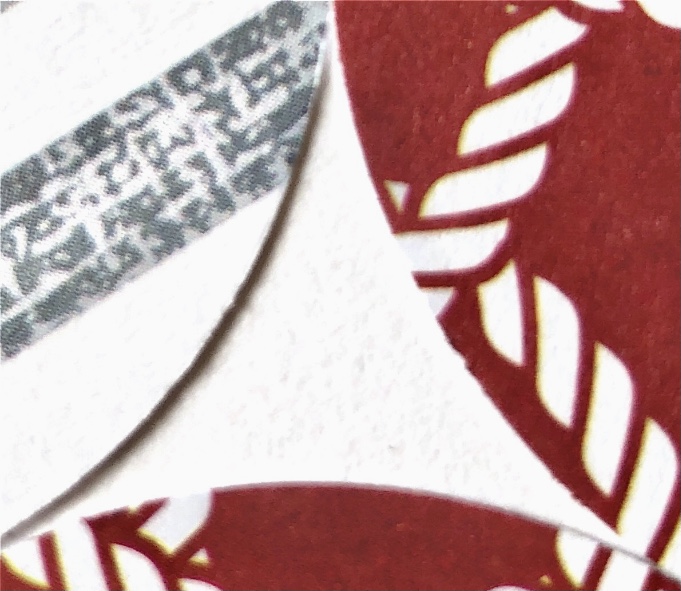
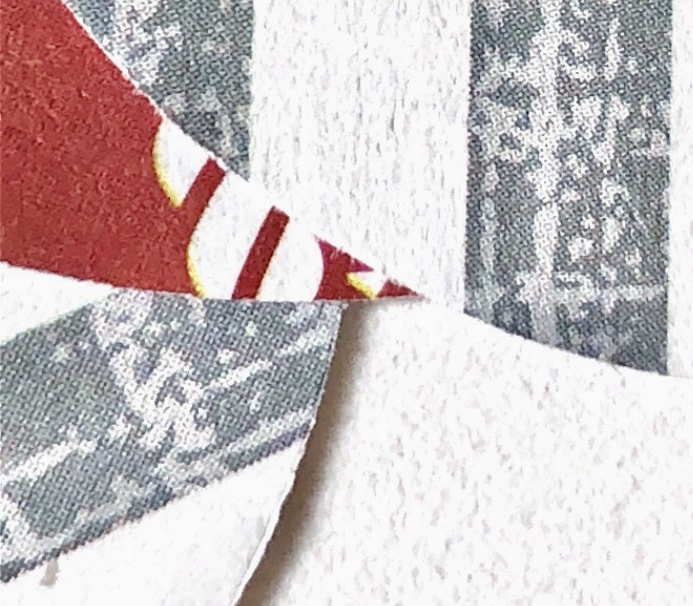
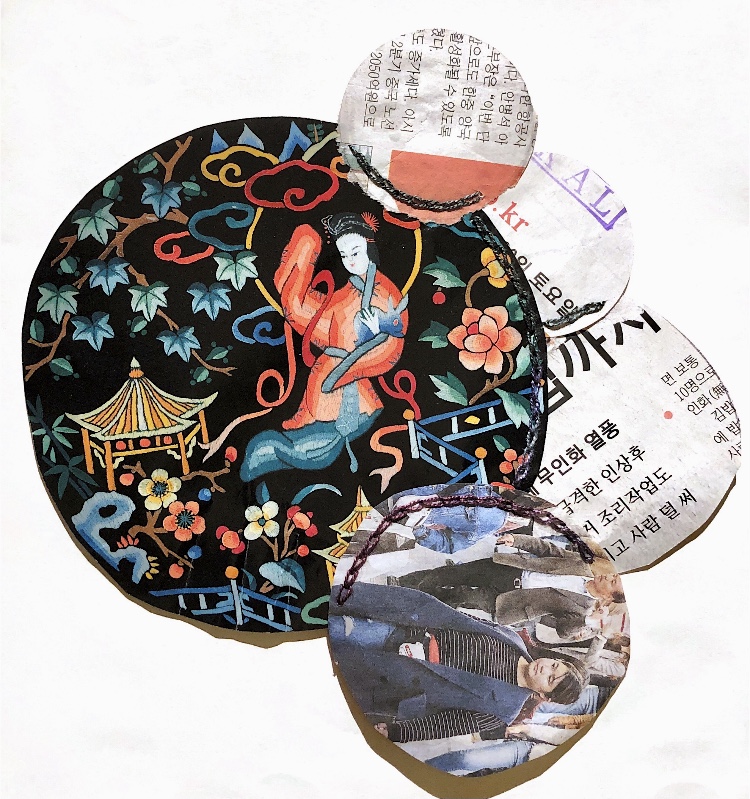
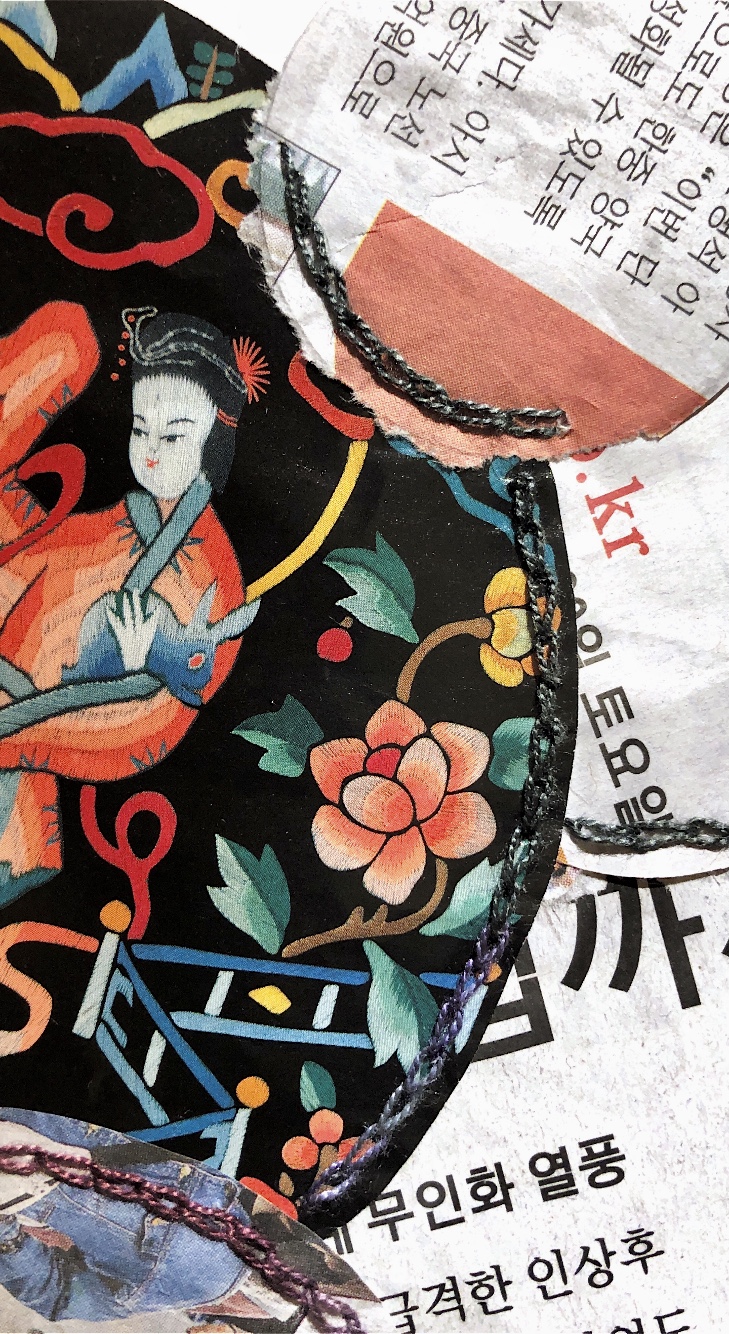
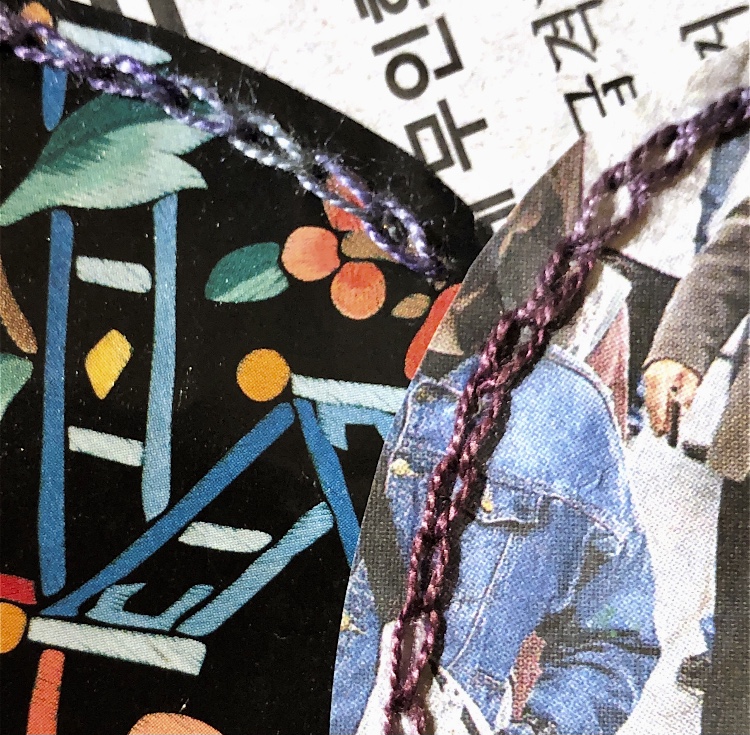
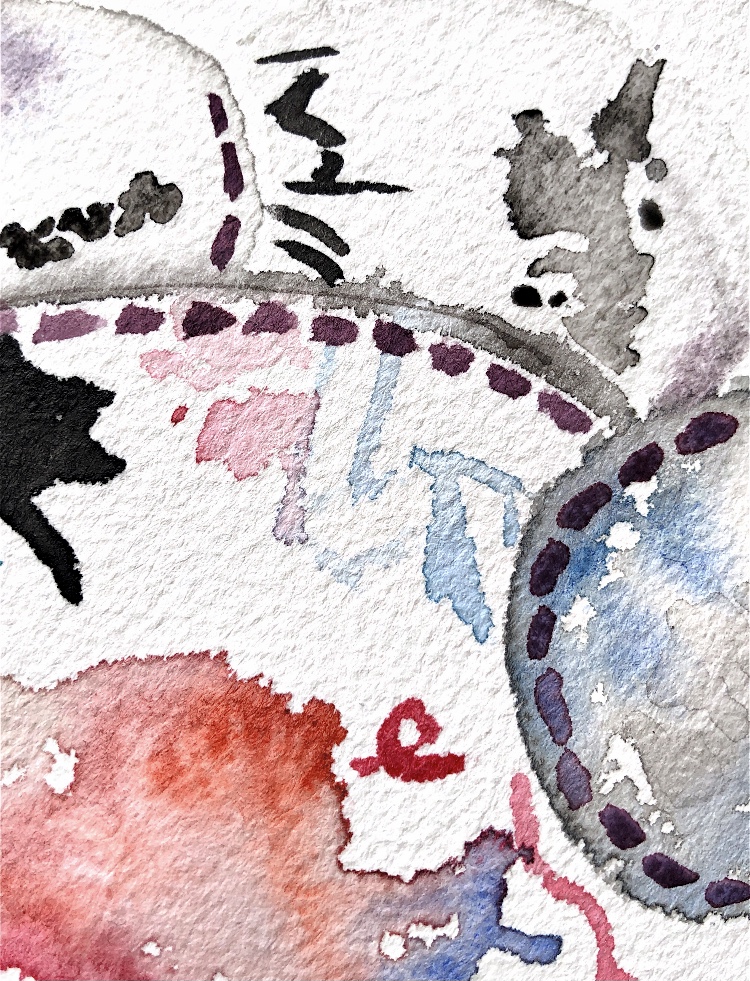
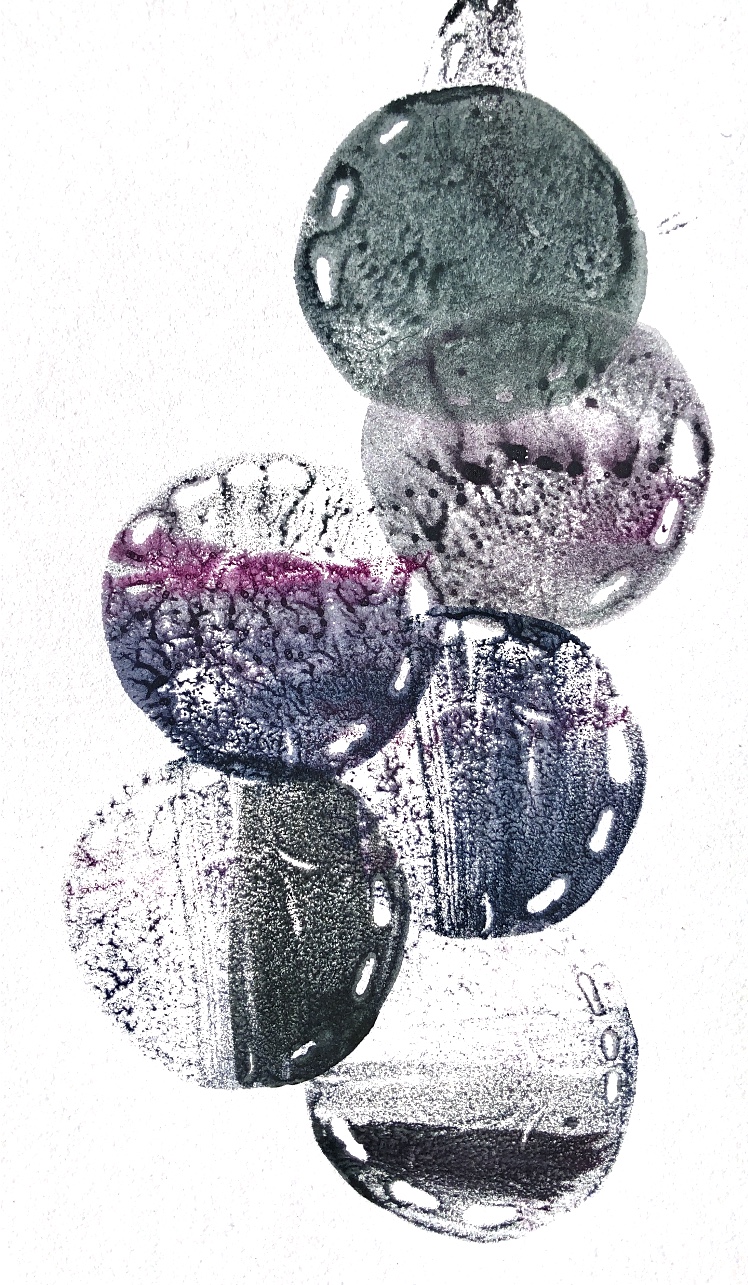
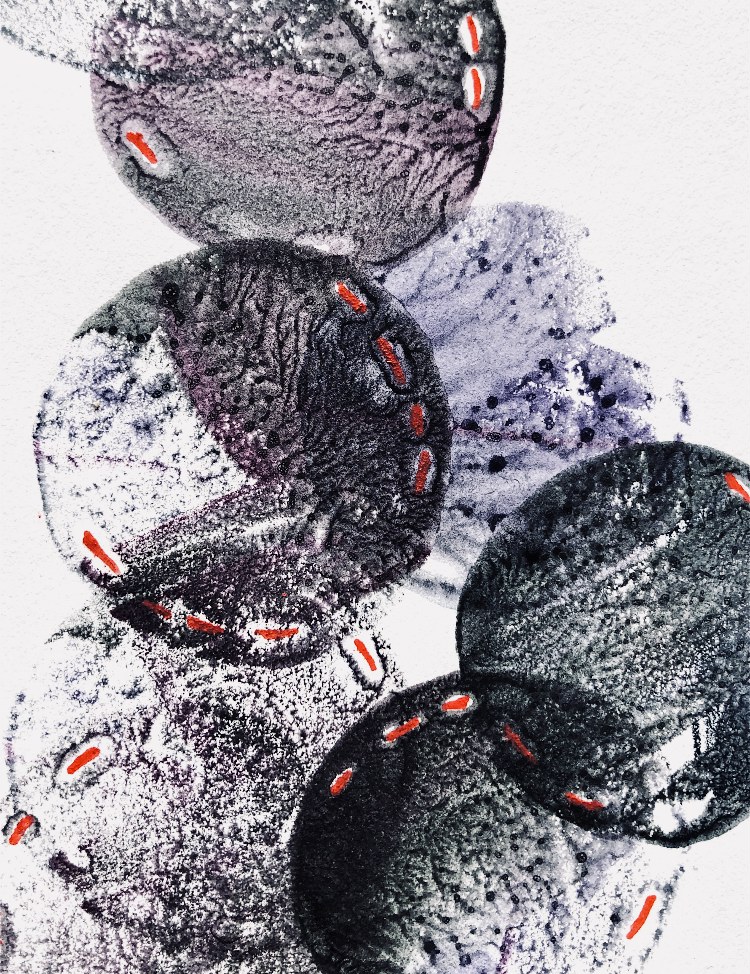
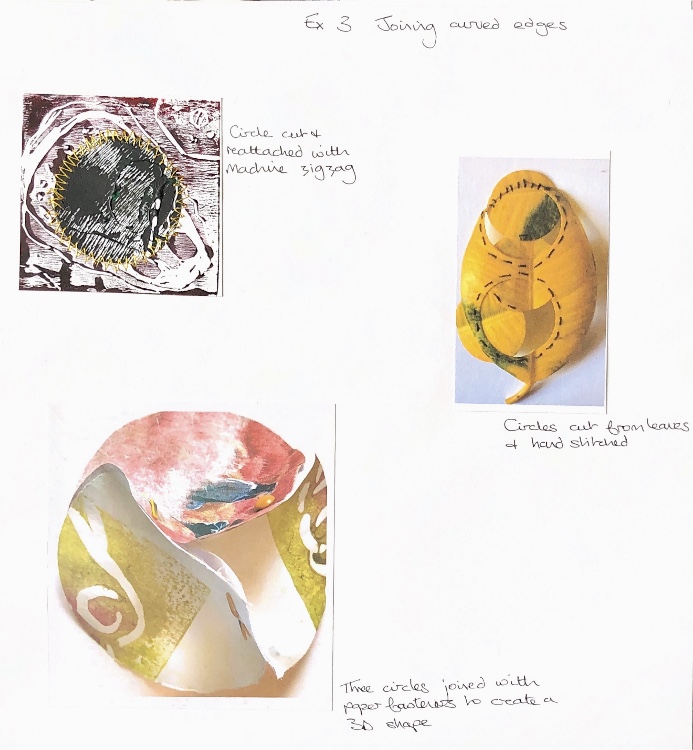
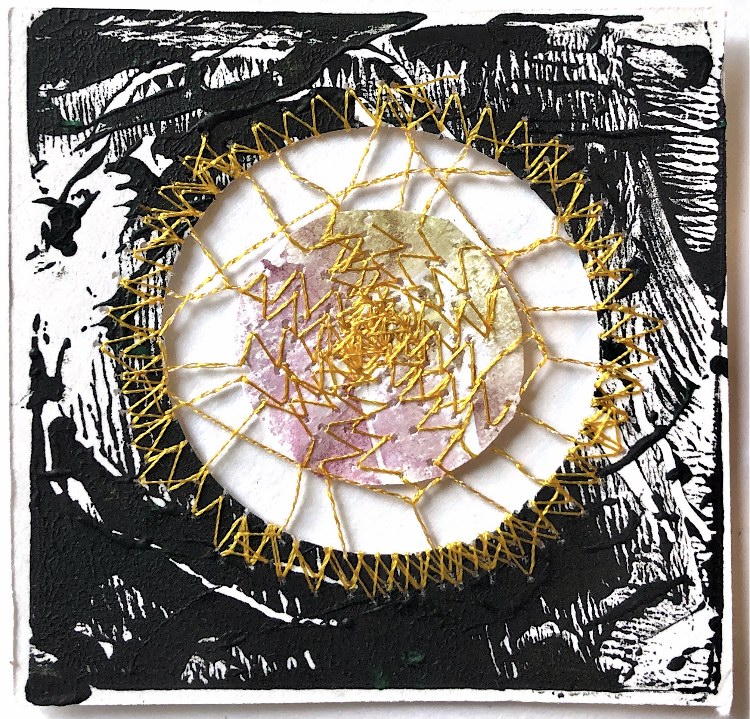
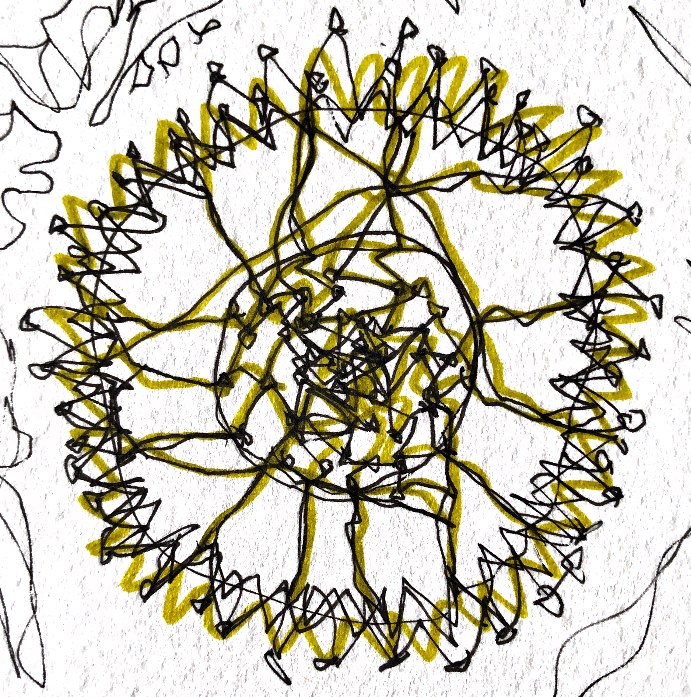
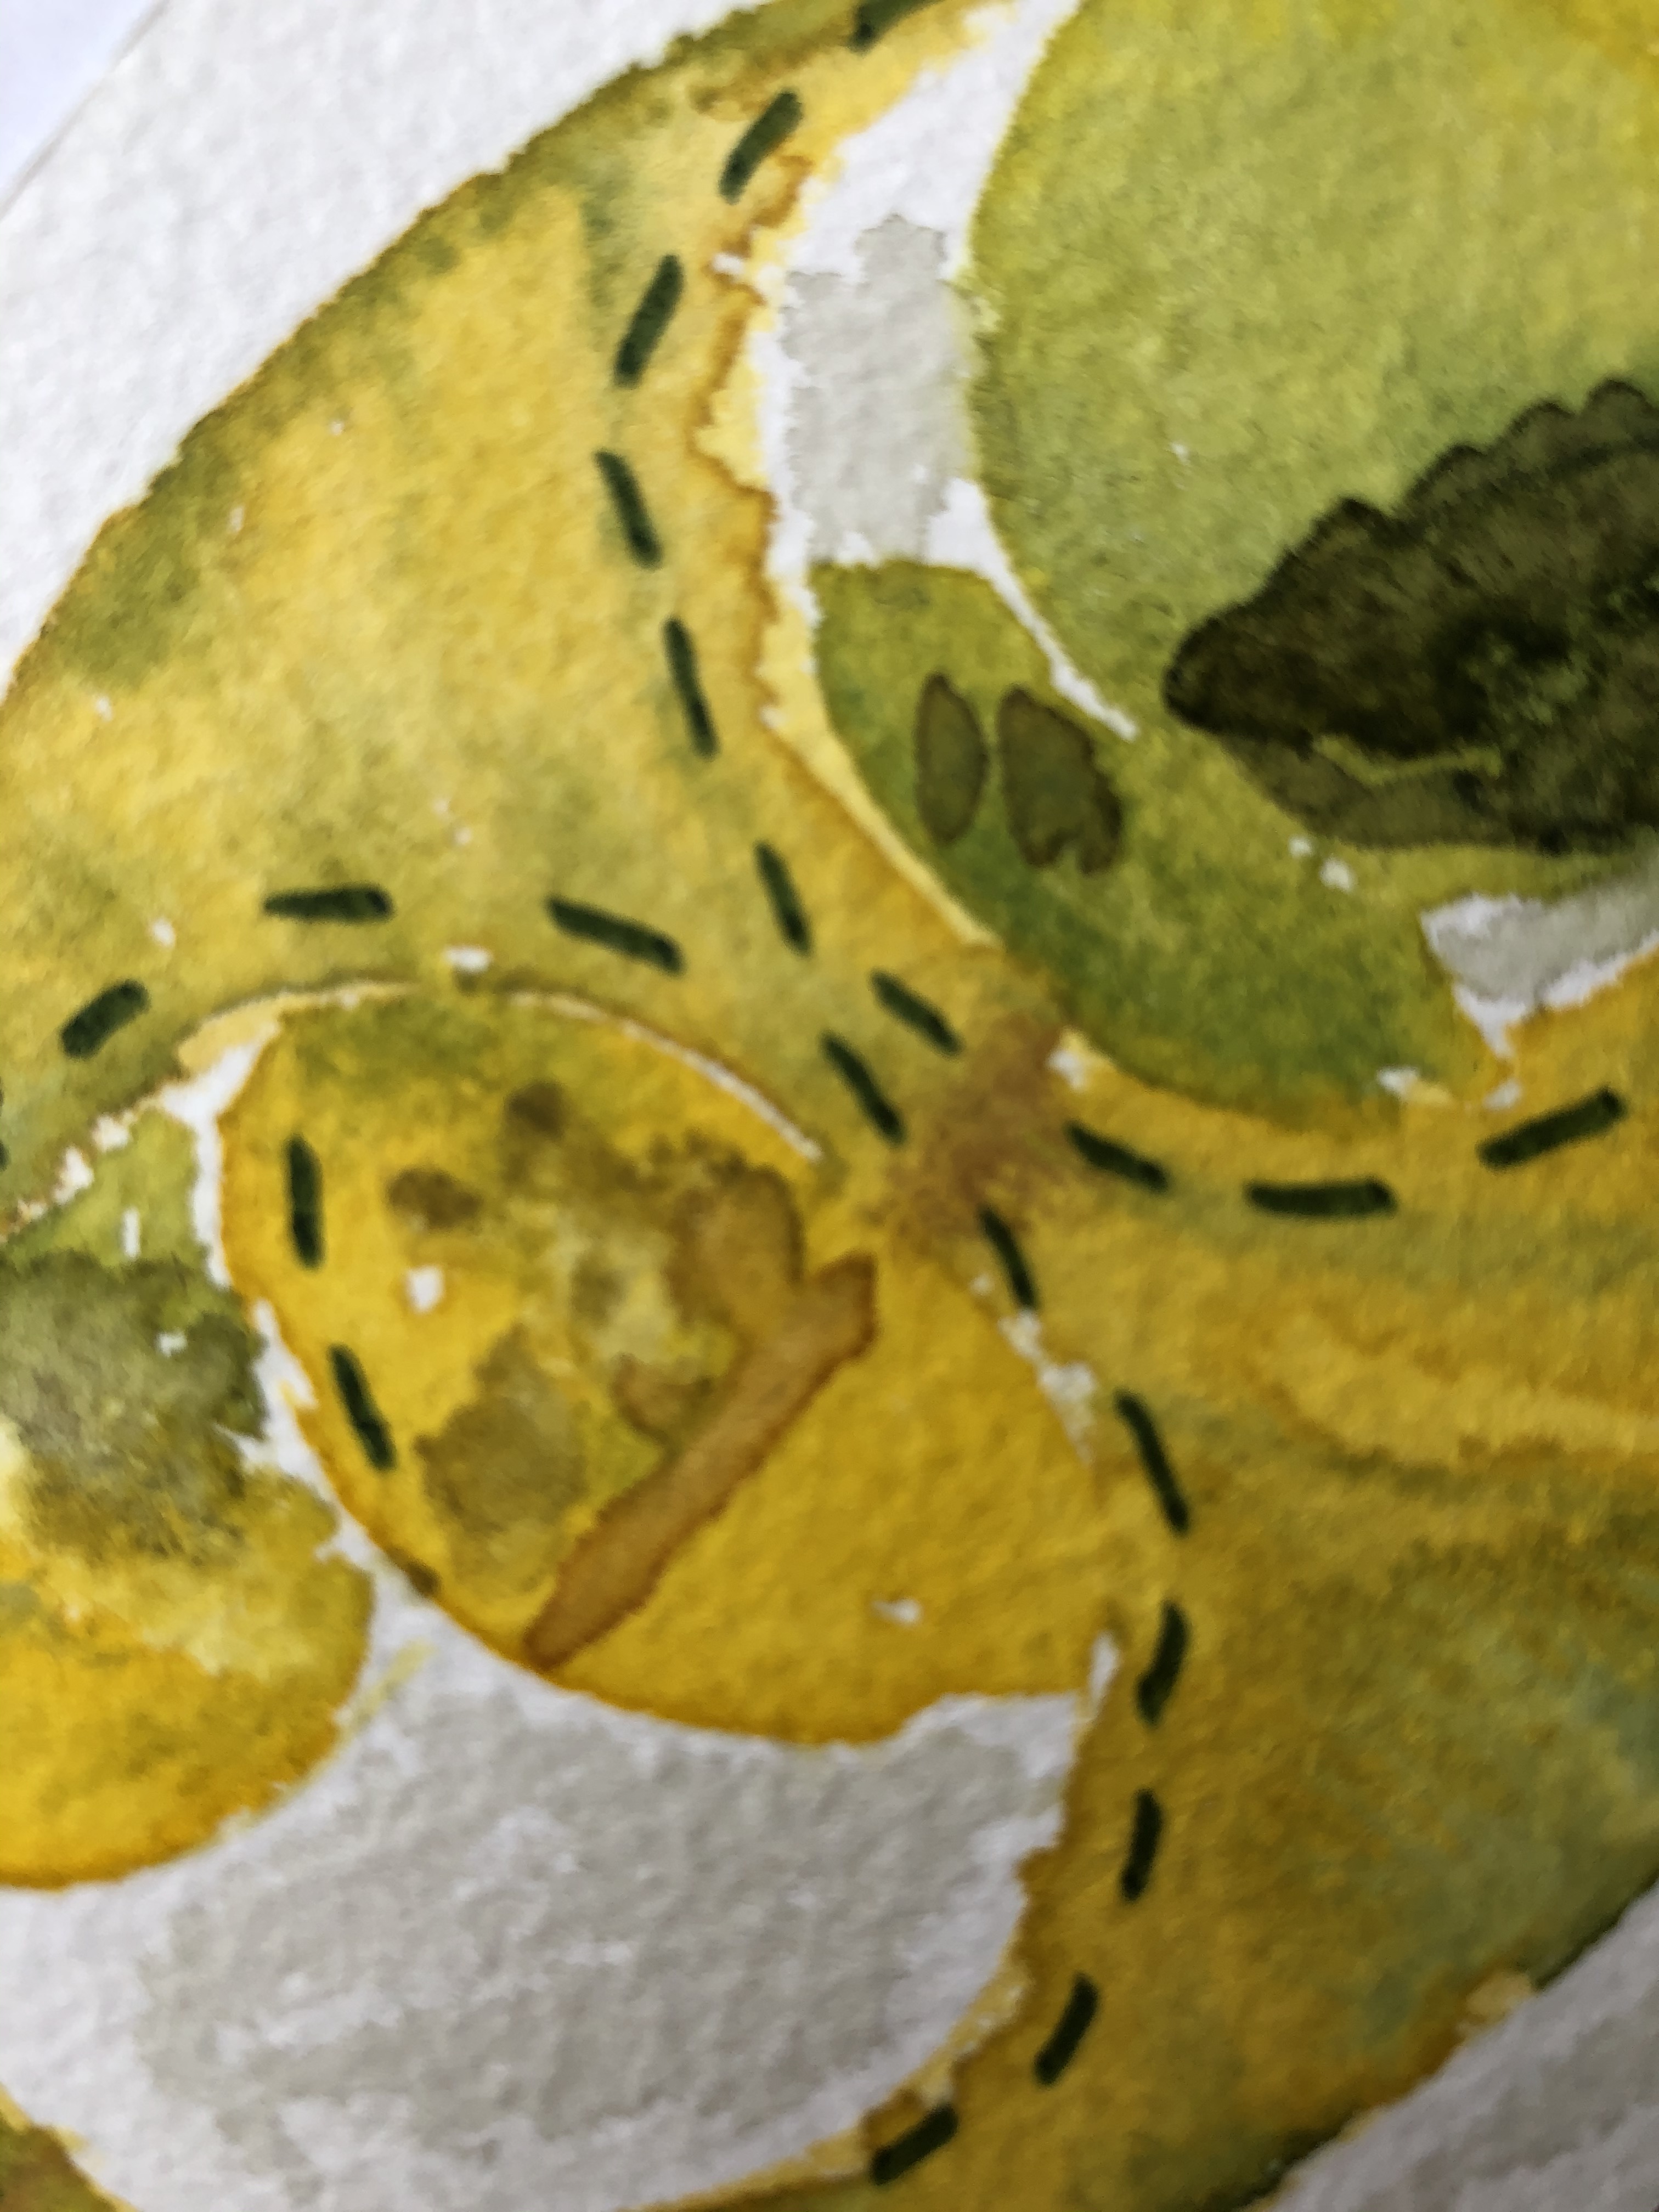
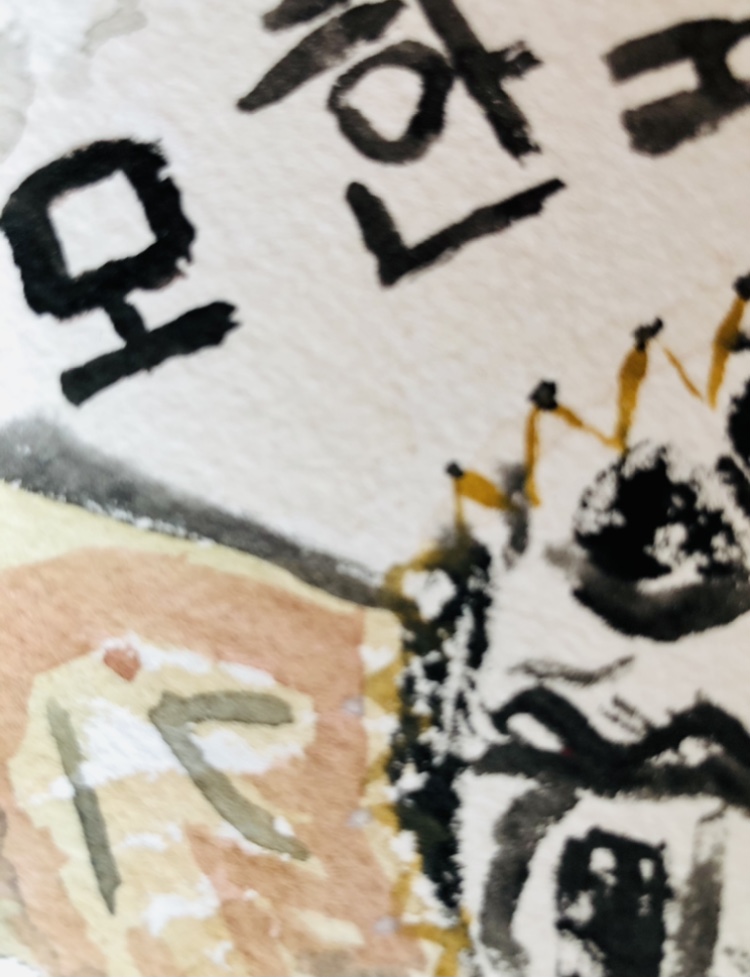
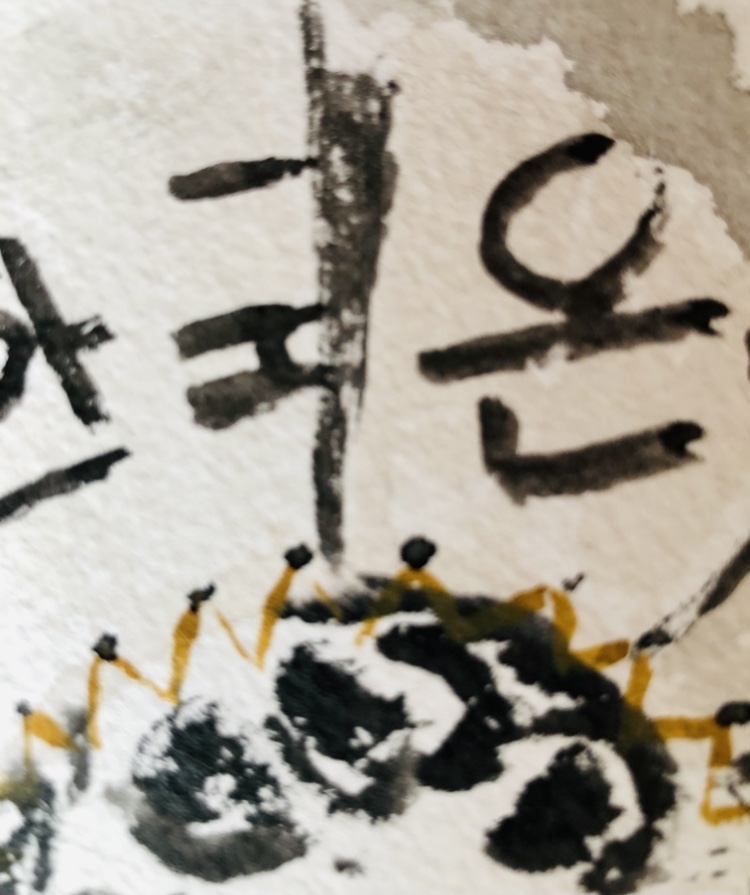
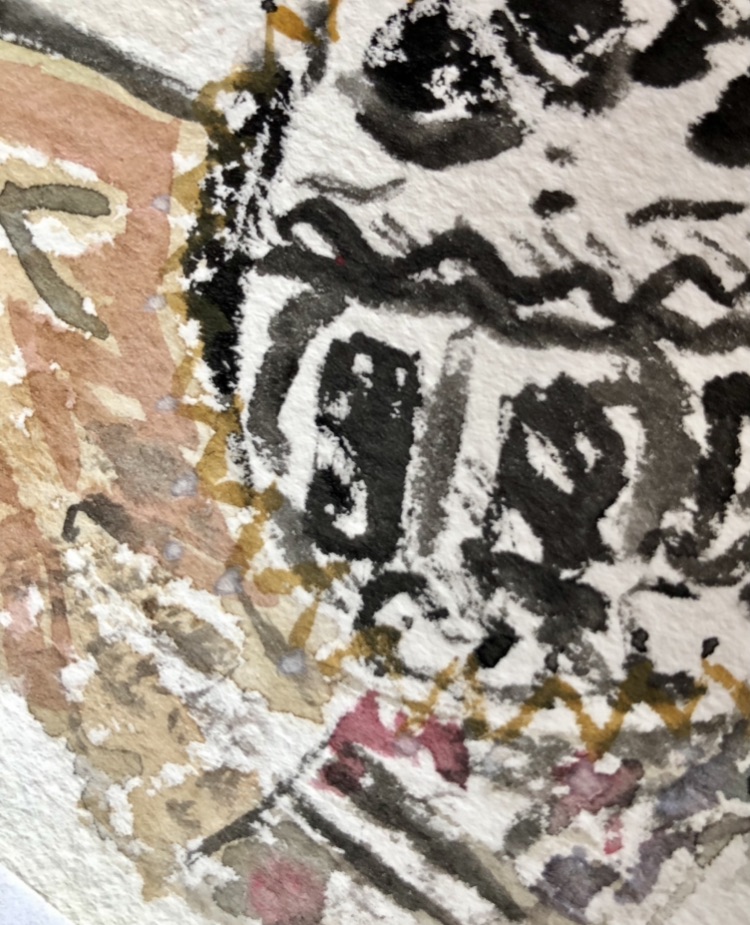
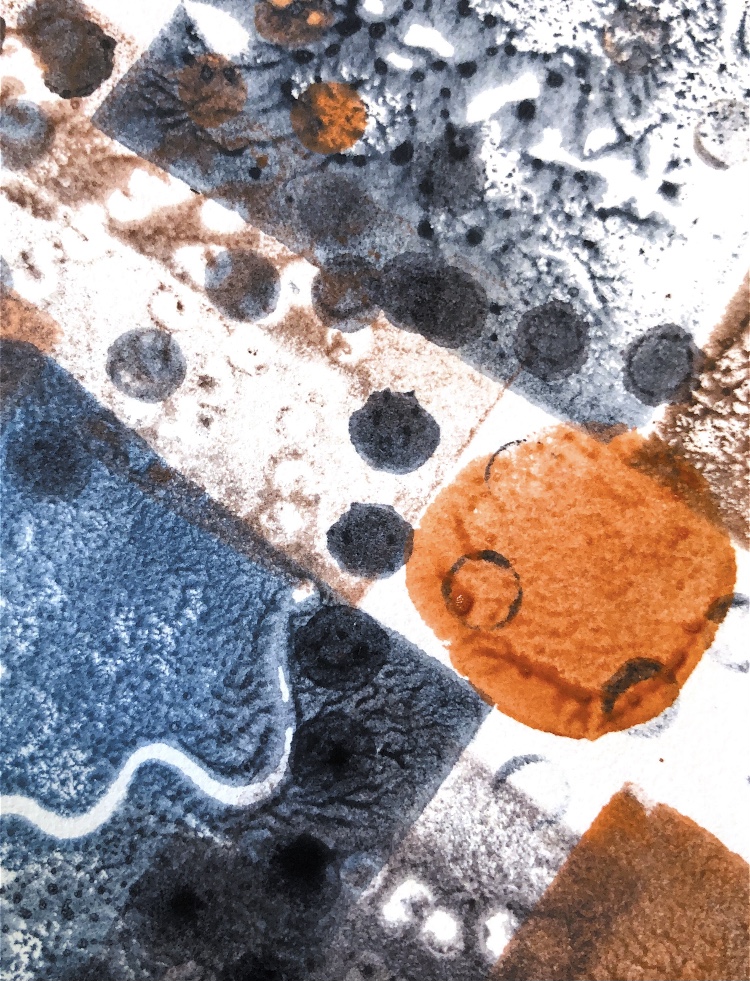
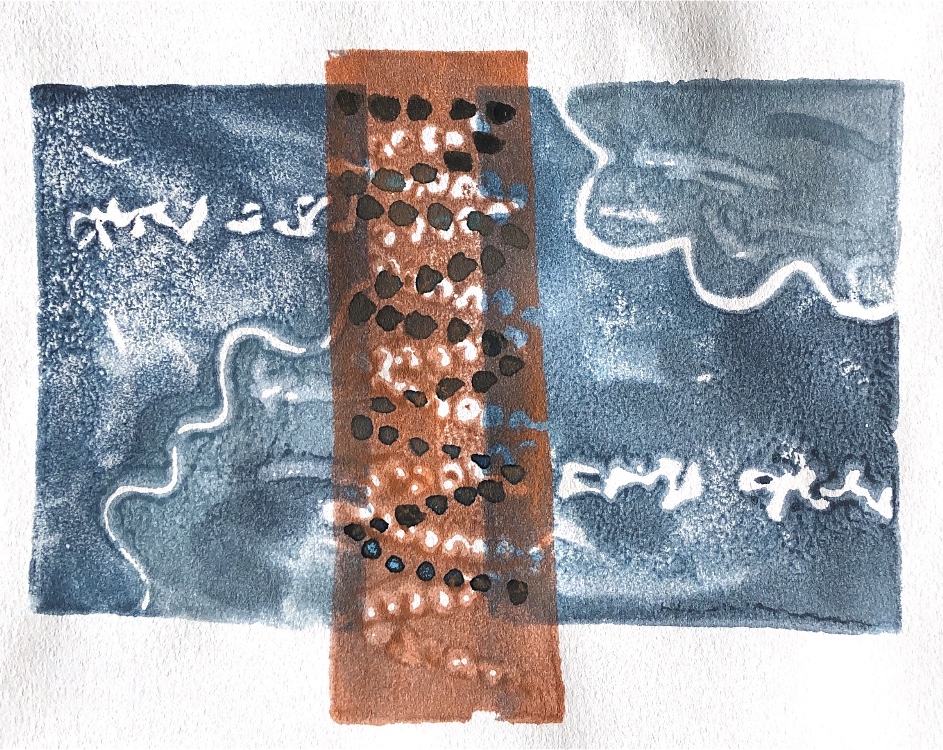
Joining curved edges – I chose to use a Japanese themed wrapping paper and newspaper. I always buy a newspaper when I visit another country and try to use bits in my work. Here the text contrasts nicely with the decorative wrapping paper and the chain stitch join adds another element. I think I have captured the feel of this sample in my watercolour even though I chose to leave out much of the black background. The different sized circles work well for the composition.
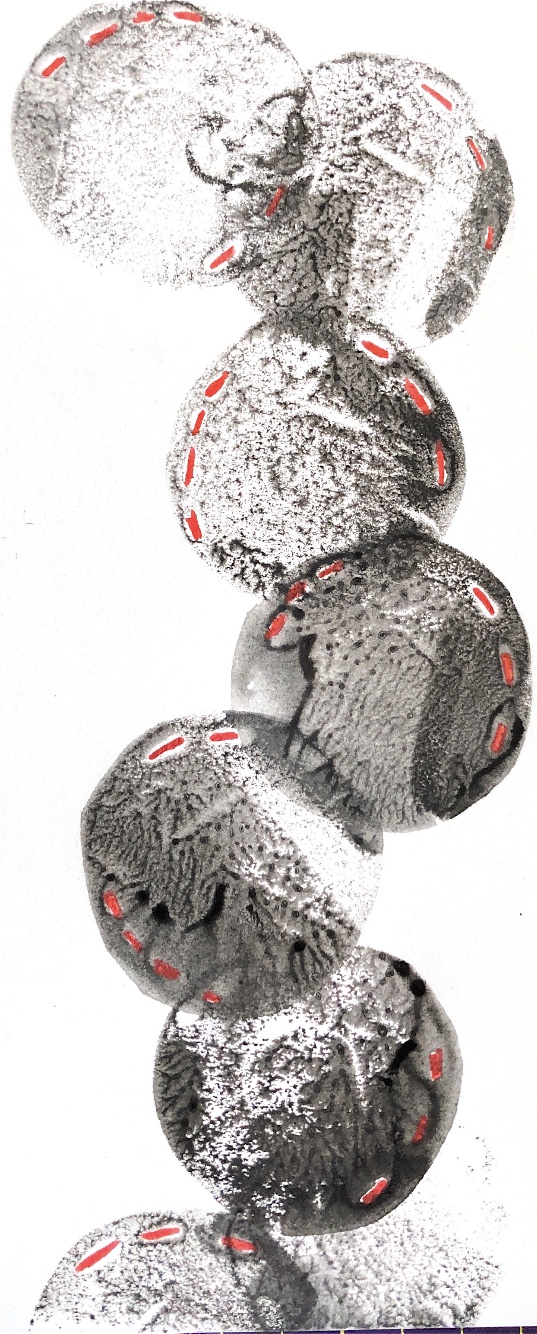
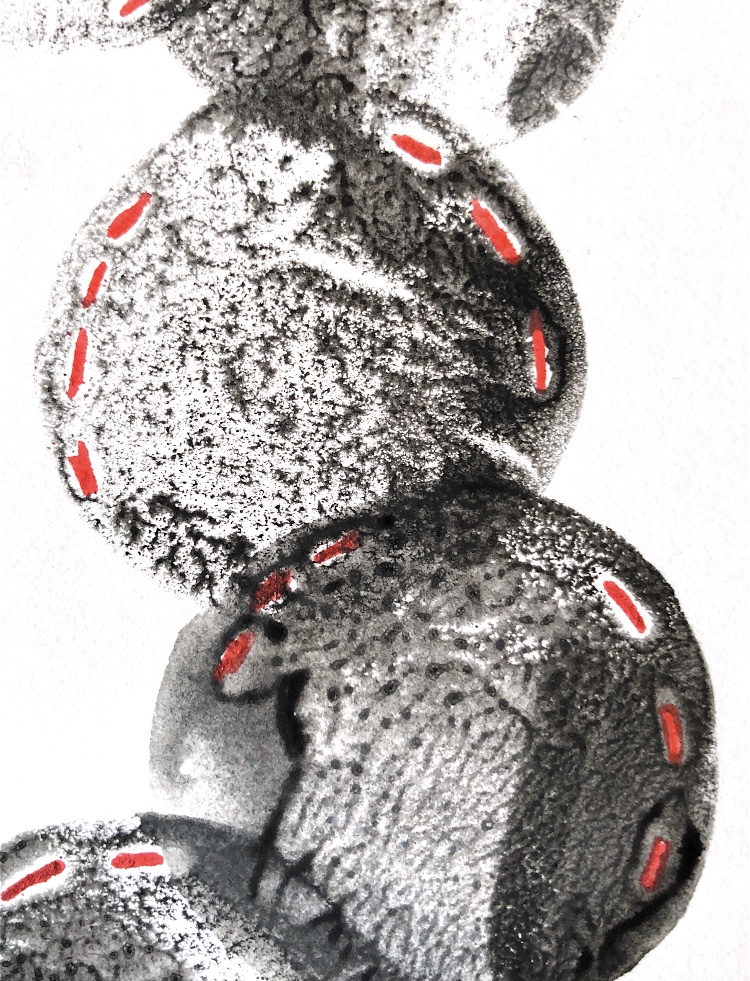
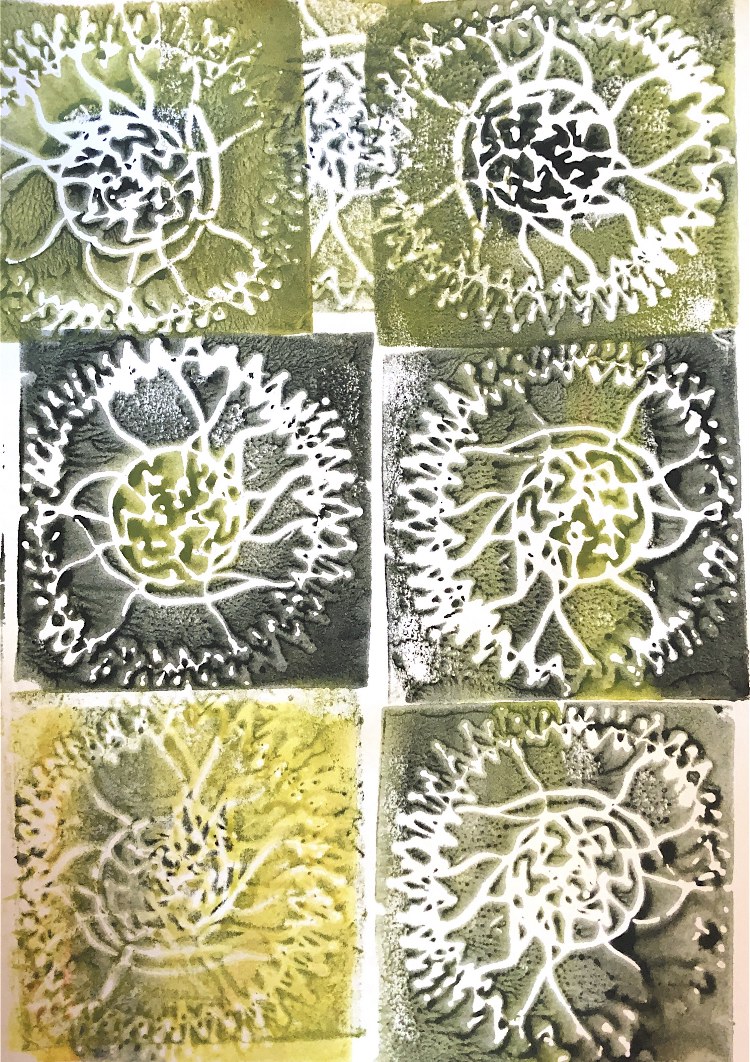
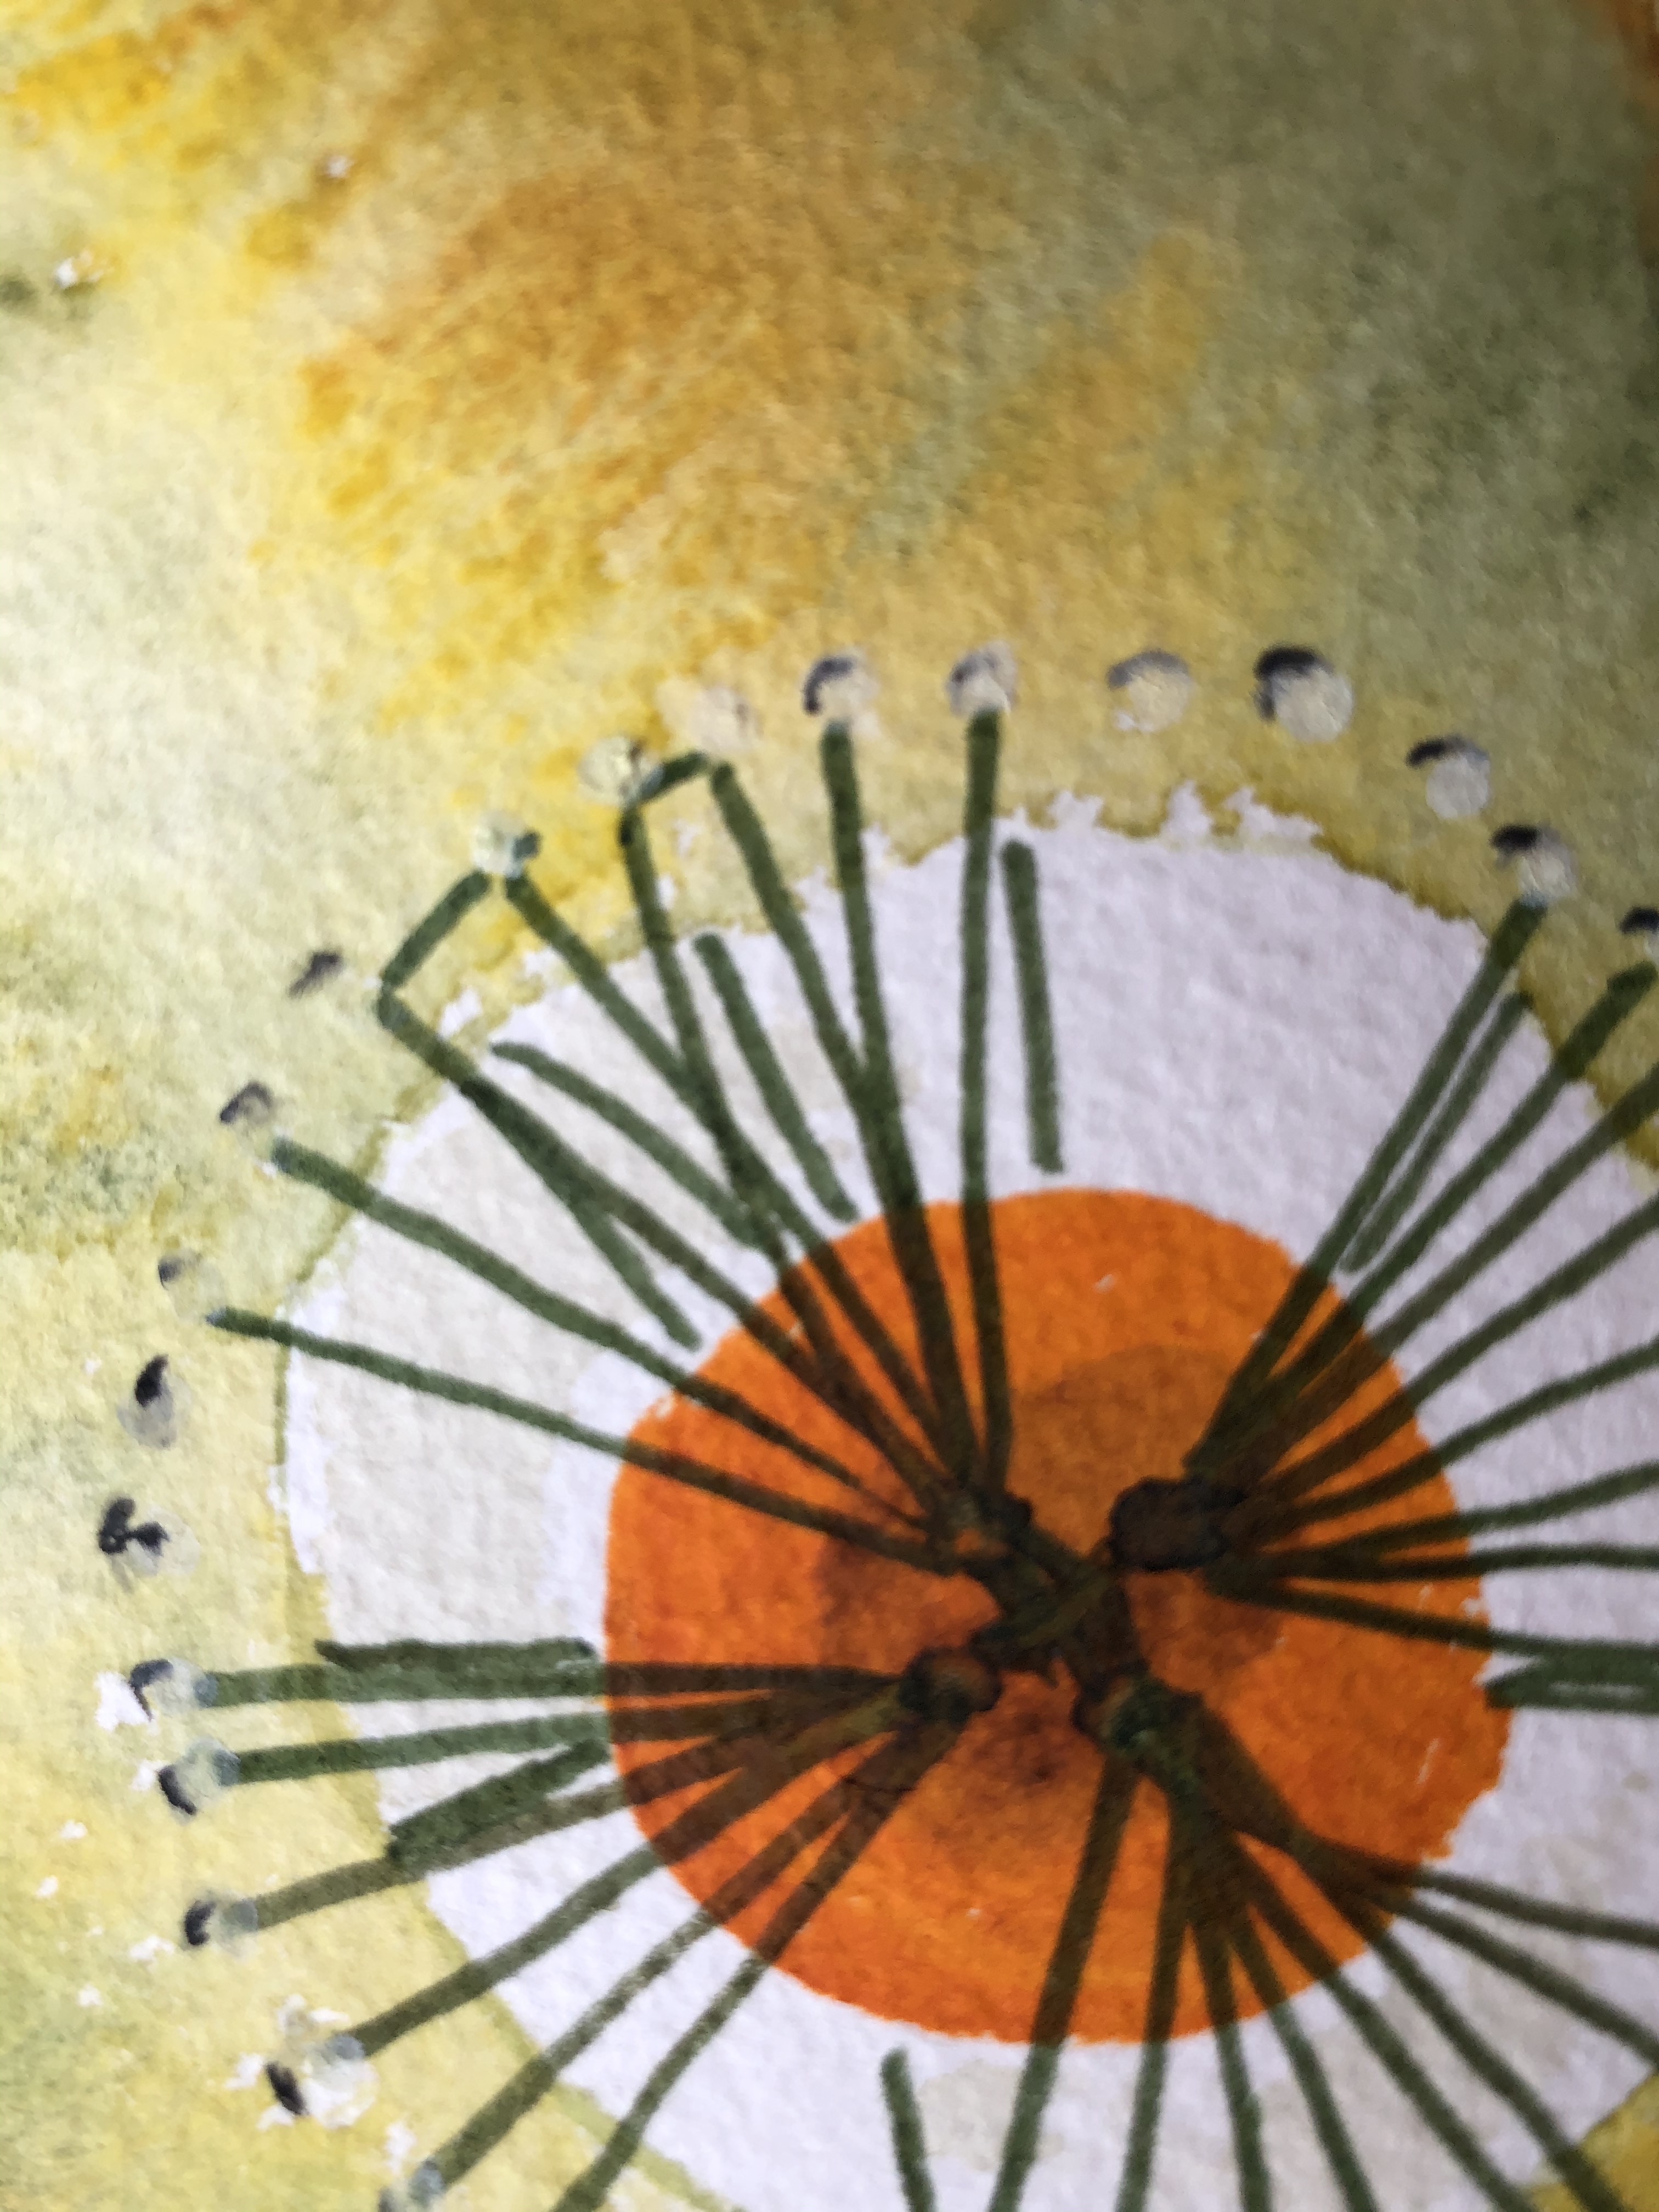
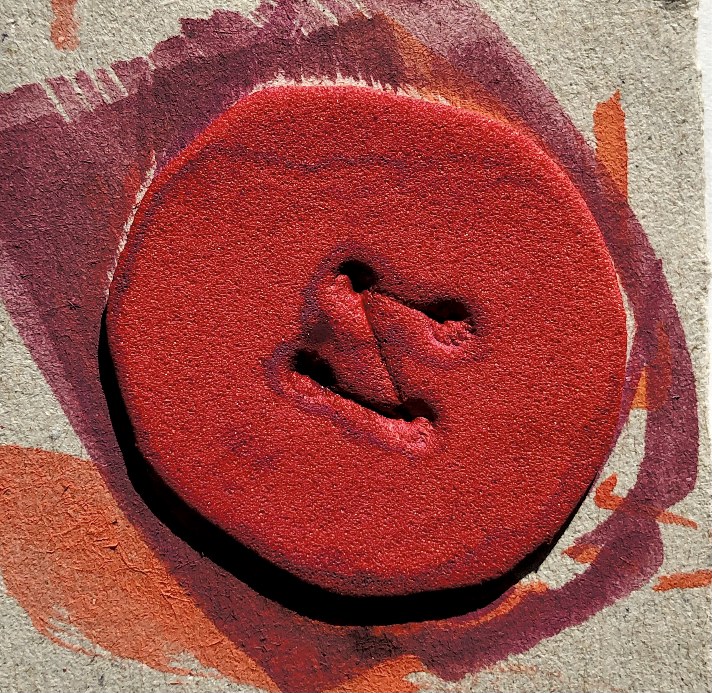
Overlapping circles of one size can be used to create an endless series of patterns. I made just one print block to experiment with designs and also painted a watercolour version to help inspire the printing. Adding a little red pen for the stitching on the prints added interest.
I am constantly amazed at how simple techniques can lead to samples with so many possibilities and i’m looking forward to developing some of these further.
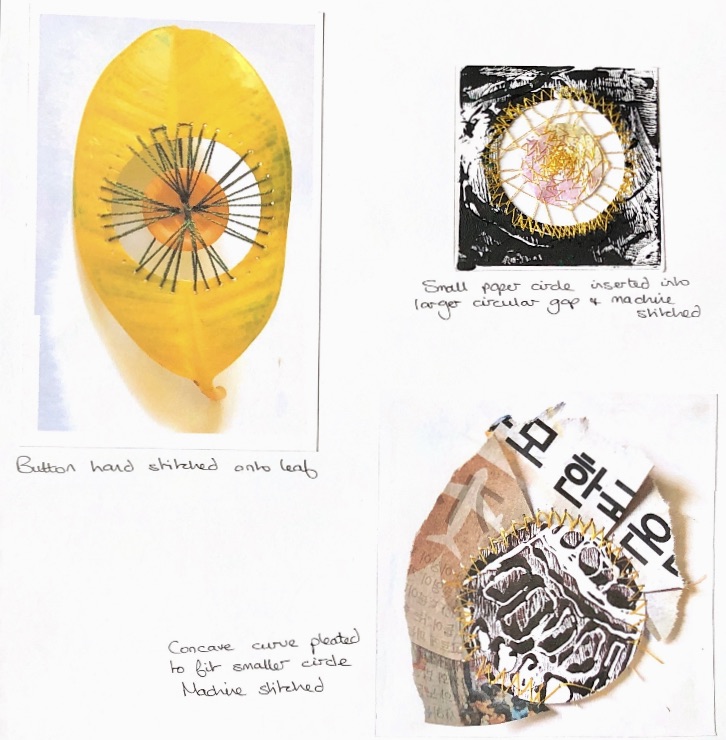
Methods and materials used to join – hand stitch, machine stitch, paper fasteners, buttons, glue, pleating, cocktail sticks, gathering
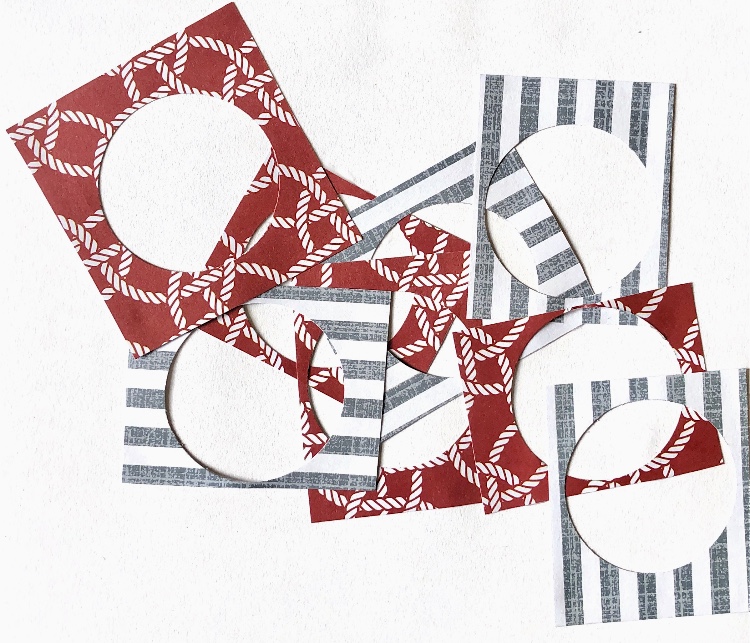
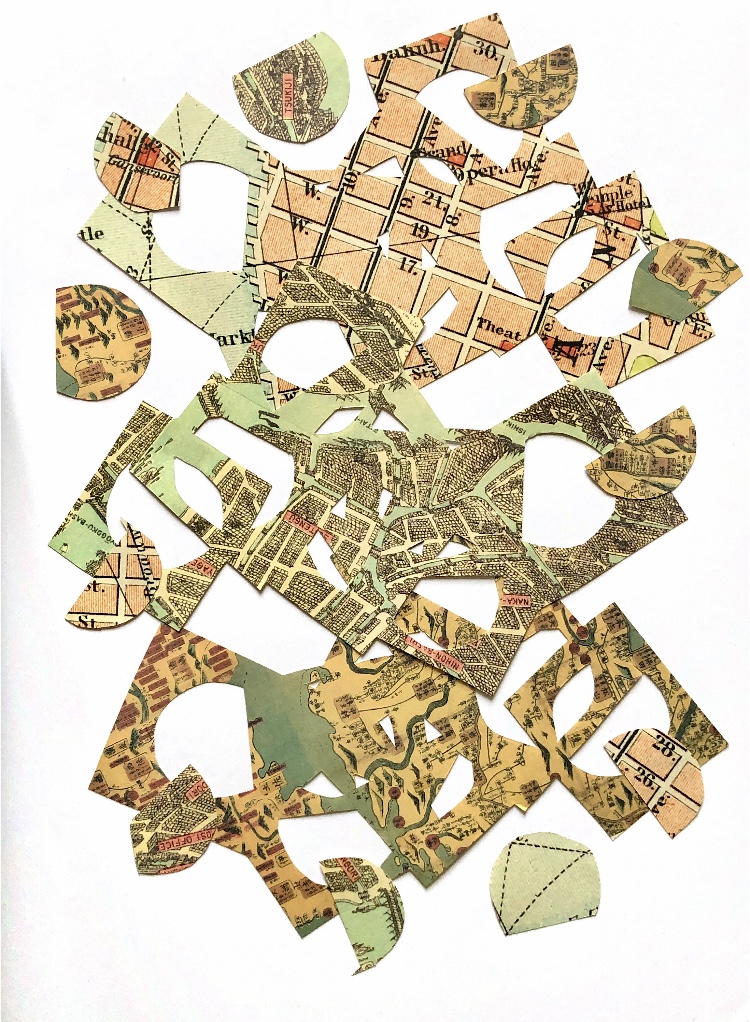
Circles can be joined to fit to make flat surfaces and 3D shapes, they can fit neatly together or they can leave gaps.
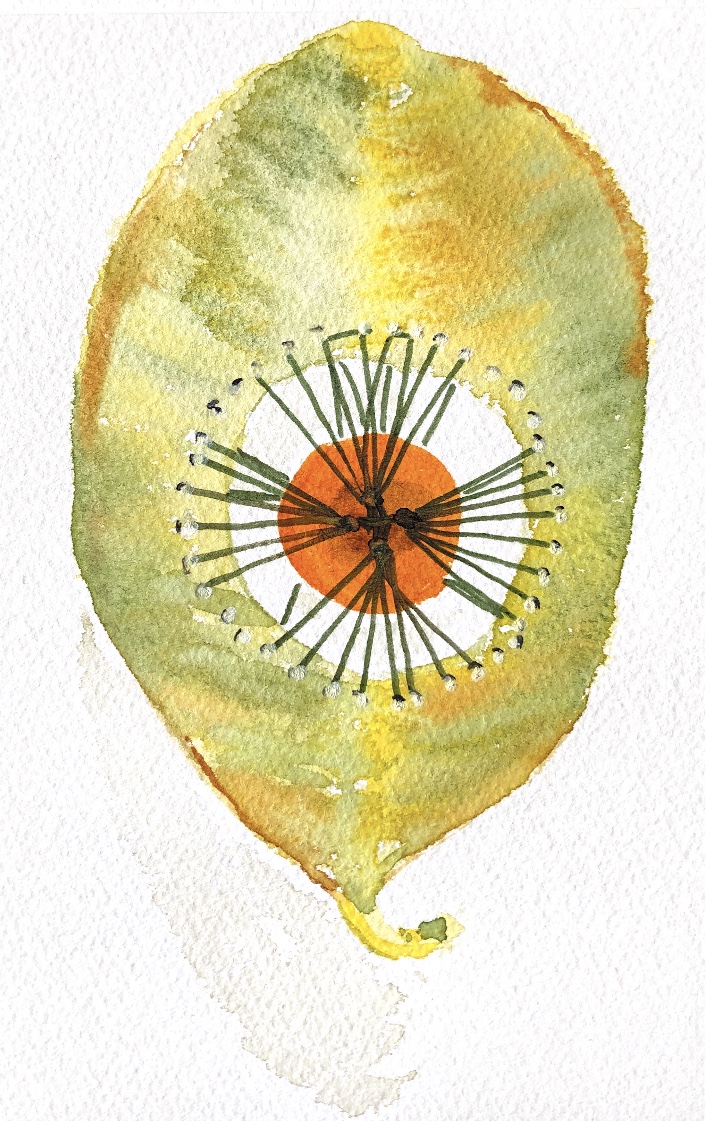
Watercolour paintings
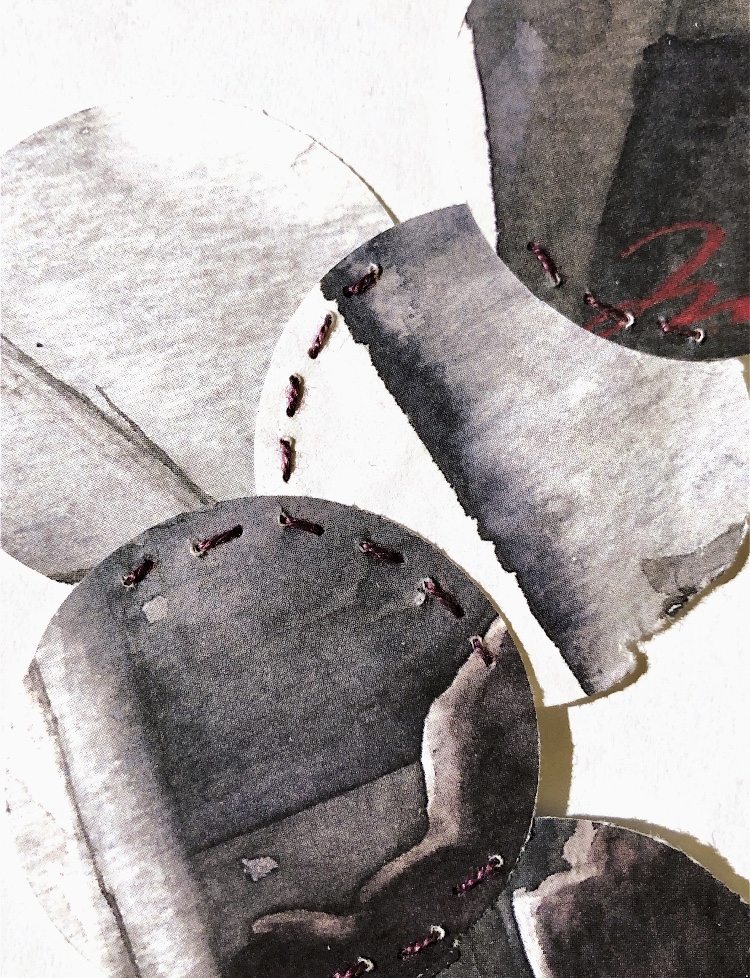
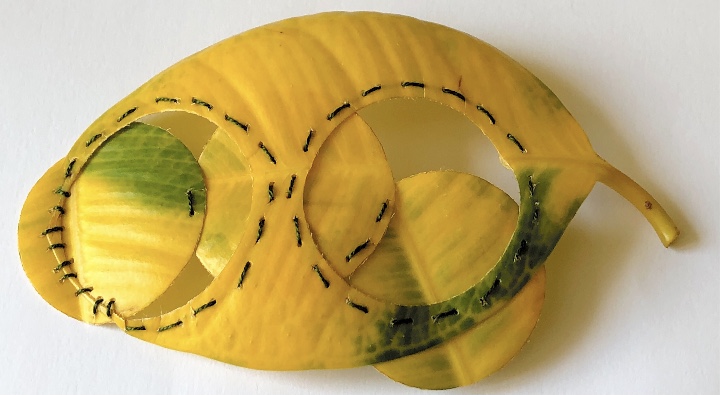
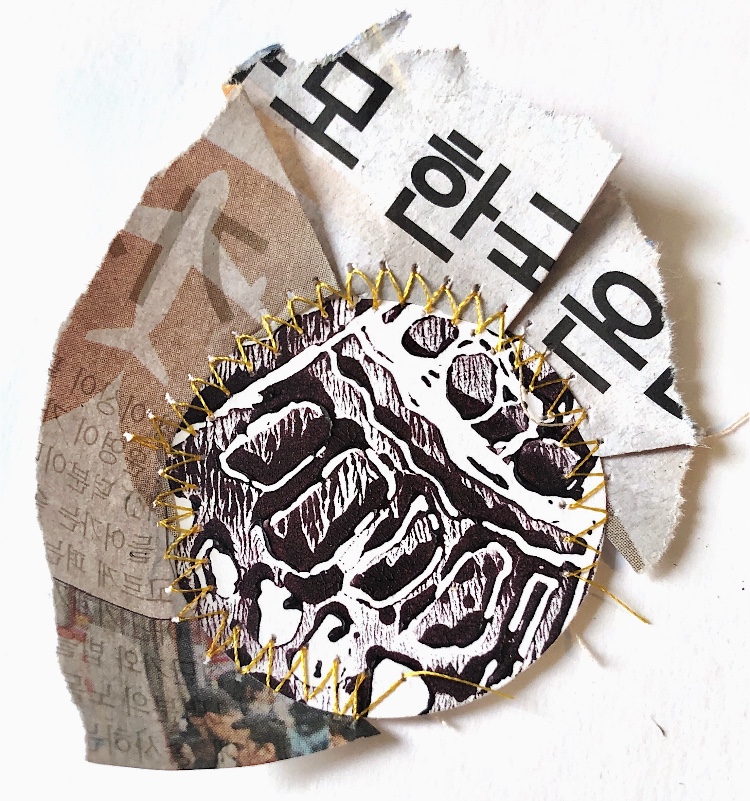
Cutting a circular hole and then joining a smaller circle or item into the gap means the method of joining has to be considered, – in the two samples below I have used hand stitch and machine stitch which both add an extra dimension of colour, line and texture to the sample. Also joining a large concave curve to a smaller convex shape requires consideration for the two shapes to fit together. In the paper sample below I chose to pleat the concave edge to fit.
Watercolour paintings
Left handed drawing provided inspiration for a print block
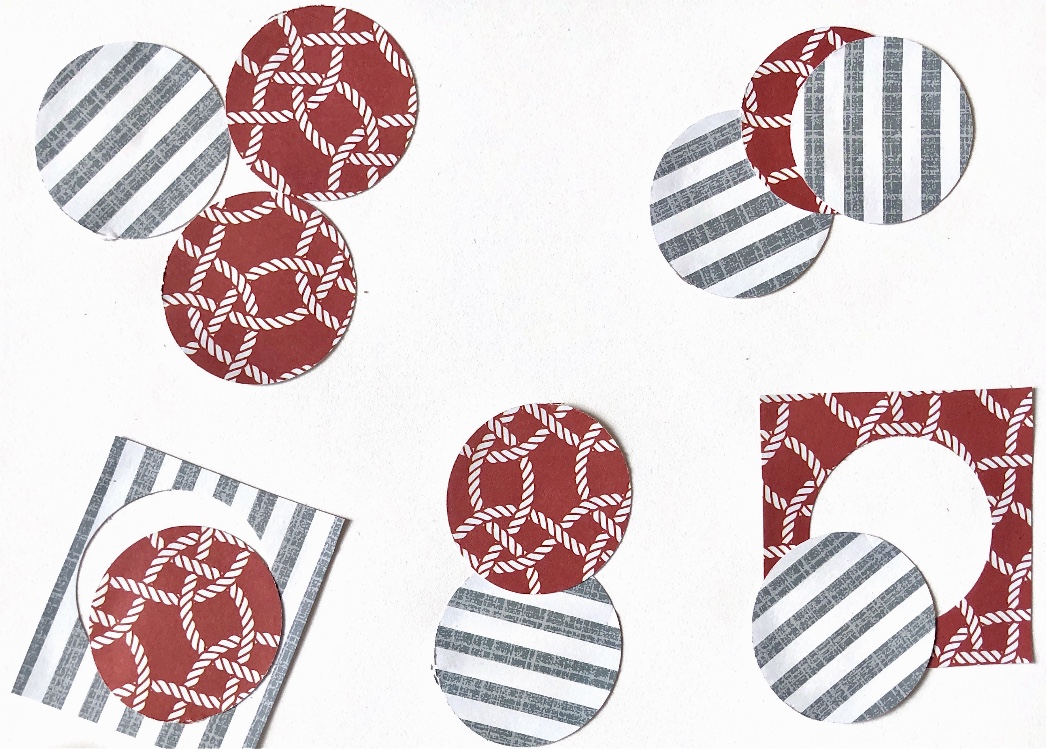
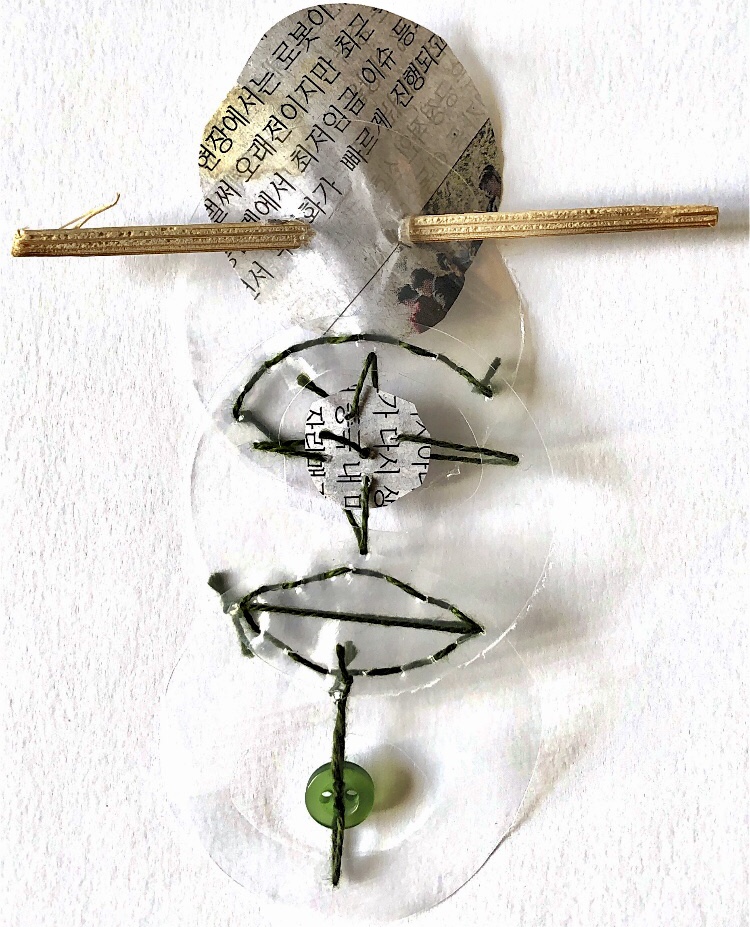
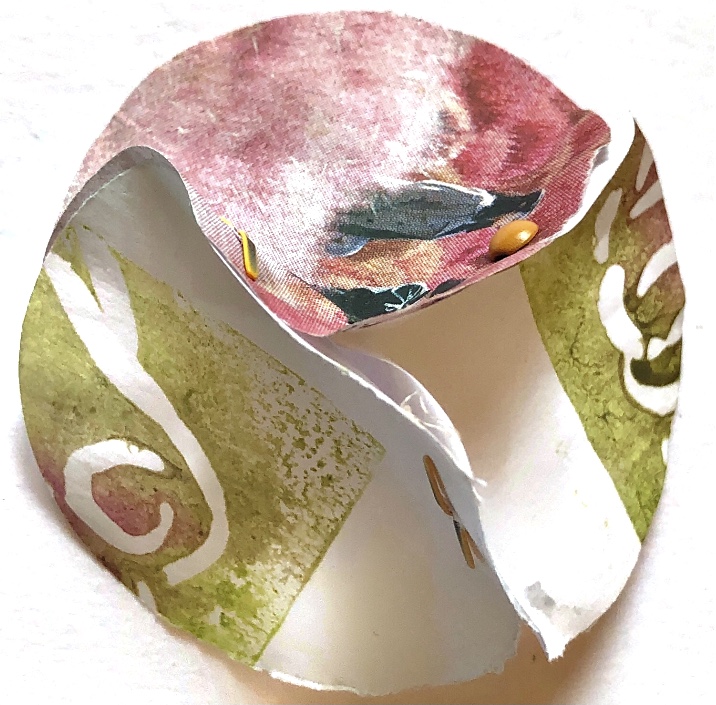
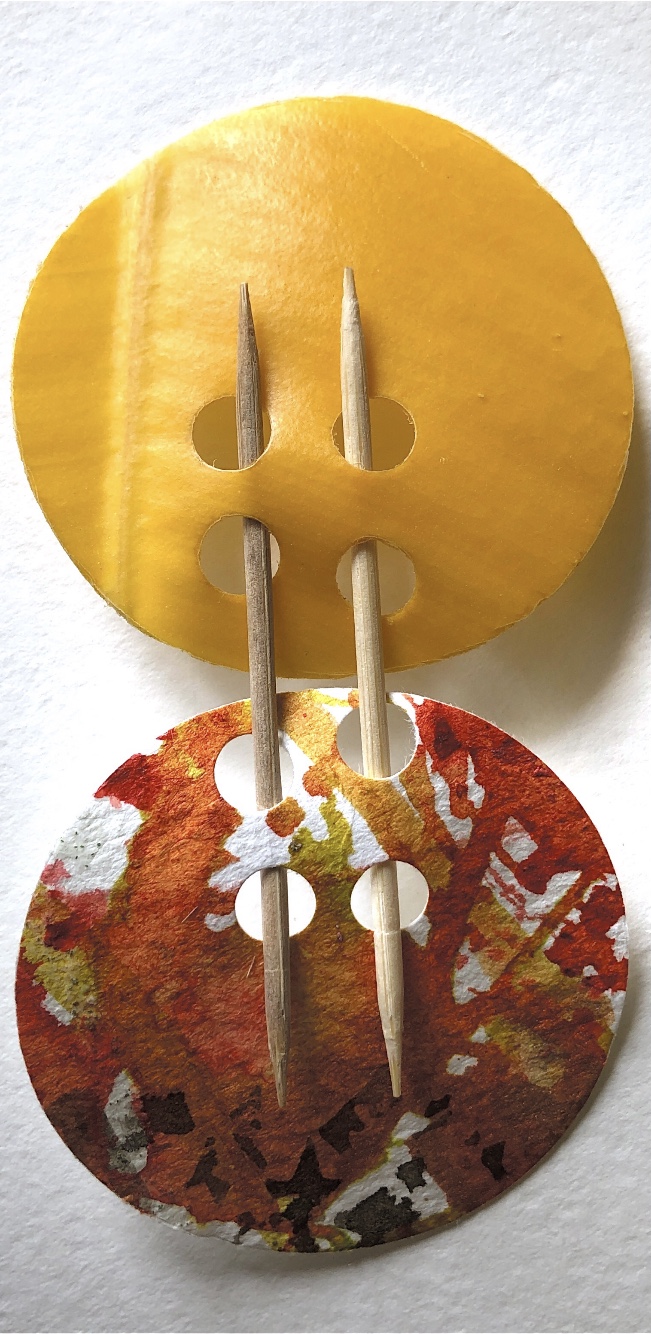
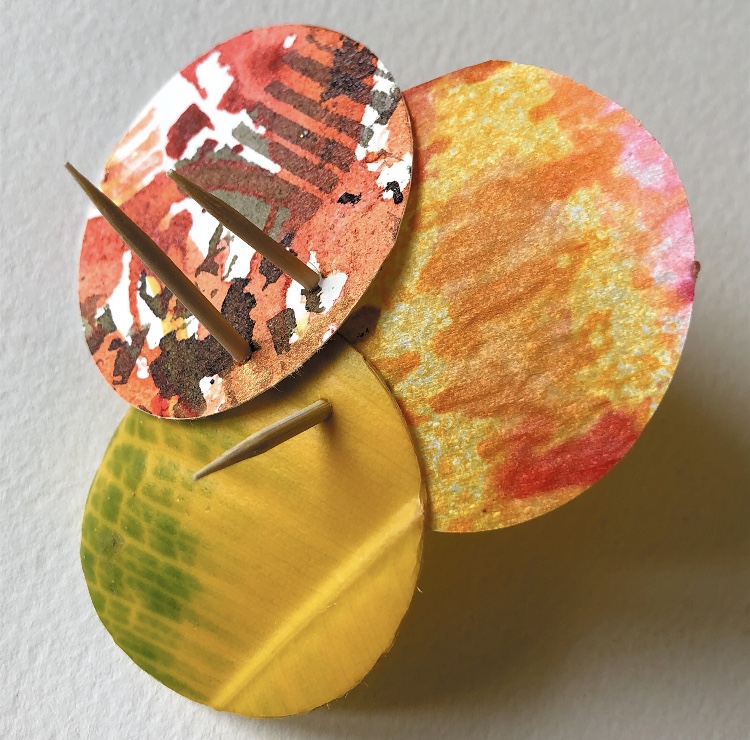
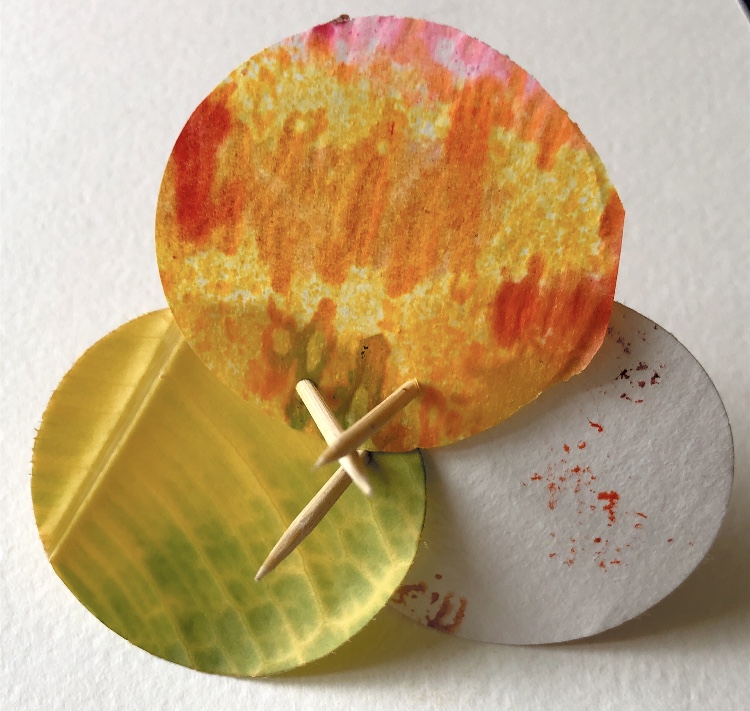
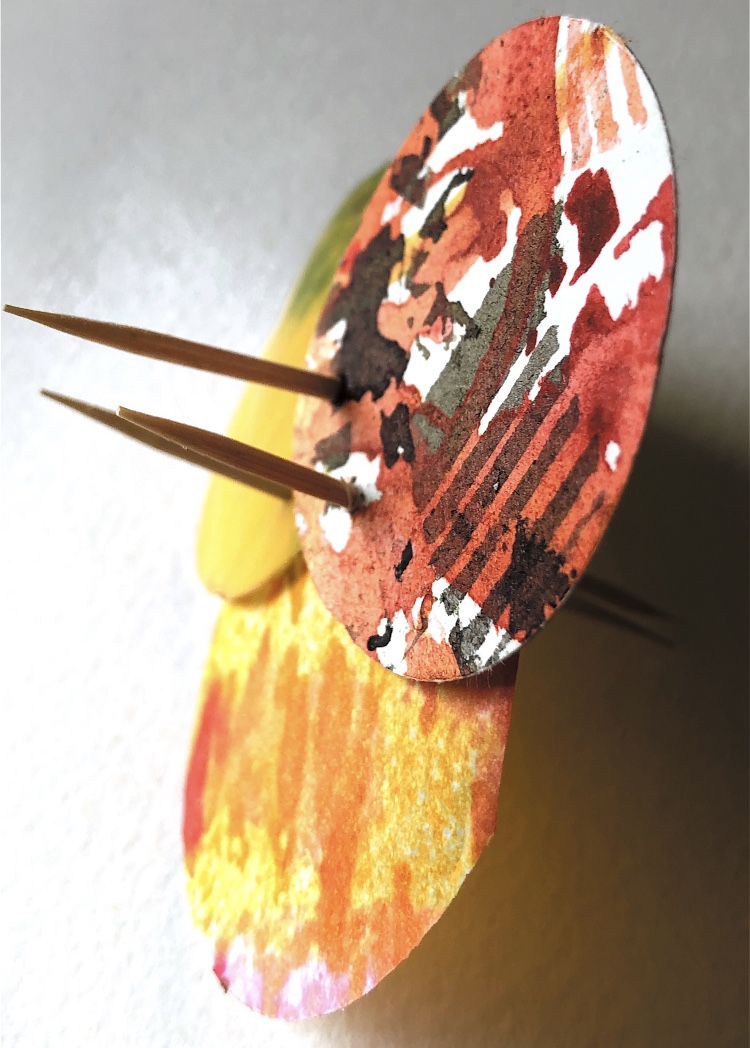
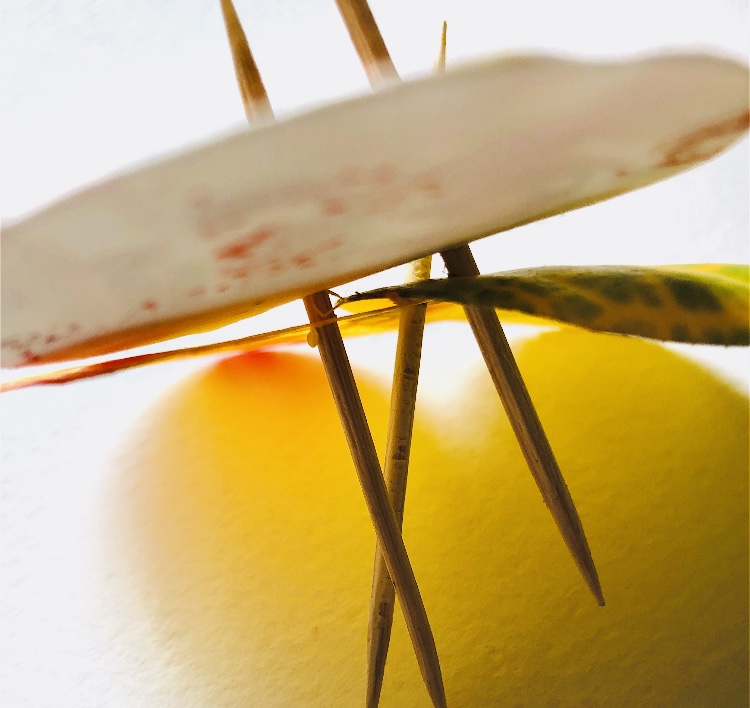
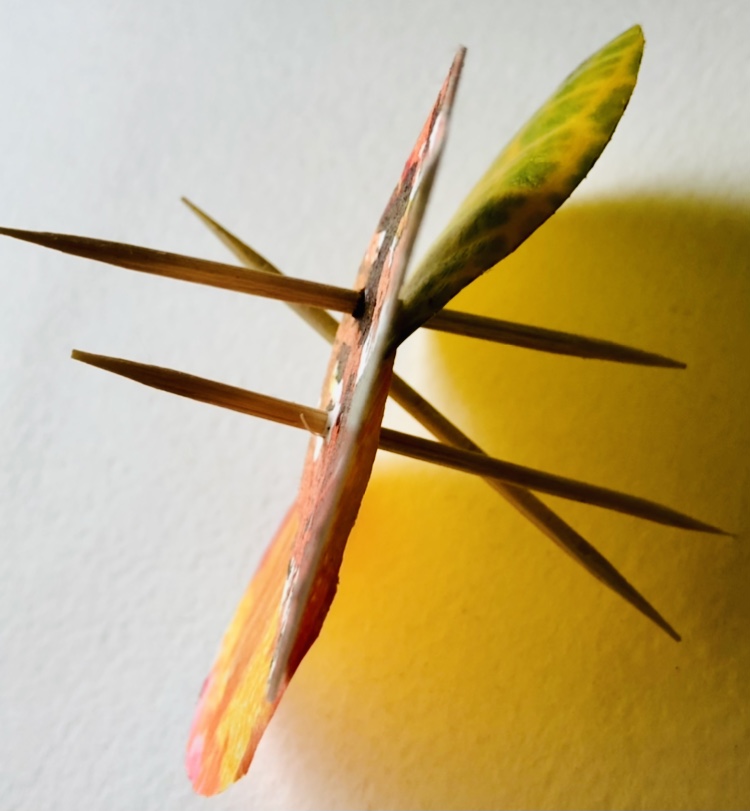
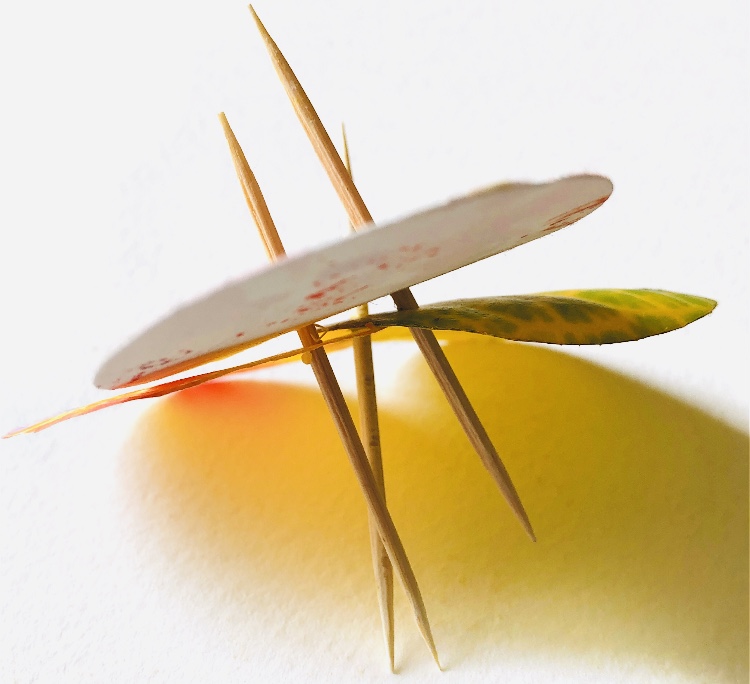
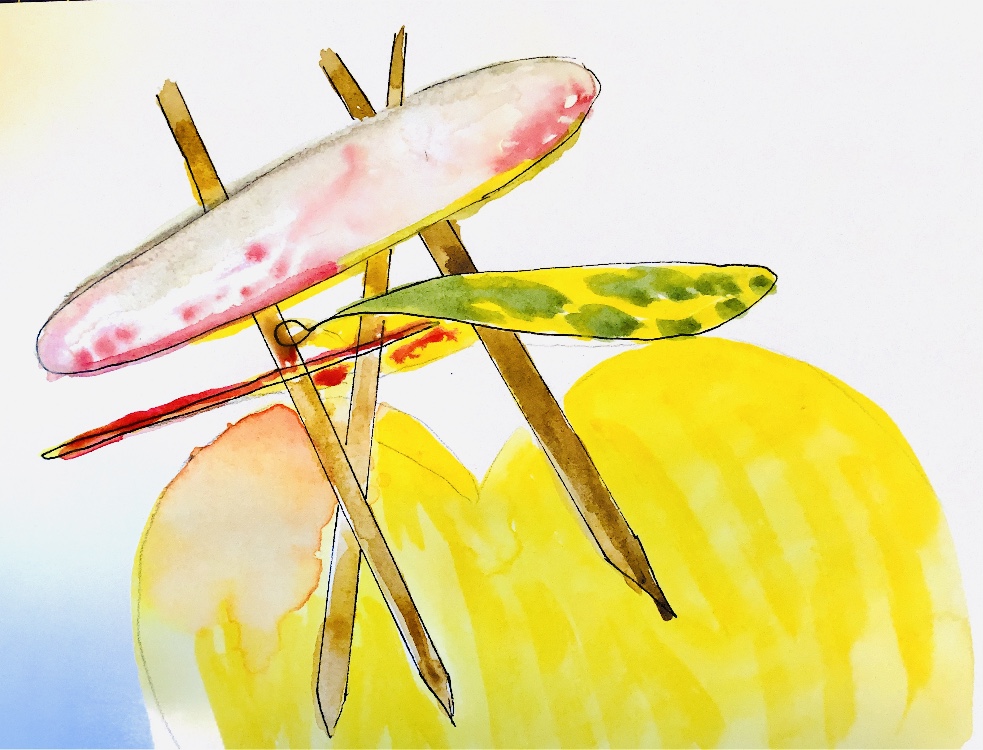
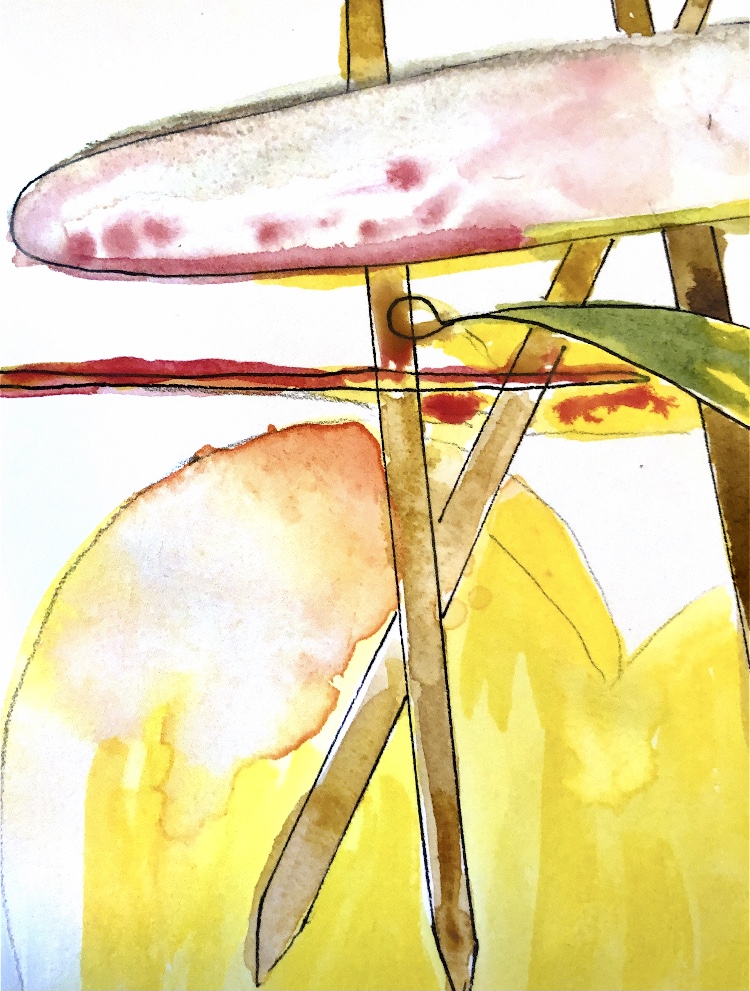
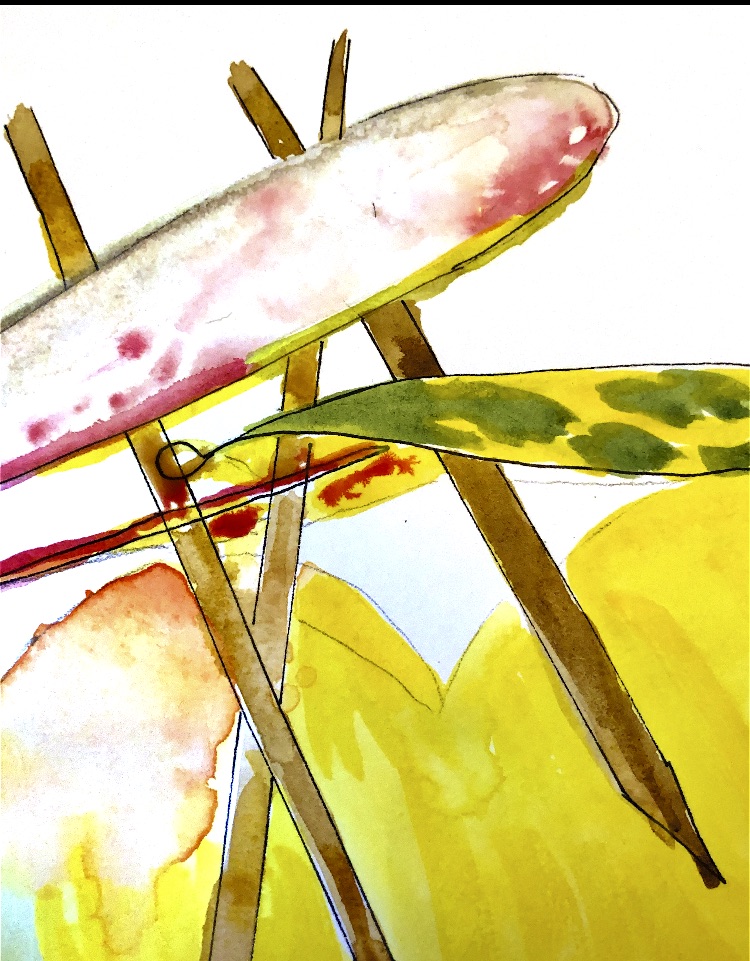
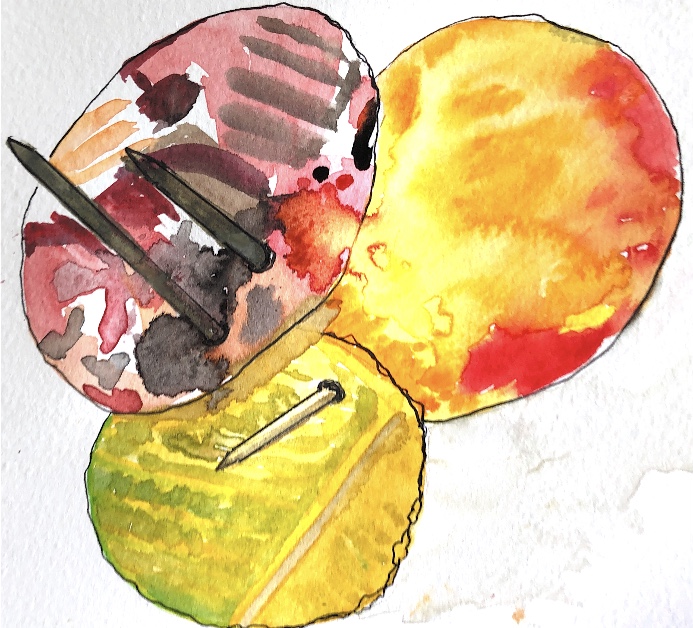
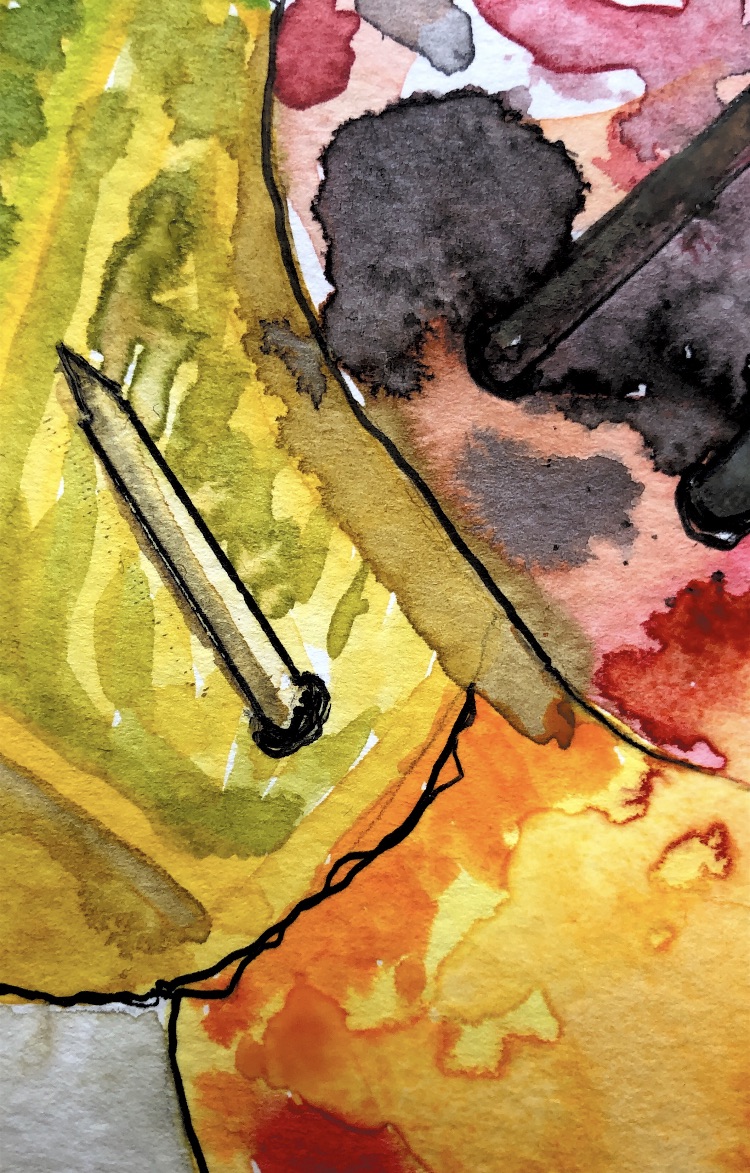
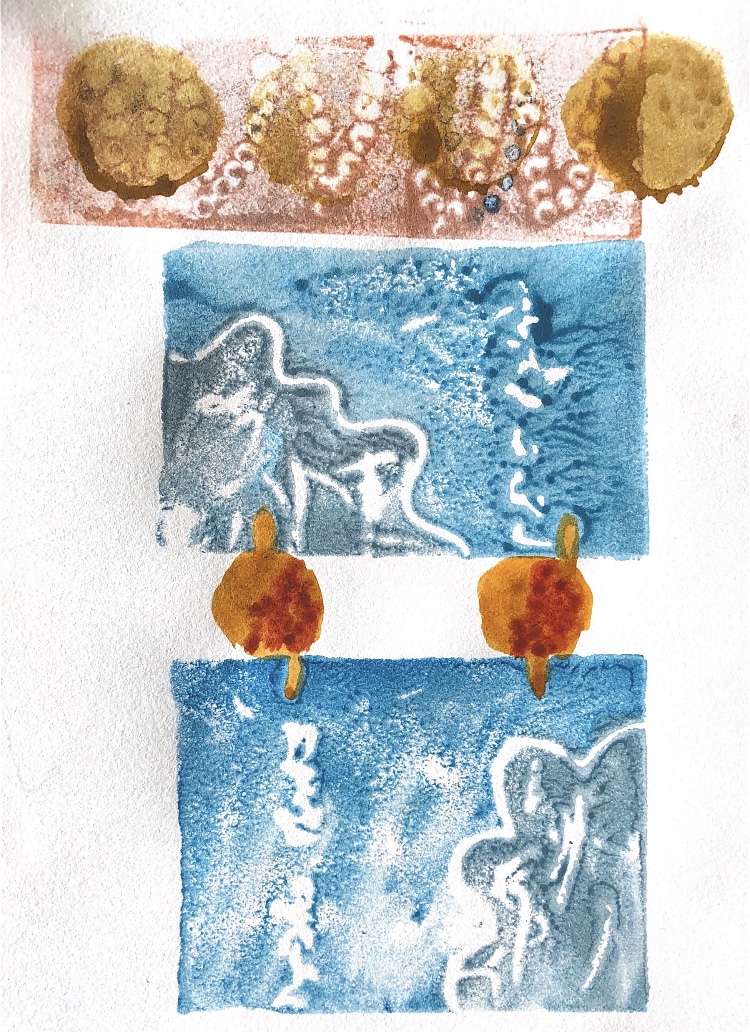
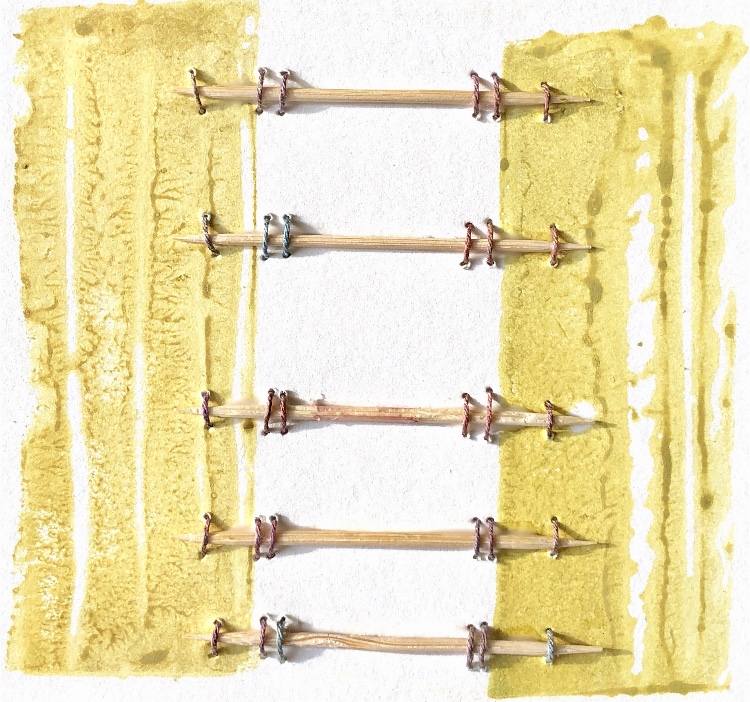
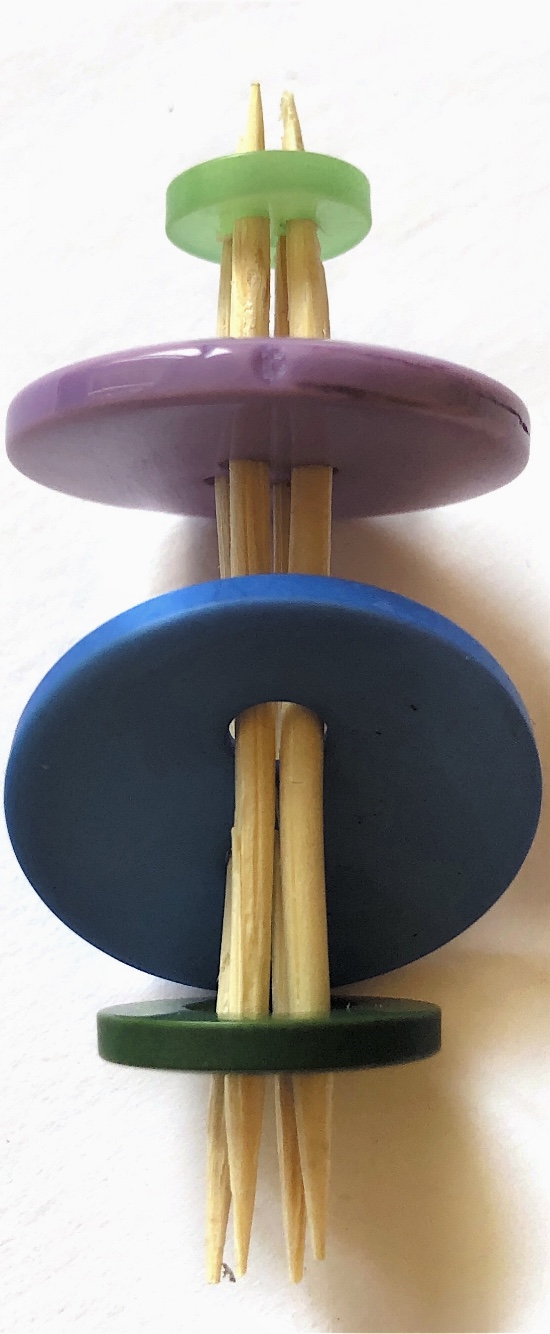
I joined two convex shapes by punching holes and threading cocktail sticks so the shapes touched, I also used three circular shapes and overlapped these, again securing with cocktail sticks. I like the simplicity of these samples – letting the papers ‘do the talking’, and allowing light to pass through the translucent circle to create a coloured shadow in some of the photographs.
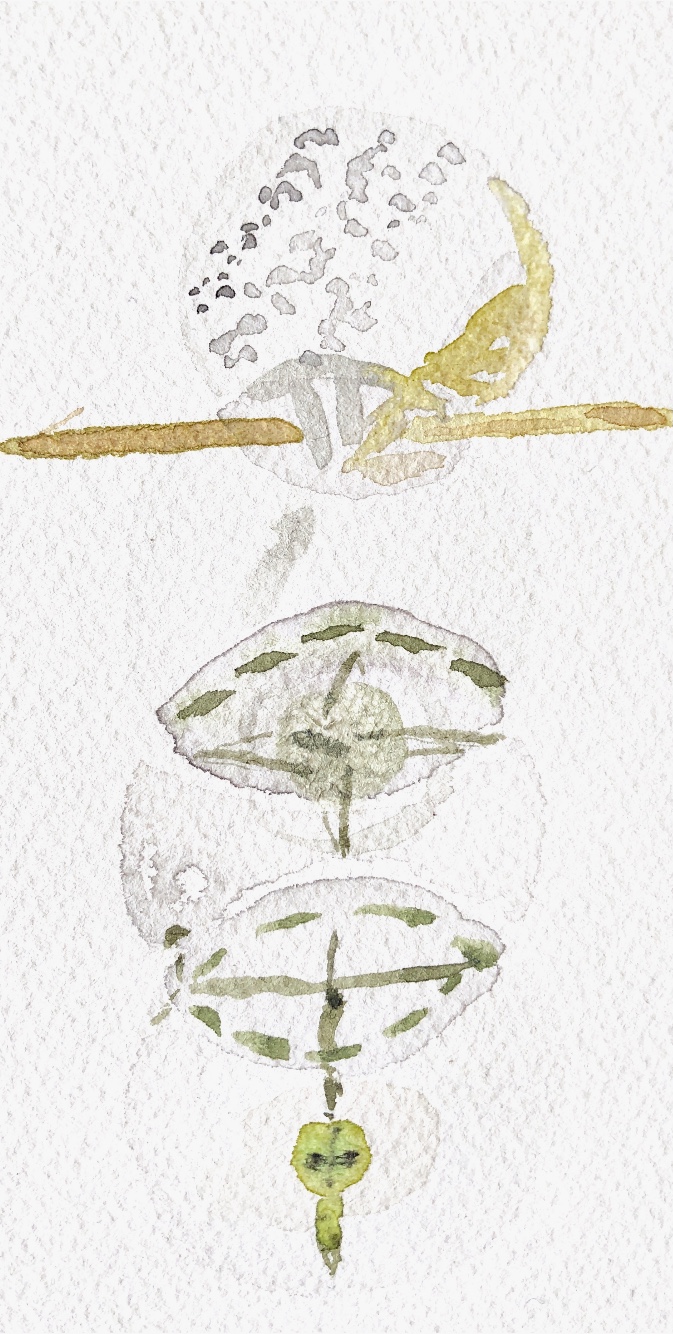
Watercolour painting with pen
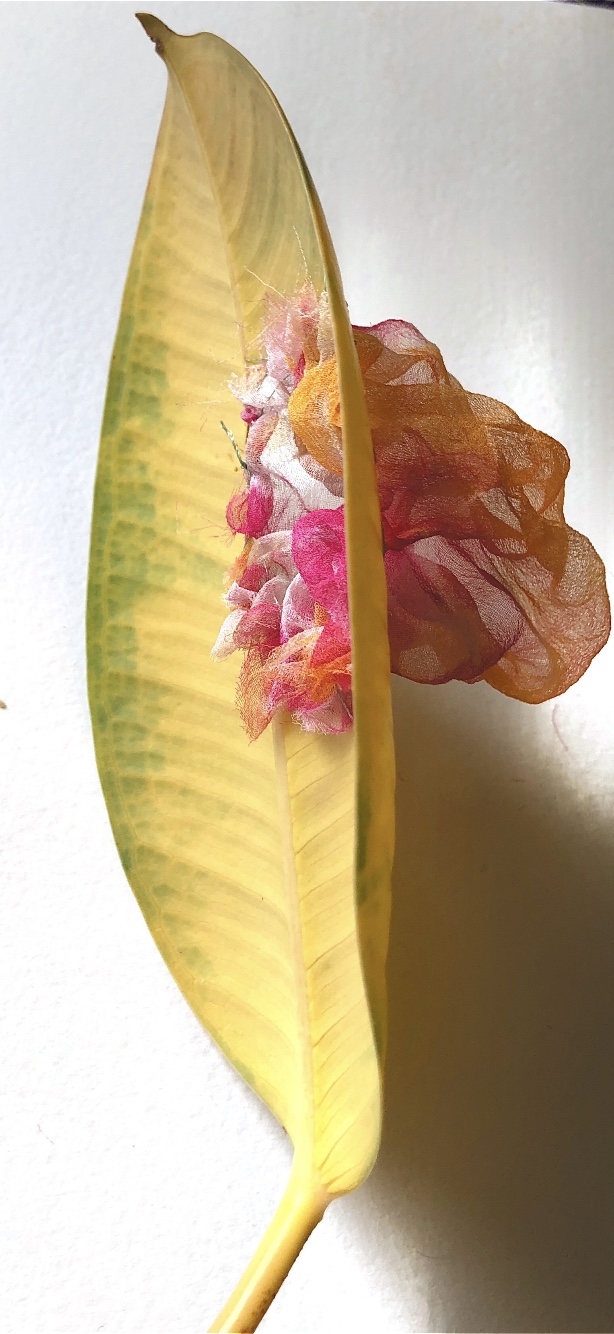
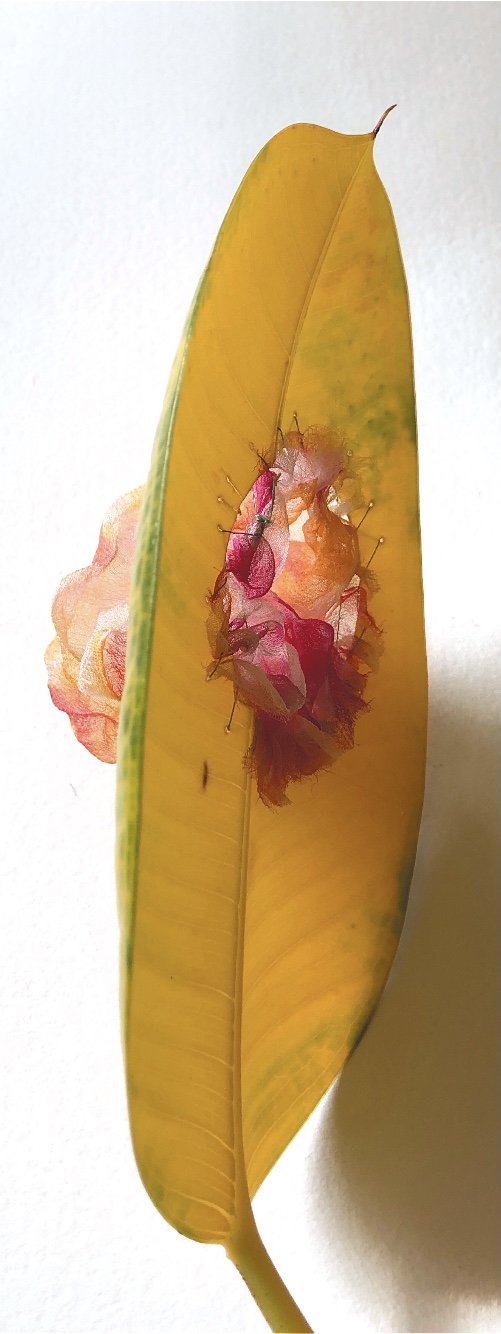
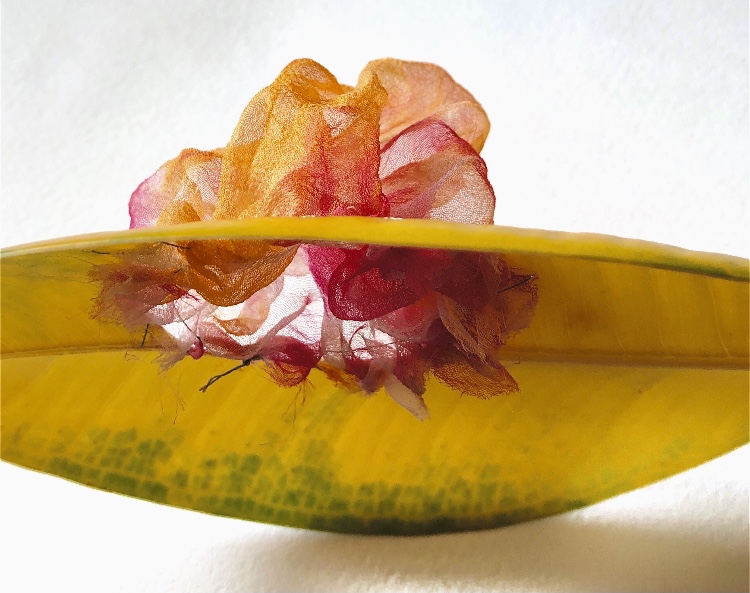
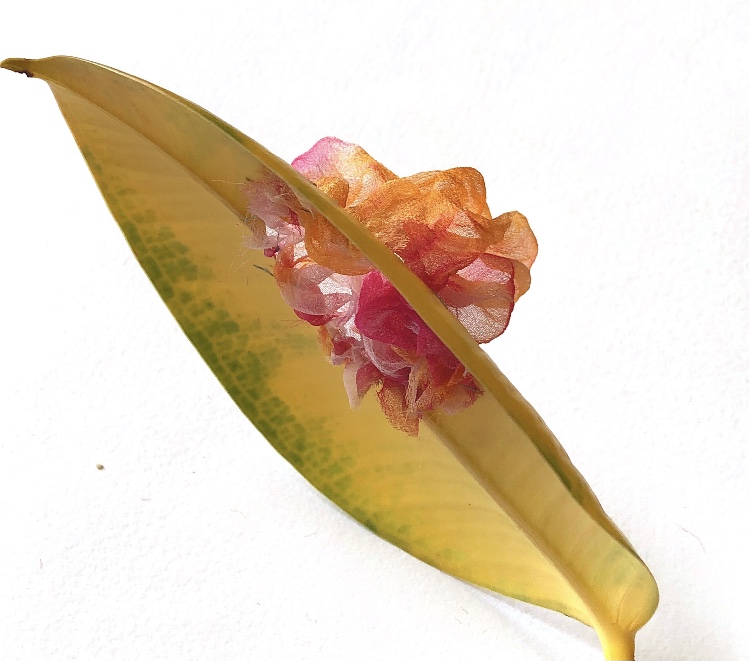
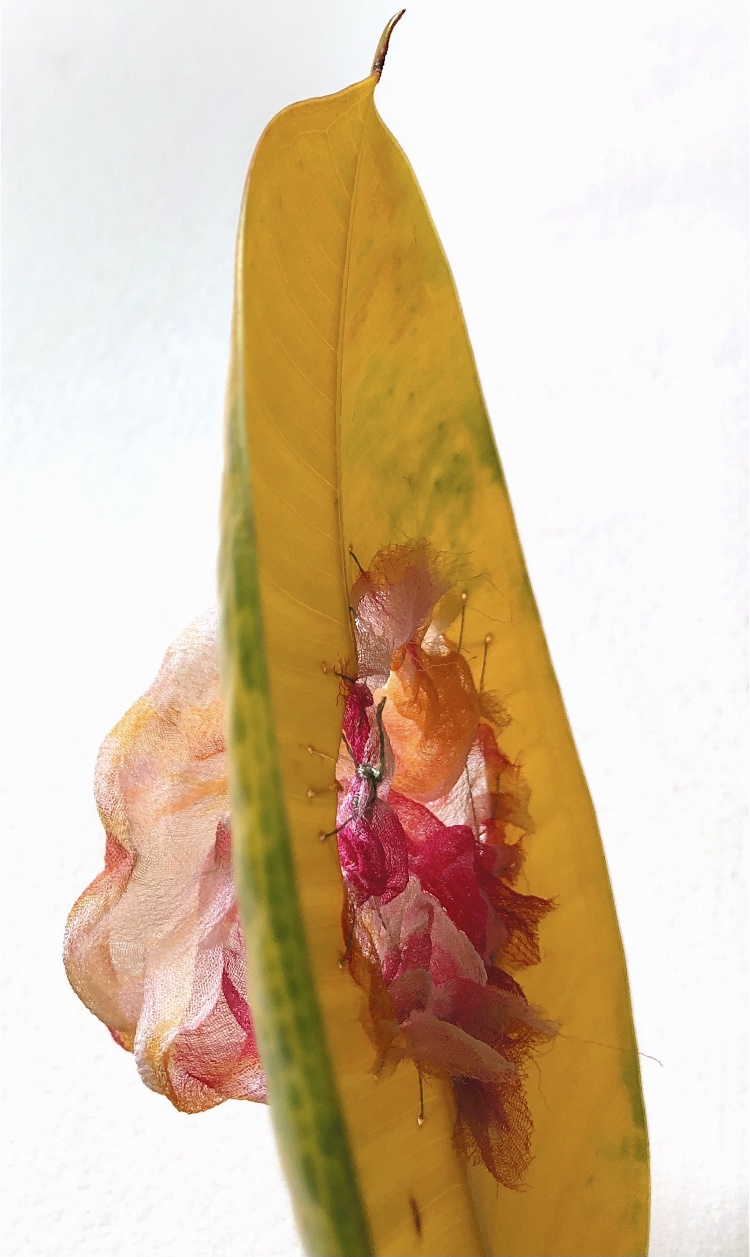
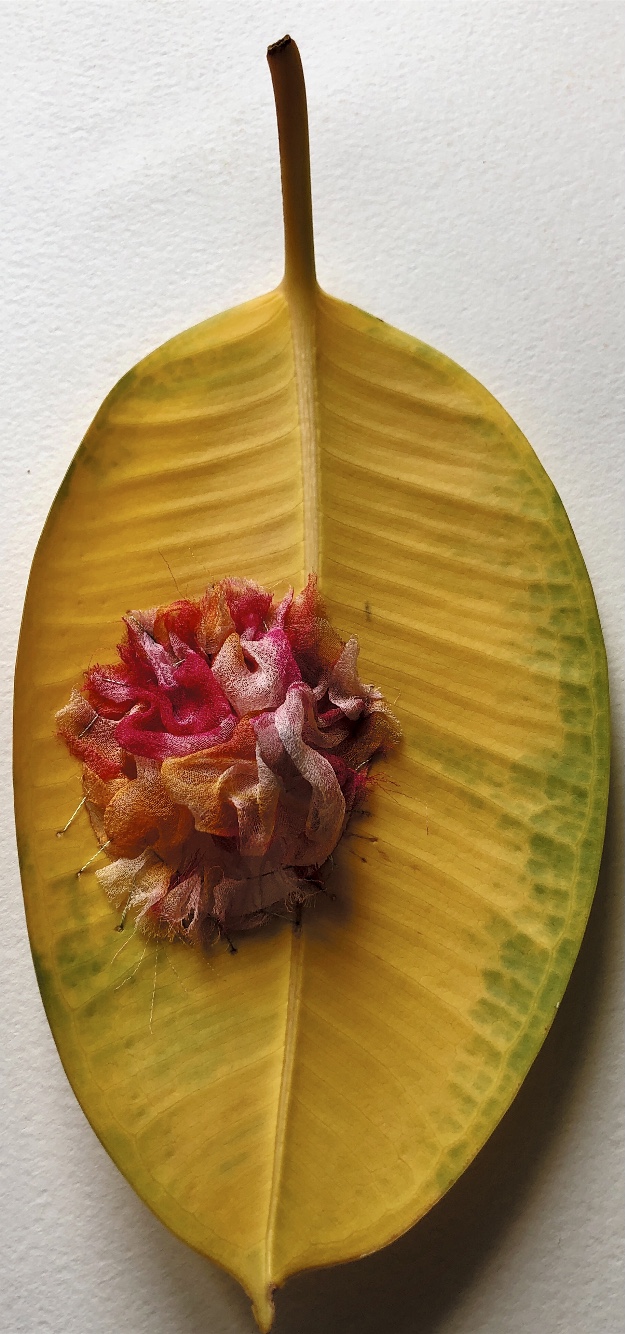
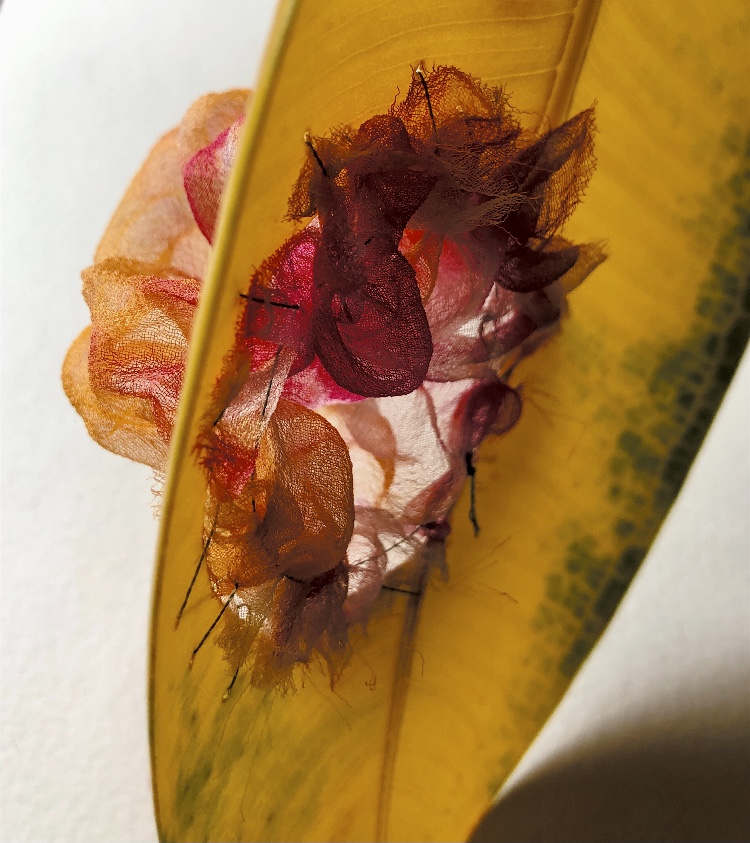
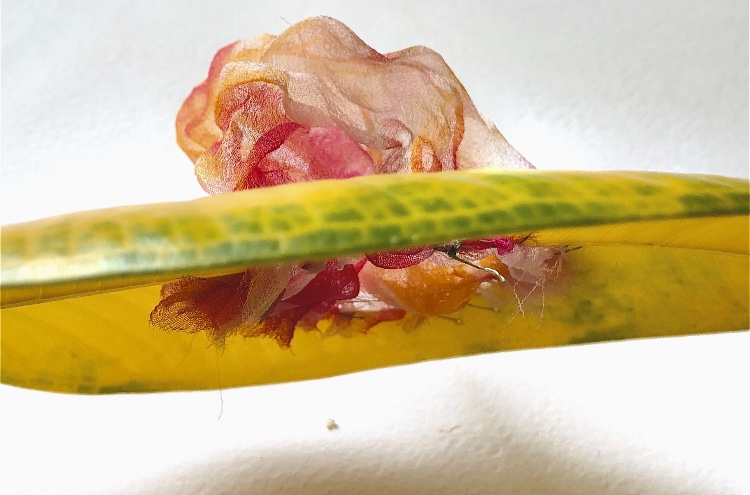
Gathering a large circle of silk chiffon and stitching it into a smaller circle shape cut from a leaf was interesting to photograph from many angles. The floaty, translucent fabric contrasted with the solid leaf and created strong lines and powerful images.
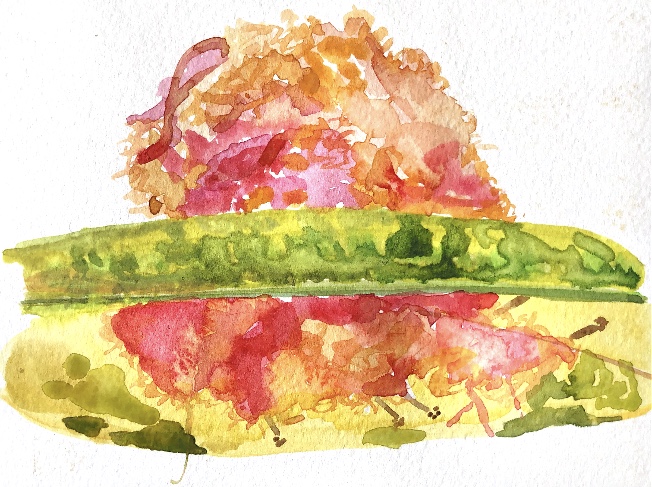
Watercolour painting
Using large paper circles to fit into smaller concave shapes needed a pleat to make the edges fit together. Glue was used to hold these in place.
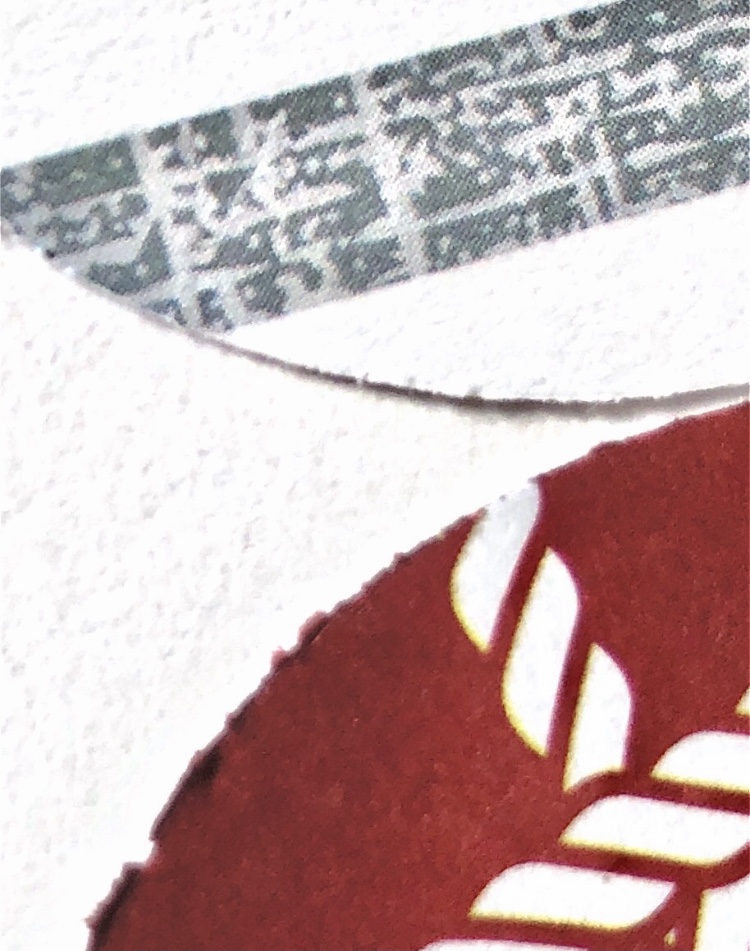
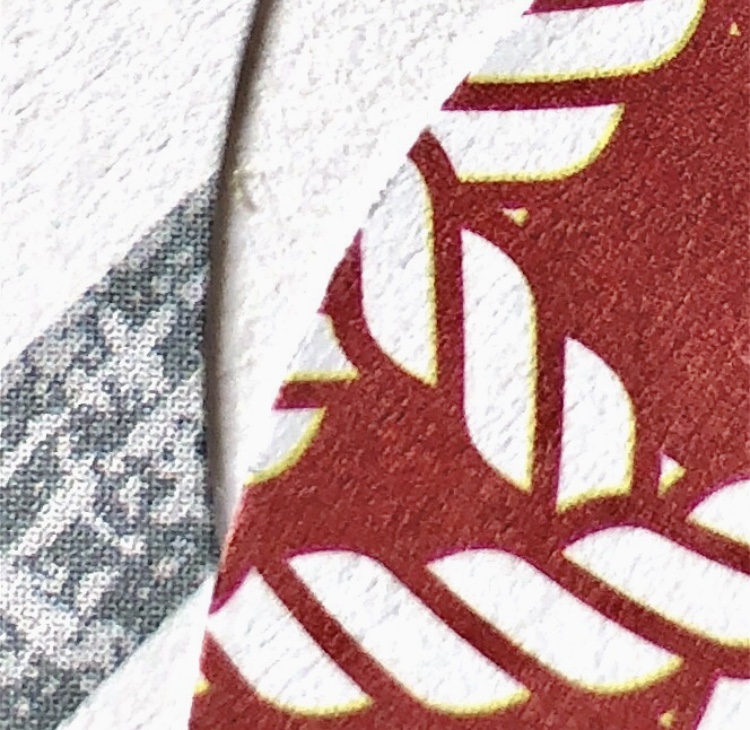
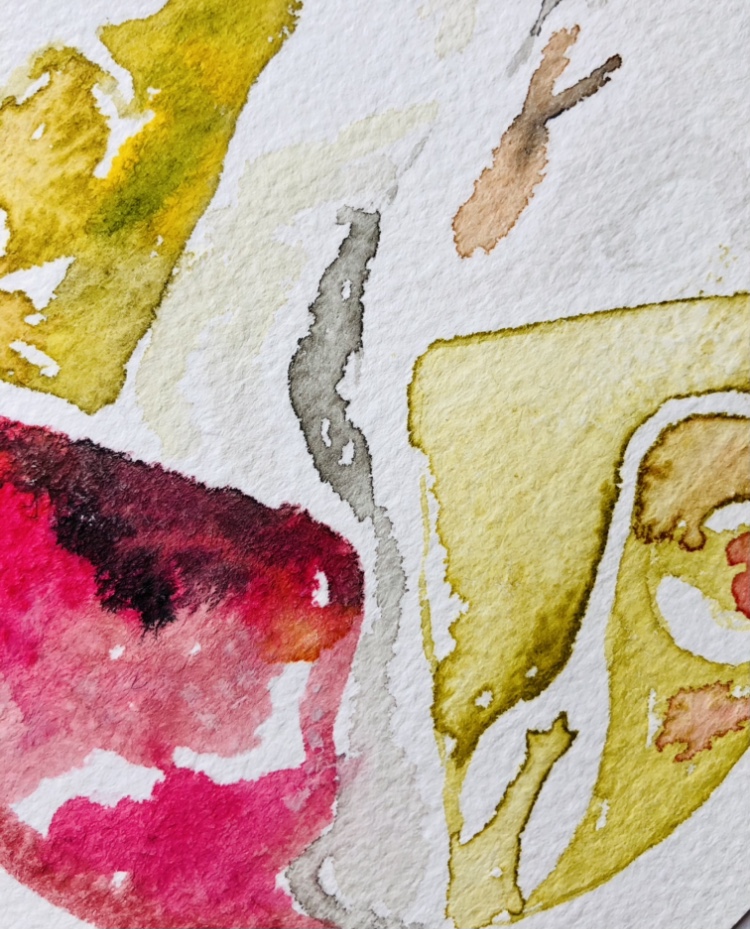
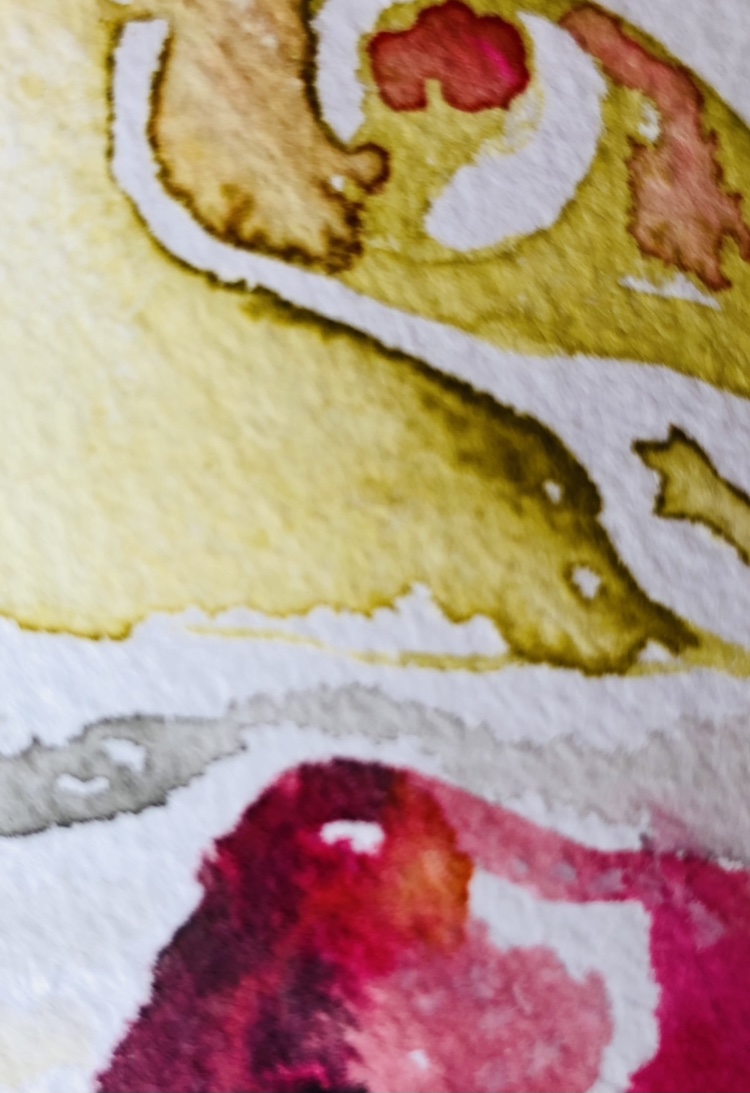
Close ups
Being a dressmaker means I am used to manipulating different curves to fit, such as sleeve heads, collars, and waistbands. Gathers, pleats and easing can be used to achieve neat edge to edge and overlapping joining of curved edges. It was interesting to try these techniques on different materials. Clearly gathering would not work so easily on most papers, but pleating is easy to achieve and paper retains the shape of the pleats. Different types of join such as paper fasteners and cocktail sticks worked well to create 3D shapes quickly, as hand sewing is more time consuming. Lots of ideas here! As my leaves deteriorate they are changing shape and will make interesting subjects to photograph and draw in a week or so’s time.
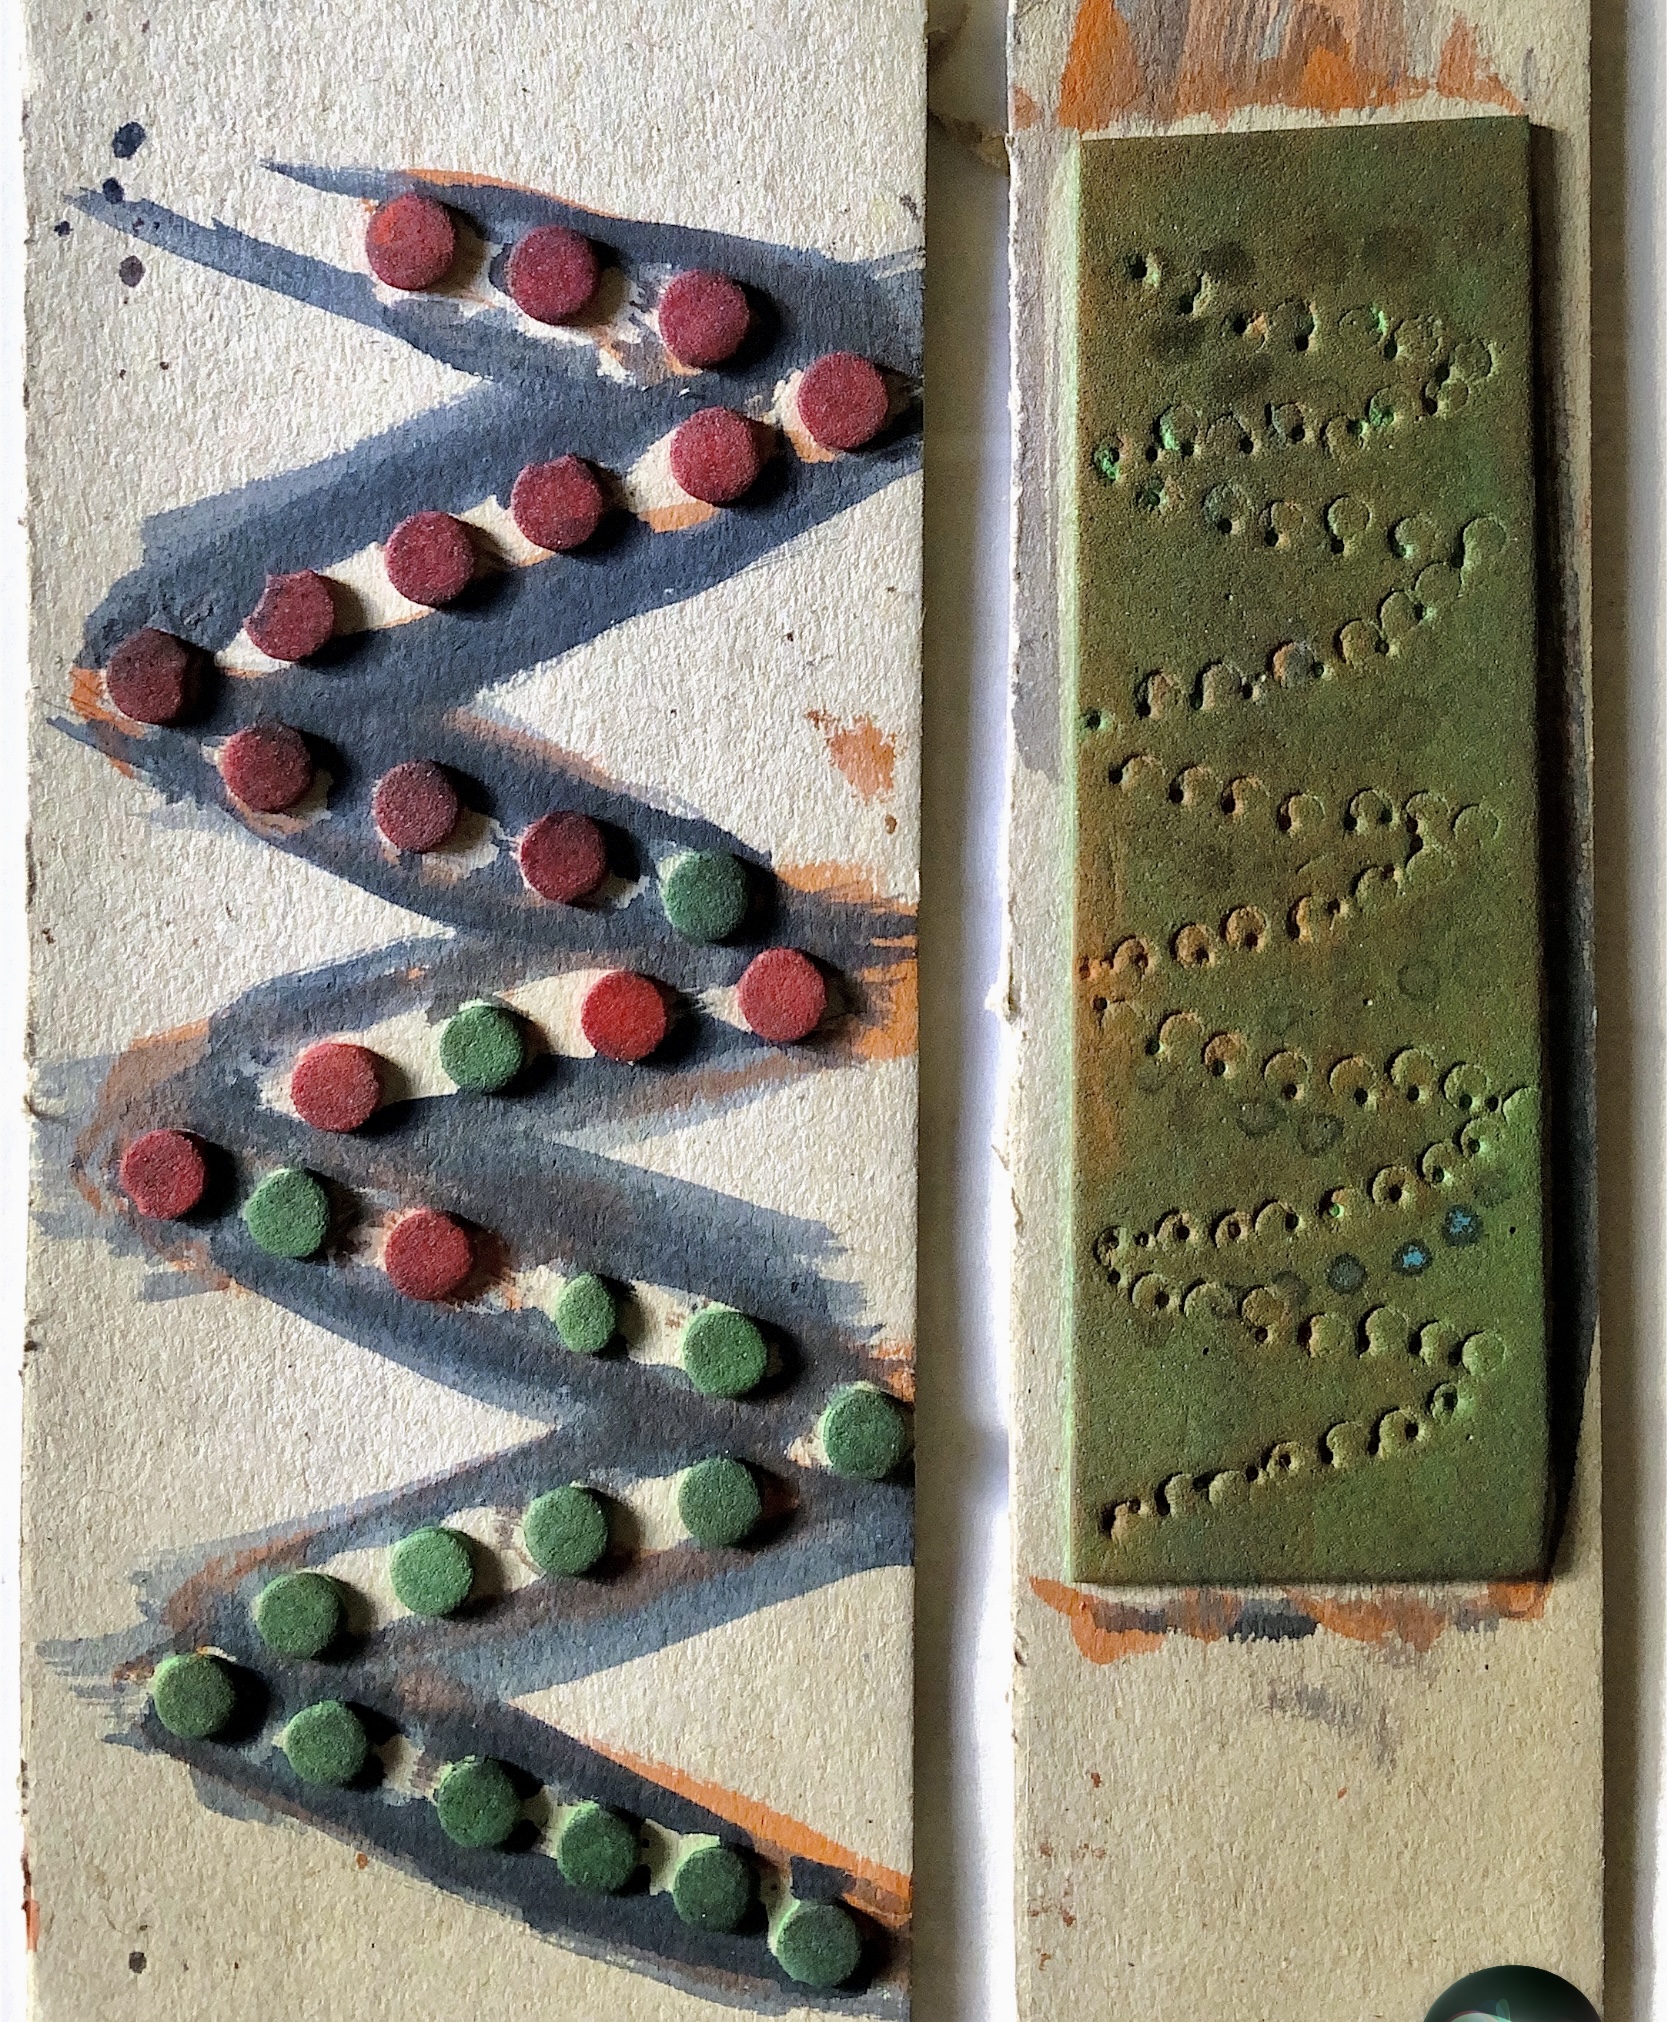
Materials joined – watercolour paper, corrugated card, cocktail sticks
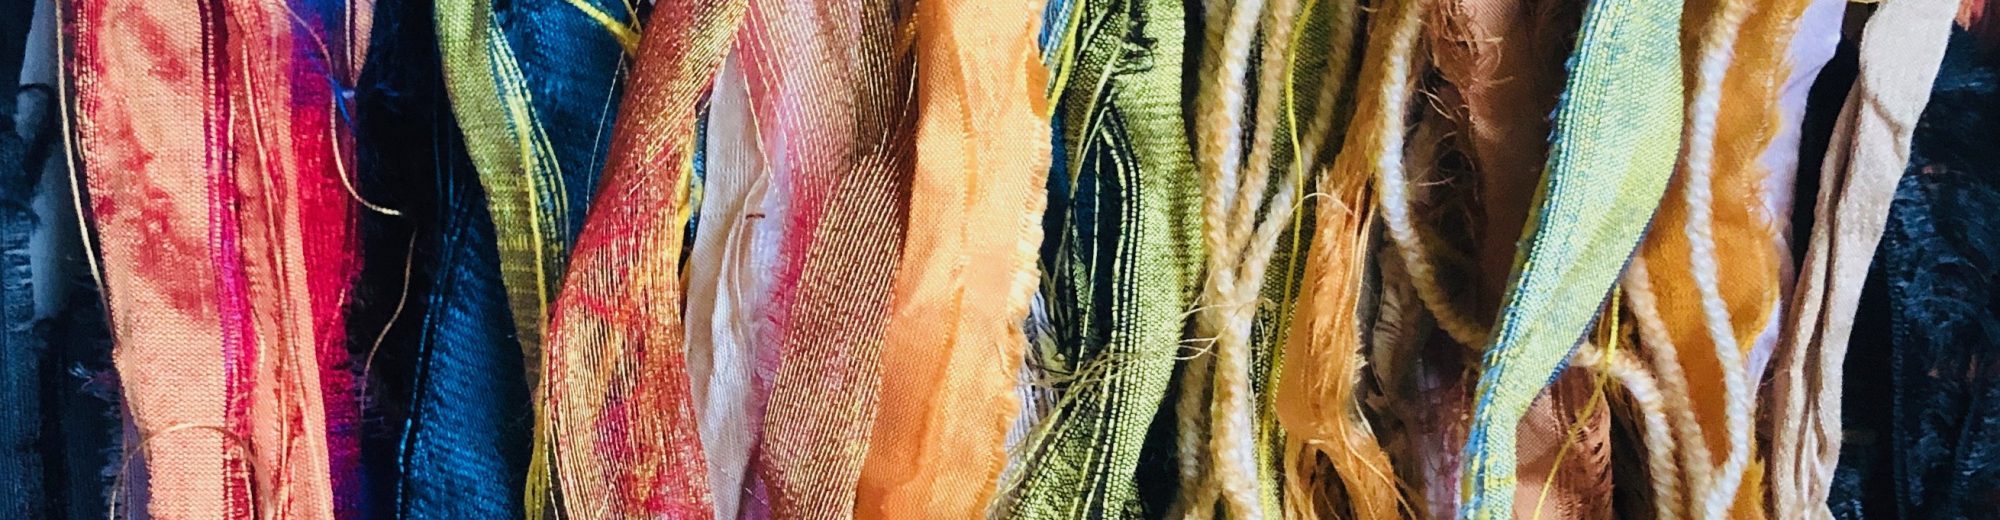
Methods and materials used to join – glued strips, cocktail sticks, safety pin, ribbon, folded paper, beads, weaving, knotted sari silk yarn, stitching through plastic, buttons with hand stitch, beads
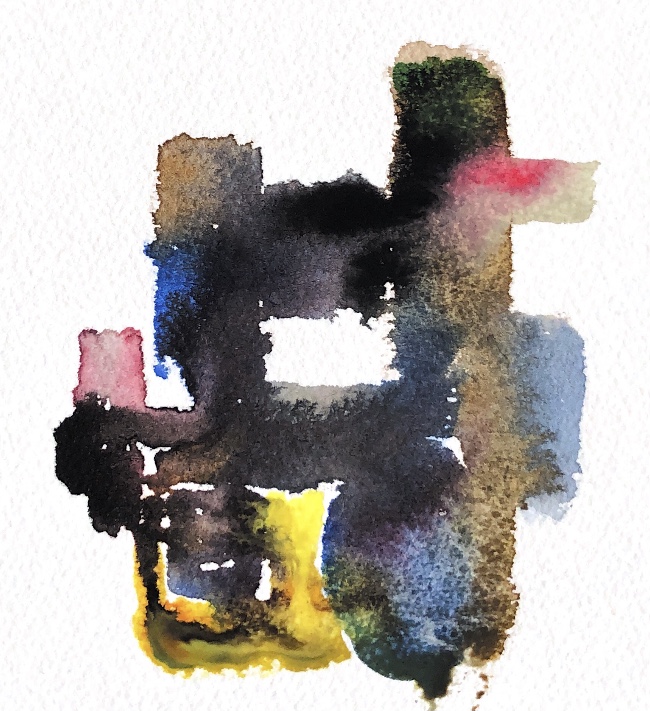
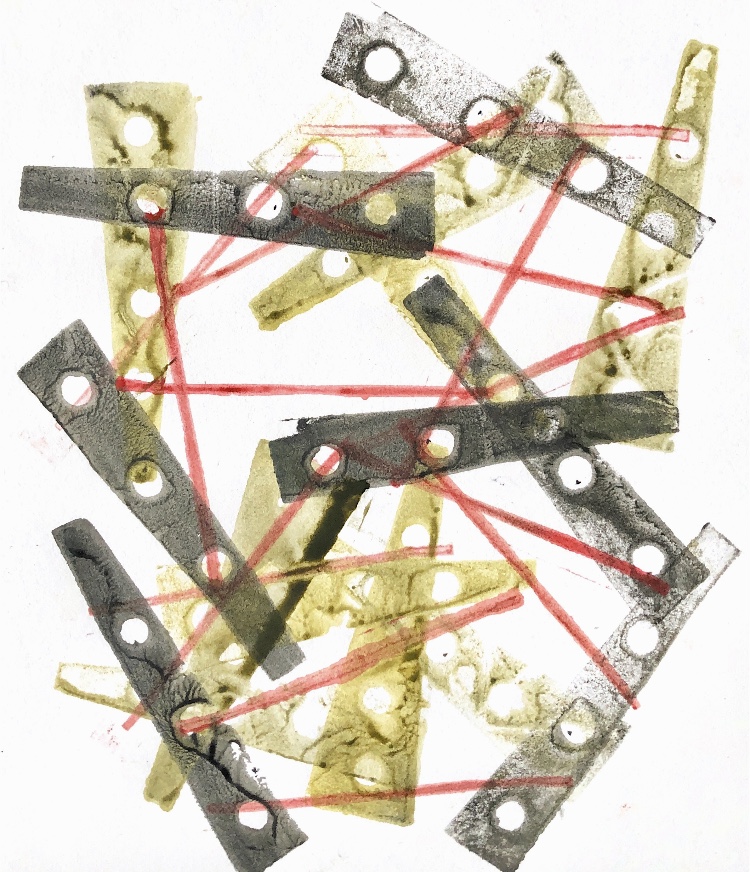
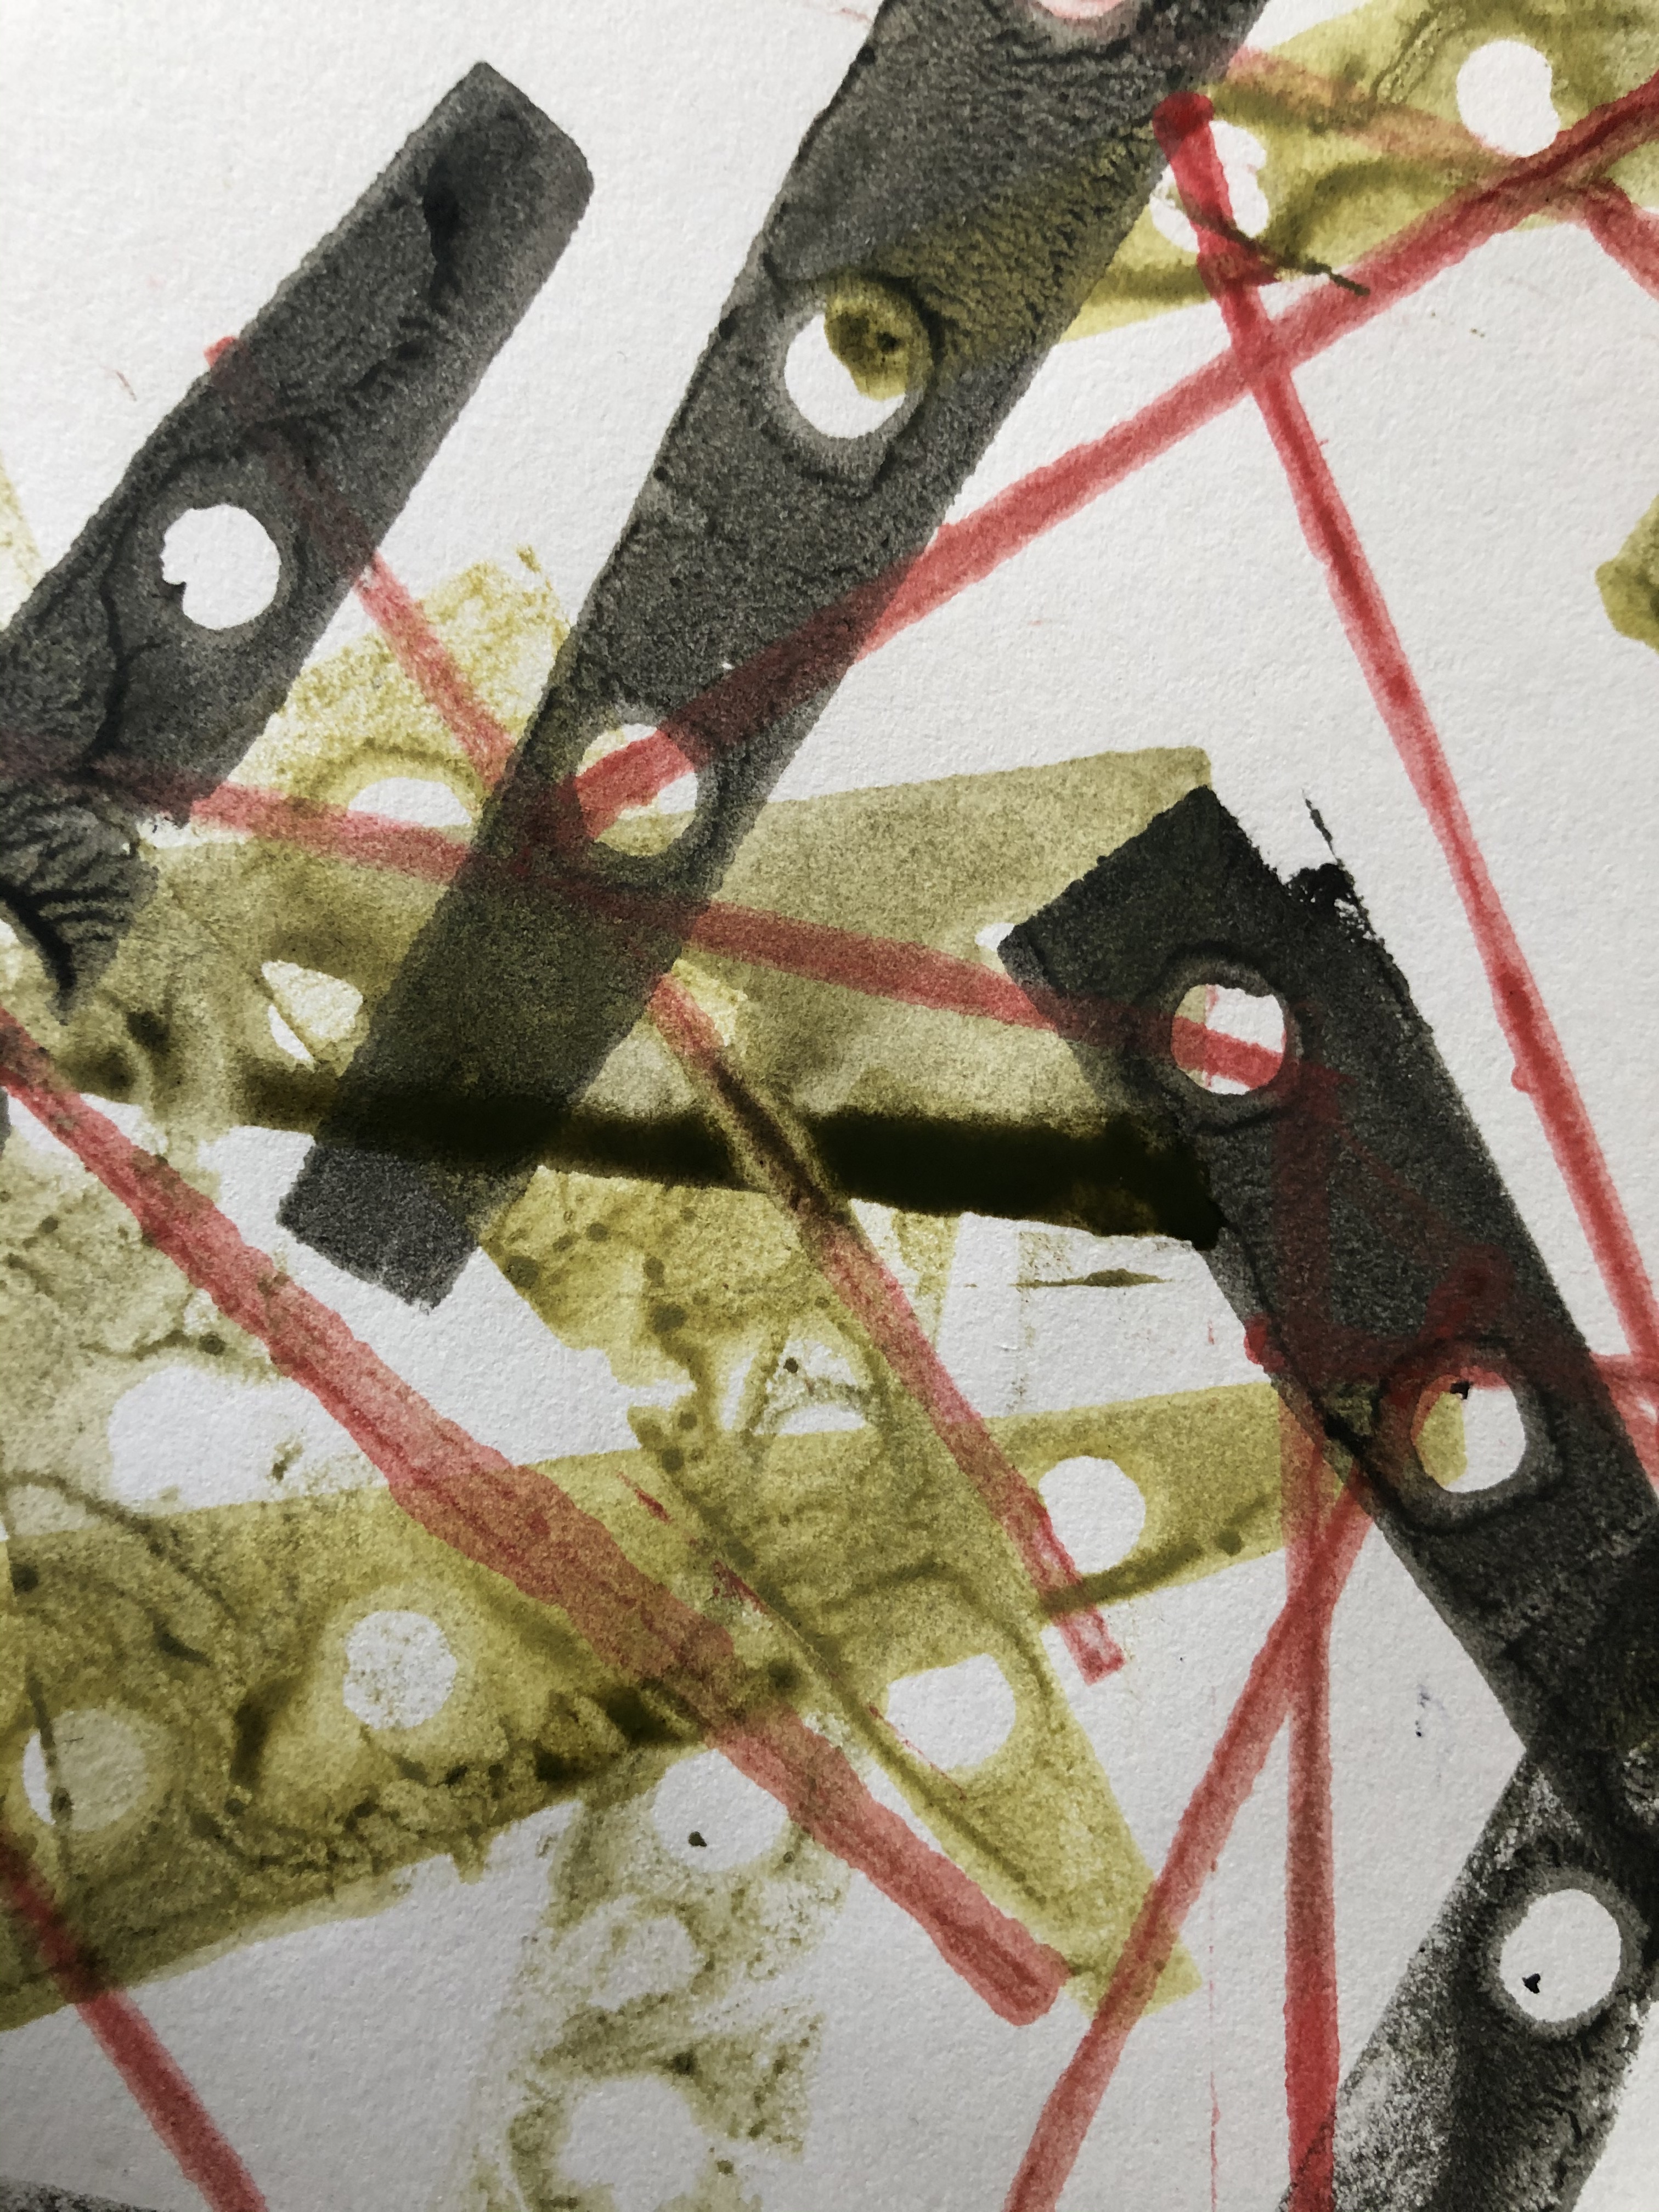
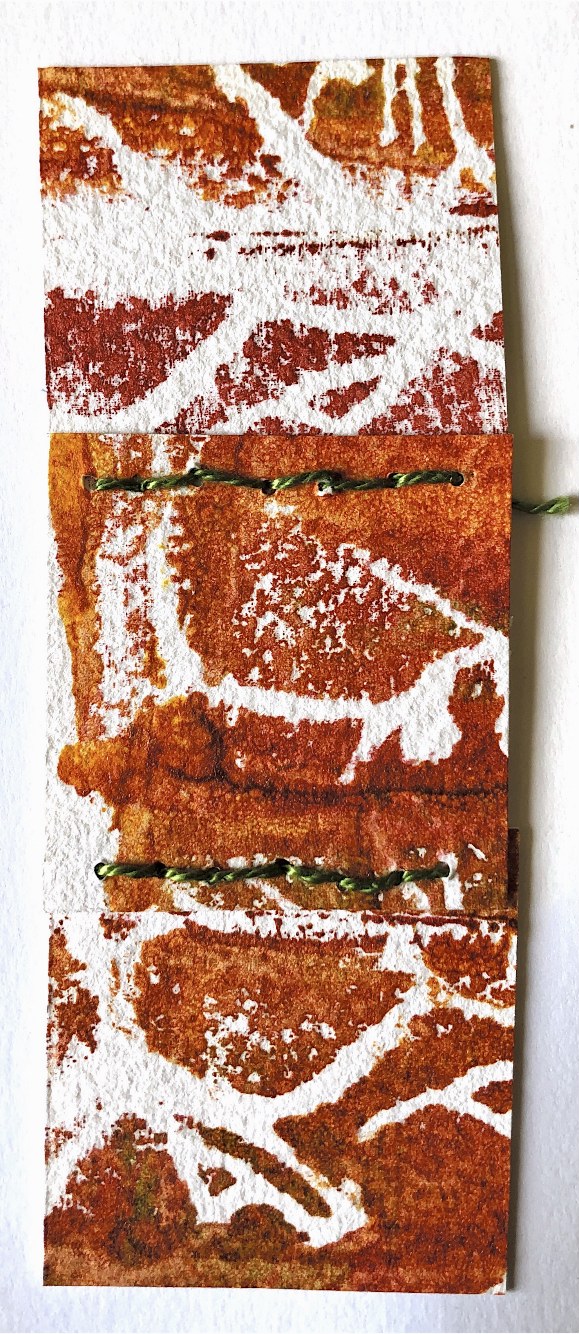
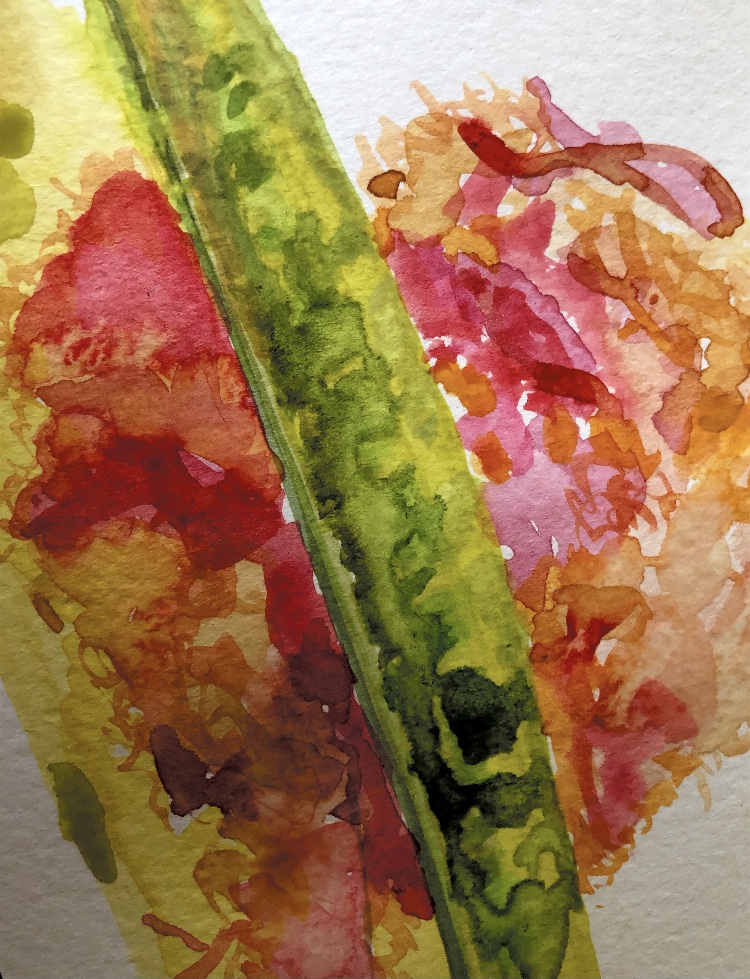
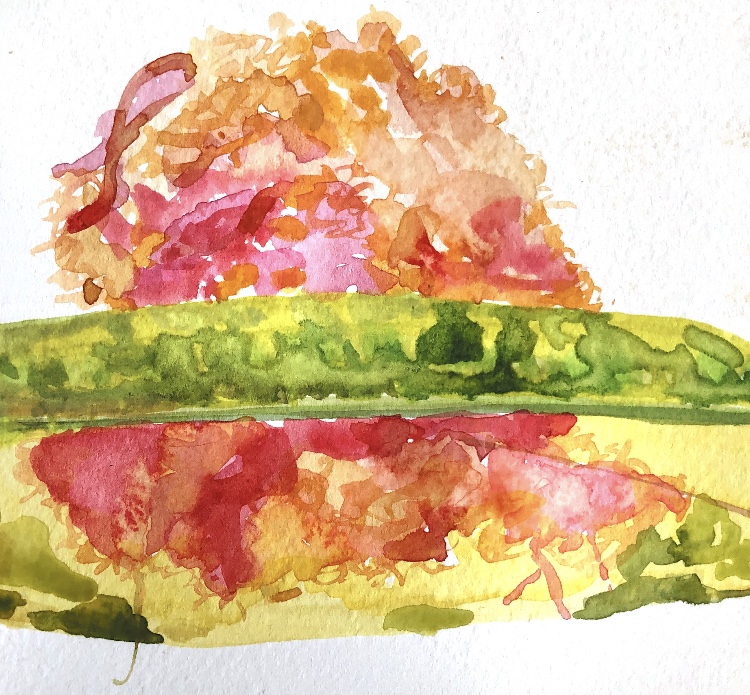
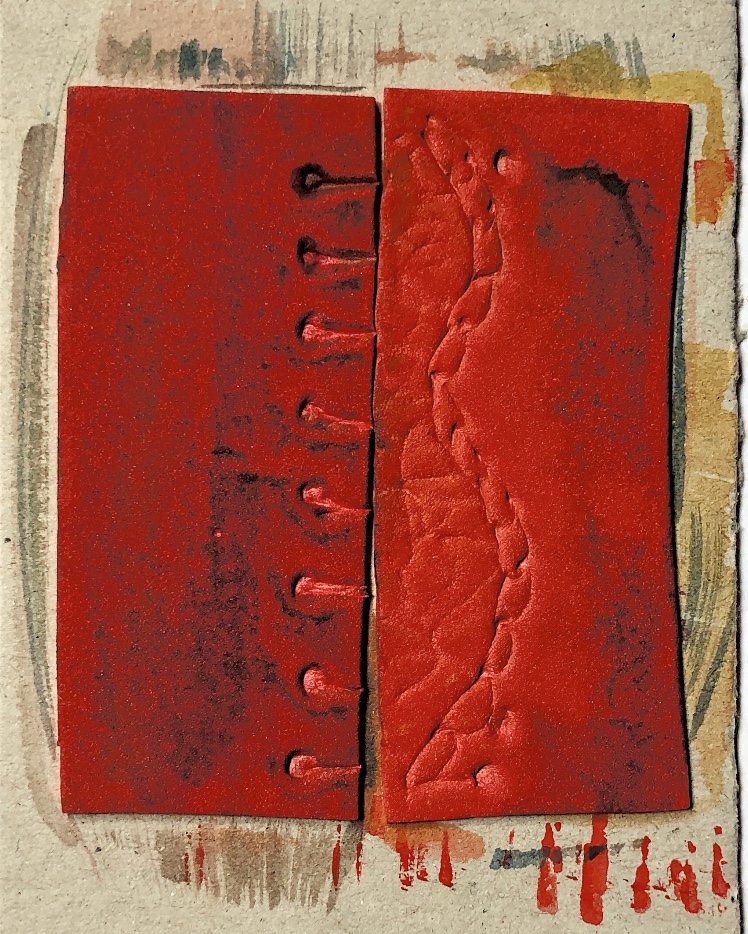
Joining straight edges with a gap meant I had to think about what went into the gap, and how the materials were to be joined. Firstly I used machine stitch with plastic in the gap – this meant the gap stayed constant and the stitches showed in the gaps, or didn’t as in the first sample. It was satisfying to machine stitch through the thick watercolour paper, with each further piece dangling by a thread, or seemingly ‘thin air’ as the plastic is virtually invisible. This technique could be translated to fabric by using a very fine material to fill the gaps, such as silk chiffon or tulle.
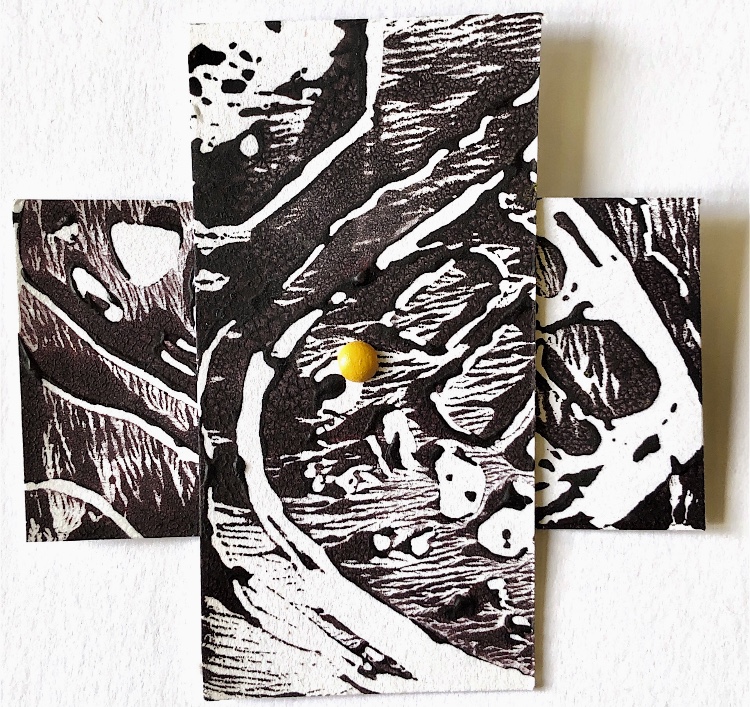
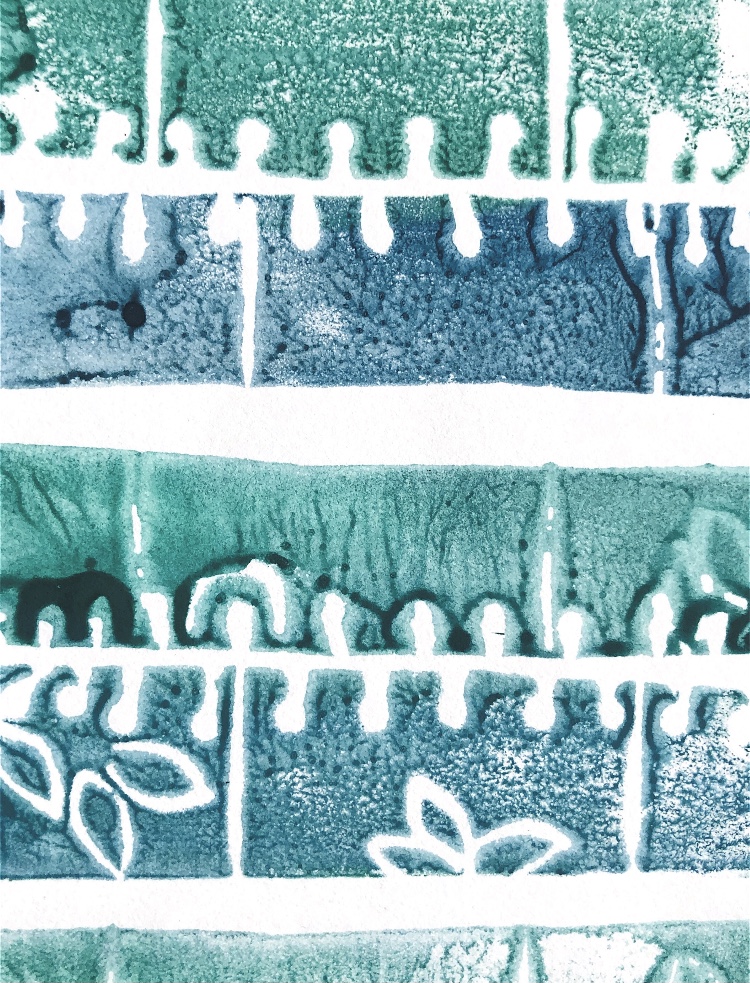
To ‘draw’ my samples I used a combination of print blocks and black pen.
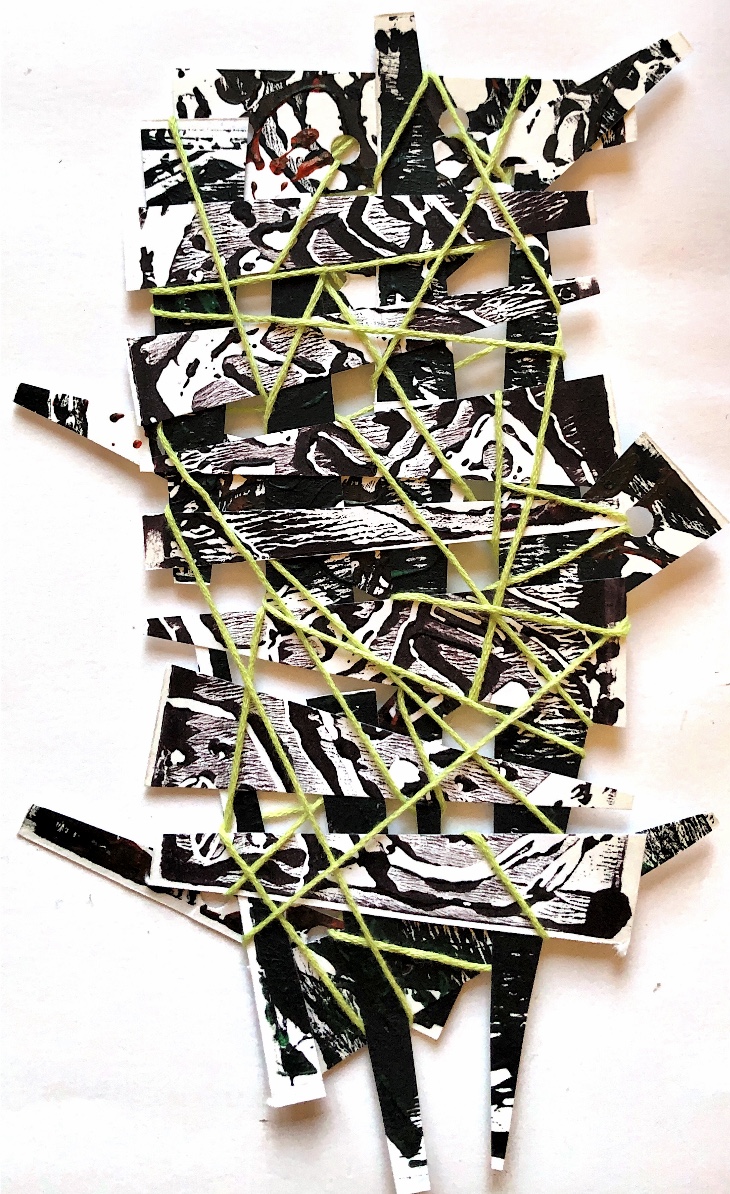
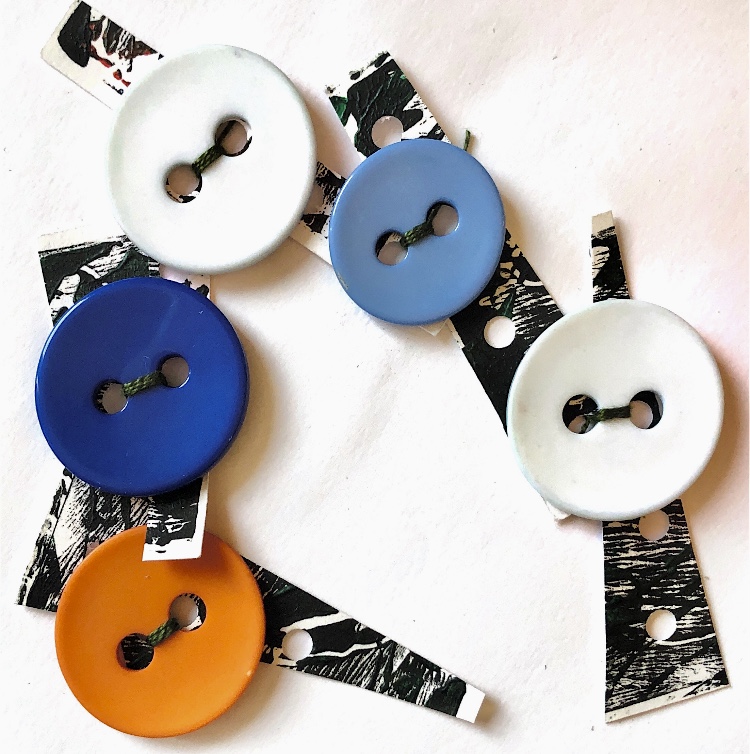
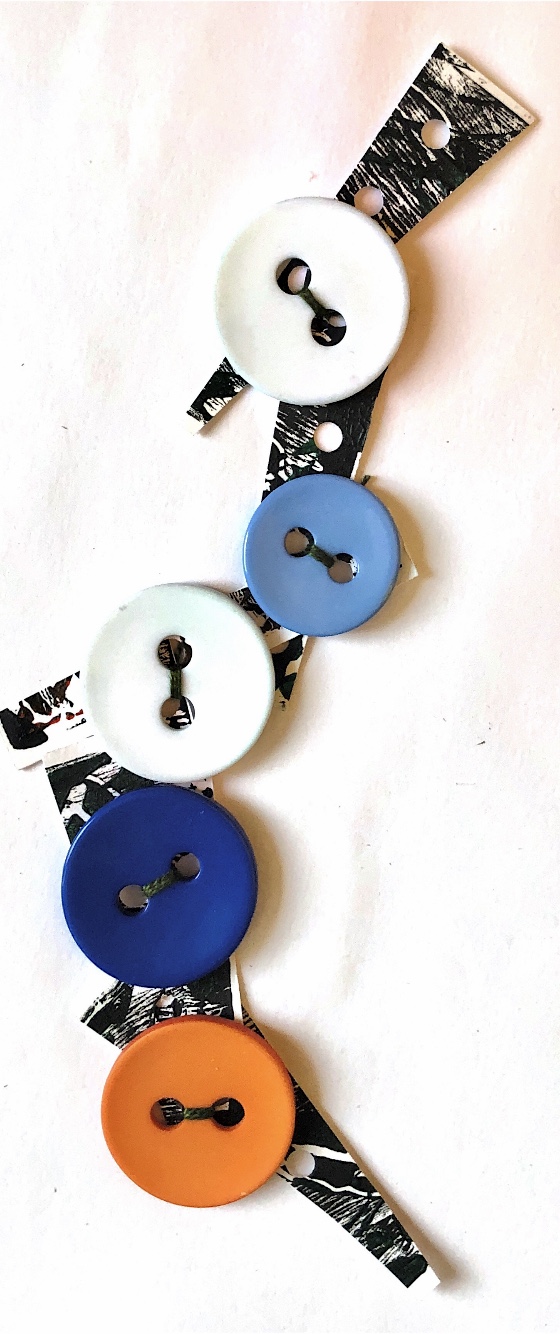
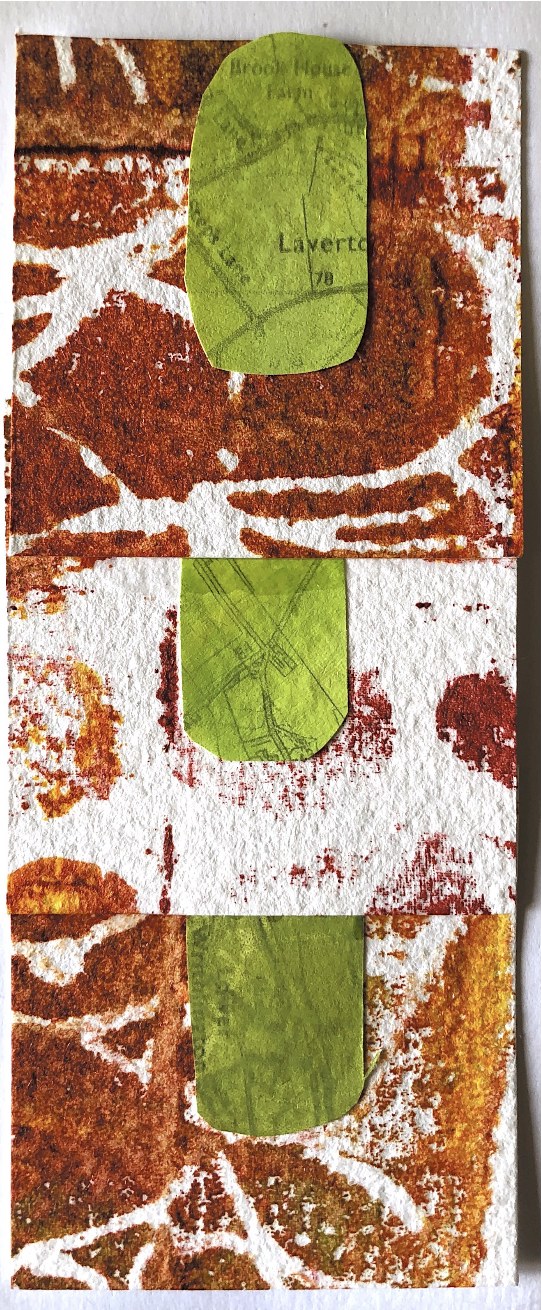
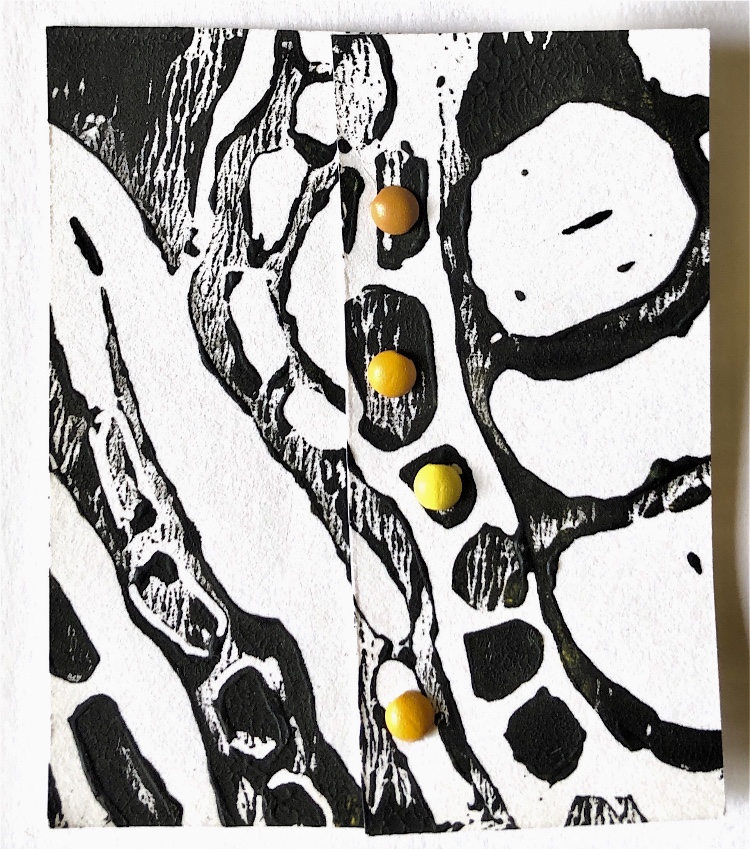
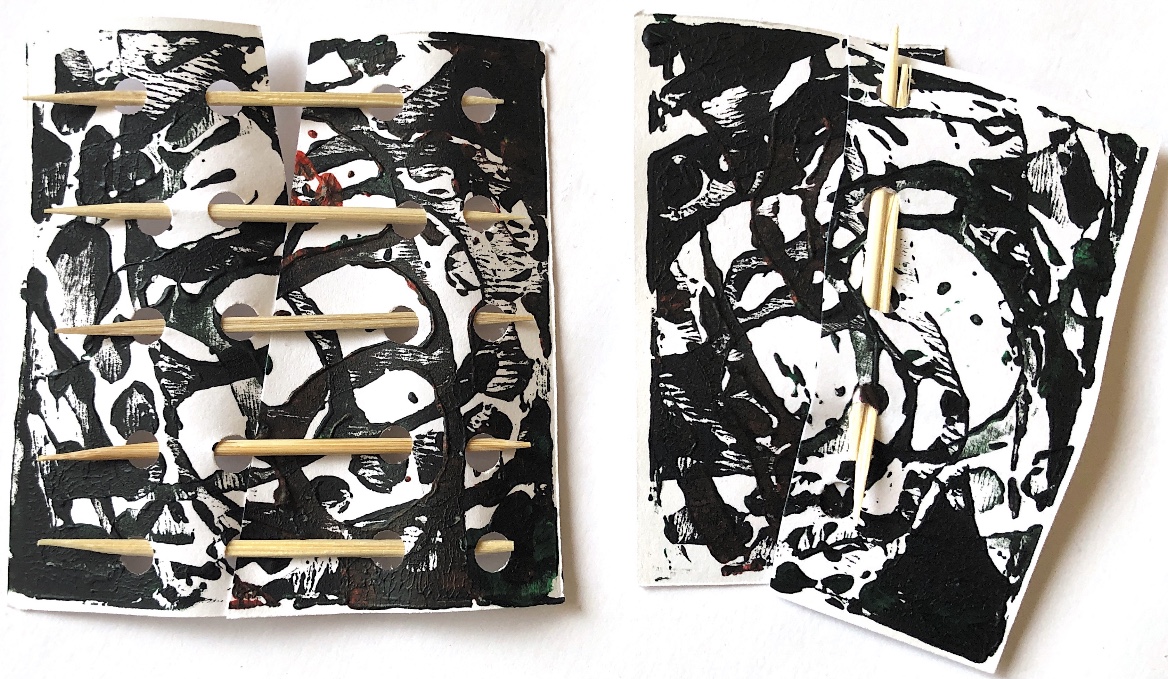
I experimented further using hand stitch, buttons, glued strips and paper in the gaps. These samples made me think about techniques for making folded accordian books and their covers. I particularly like the button sample, – the contrast of the bright green shiny buttons with the hand stitch and strong black and white prints is exciting and tactile.
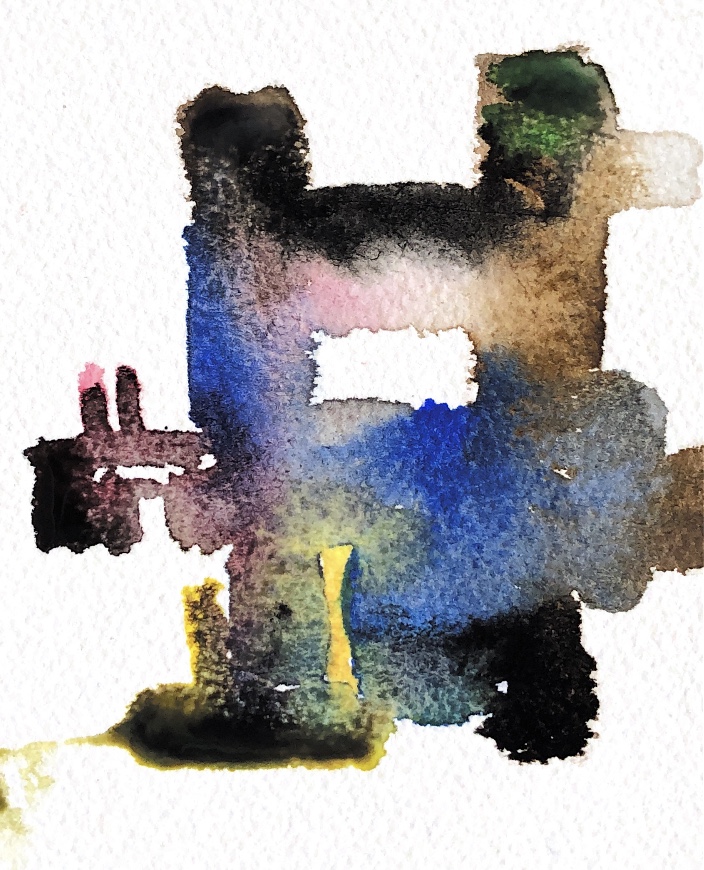
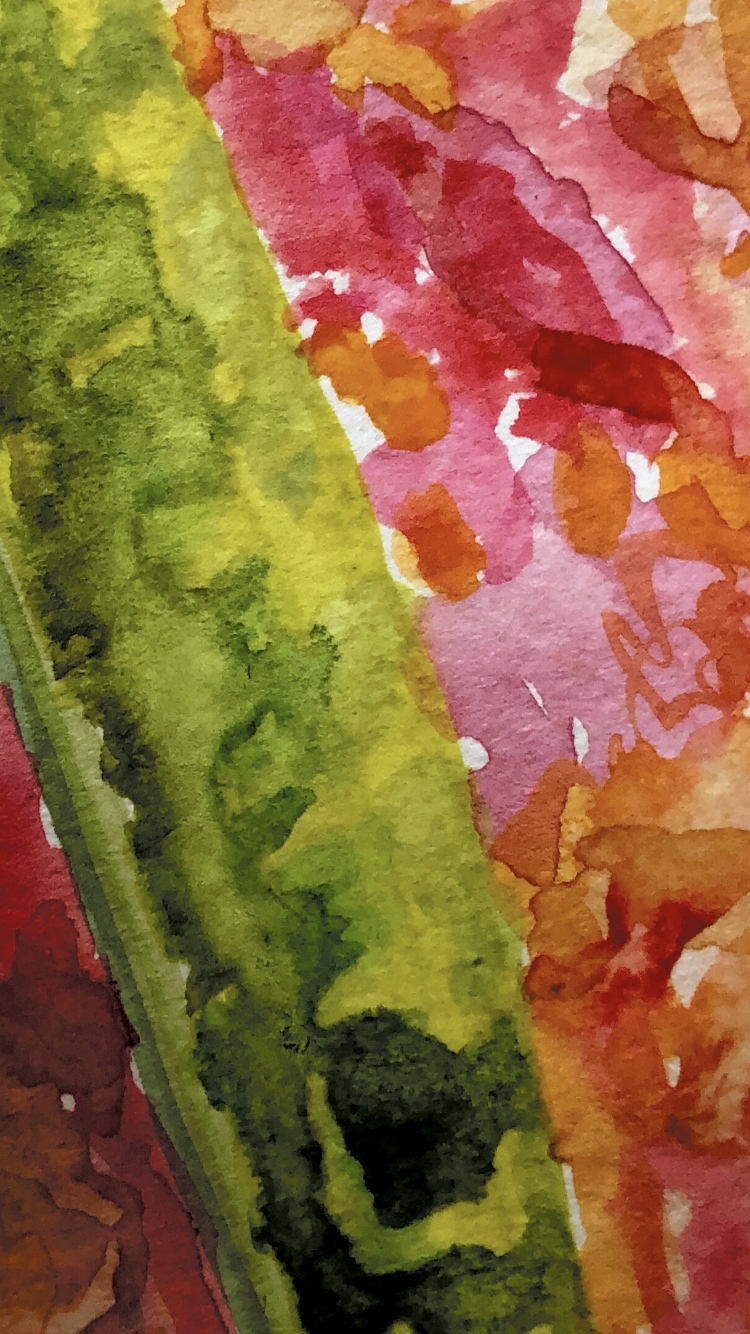
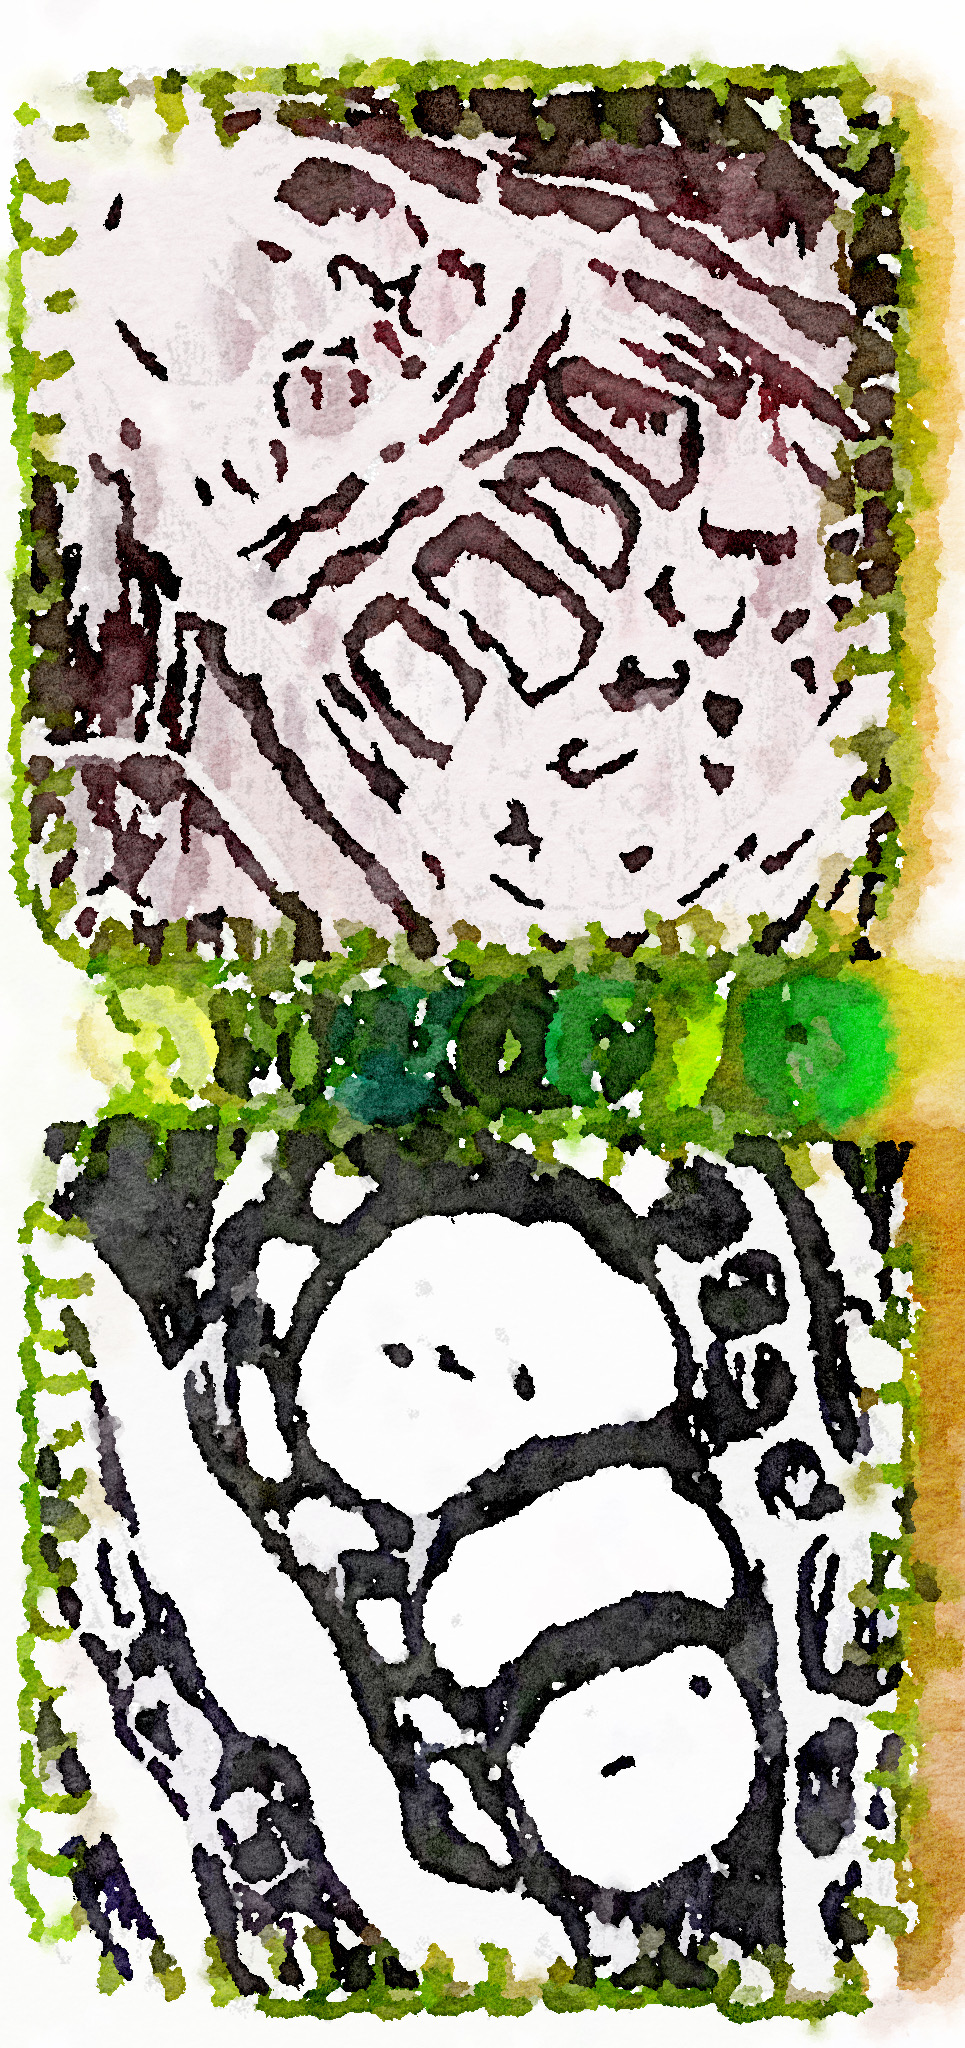
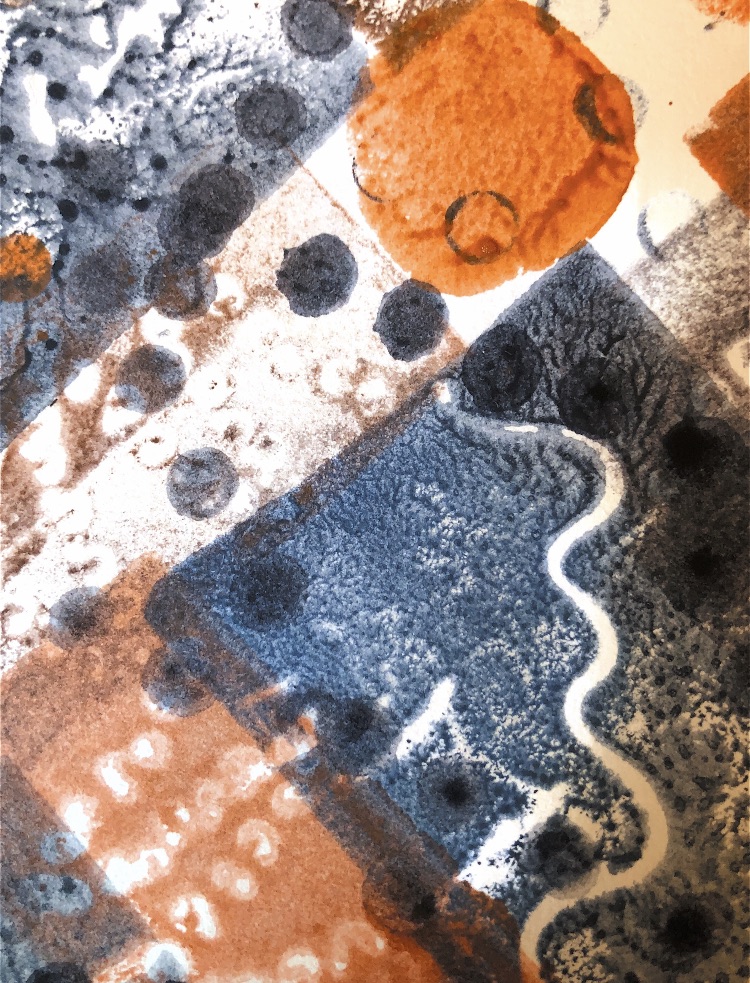
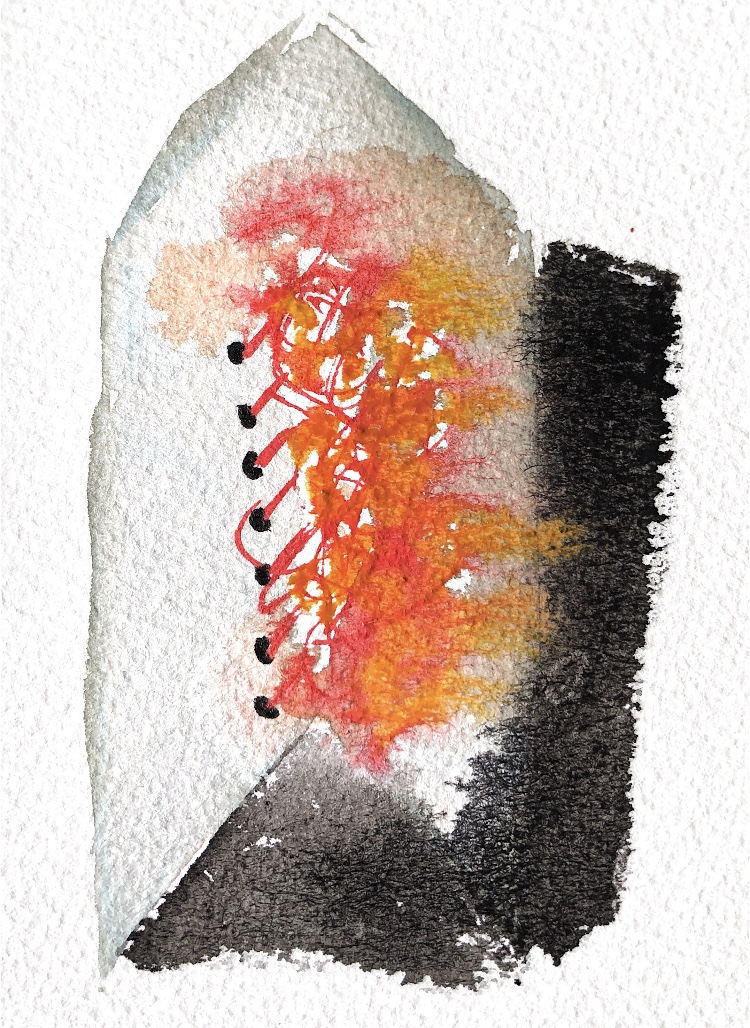
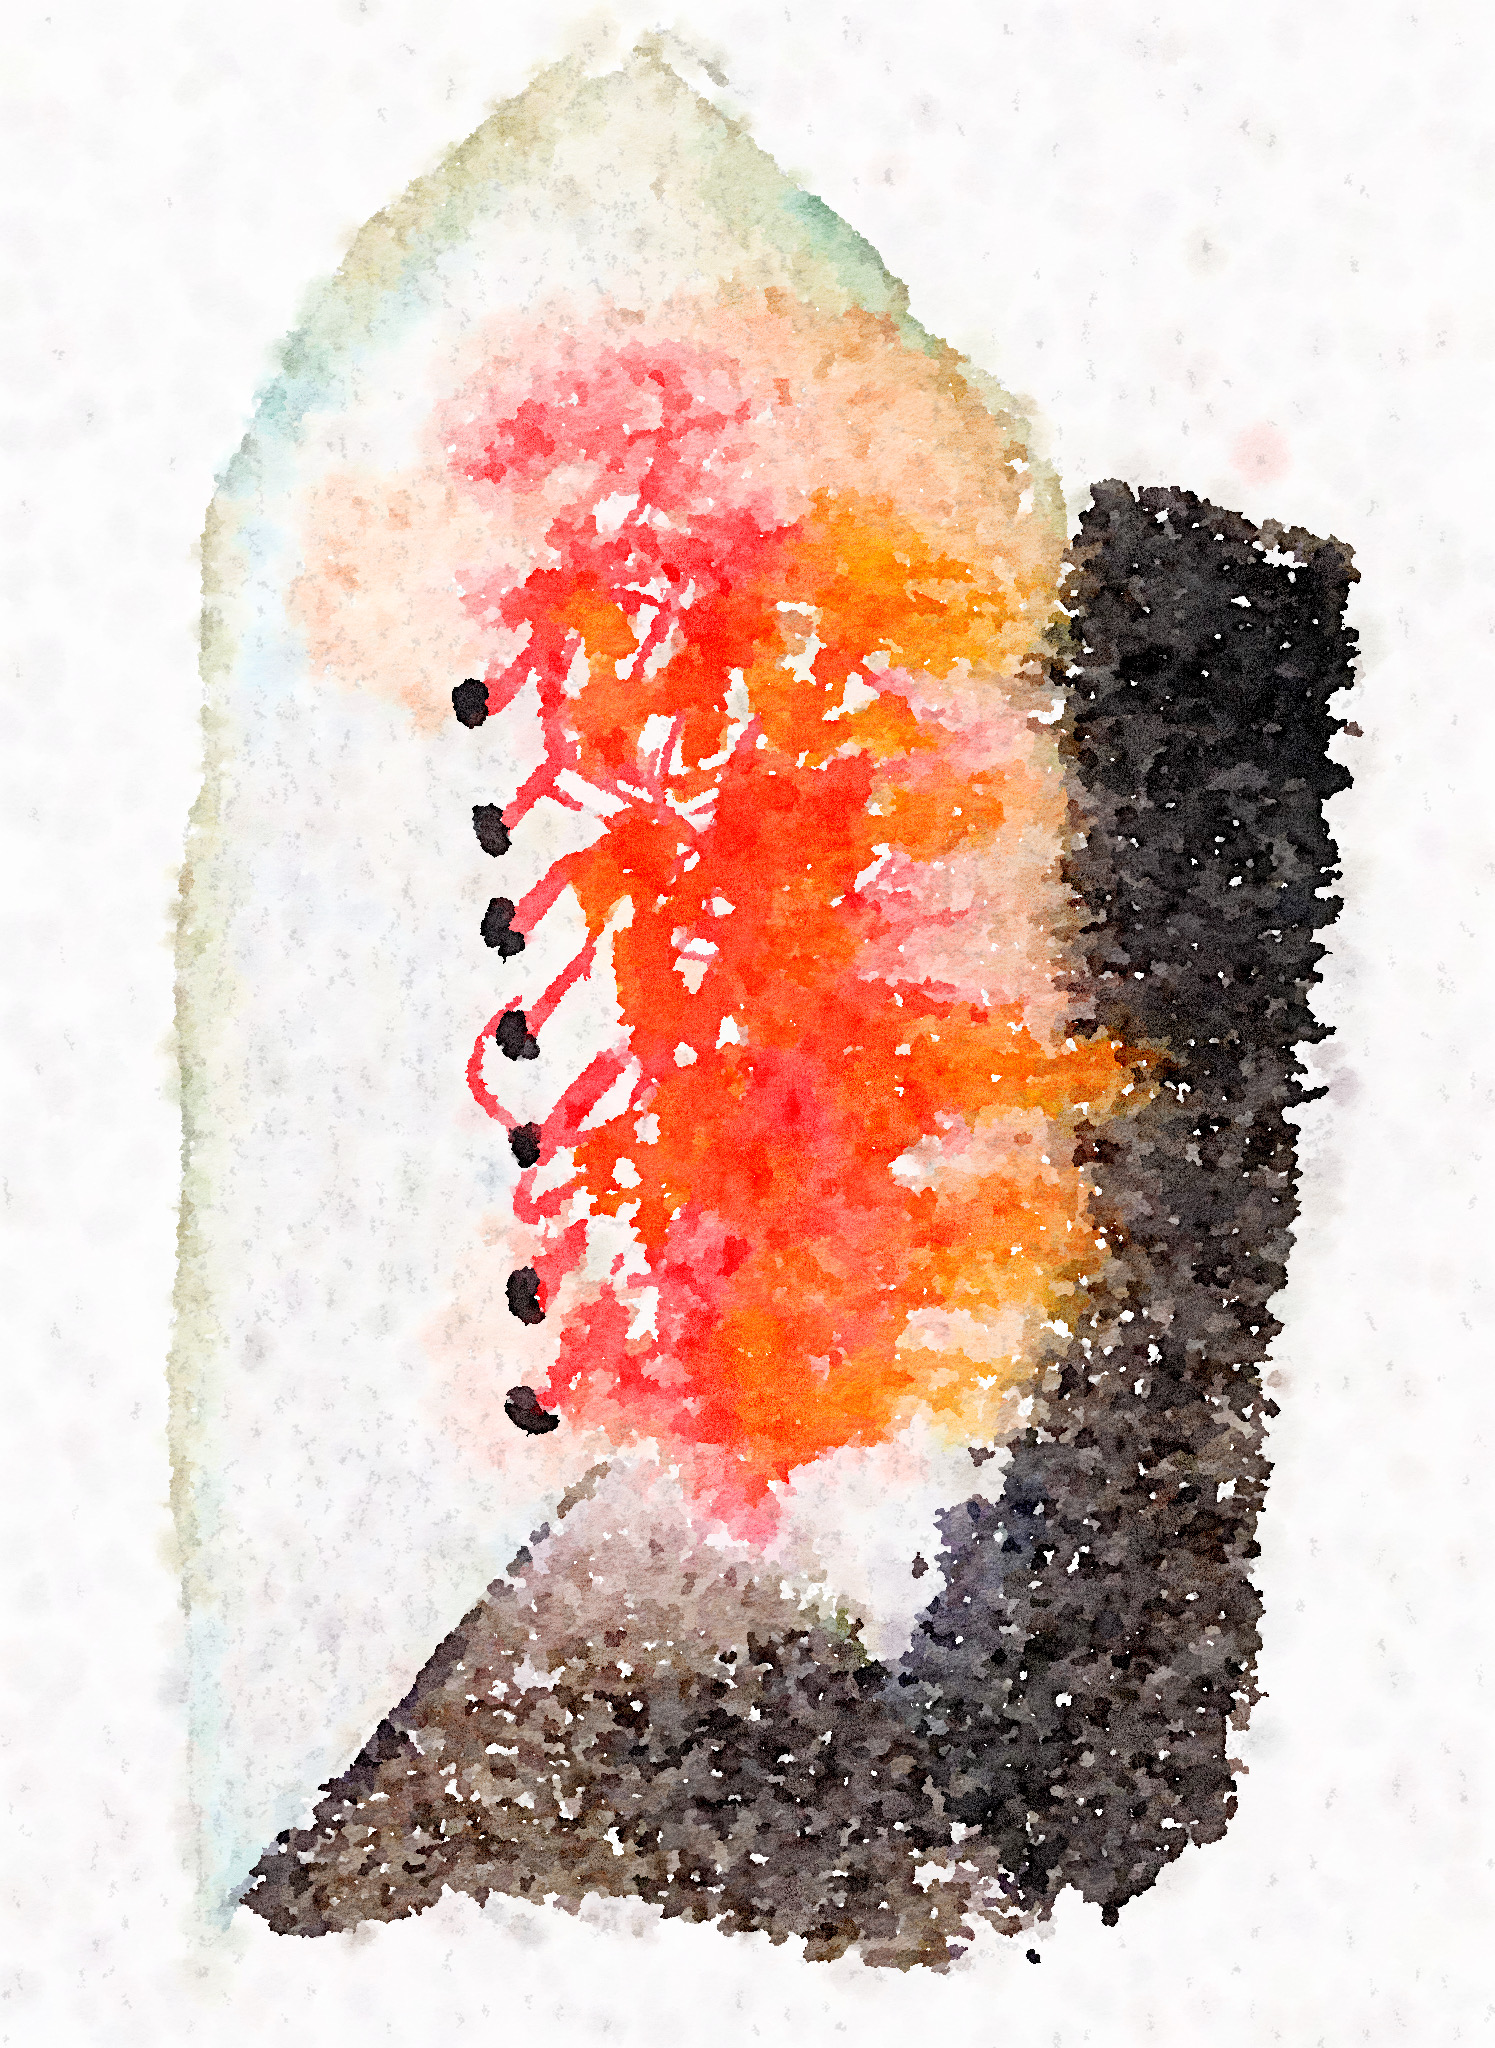
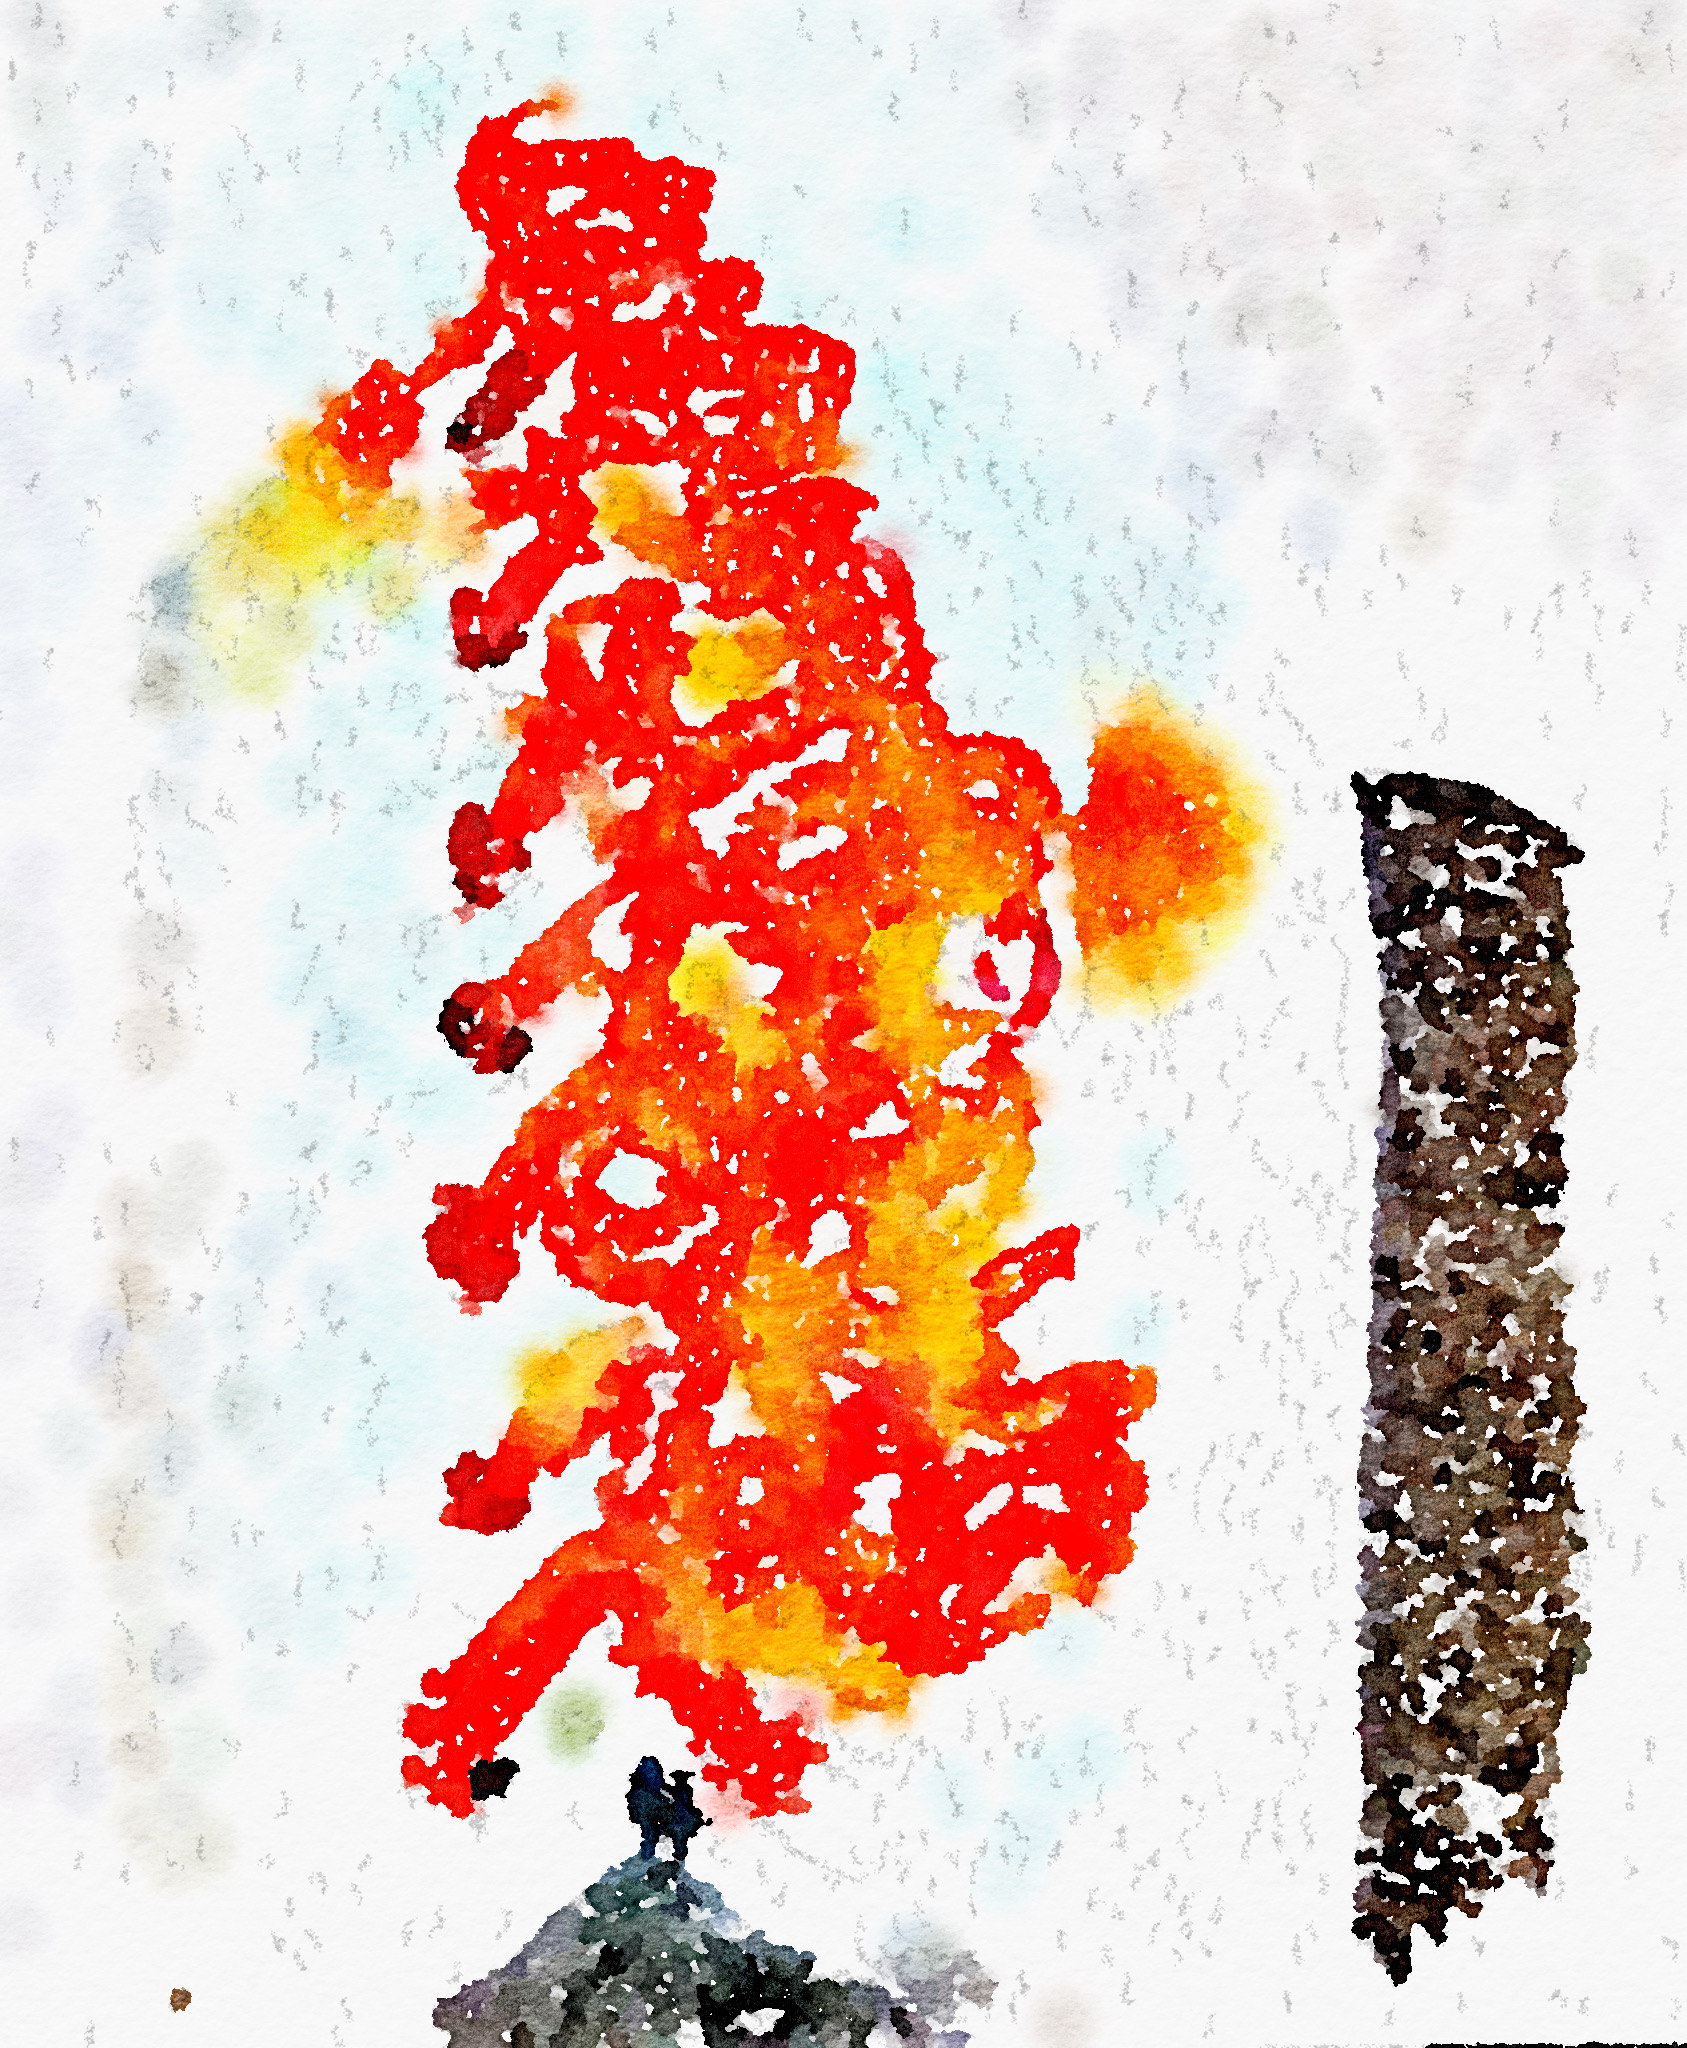
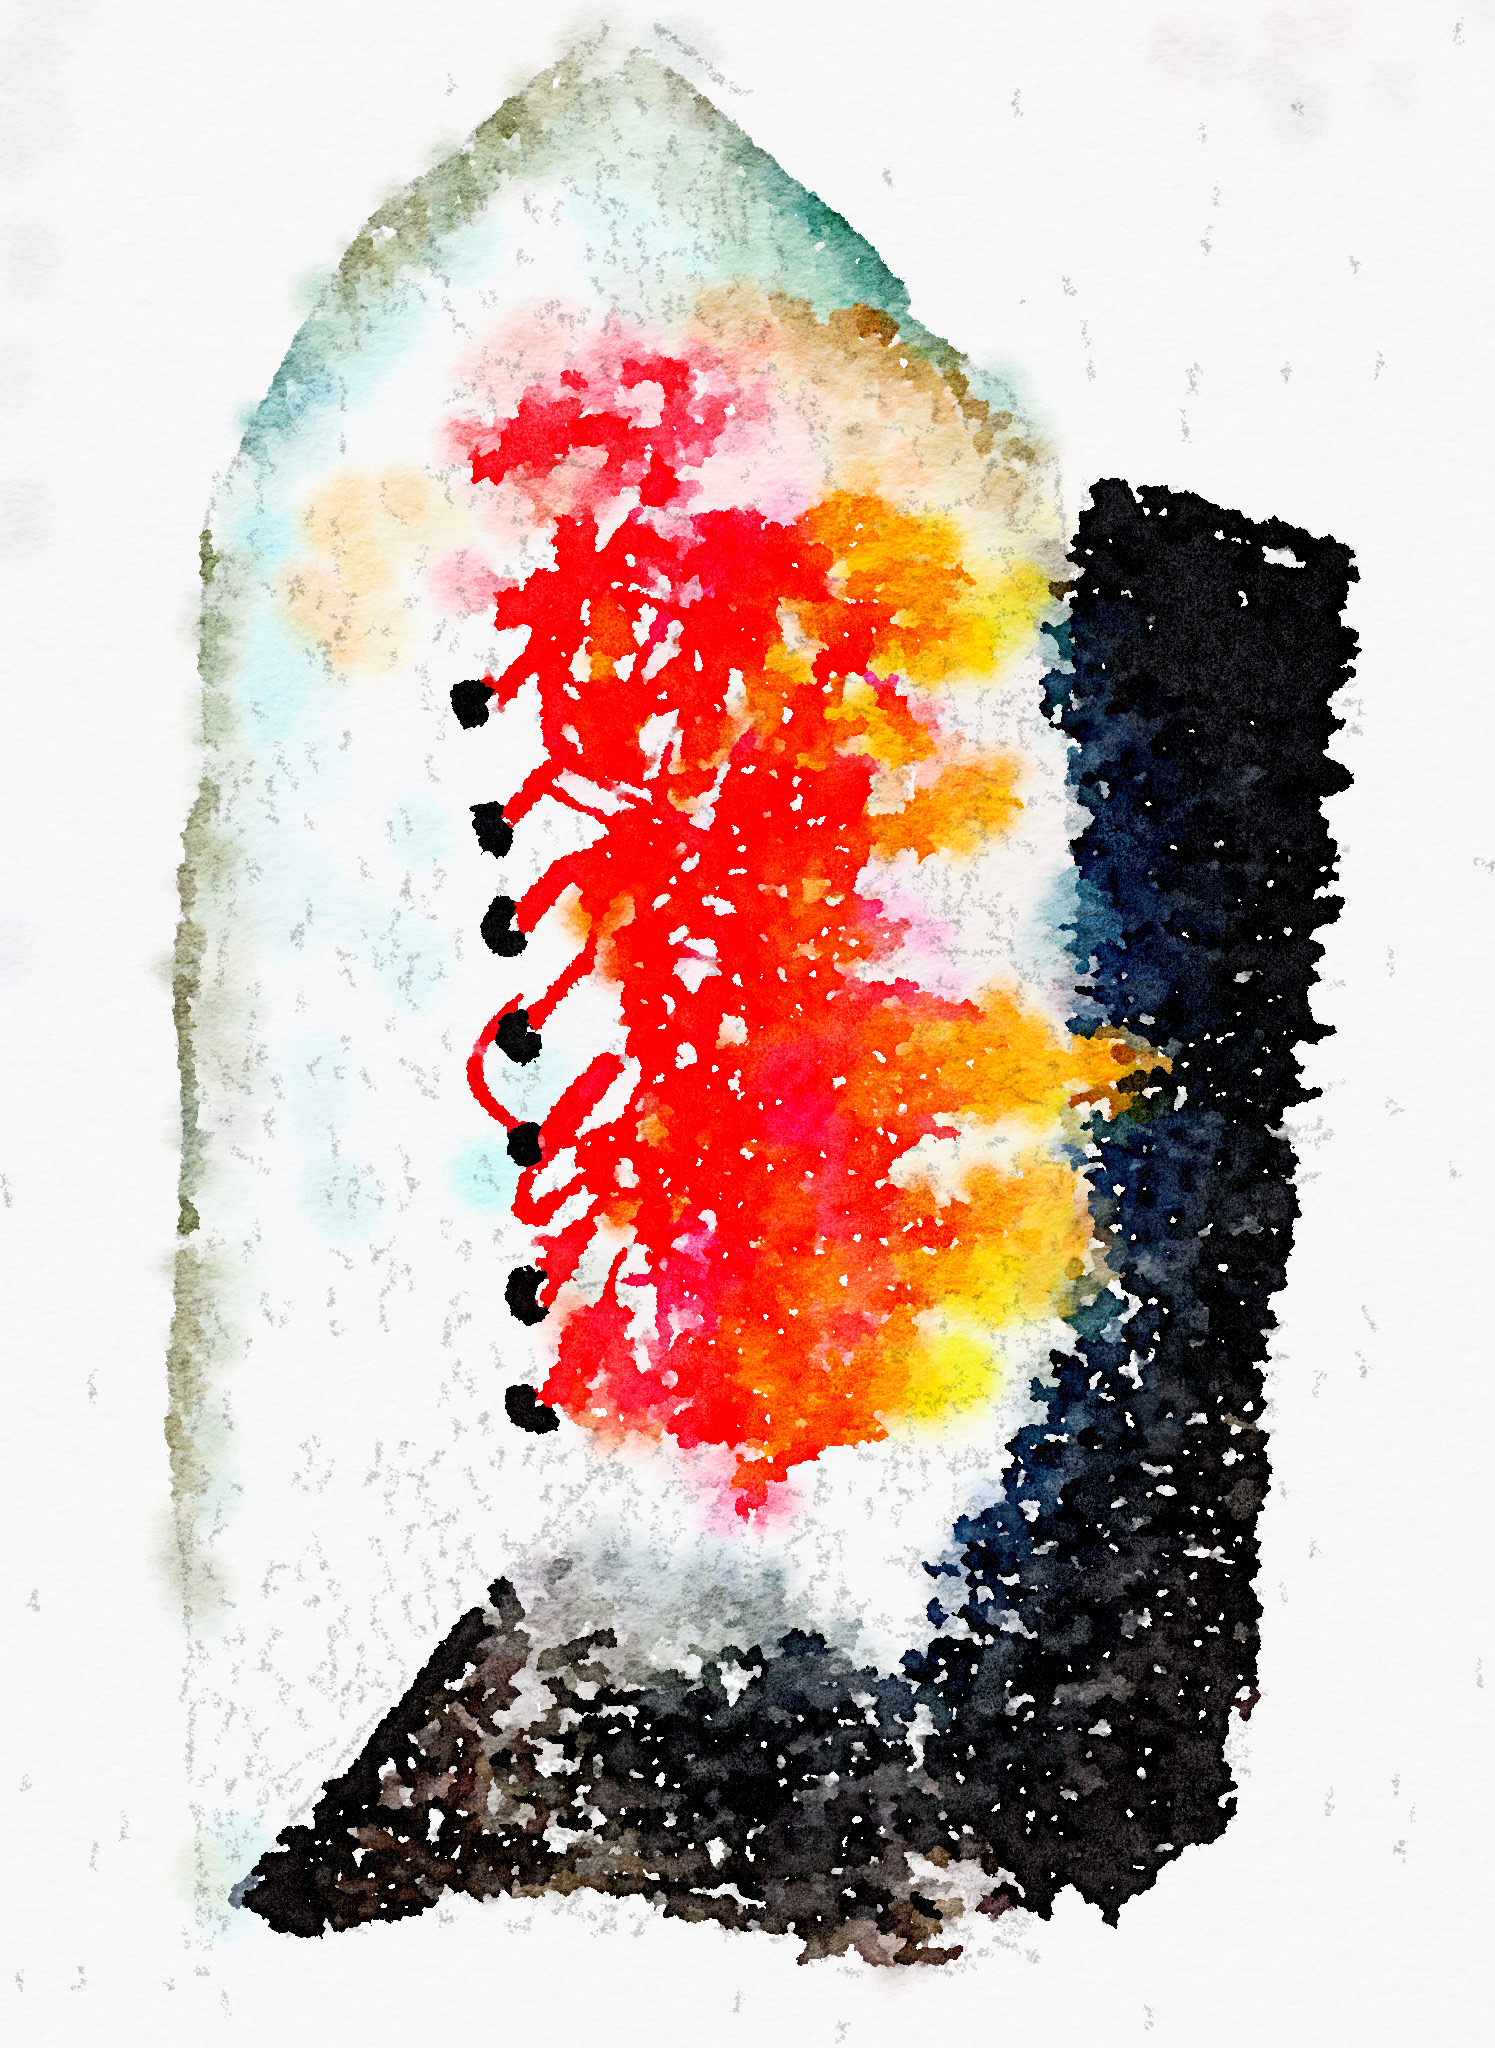
The following image was manipulated 0n my iPad using the ‘Waterlogue’ app.
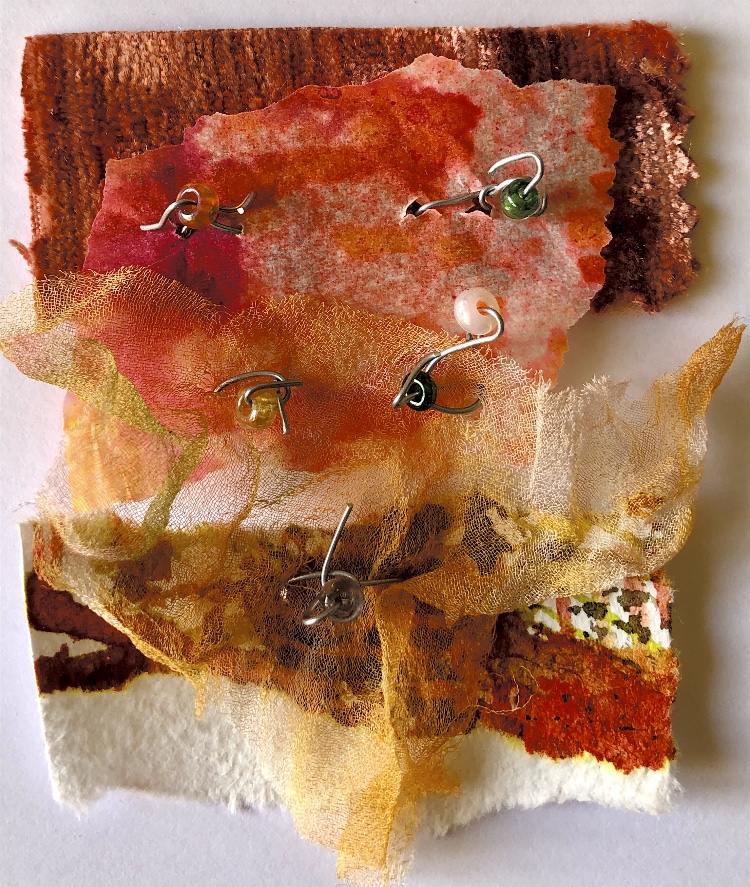
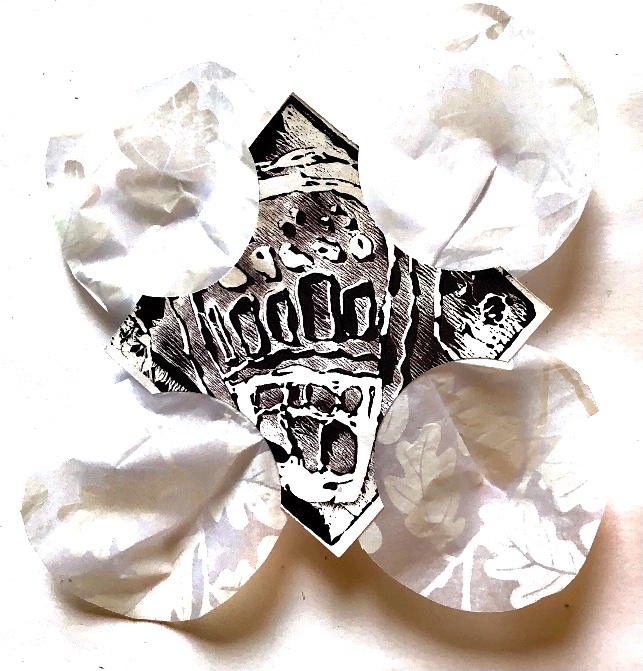
I used cut up postcards to join using felt and glass beads. I like the contrast in texture of the postcard and the beads. I have also considered the colours in these samples.
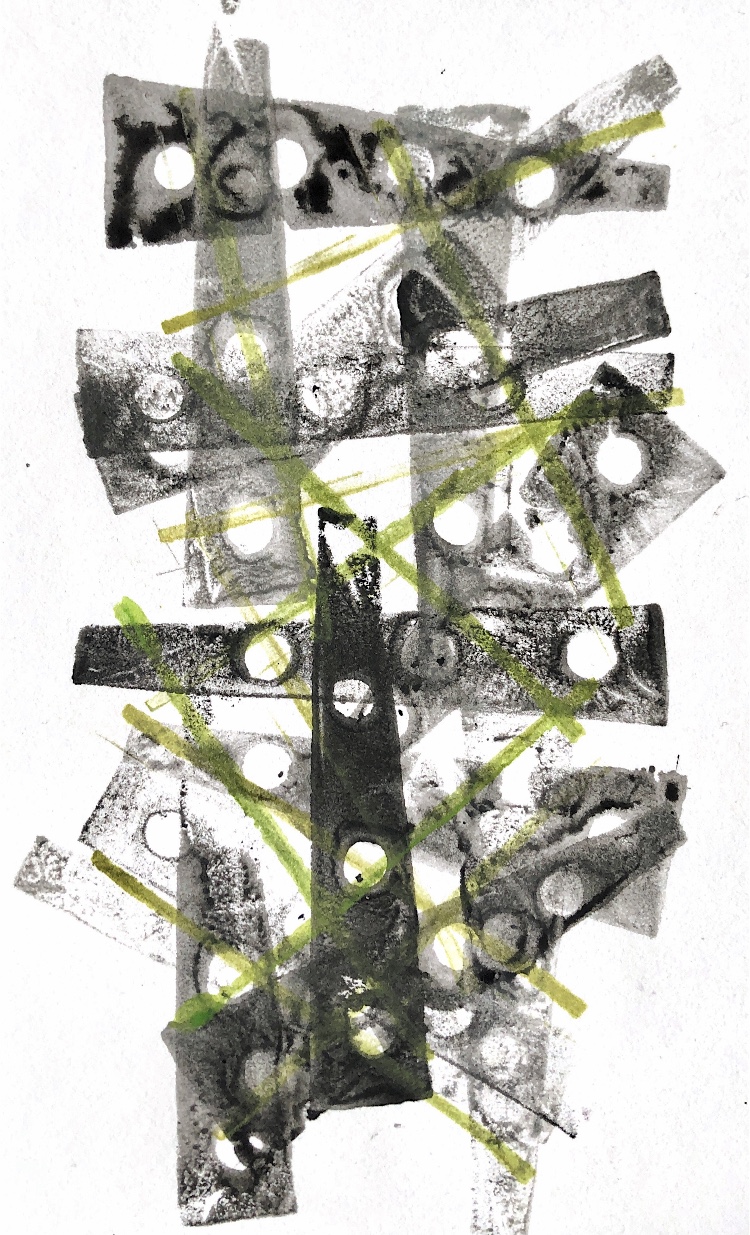
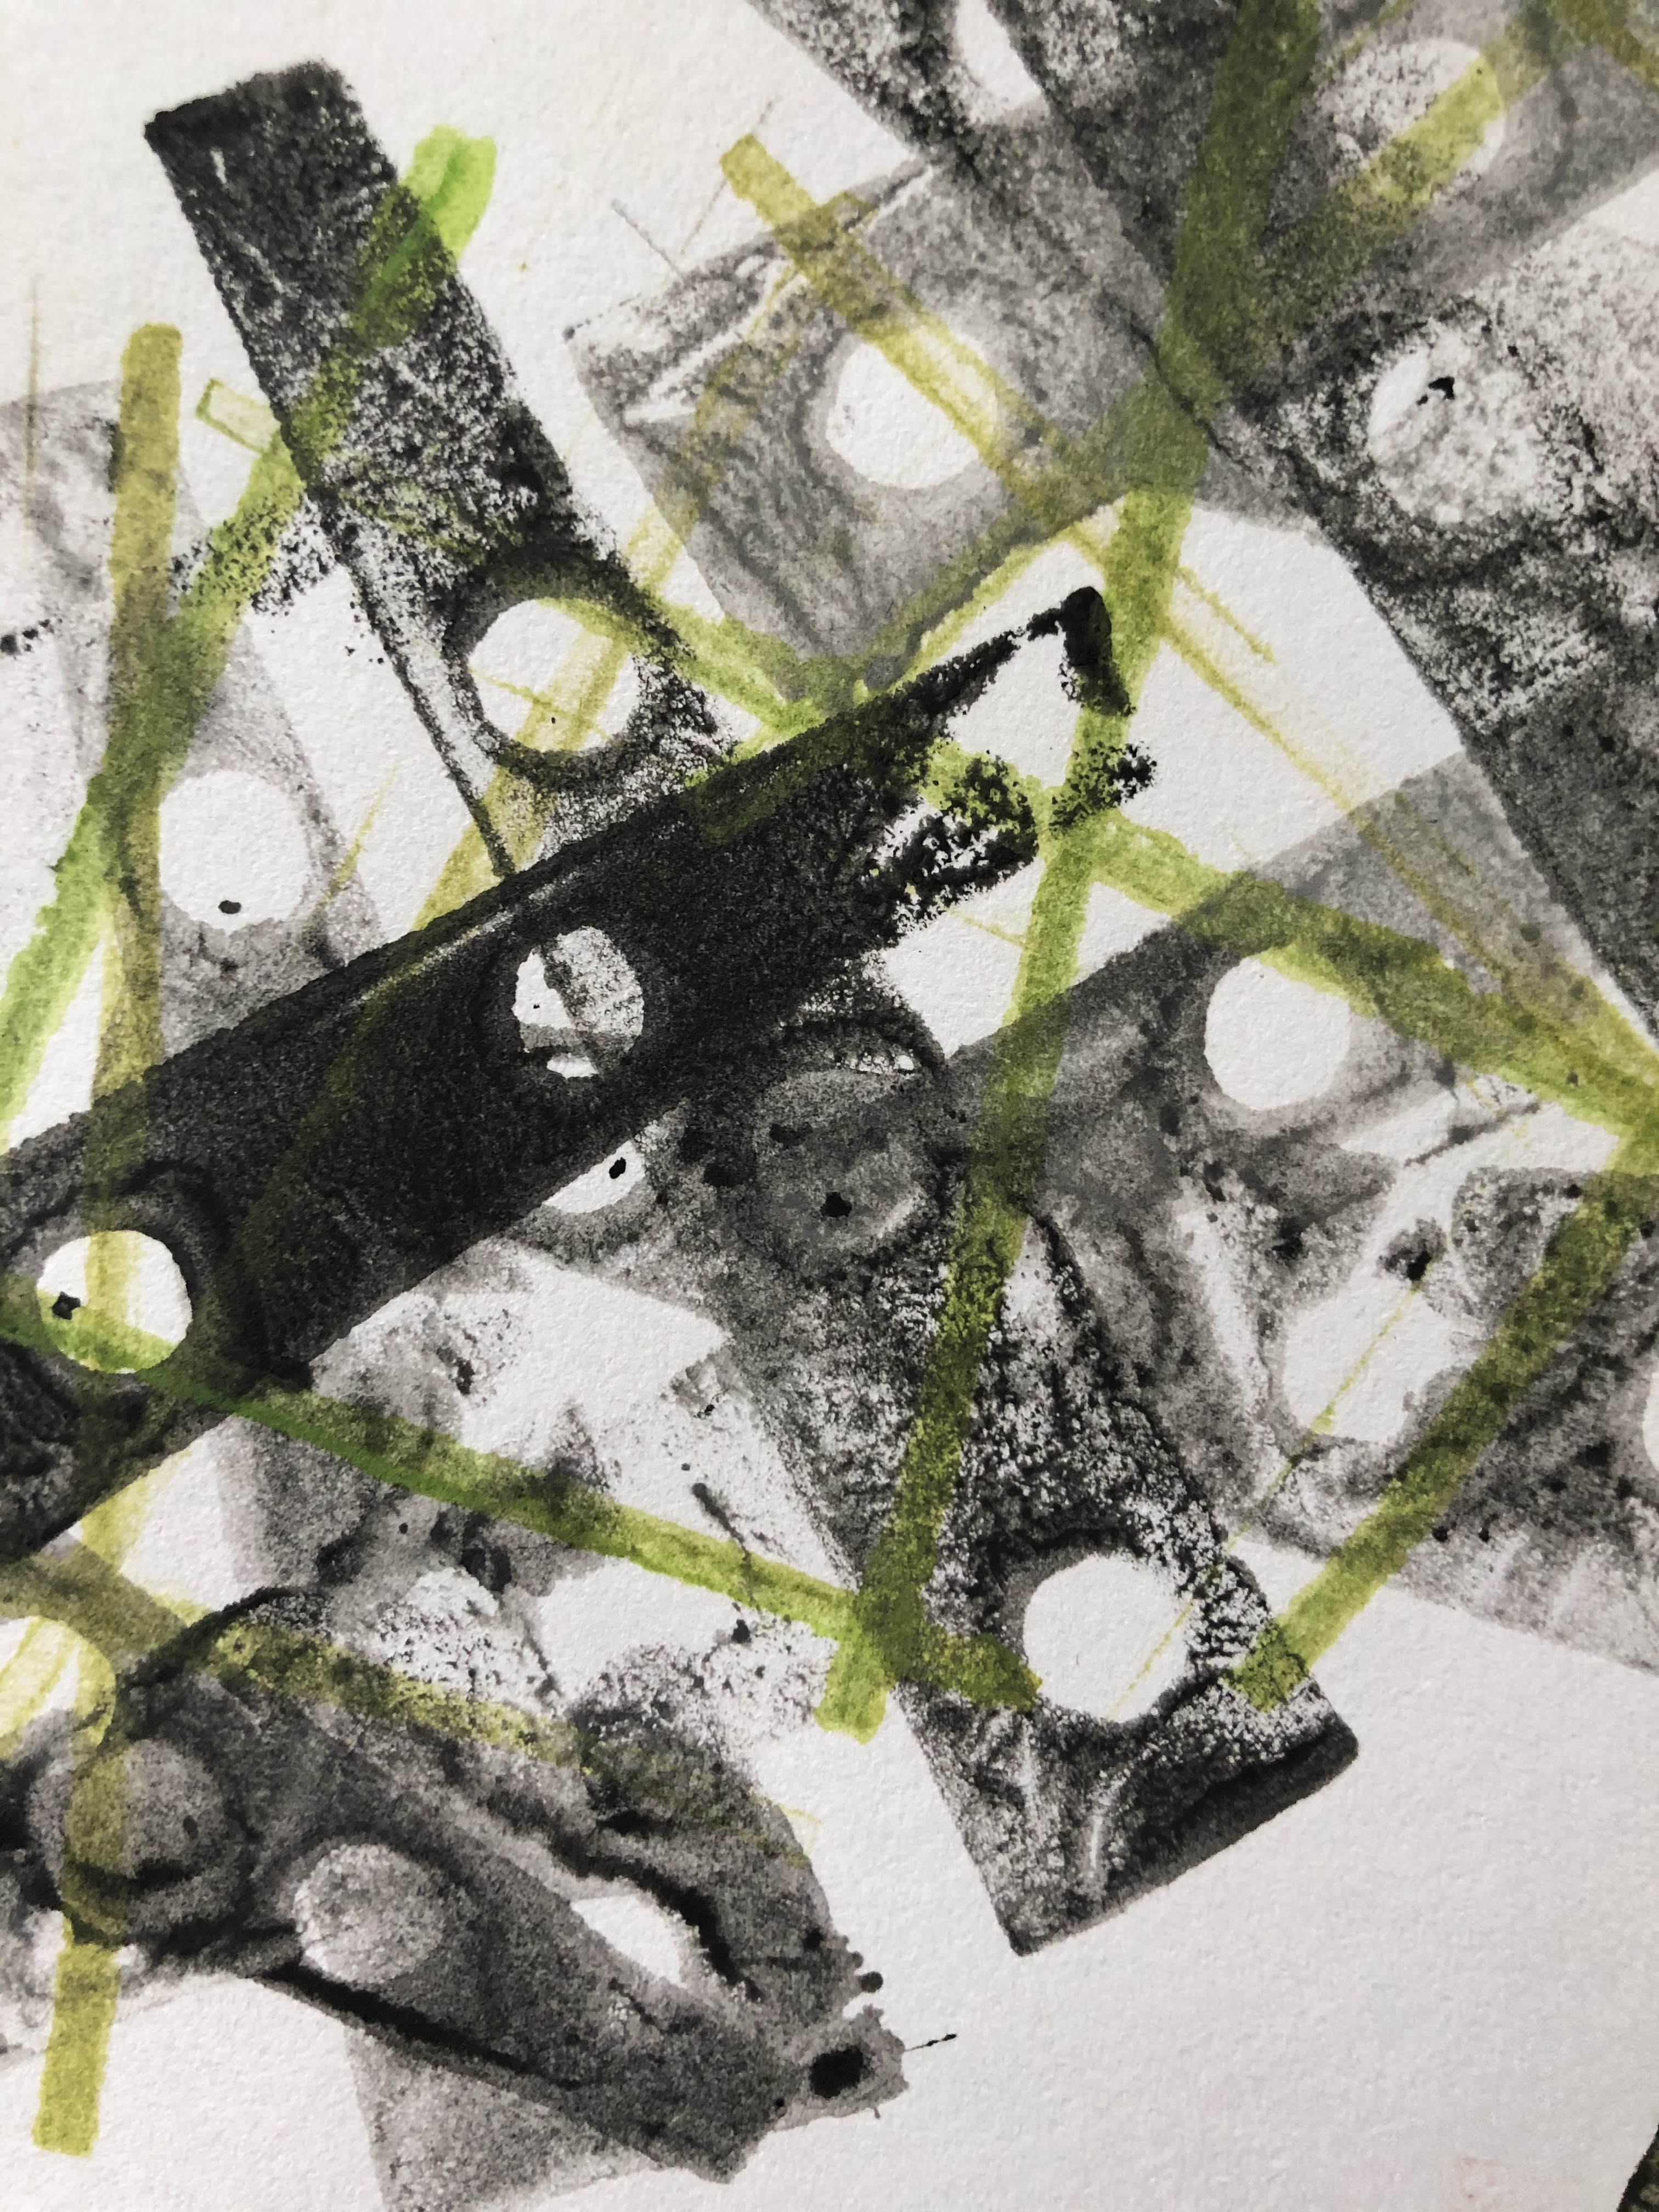
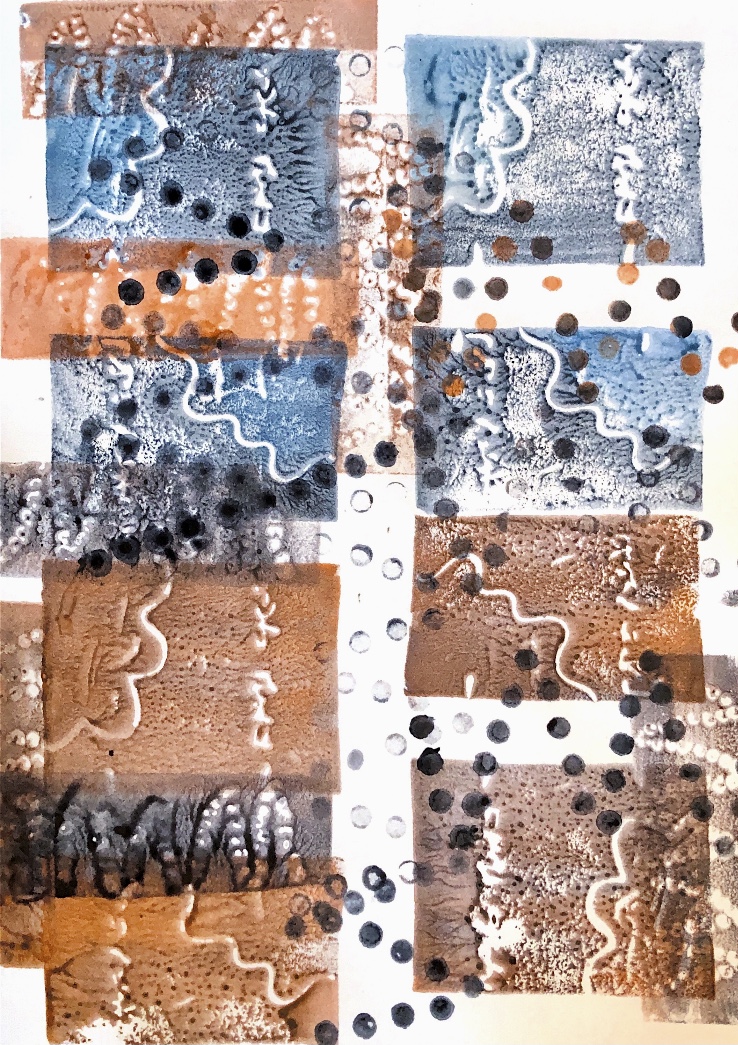
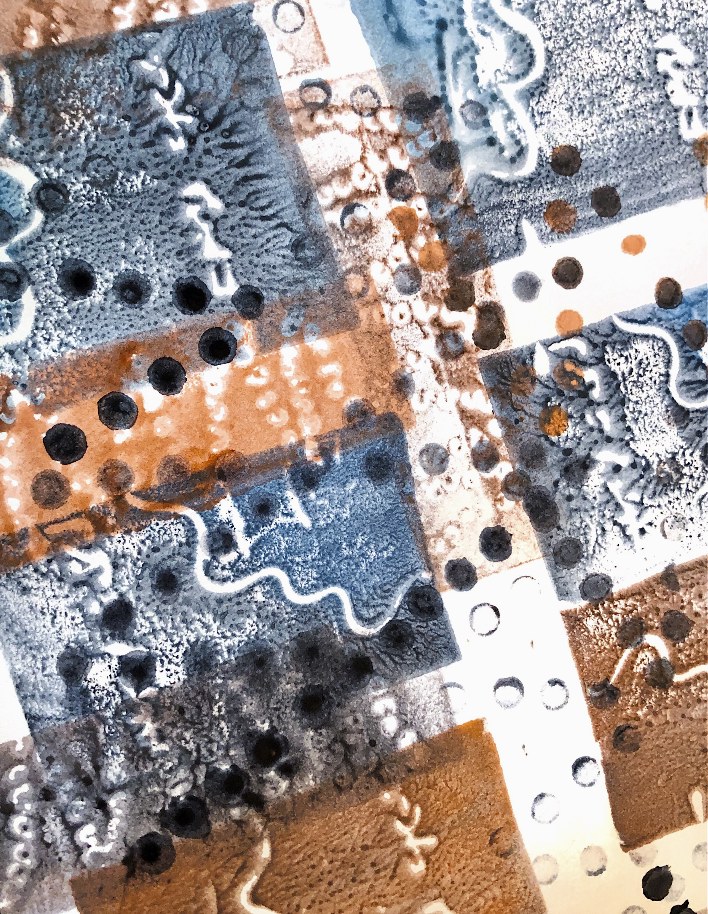
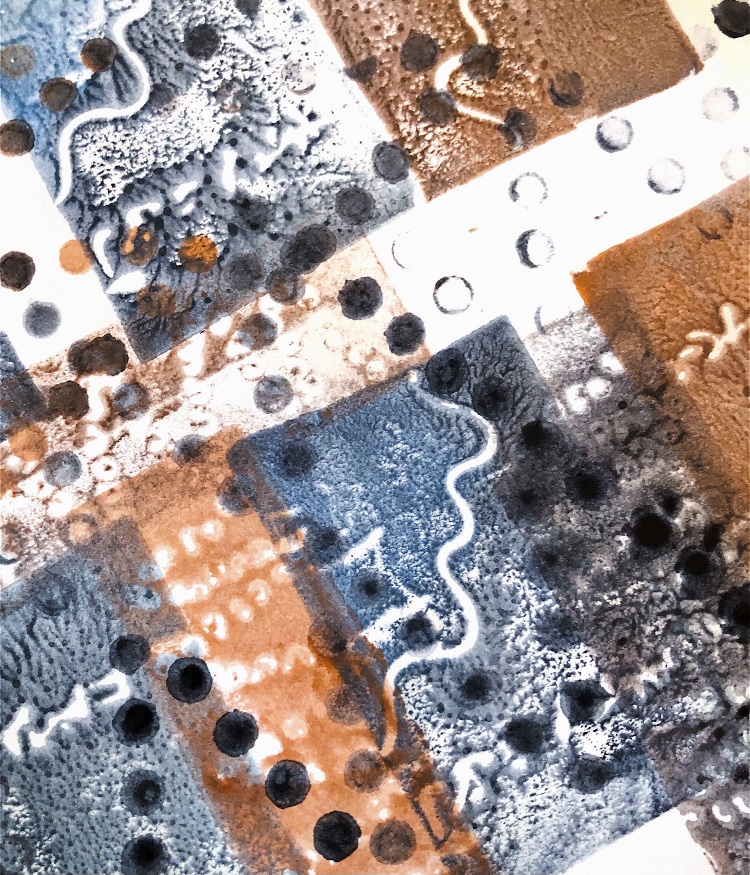
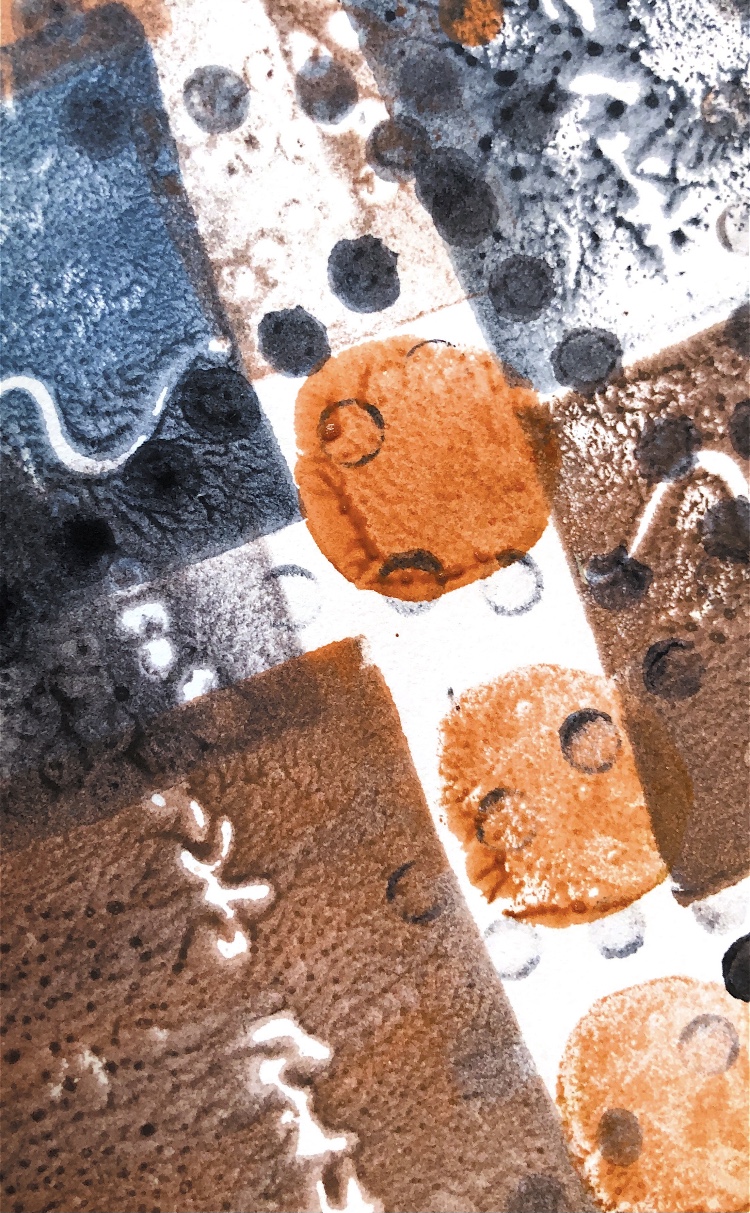
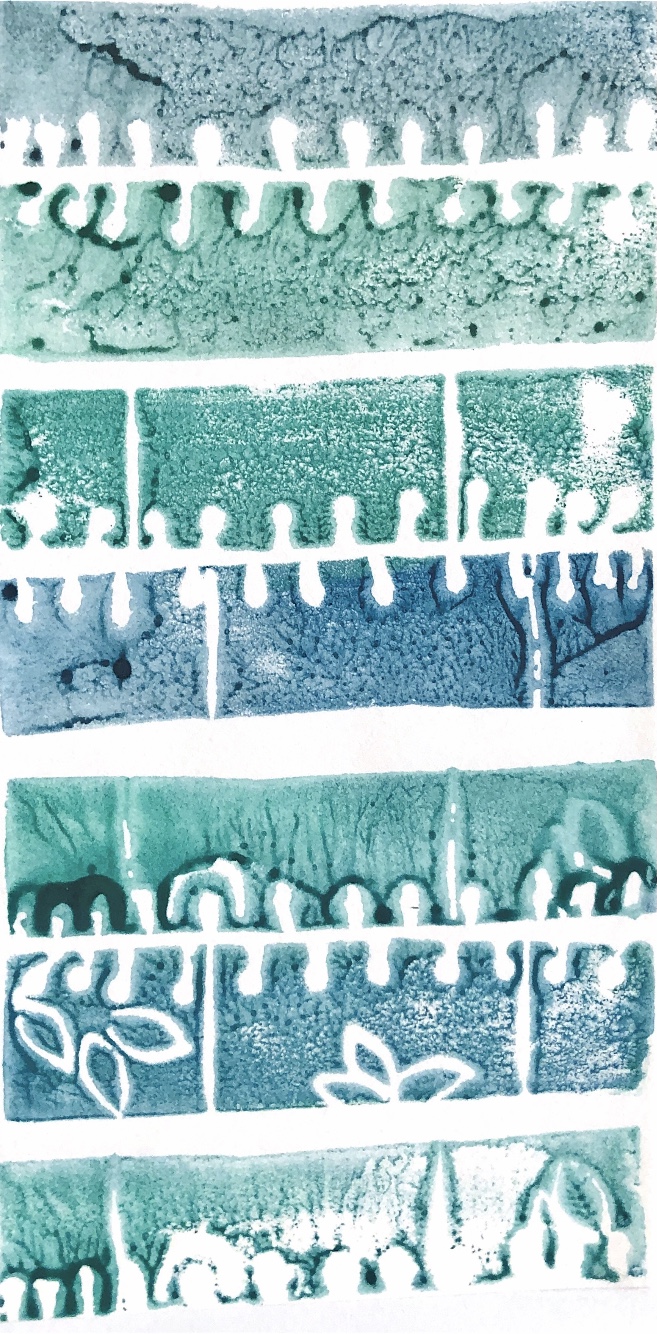
Printing using a combination of these simple shapes made brilliant patterns.
Experimenting further with lots of joining techniques was inspiring, – simple corrugated card was merely the medium for exciting and interesting ideas. The width between the card ranged from 1cm to 5cm and some samples have graduated gaps.
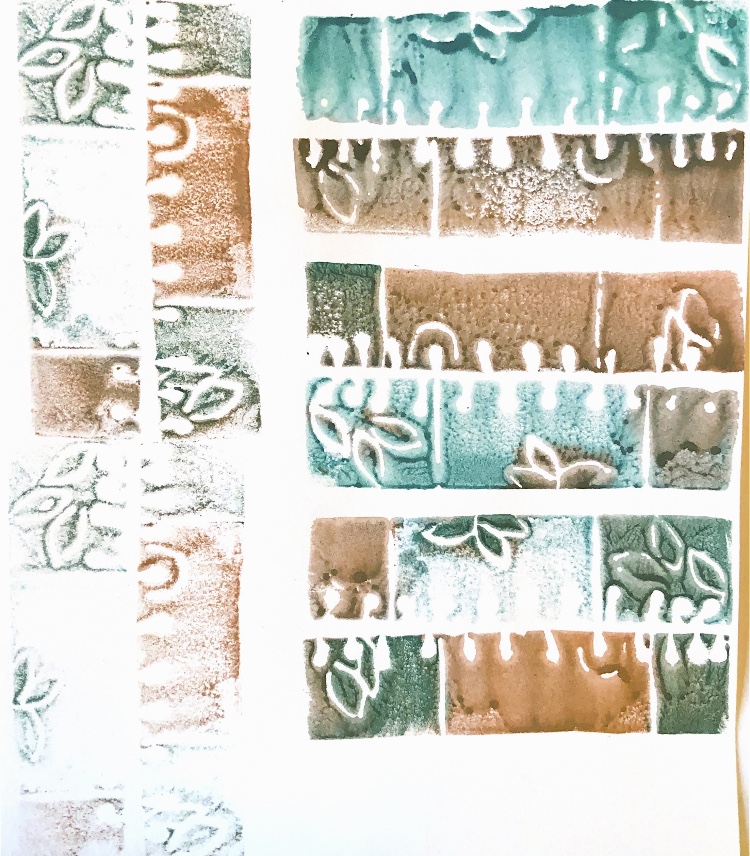
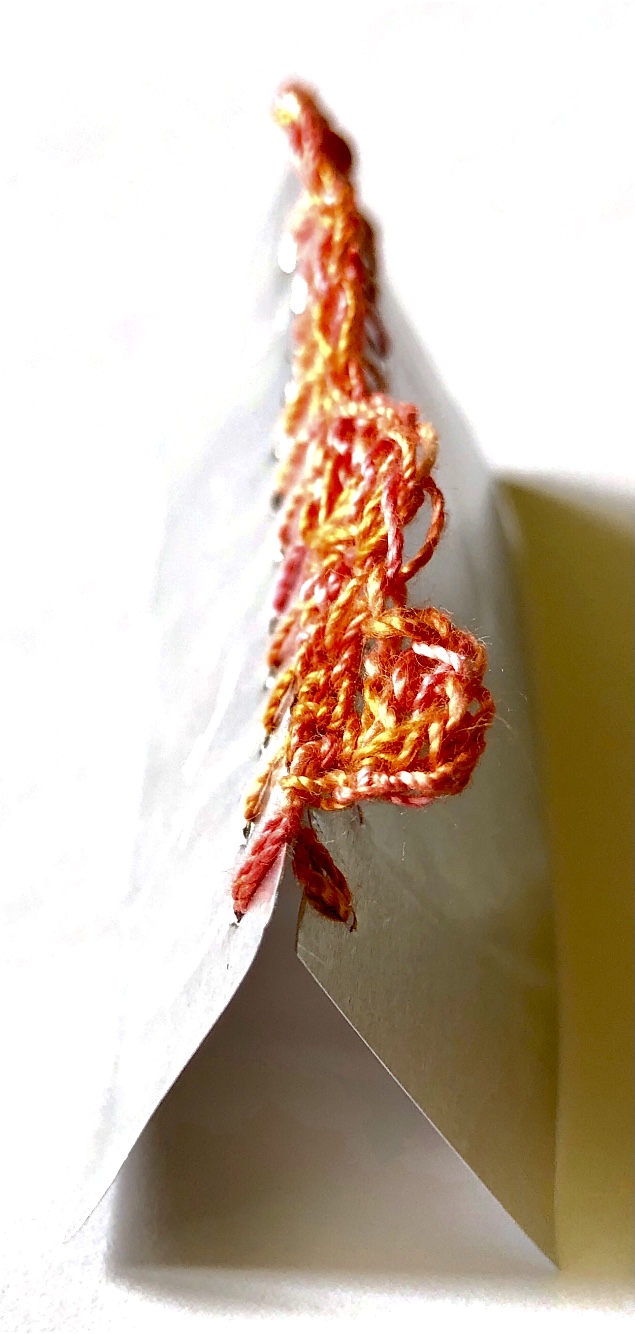
I have drawn some of the samples with pencil and black pen and then gone onto to produce foam printed images with hand sewn and crochet joining details.
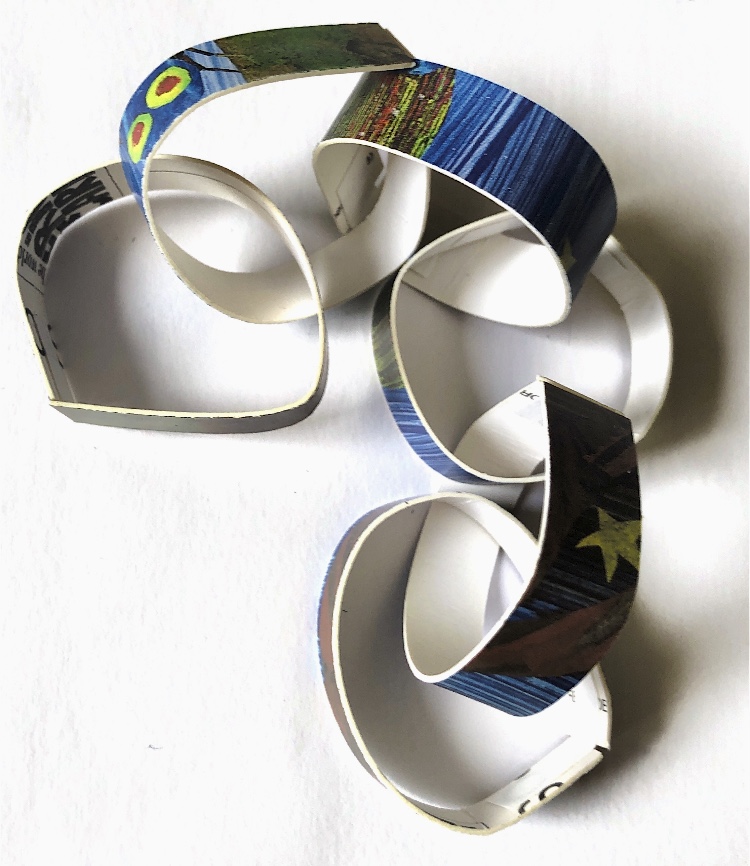
Realising that joins can be made in other ways, I produced a paper chain sample and also cocktail sticks joined by buttons. These did not inspire me in the same way as some of the other samples but chains are definitely an idea that I may come back to.
Once again very simple techniques and ideas have inspired lots of samples and resulting drawings. I really am going to have such a catalogue to work from.
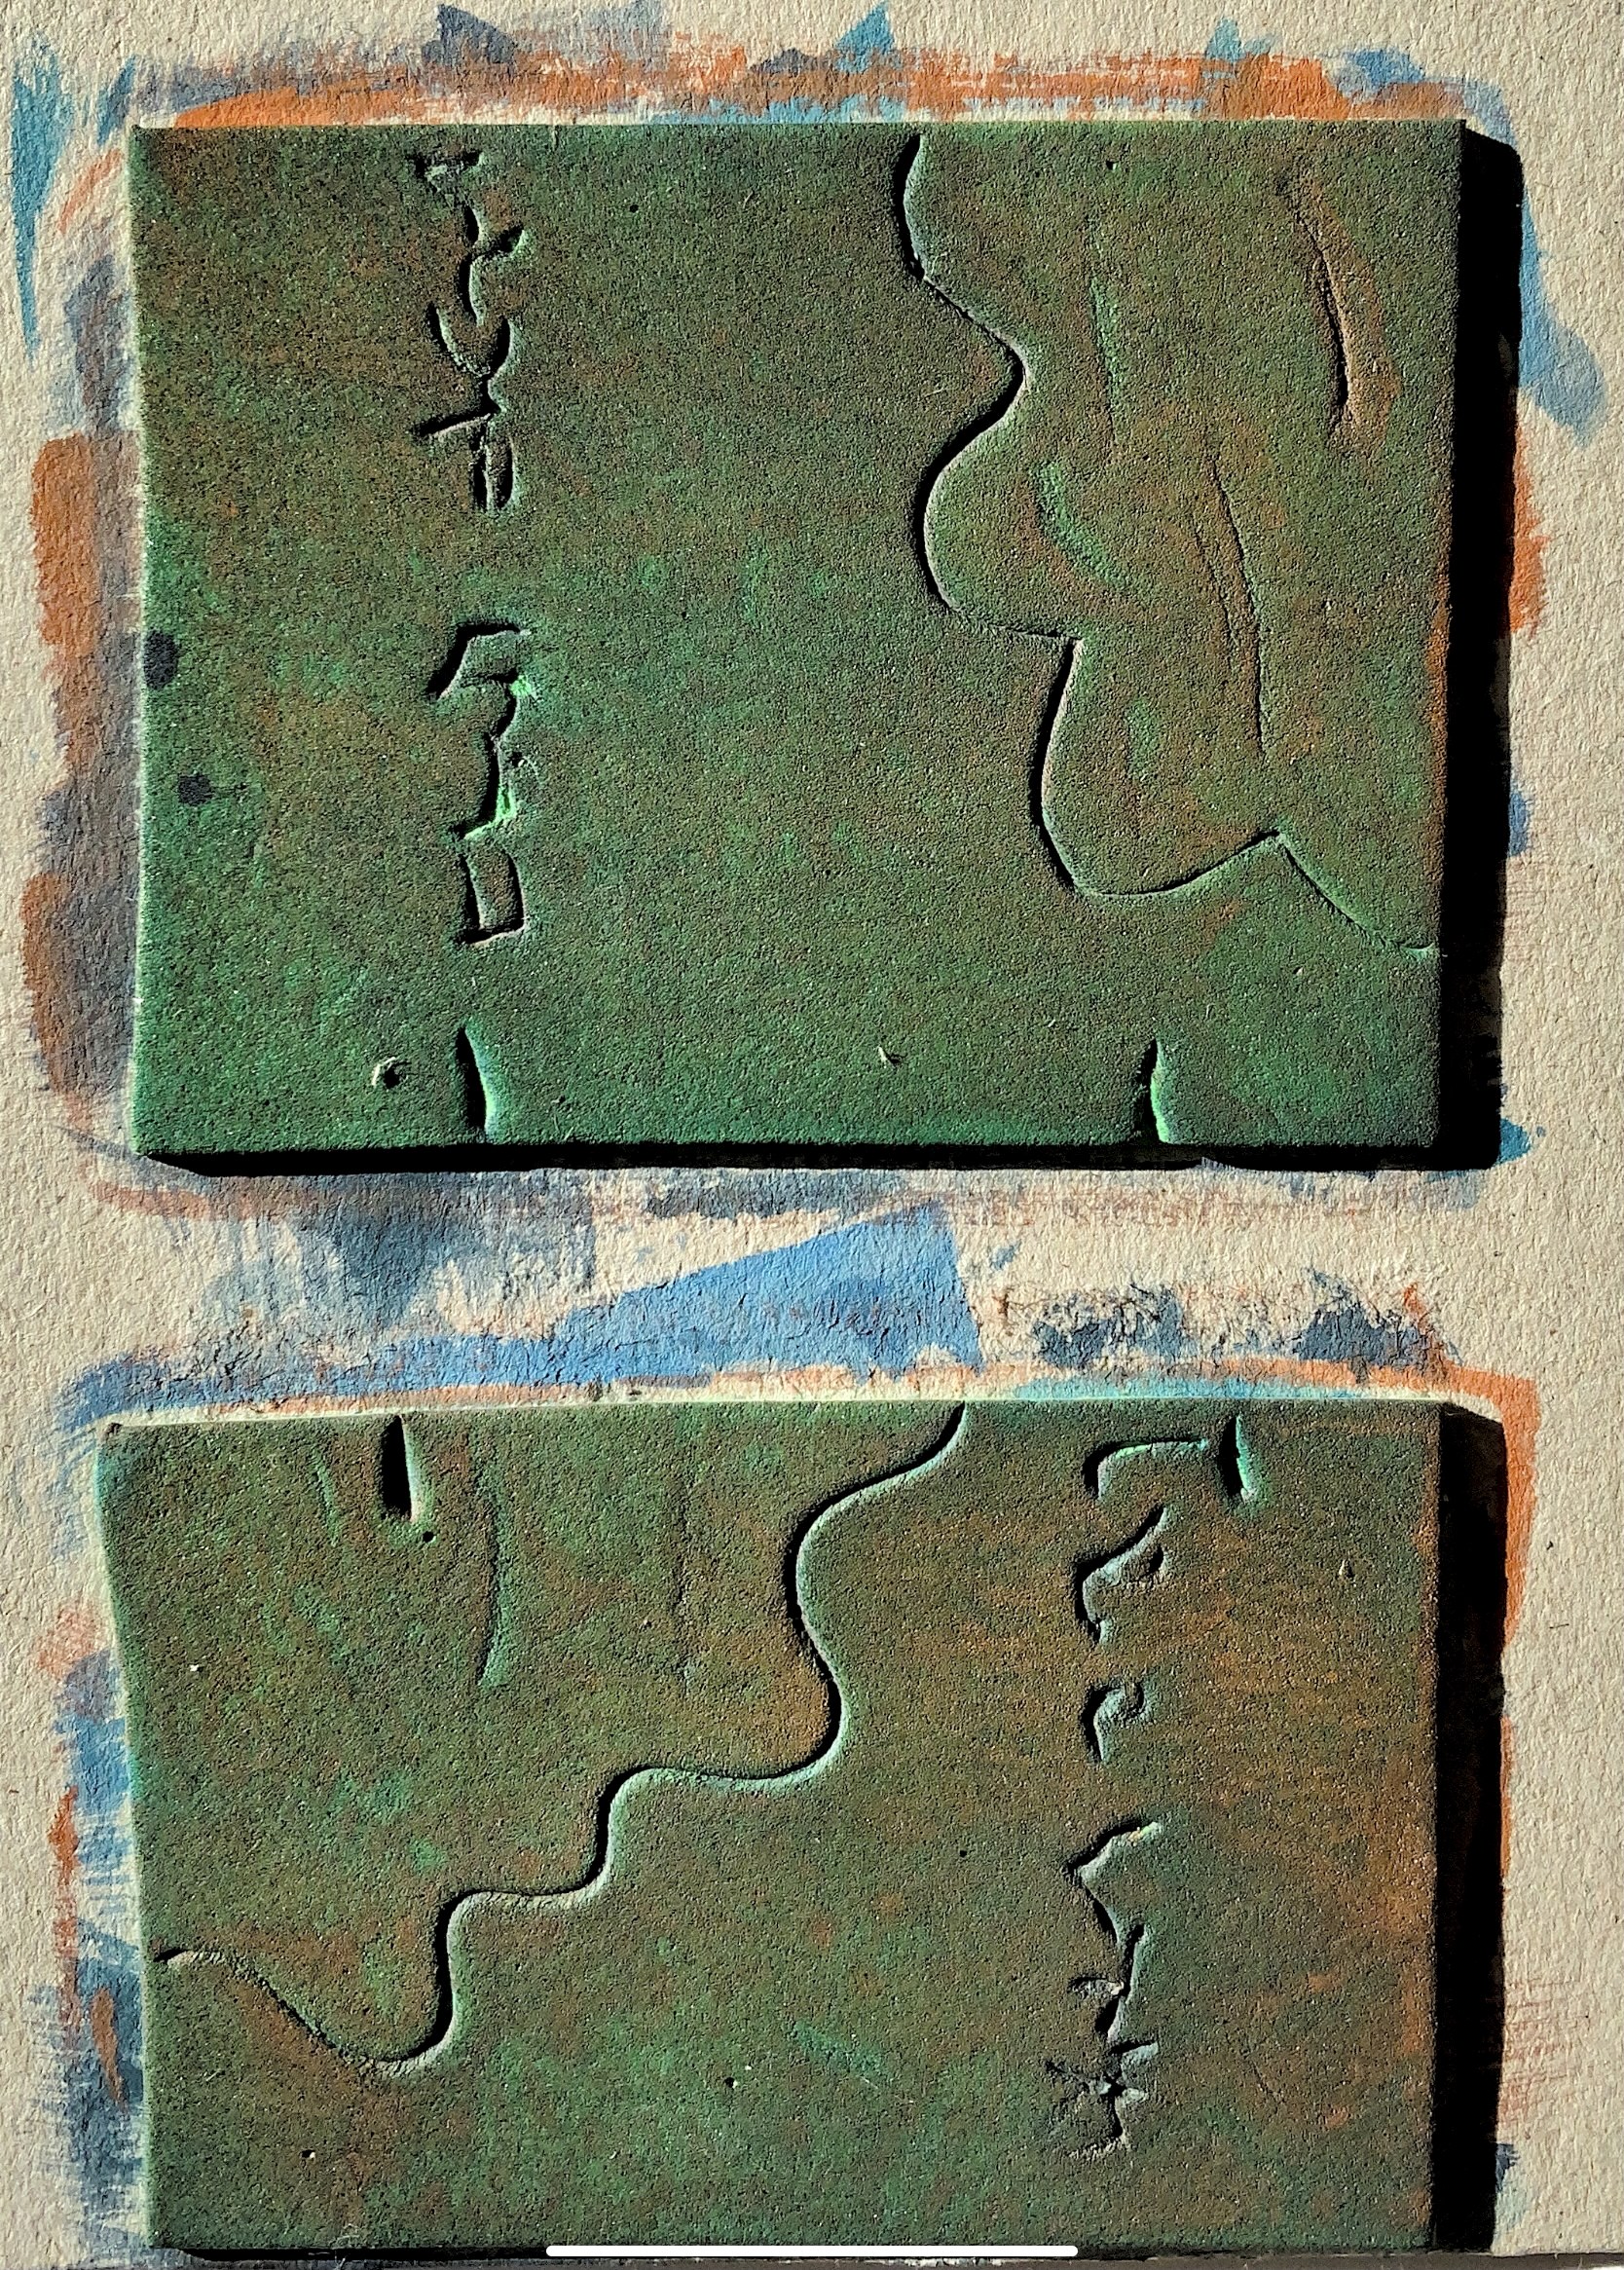
Materials joined – watercolour paper, furnishing fabric, postcard, metal sheet
Methods and materials used to join – hand stitch (straight and buttonhole), machine zigzag, attachment of buttons, glued paper strips, crochet
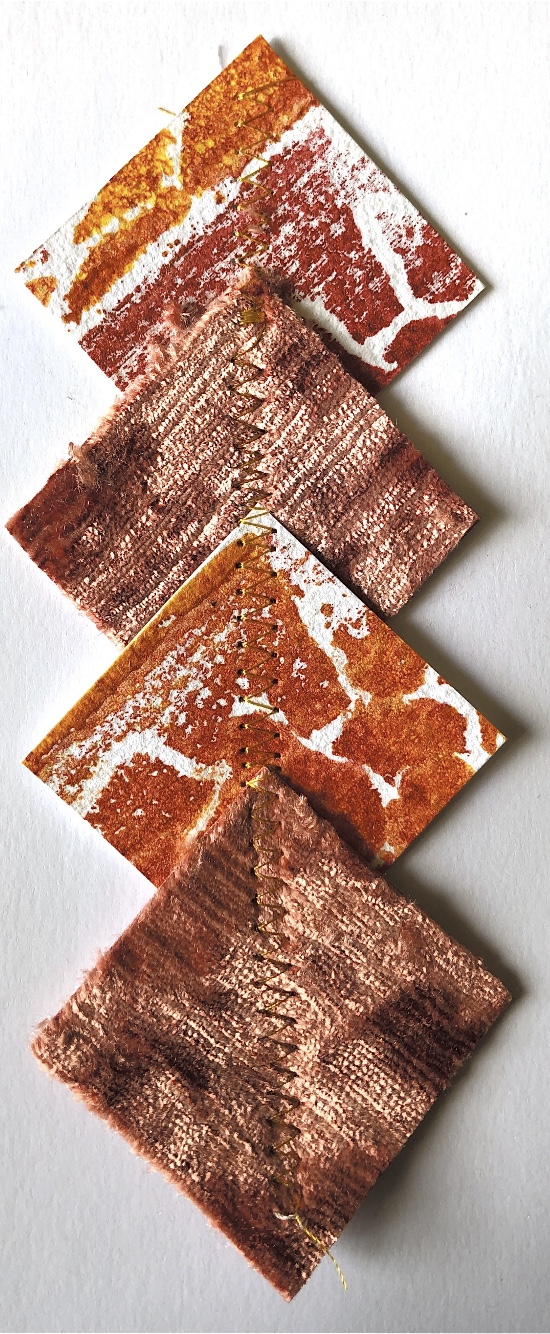
I chose to join materials I had close to hand, using colours that pleased me for stitching. Joining straight edges proved relatively easy, the interest is in the method of joining and the pattern/texture/colour this adds to the sample.
Simple sketches of the samples led to some lovely foam print blocks which capture the lines and joins of the samples. The sample where fabric squares have been joined to paper are particularly interesting – I have tried to contrast the soft lines of the fabric with the pattern of the paper.
Cutting up and rearranging a postcard made an inspiring collage with lots of lines and shapes which could be developed. I find the parts of words in this sample intriguing. Using large buttons made a less stable join than glued paper strips.
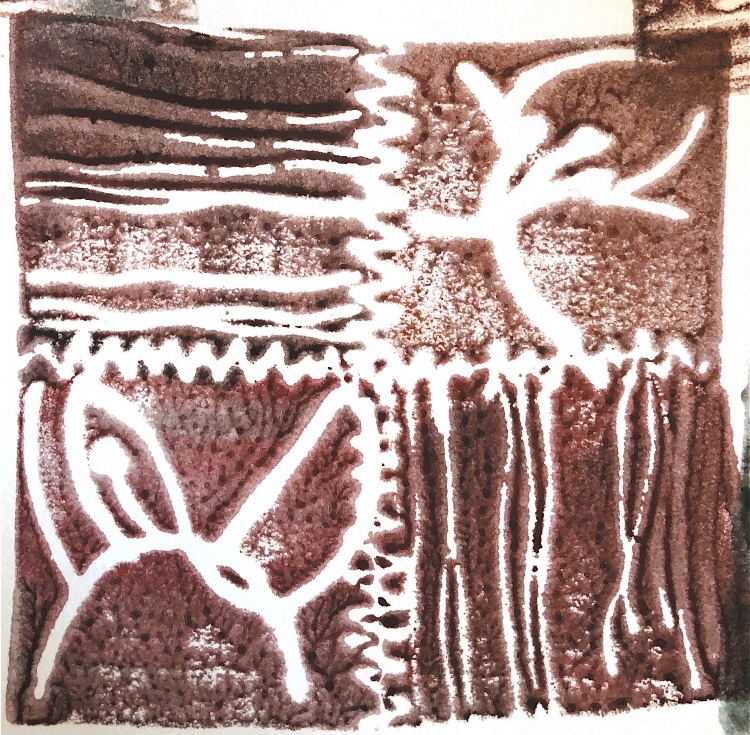
More printing and cardboard stamping explored the samples further and the addition of drawing pens emphasised the actual joins.
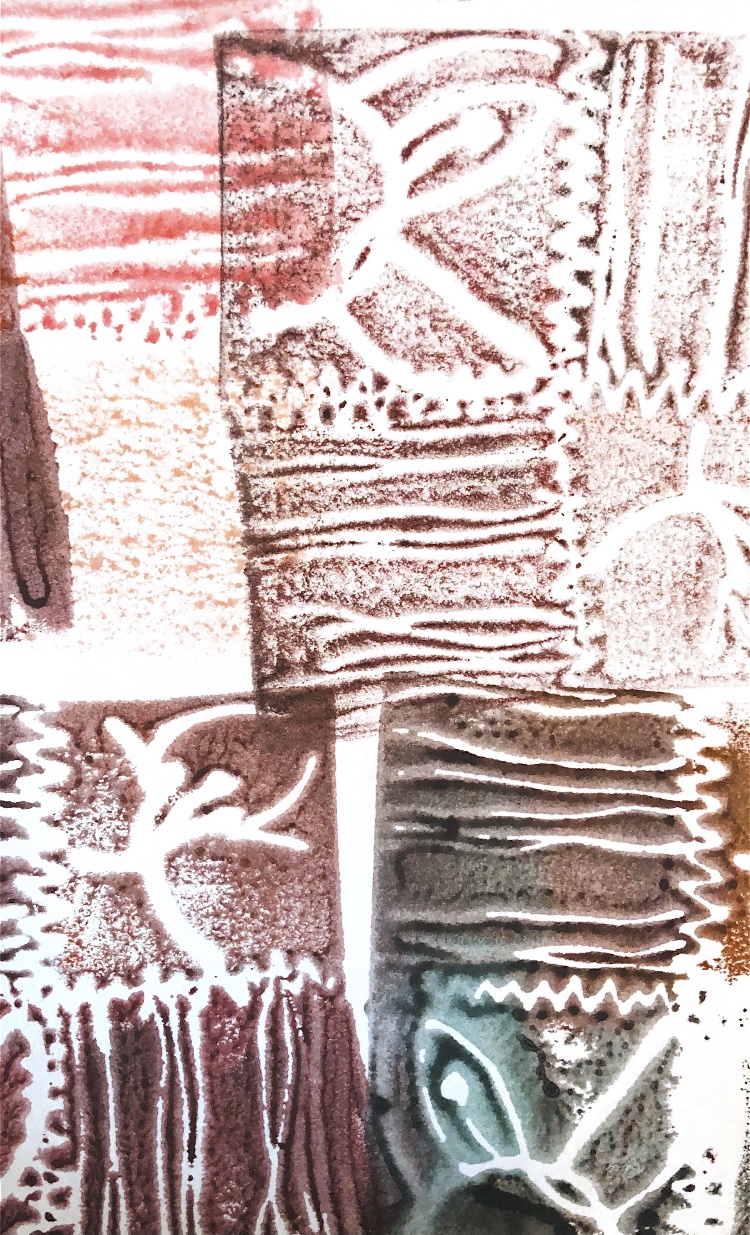
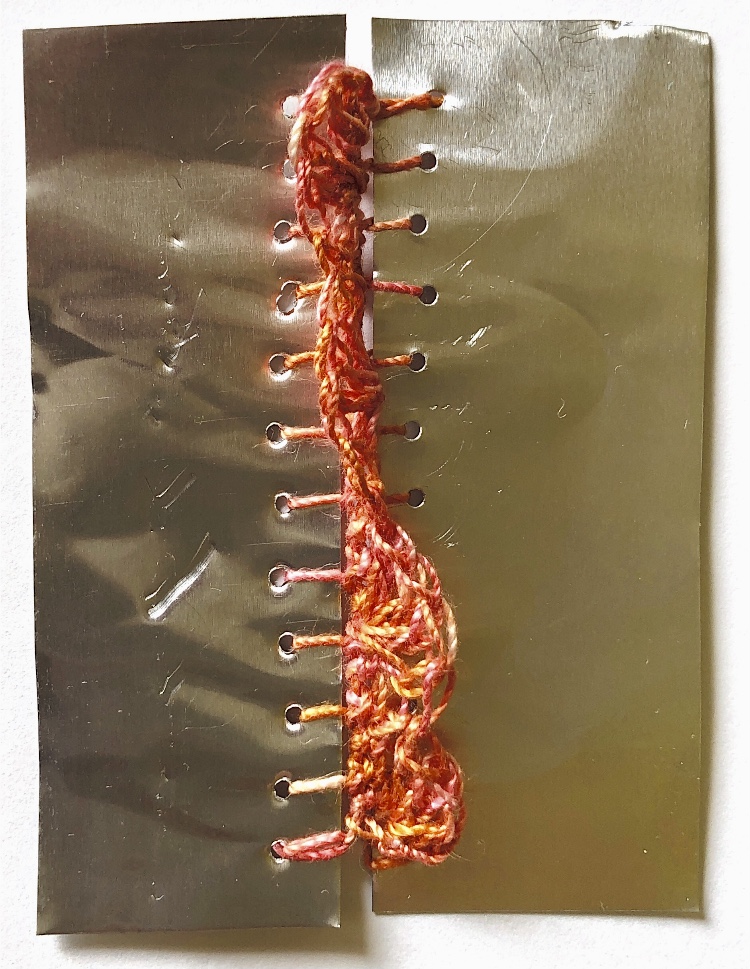
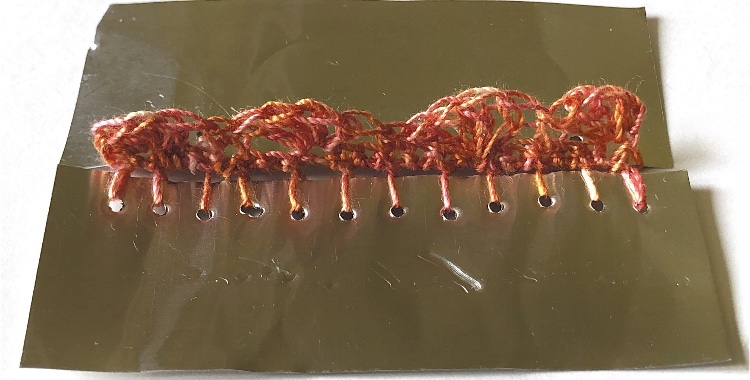
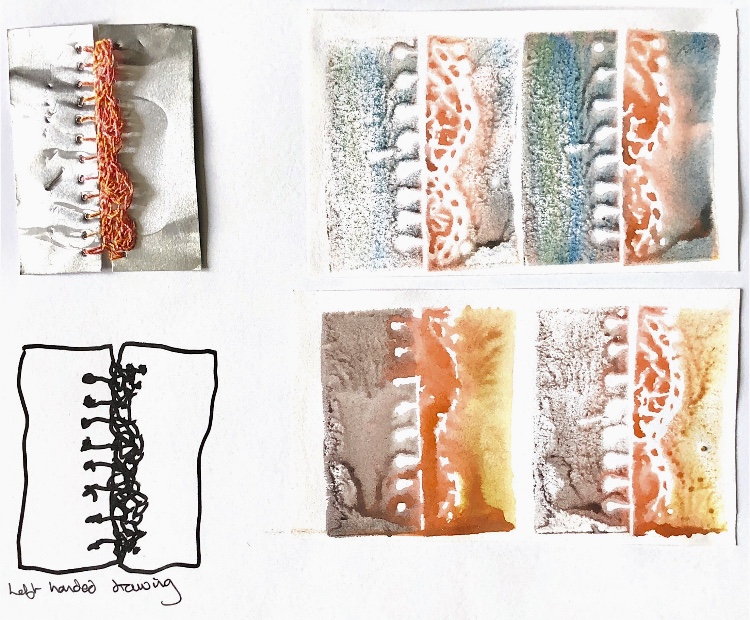
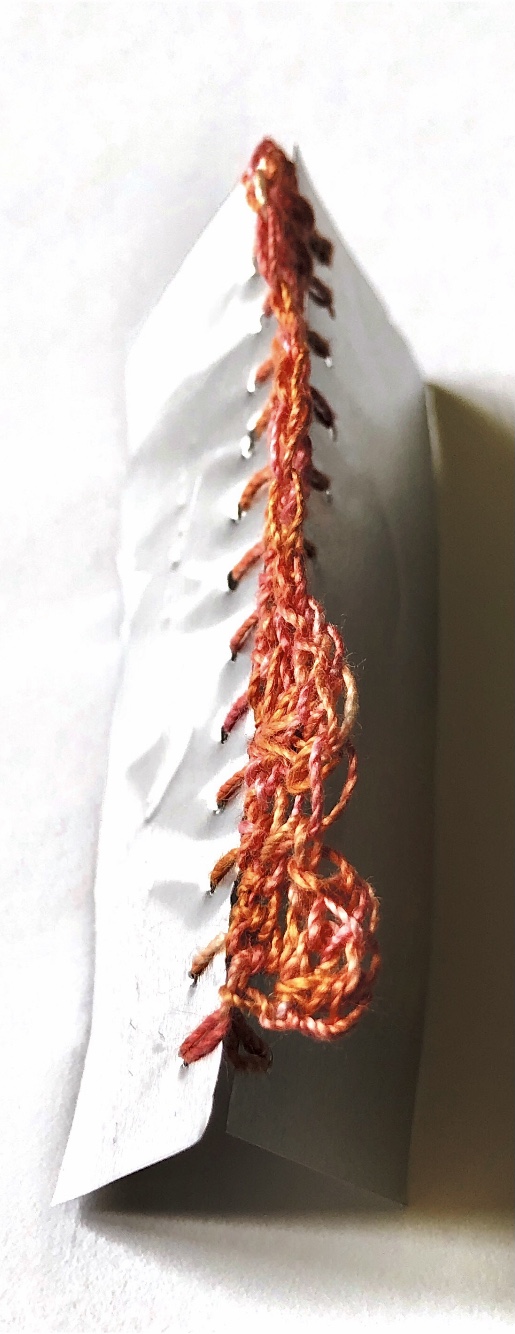
Joining metal sheets necessitated punched holes being made first, and I can see that other materials such as wood could be drilled and then joined in a similar way. In this case I have blanket stitched the edges and then used crochet to join. The resulting sample can be laid flat or raised into an angled shape.
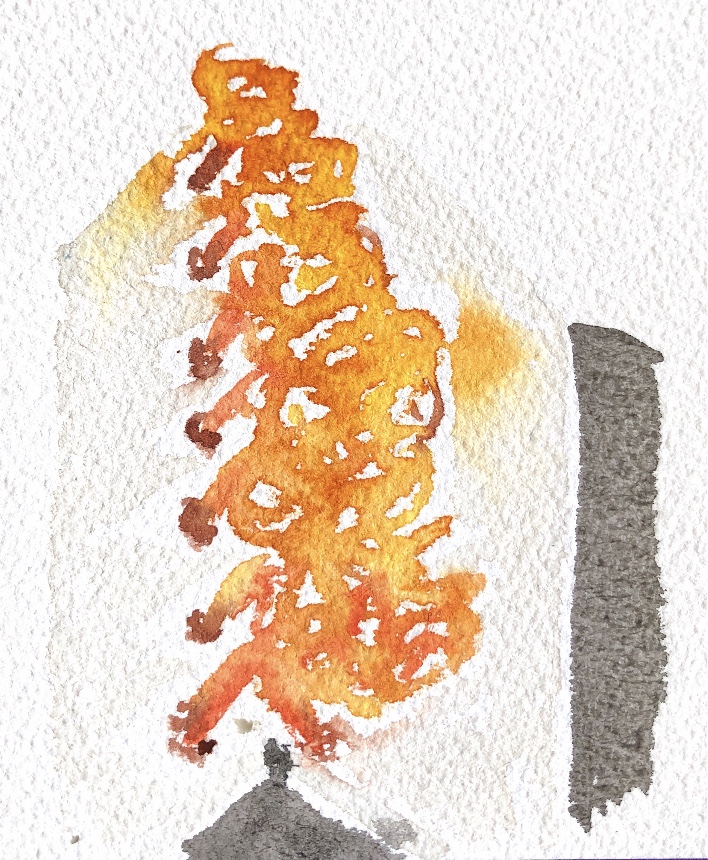
Having done more printing, I then did a couple of watercolour sketches of the sample in the ‘tent’ position and manipulated these further on the computer.
I am definitely enjoying printing as a way to develop my ideas, and it is surprising how such a simple technique of joining two straight edges can produce such a lot of inspiration.
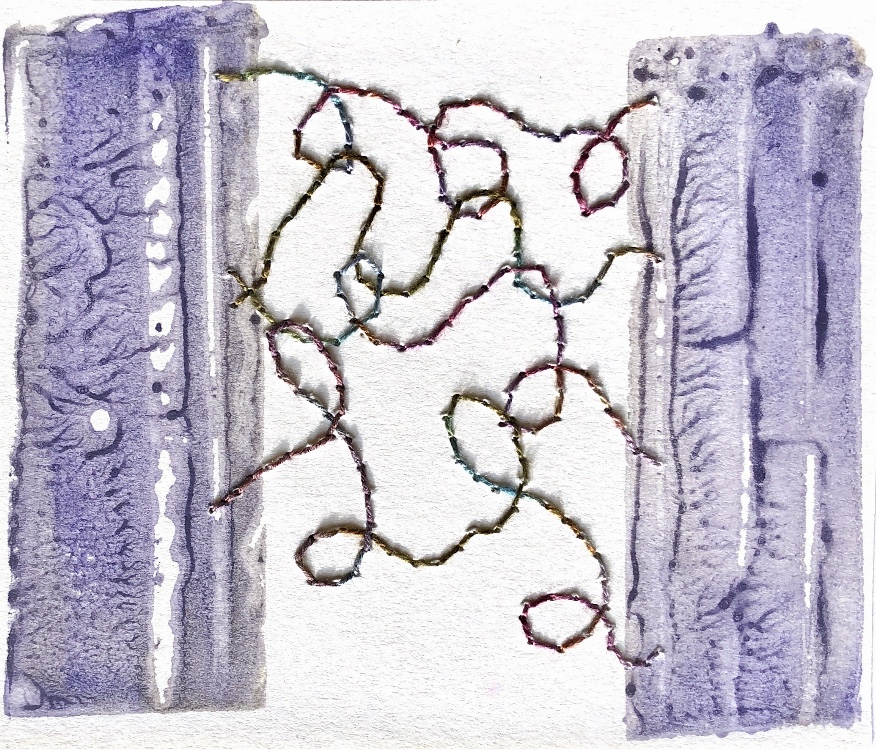
I was drawn to the work of Pippa Andrews in particular because she has created works using paper, particularly newspaper rolled into beads and joined using nylon fishing line. She also uses knotting, beading and stitch to create organic looking shapes. There is a lot of movement in the pieces which appear to be changeable and drapable.
The following work is on a much larger scale and is created with indigo dyed bed sheets ripped into strips and made into cords which have then been made into hanging pieces using finger crochet together with threaded tubes which provide stability and shape. These are reminiscent of lanterns, with a Japanese feel due to the shapes, colours and simplicity. To me they also have a look of bell pulls, with the rope curling onto the floor.
Again she uses a lot of paper, in particular tea bags to make a cloth like piece. These are neatly stitched together by hand with the threads knotted and left to show. The undyed tea bags are very natural with subtle variations in colour, and they crinkle and fold where they are bent into the desired shape creating shadows and texture looking into the 3D shapes.
Judith Scott’s story is very unusual for a textile artist. She was born profoundly deaf and with an extra chromosome which meant she lived much of her early life in institutions with no stimulation or access to art or materials. Later her sister became her legal guardian and when Judith attended art groups and courses she began to wrap pieces of wood in various materials such as fabric and threads. These pieces, collectively called totems are vibrant, exciting, strong pieces with powerful choices of colour and scale of materials.
Judith Scott made many pieces ranging in scale from tiny to huge, and used any materials she could lay her hands on, being given free range for her to choose whatever she could find by the art studio. She used magazines, chairs, bicycles as well as other found objects.
I can see that Judith Scott has made choices of material, found objects and colour in her pieces but it is the sheer wild spontaneity and joy of creation that stand out to me – being unconstrained by preconceived ideas, and going with the moment.
I was drawn to this artist due to her almost exclusive use of paper in her work. She uses a sewing machine to join small pieces of paper such as magazine pages, photographs, tea bags, and money, adding wire, matches, buttons and beeswax to enhance the sculptures. Dresses and teapots are a favourite theme, – the dresses display the drape created by this technique, and the teapots have a definite structural shape.
The joining technique is an integral part of these works. For example the dresses have a lot of space between the pieces of paper, creating light airy fabrics, whereas the teapot papers are joined without a gap and the zigzag machine stitches are a prominent geometric feature.
Egyptian Mummy wrapping
As part of my research I also decided to look at ancient and traditional methods of wrapping.
Egyptian mummies were wrapped in linen – sometimes hundreds of metres. Methods varied according to the period of wrapping. Many layers started with a shroud and were followed by careful wrapping; a liquid resin was brushed on to stick the layers on and keep the shape. The bandages were wrapped tightly and pieces of jewellery and charms were added in. The process was carried out by a number of people accompanied by priests.
I find the whole process interesting, – the prayer and ritual over the days of wrapping, the careful tightly bound wrapping, the meticulous bandaging of toes and fingers, and the varying patterns of the criss cross strips. The ancient linen cloth contrasts with the masks, jewellery and amulets made with gold and precious stones.
I feel that I want to wrap mummy shapes as part of my sample making, and think that maybe clay mummy shapes would be a starting point for my trials.
Mummies were also traditional in the Andes region of South America, and they often placed dolls with the bodies. These dolls often had limbs made by wrapping threads, and their bodies were encased in woven cloth and natural materials.
This traditional technique of wrapping items has the name ‘Furoshiki’ which. means ‘bath spread’ and originated in the Japanese Edo period (1603-1868). During this period cloths were used to wrap clothes and as a bath mat. The technique had been used before this to protect valuable items and to wrap goods for transport.
Furoshiki cloths are always square but come in all sizes. The choice of colour and design of the cloth have meaning and therefore this shows the thought and message to the recipient of a gift wrapped in this way. Like the Egyptian Mummies, the process, materials and ritual of the wrapping is as important as the finished article.