Category Archives: MMT Part 1. SURFACE DISTORTION

Textiles 1 Mixed media for textiles Part 1. Reflection

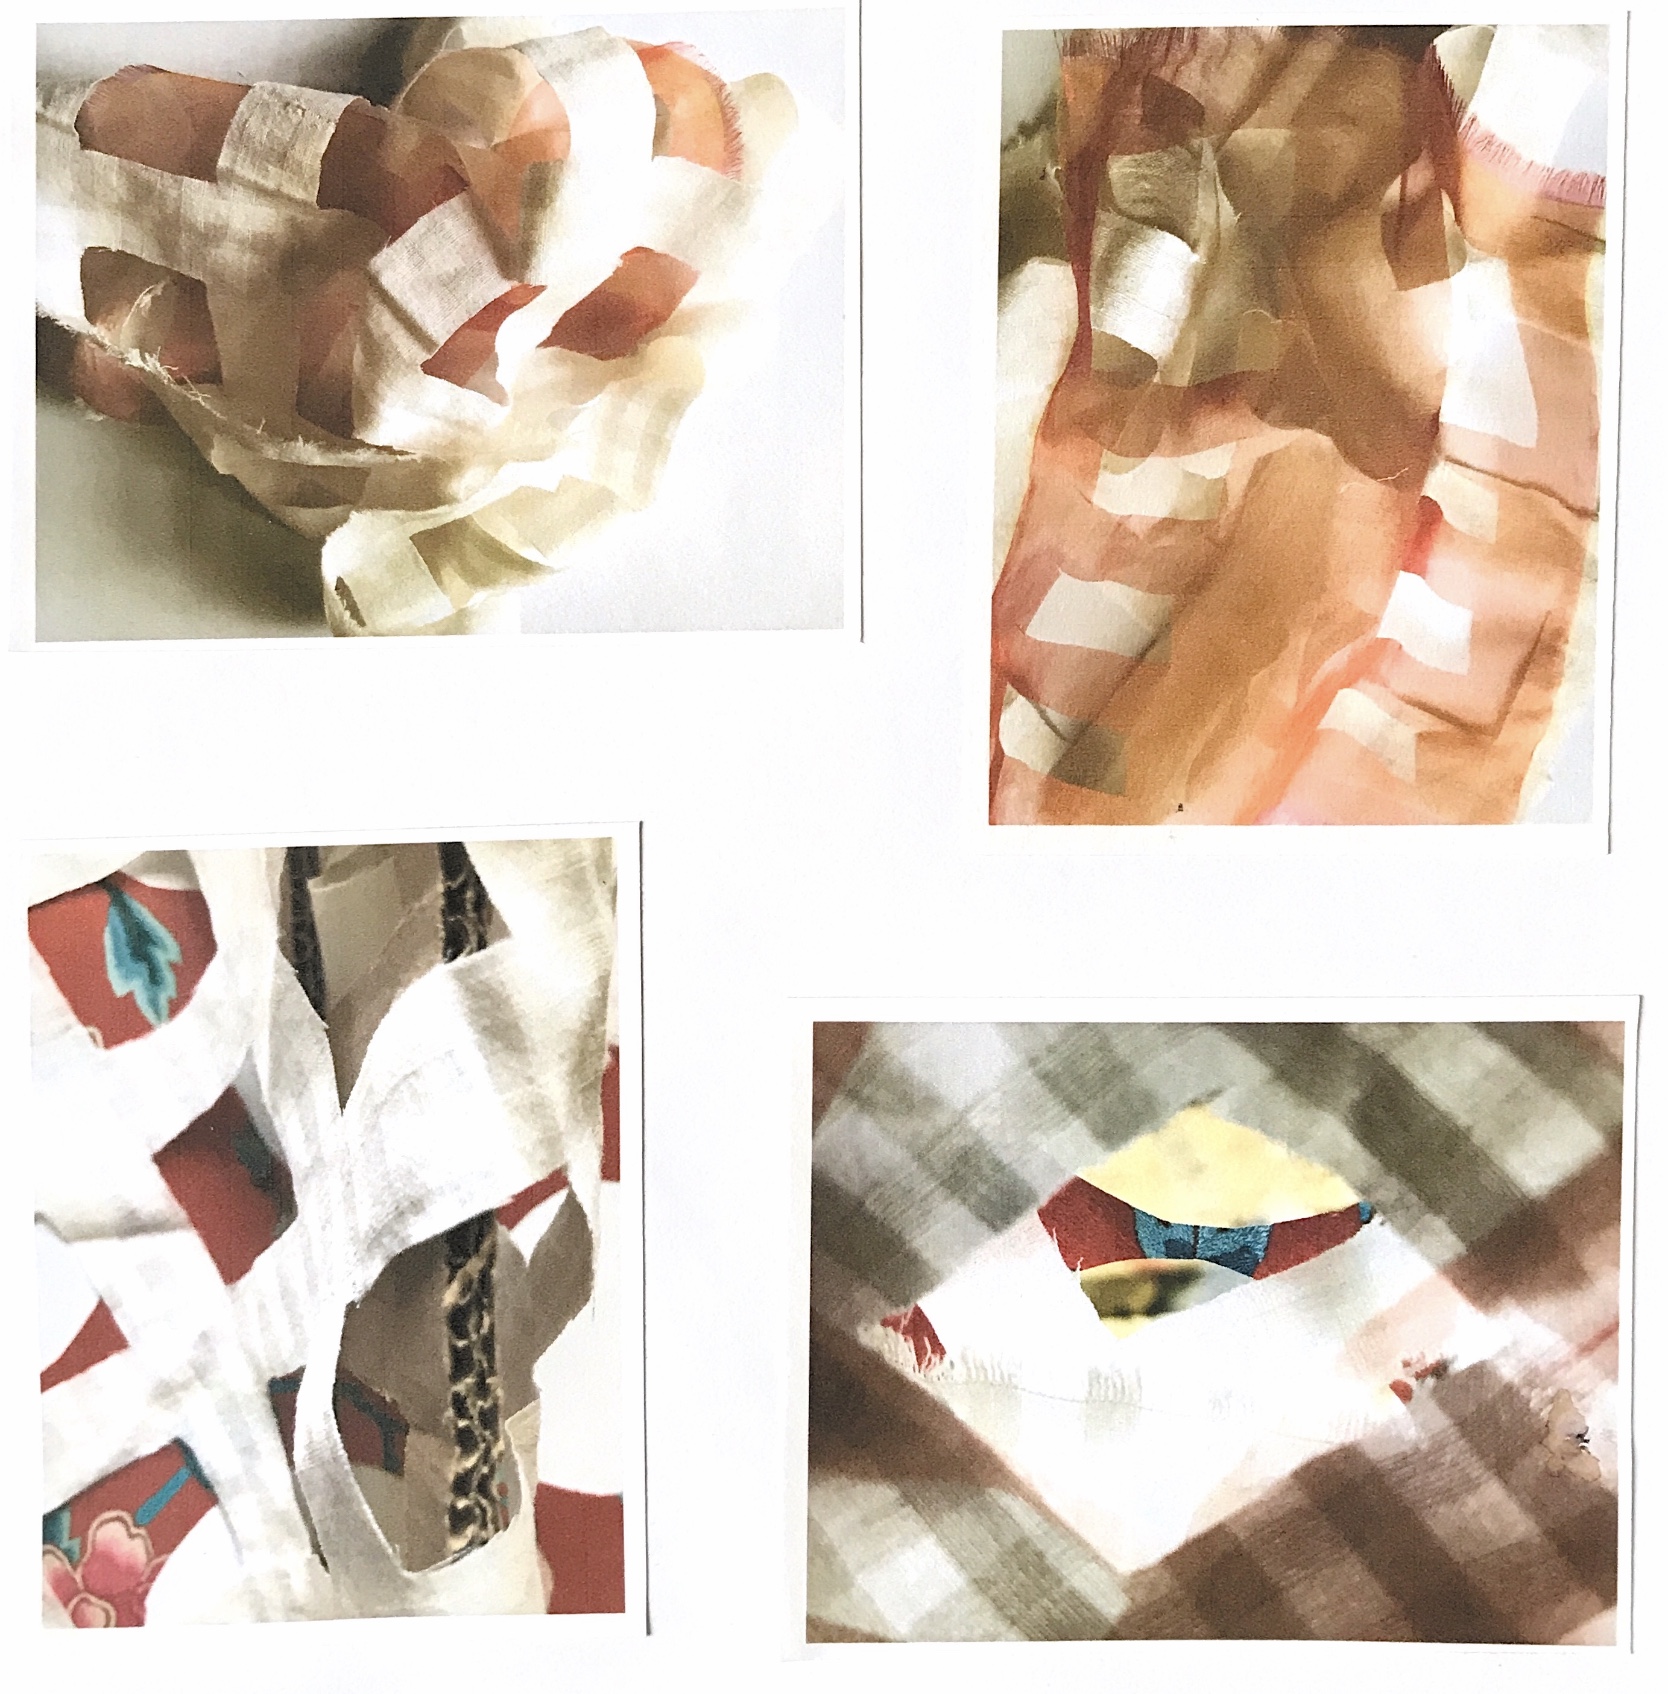
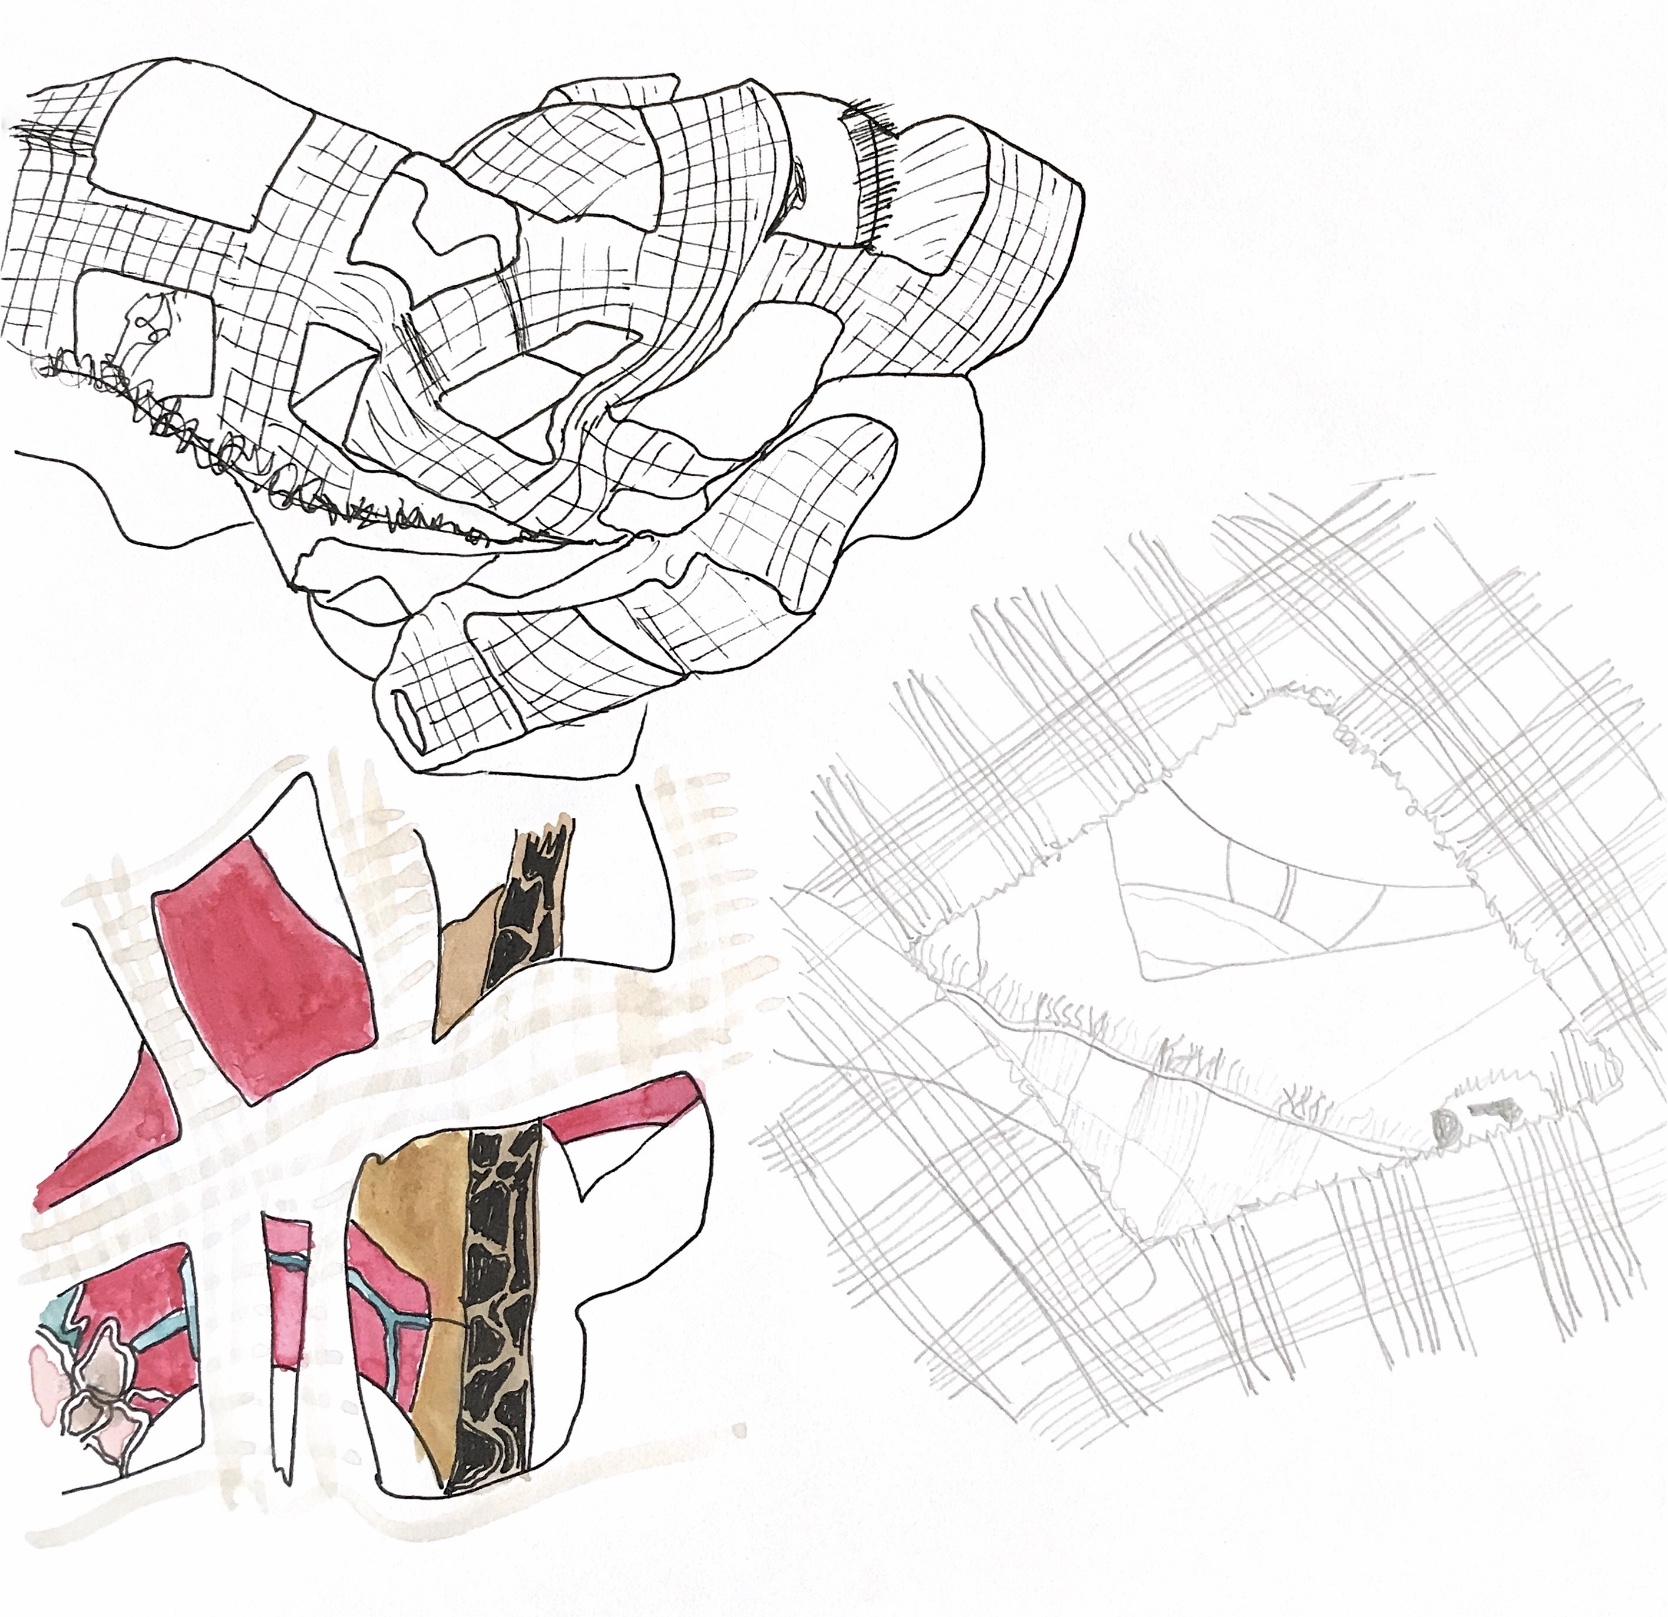
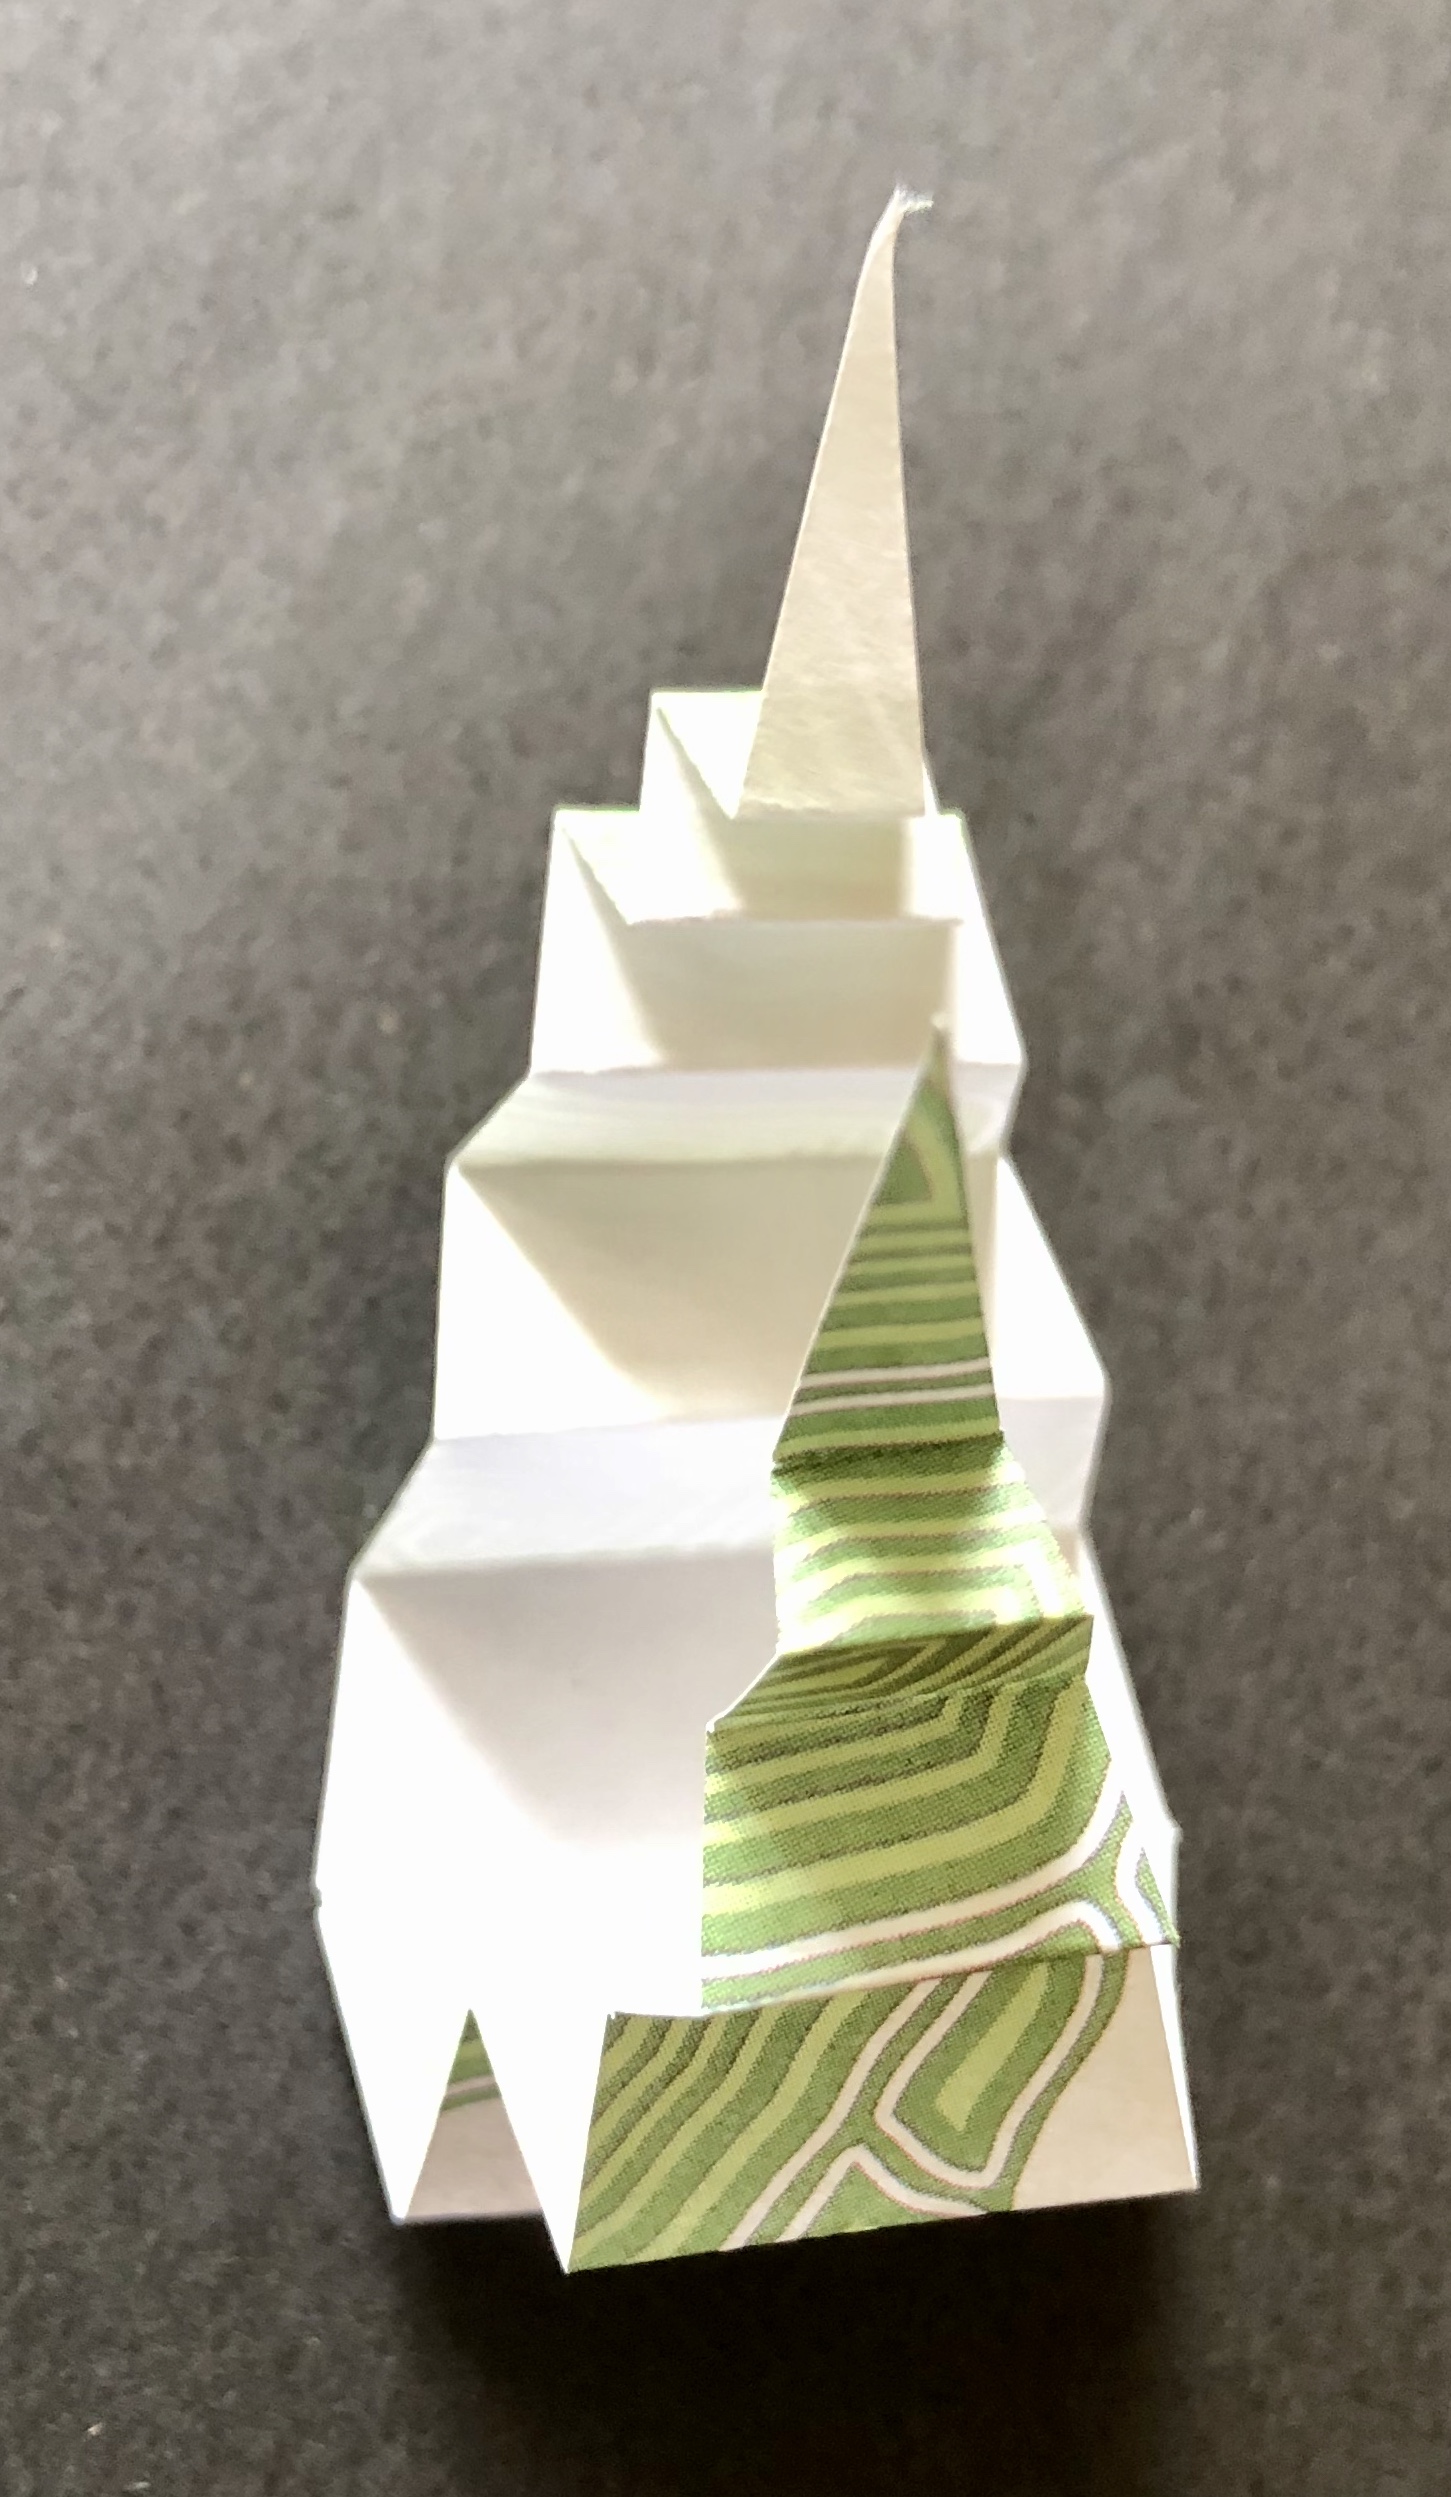
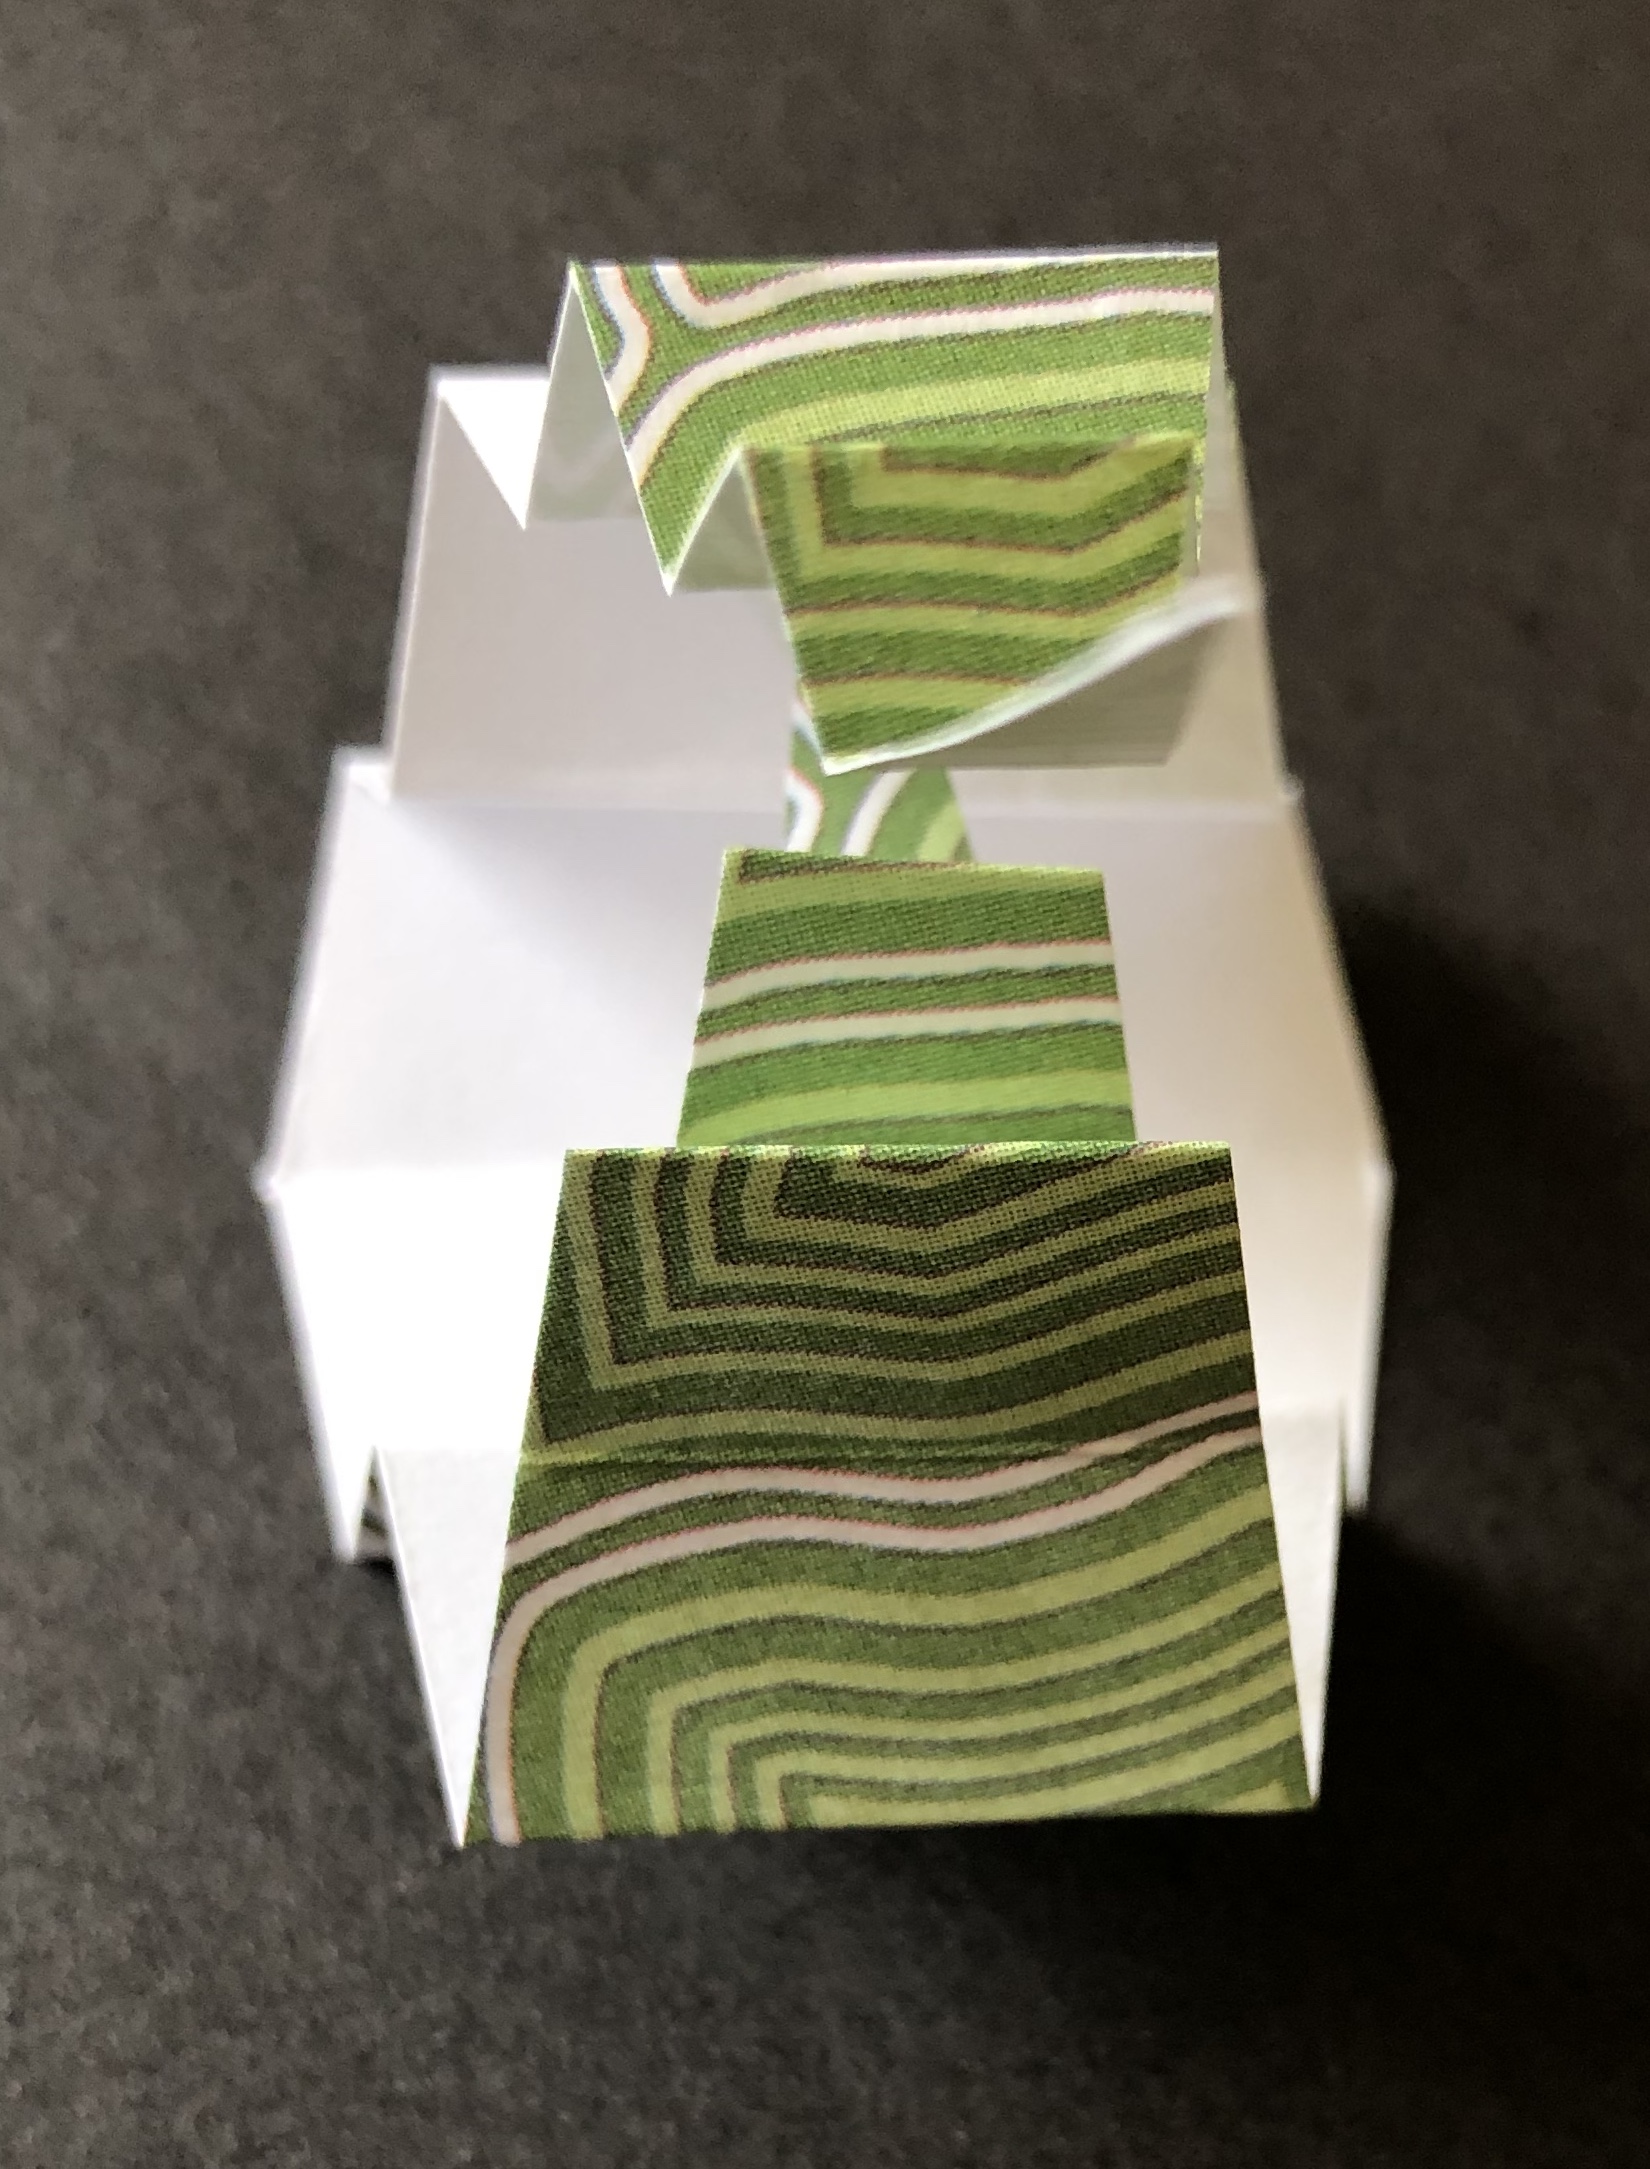
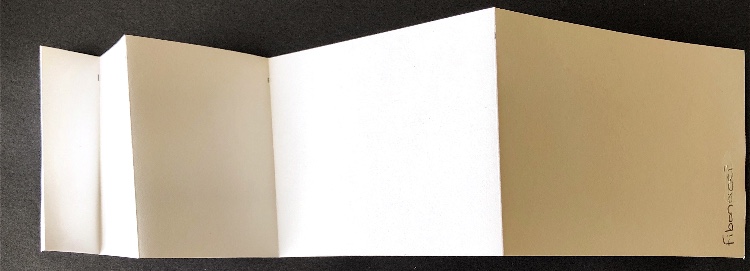
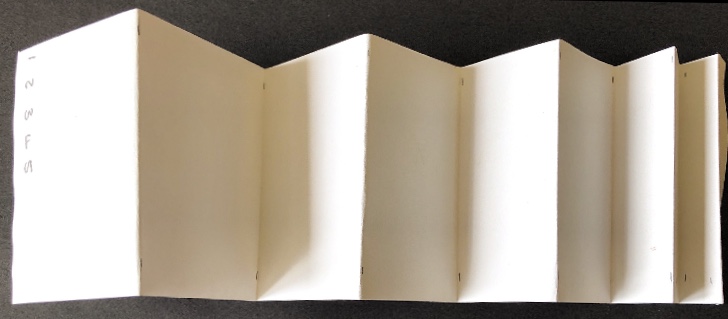
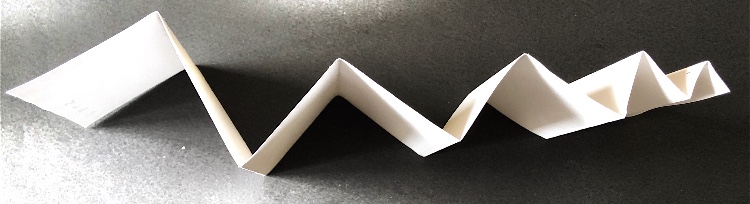
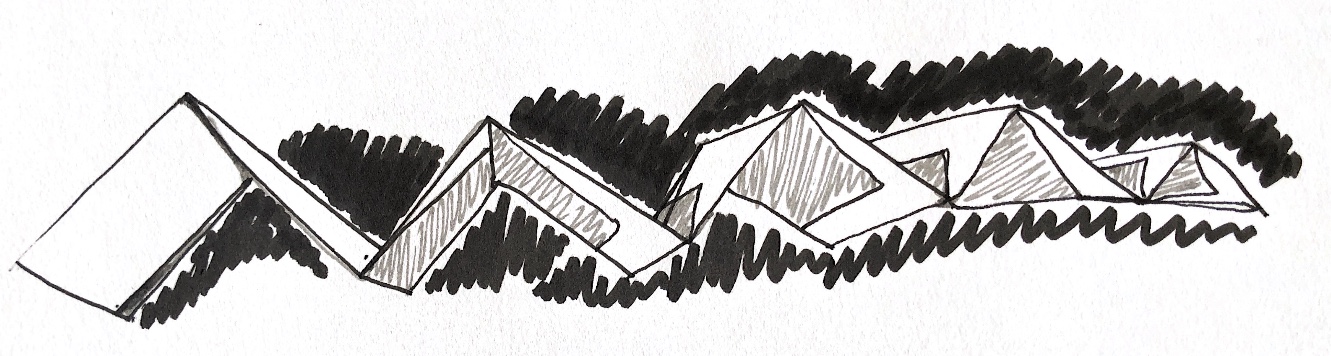
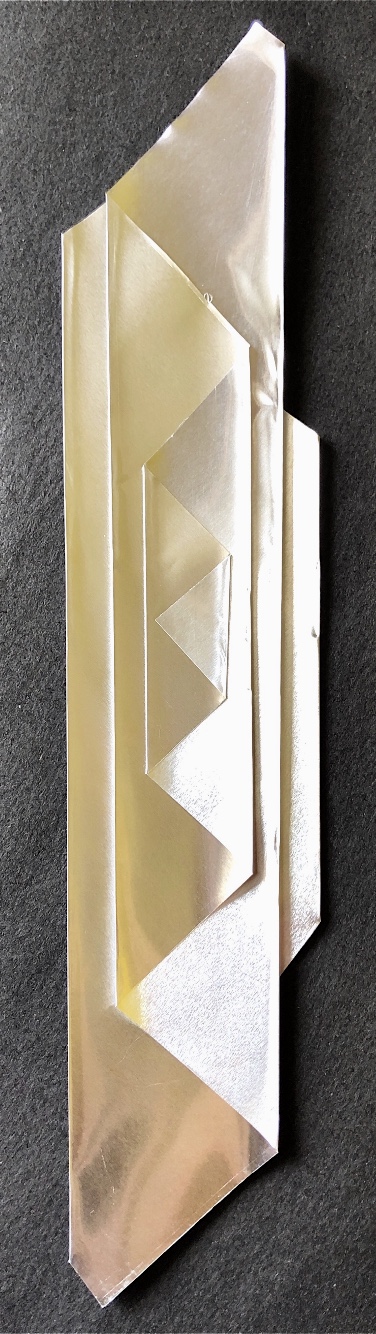
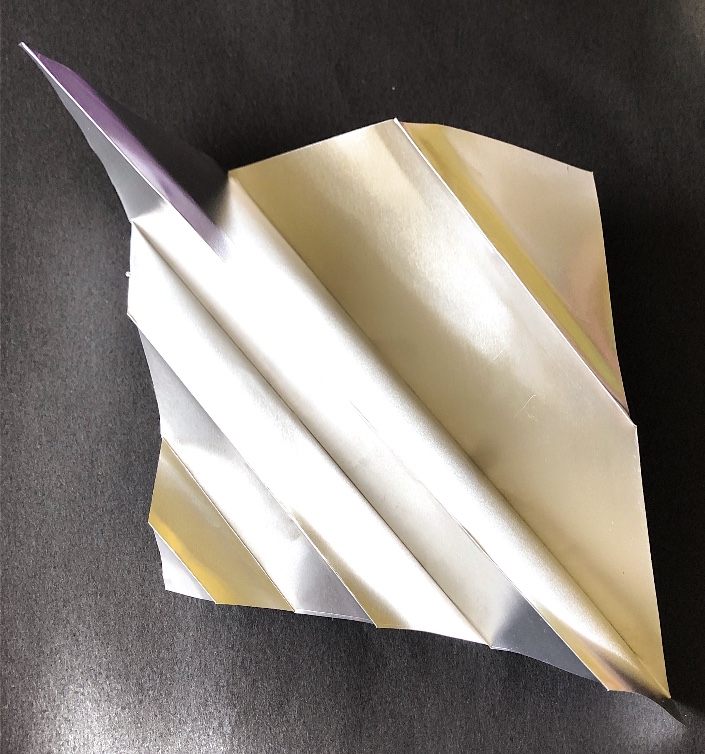
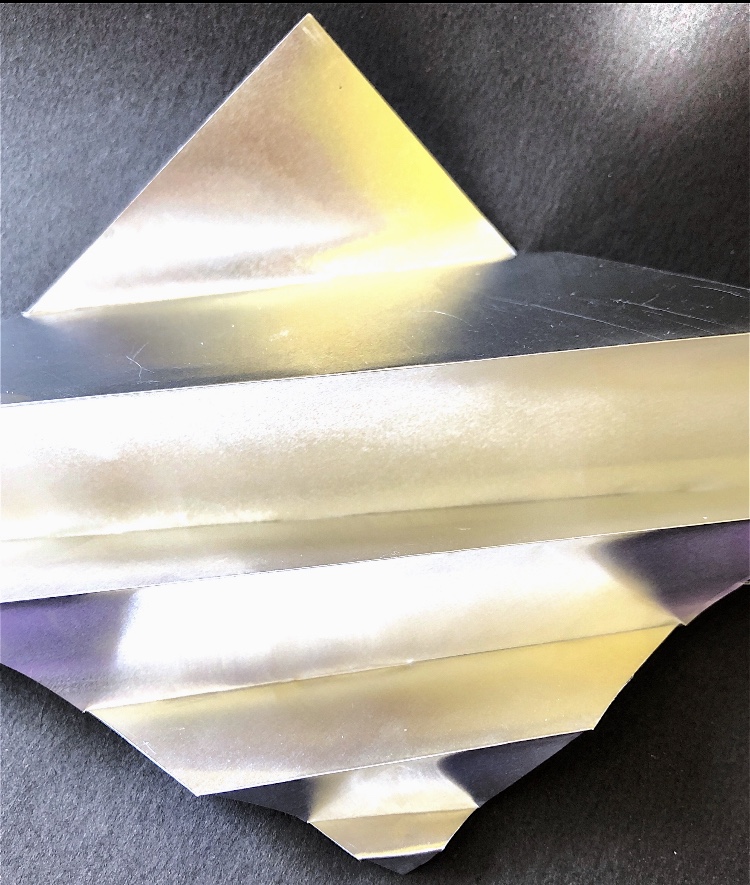
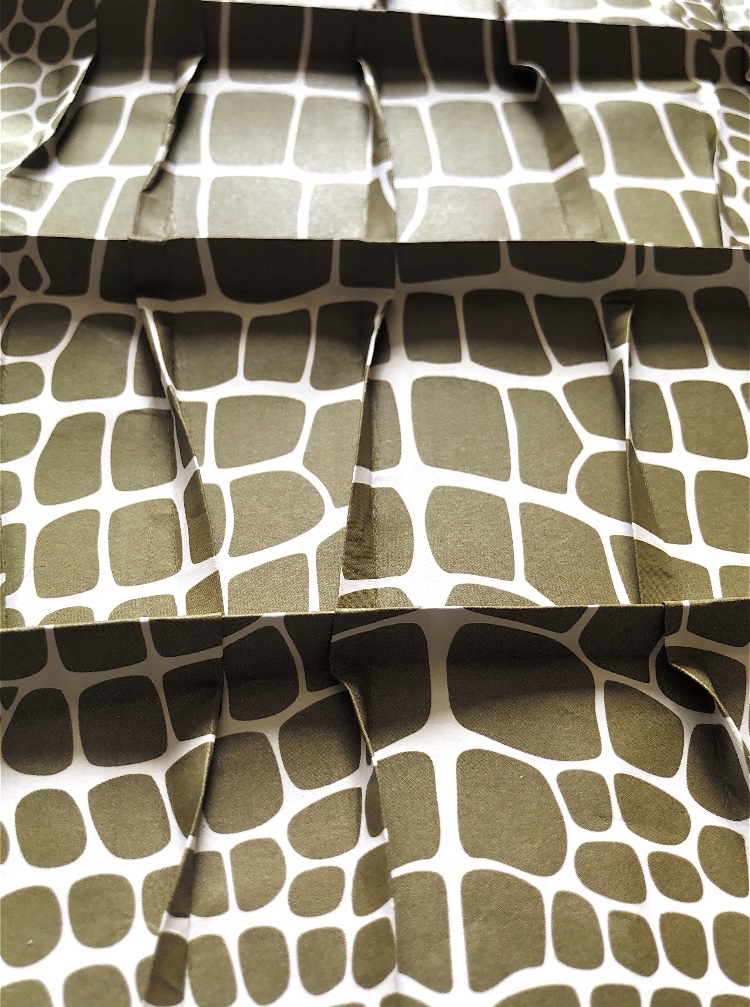
I began this Assignment by researching a number of different artists who manipulate a range of materials. I was particularly enthralled by the work of Francisca Prieto who uses paper, which is a medium I enjoy working with. Although her folded work was very exact I was intrigued by the idea of hidden messages and details which make the work exciting to view both close up and from a distance. I also enjoyed looking at work by Jule Waibel whose ethereal unfolding lingerie changes shape with every movement while always retaining its basic heat set shape. In my practical sampling I have used the idea of hidden patterns and folding to create samples that change depending on the view and light.

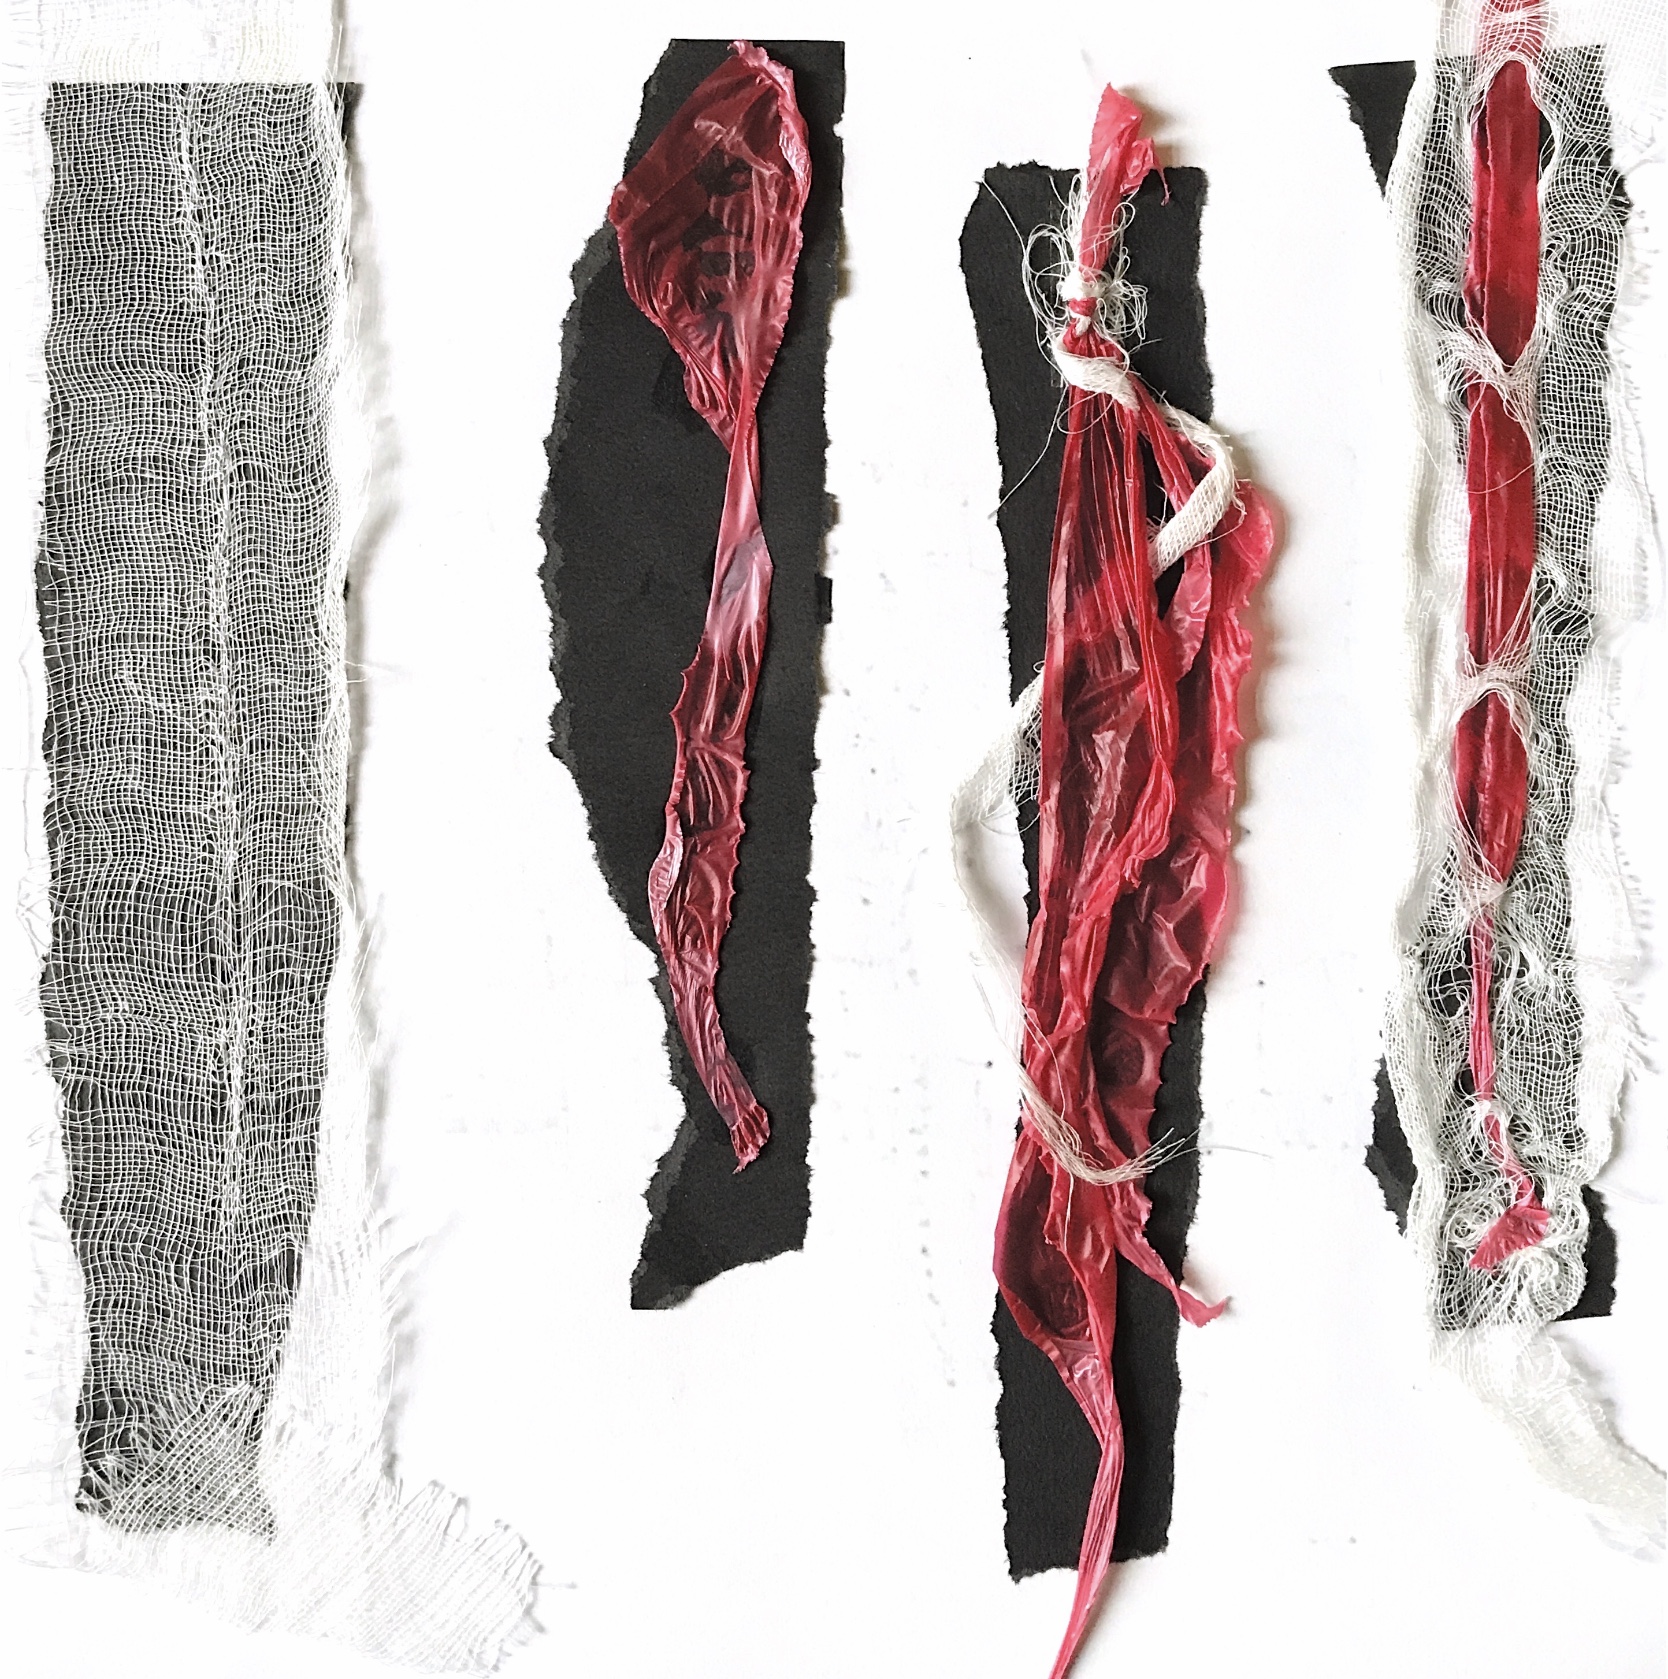
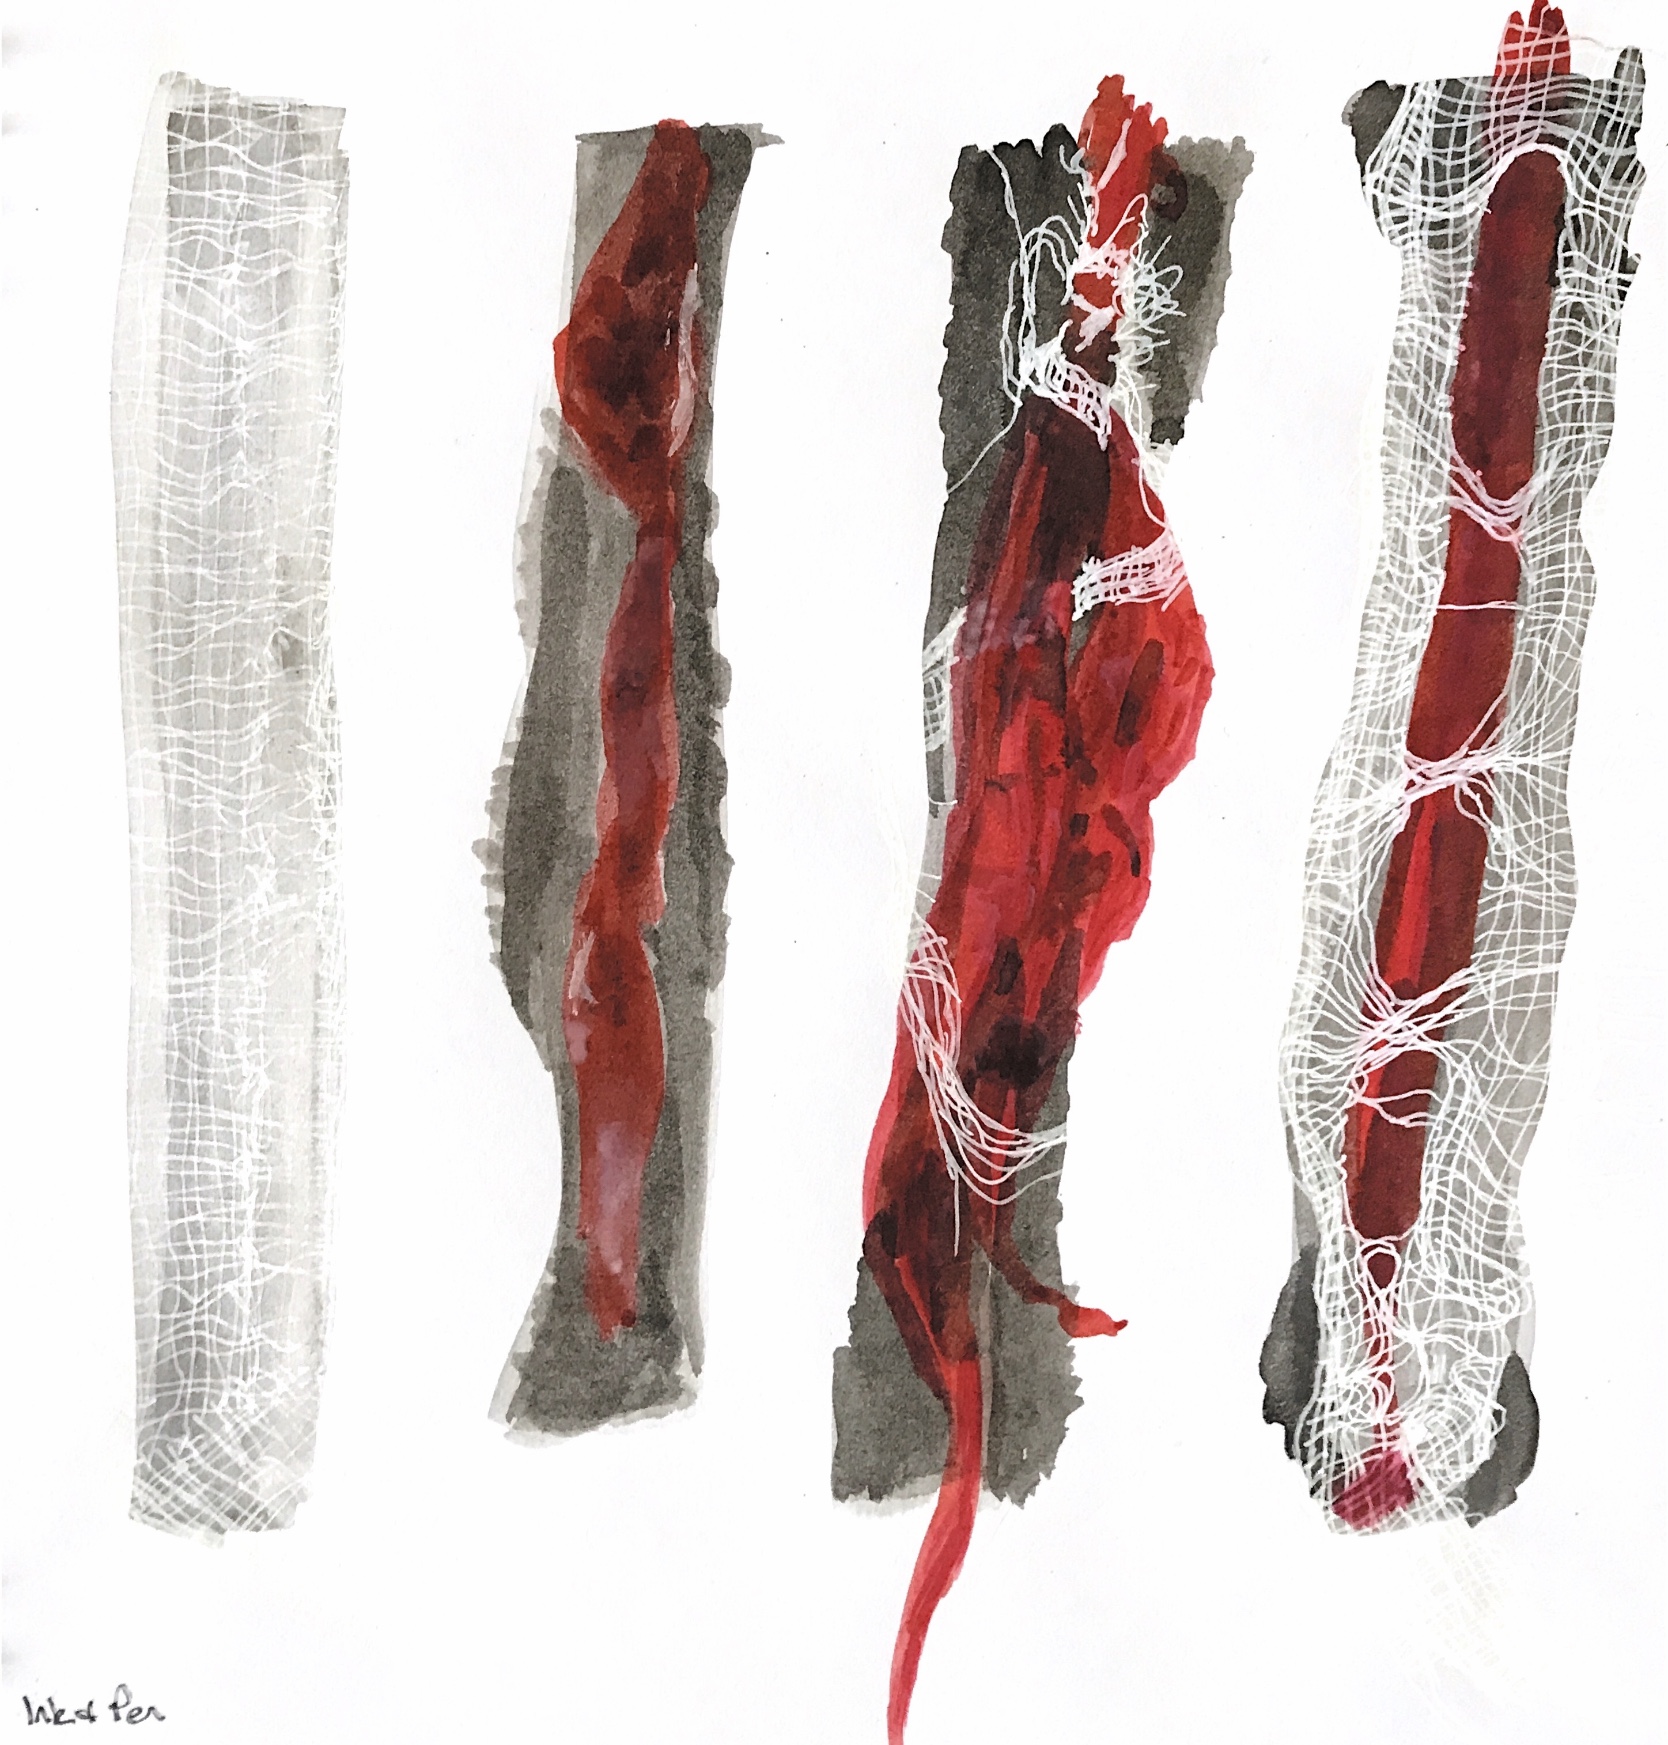
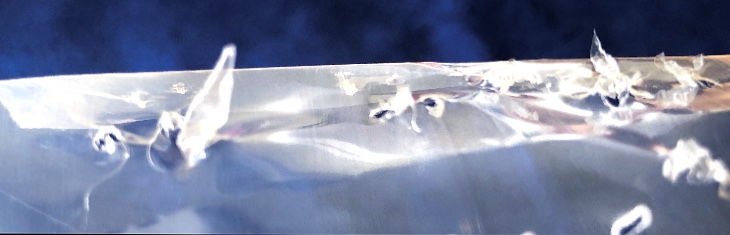
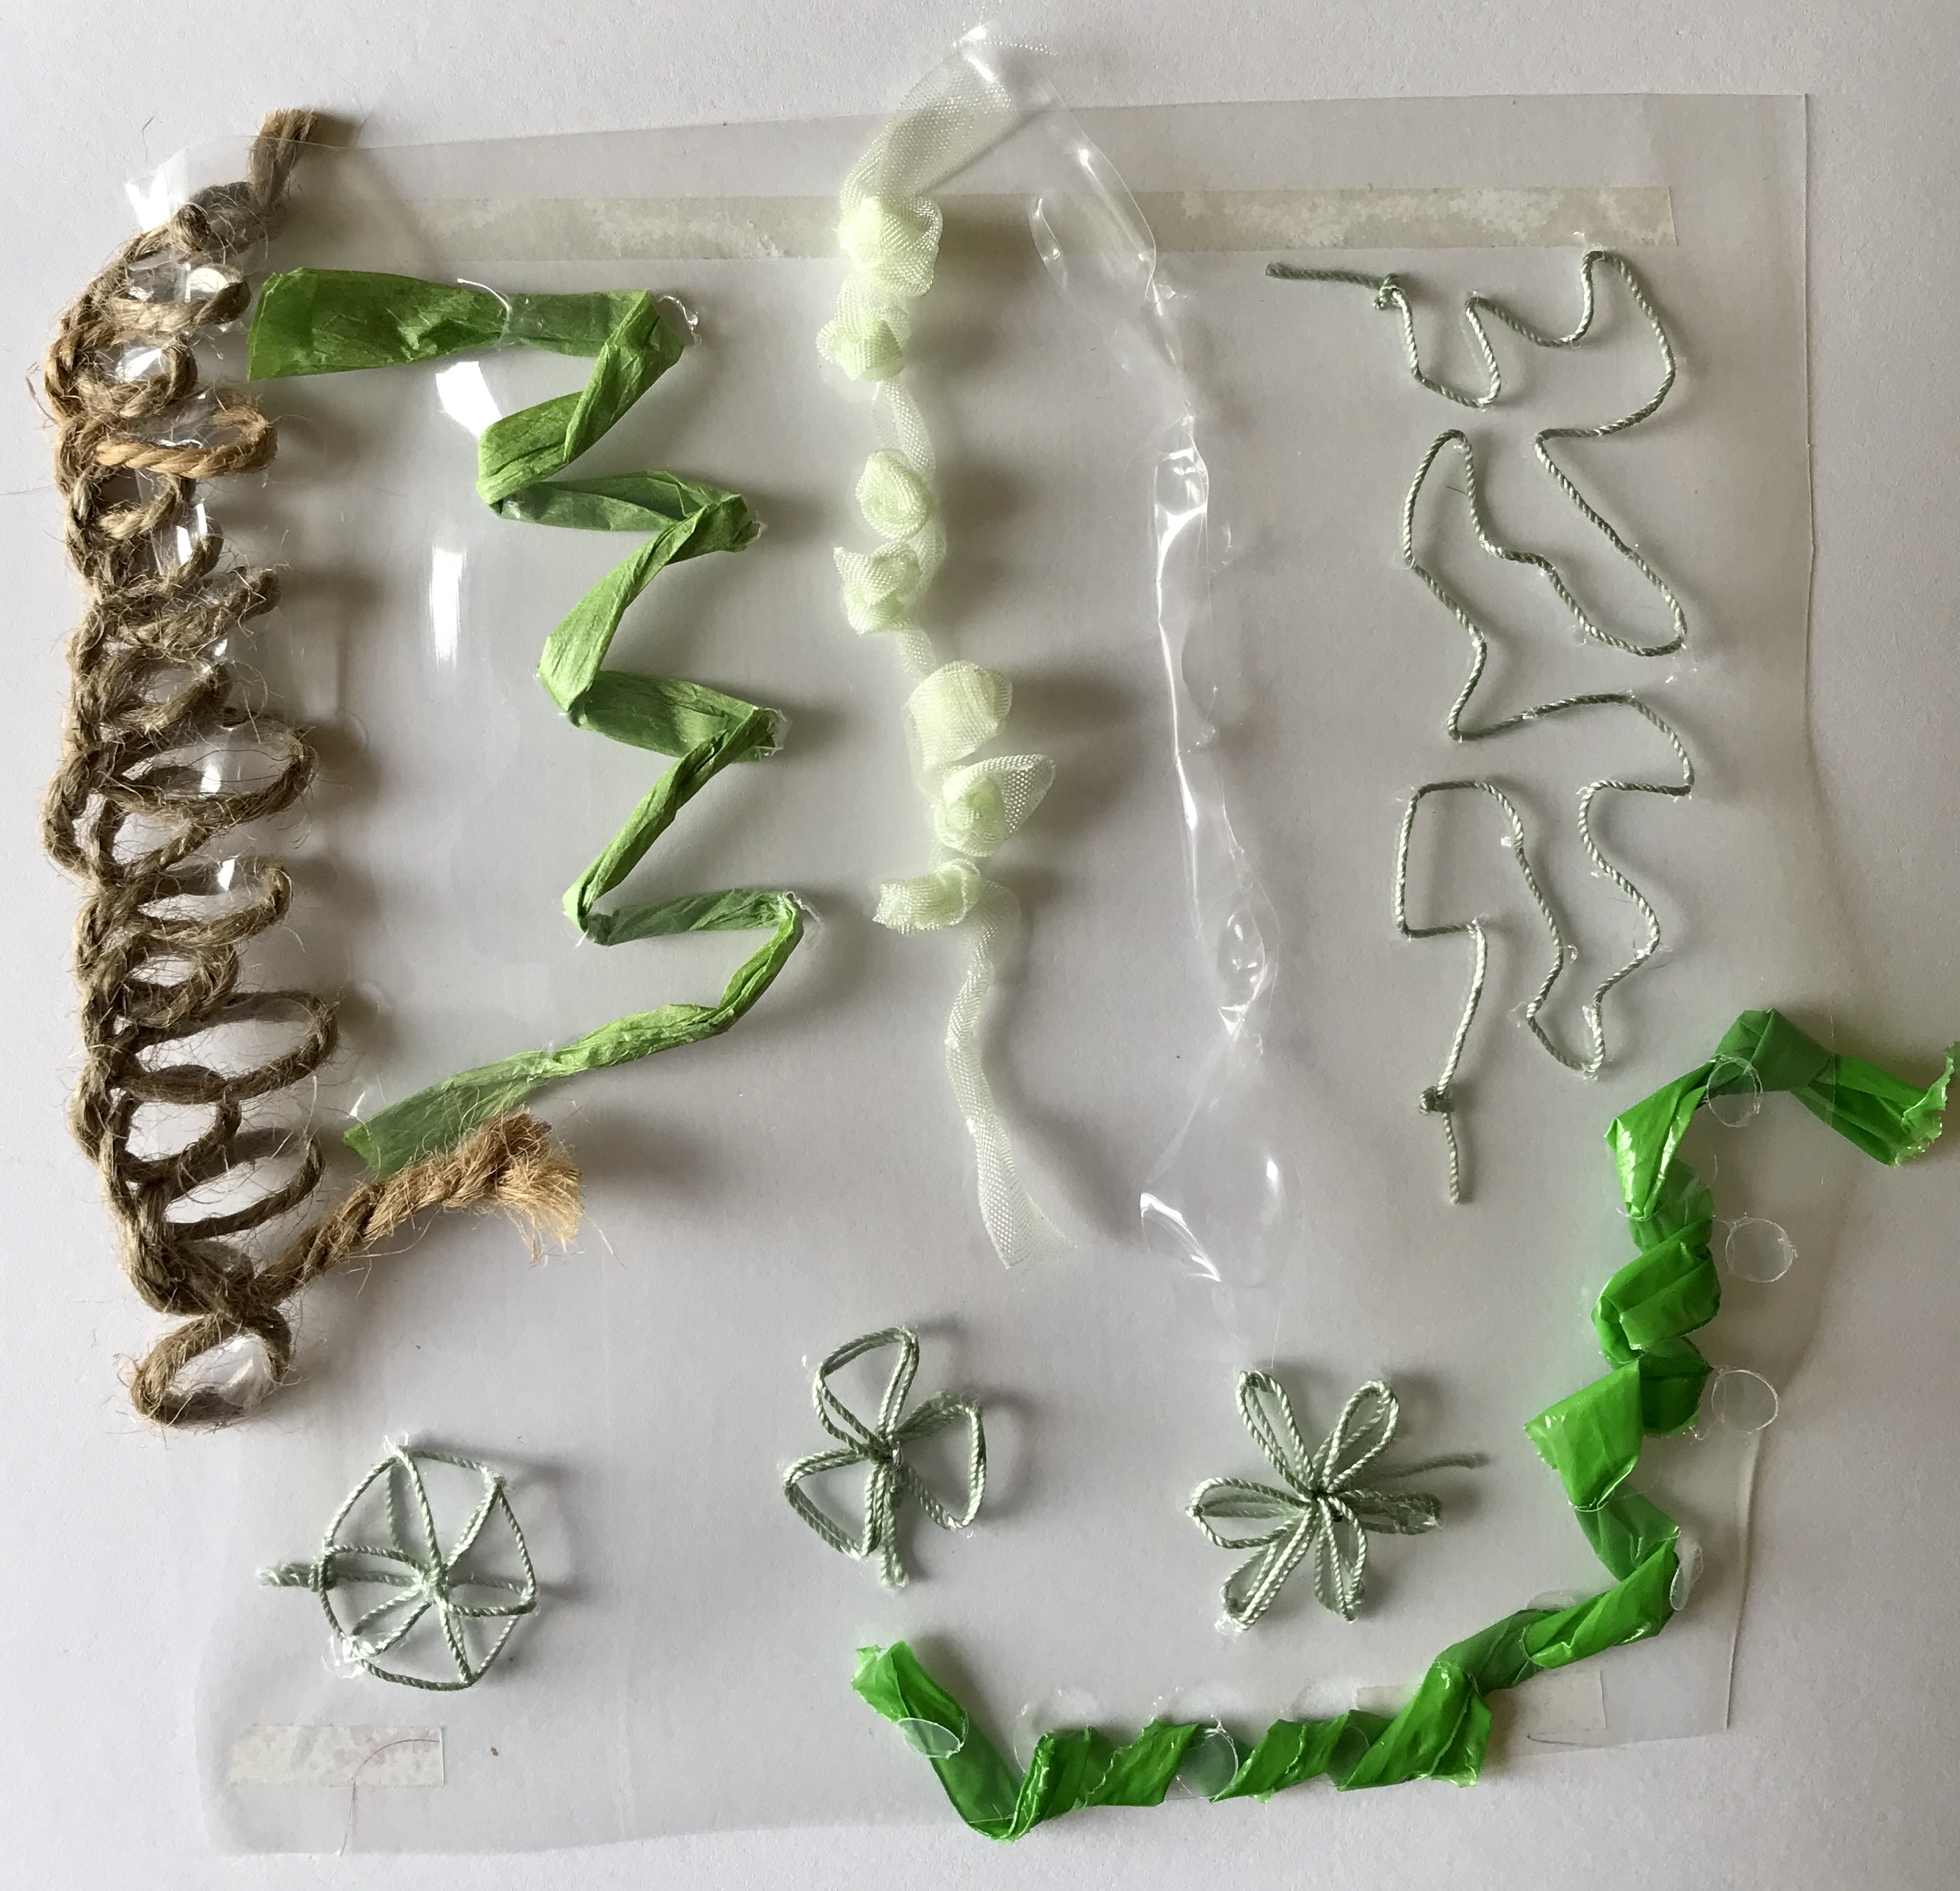
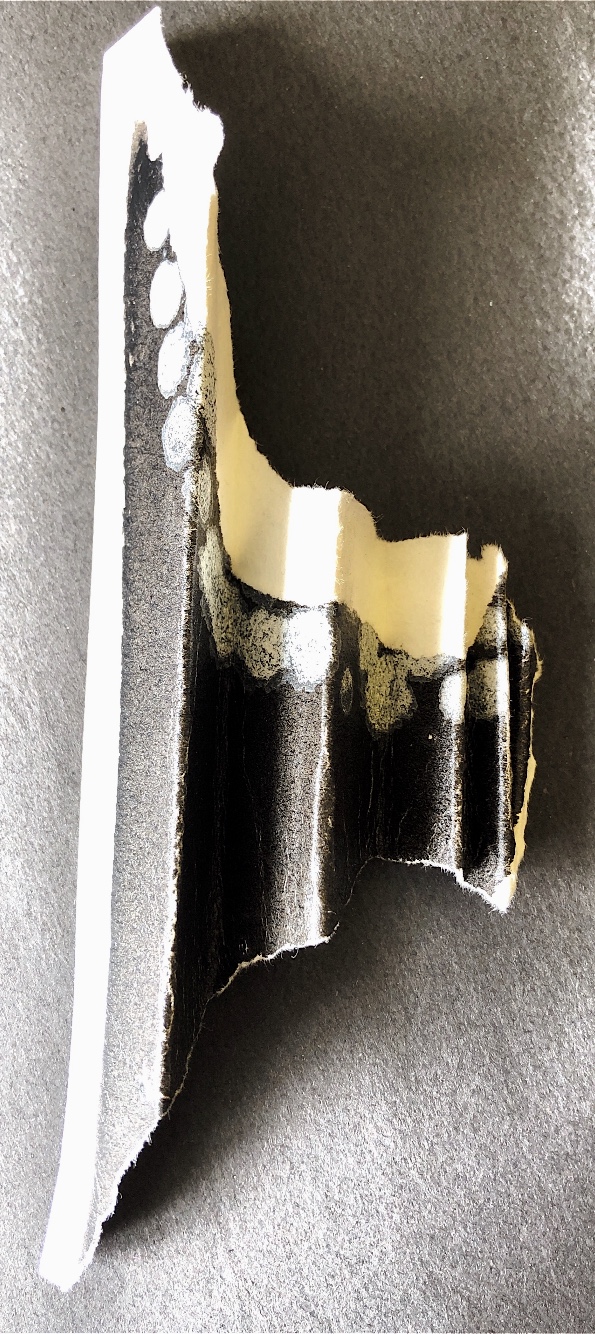
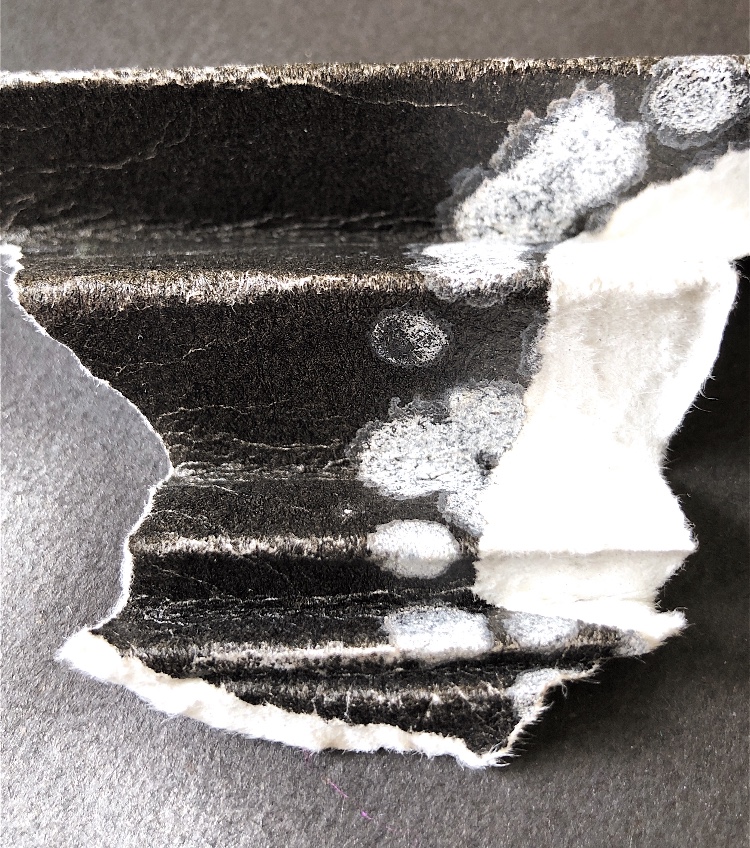
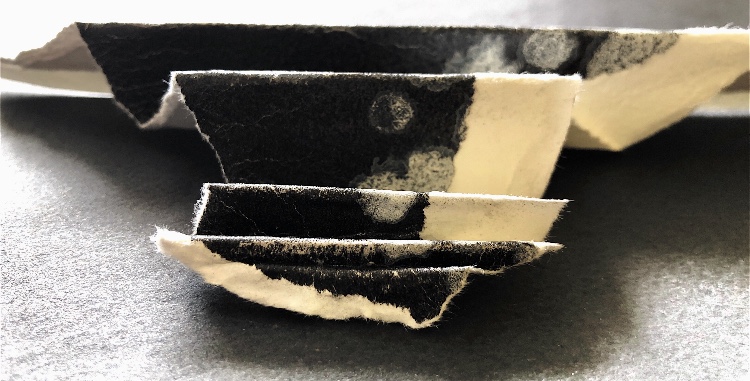
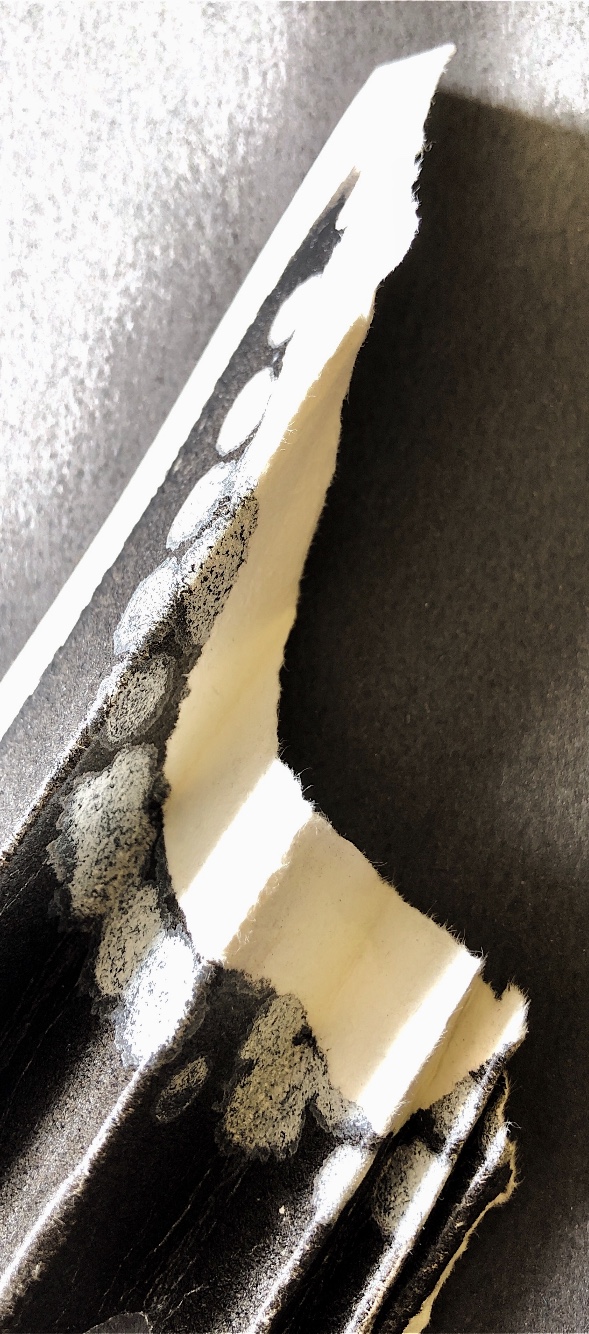
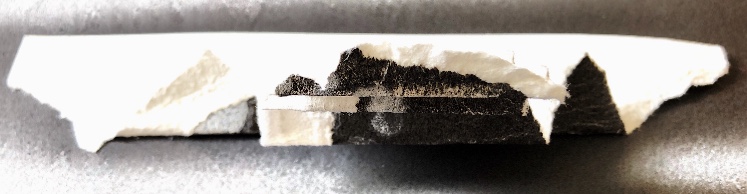
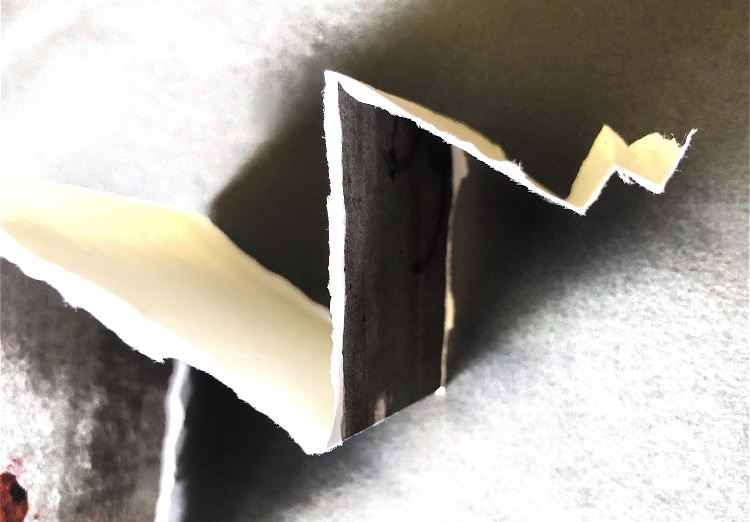
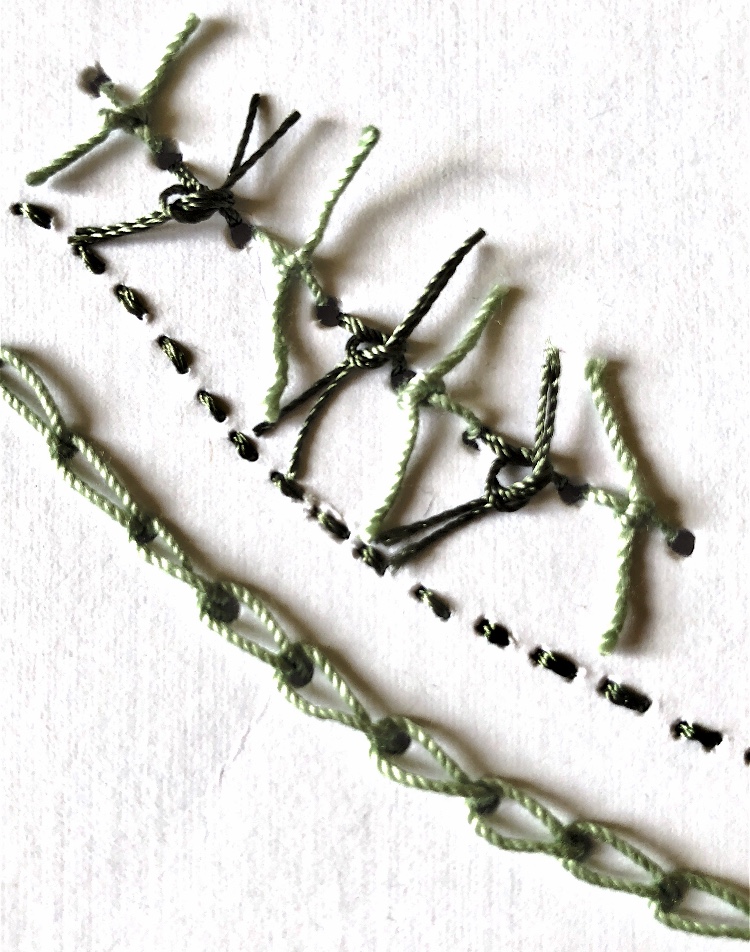
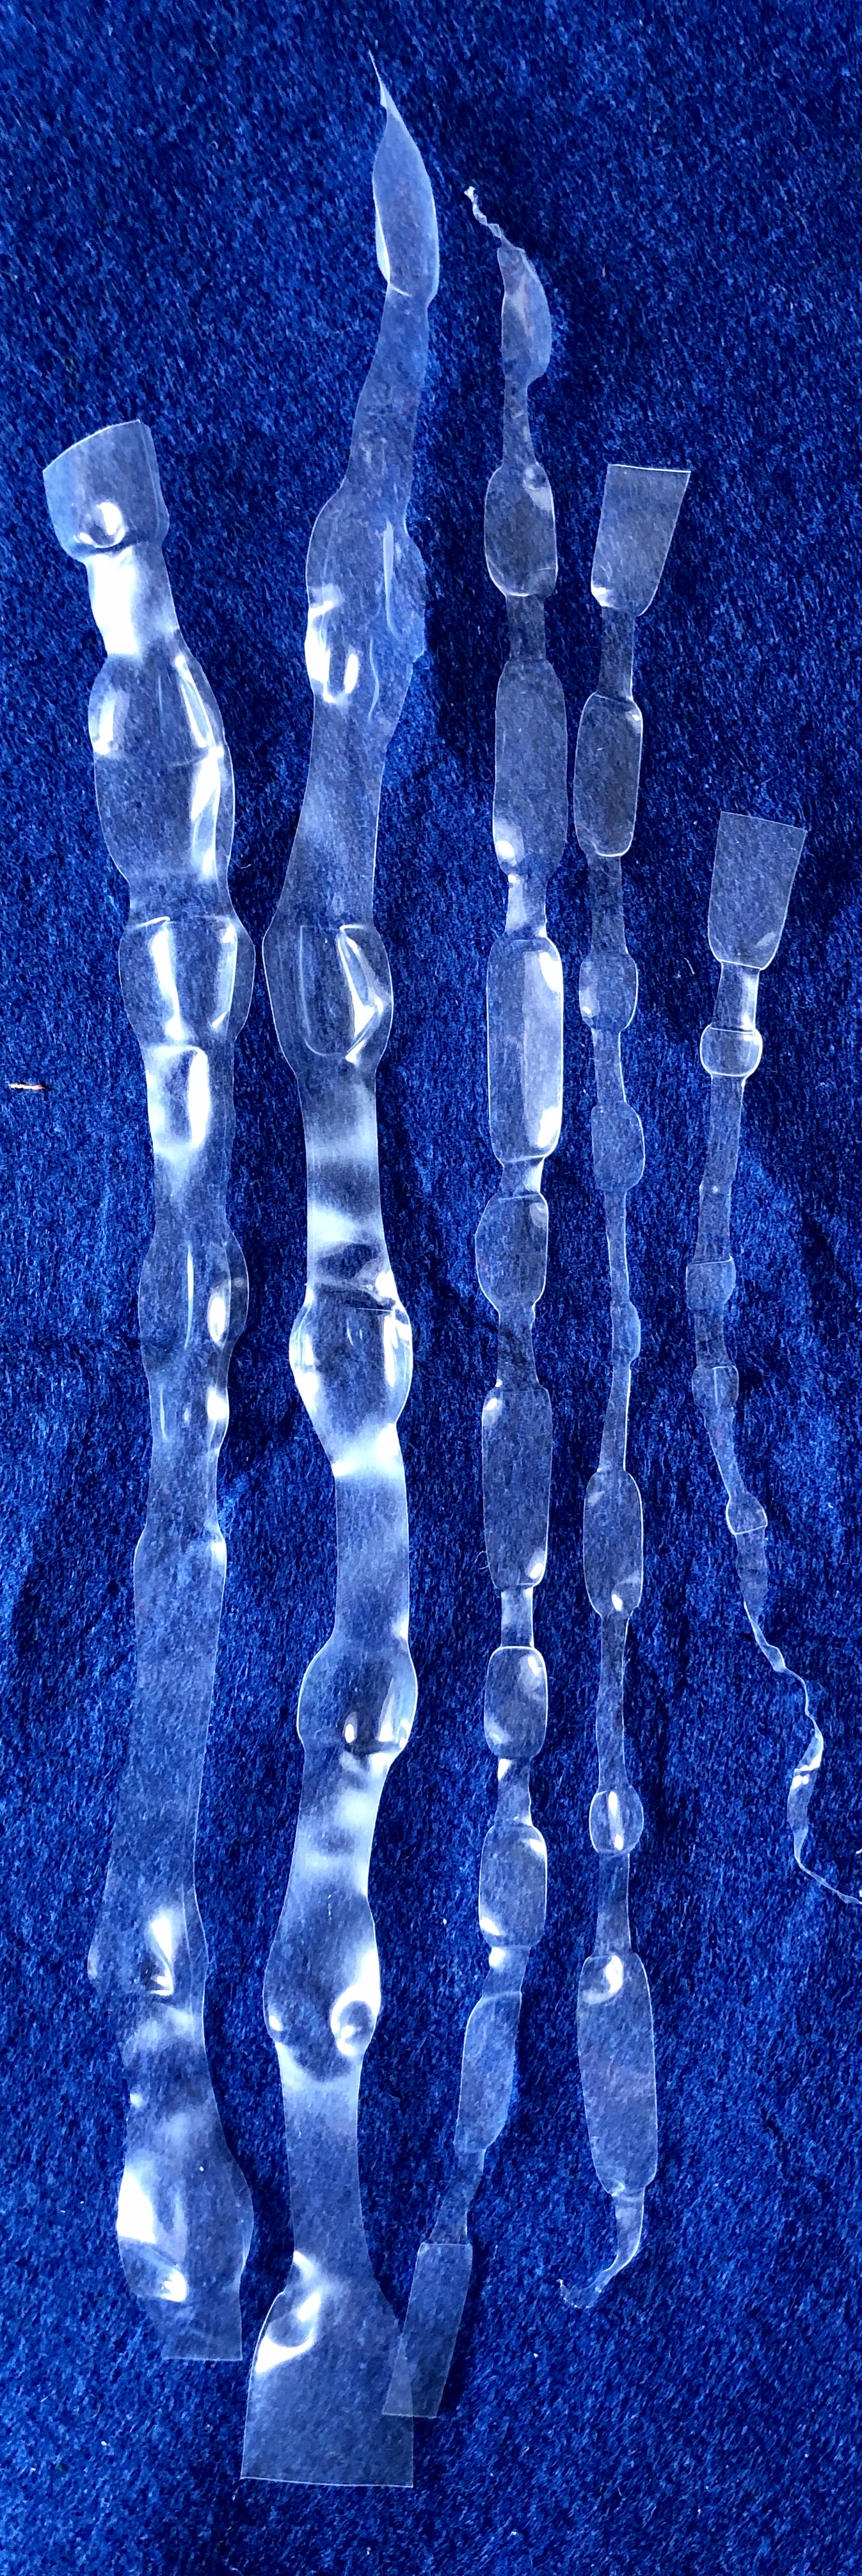
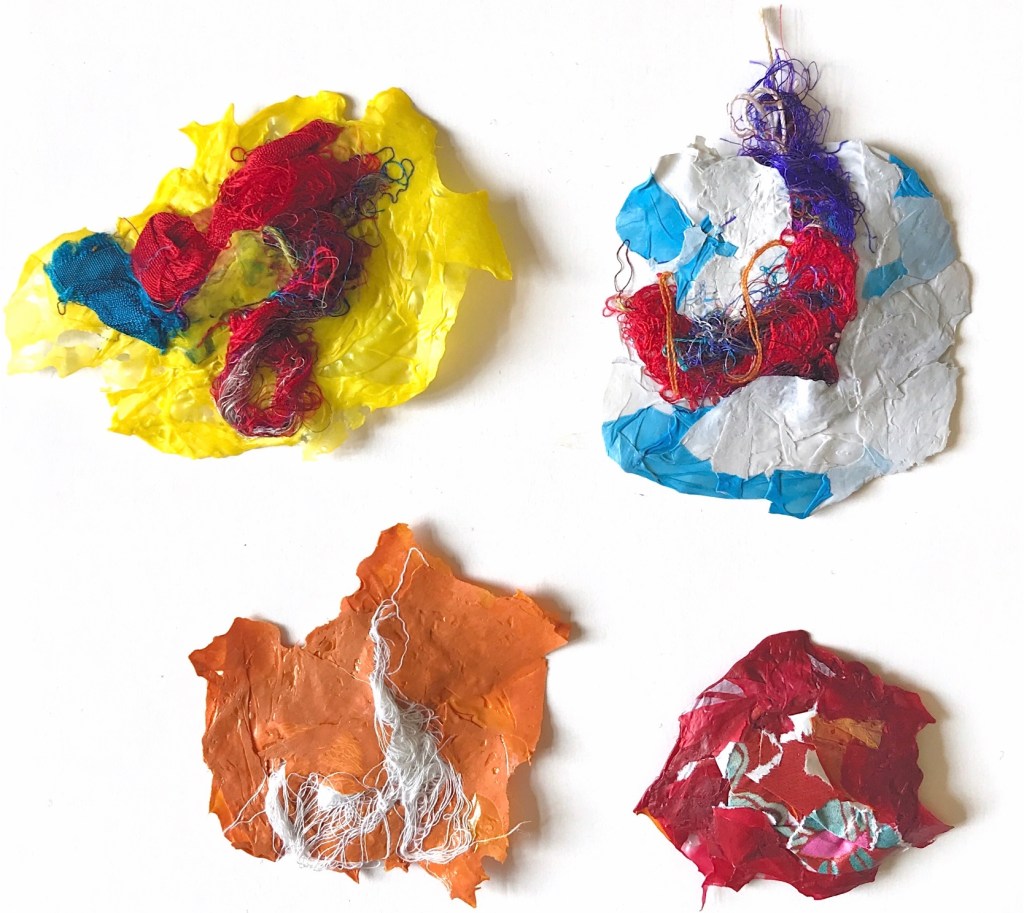
I particularly enjoyed tearing different materials as I like the random element of not quite being sure how the tear will go. Tearing plastic was a surprise – the ruffled edges were exciting and a contrast to paper and fabric. I was particularly pleased with three small simple samples which I then drew in my sketchbook, – they make a pleasing combination with a good balance of textures, proportion and colour.

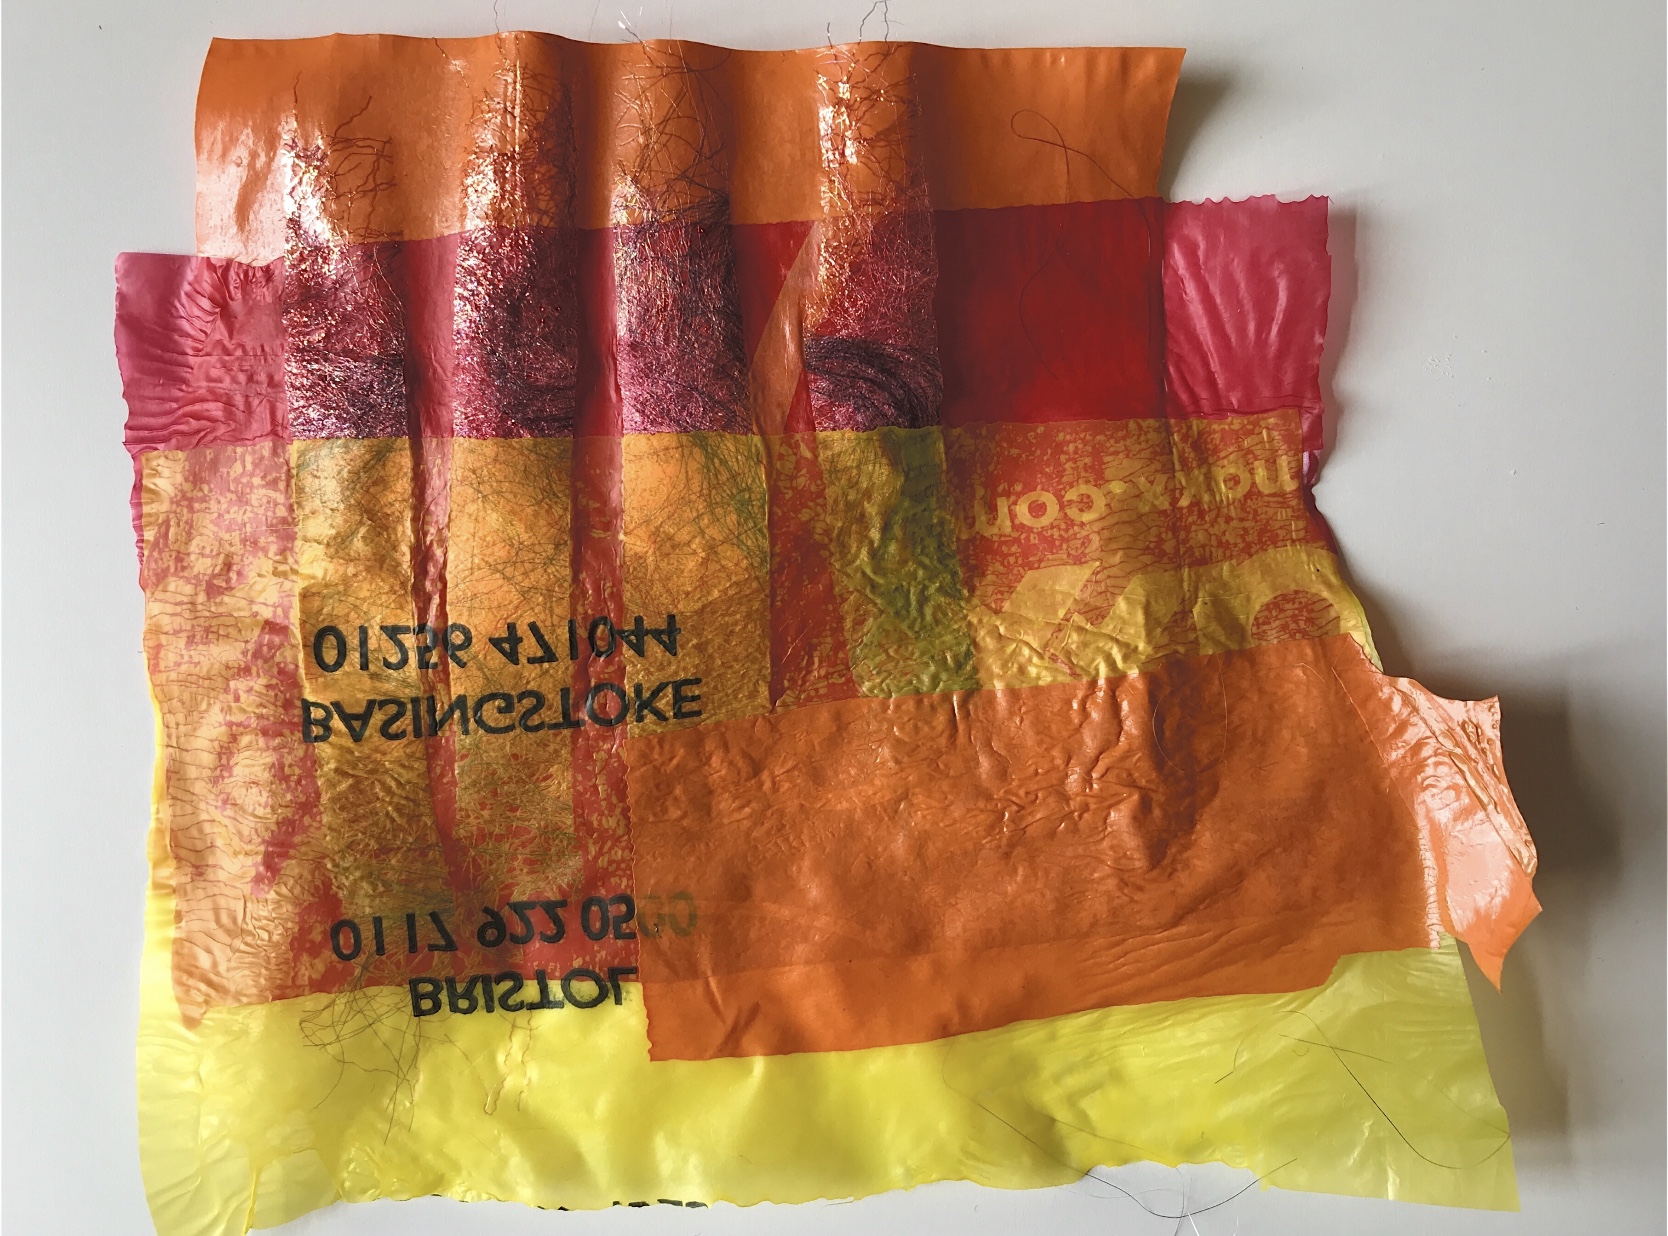
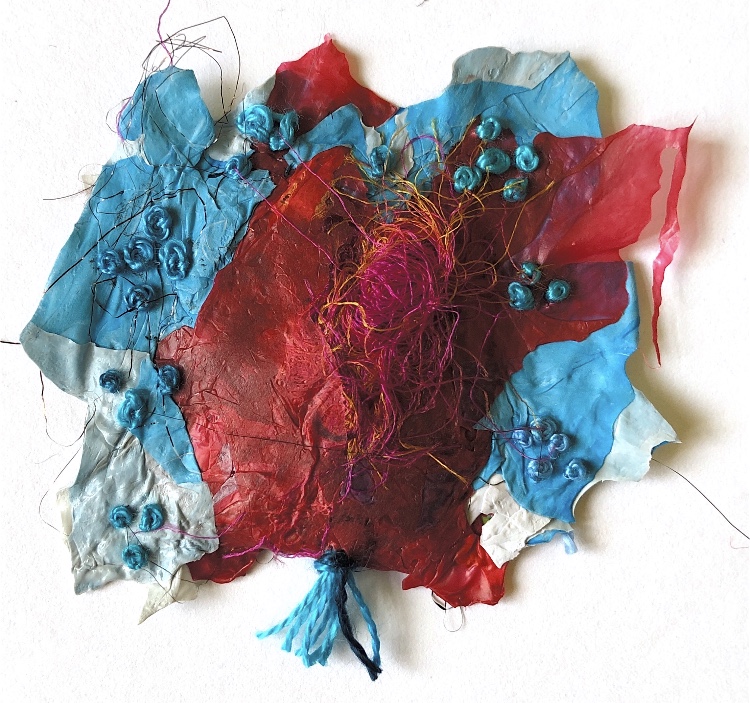
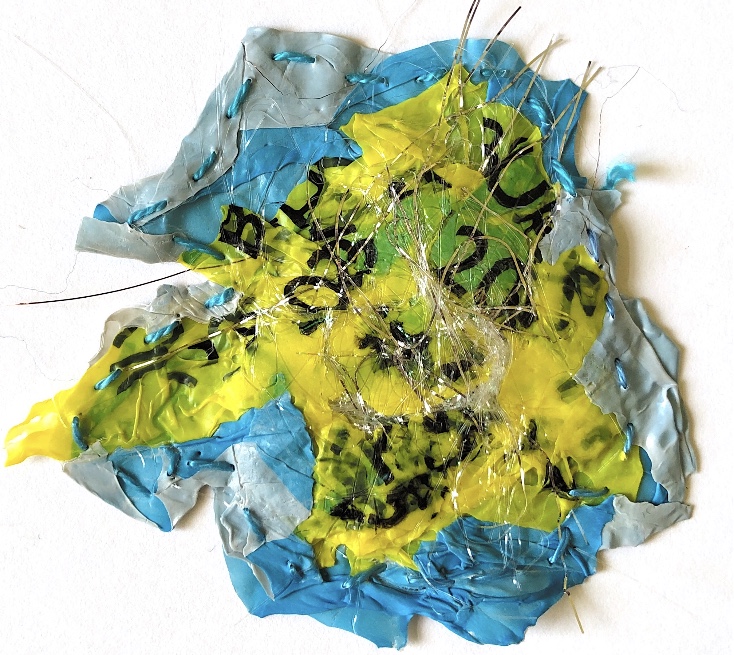
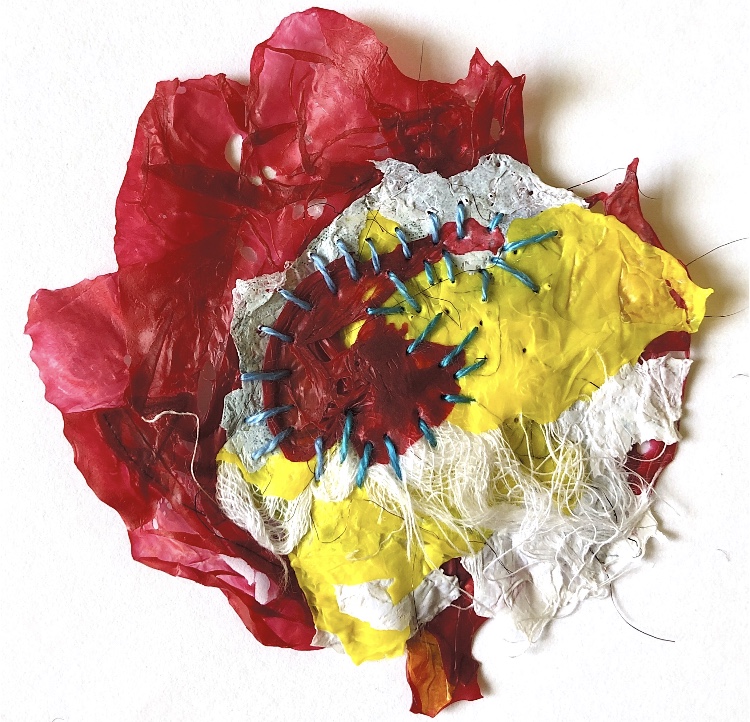
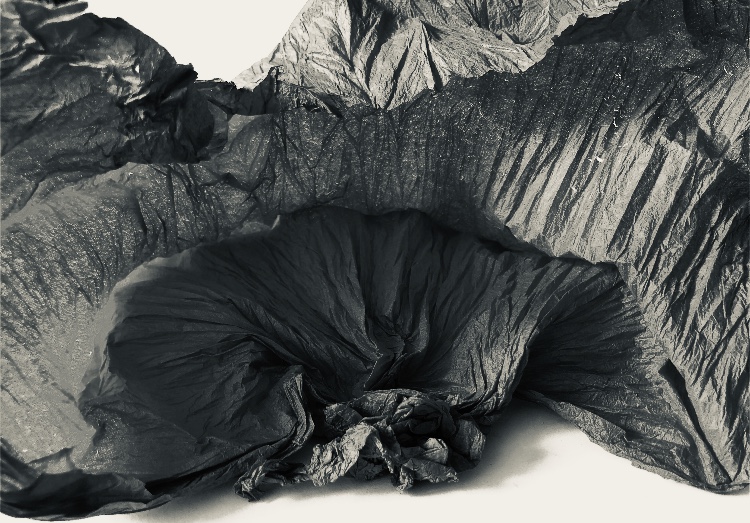
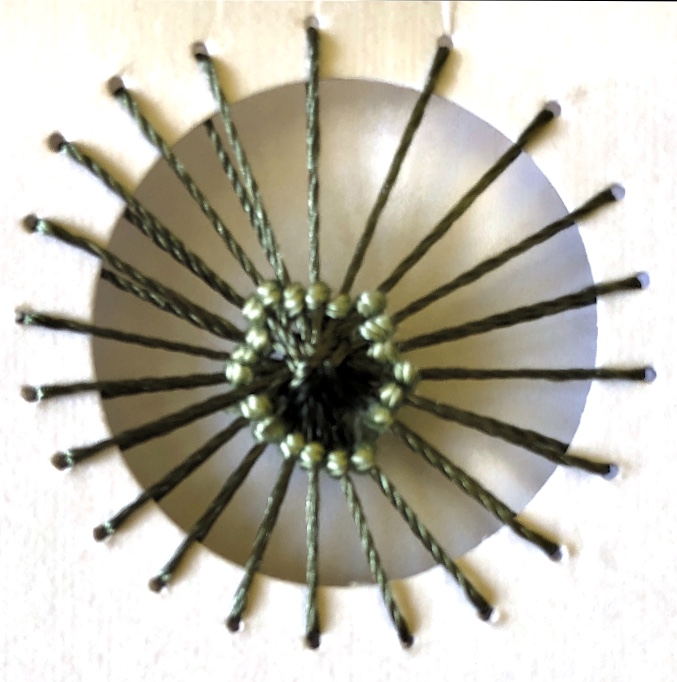
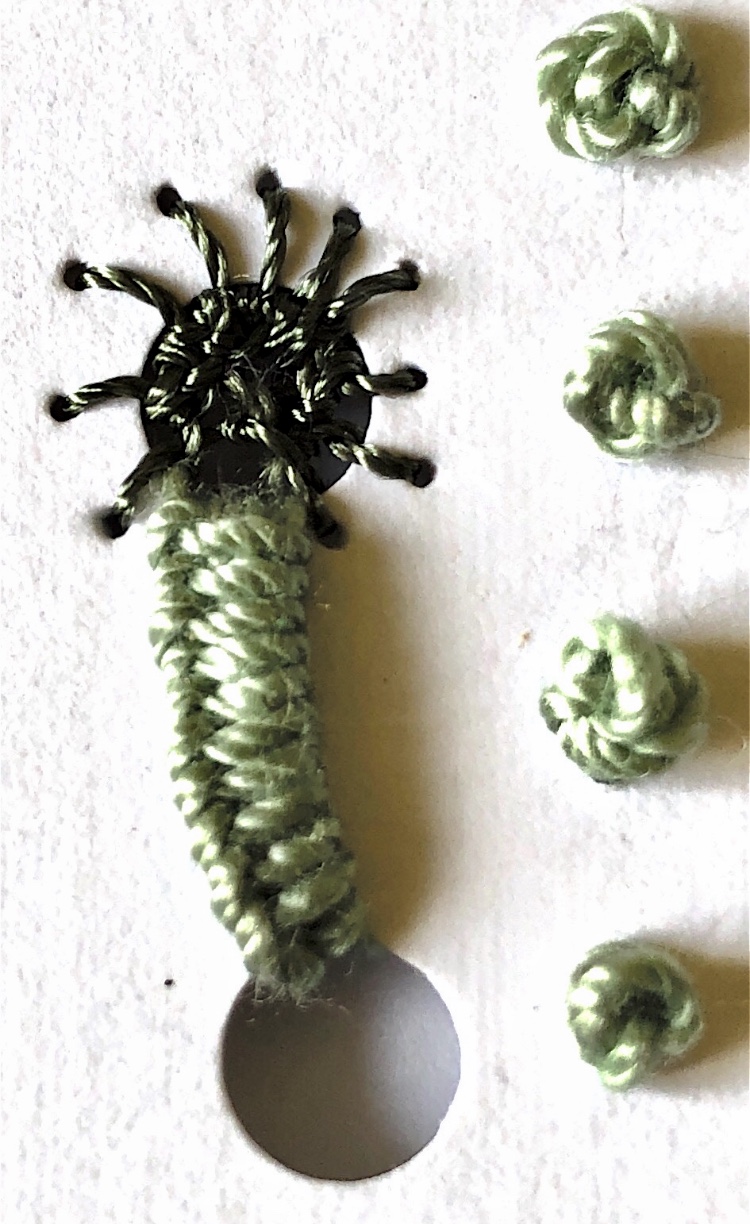
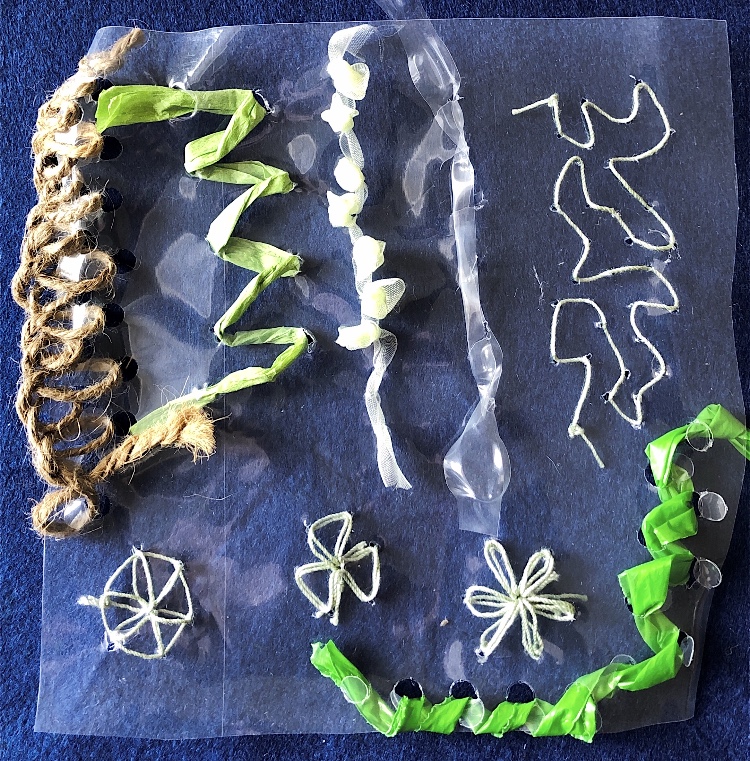
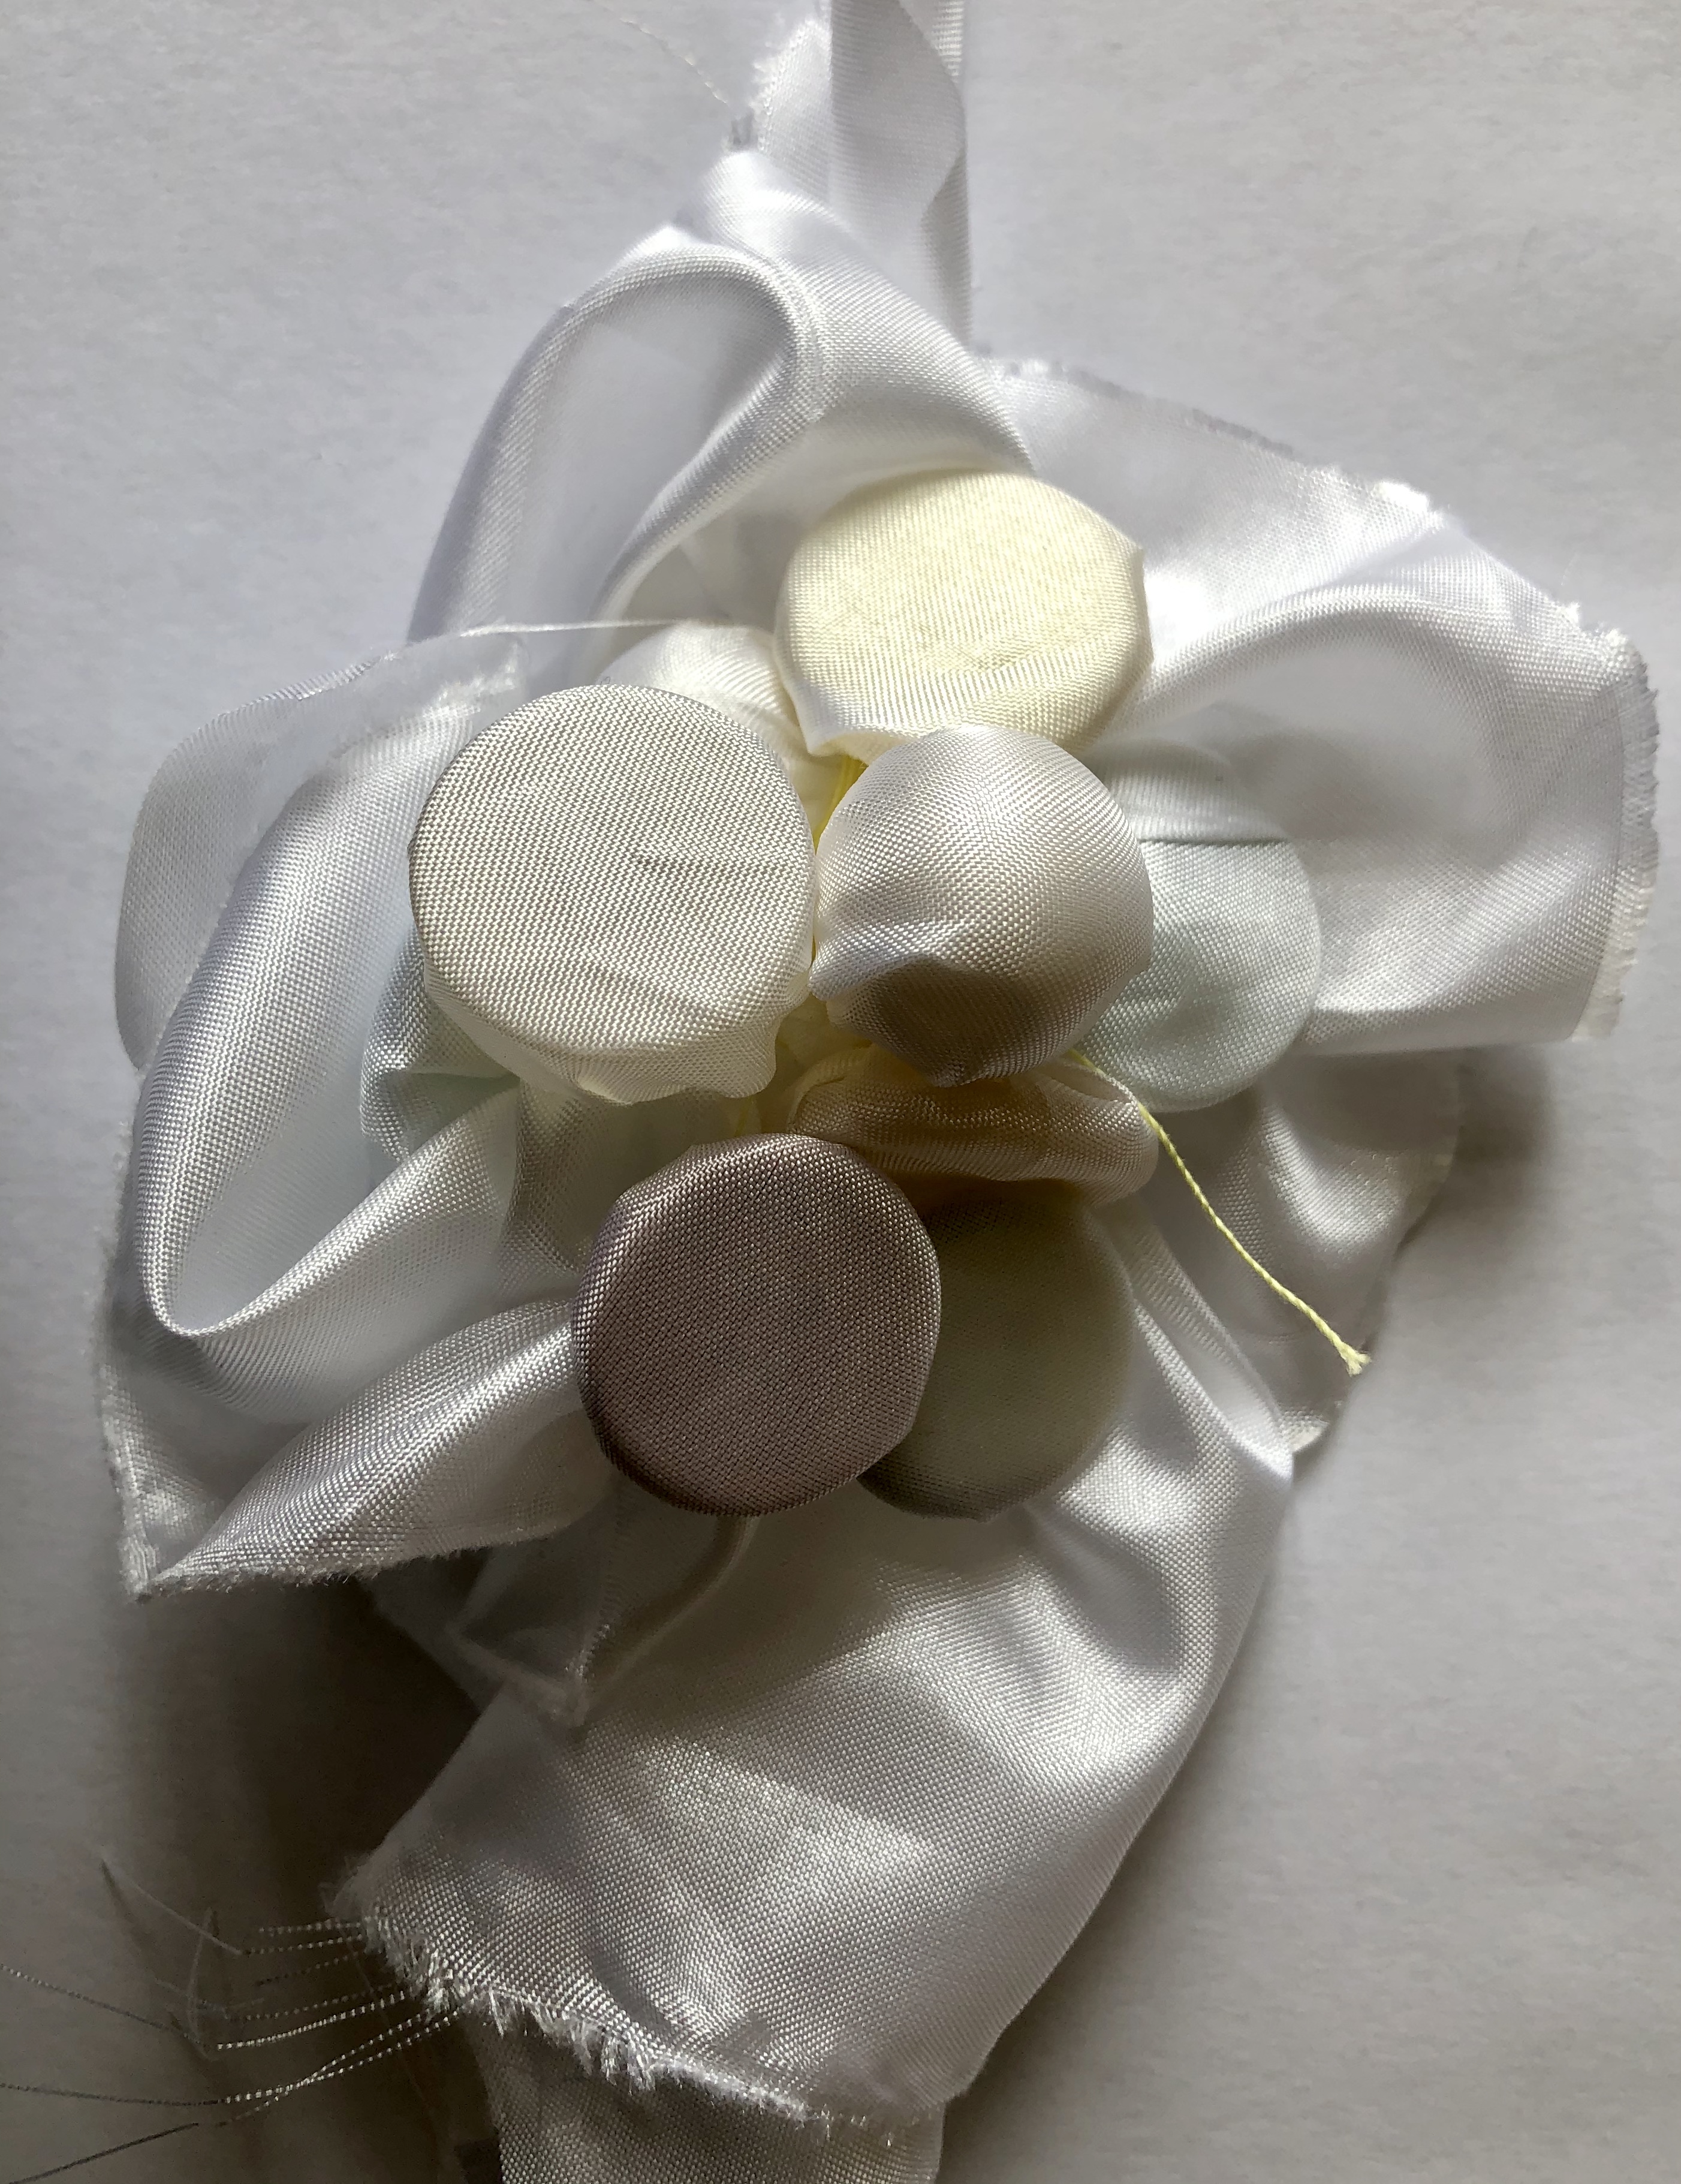
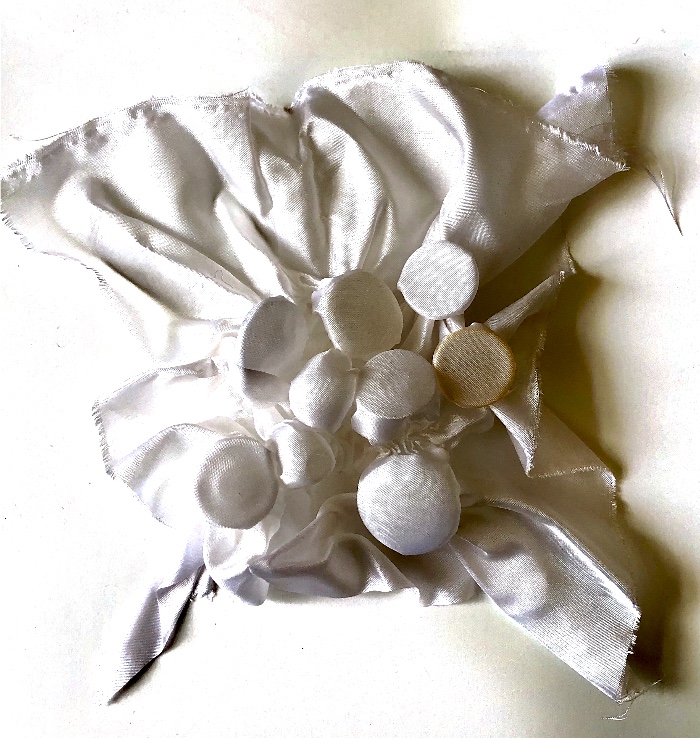
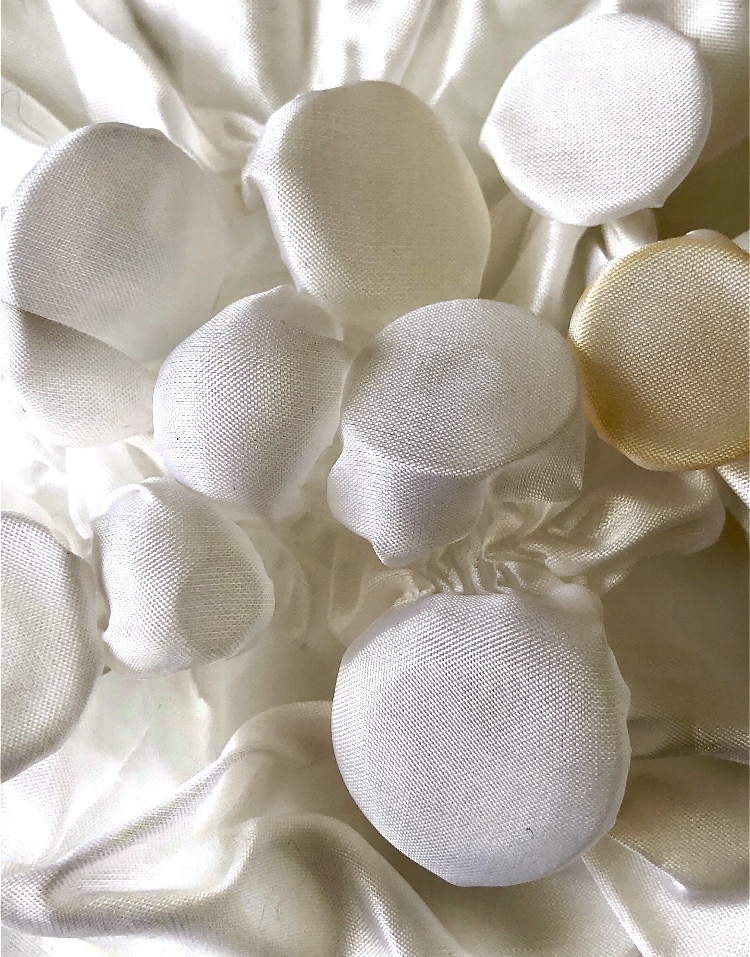
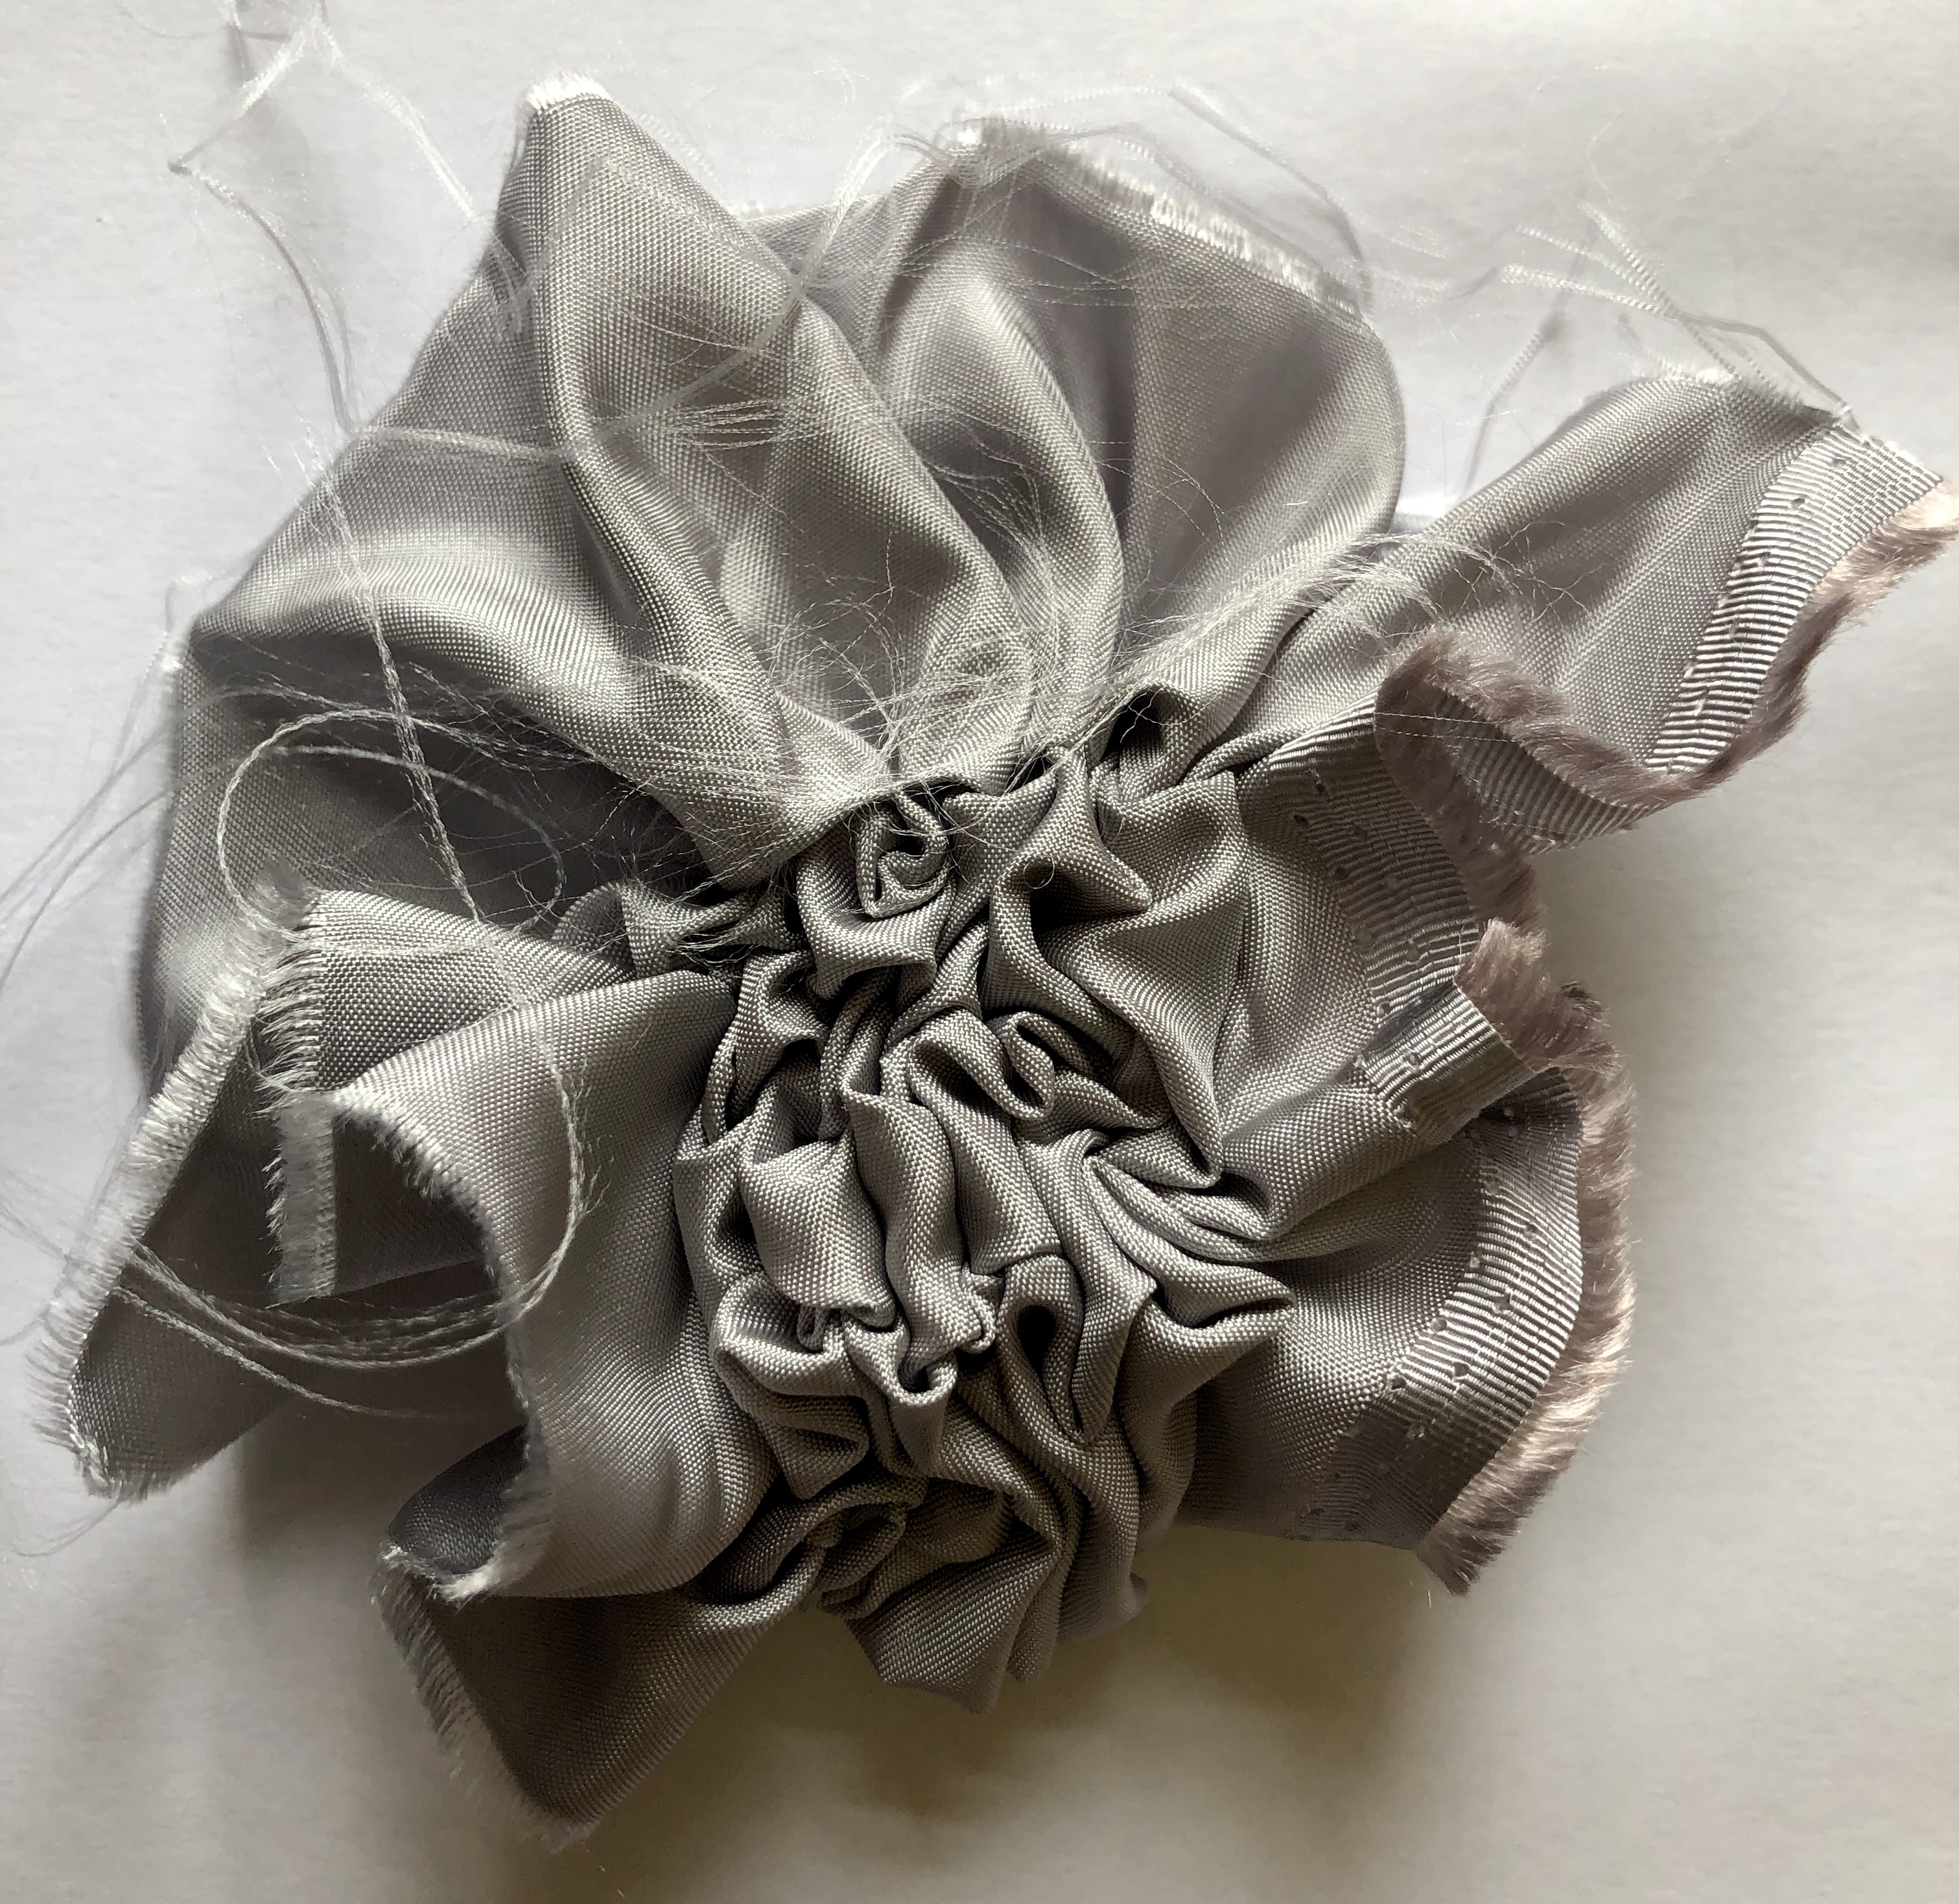
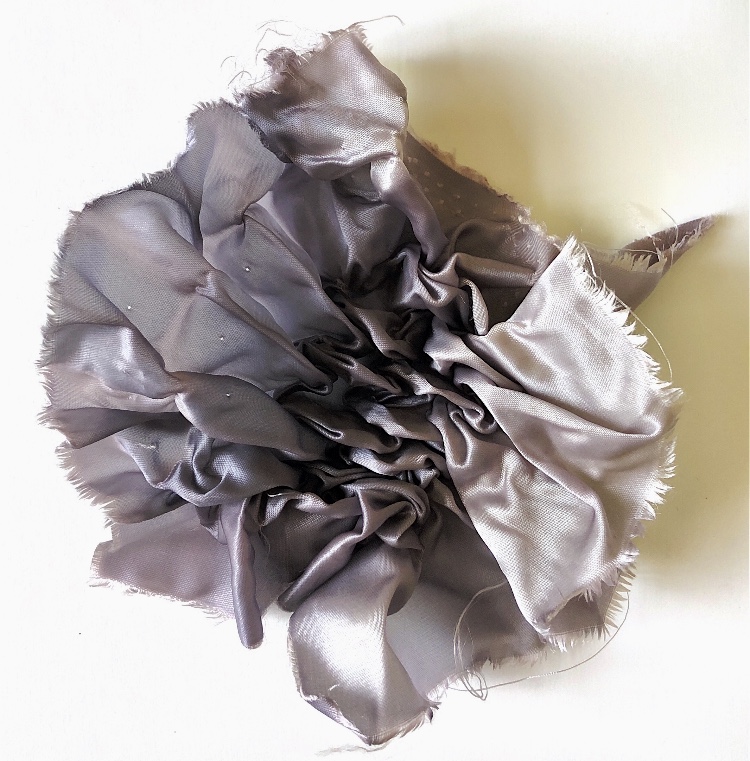
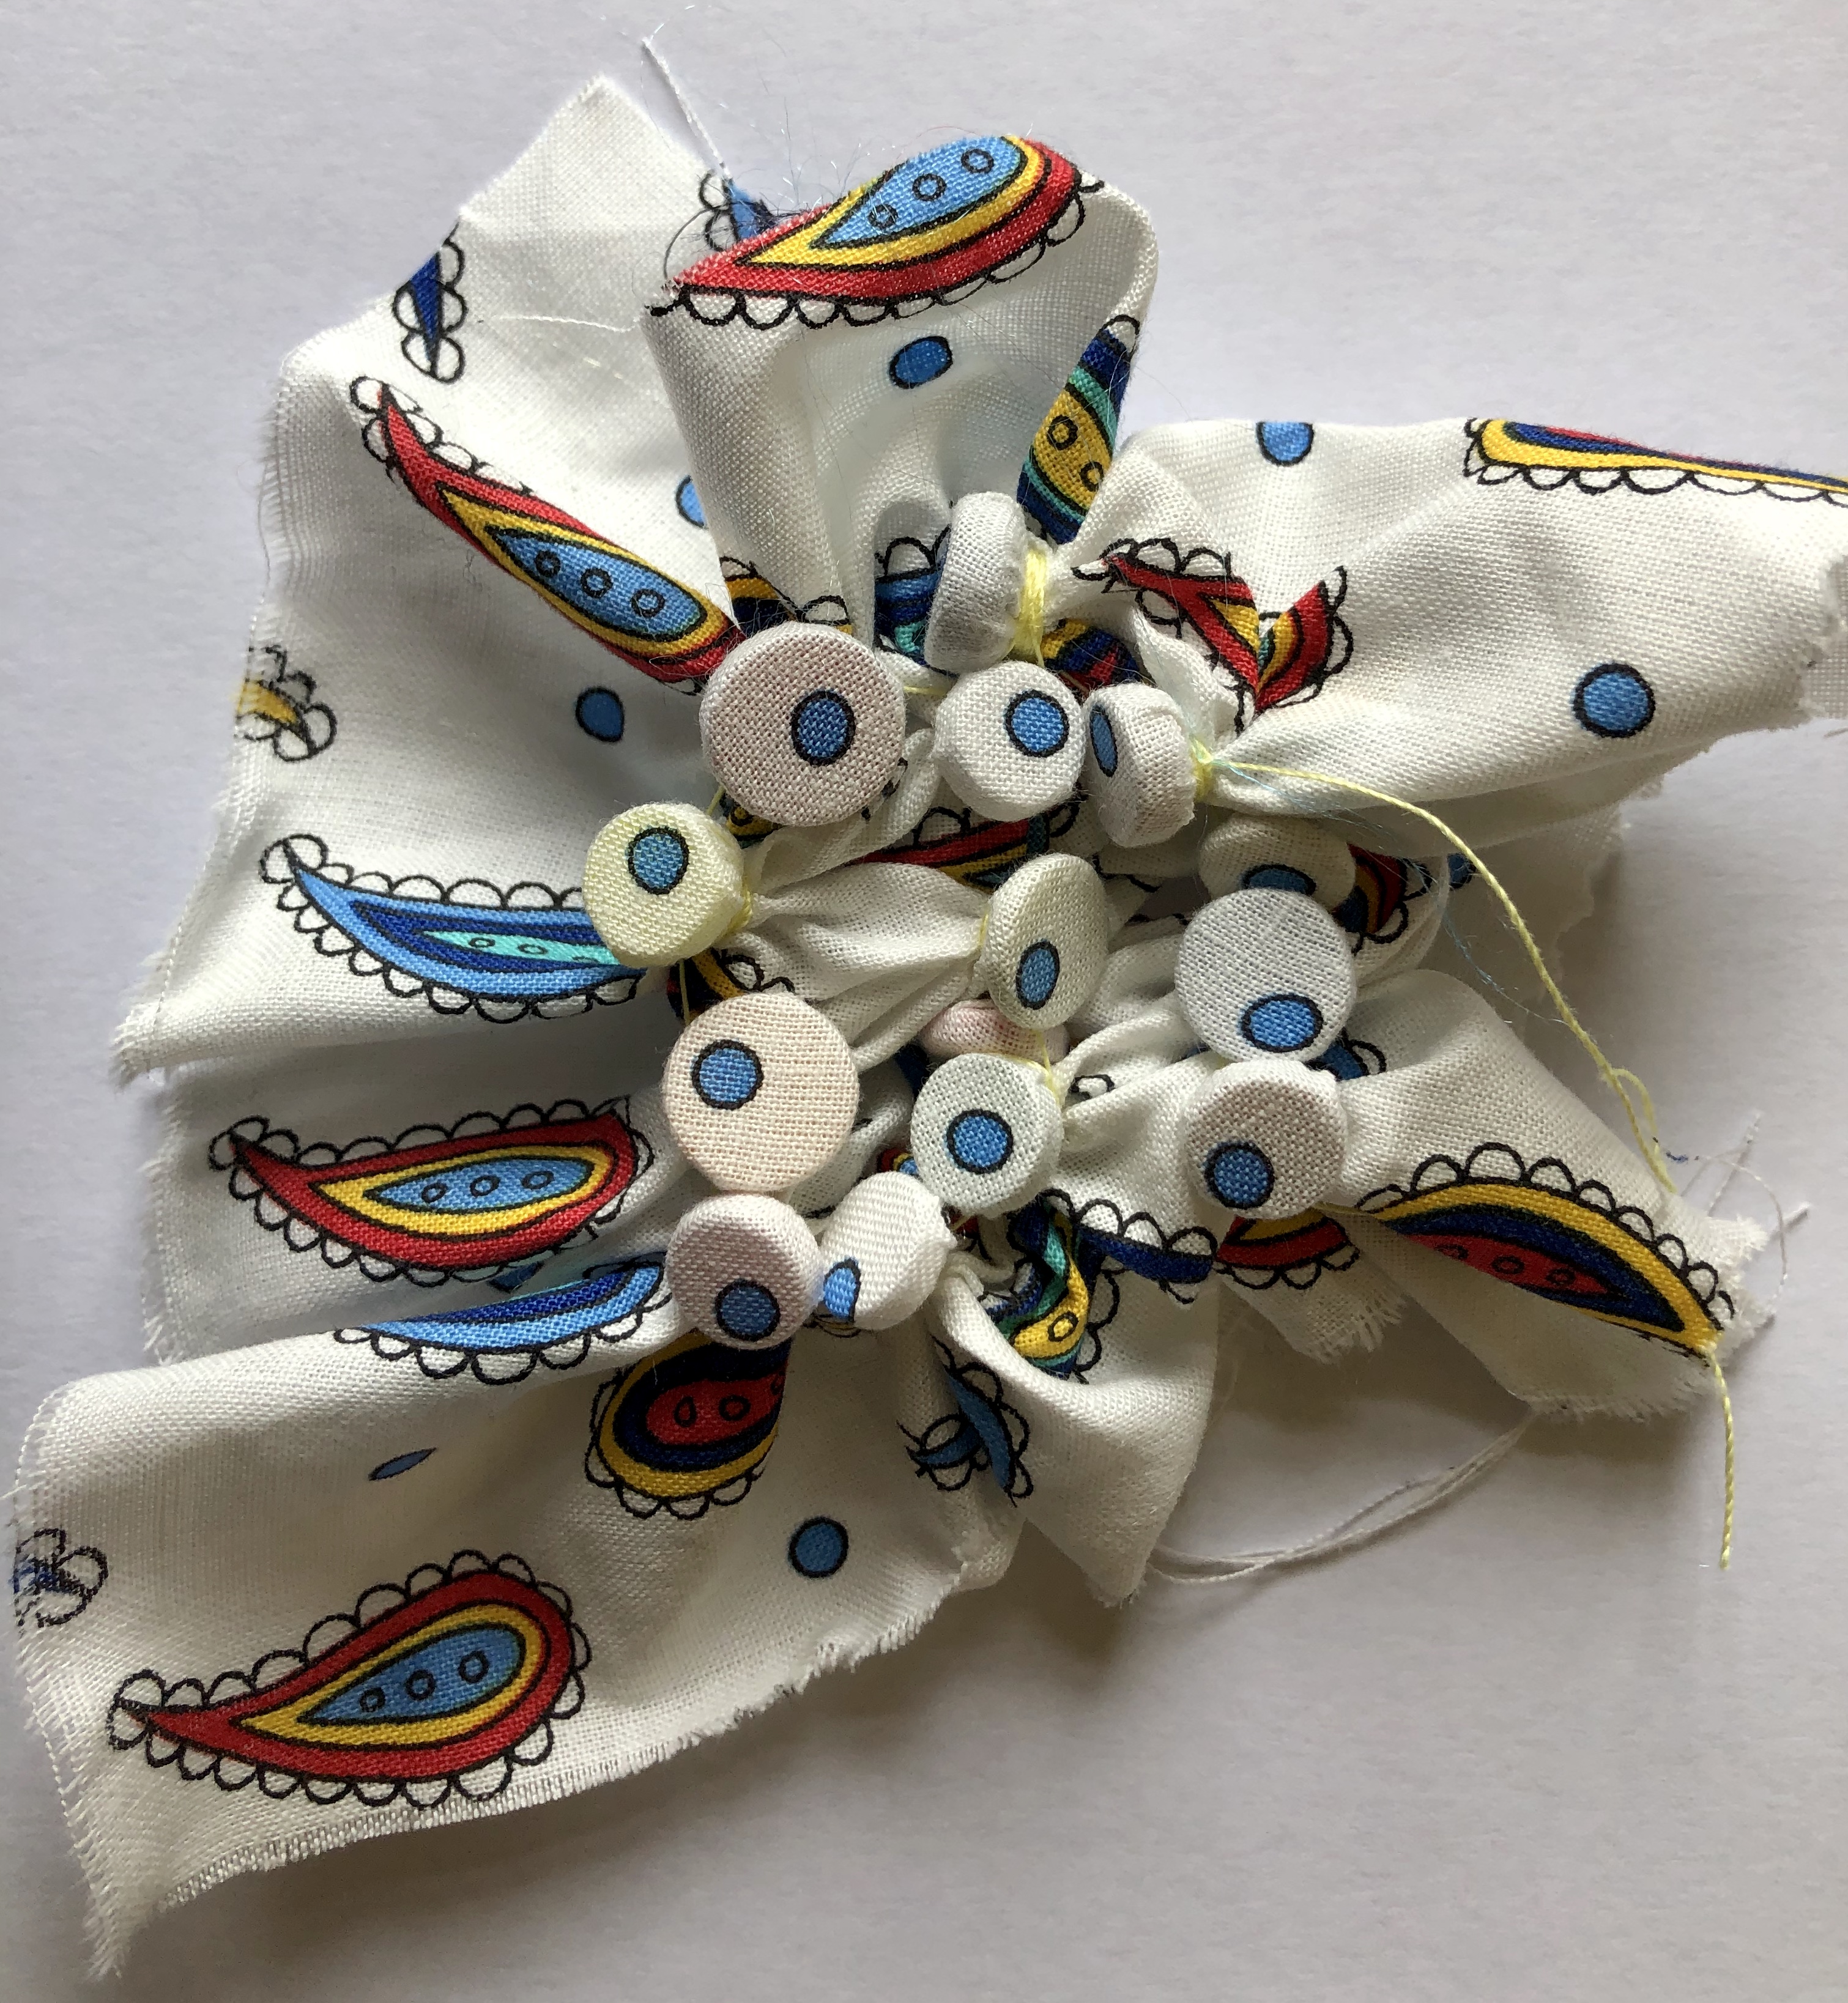
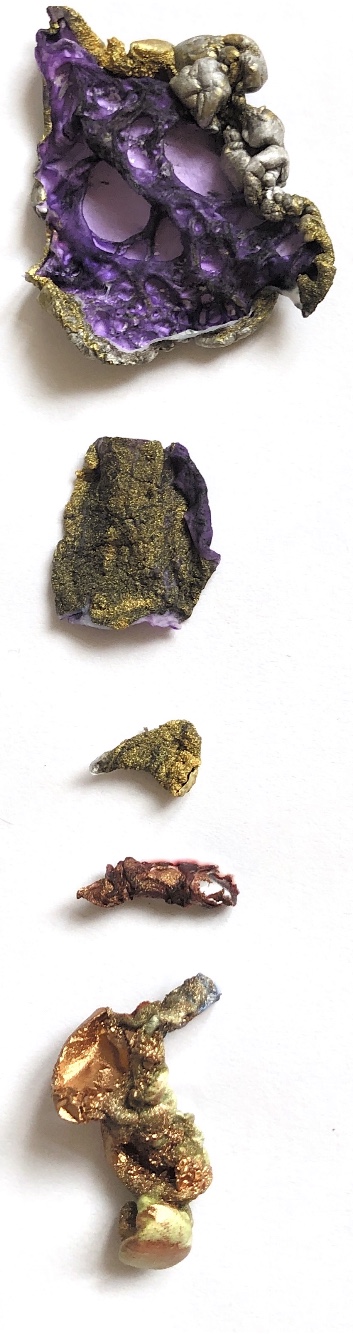
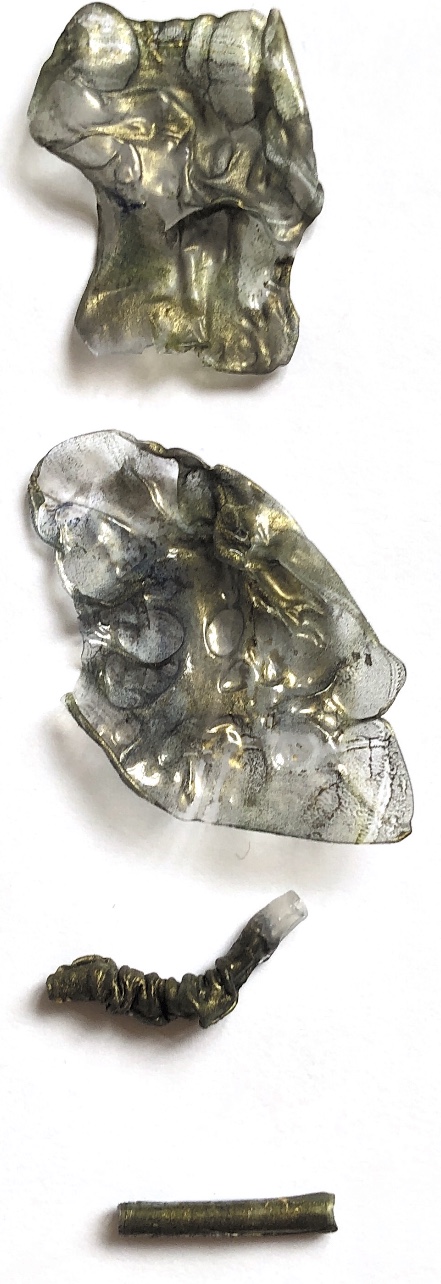
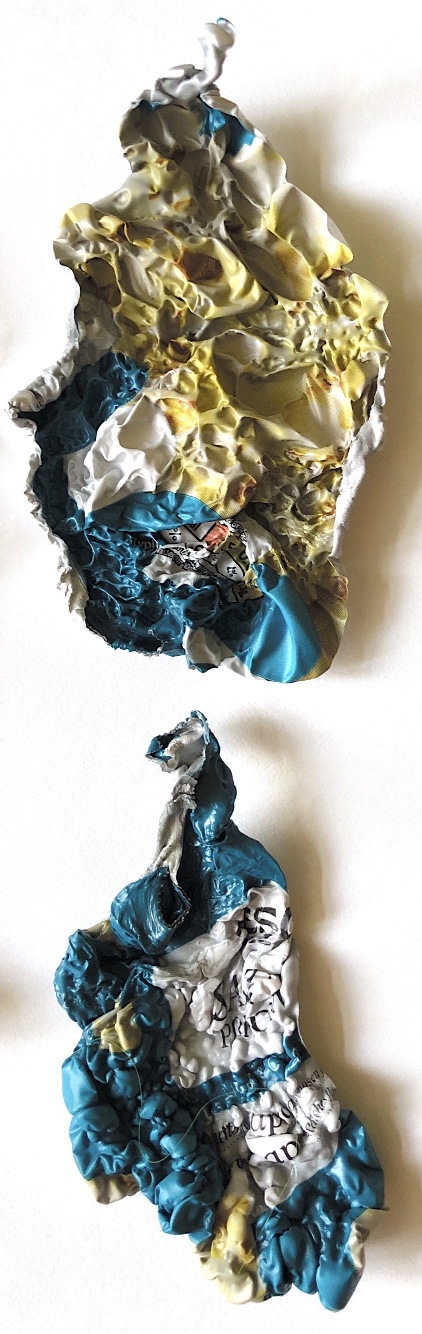
Fusing plastic also surprised me – boring plastic bags could be transformed to a thing of beauty by crumpling and ironing them and then adding stitch to create jewel like brooches.

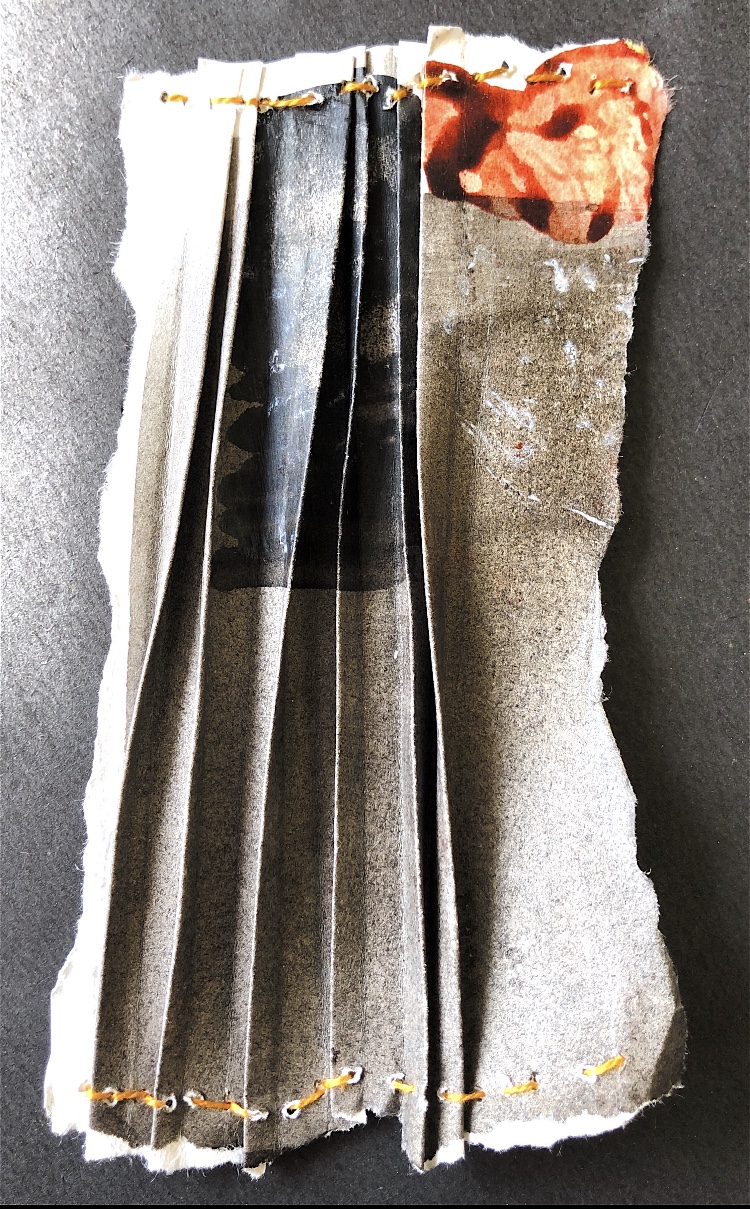
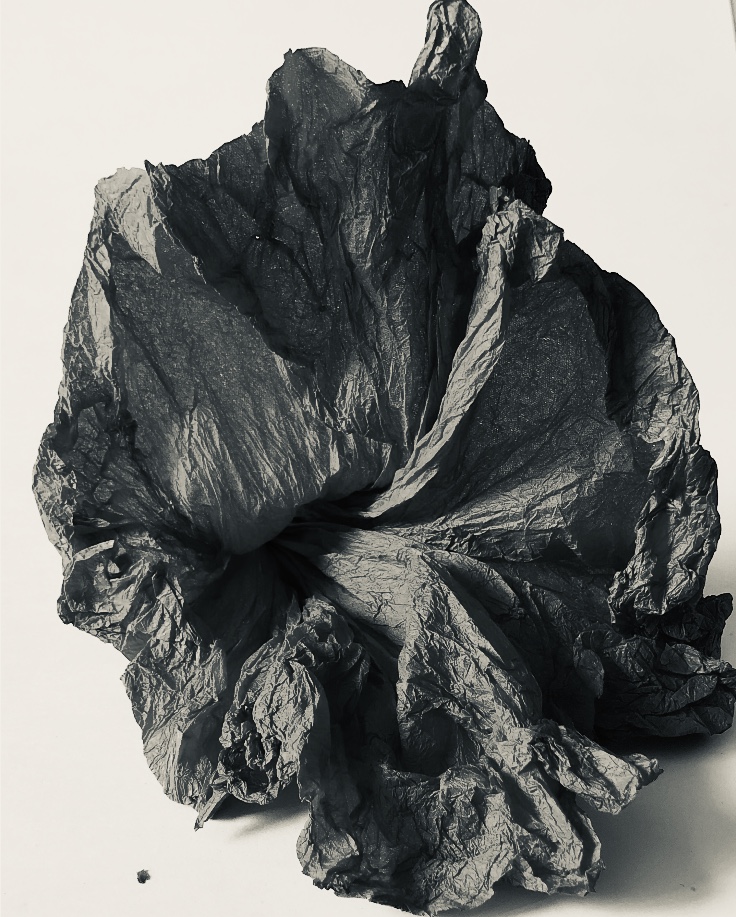
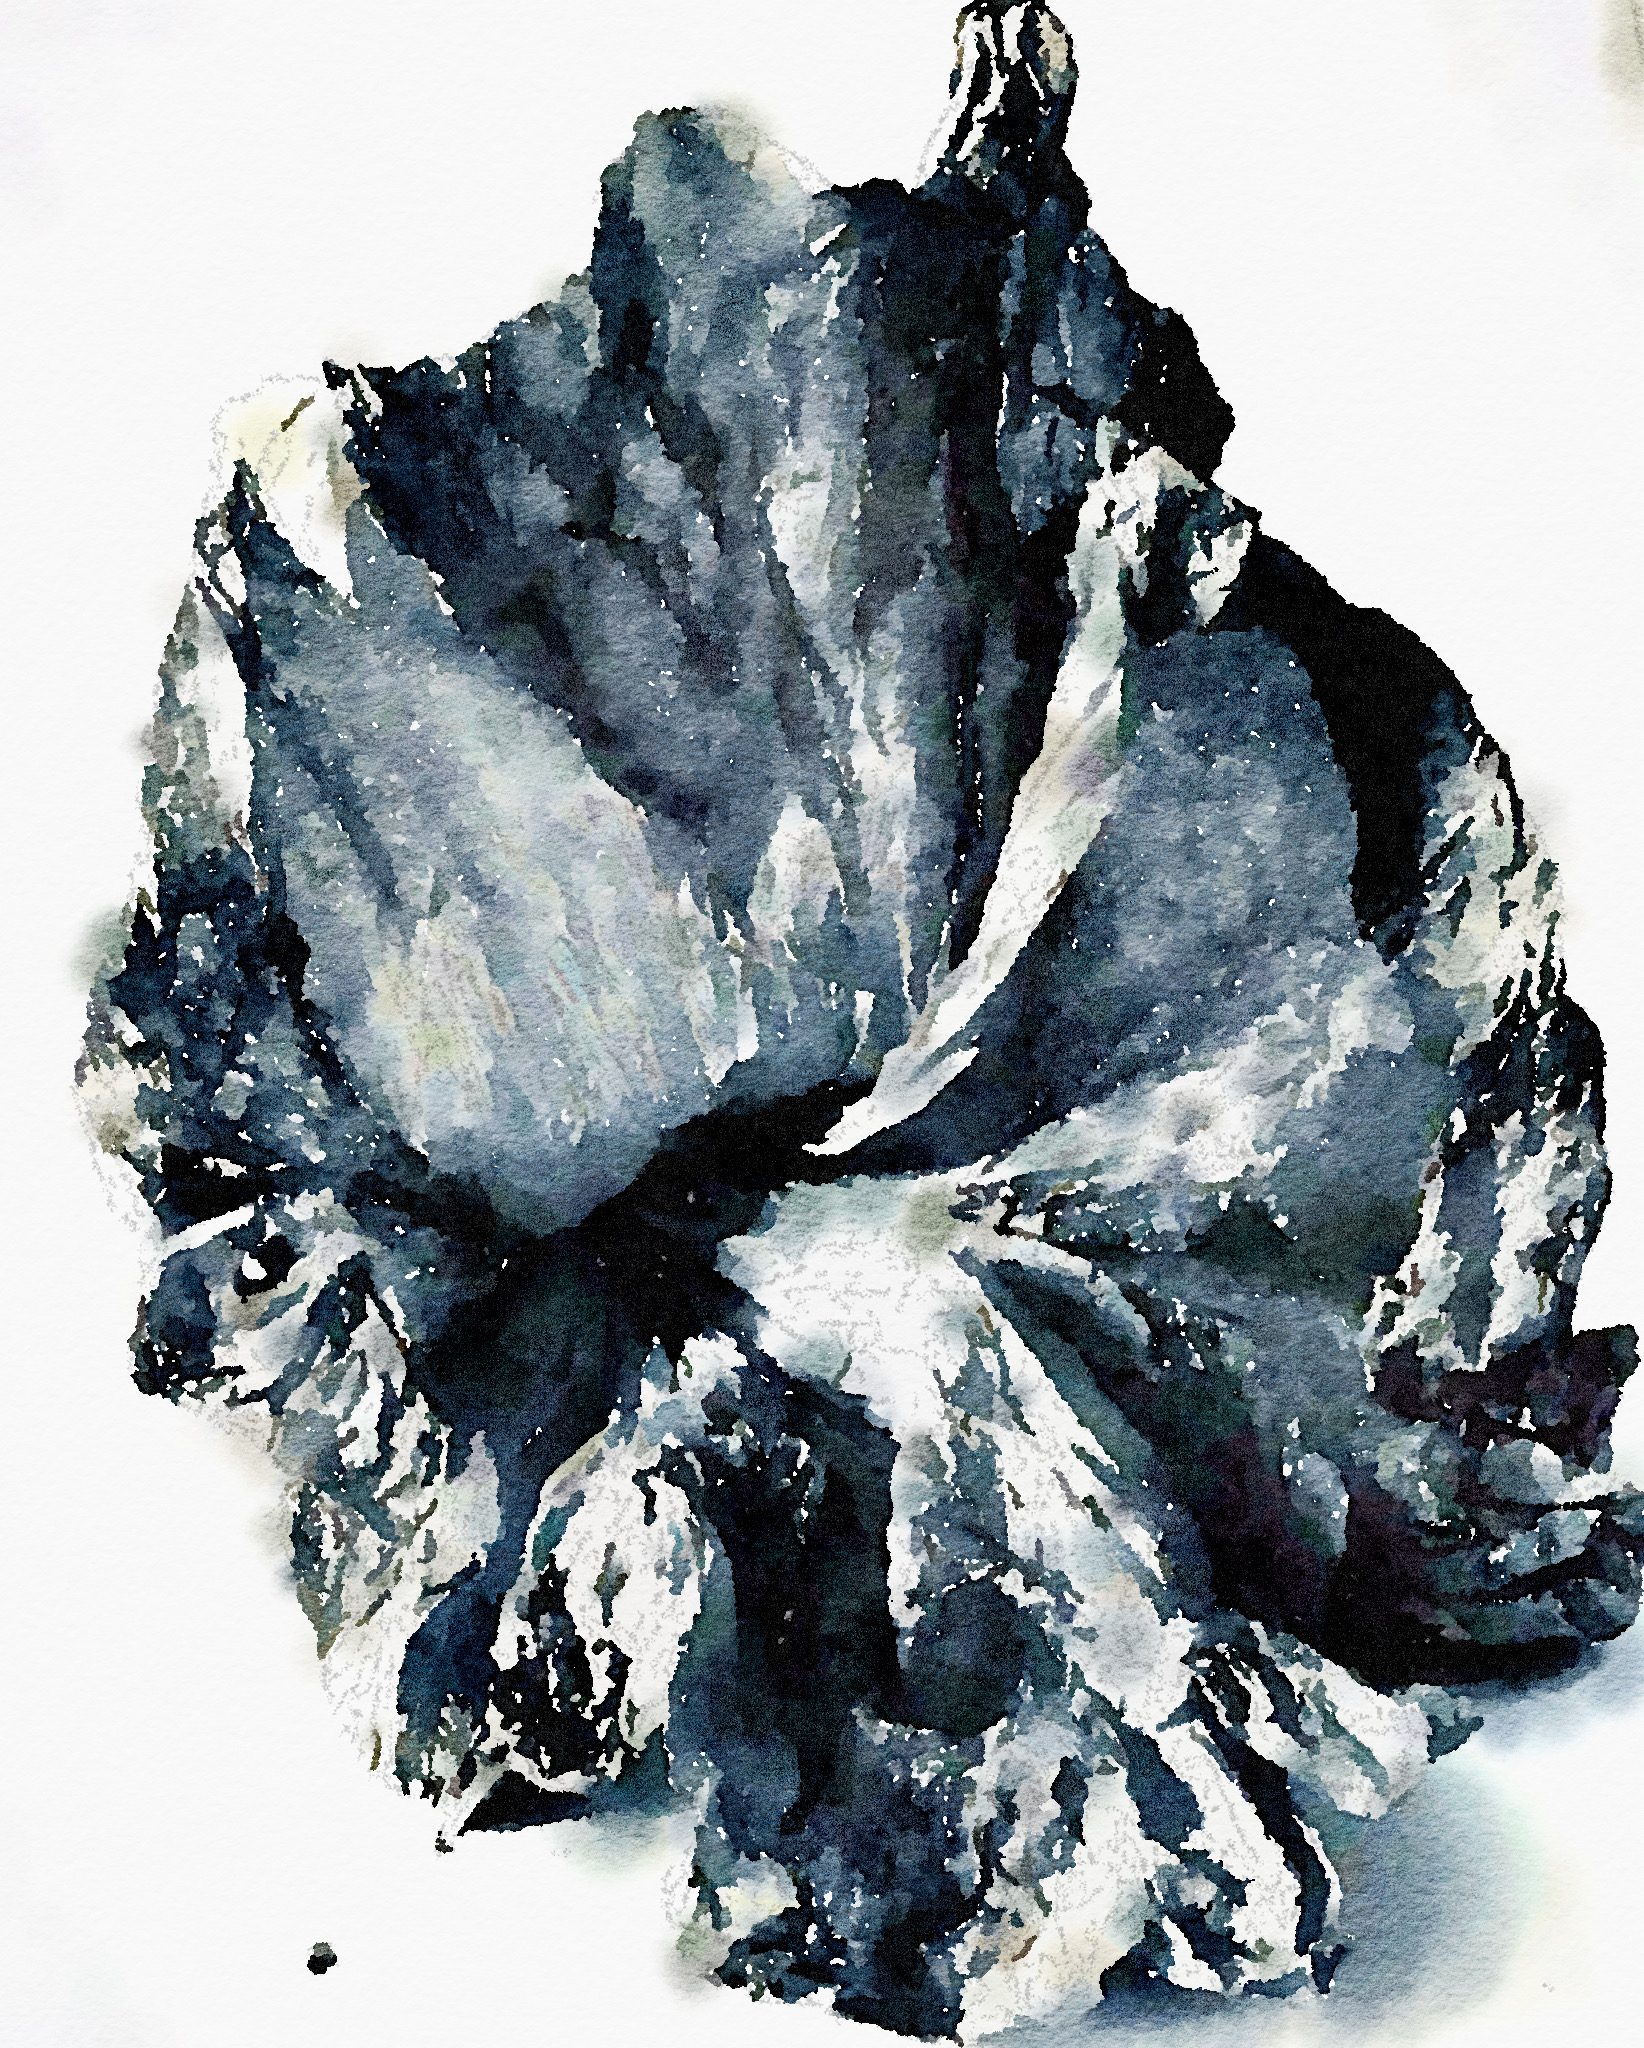
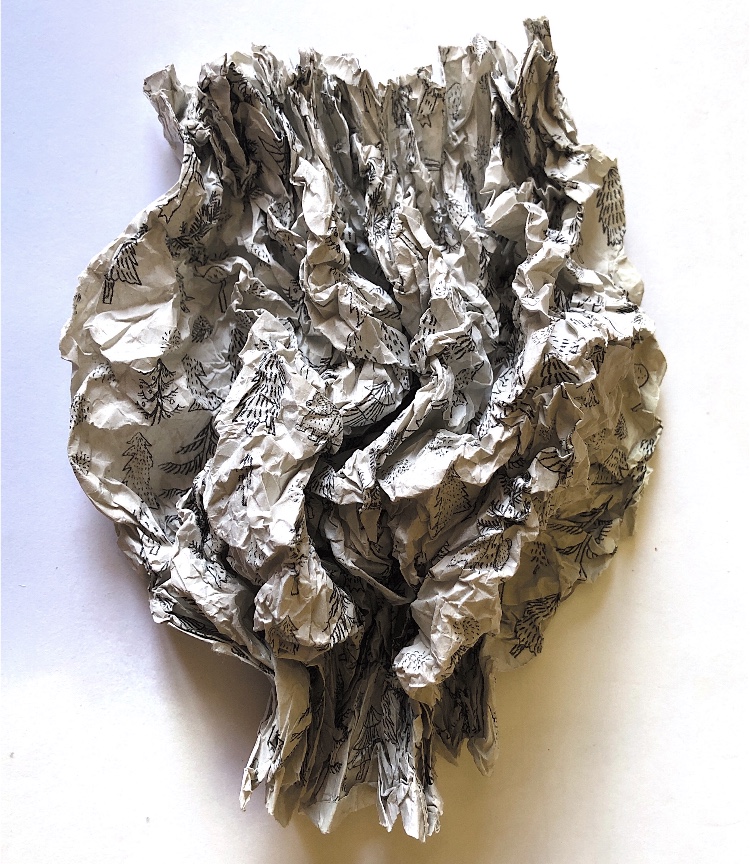
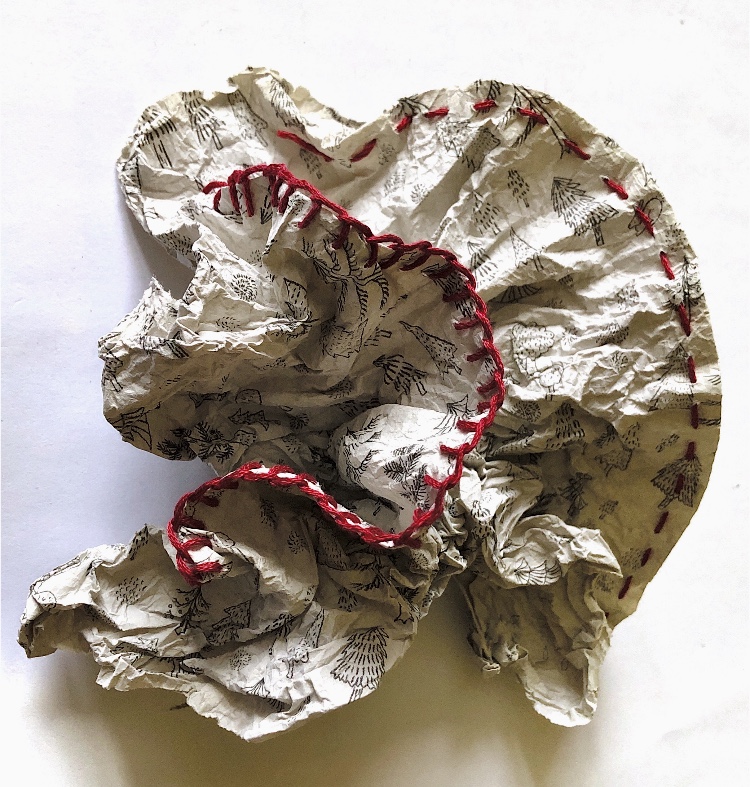
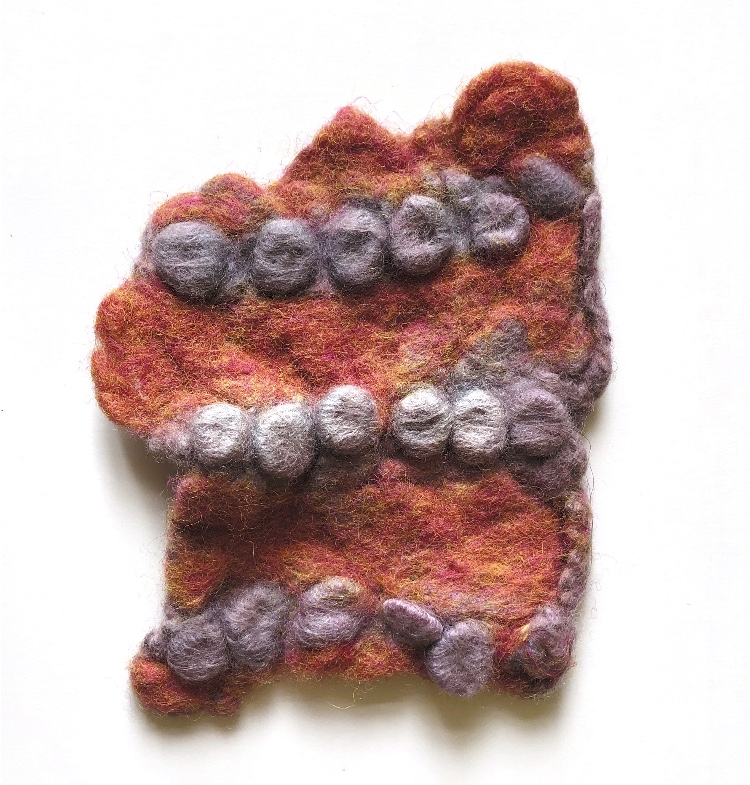
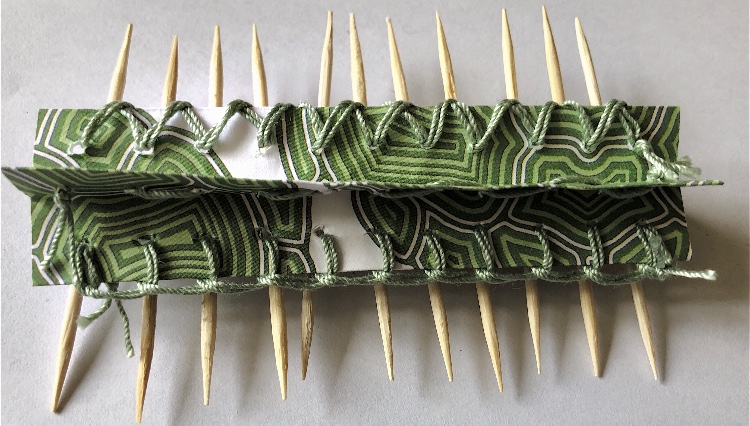
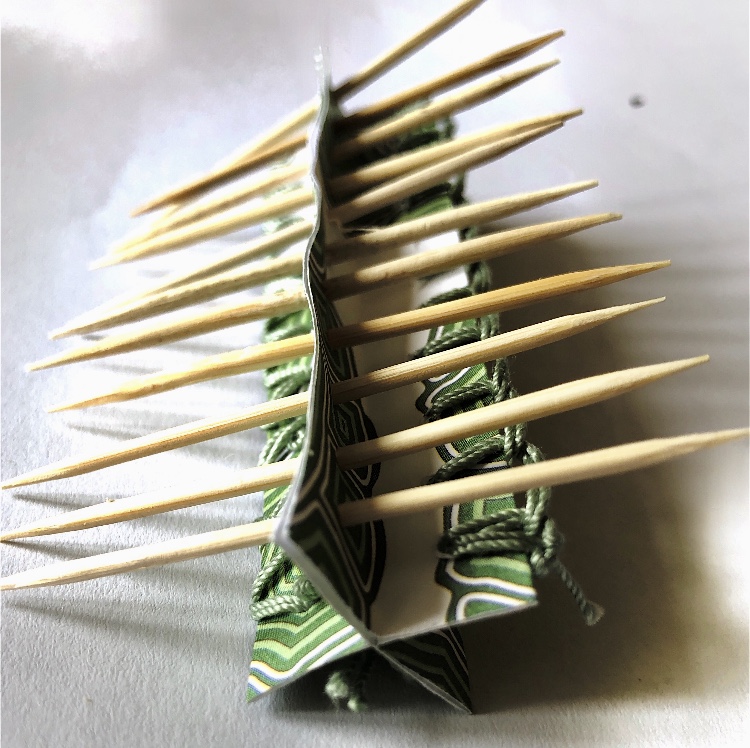
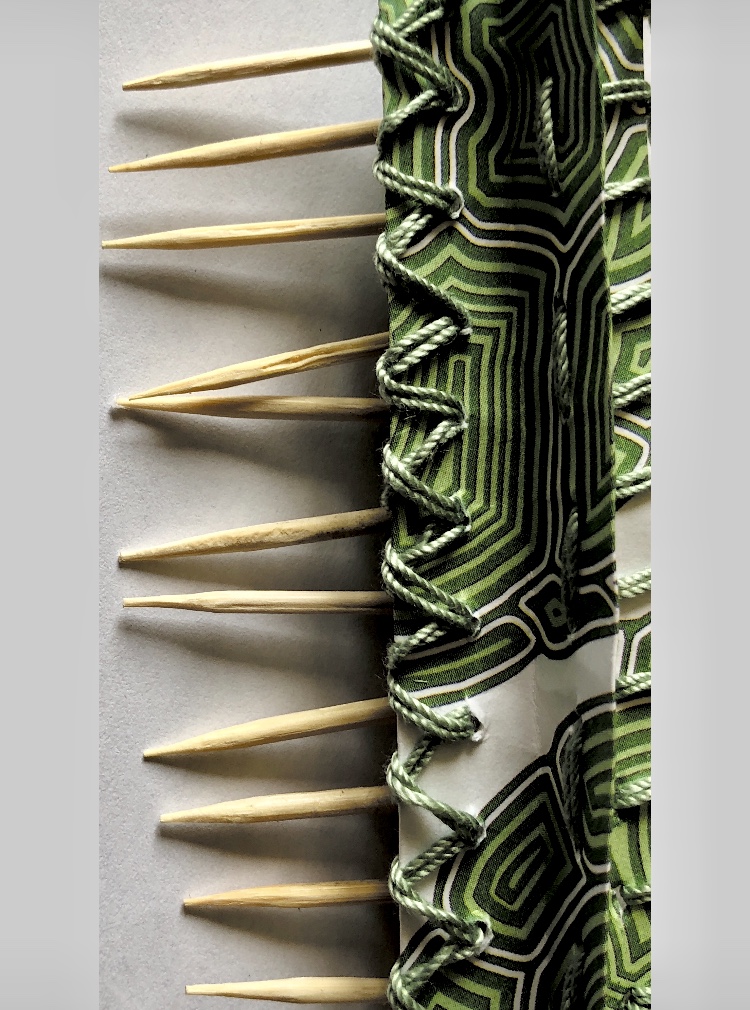
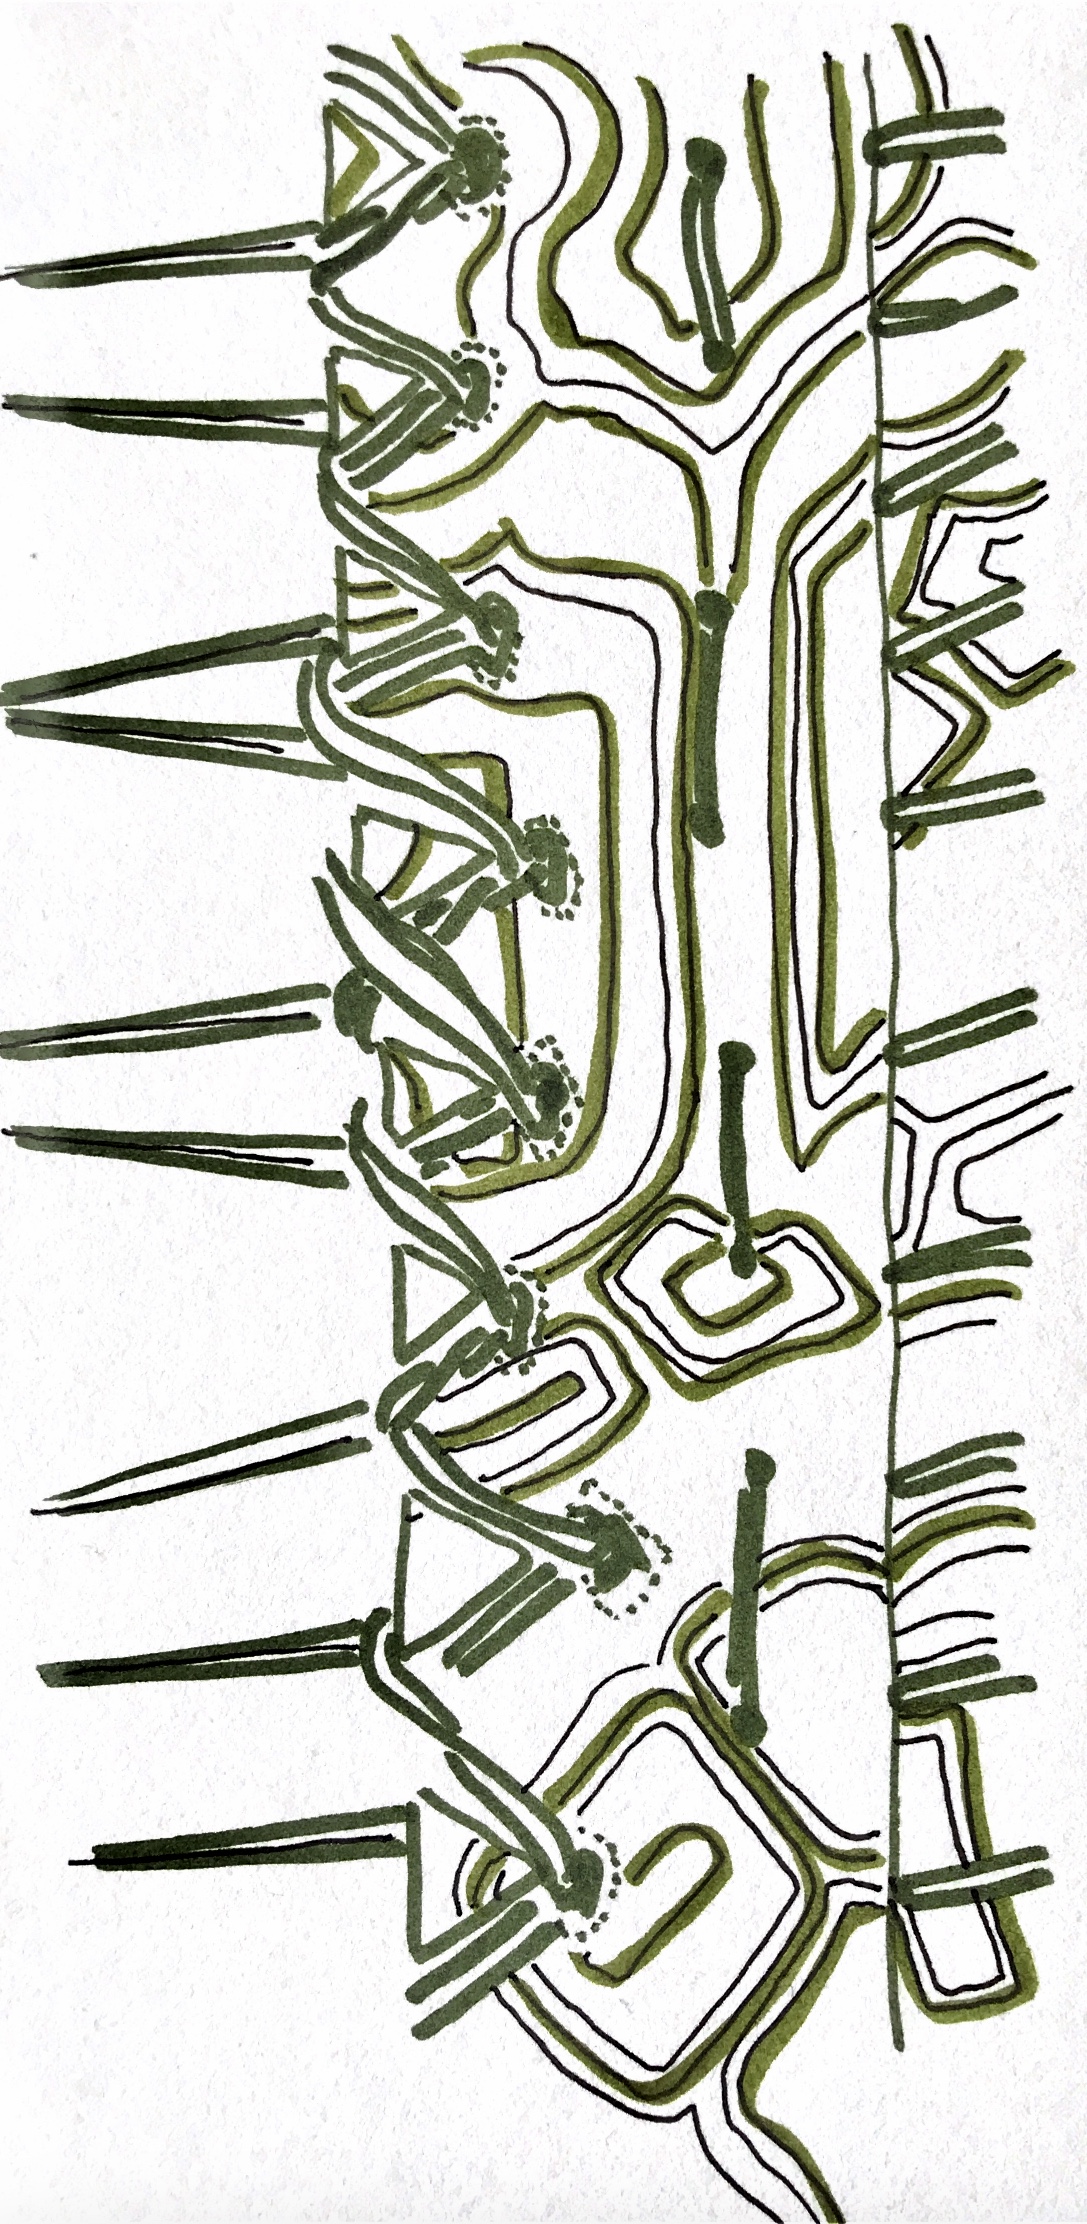
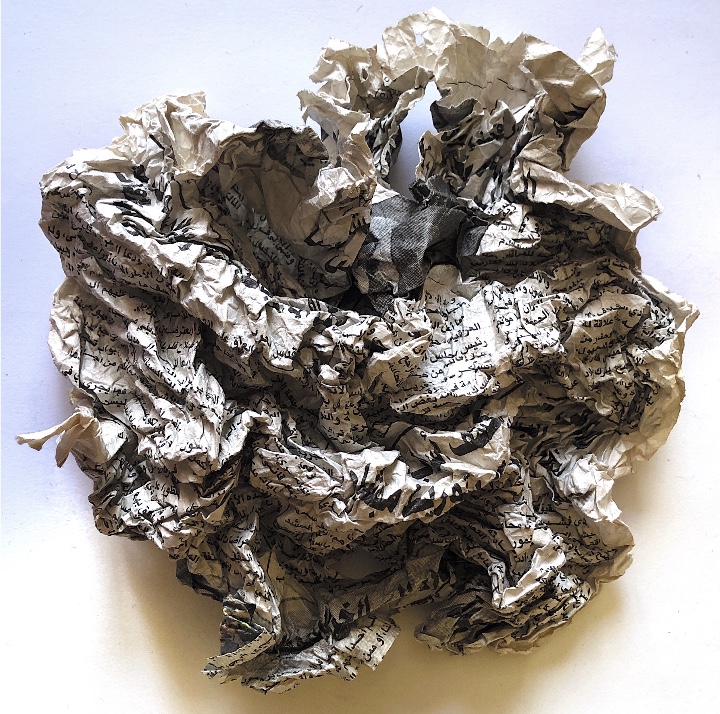
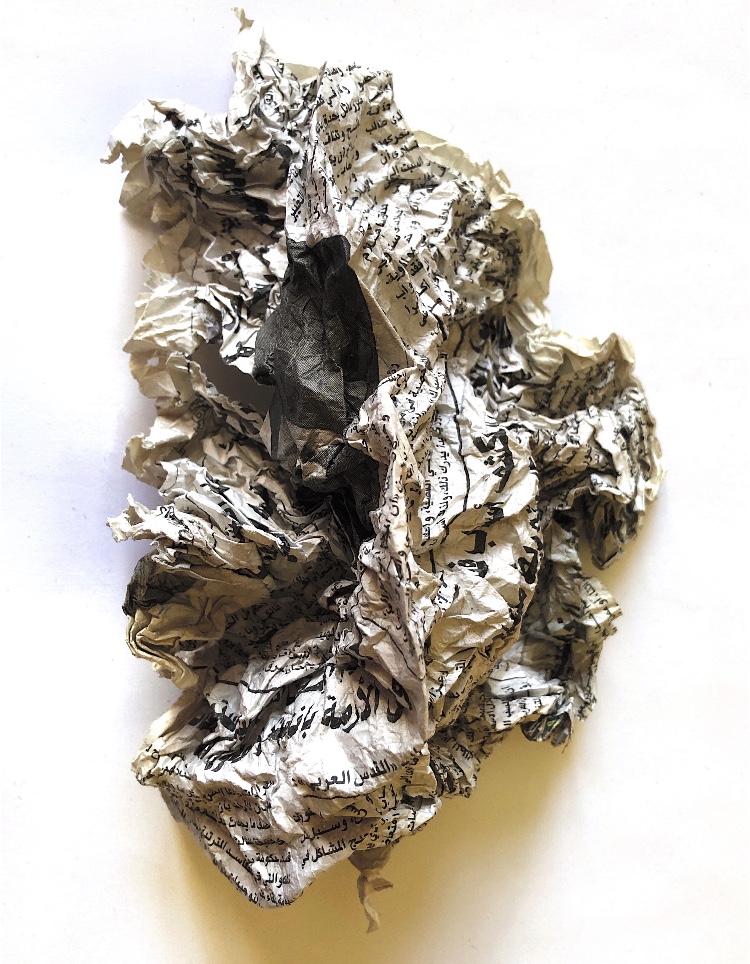
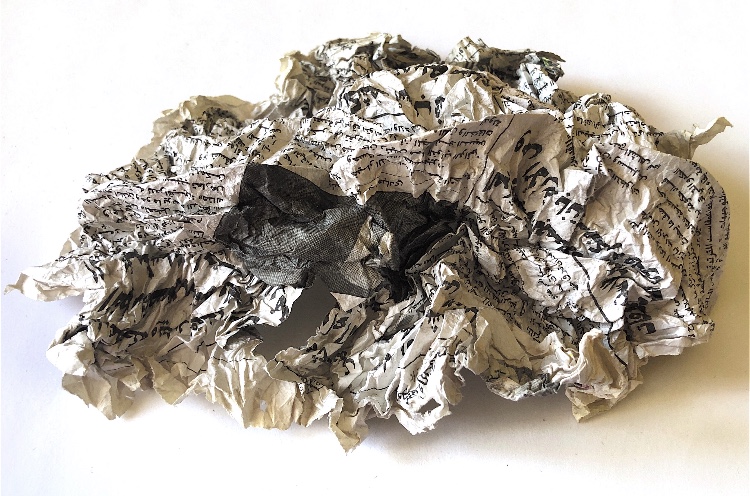
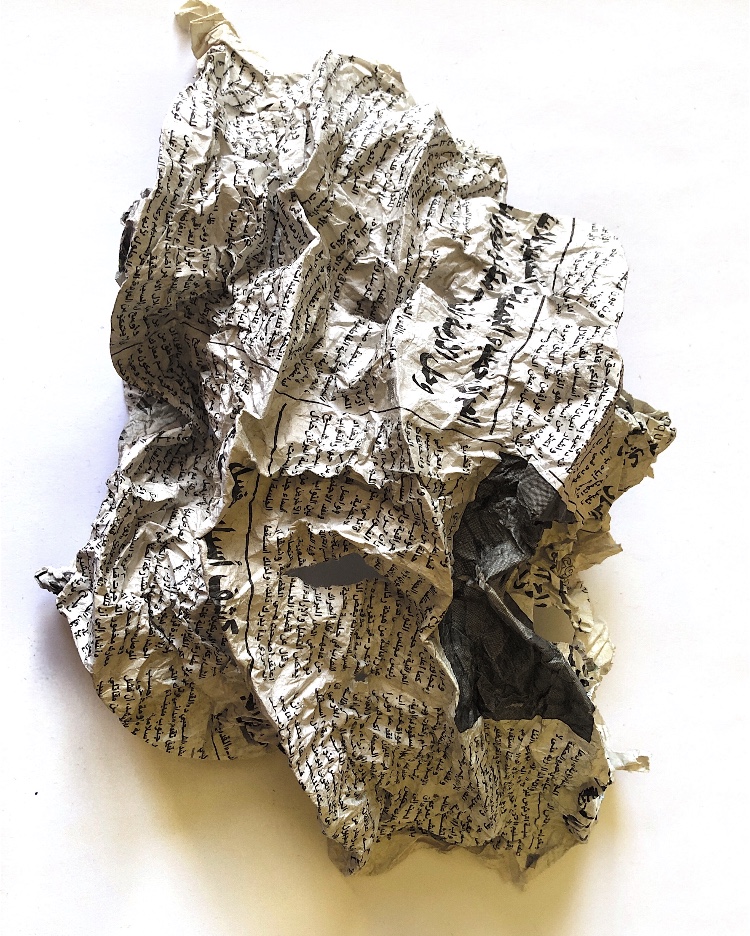
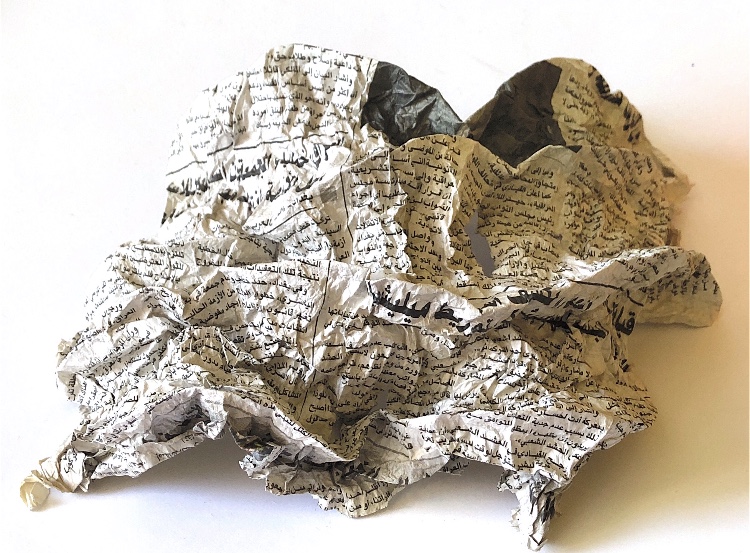
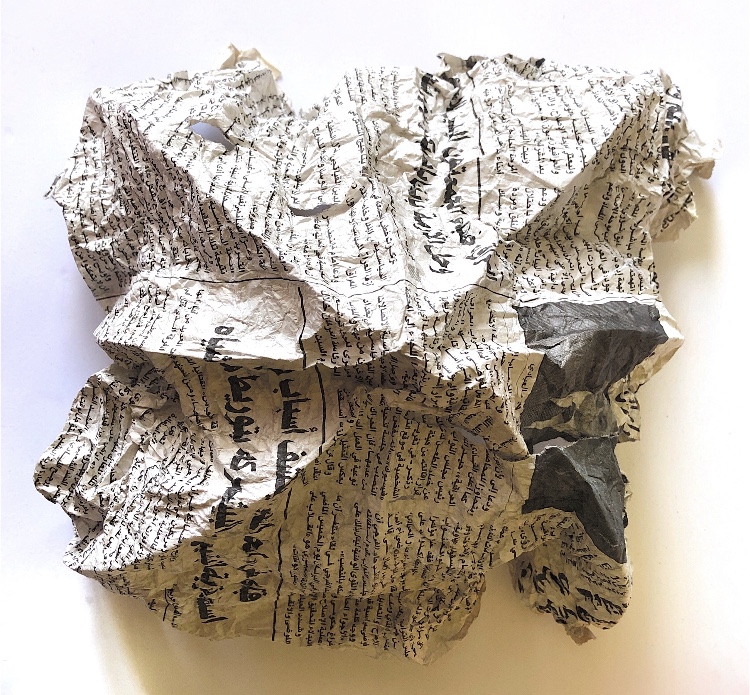
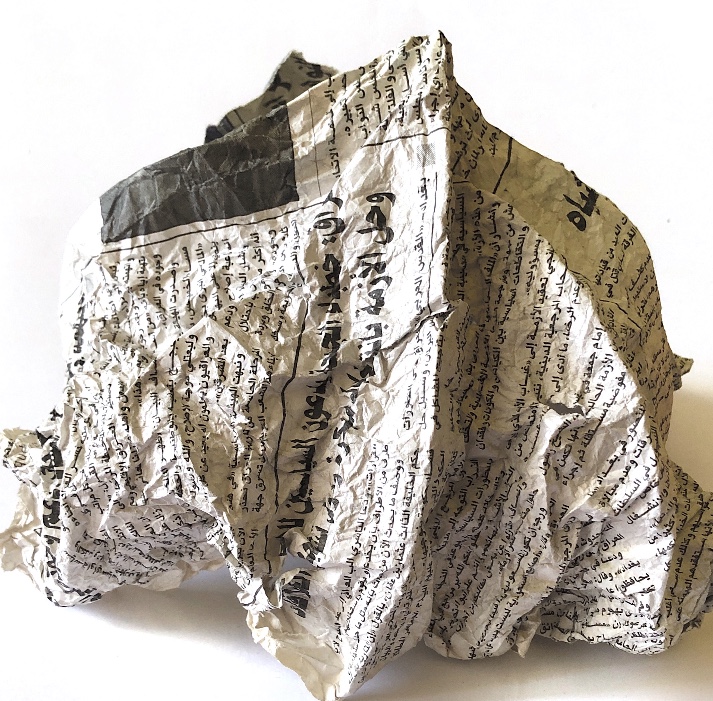
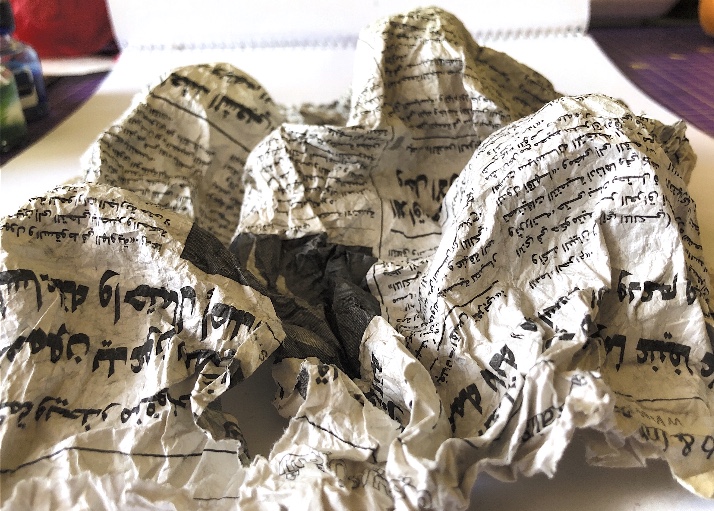
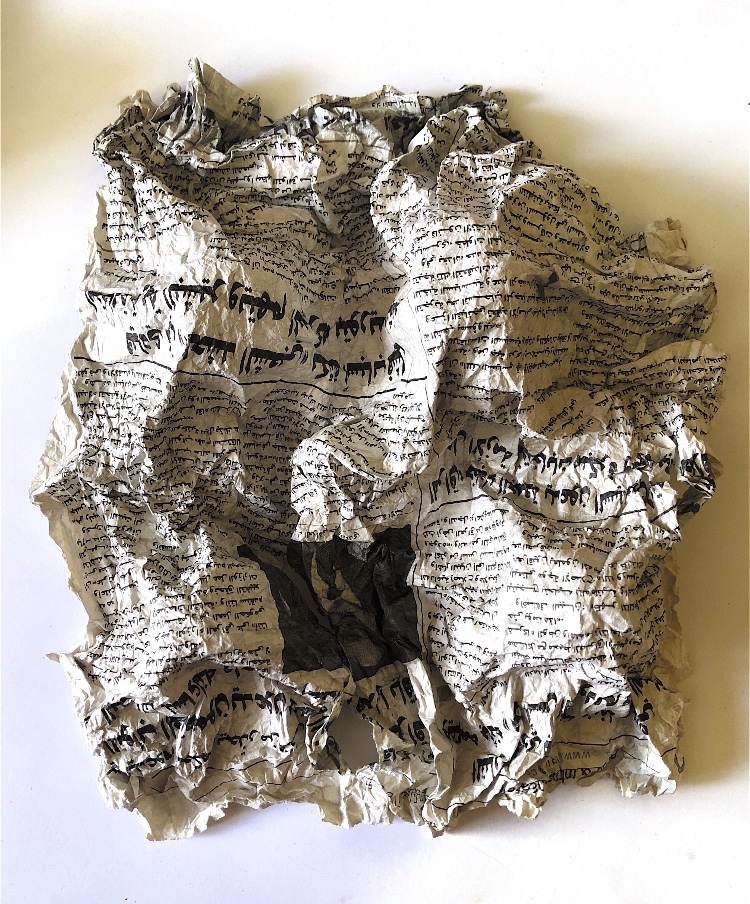
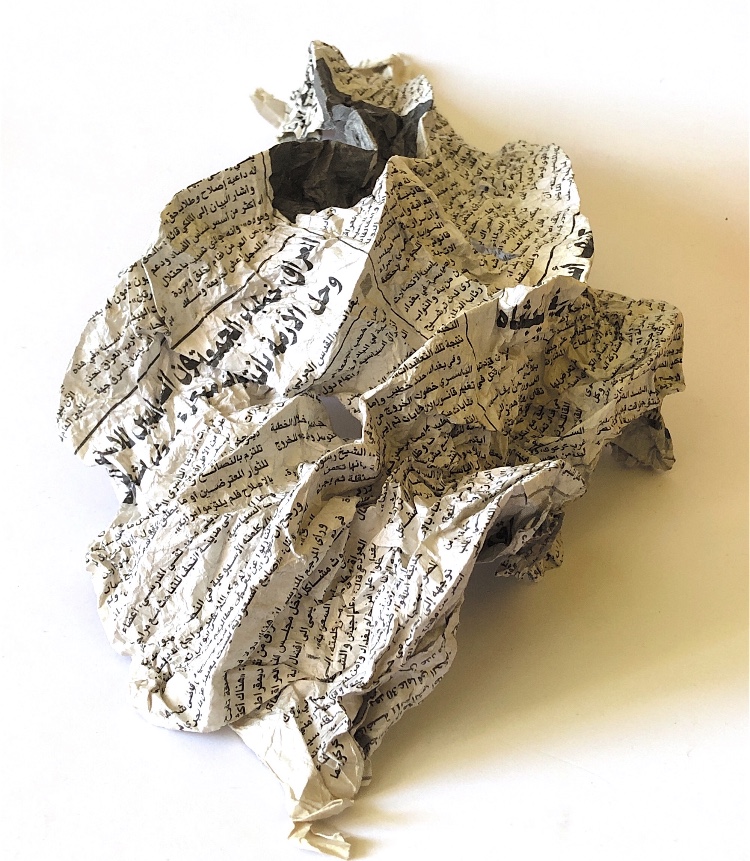
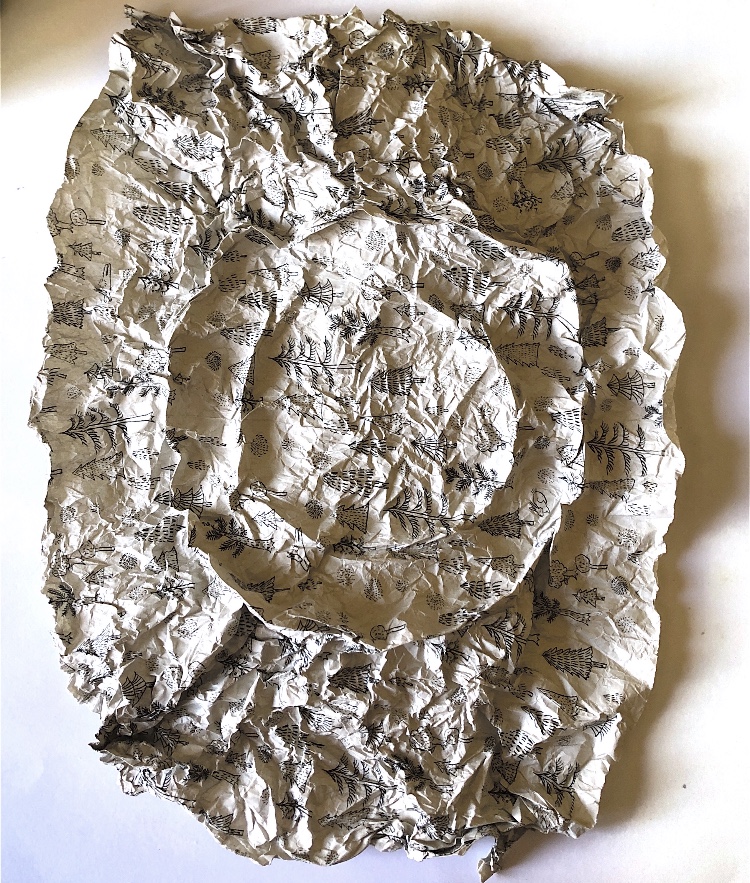
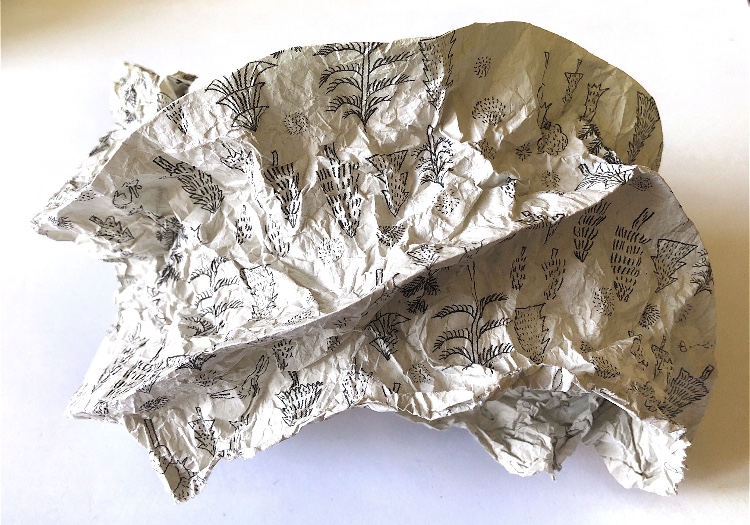
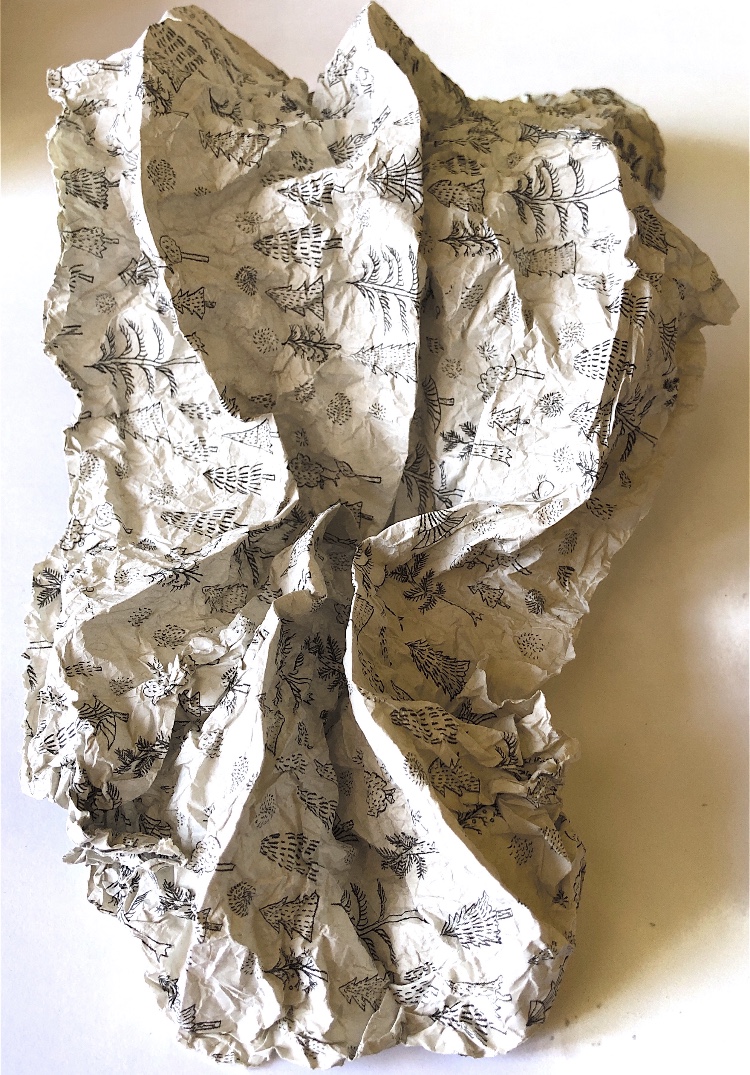
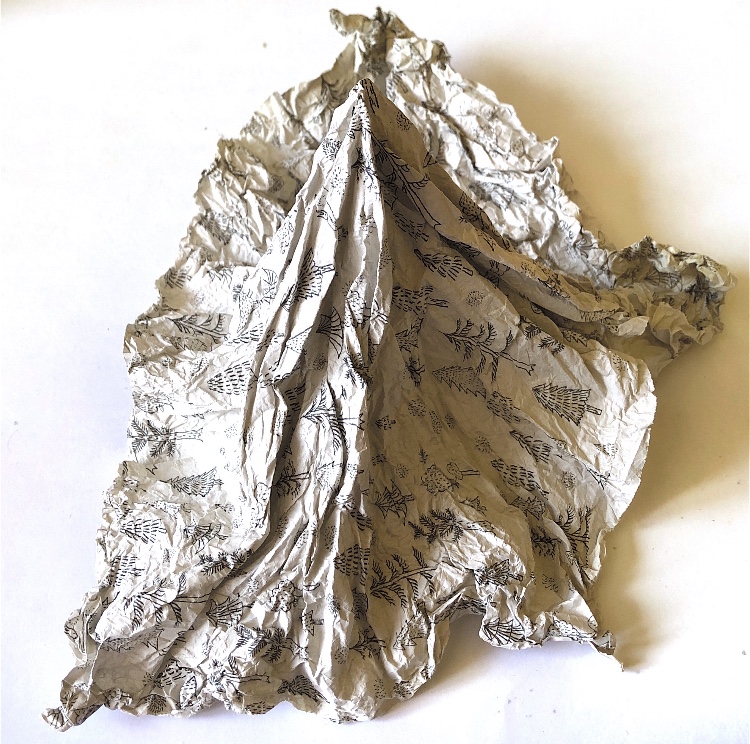
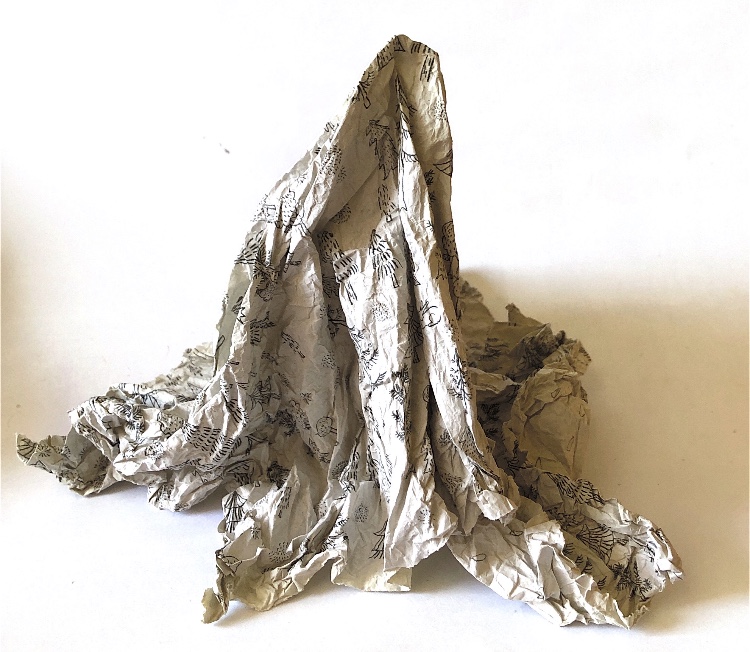
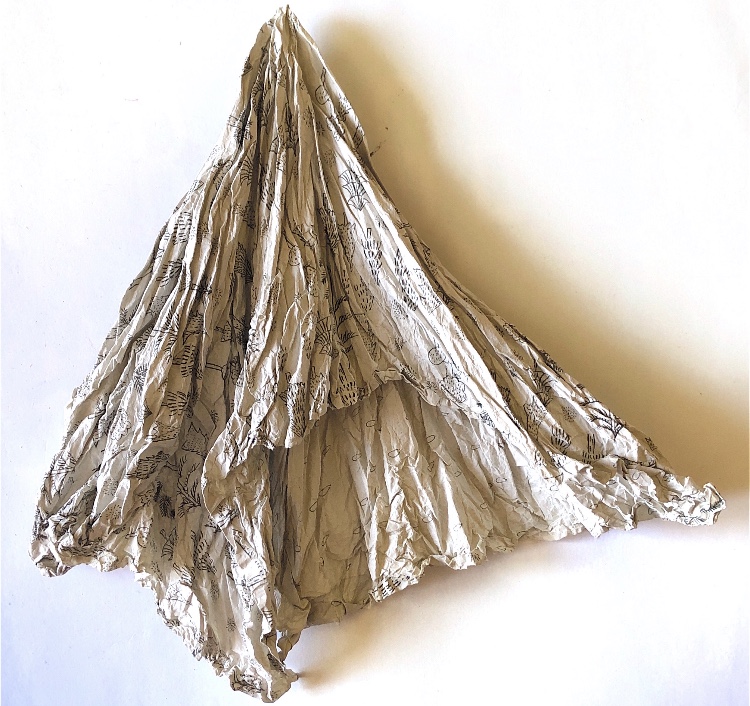
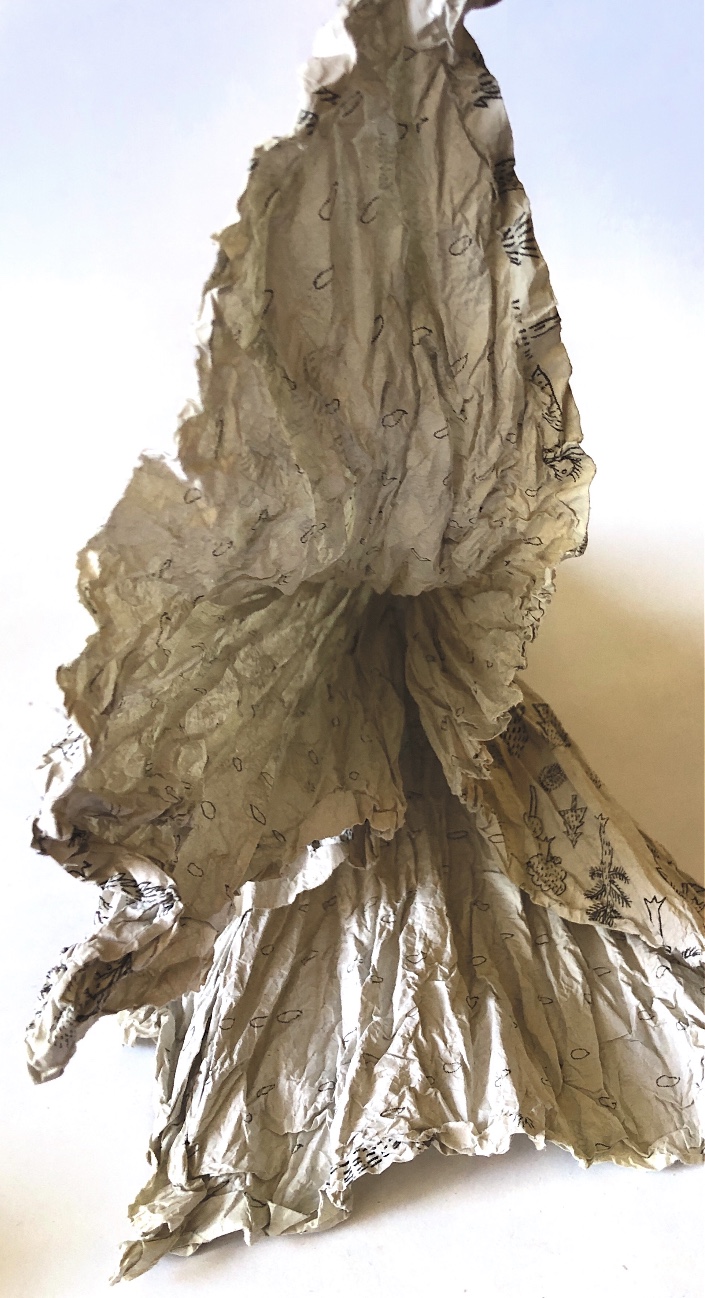
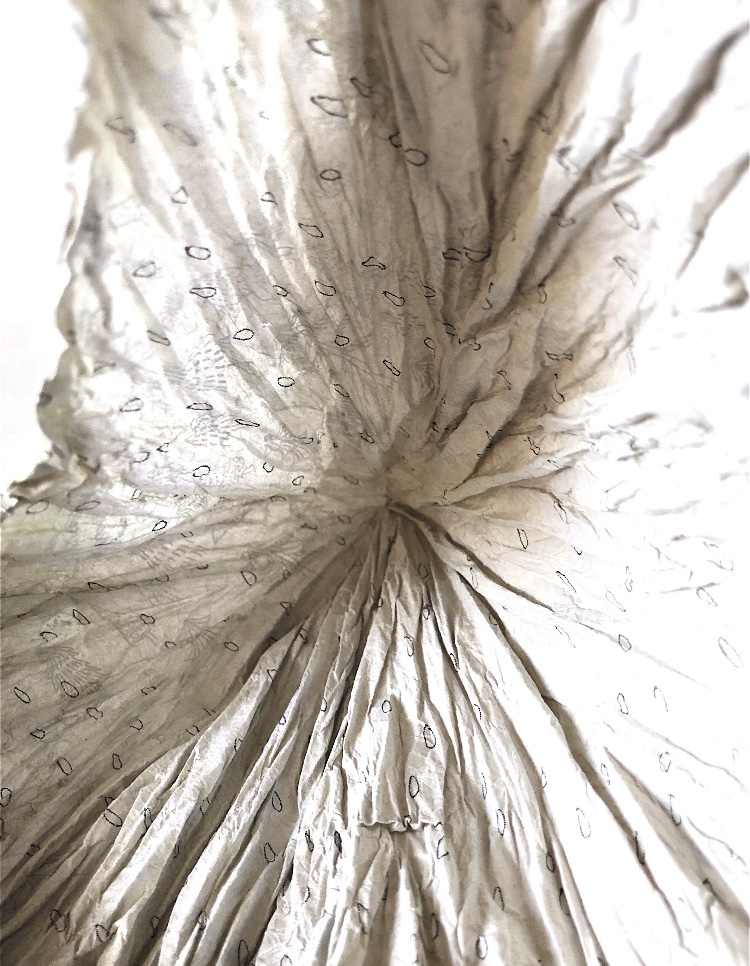
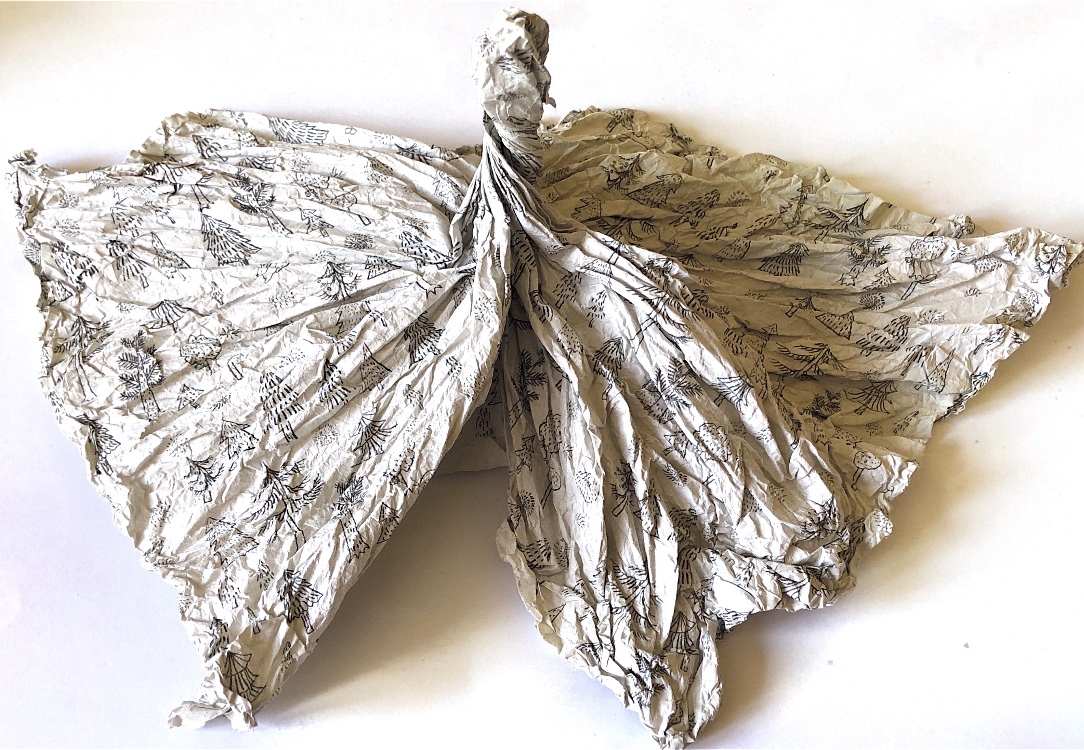
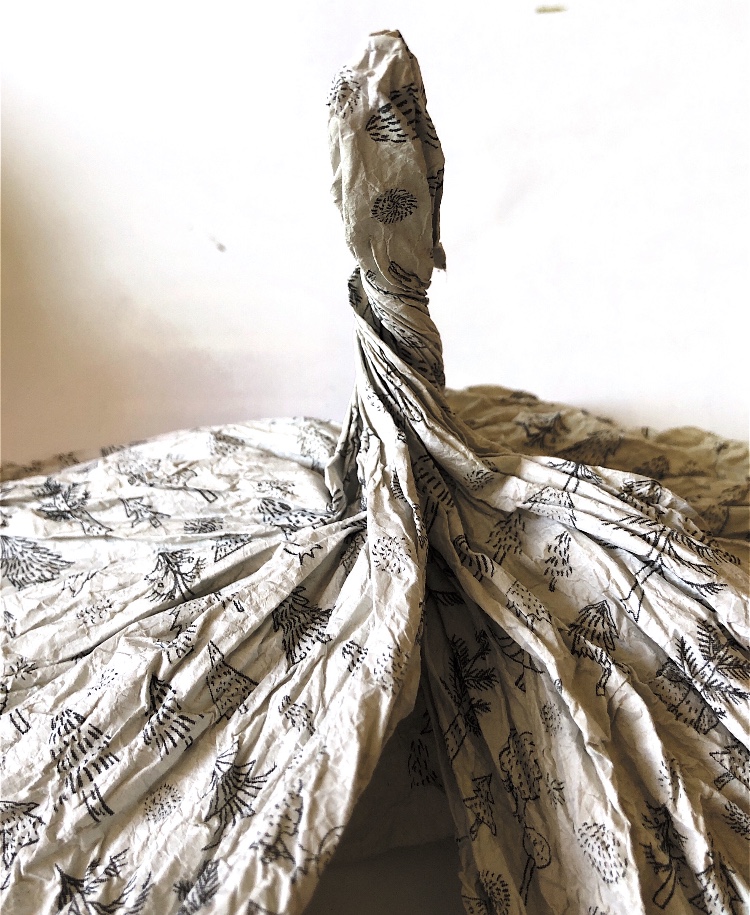
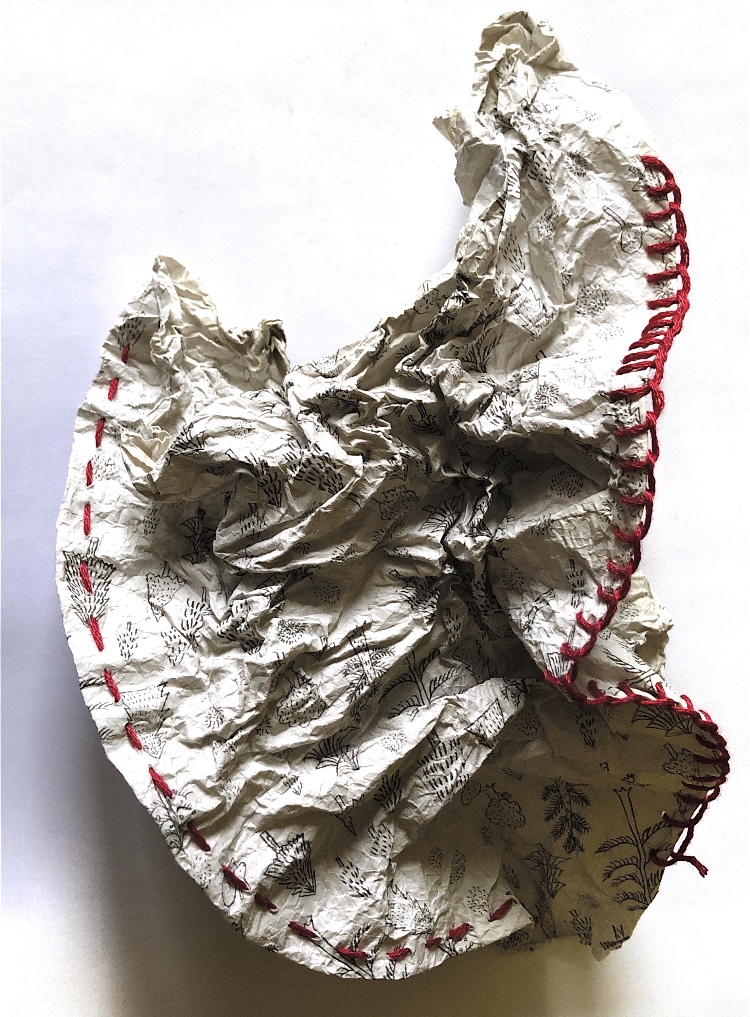
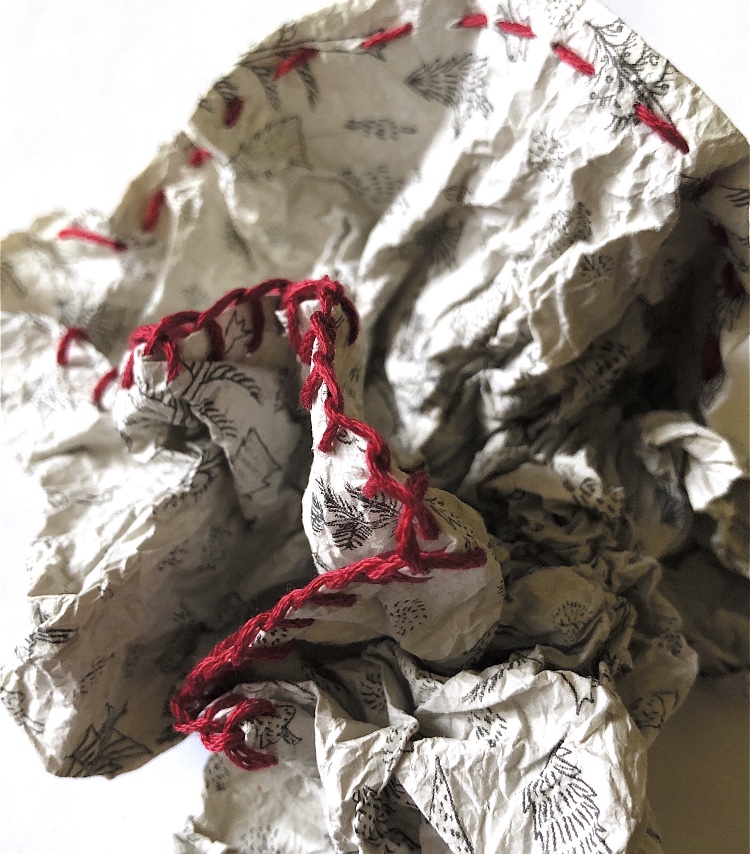
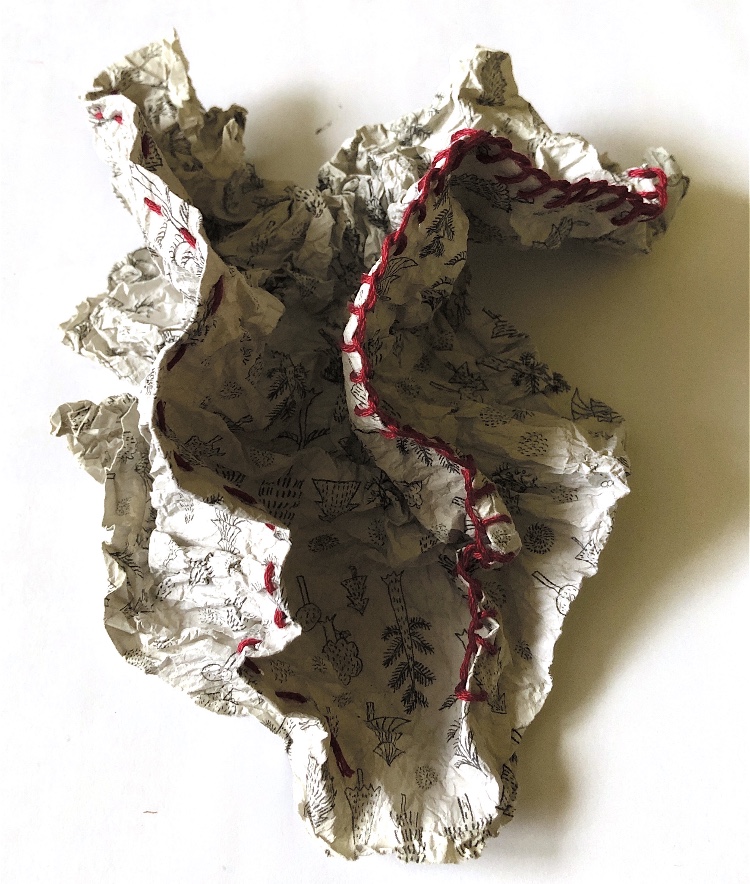
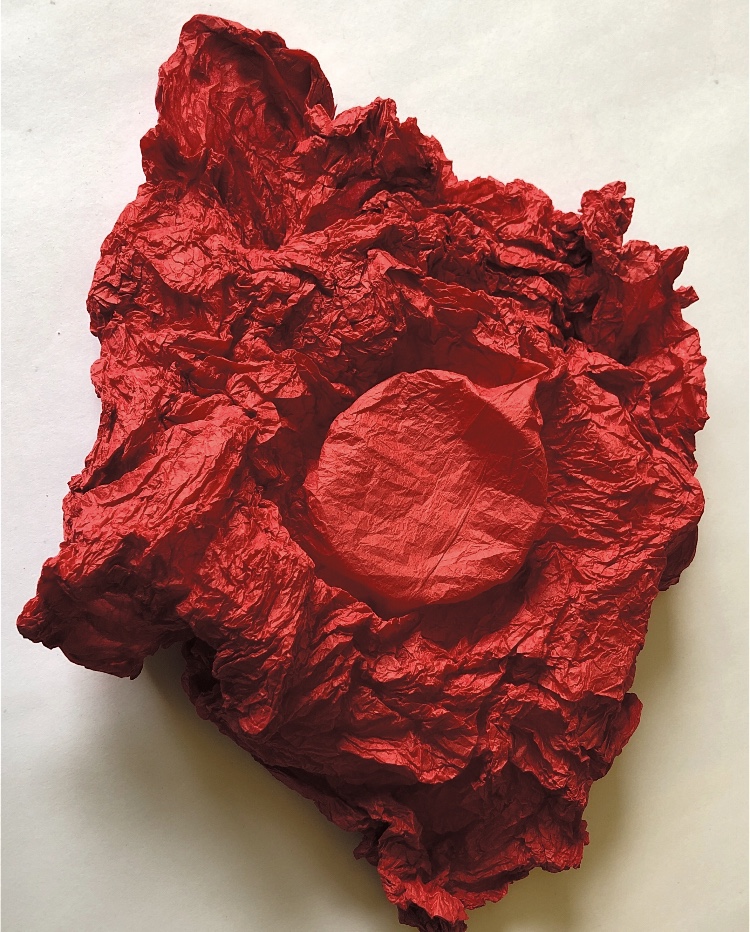
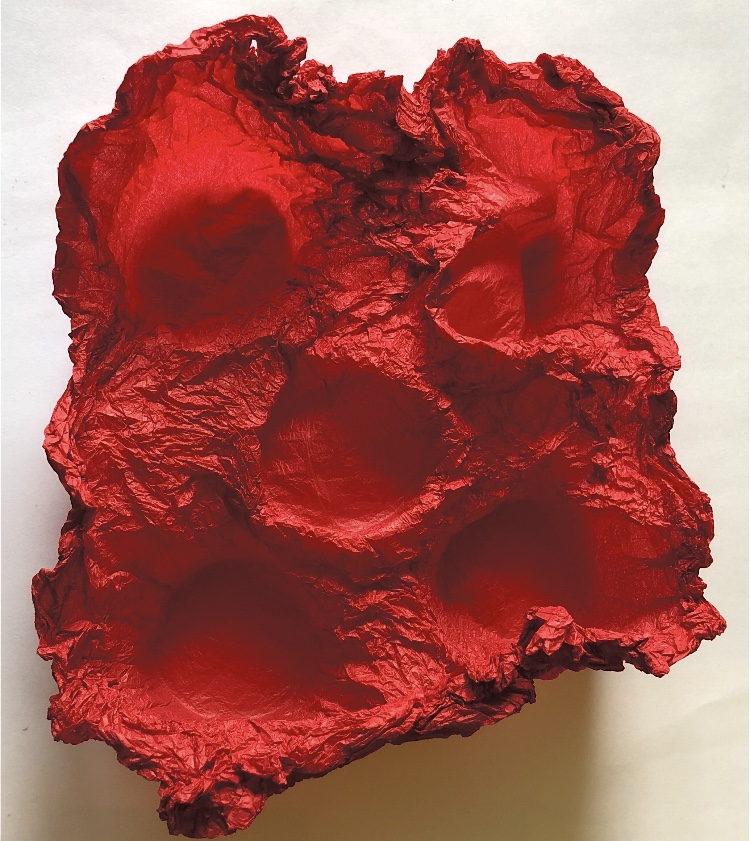
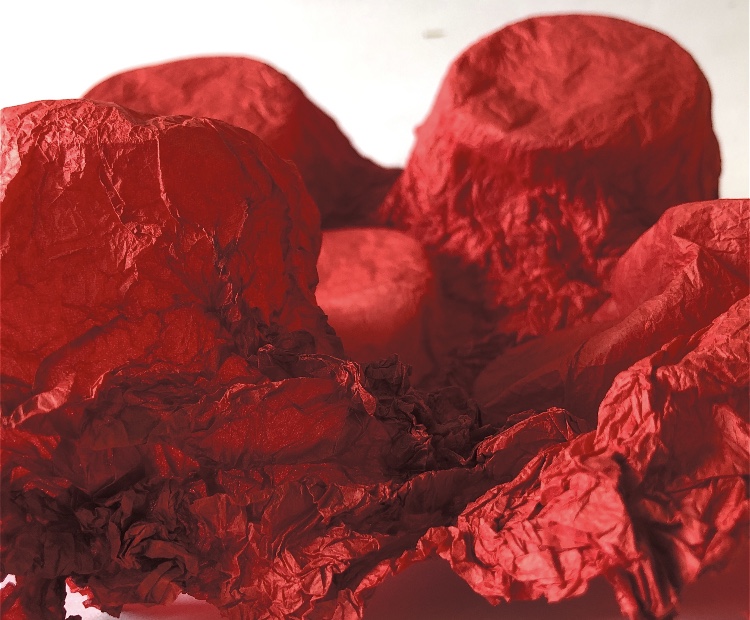
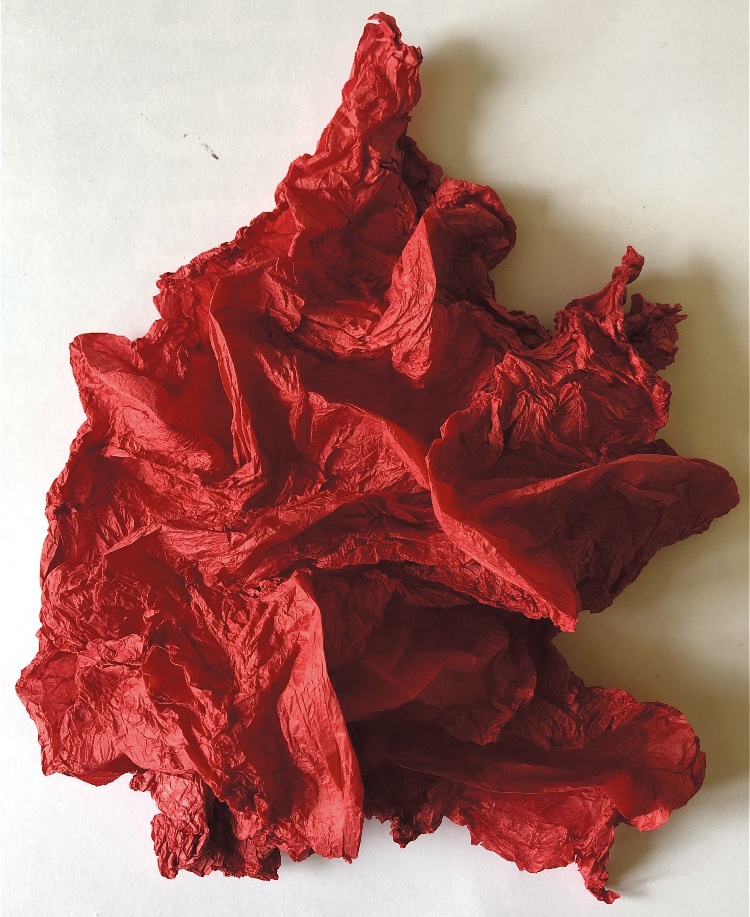
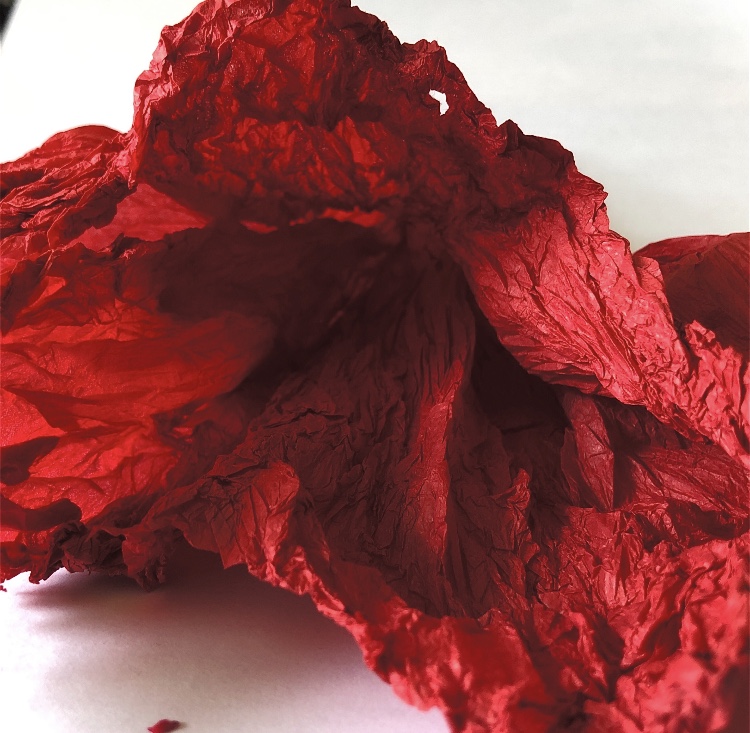
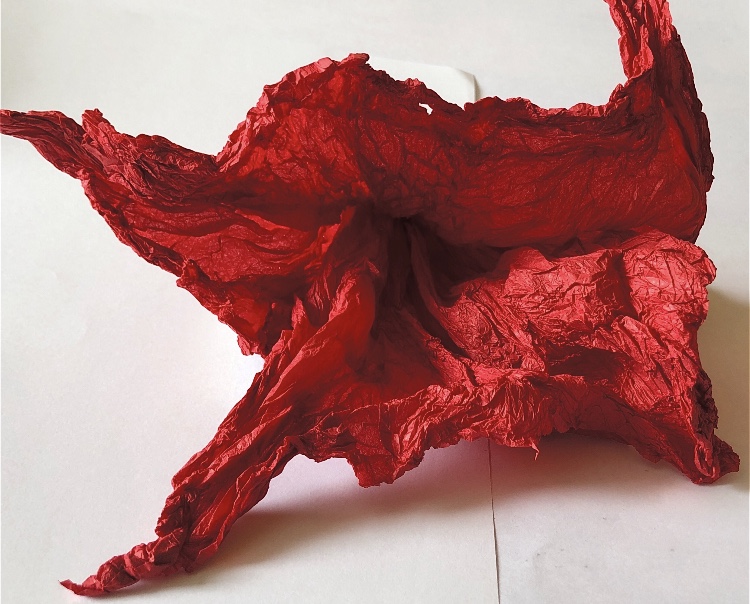
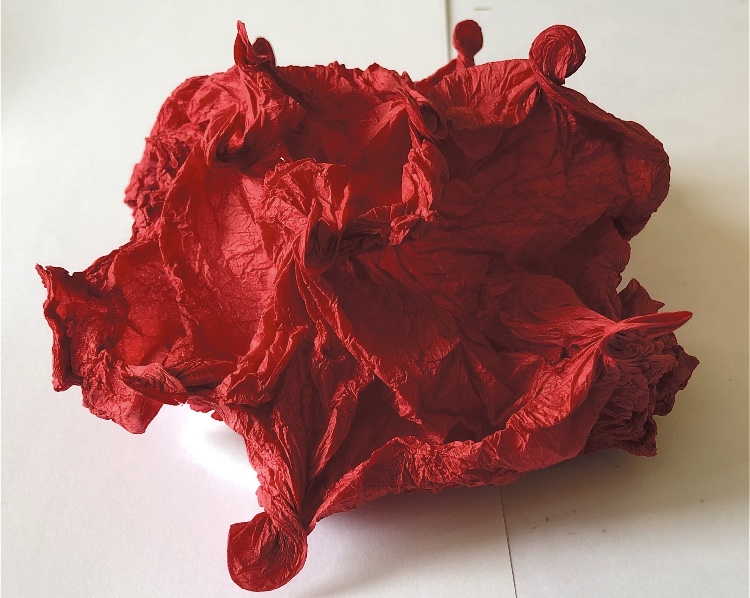
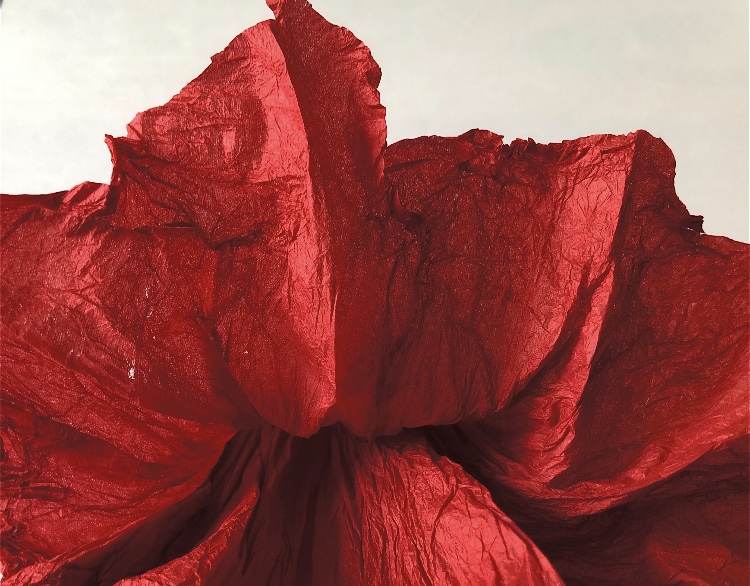
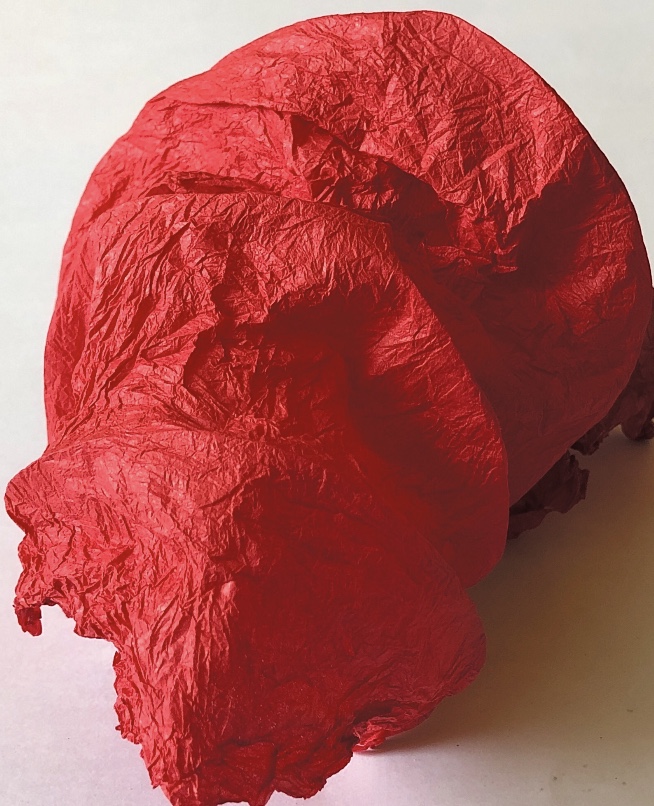
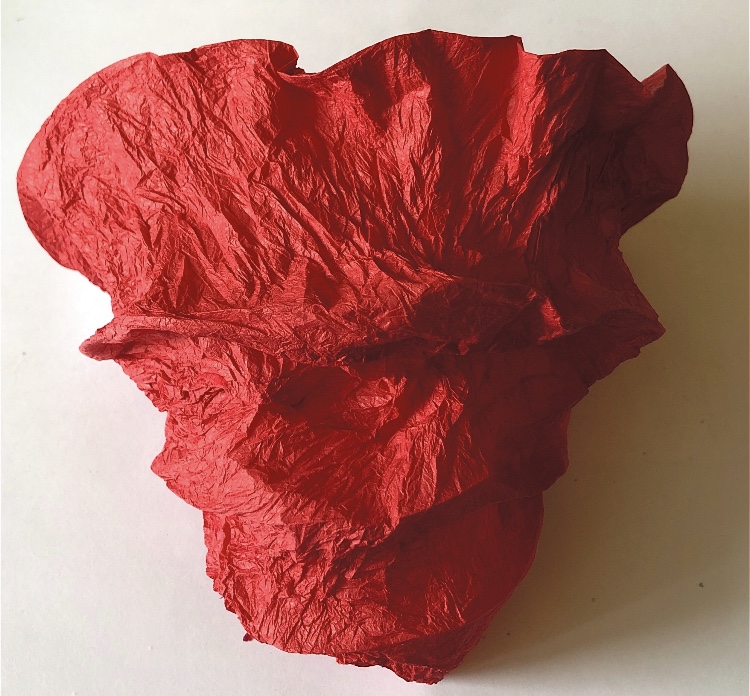
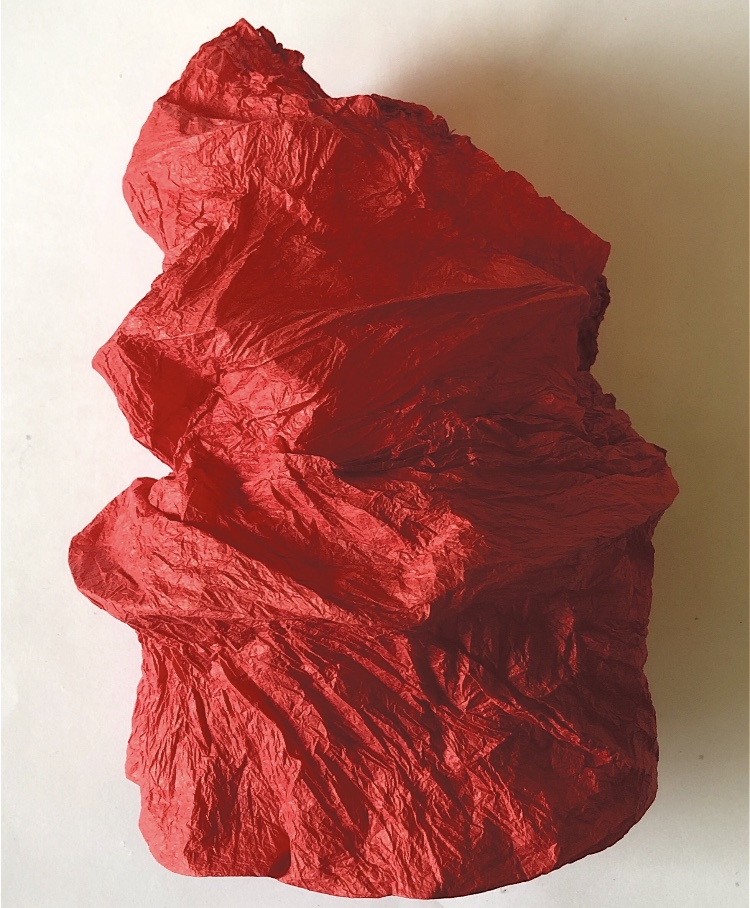
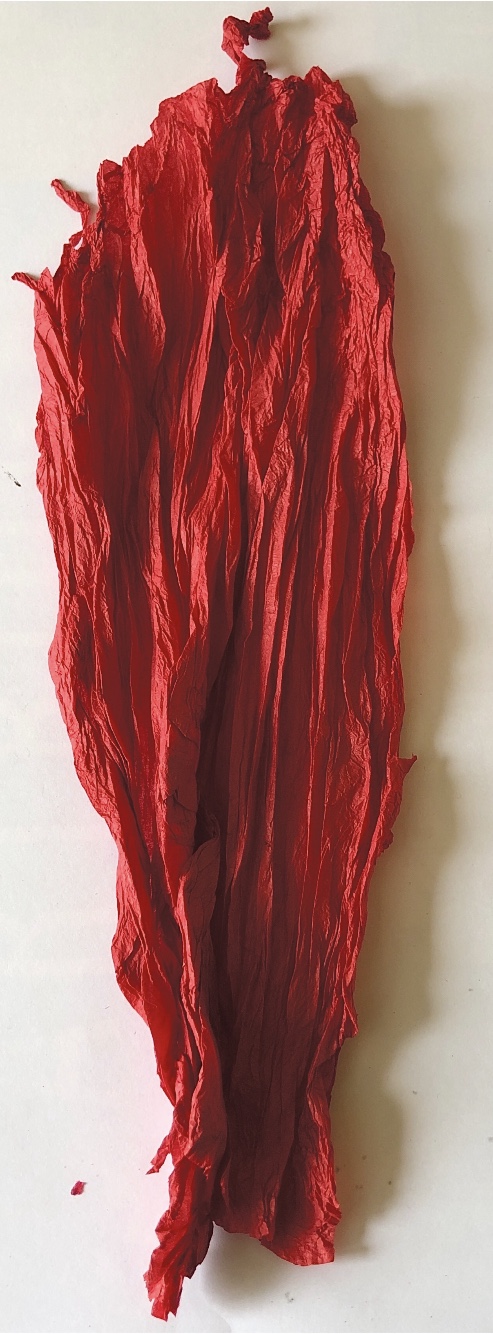
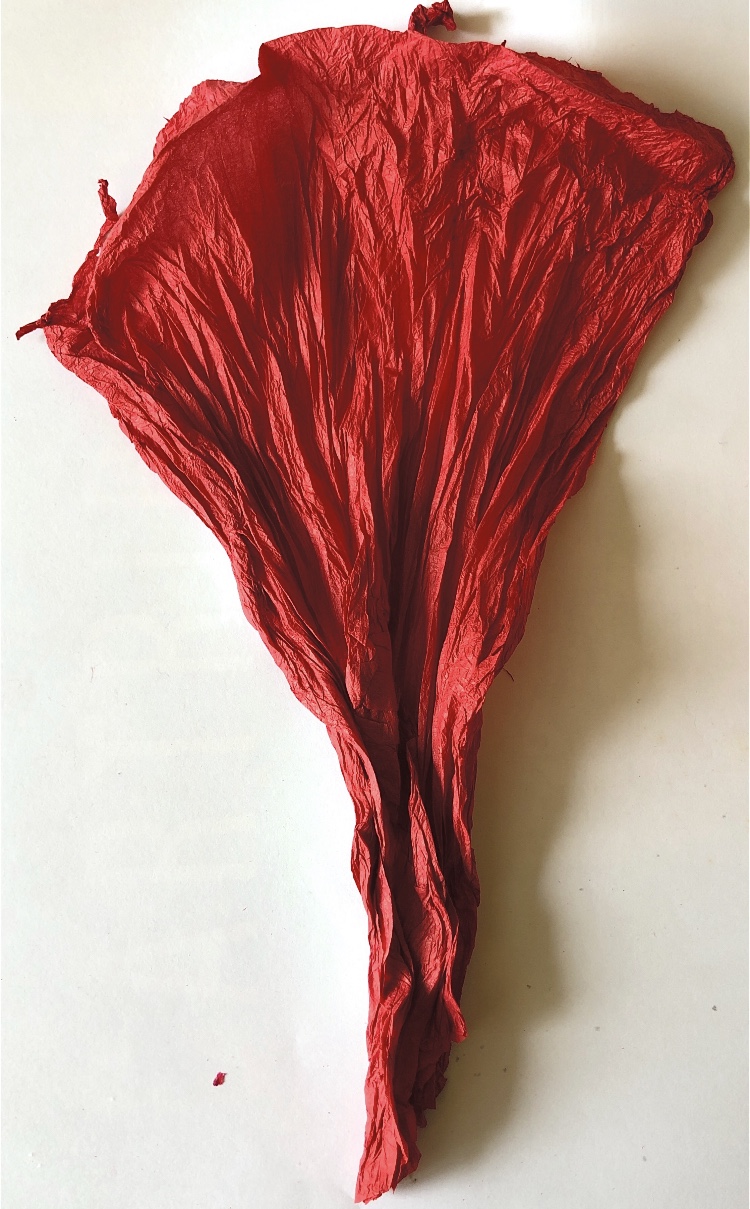
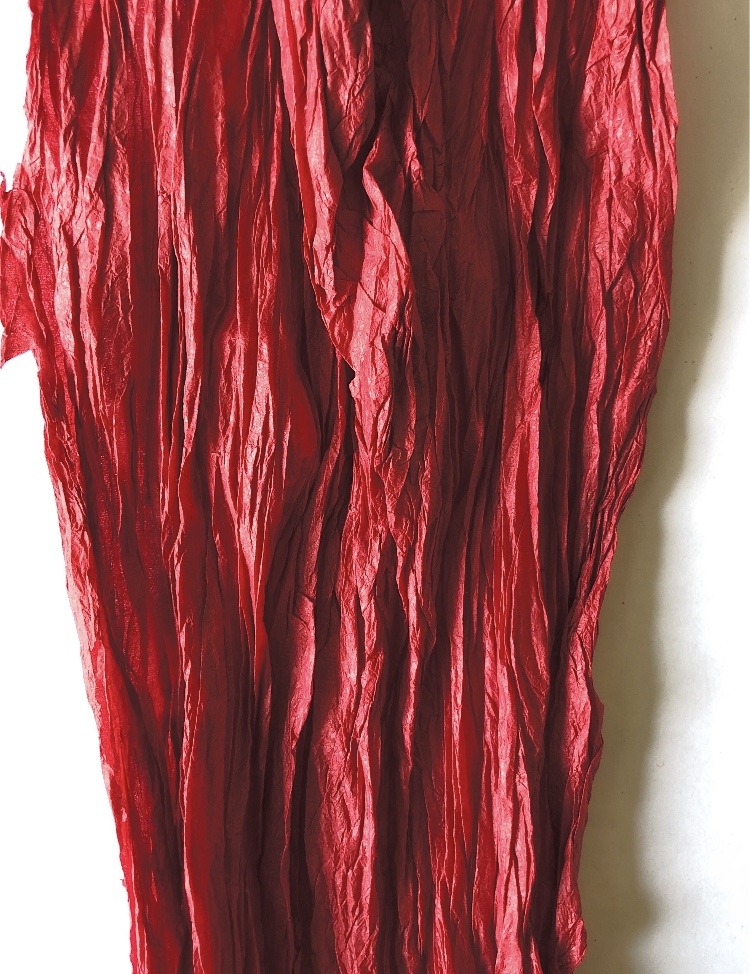
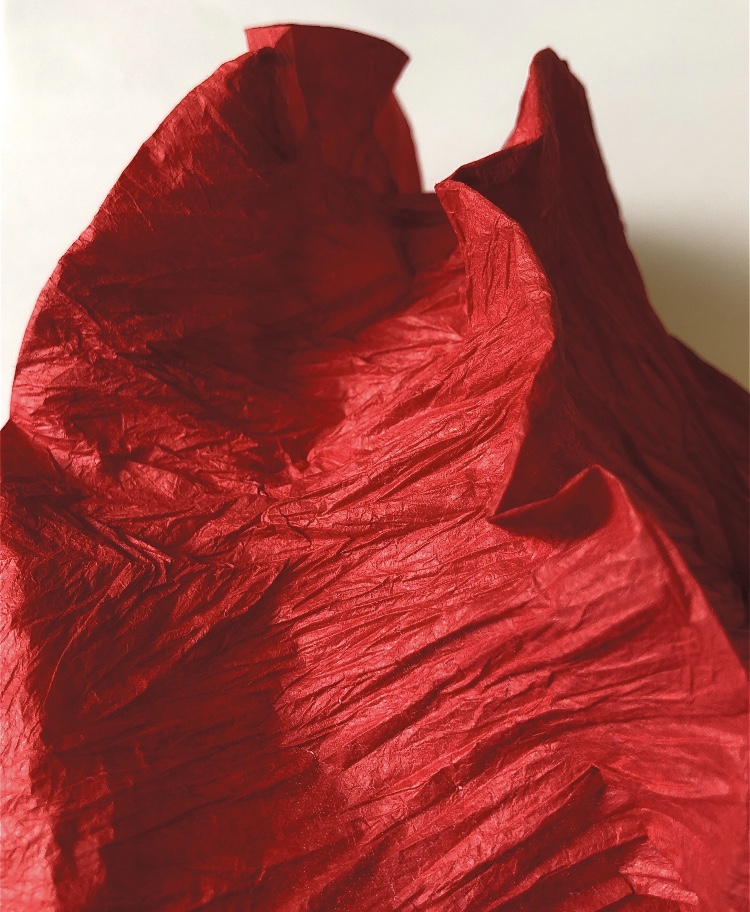
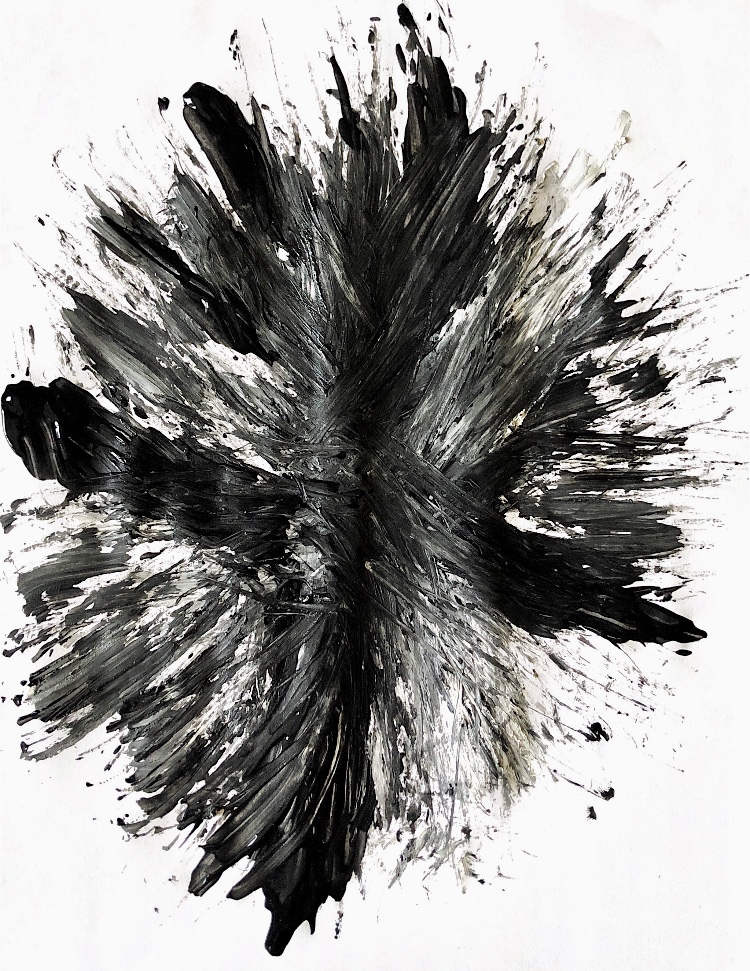
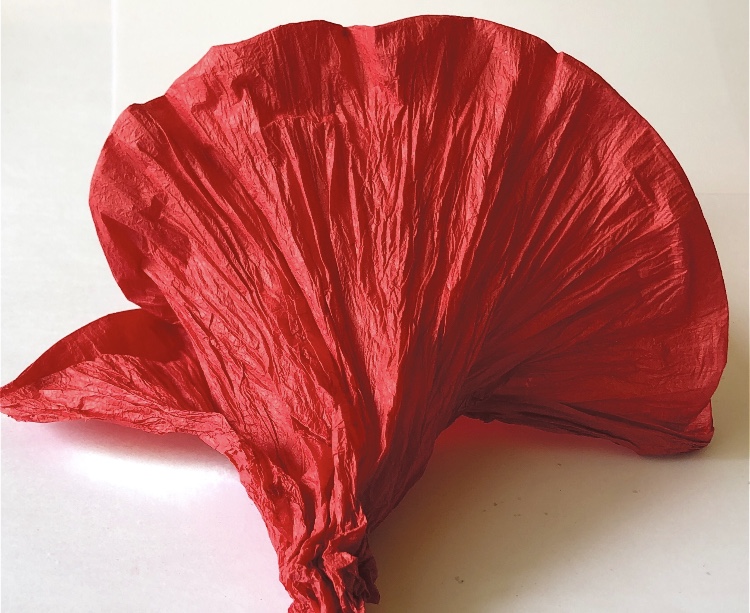
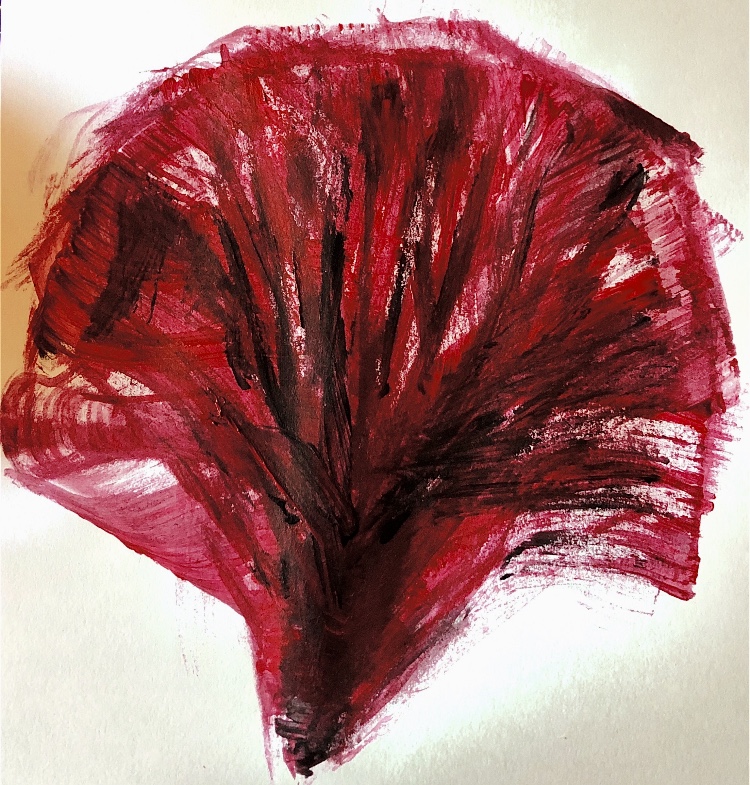
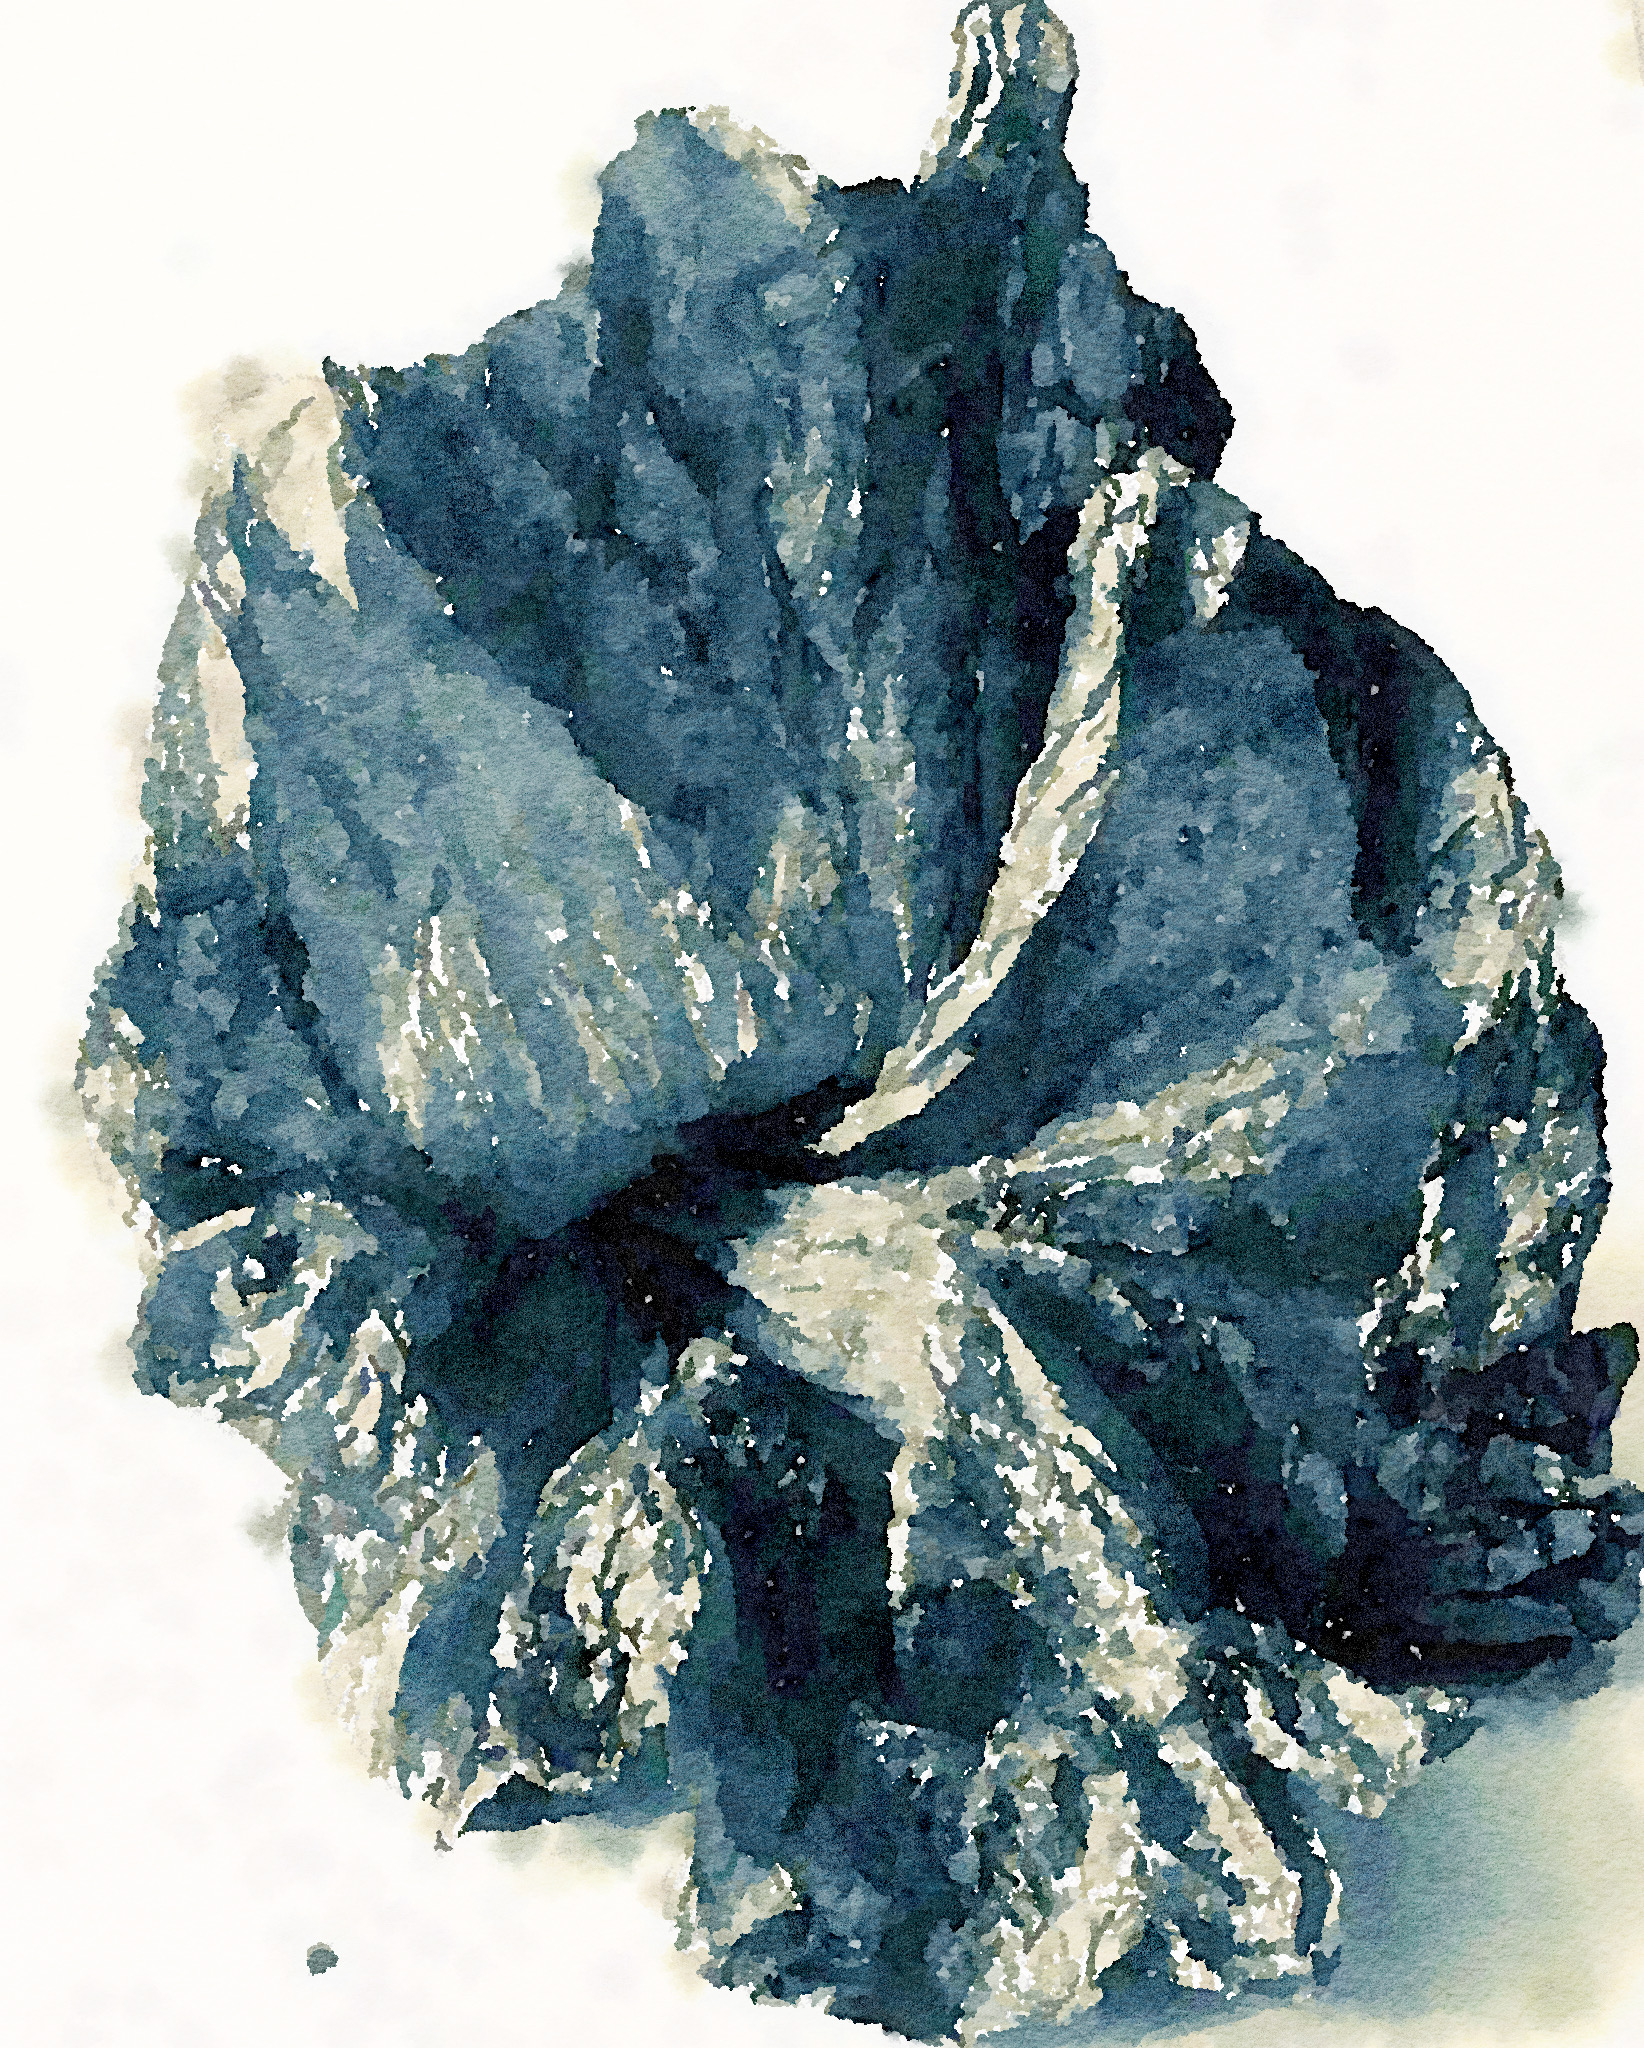
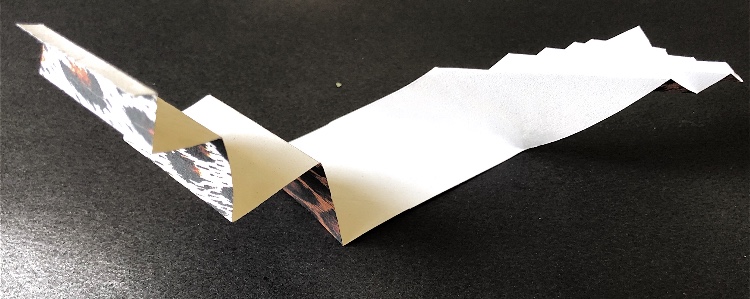
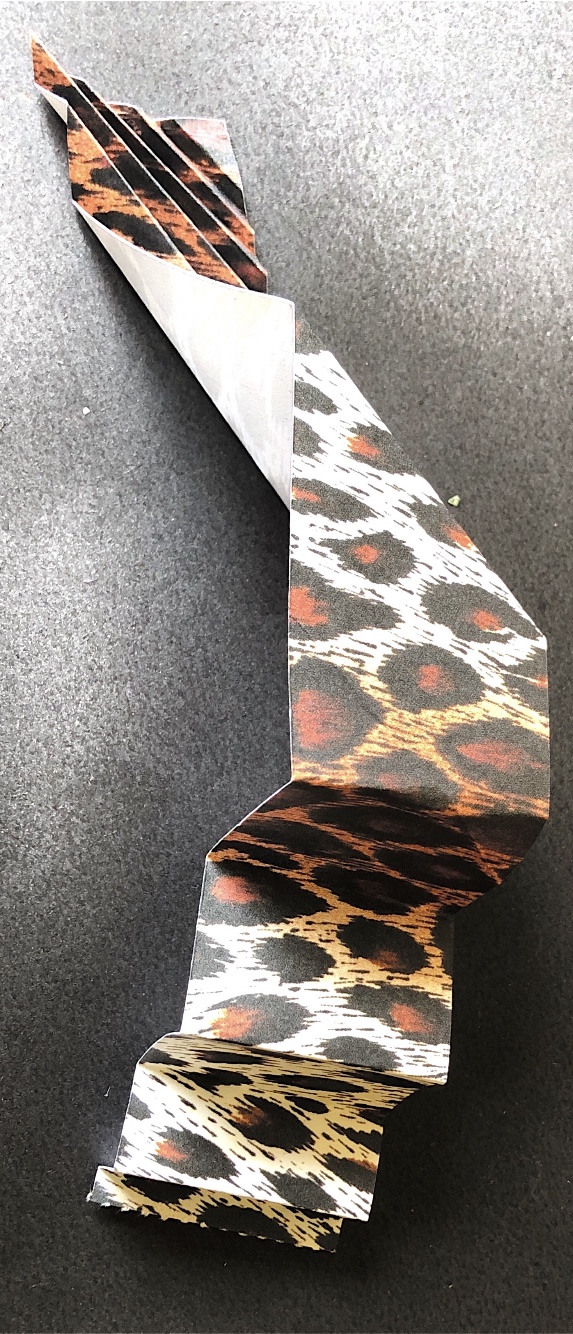
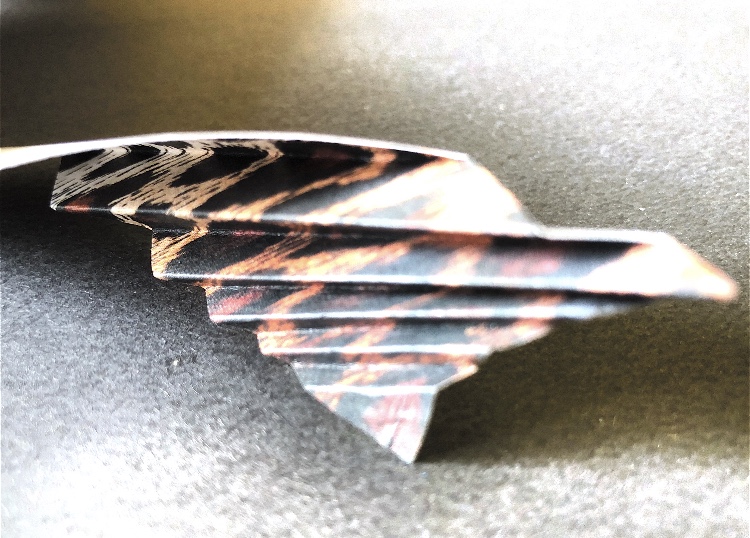
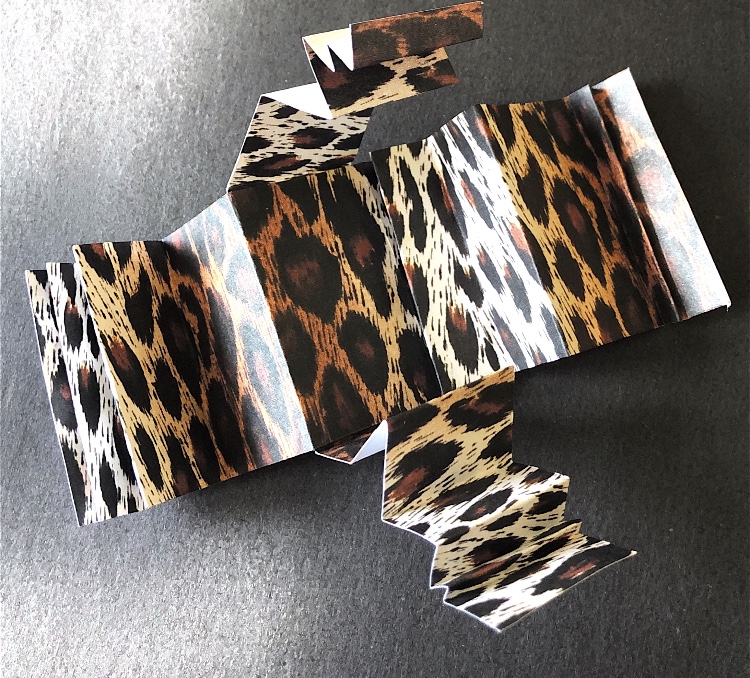
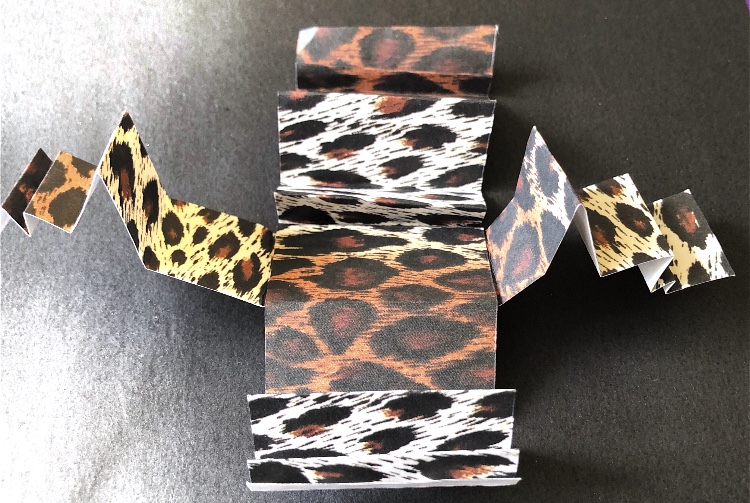
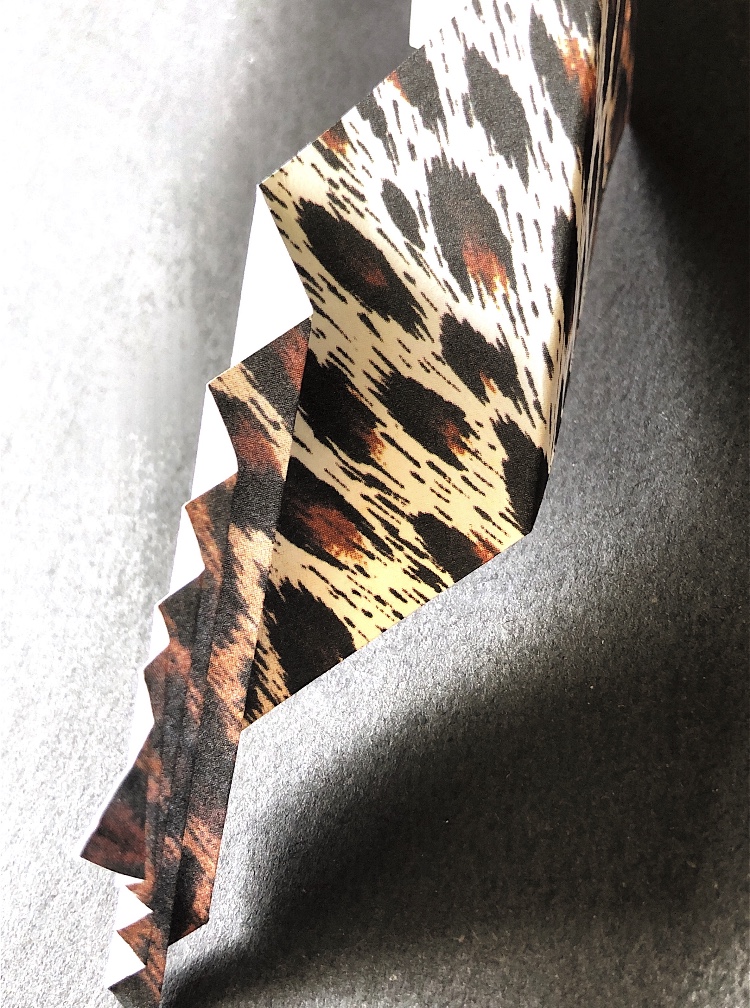
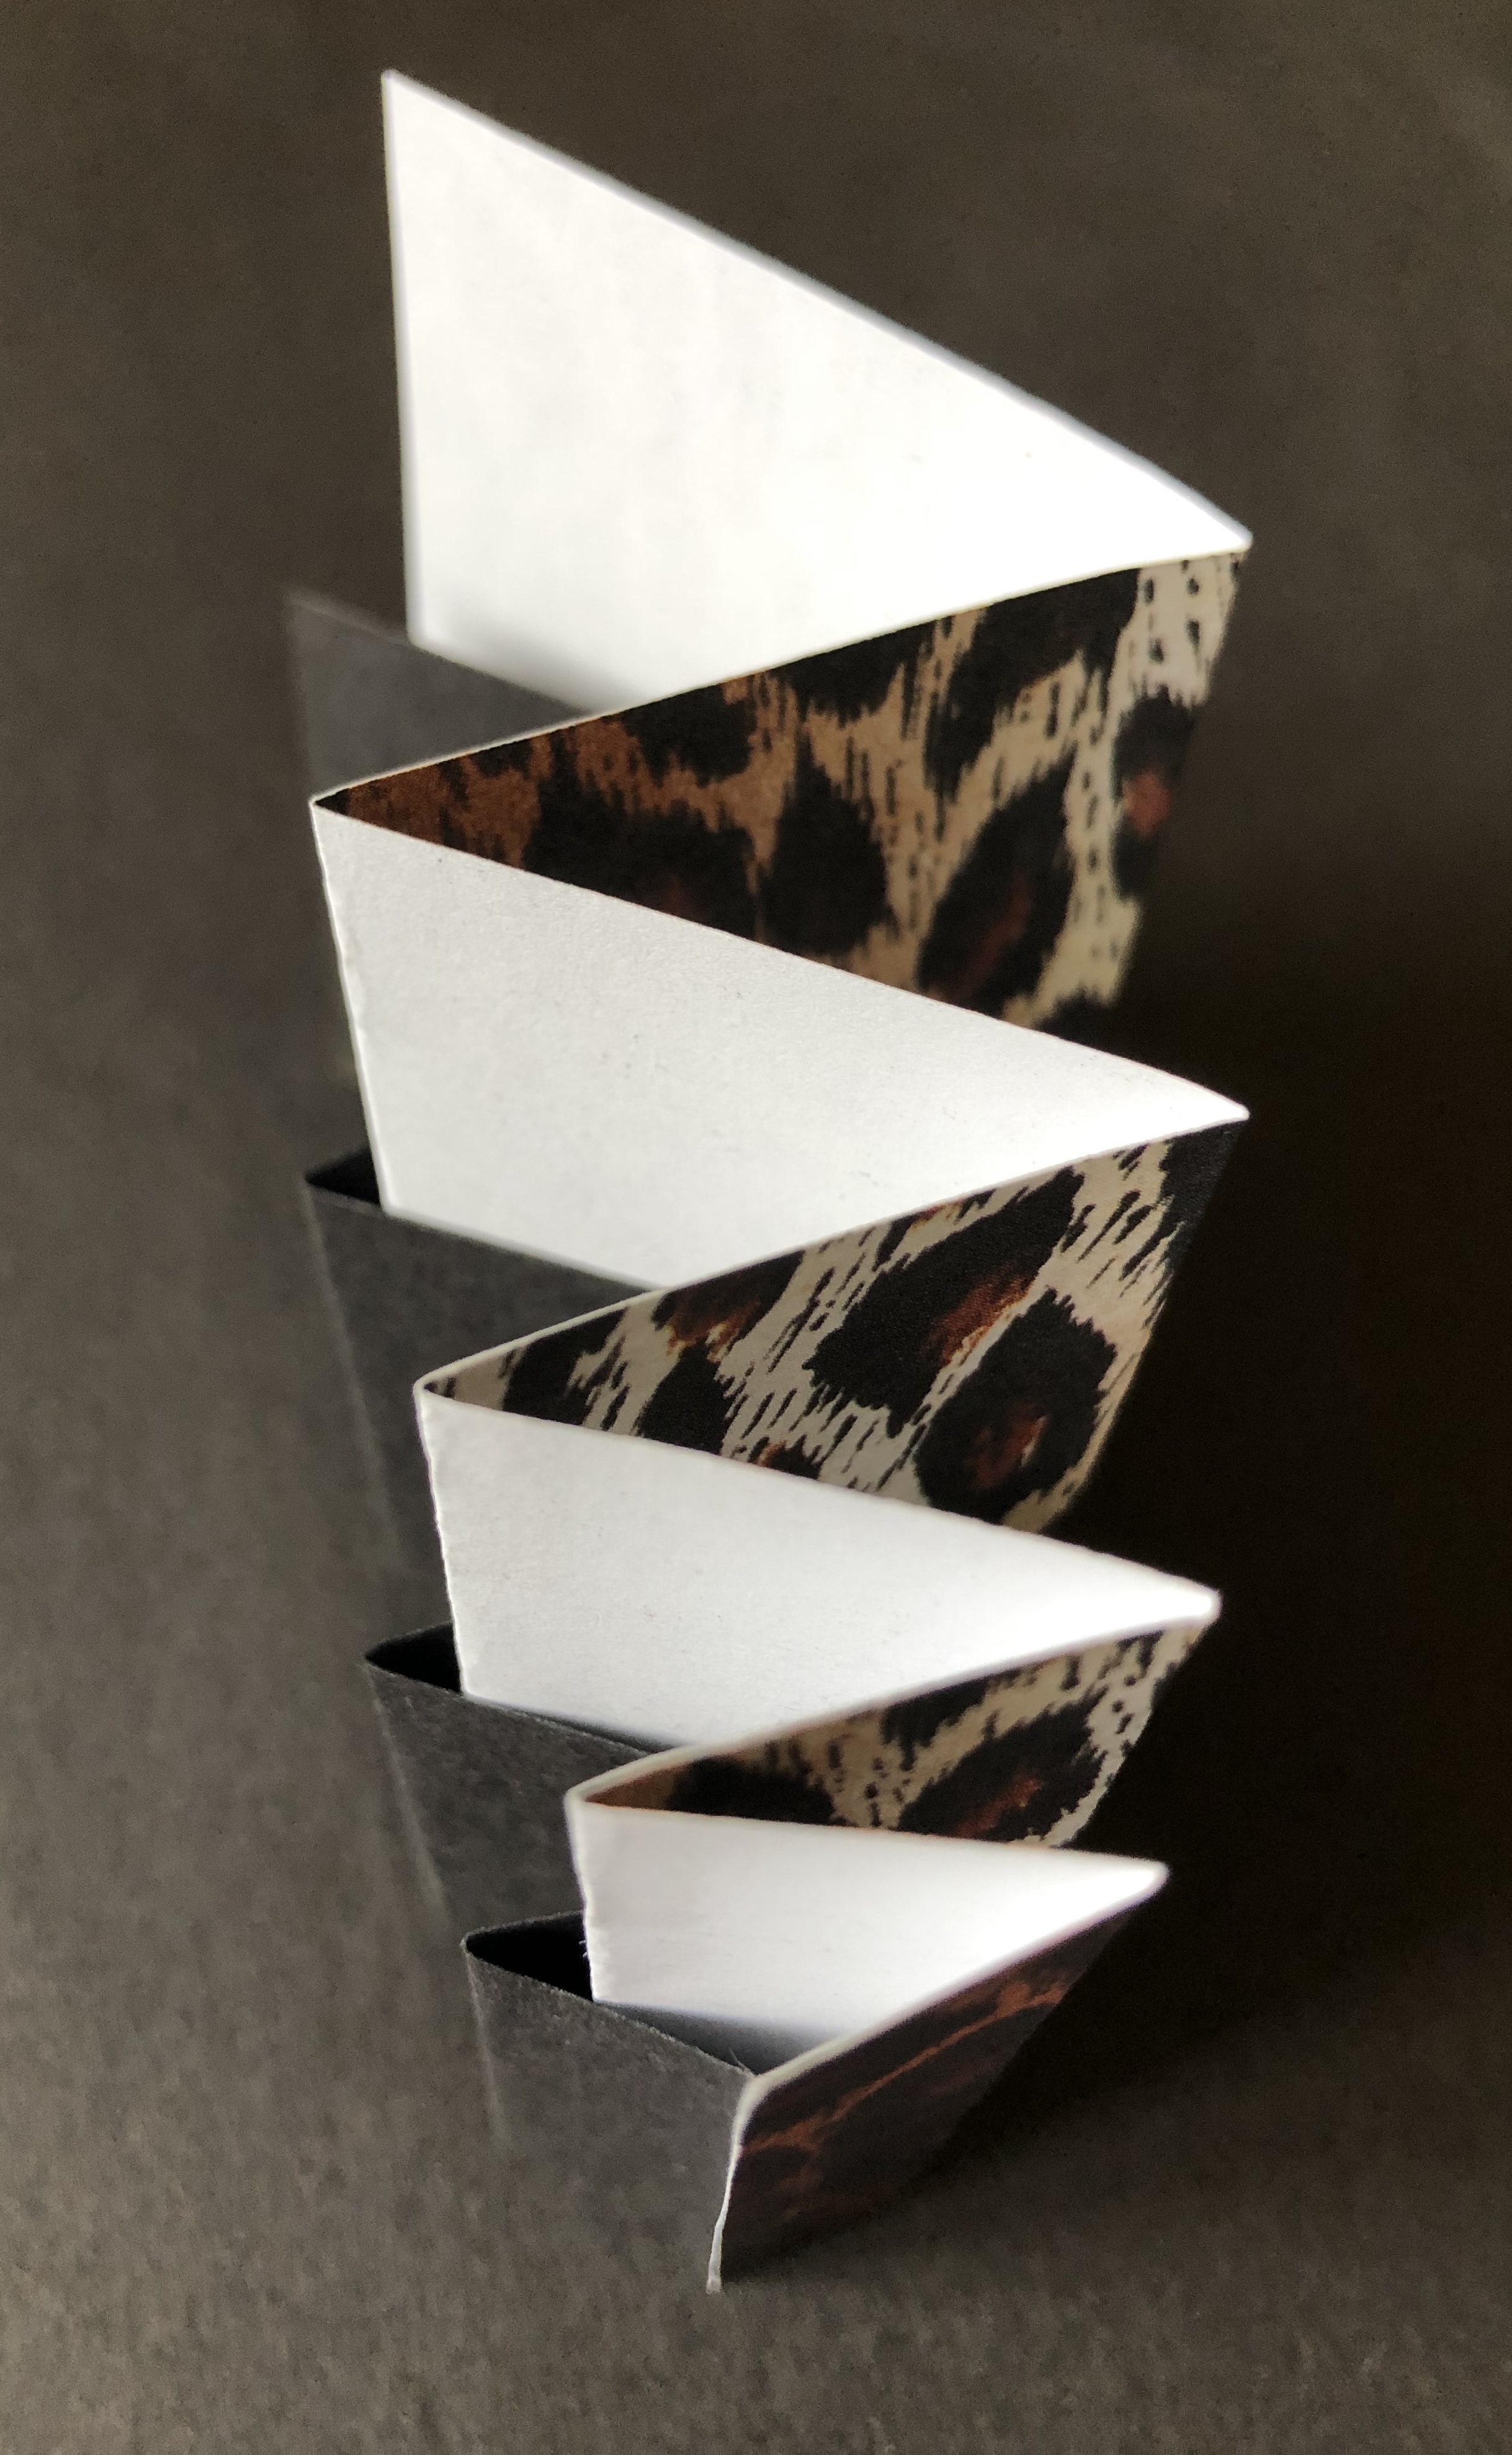
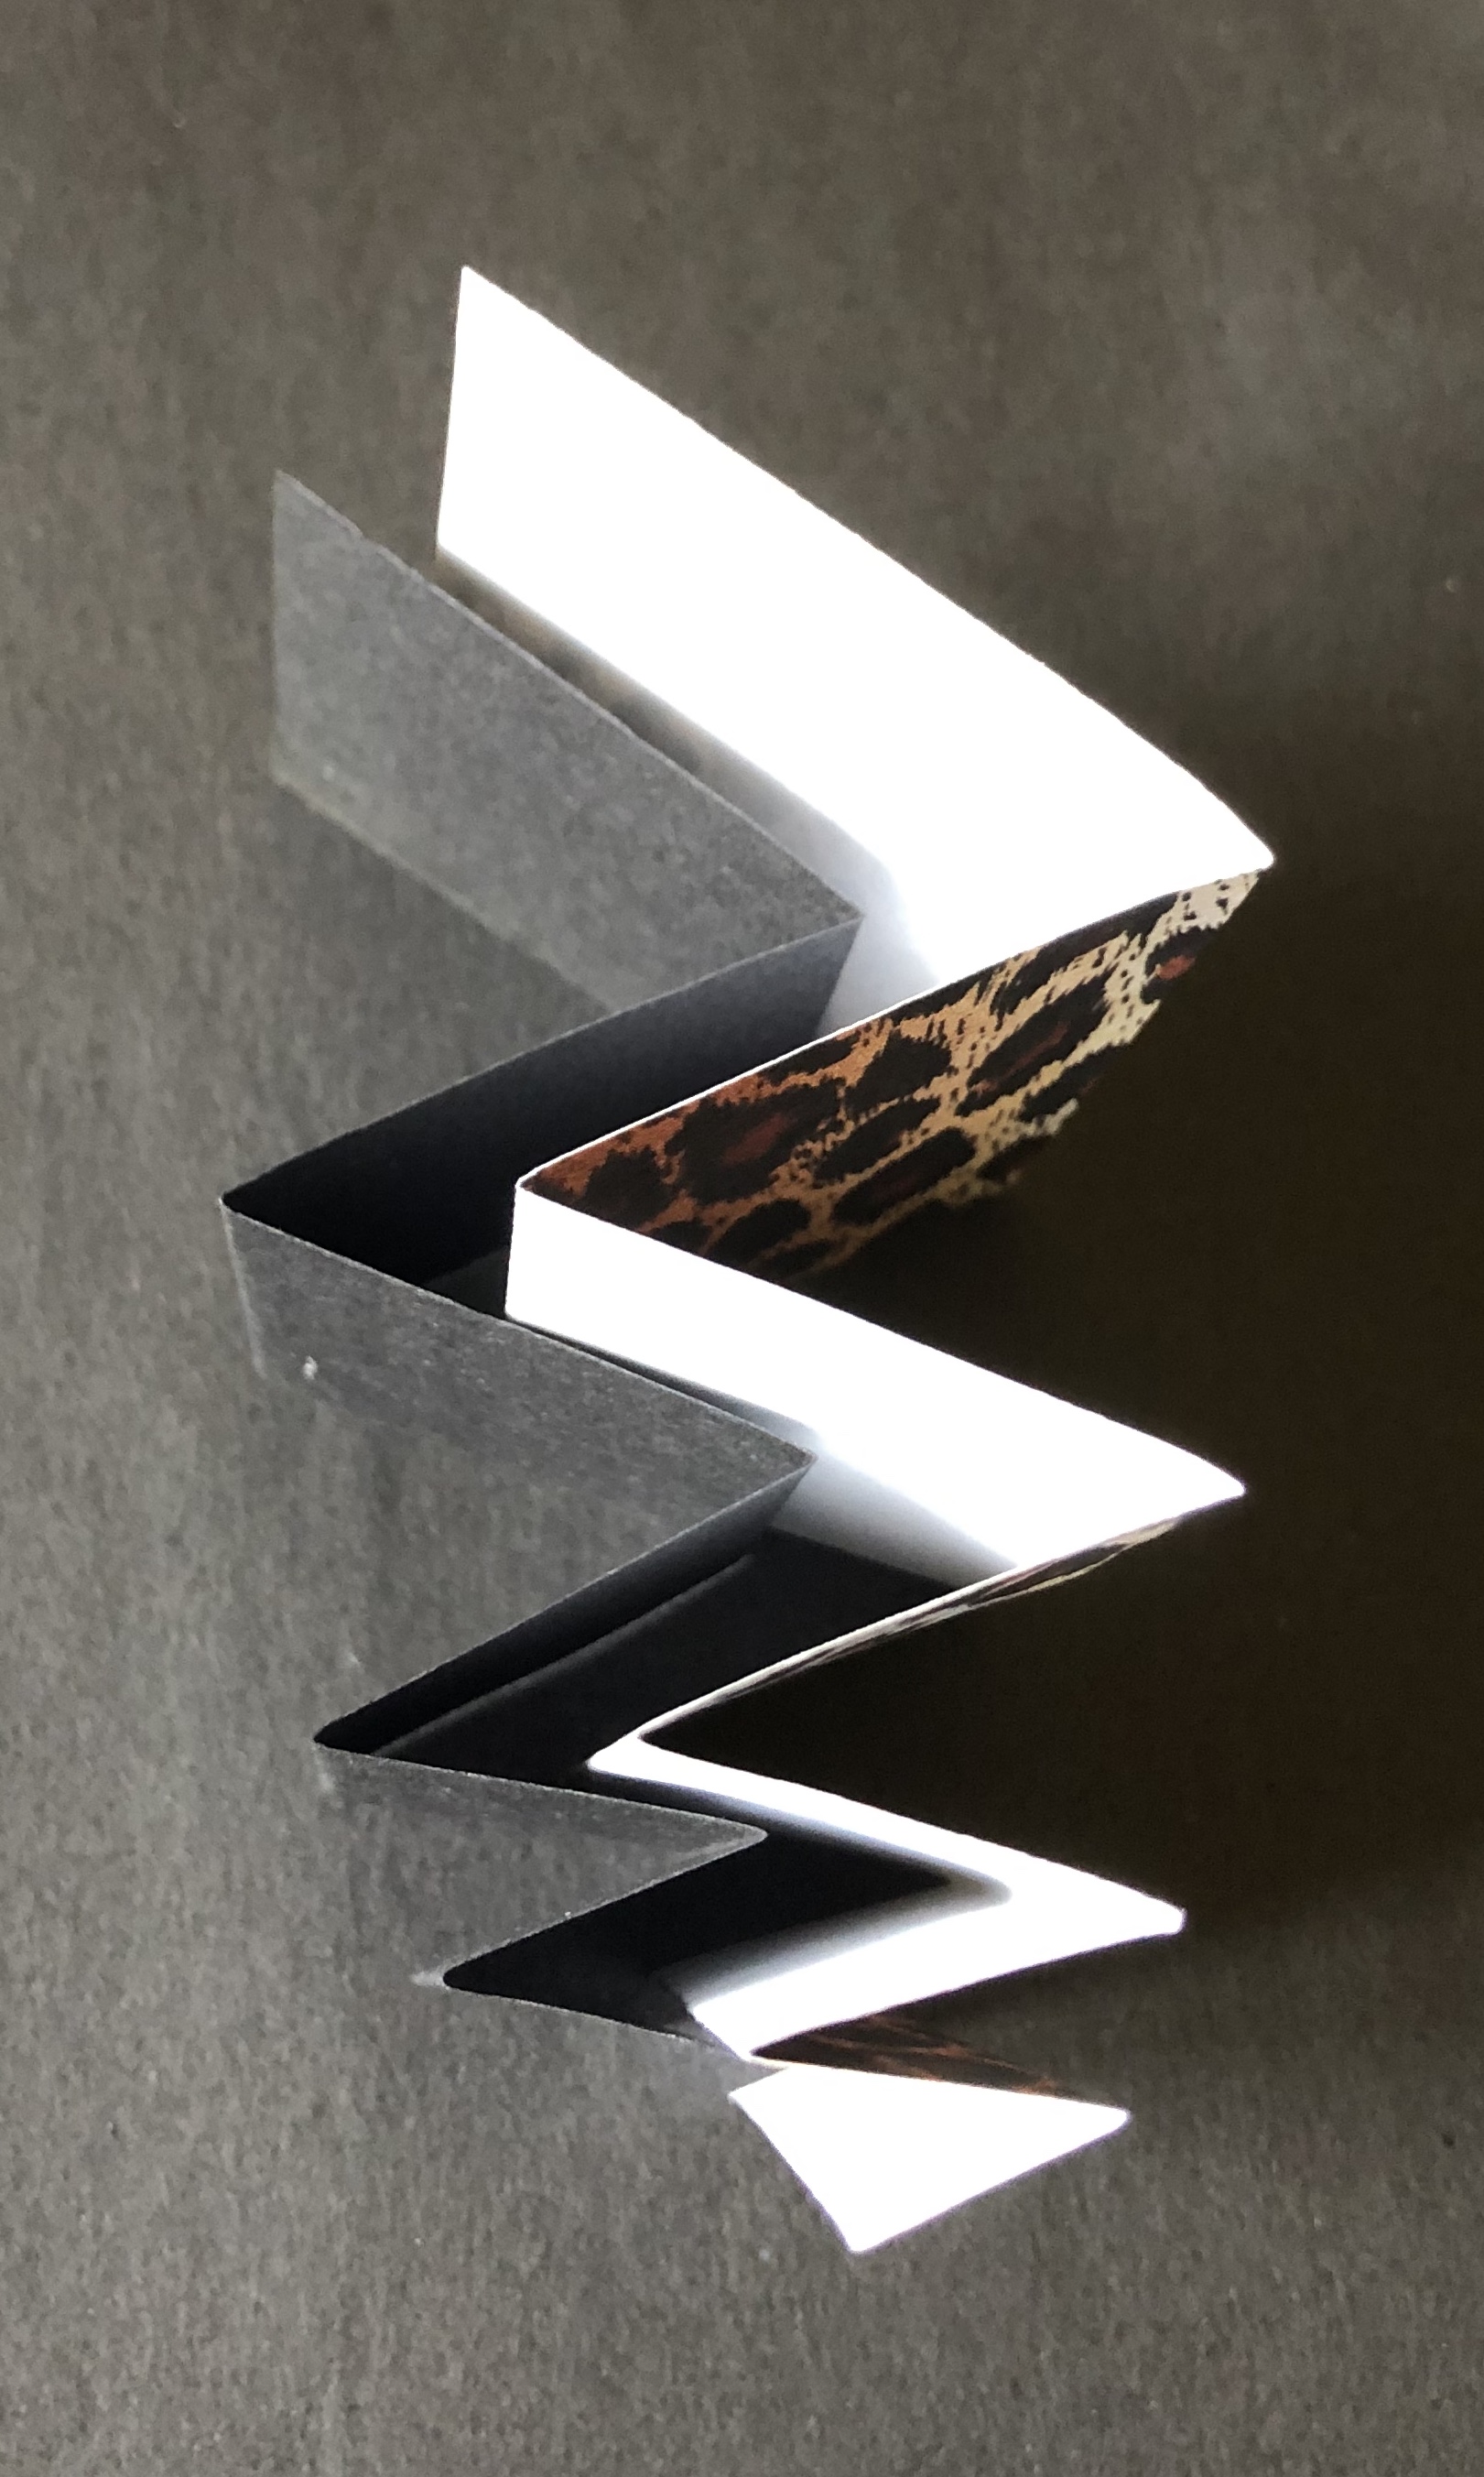
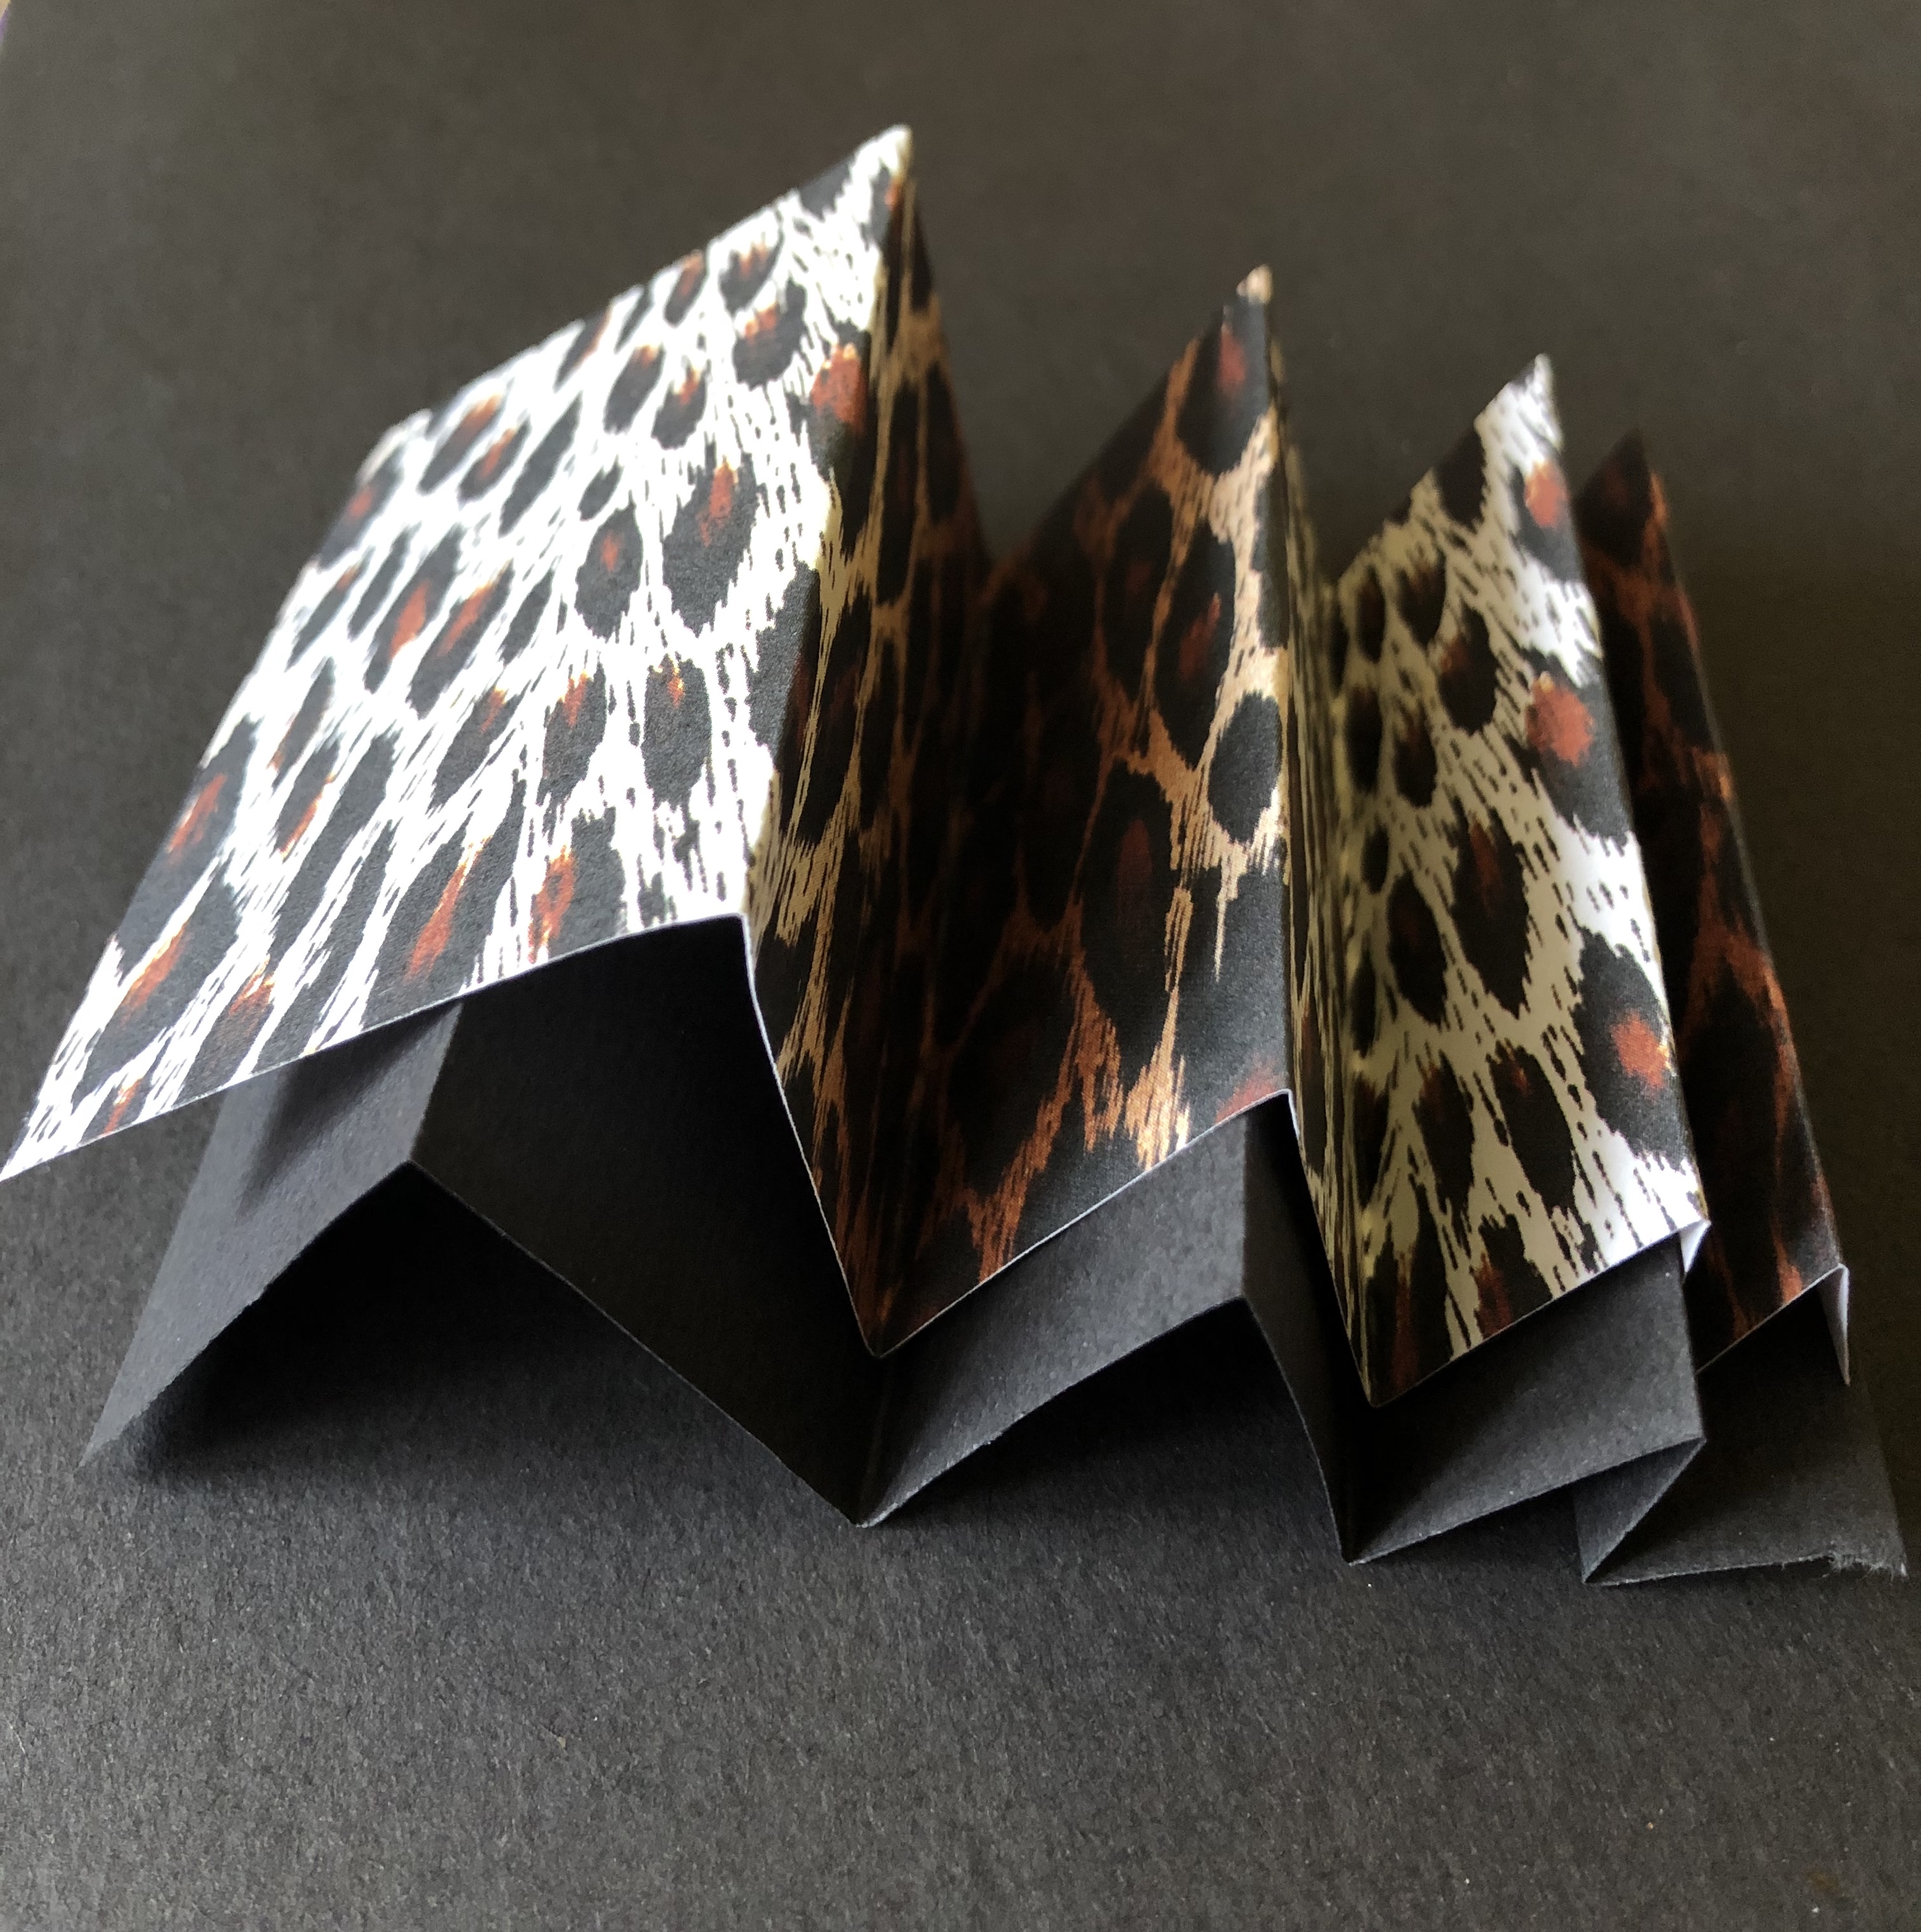
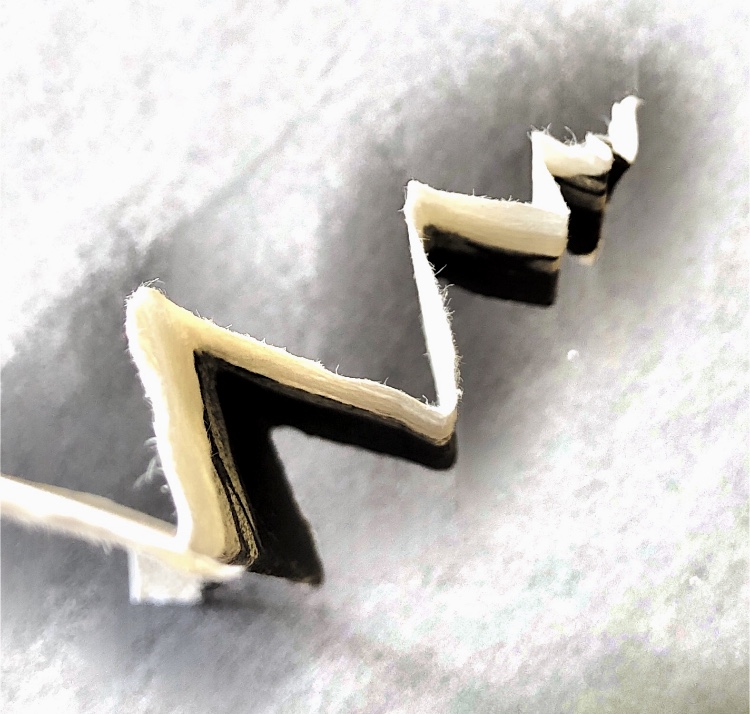
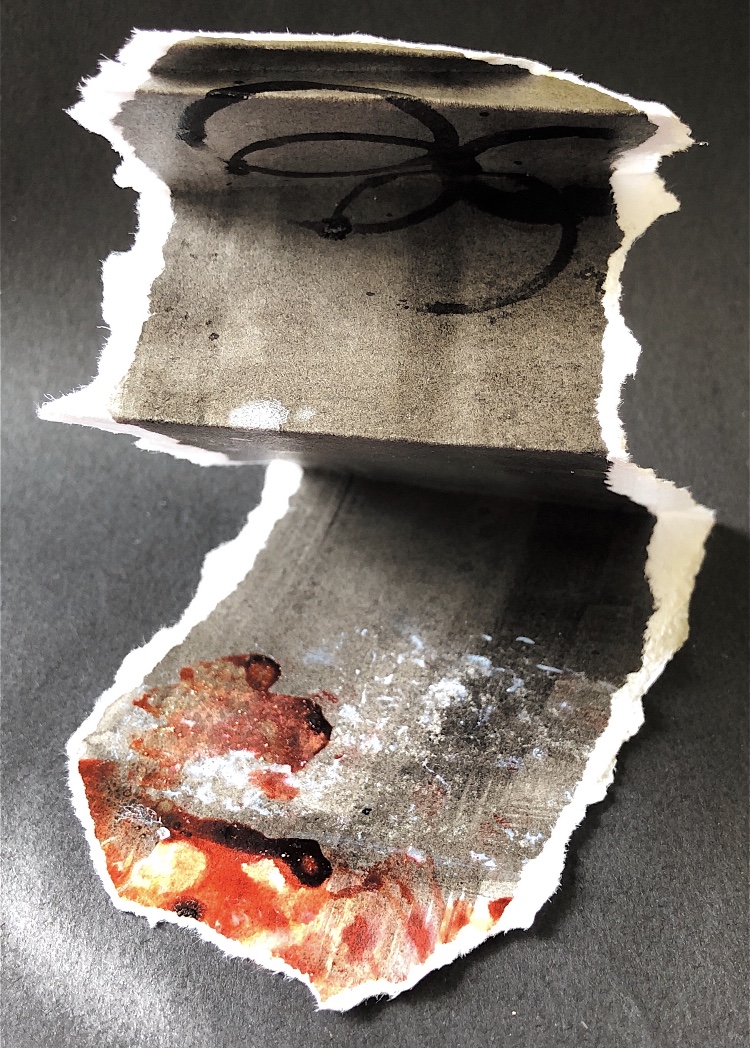
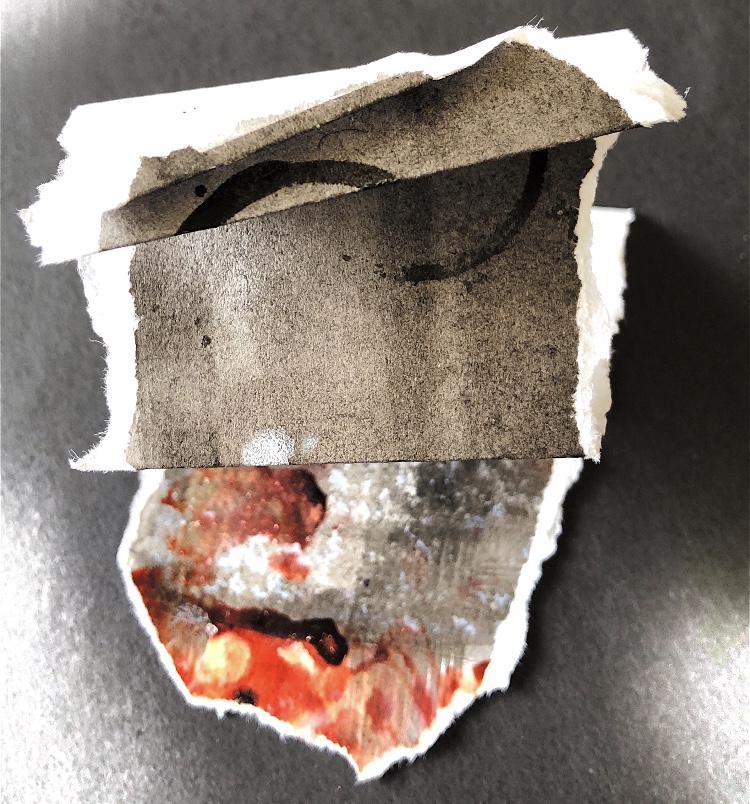
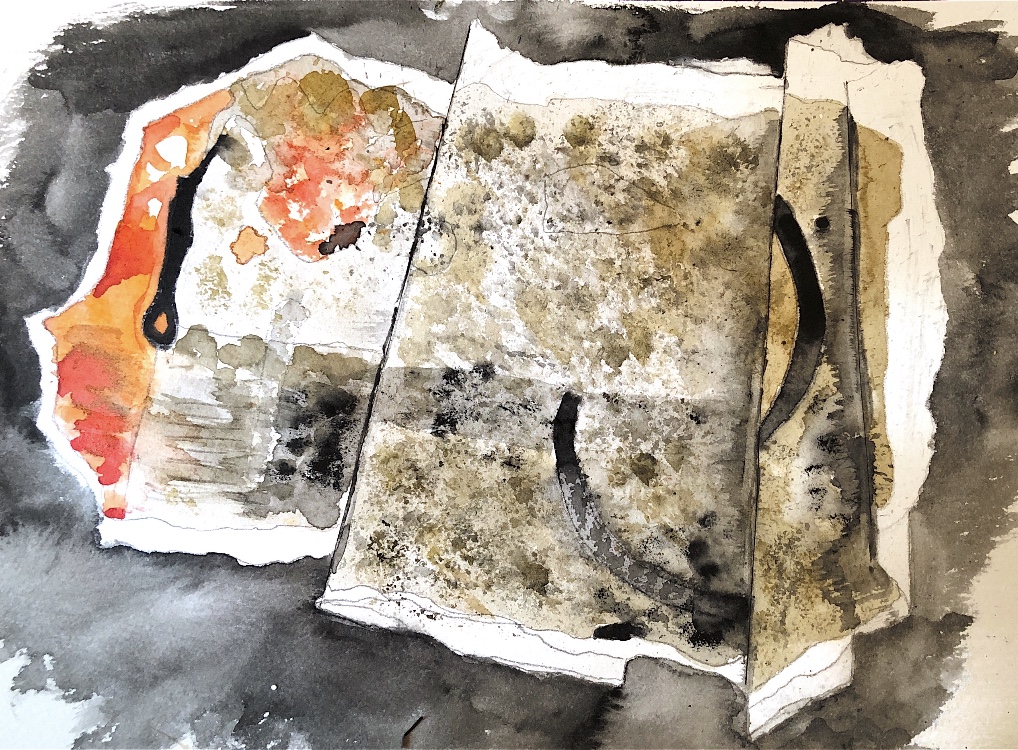
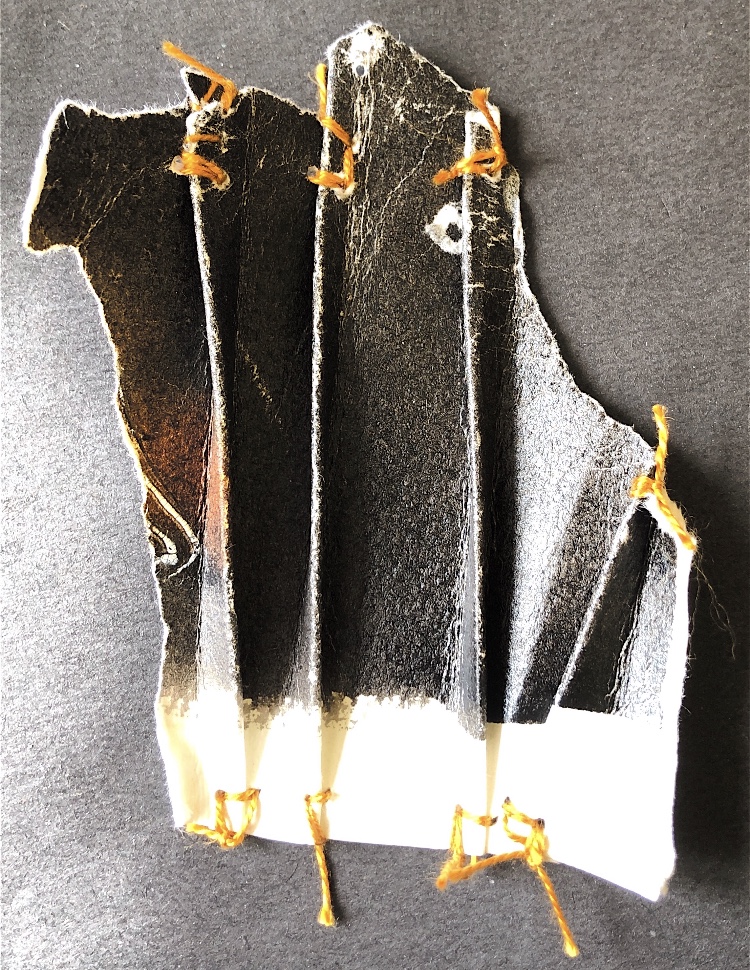
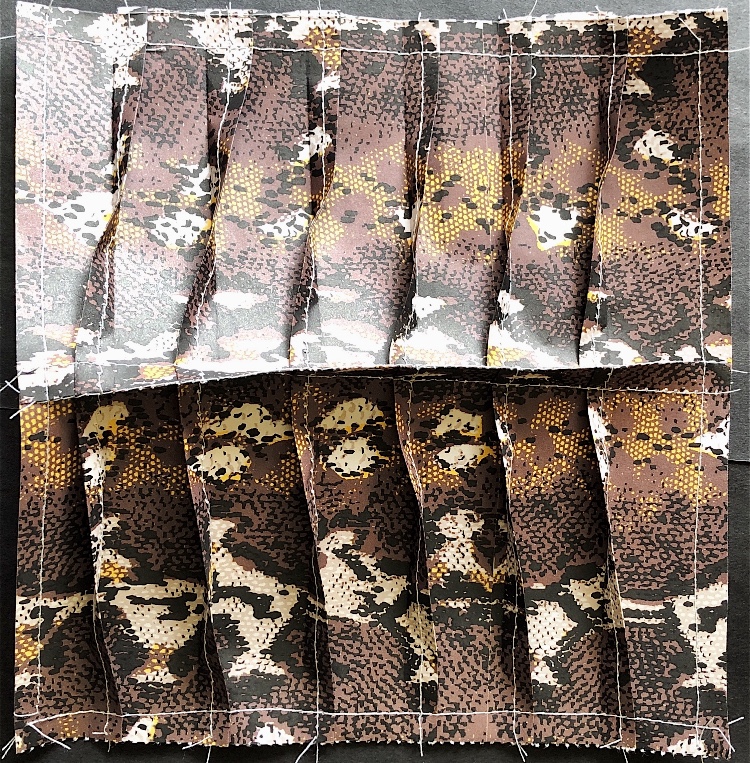
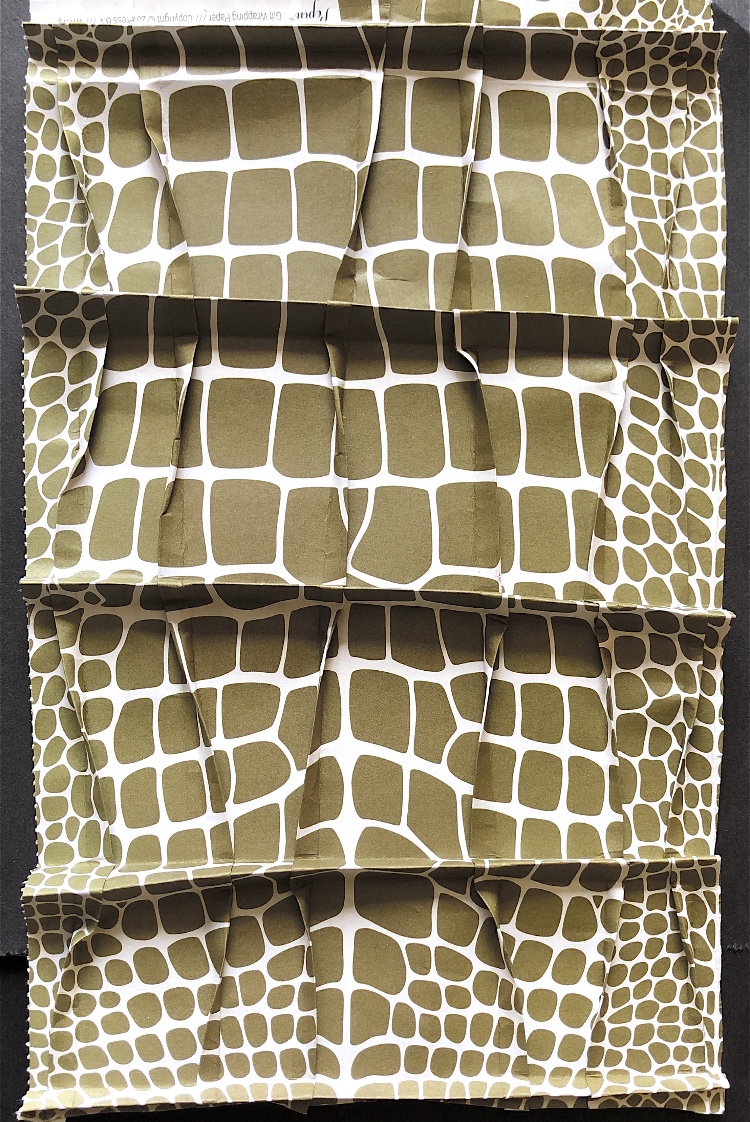
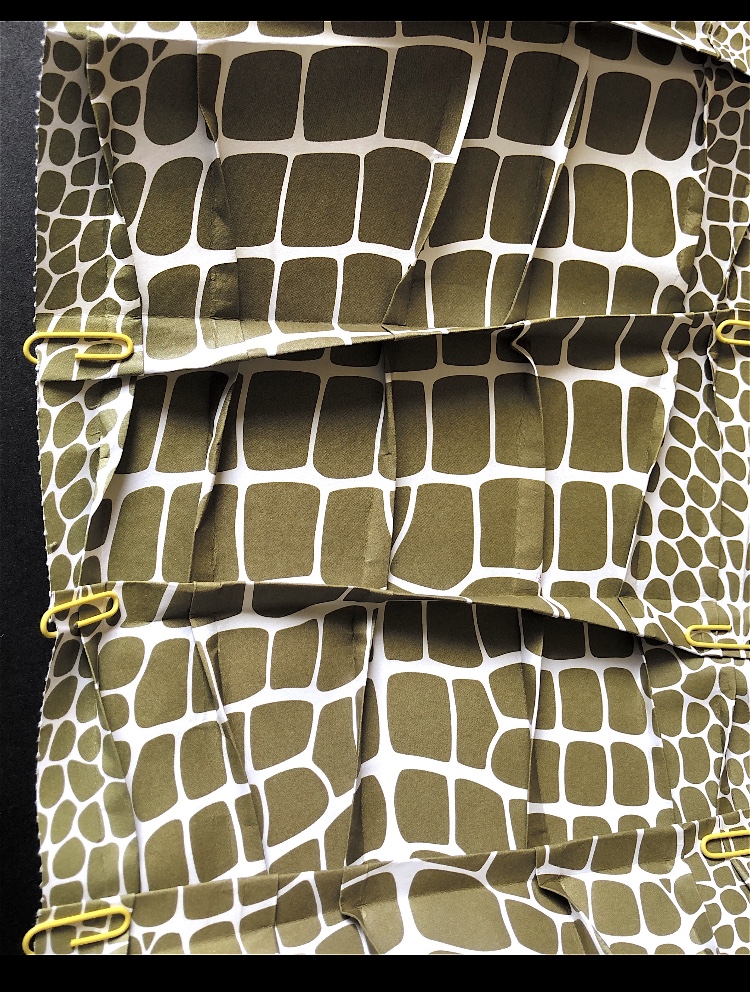
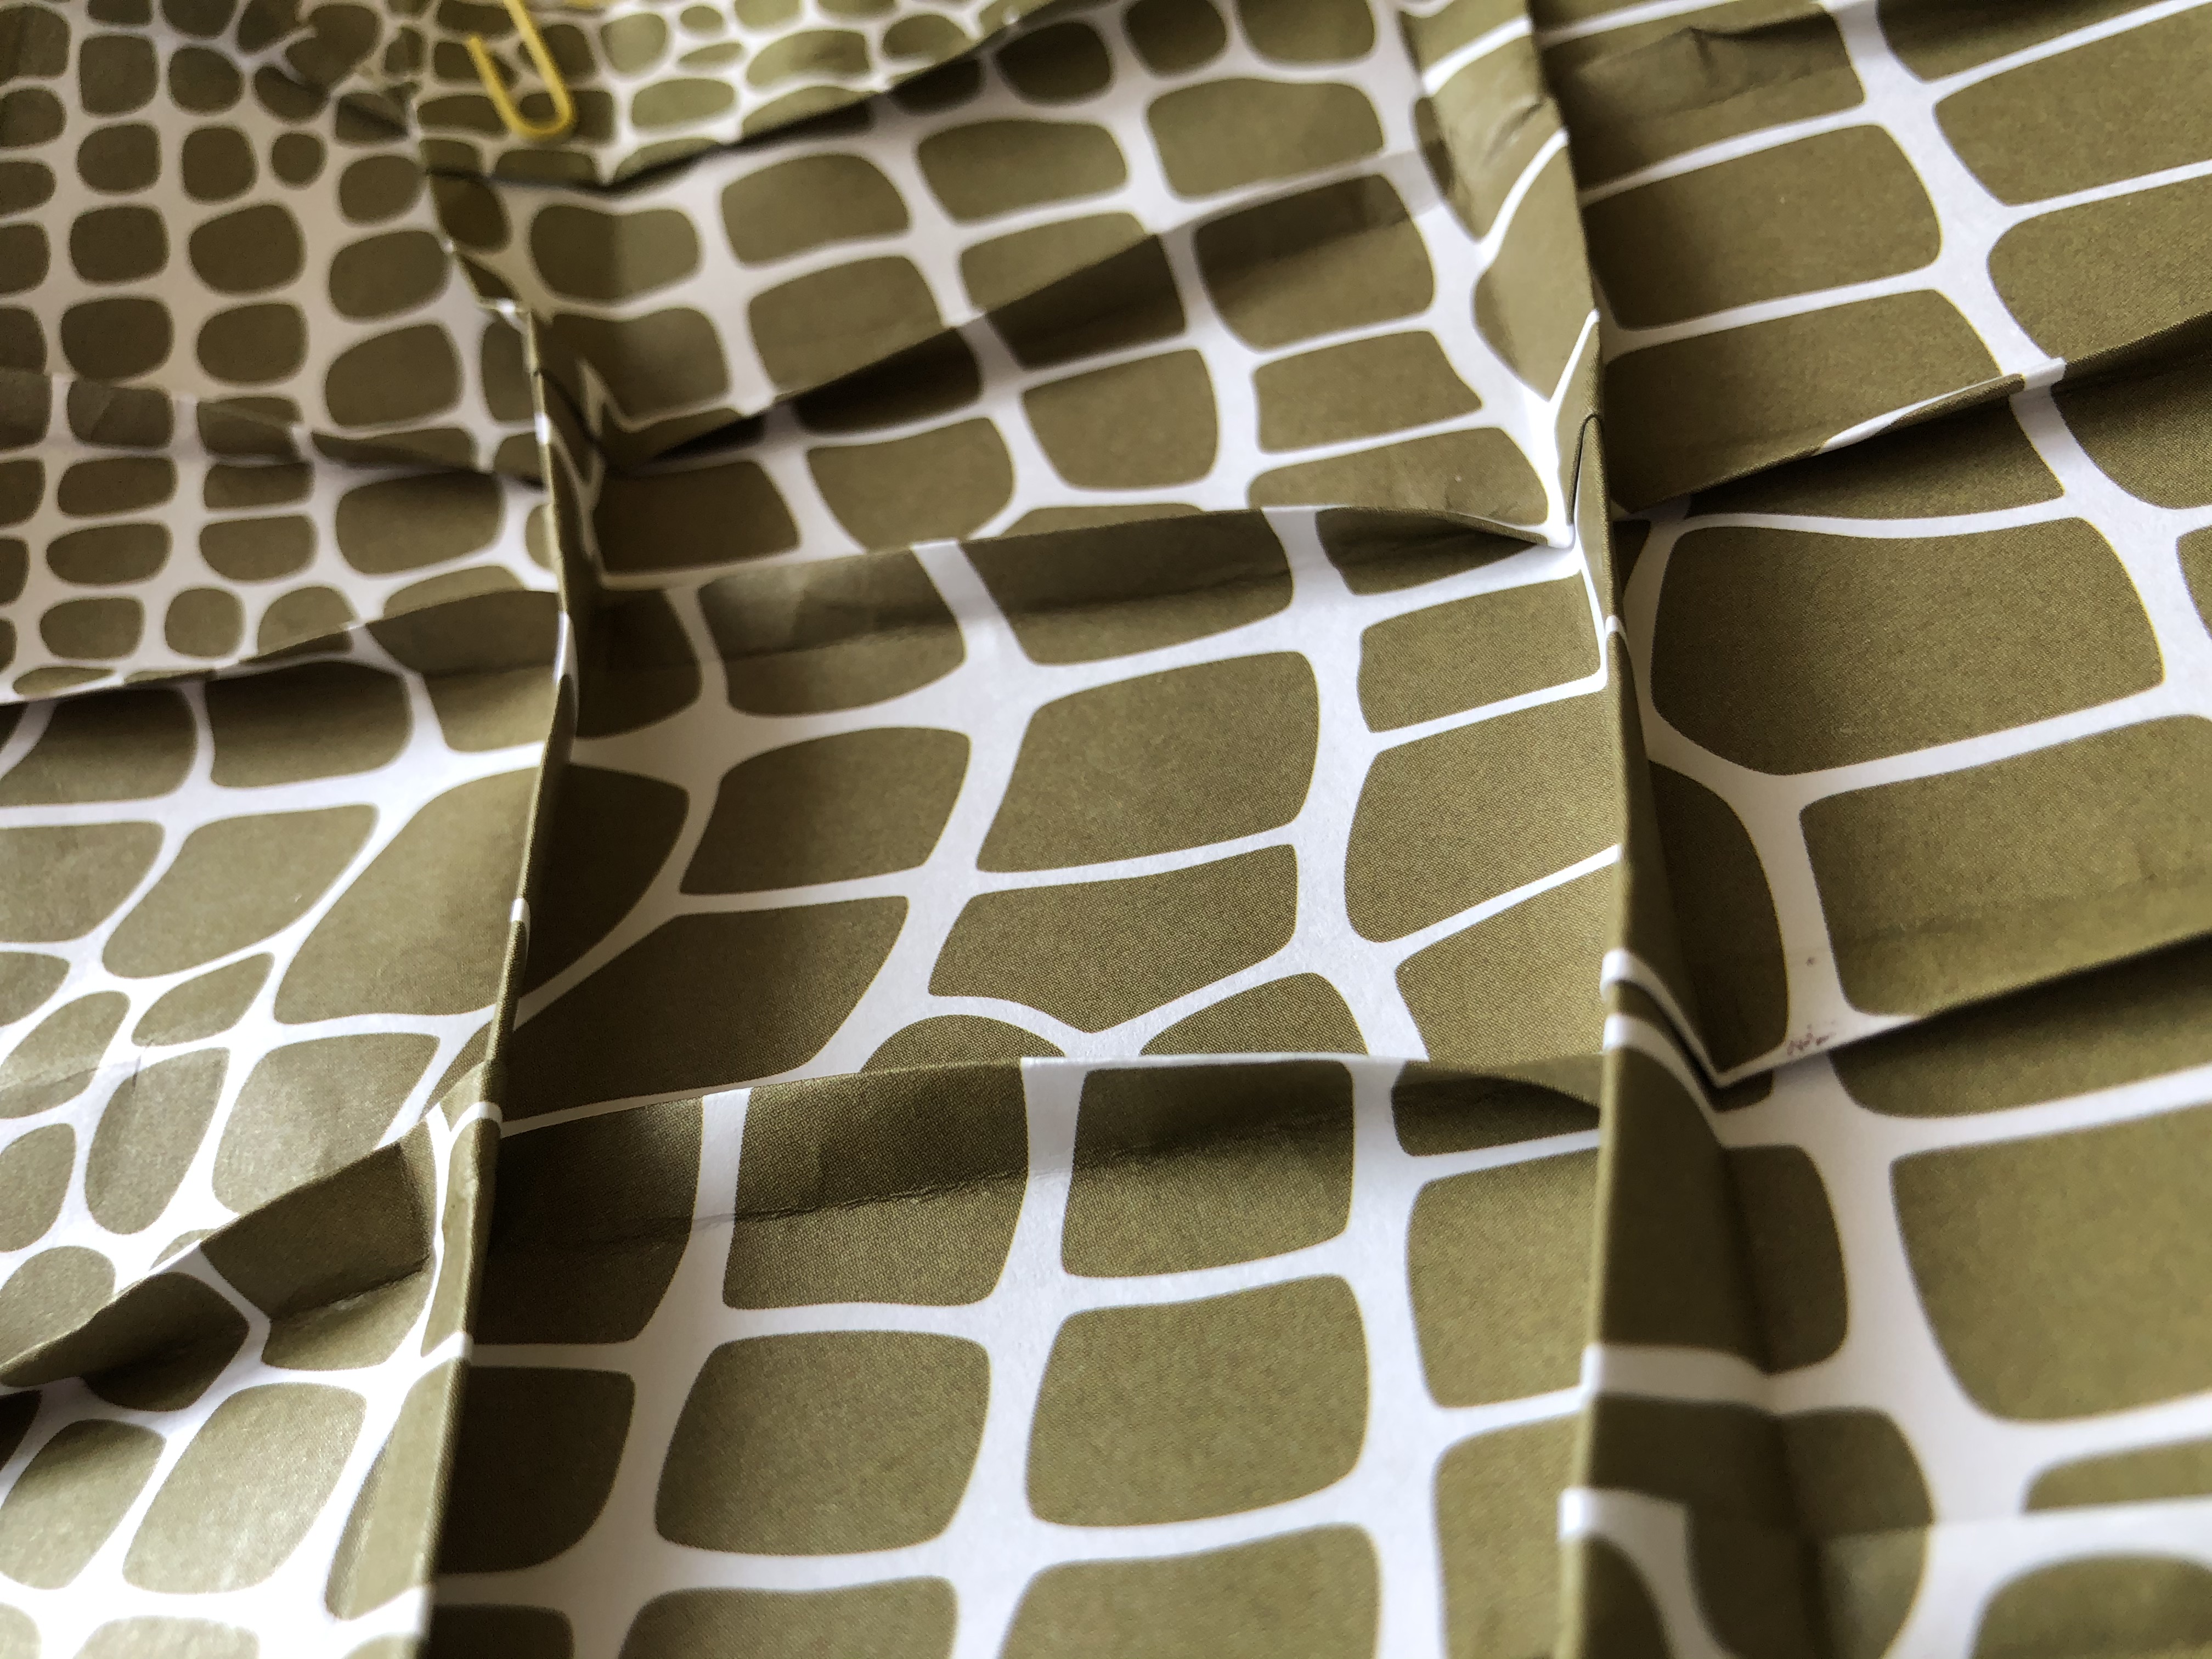
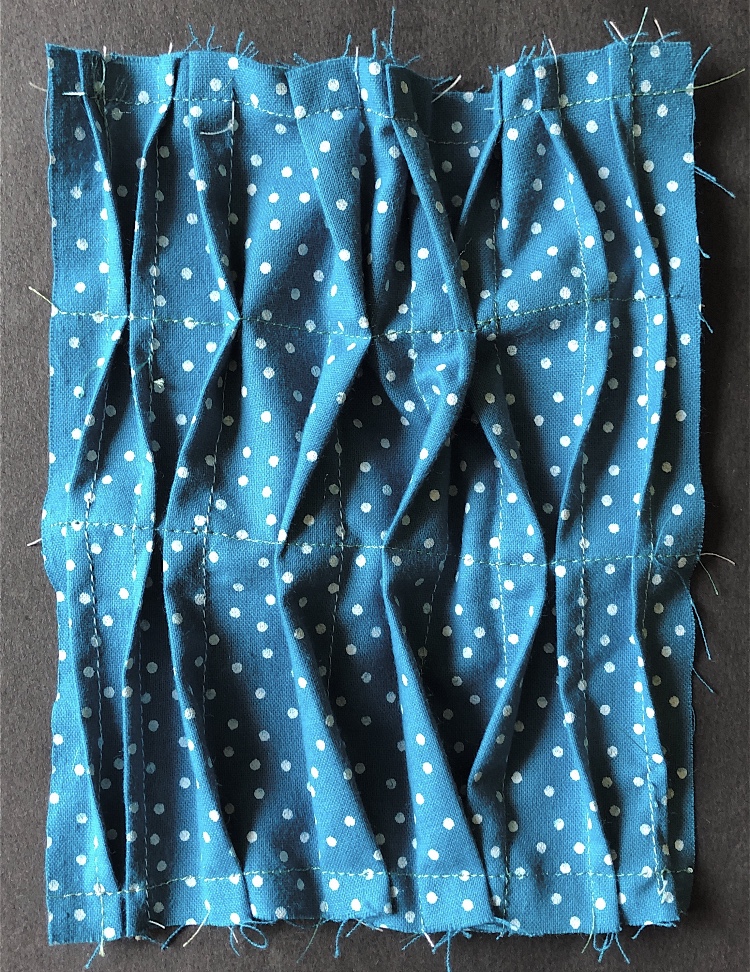
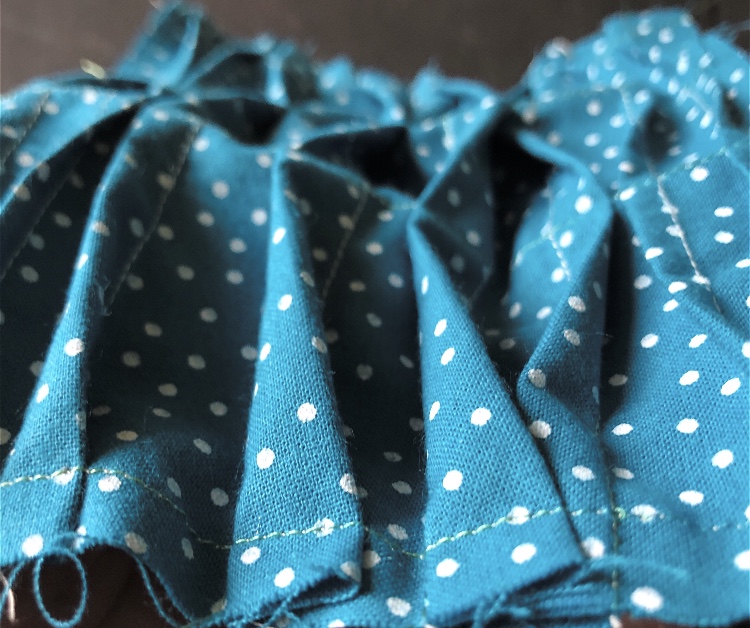
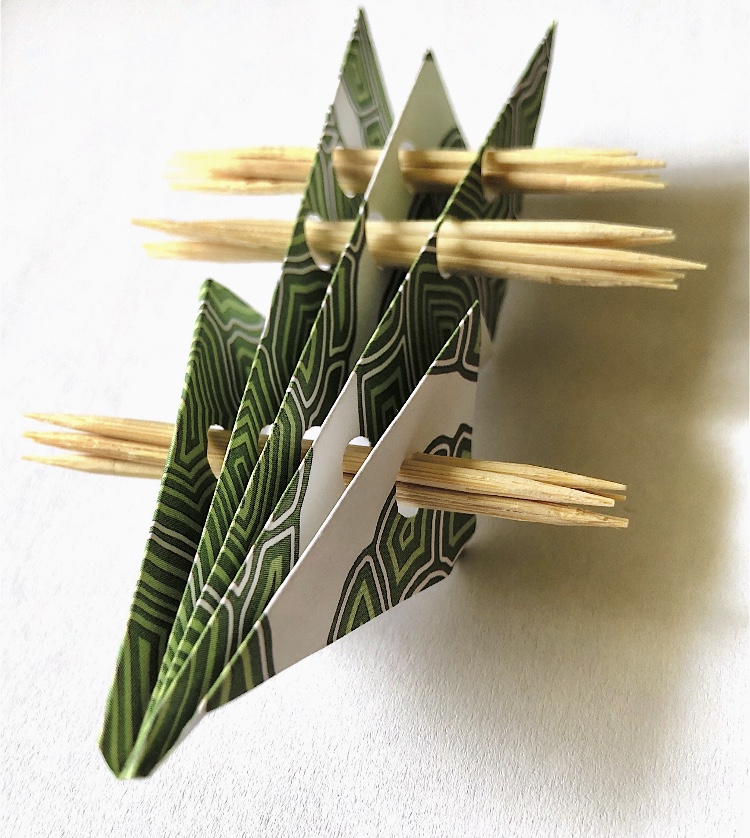
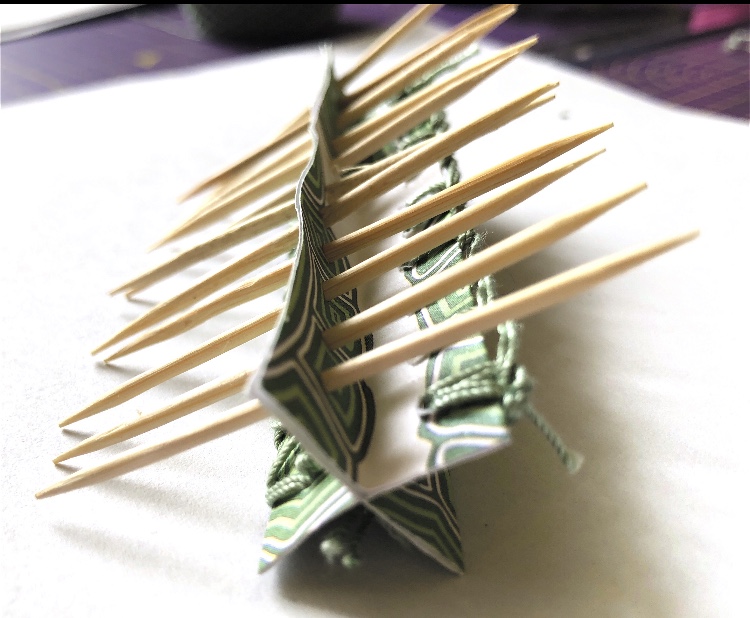
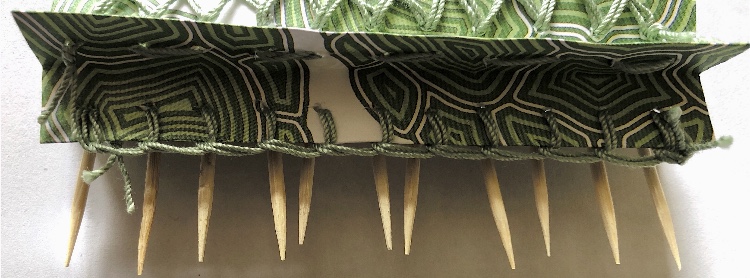
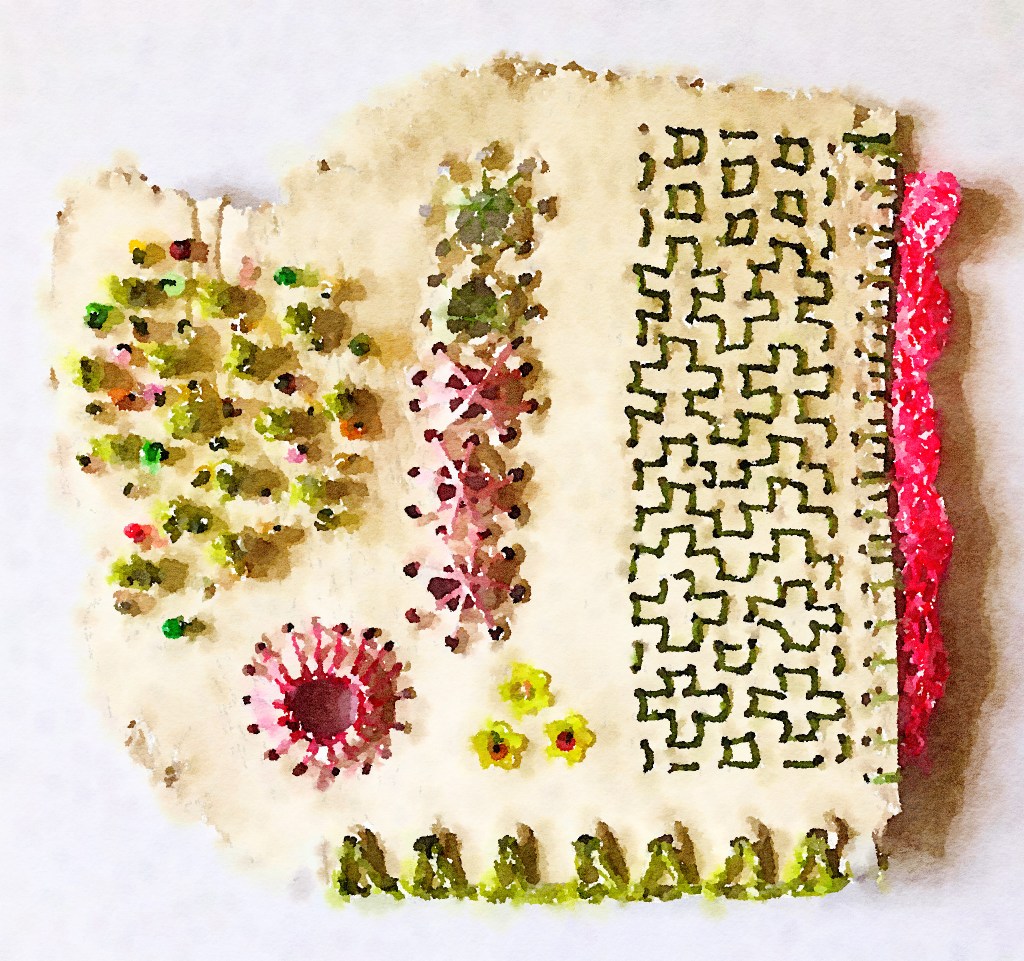
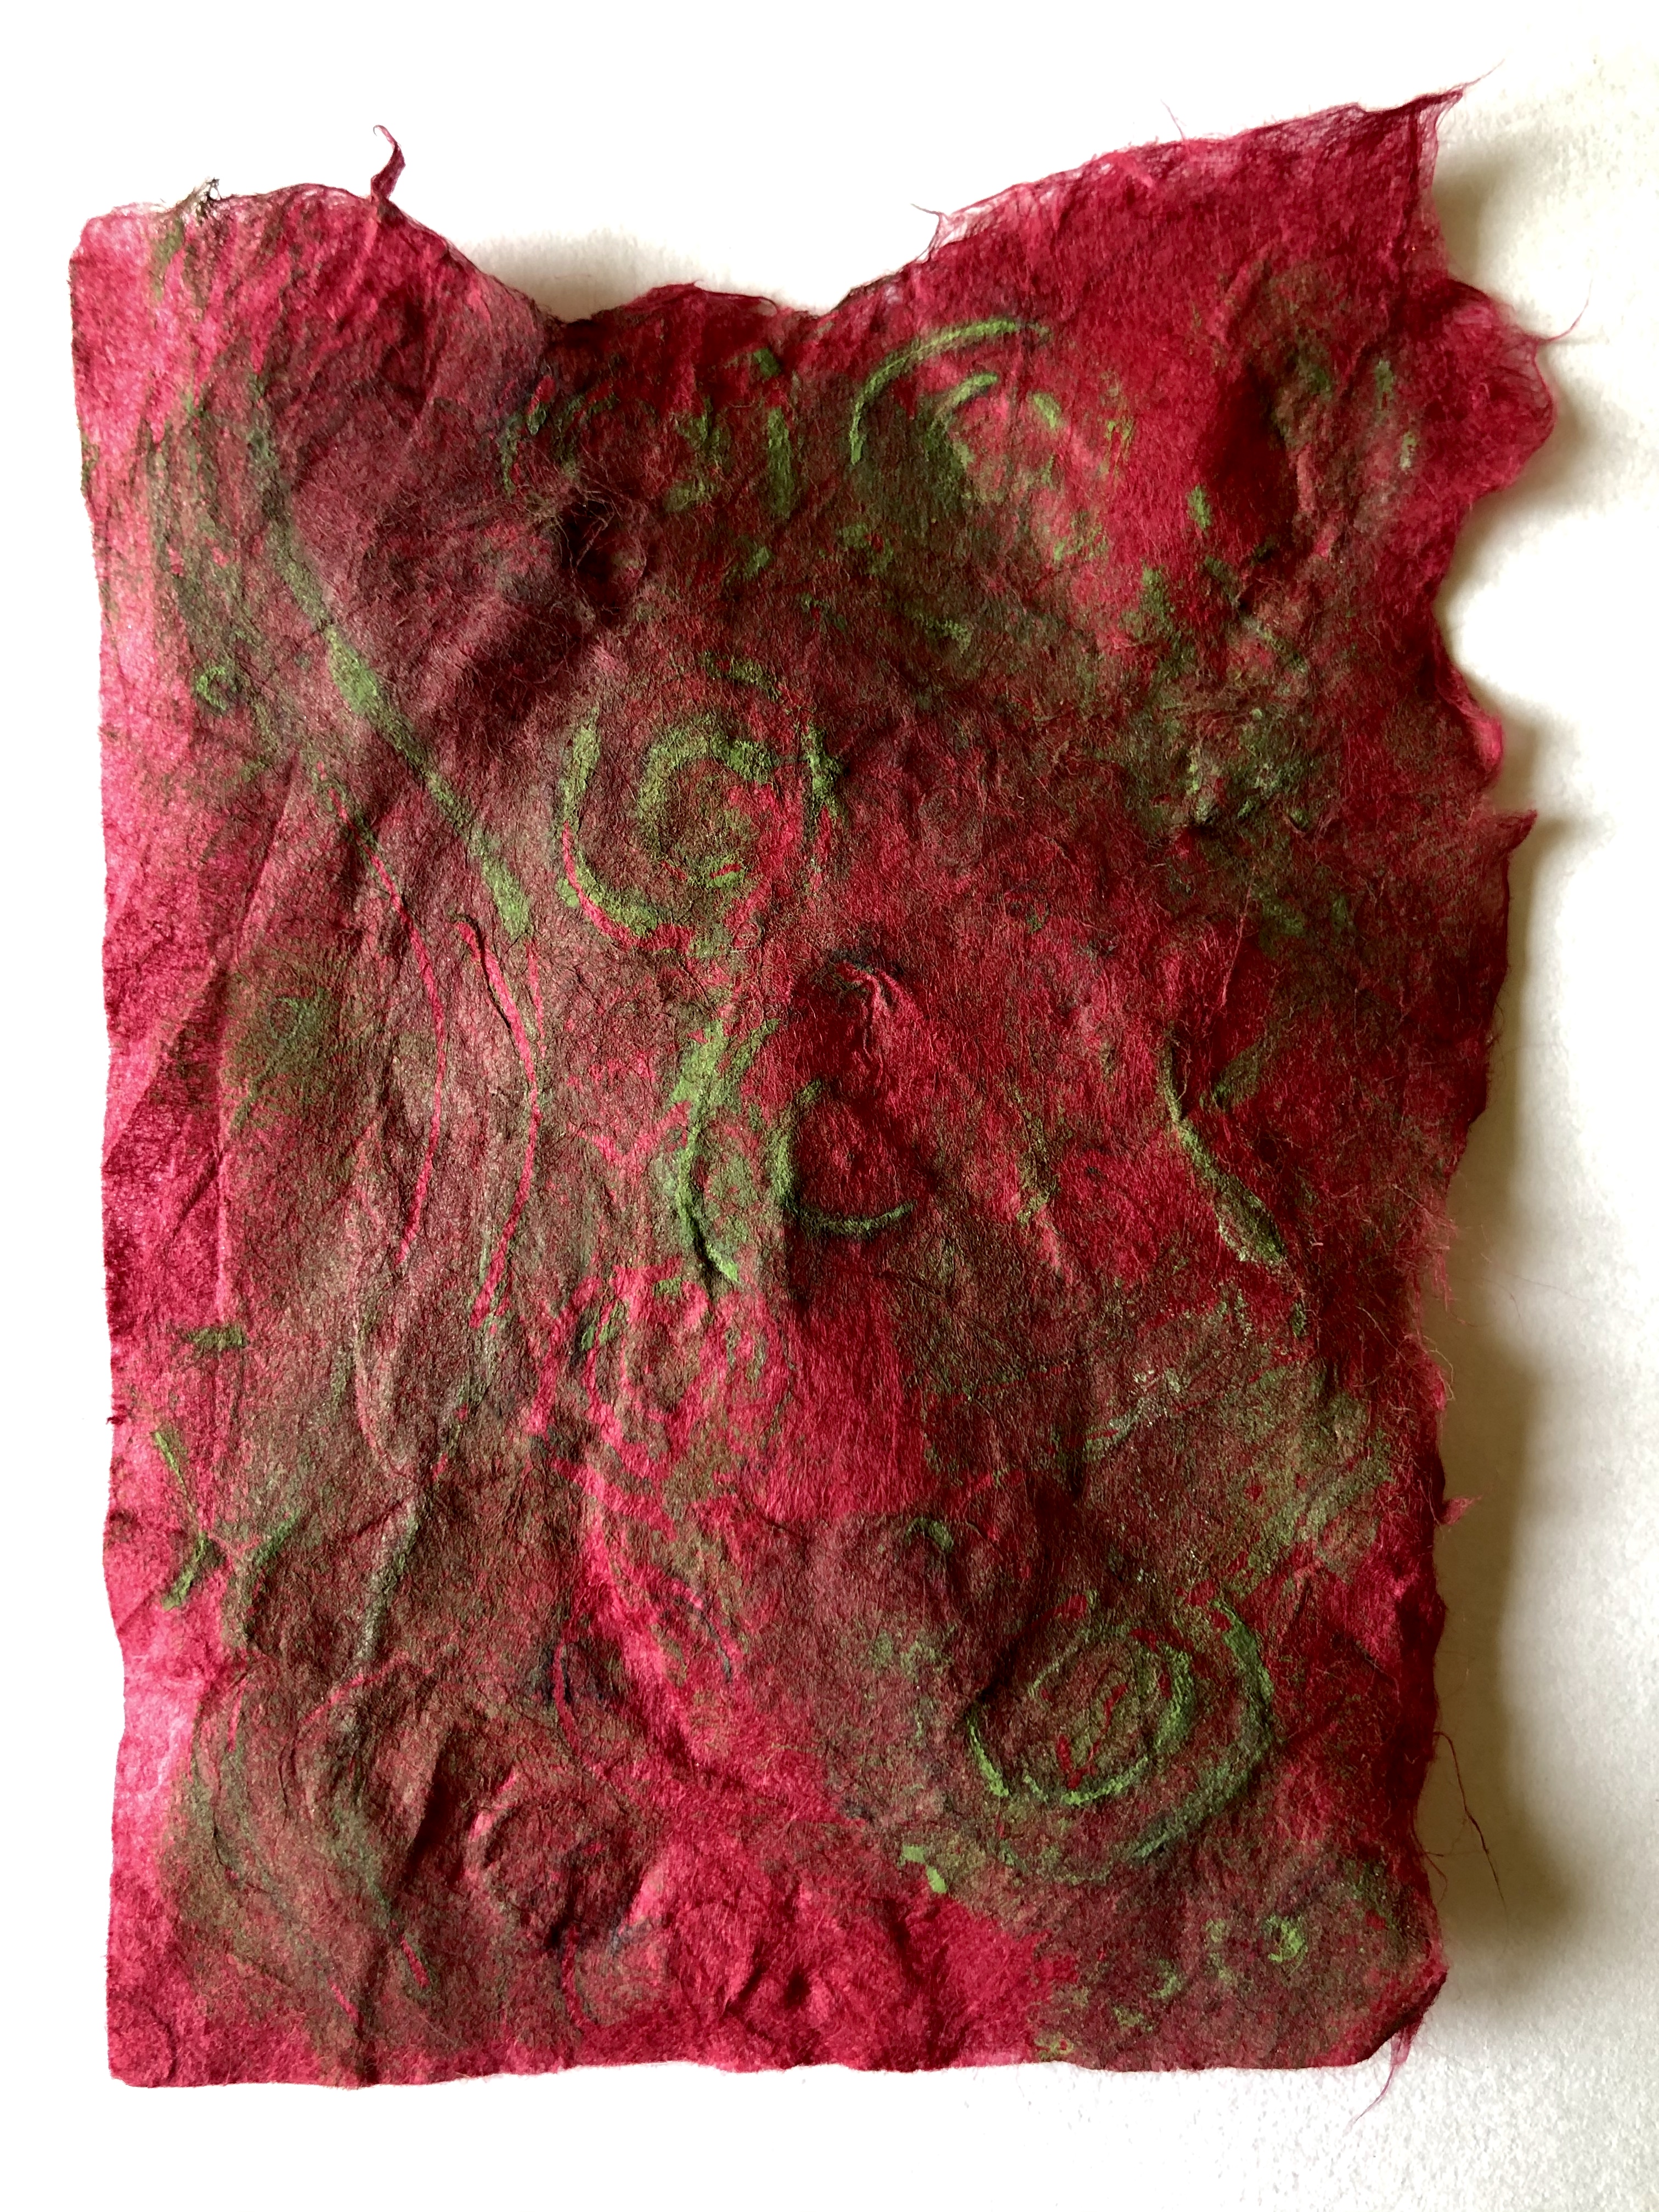
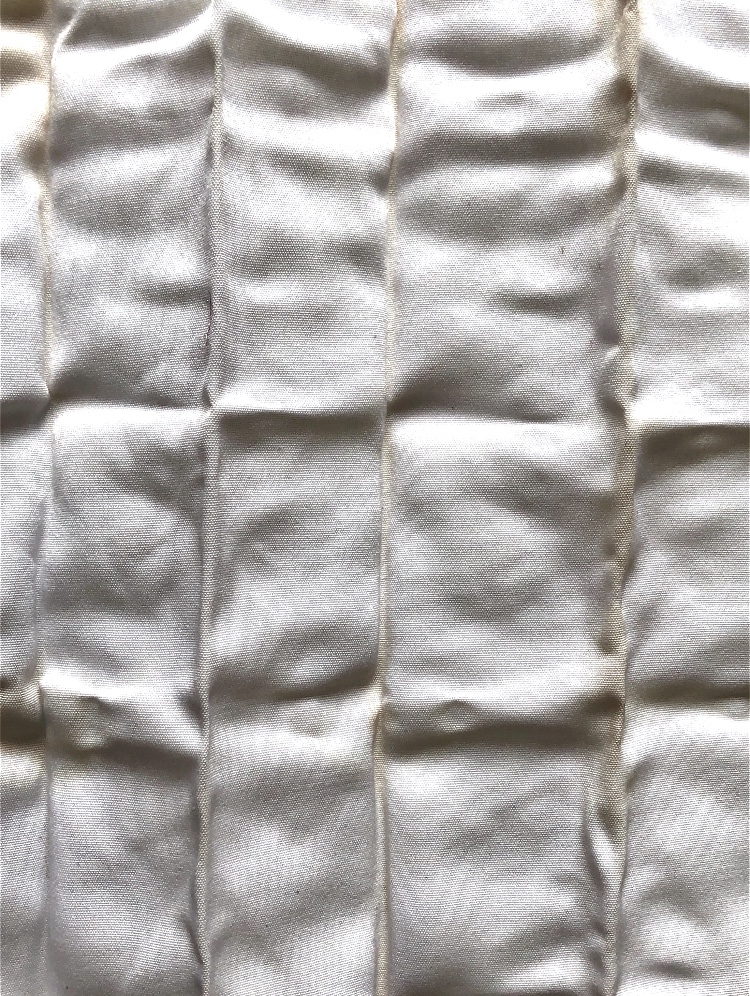
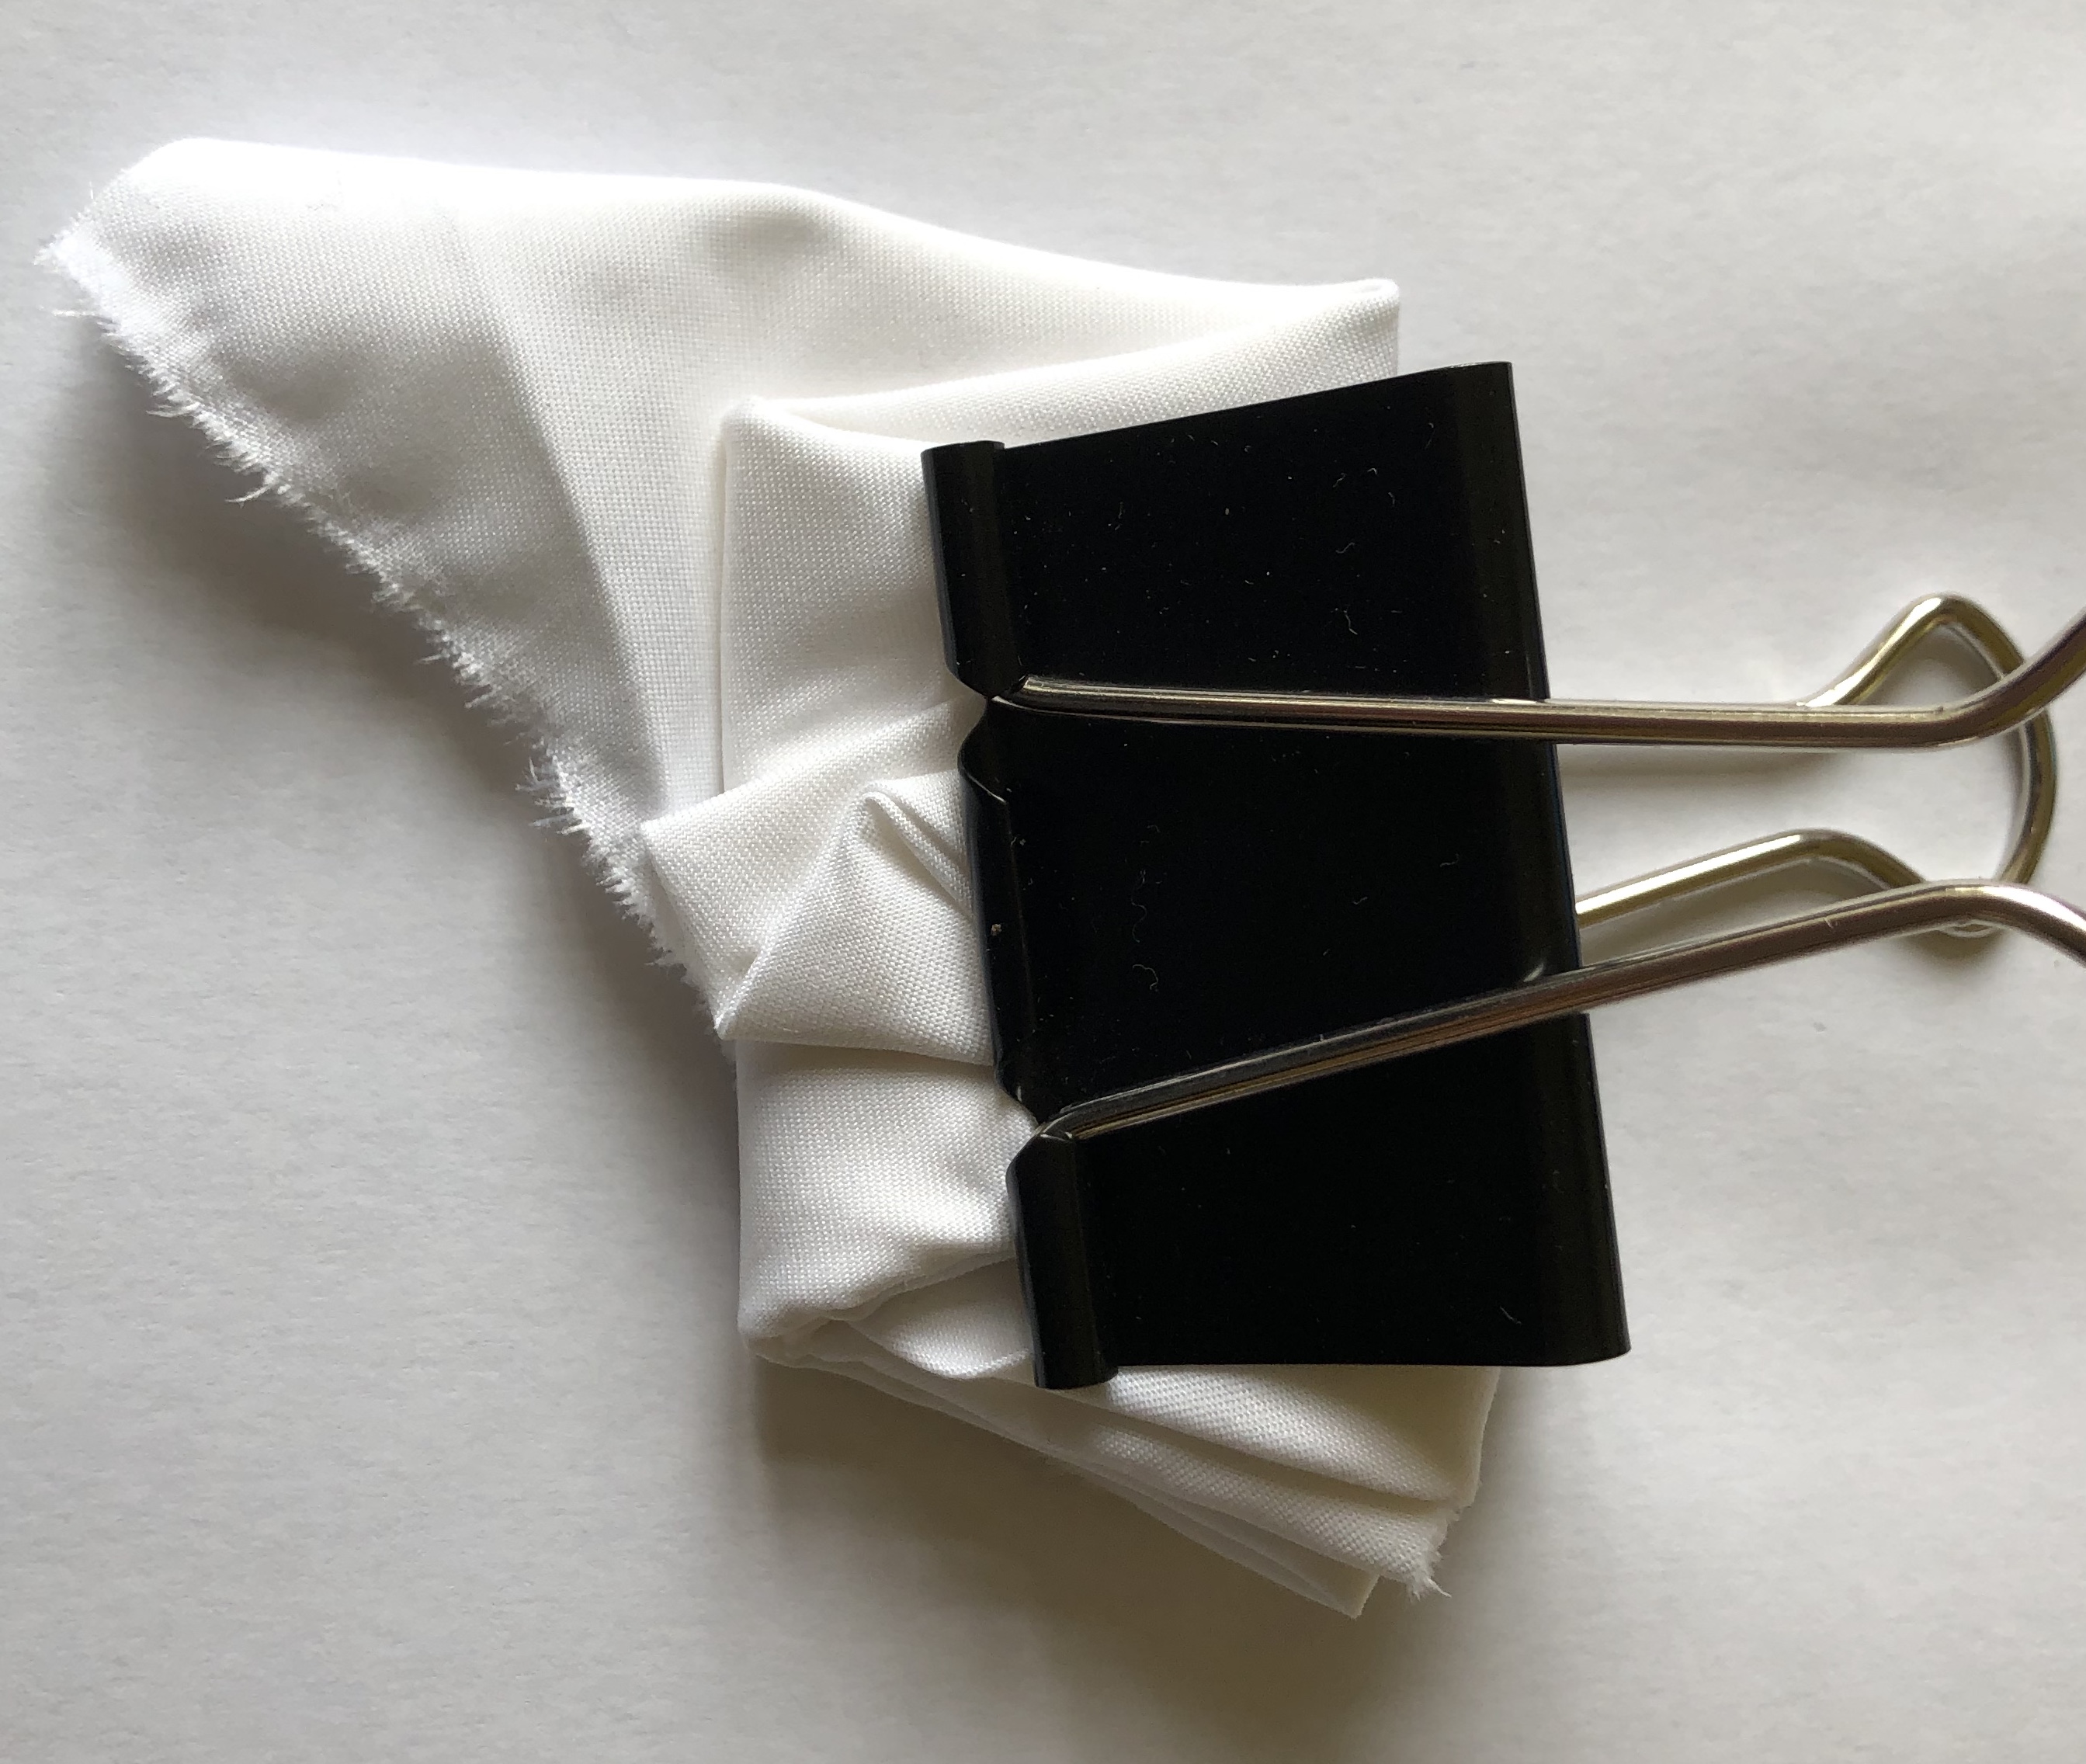
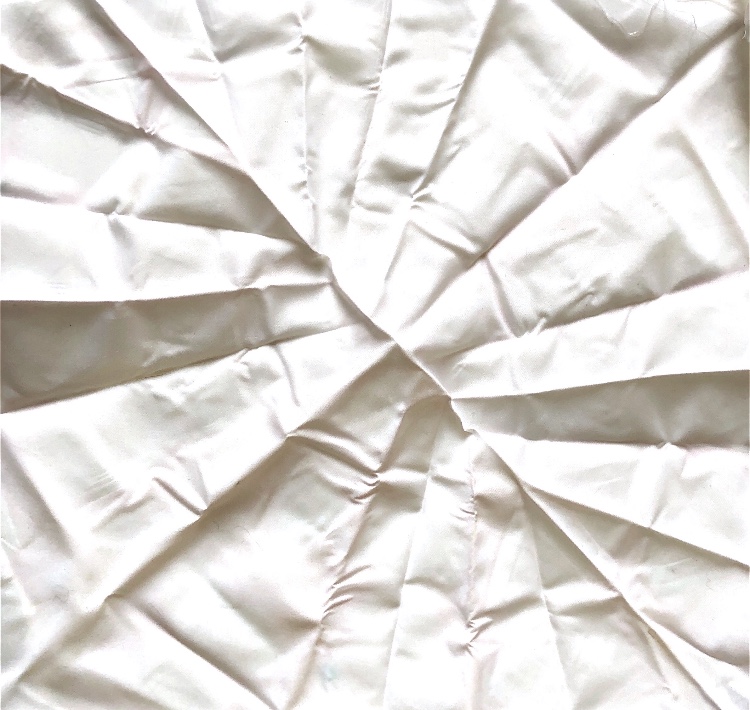
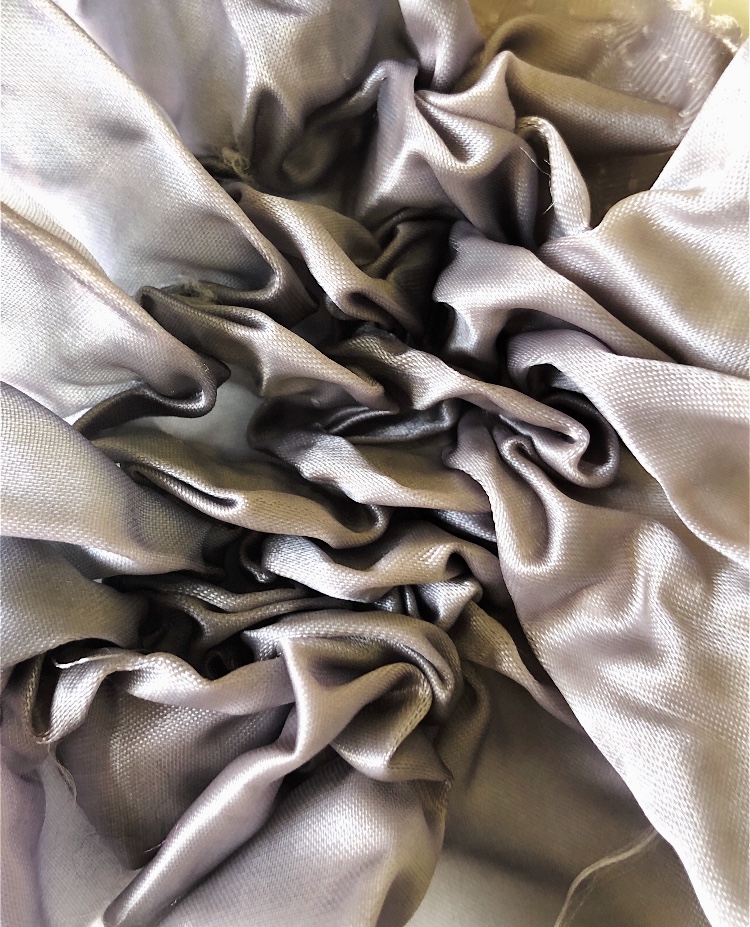
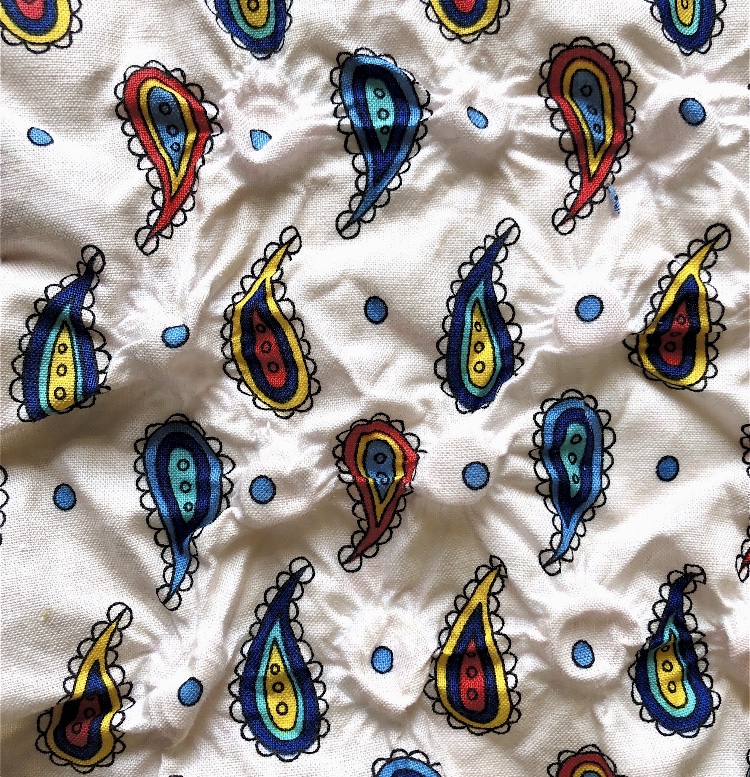
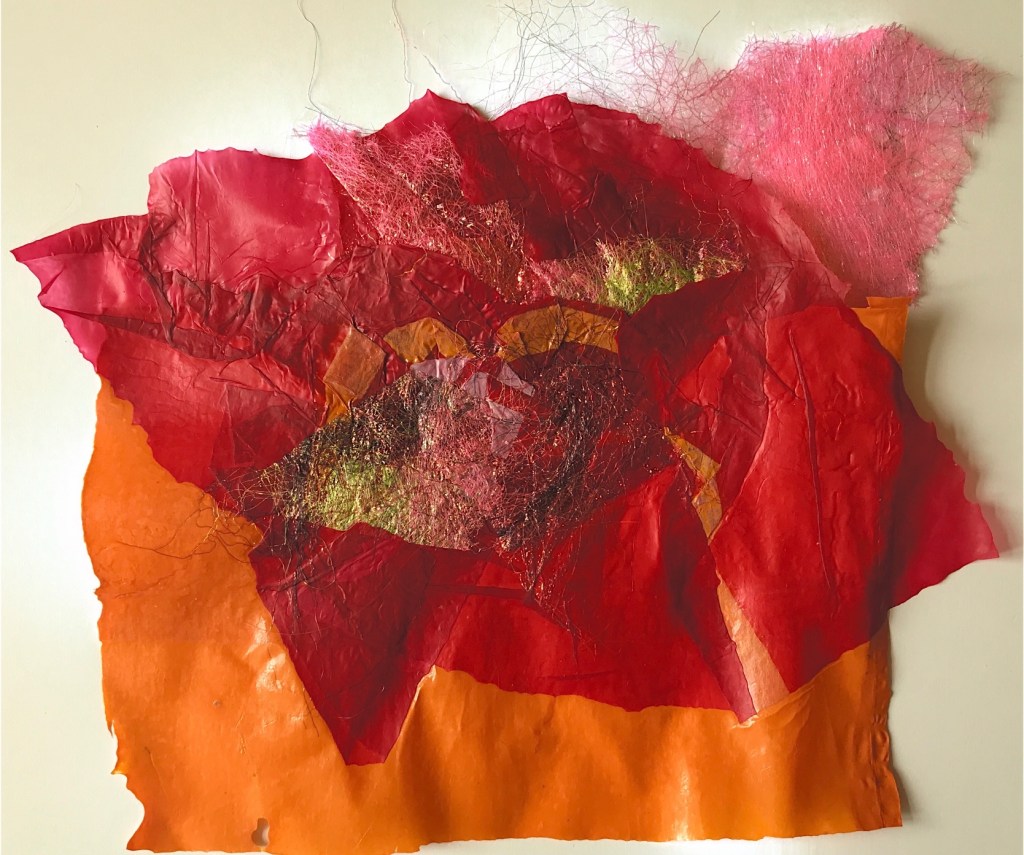
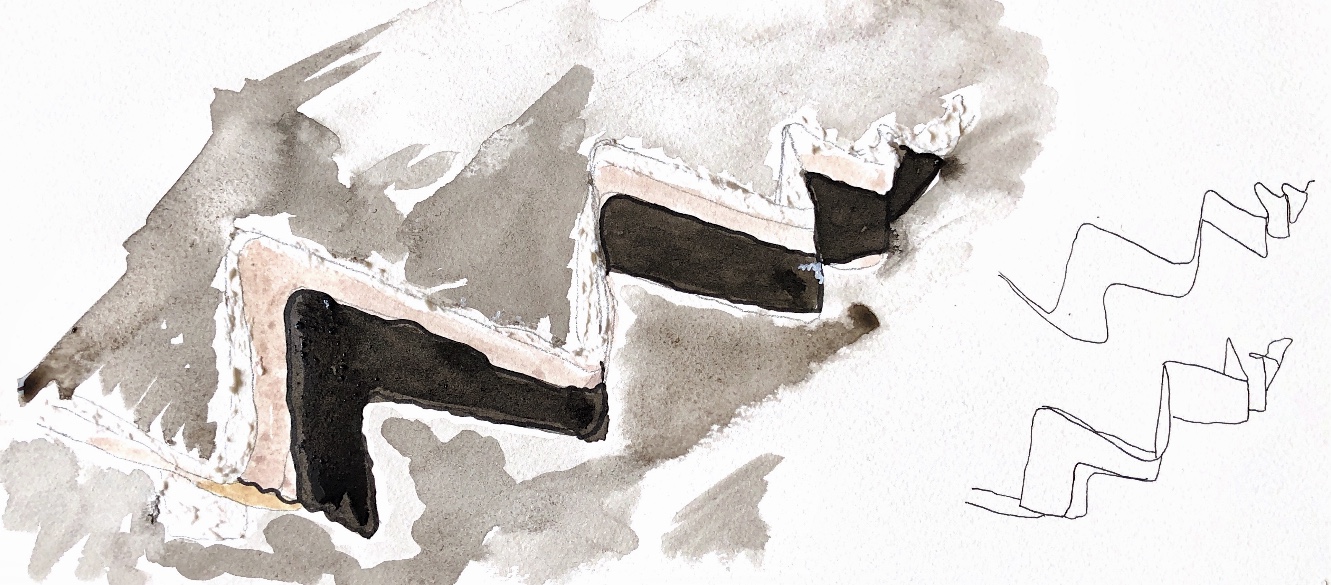
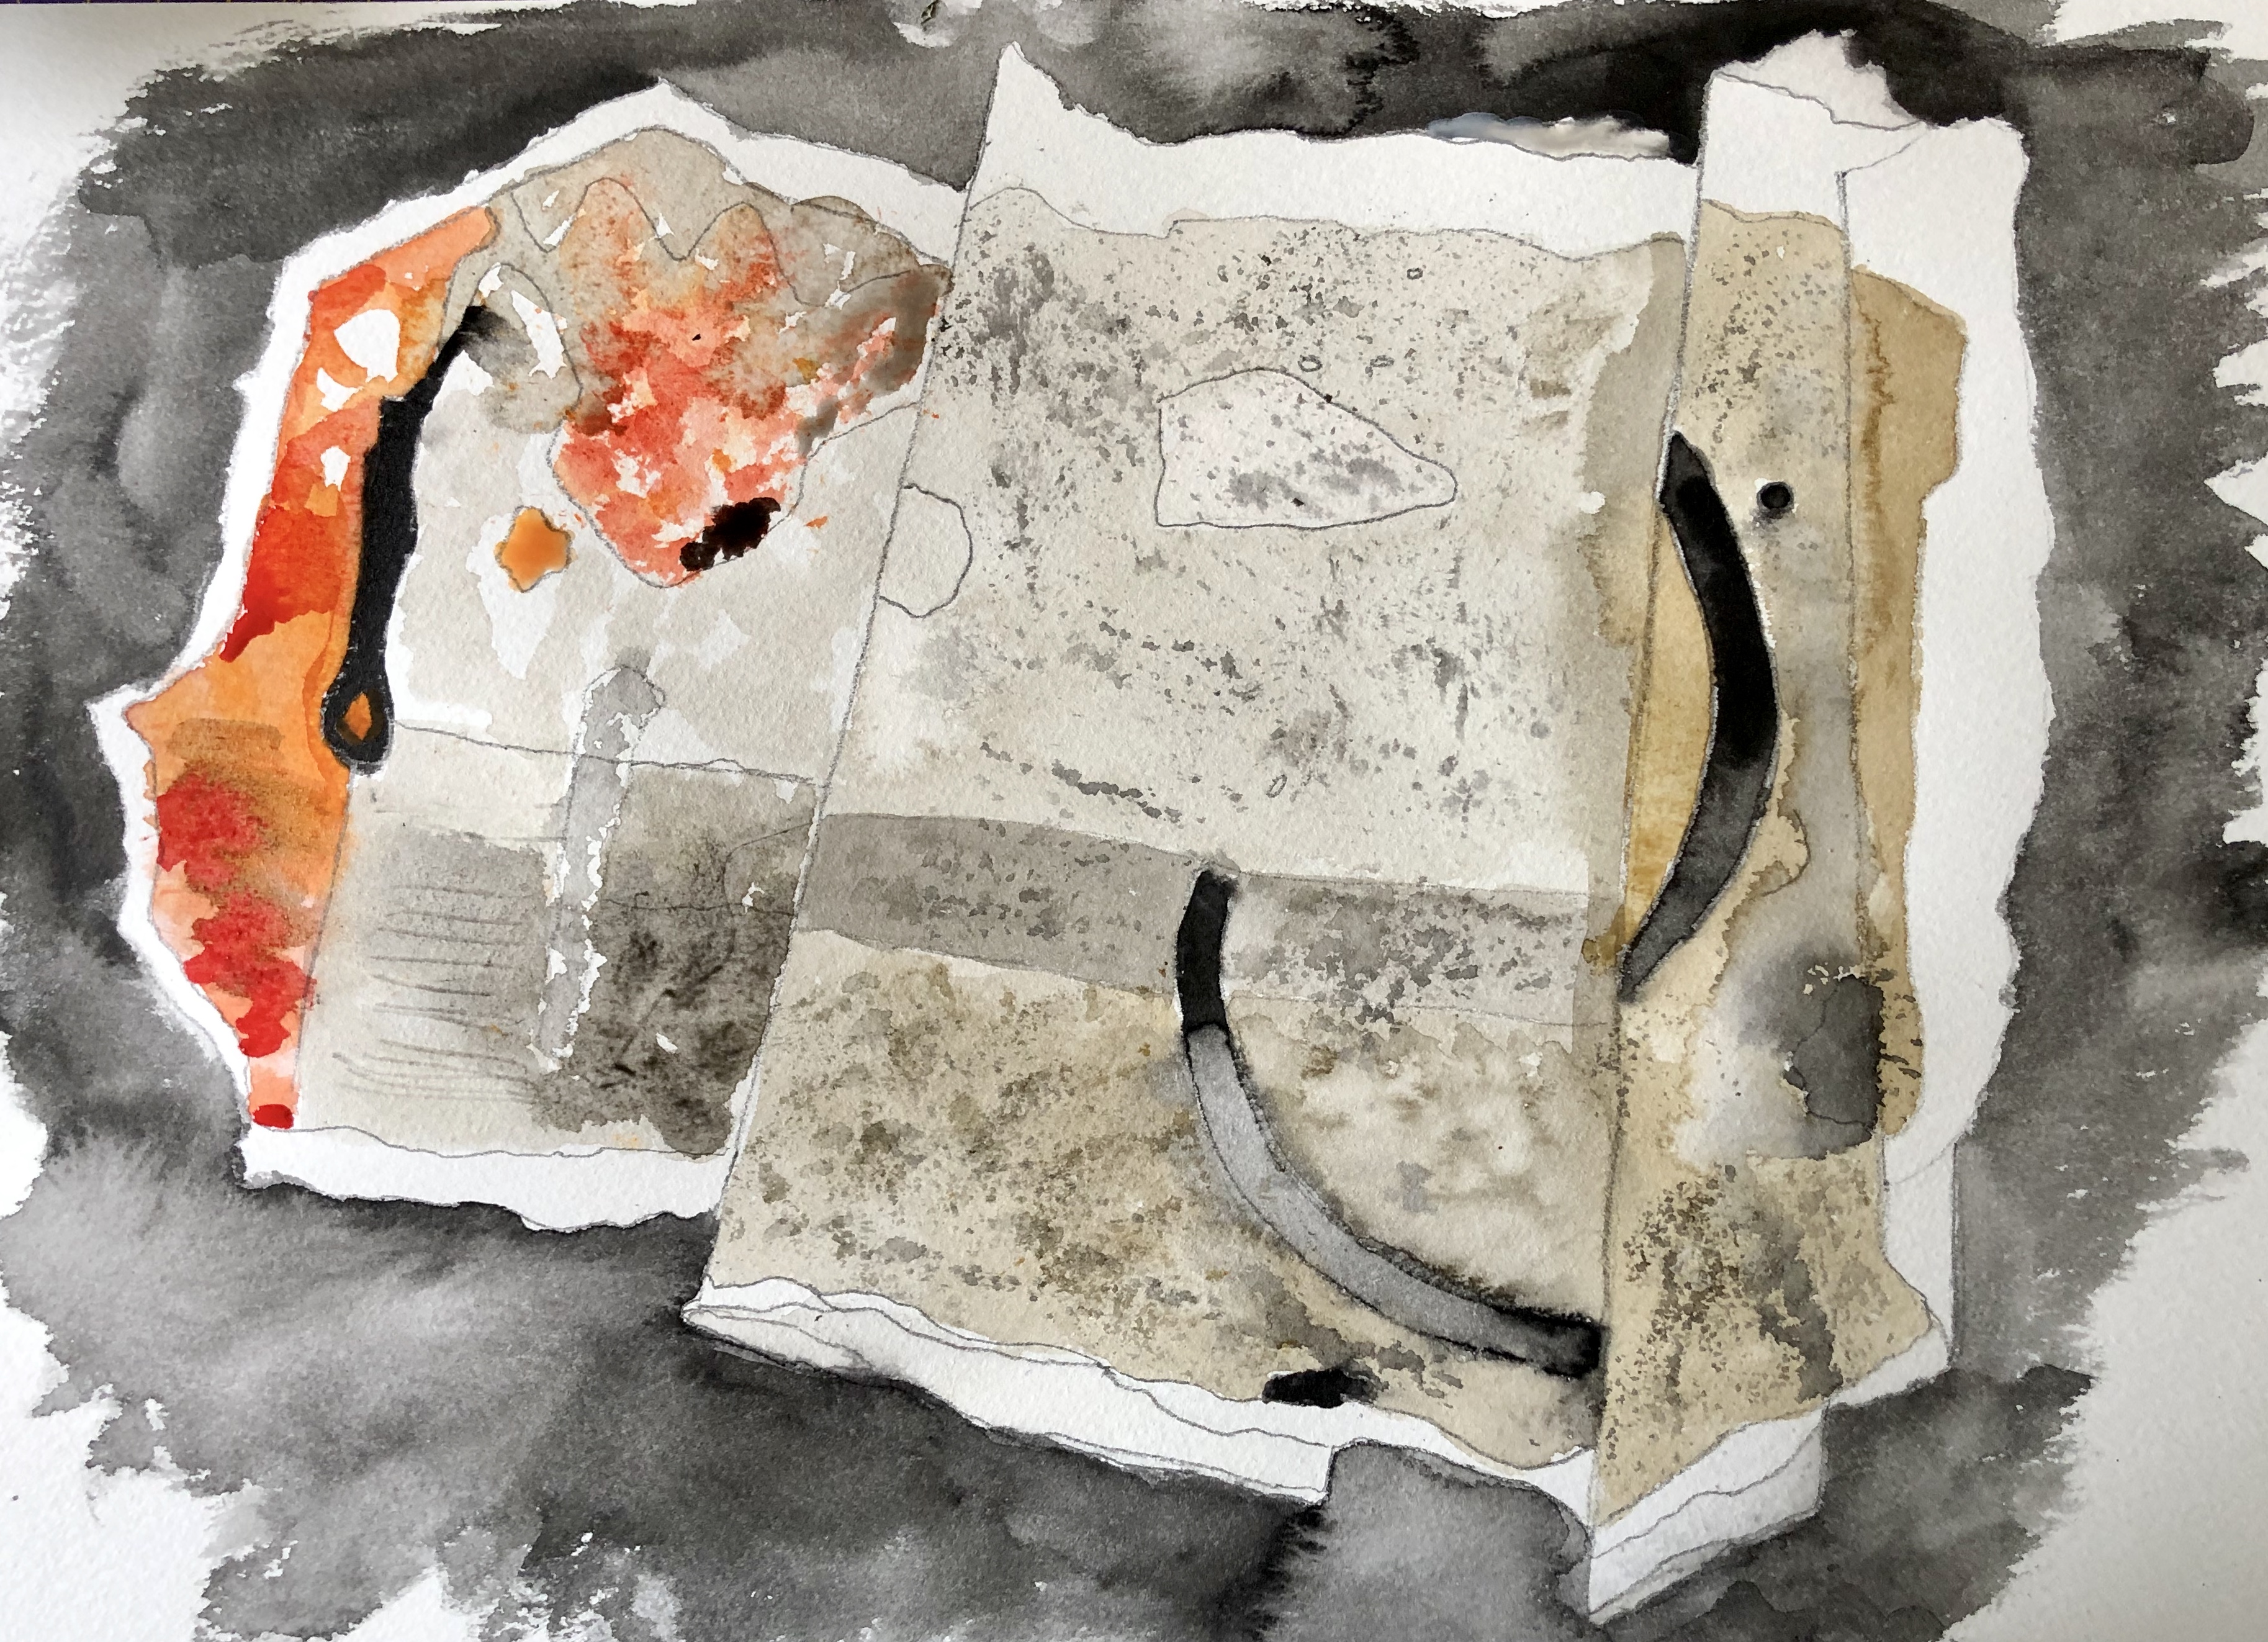
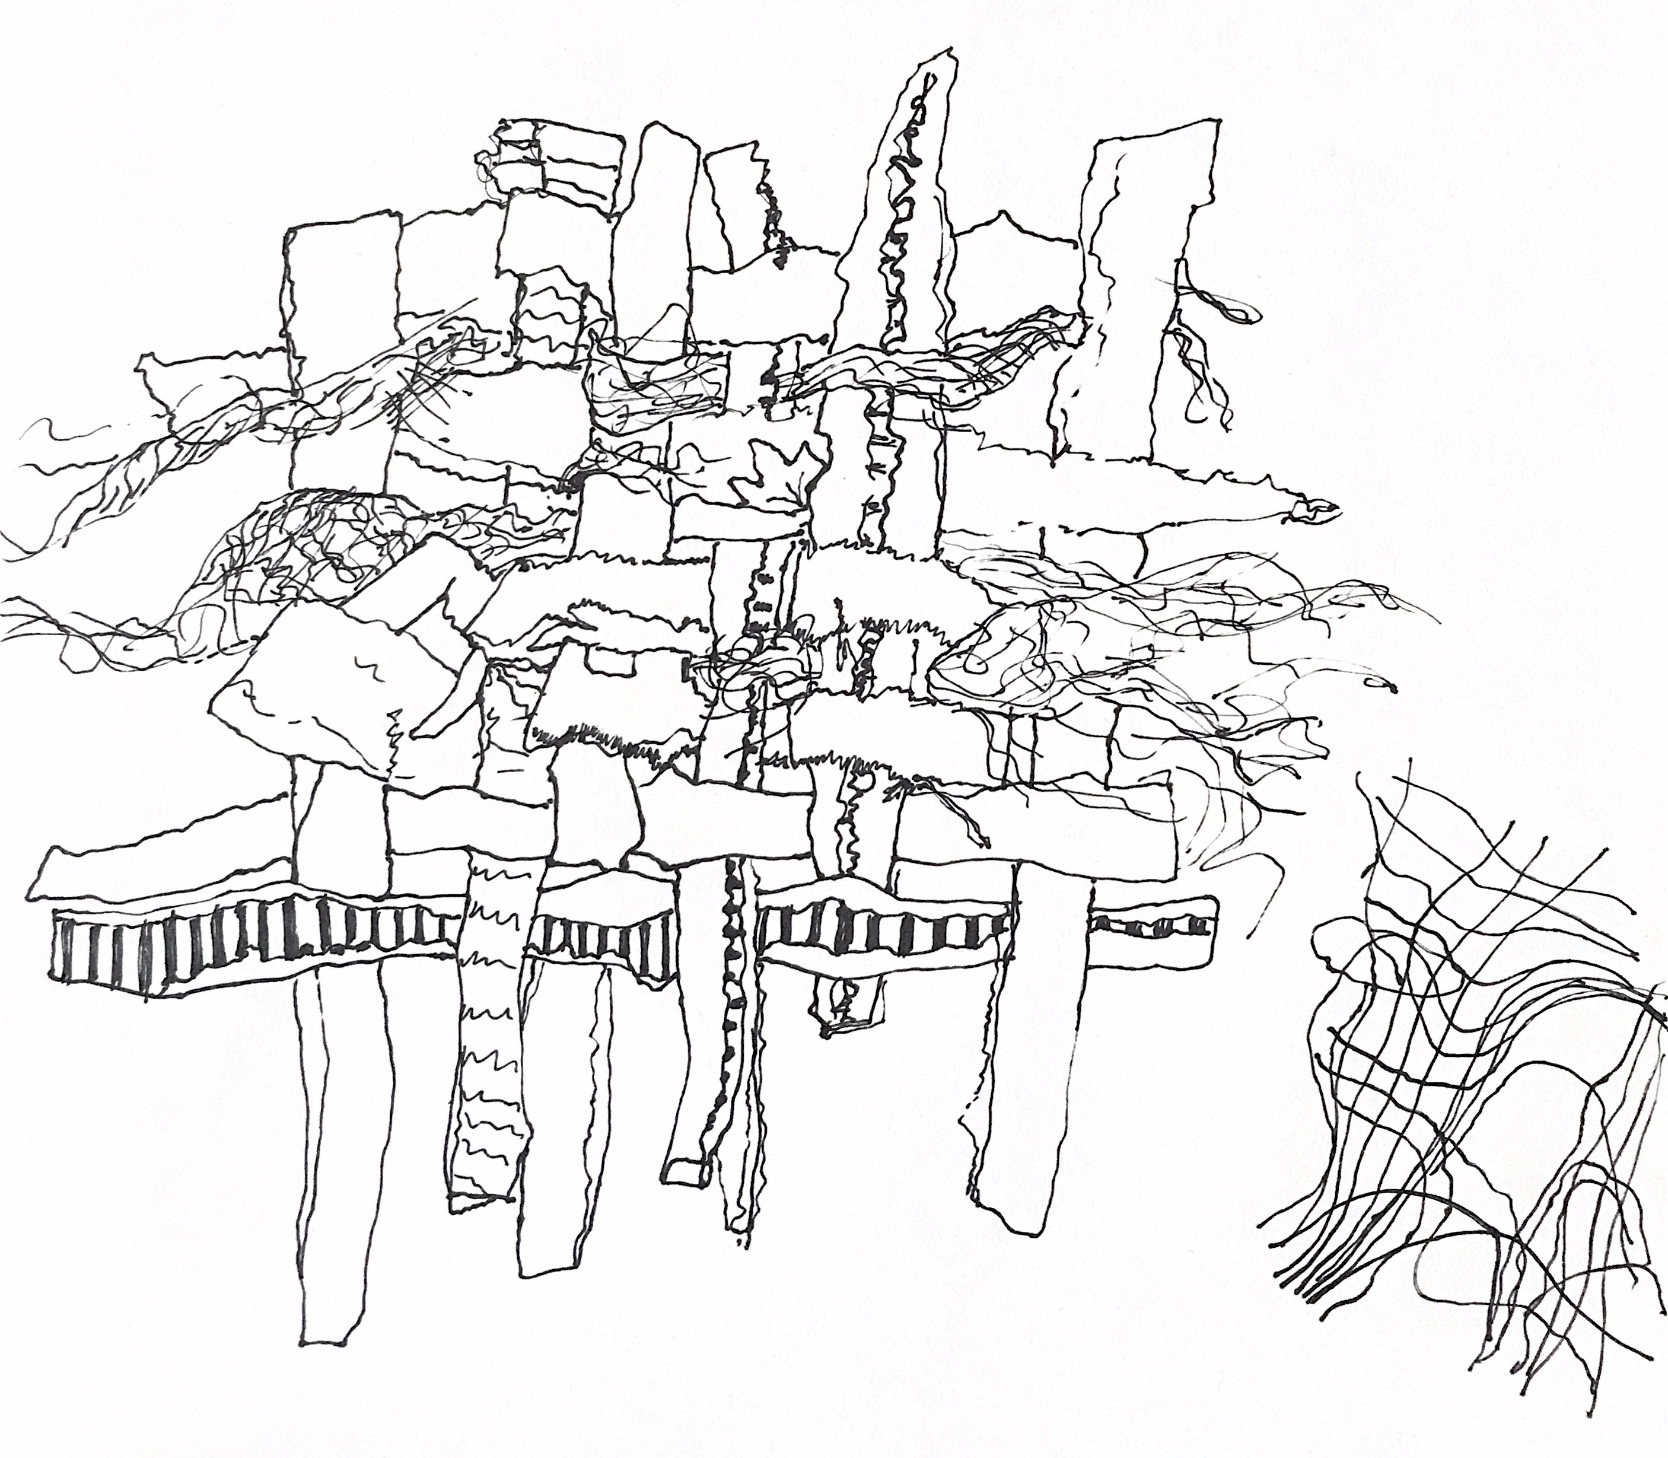
As usual I loved working with paper which is another fairly mundane material which can be transformed into a soft drapable fabric like material or torn and folded into architectural shapes. Once again my sketchbook drawings have made me look closely at my sample and would provide further ideas for patterns. The crumpled sample has coloured stitching which works really well to emphasise the stretched ribs.

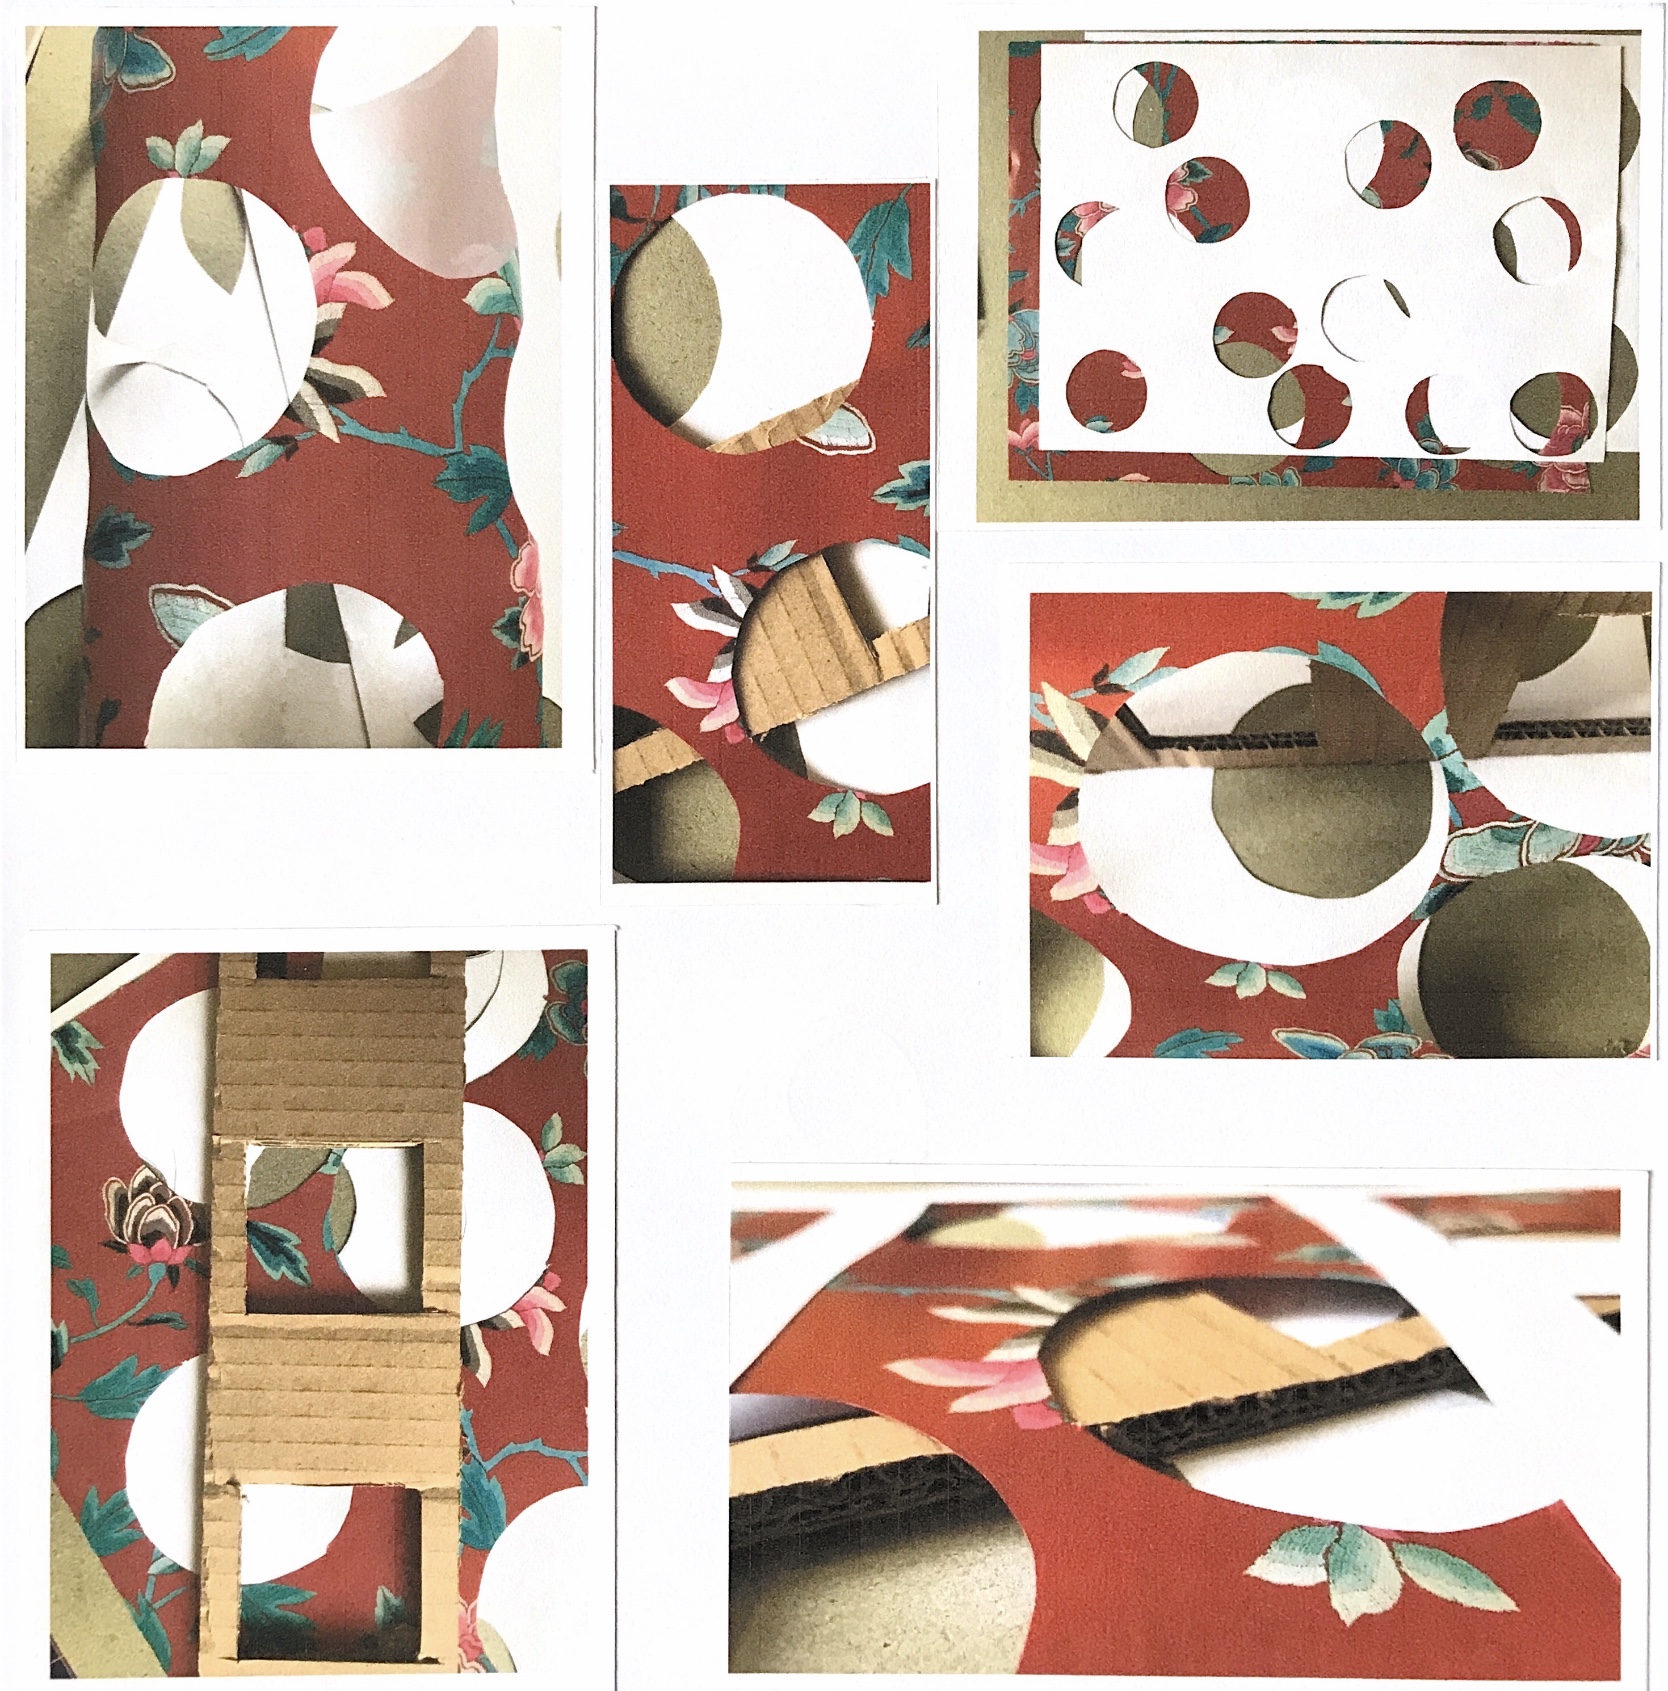
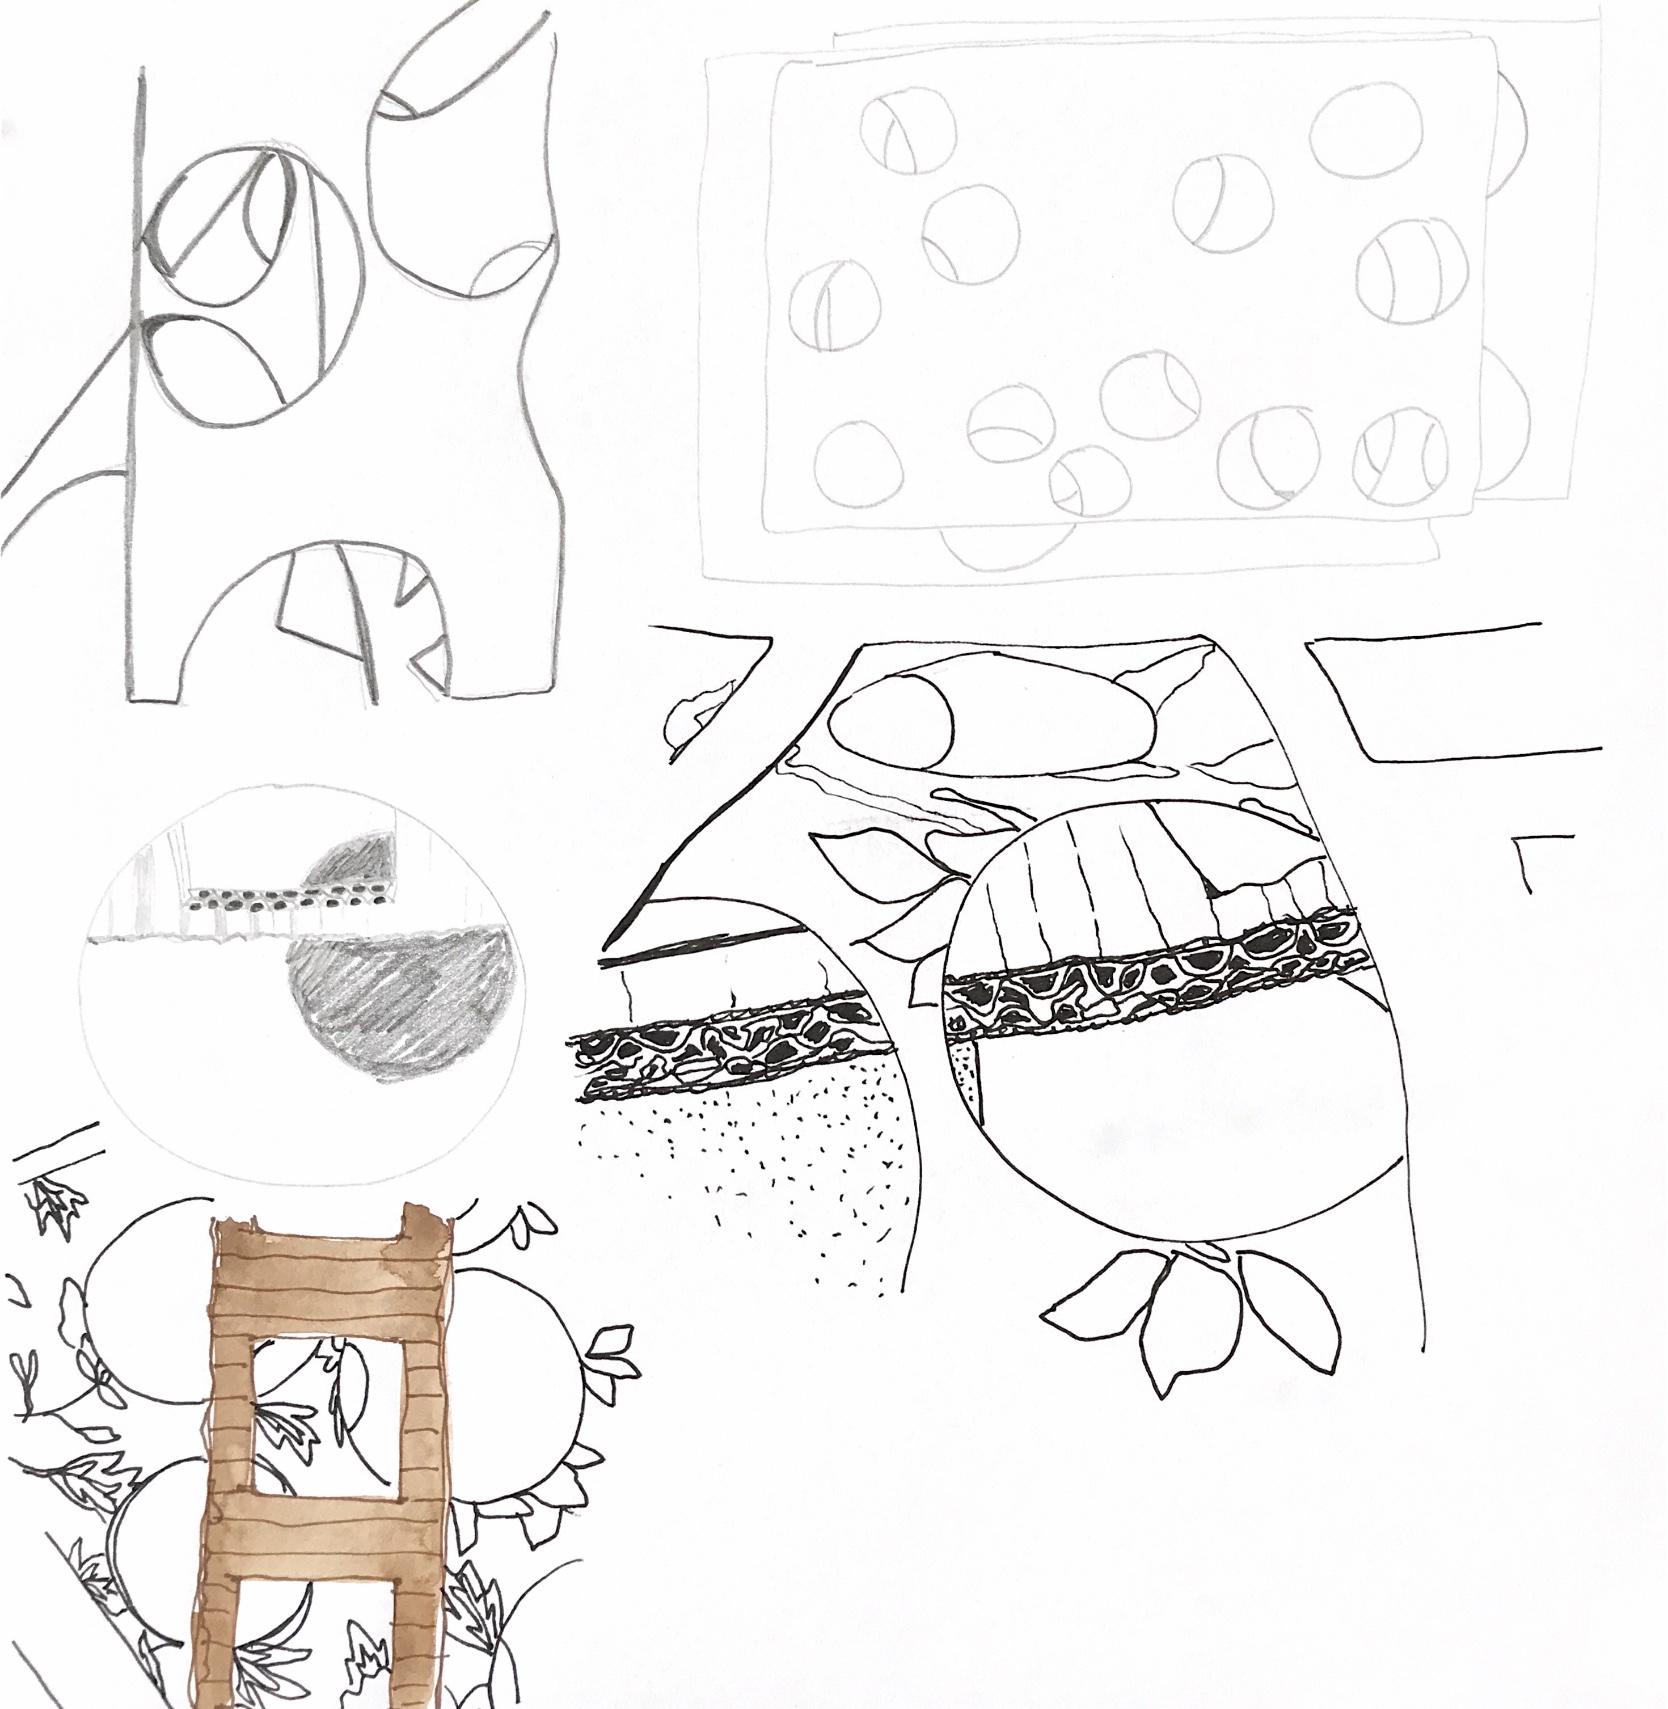
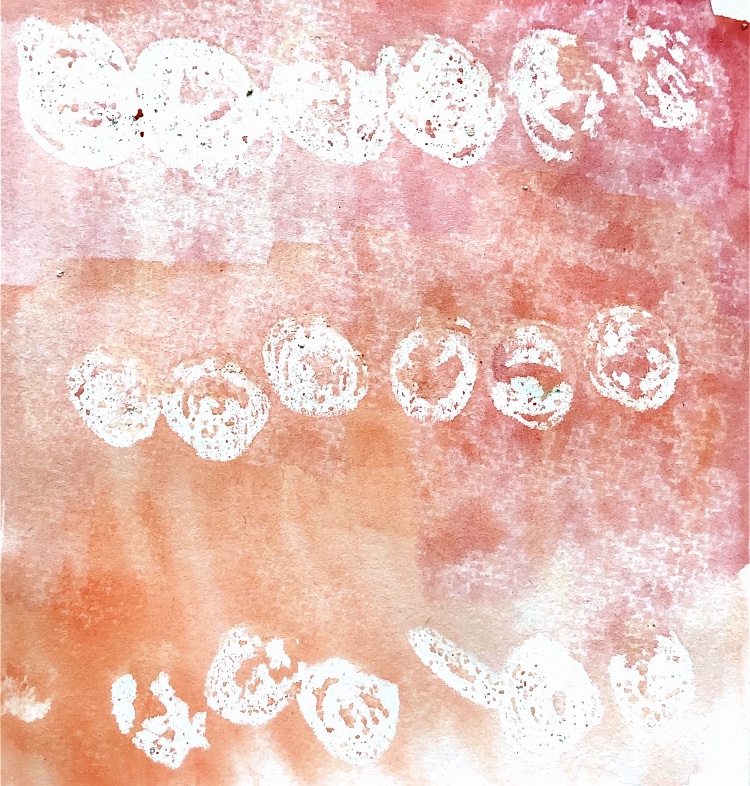
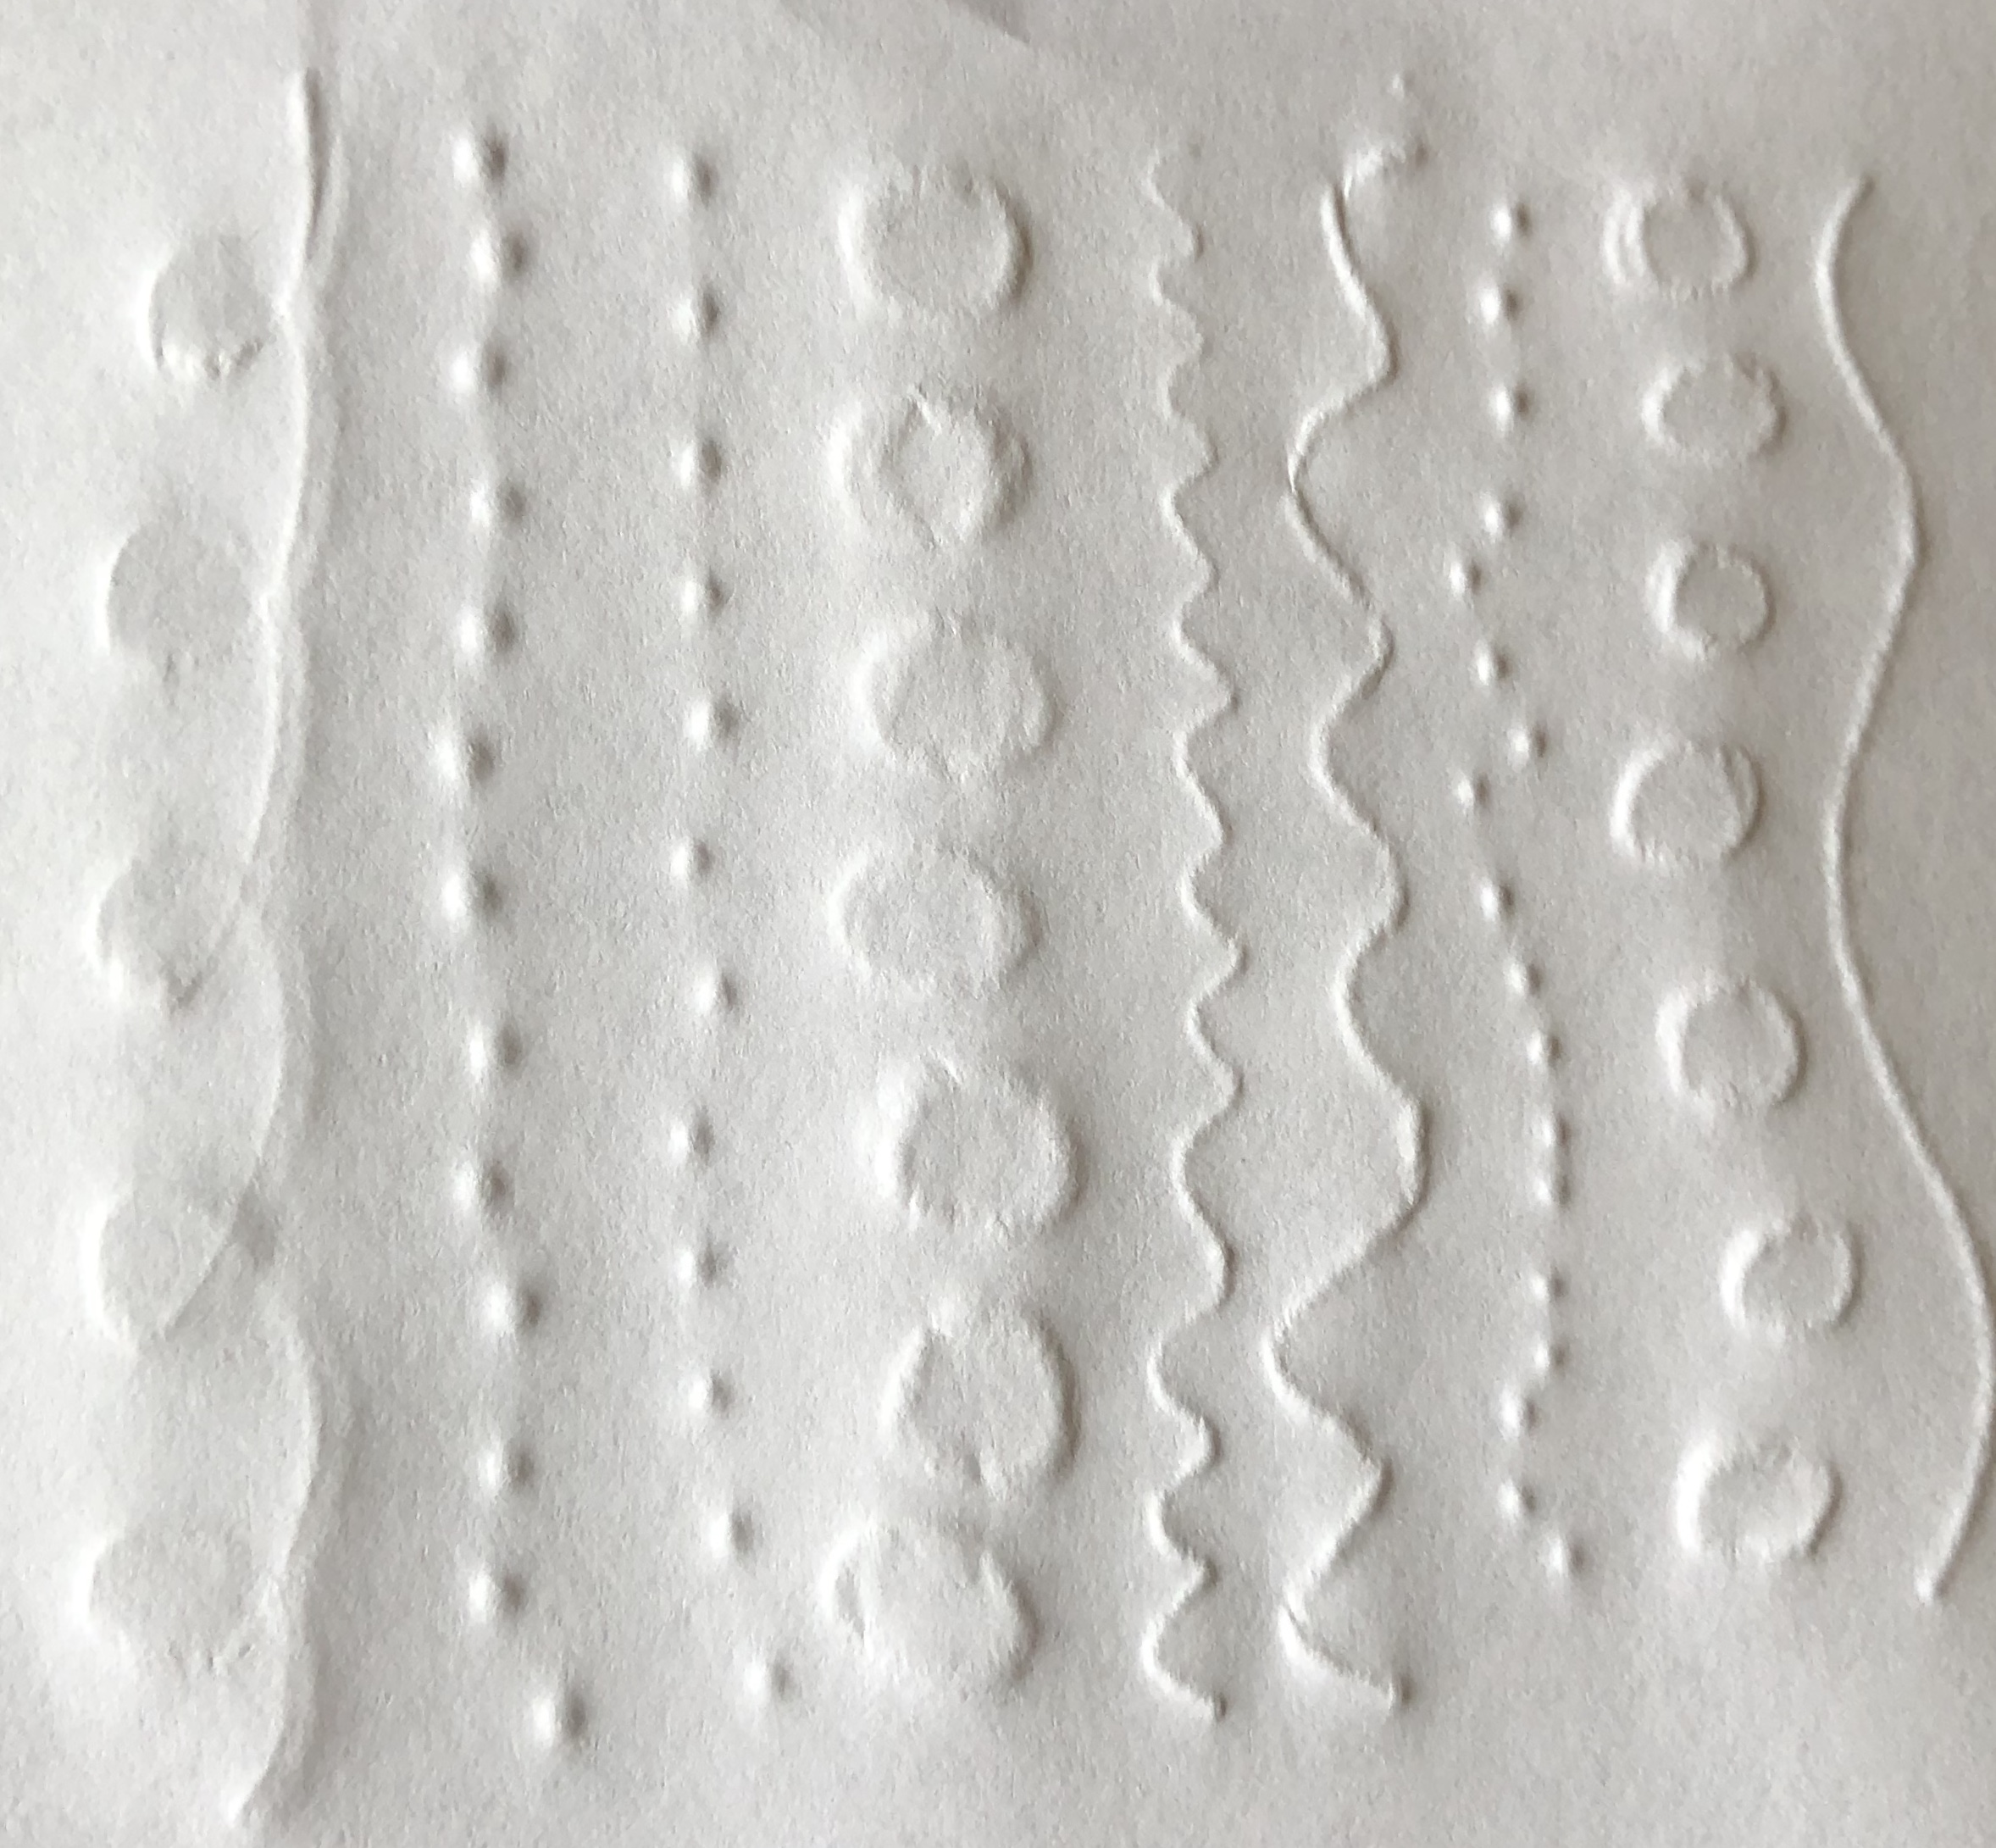
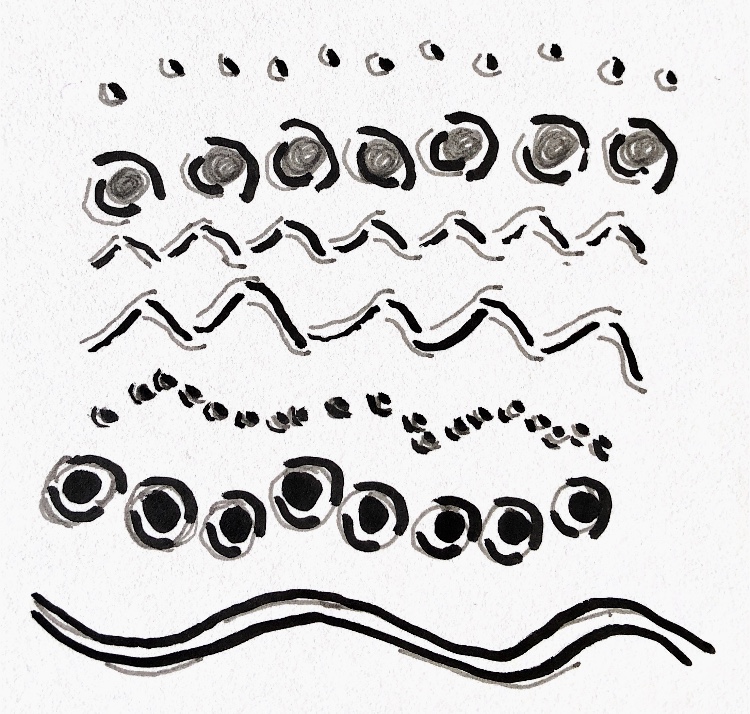
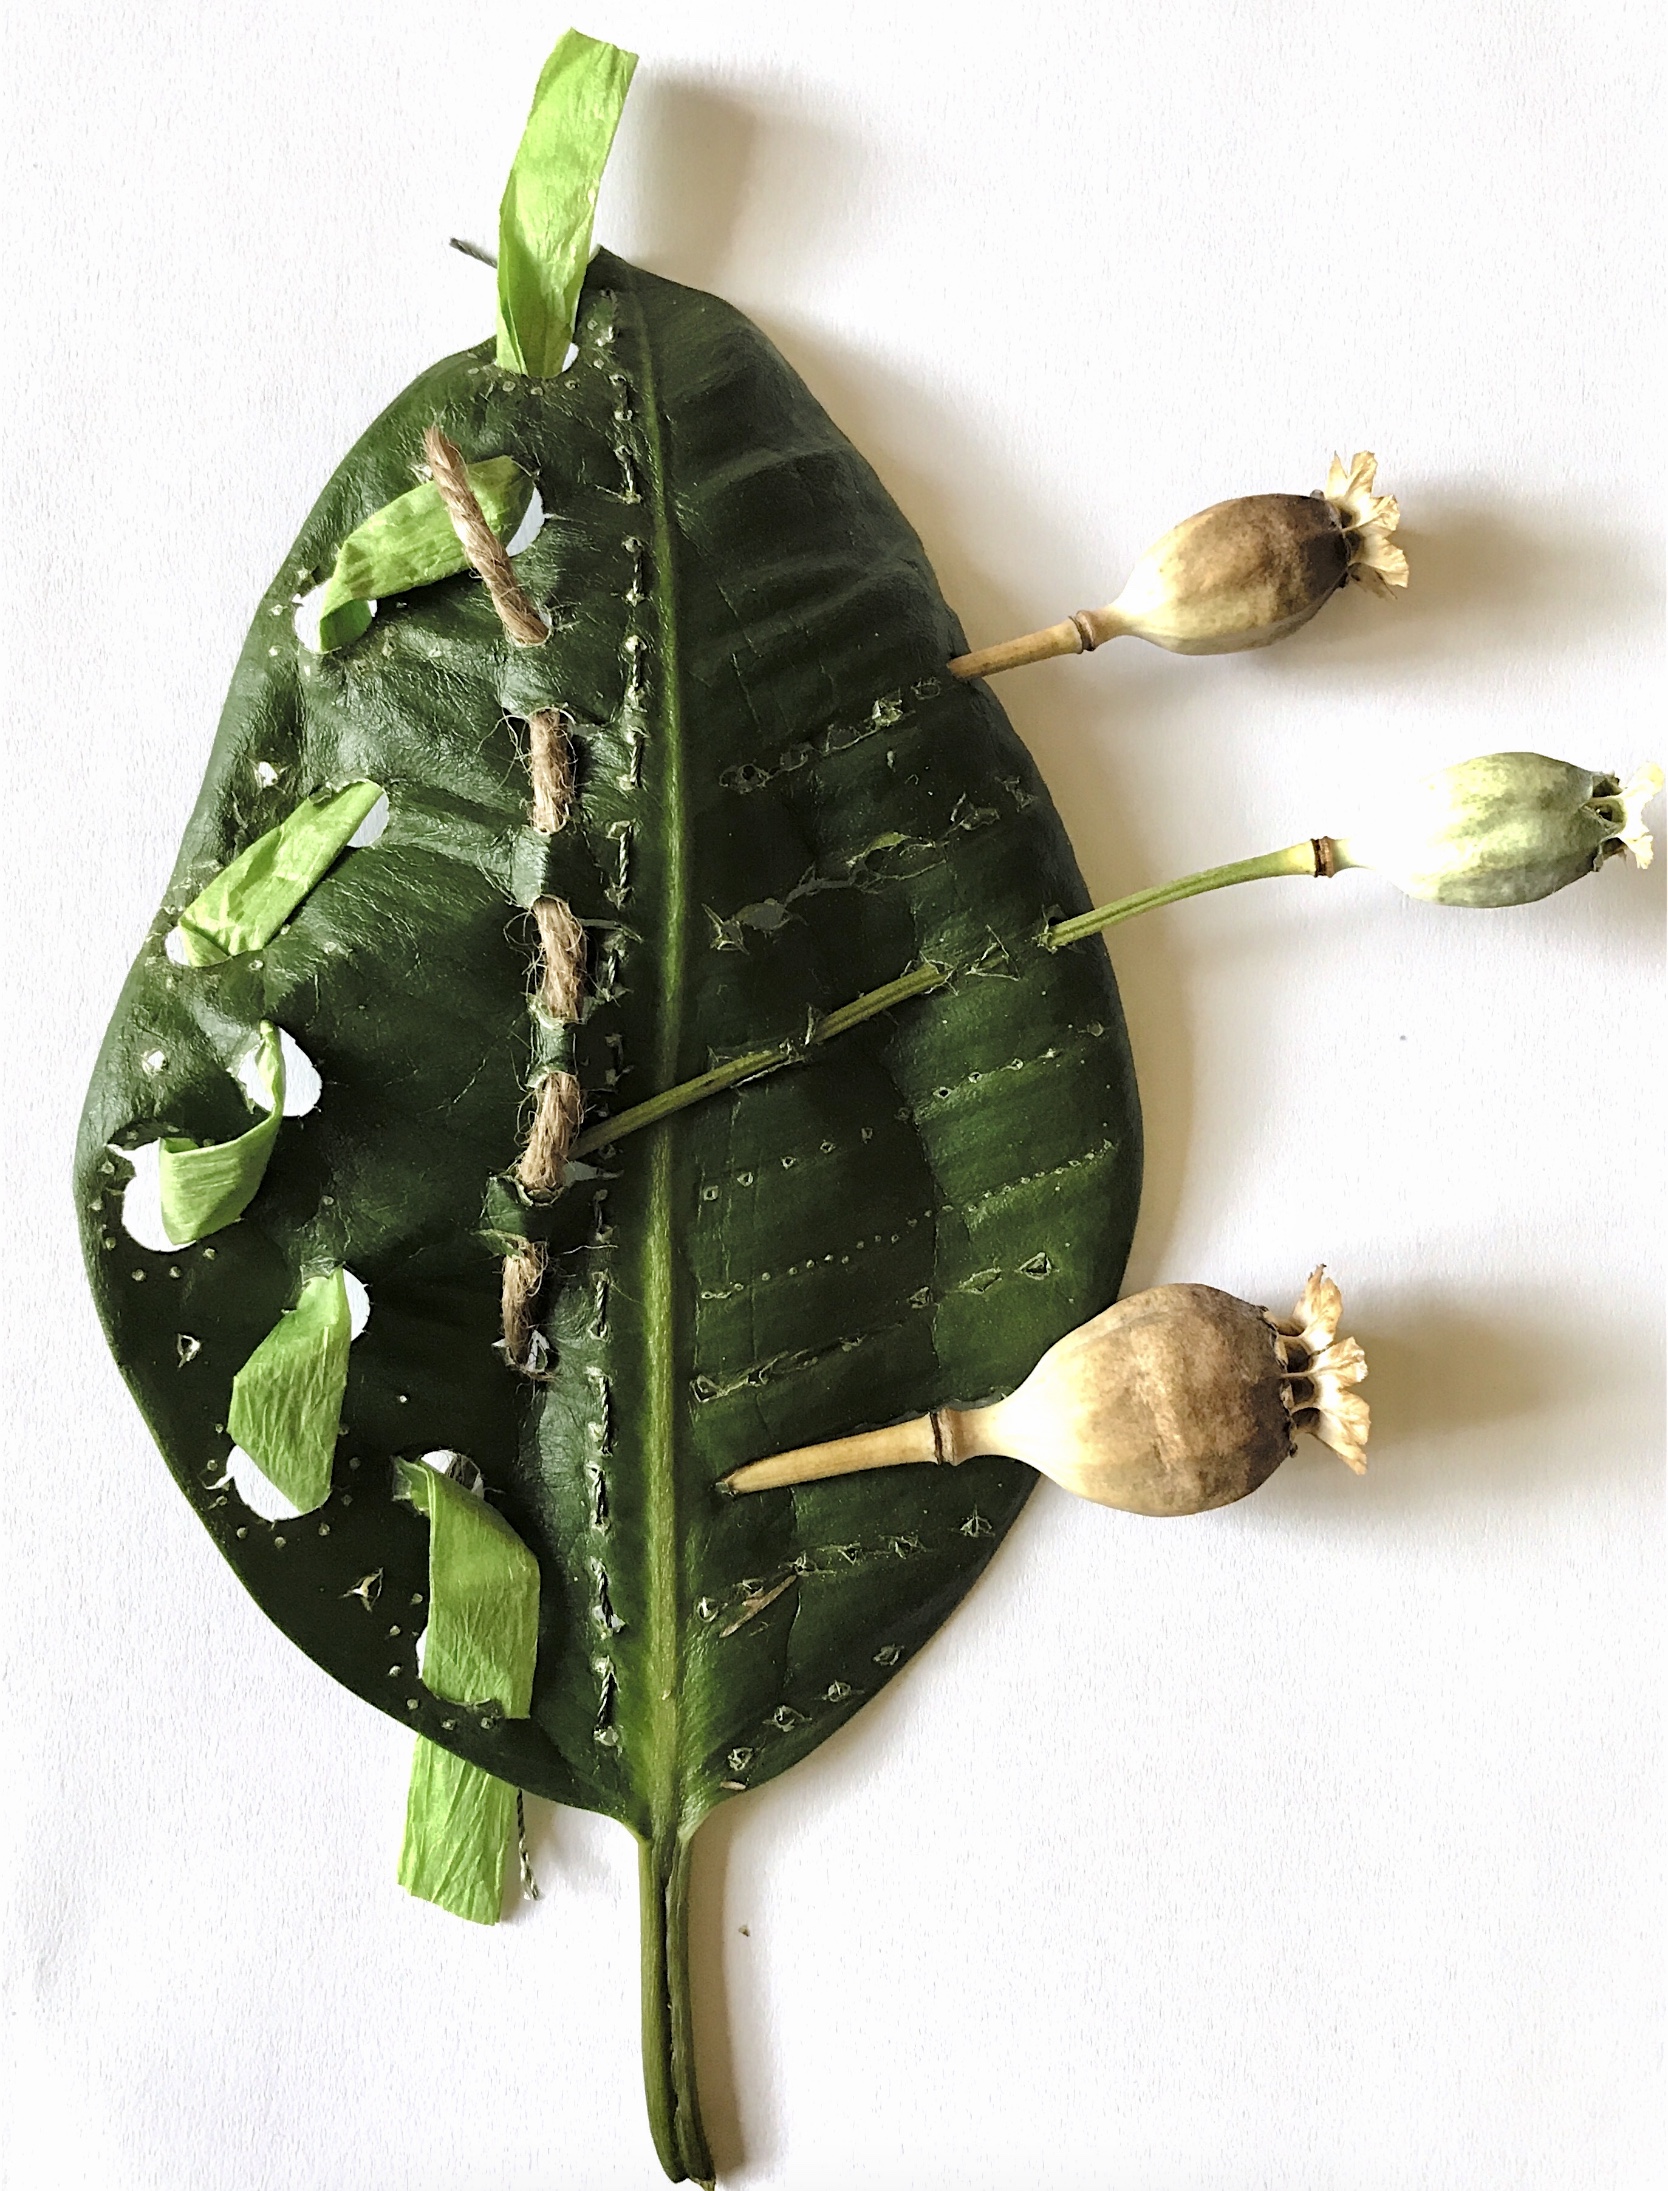
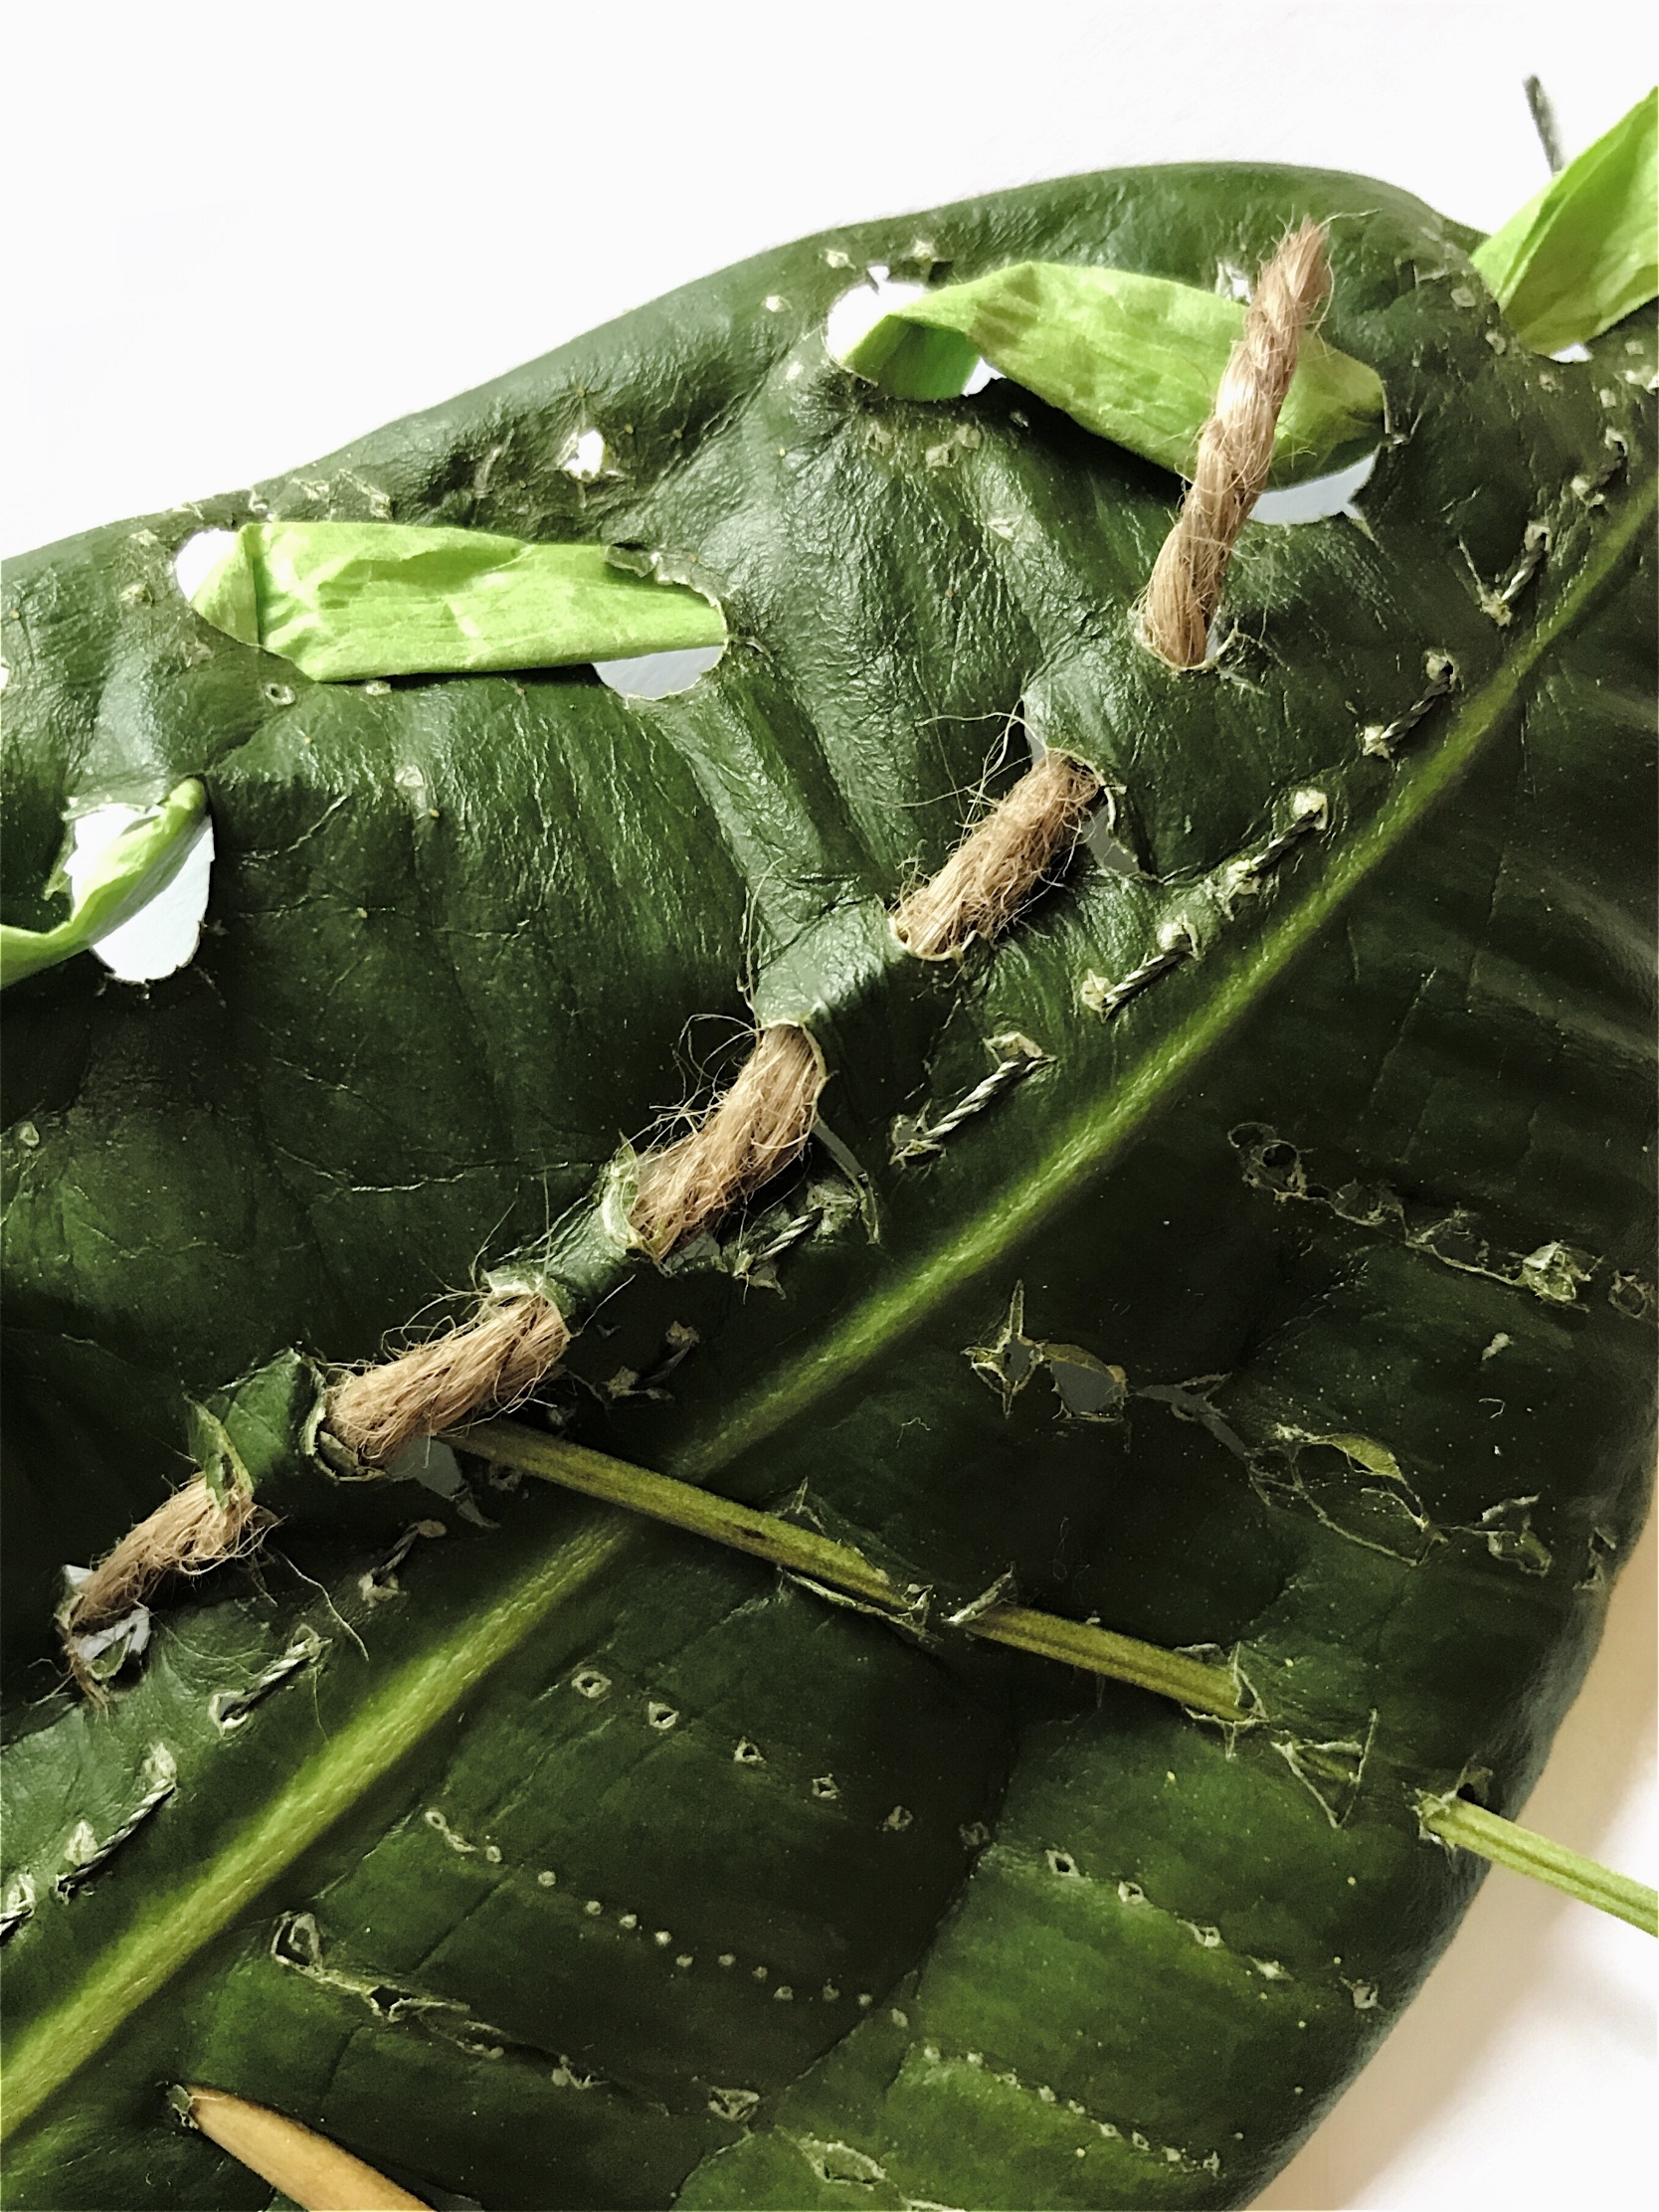
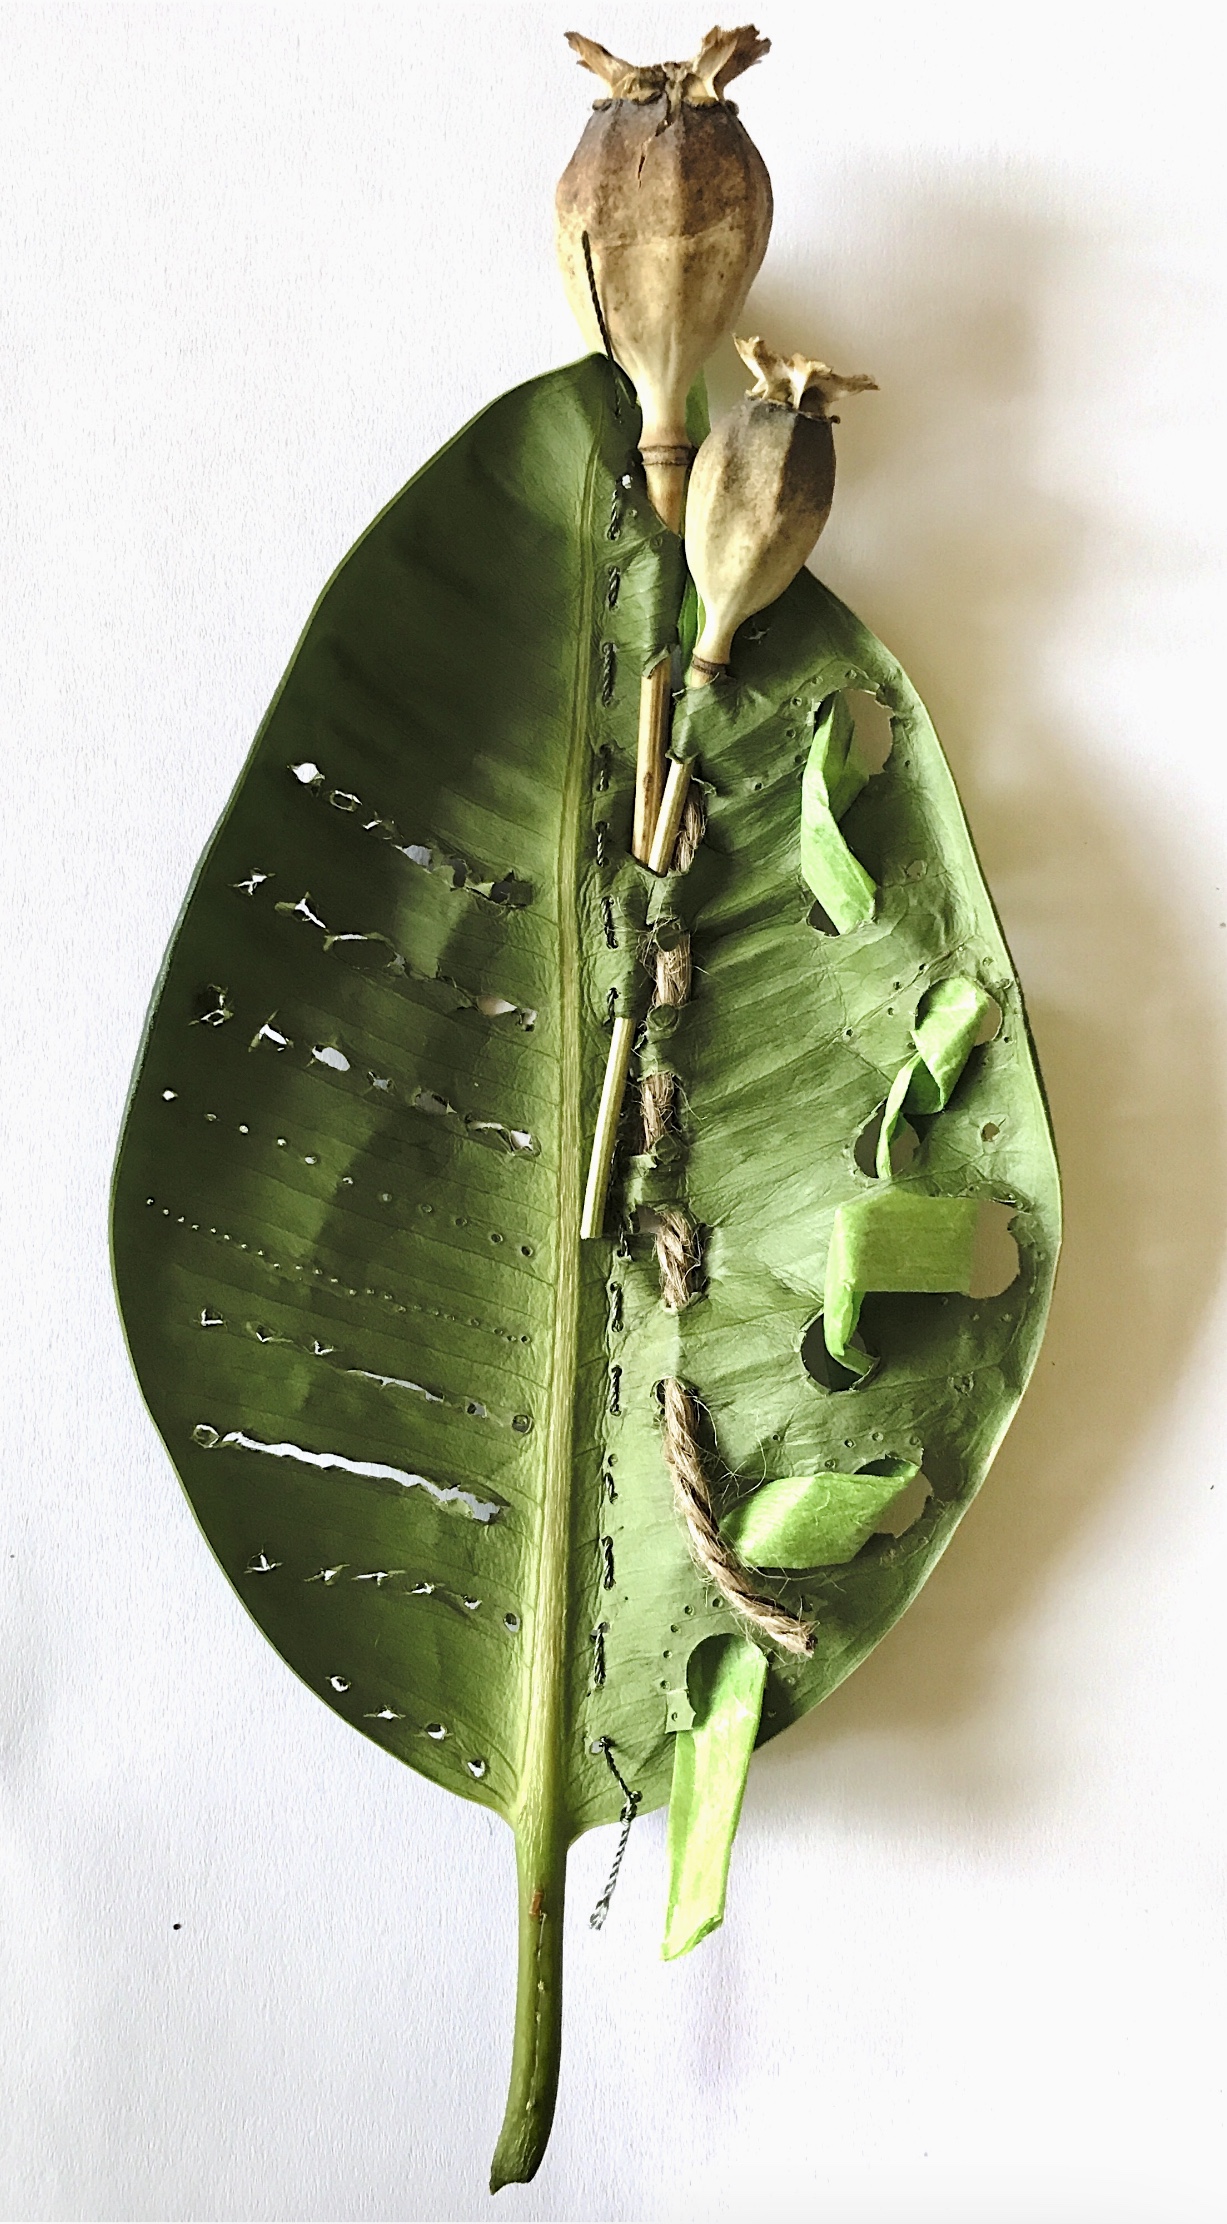
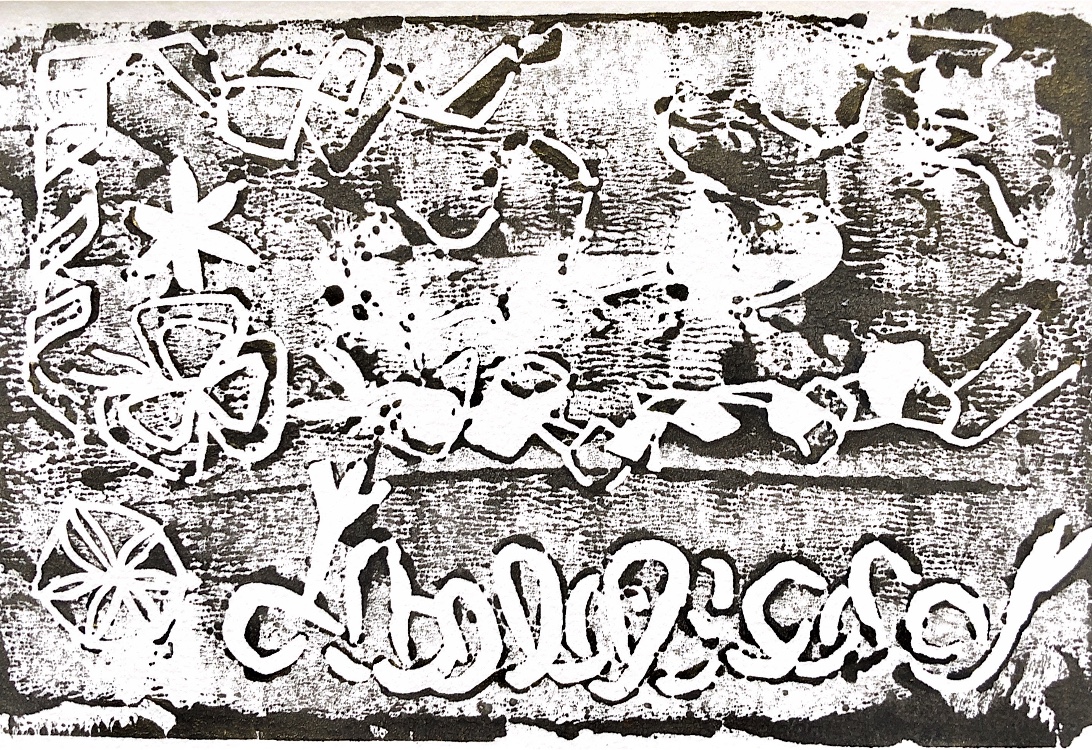
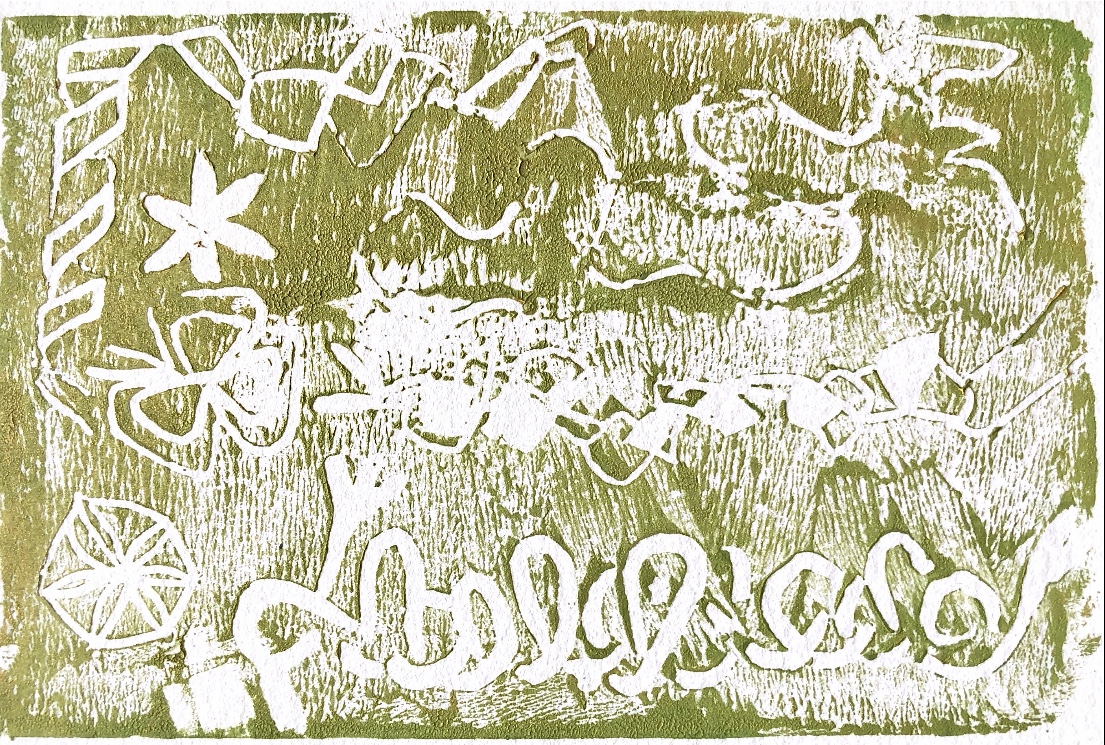
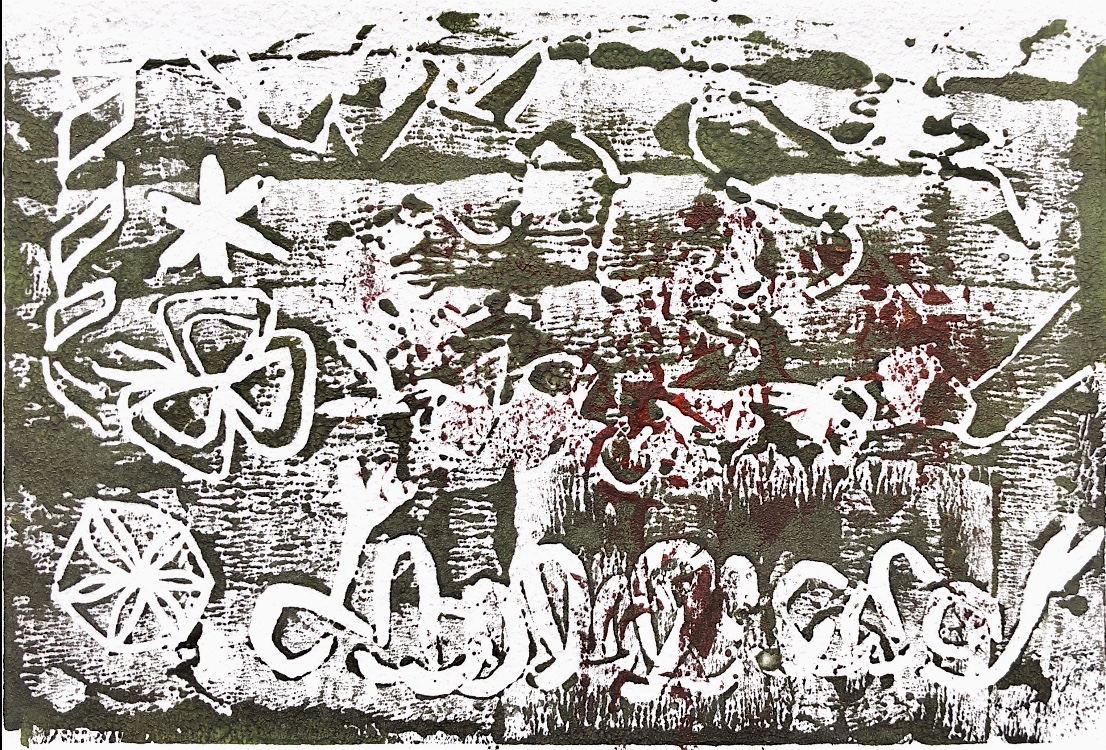
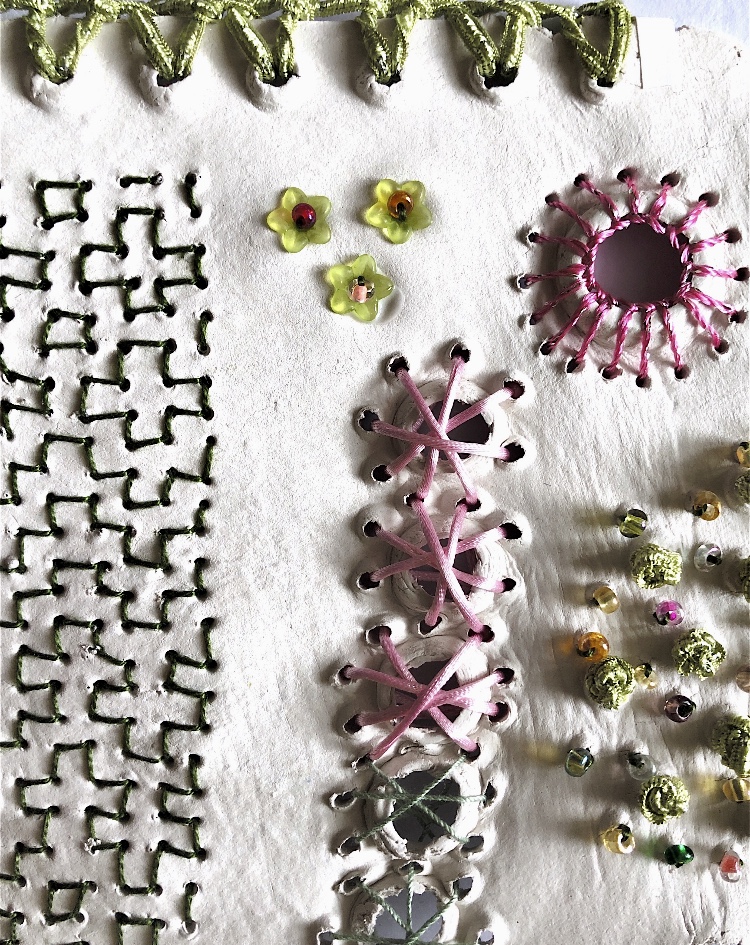
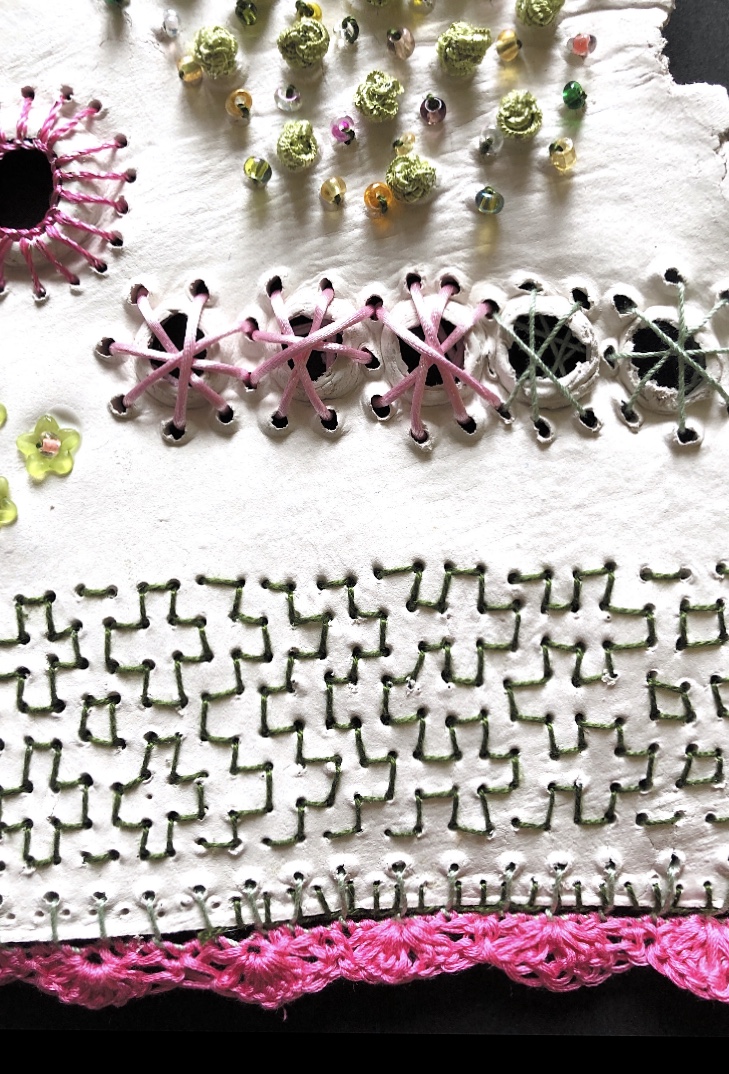
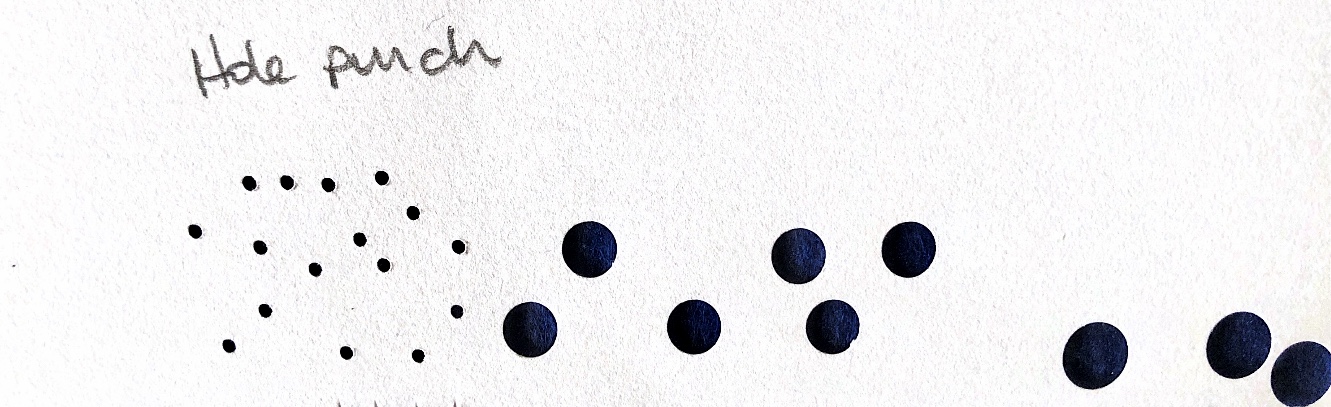
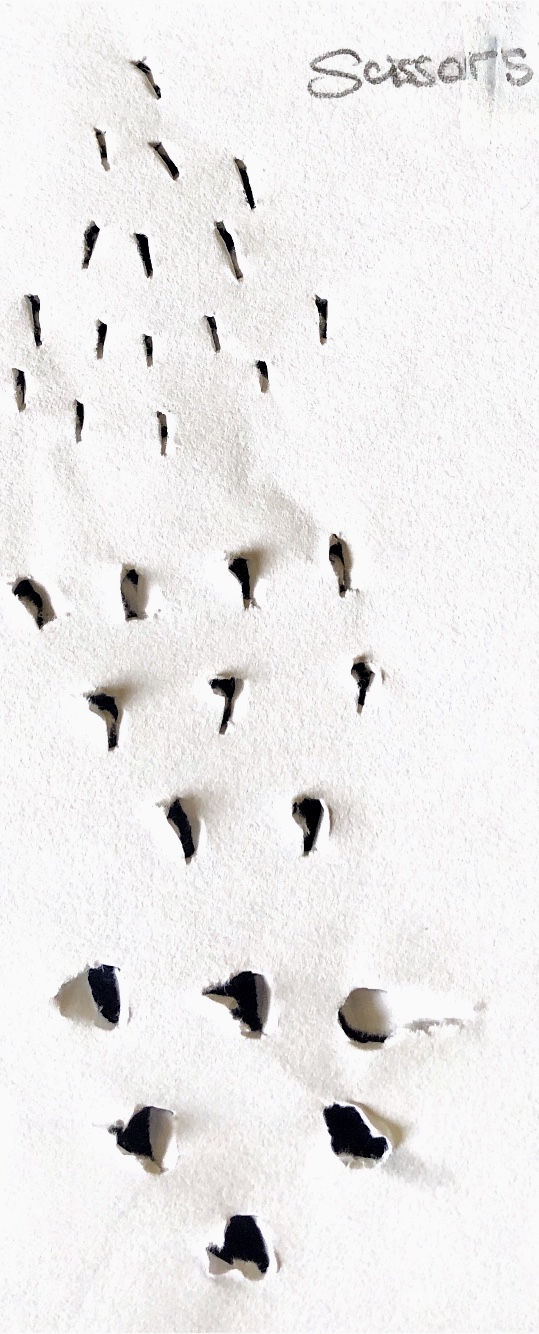
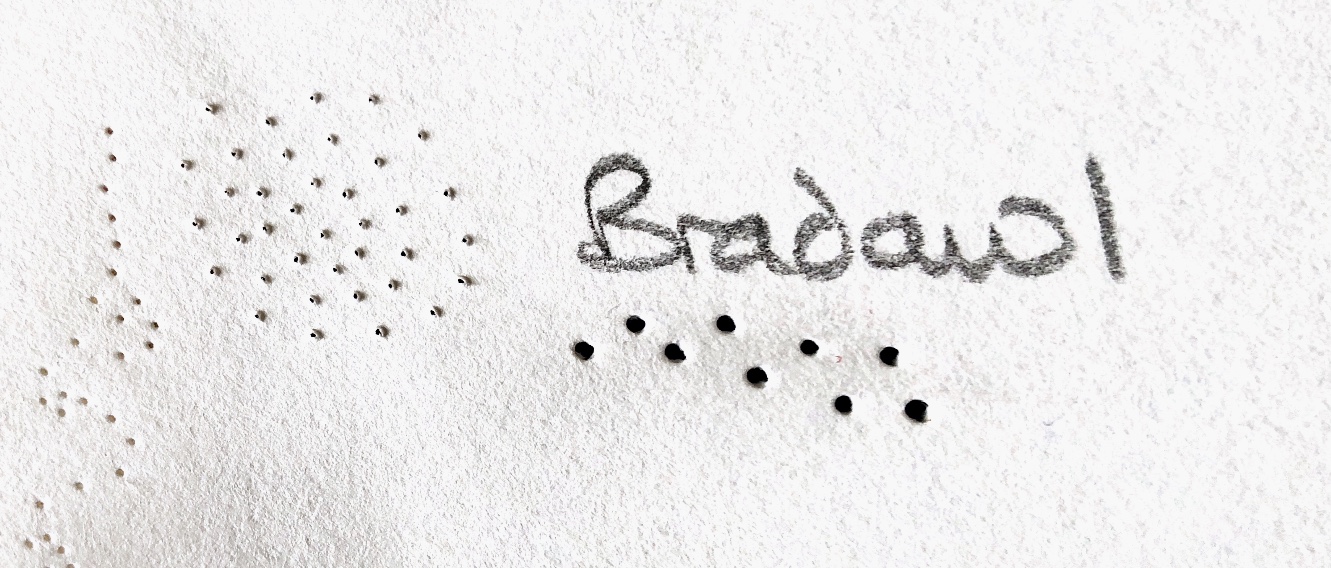
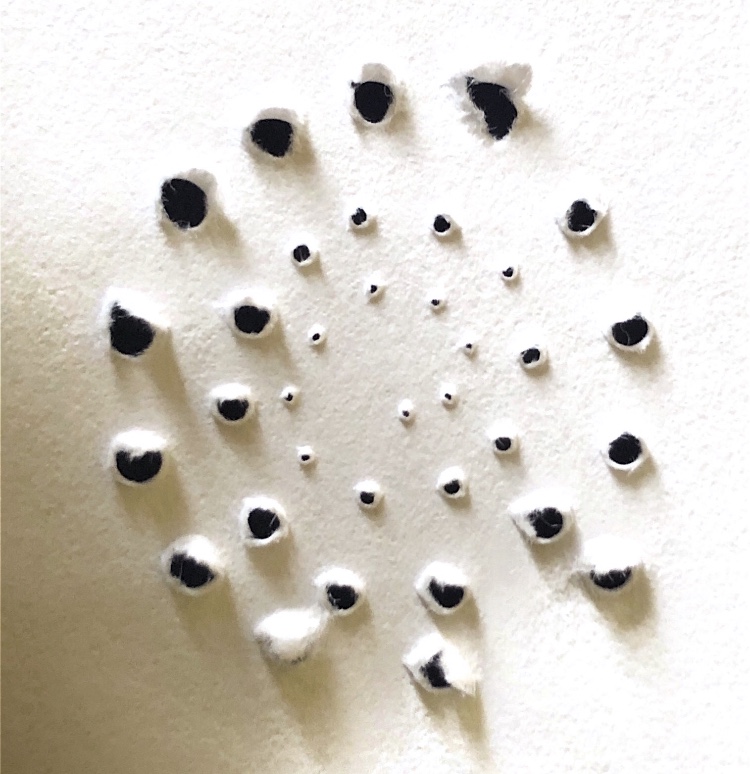
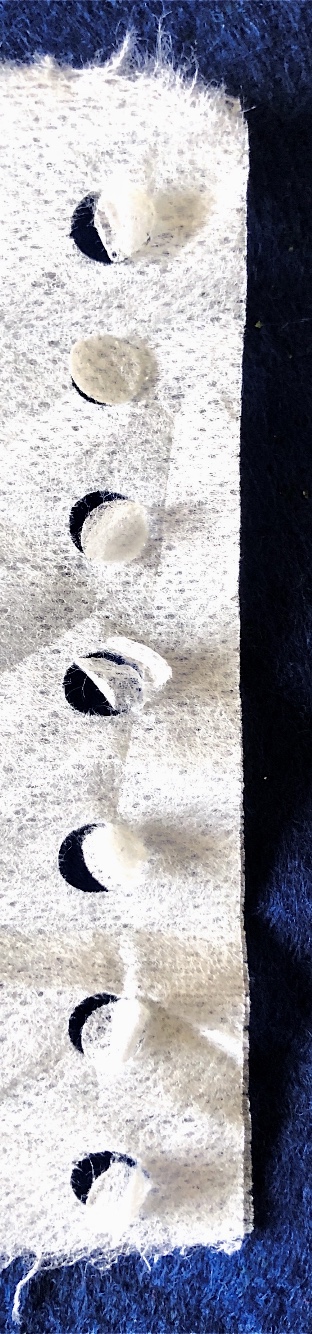
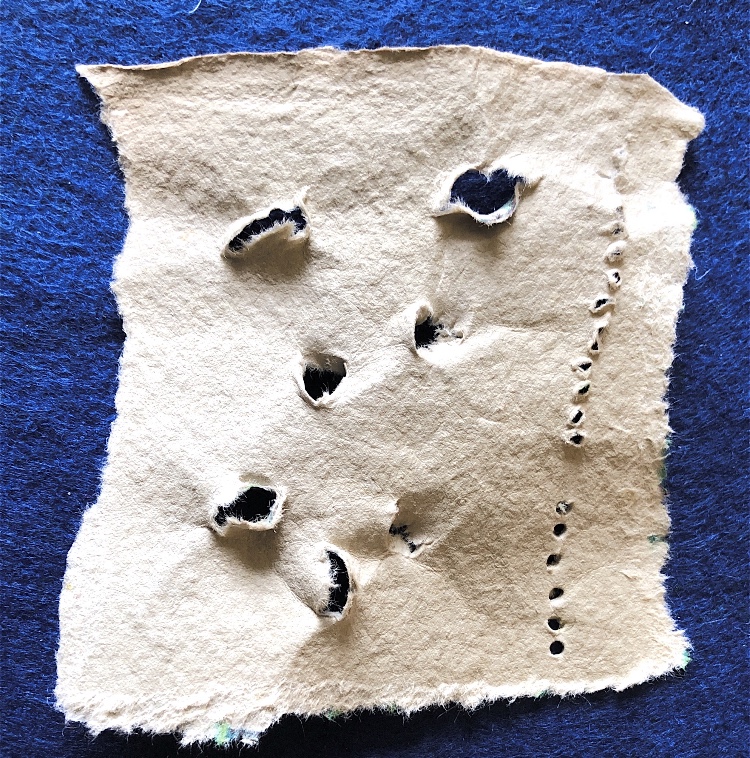
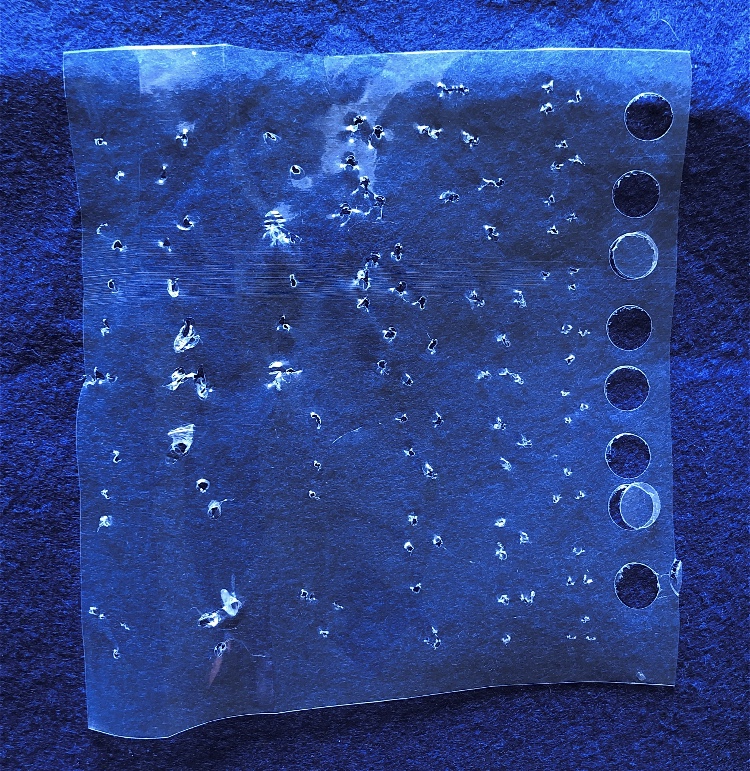
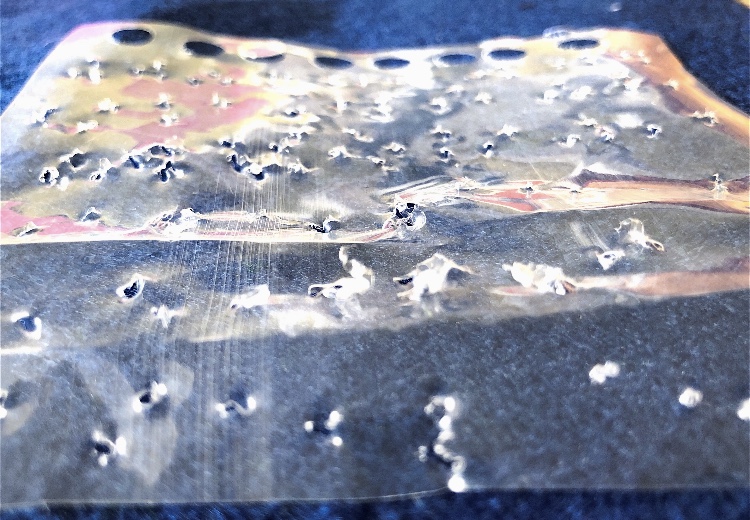
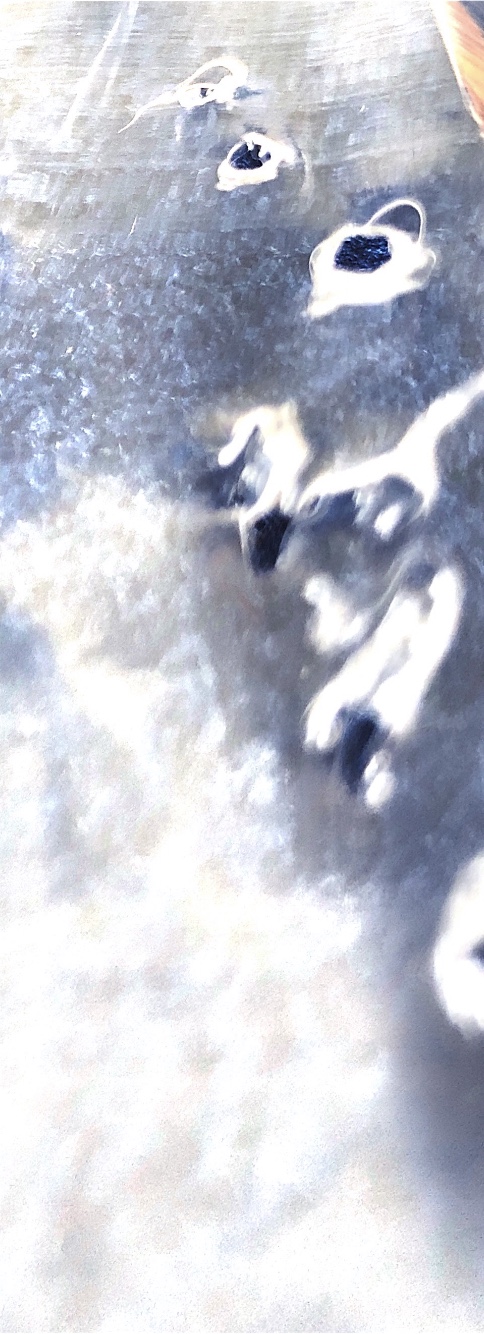
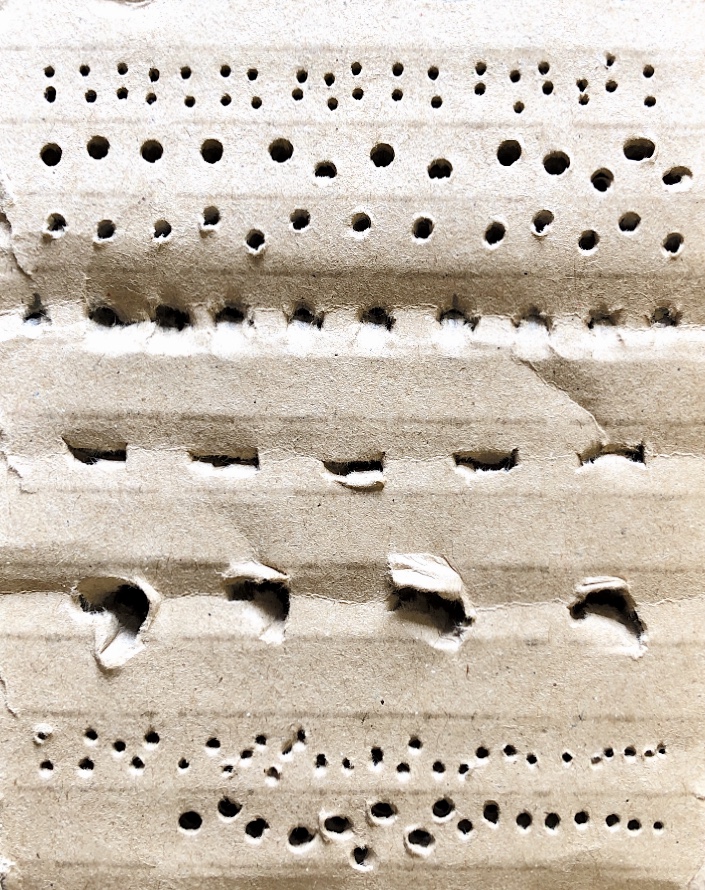
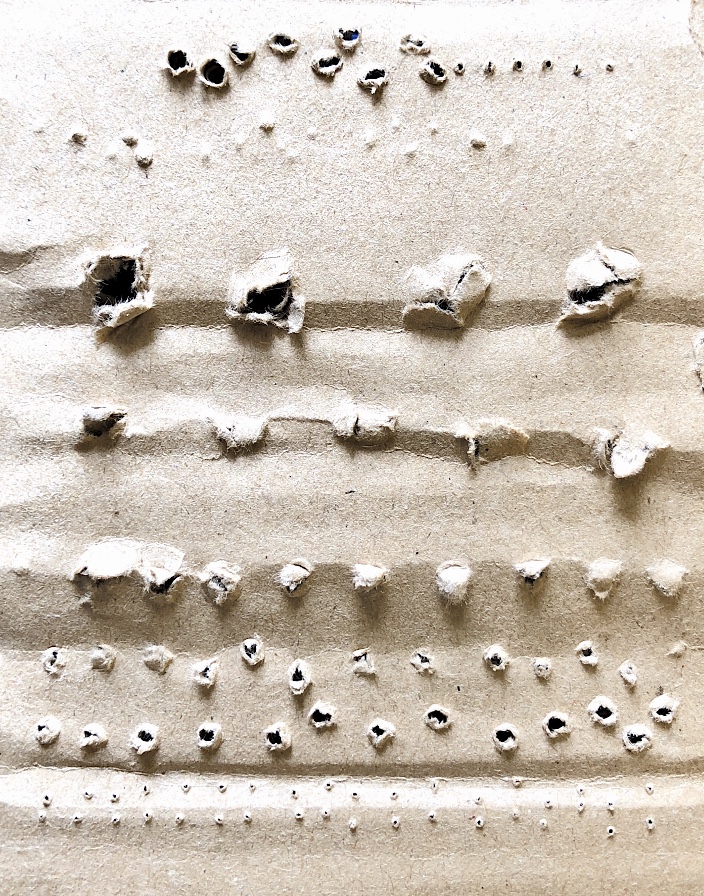
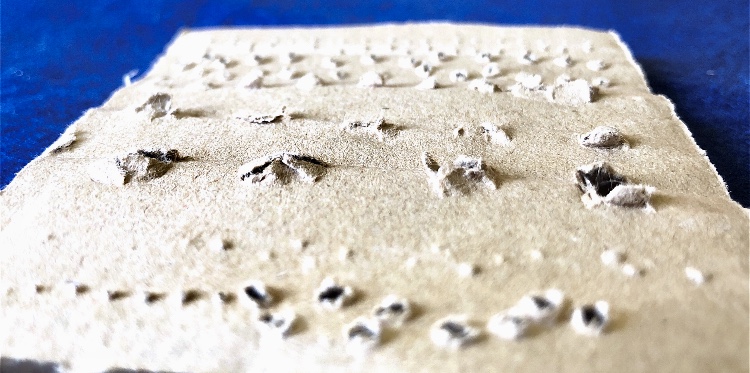
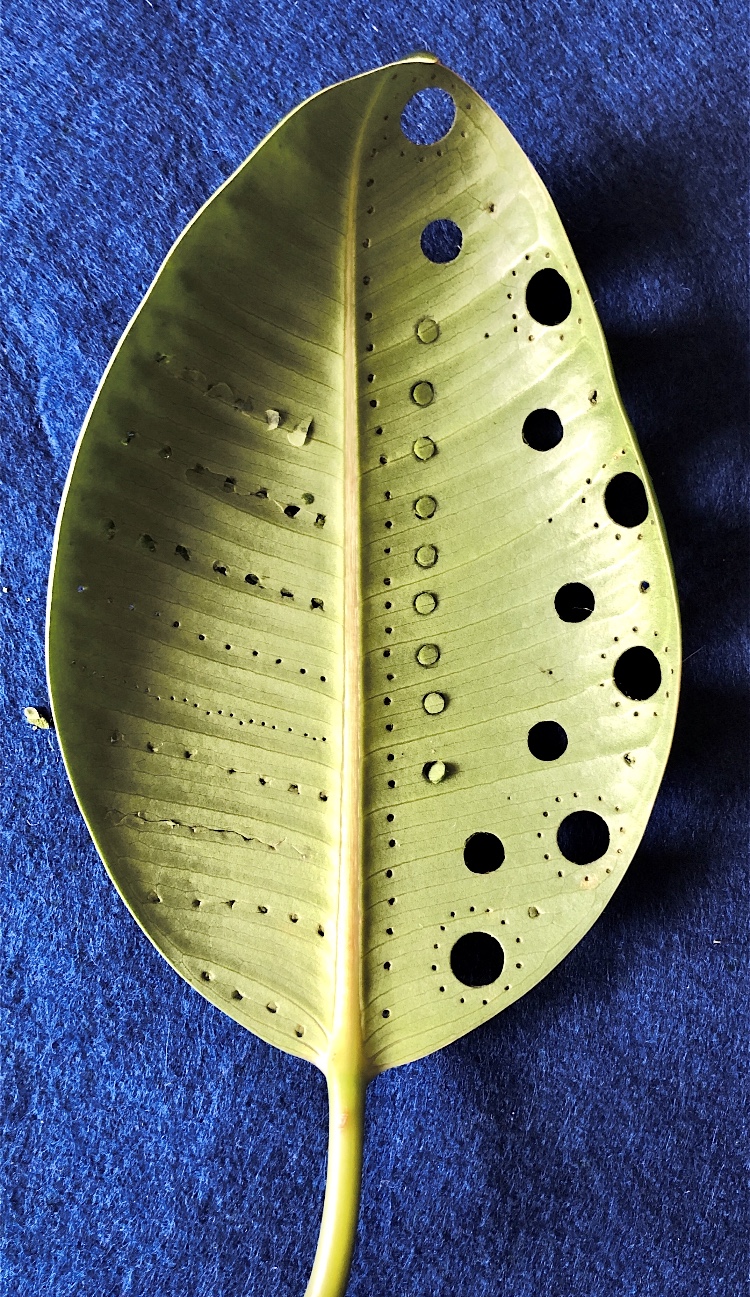
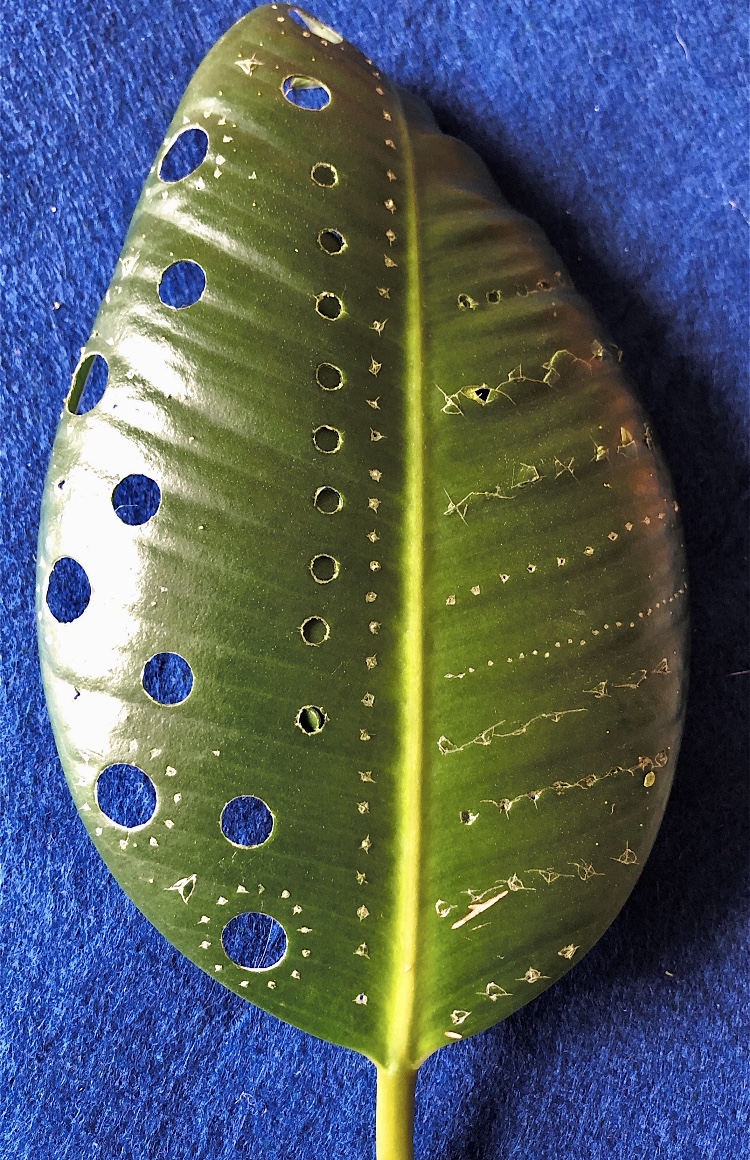
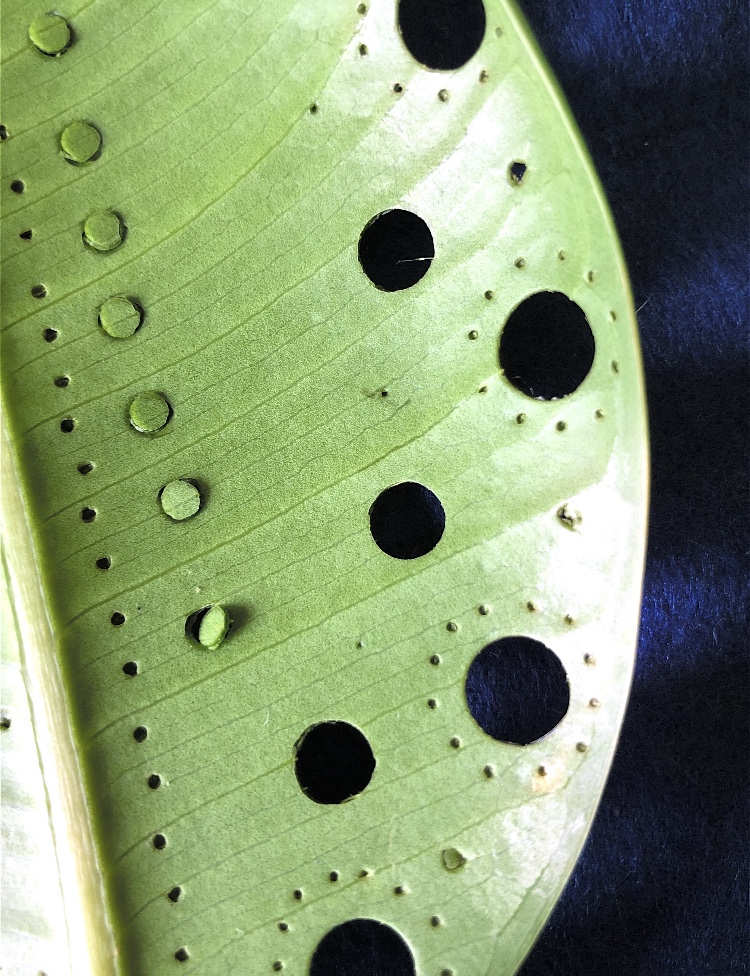
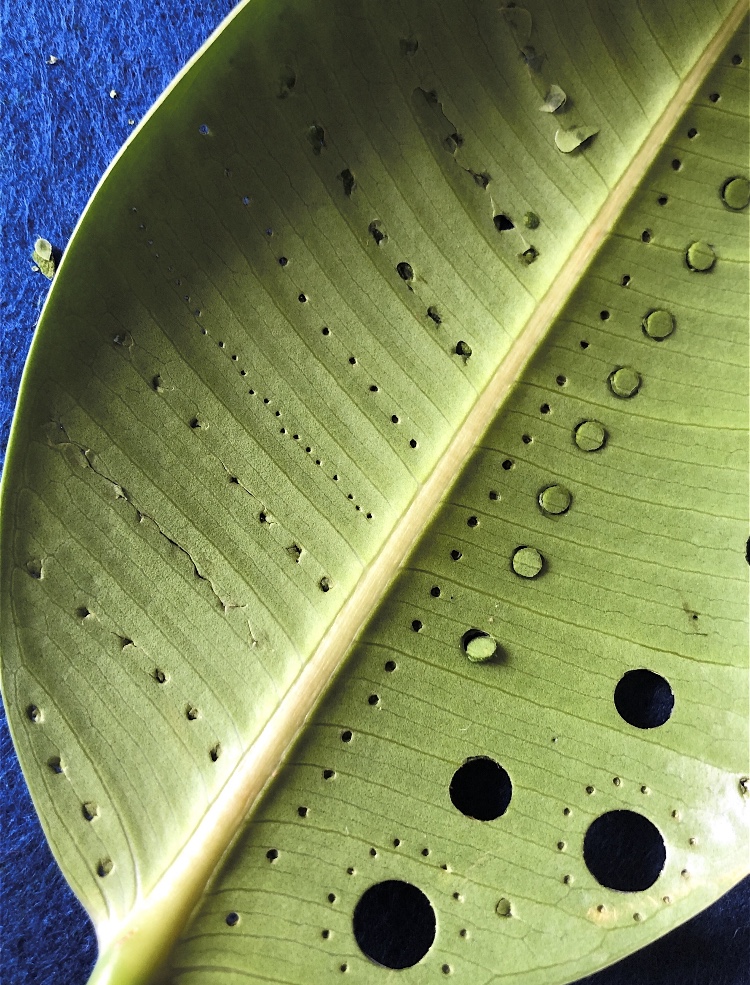
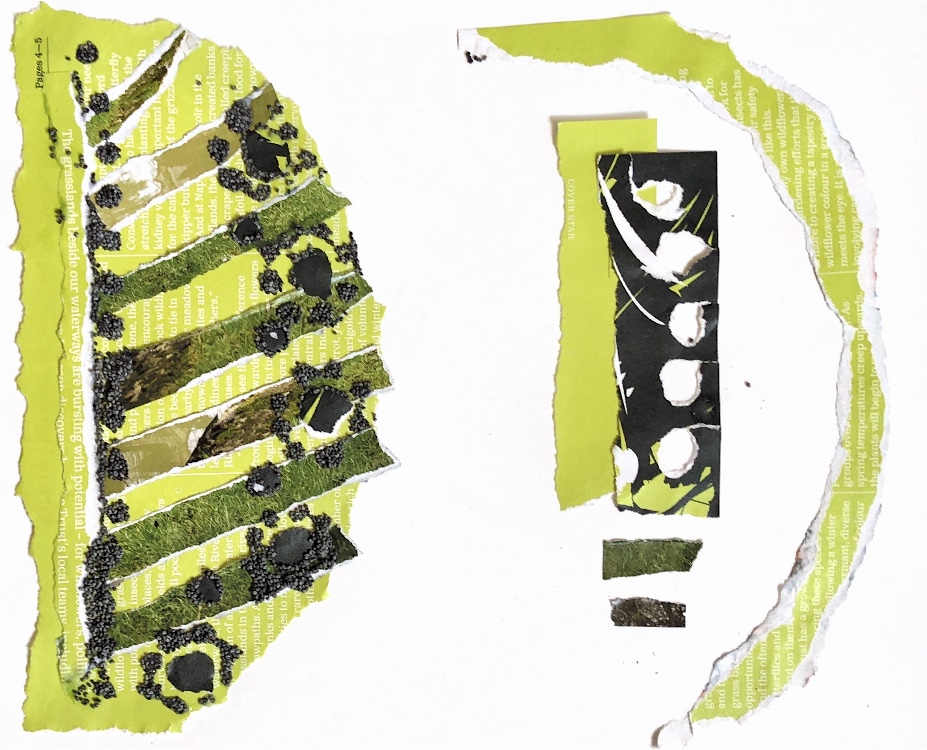
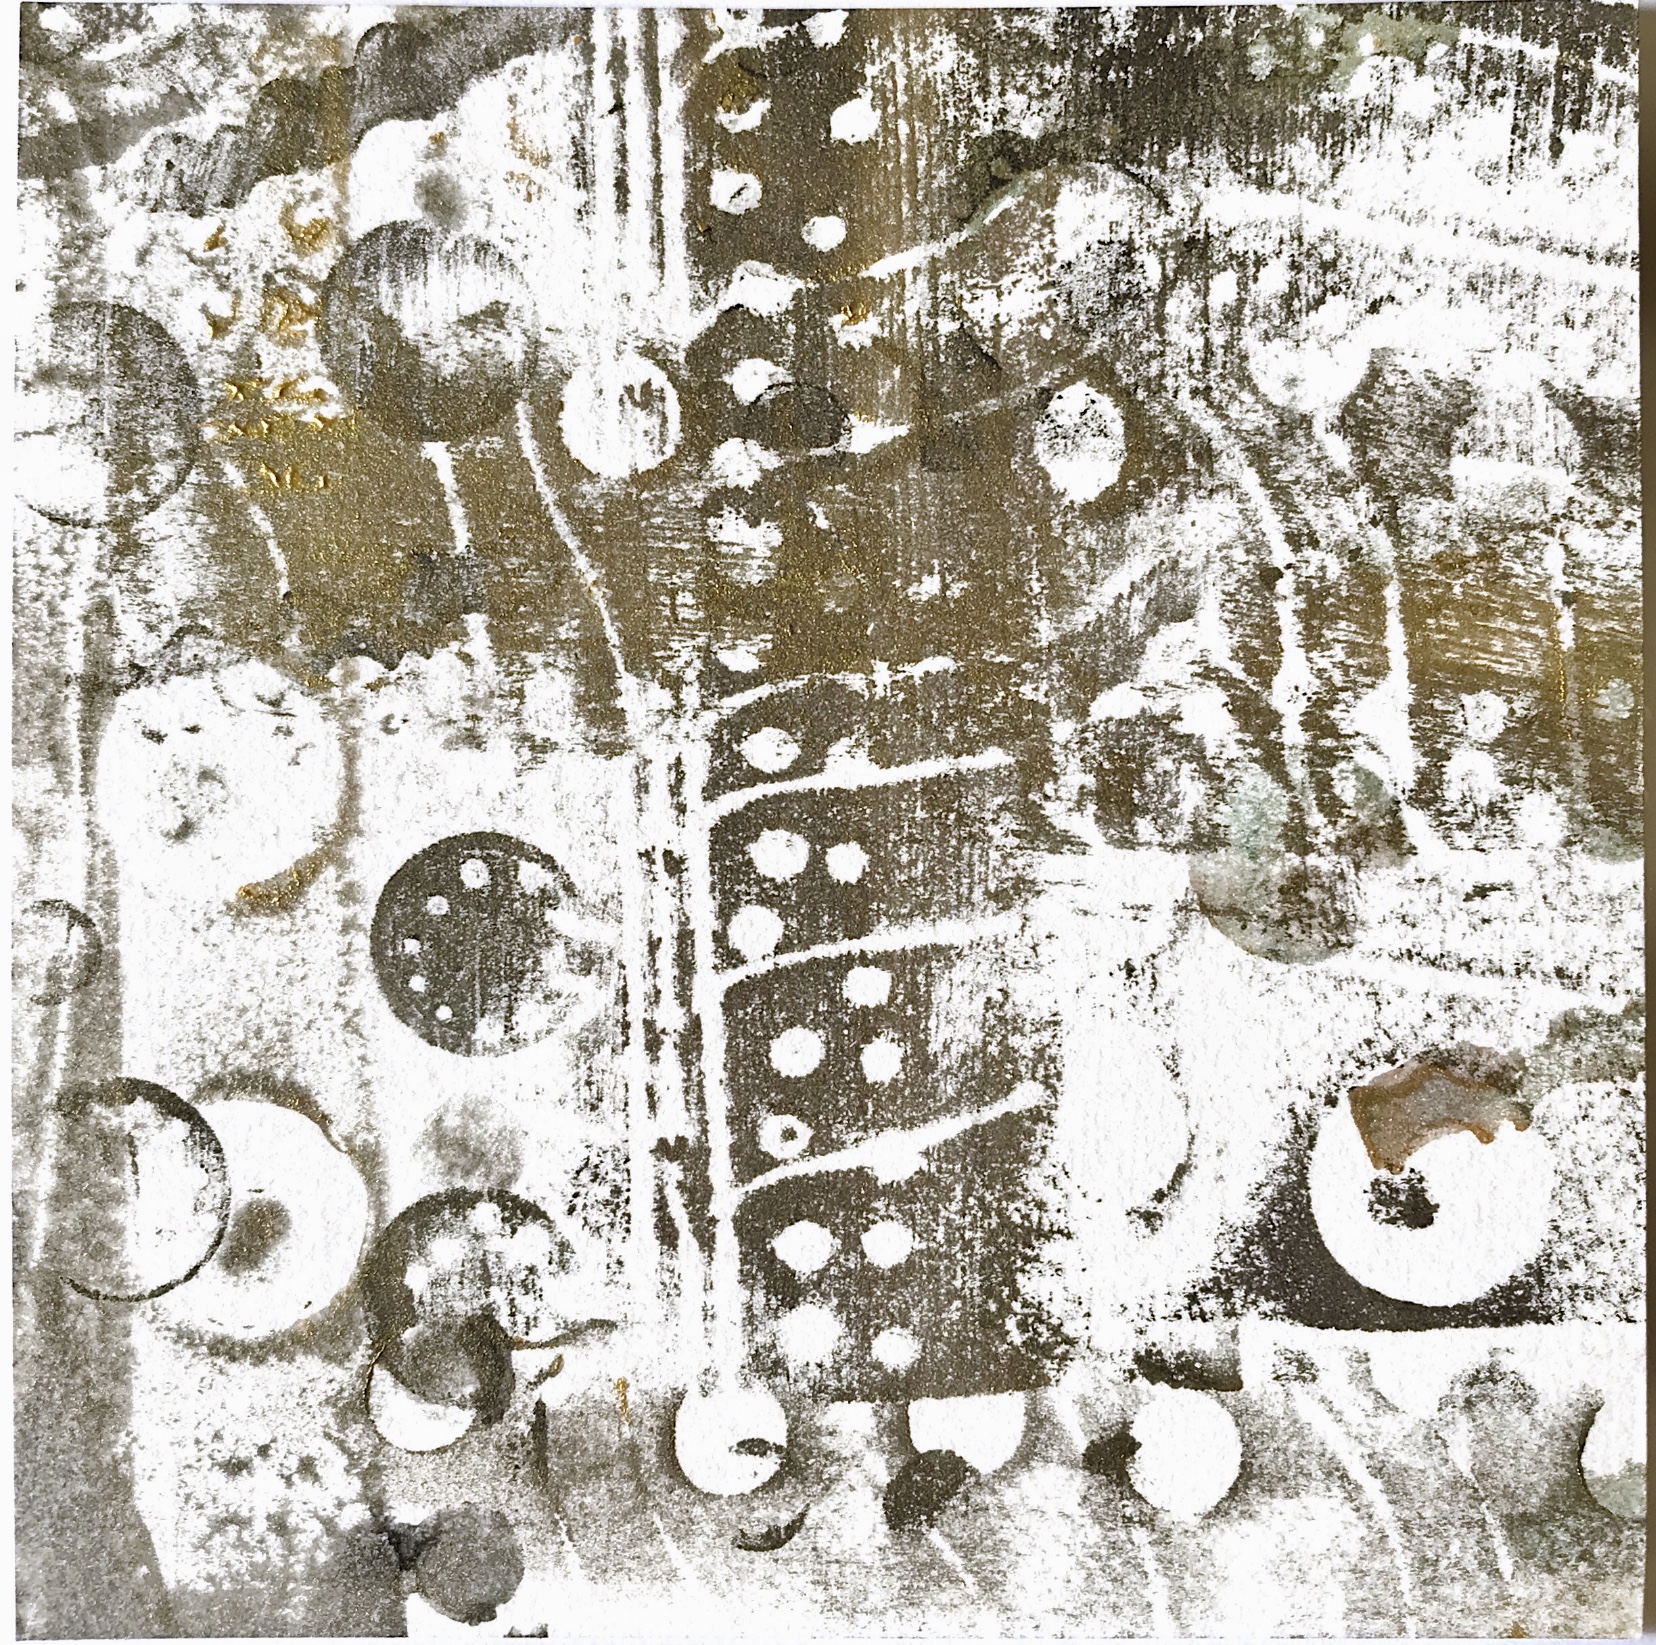
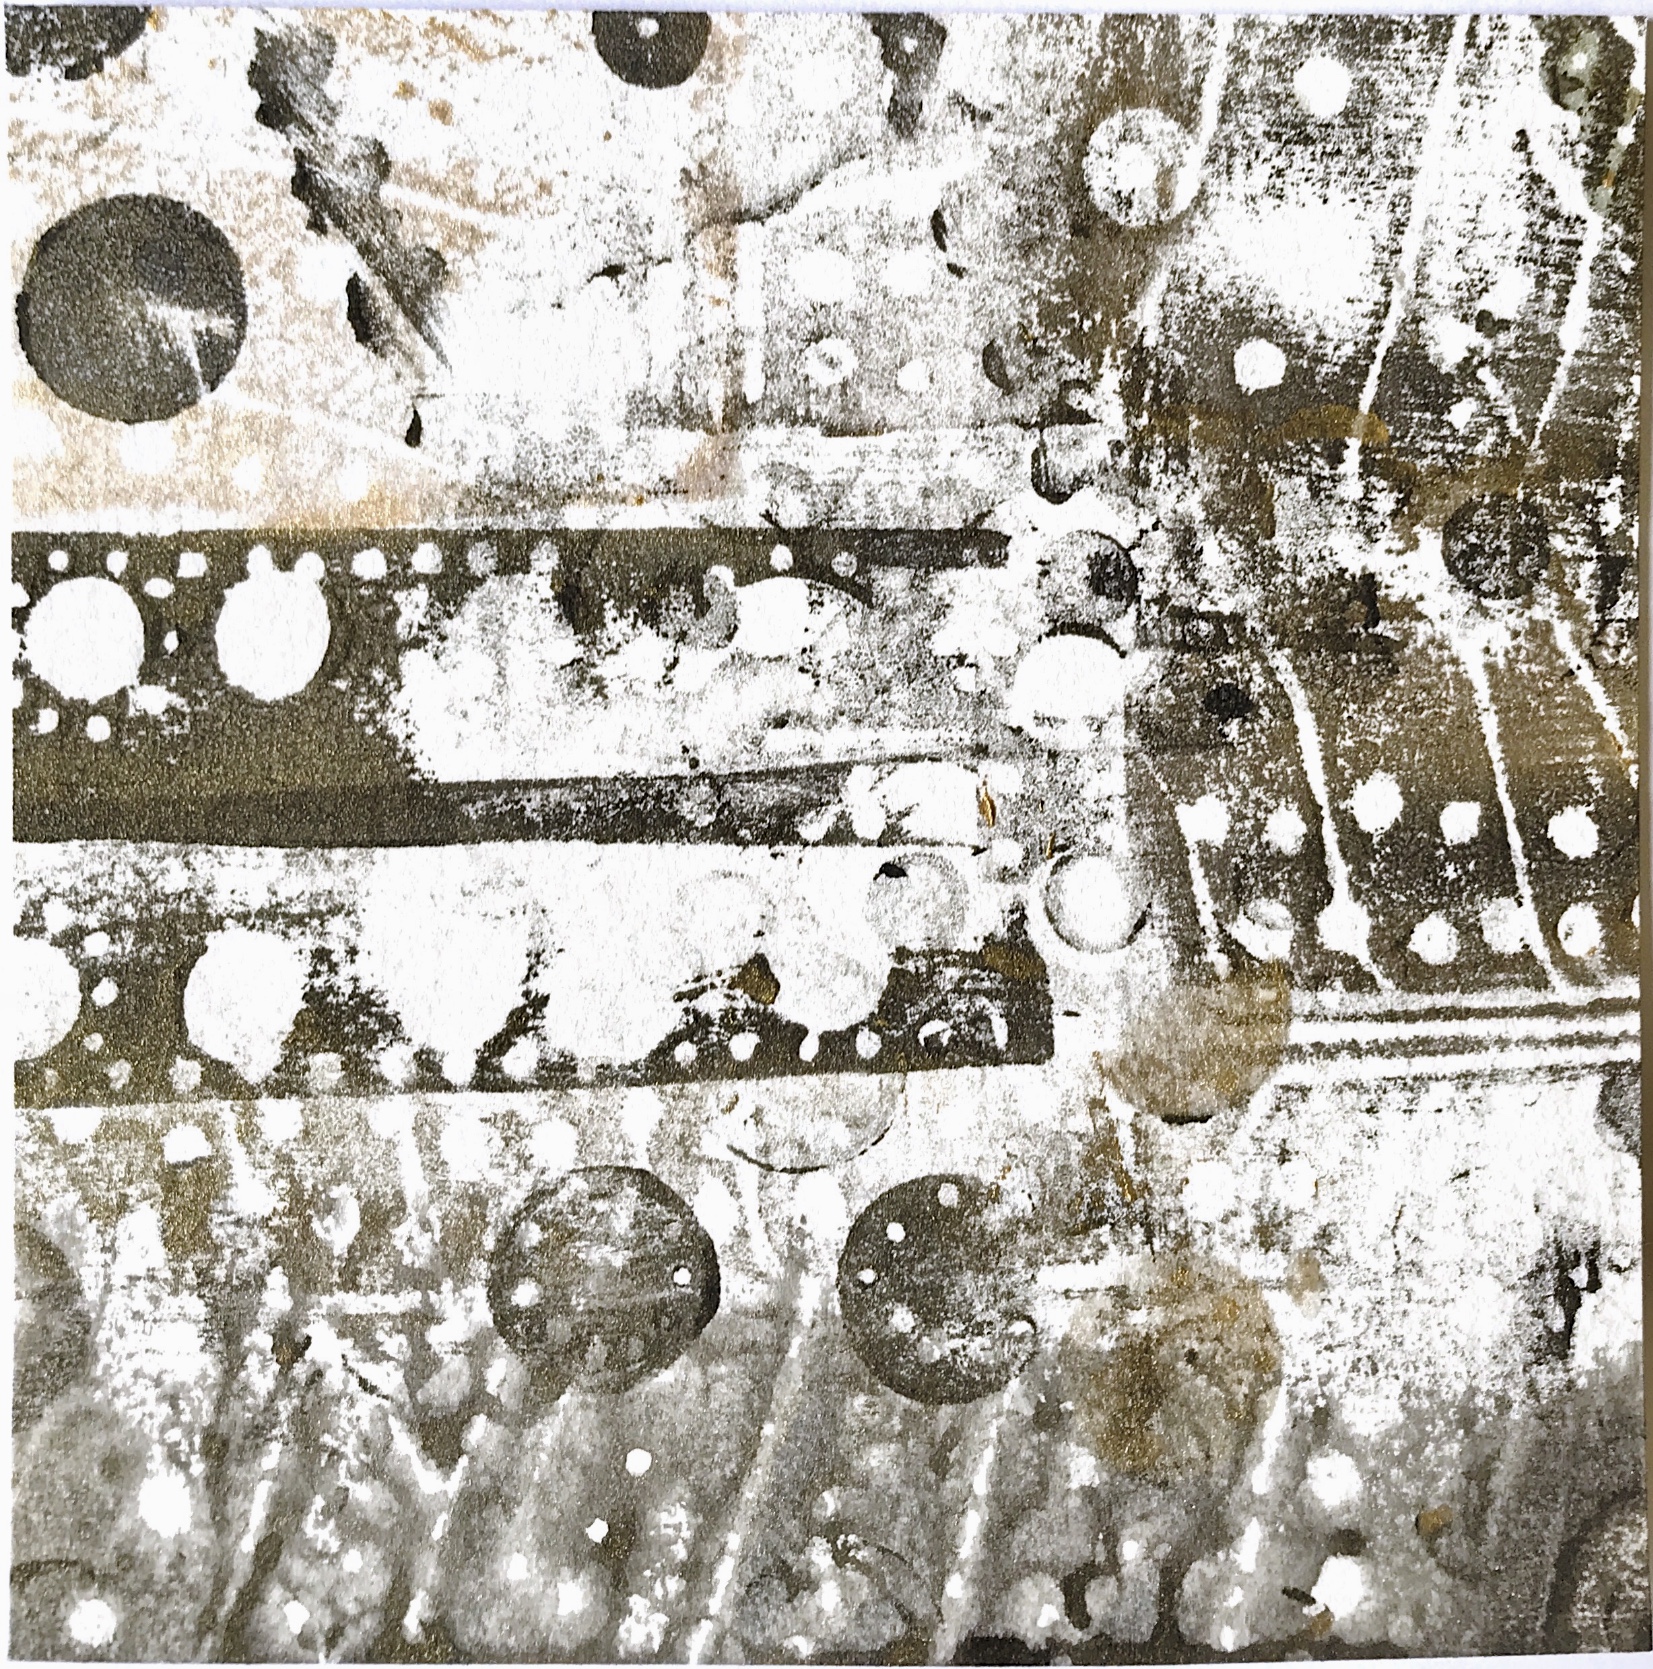
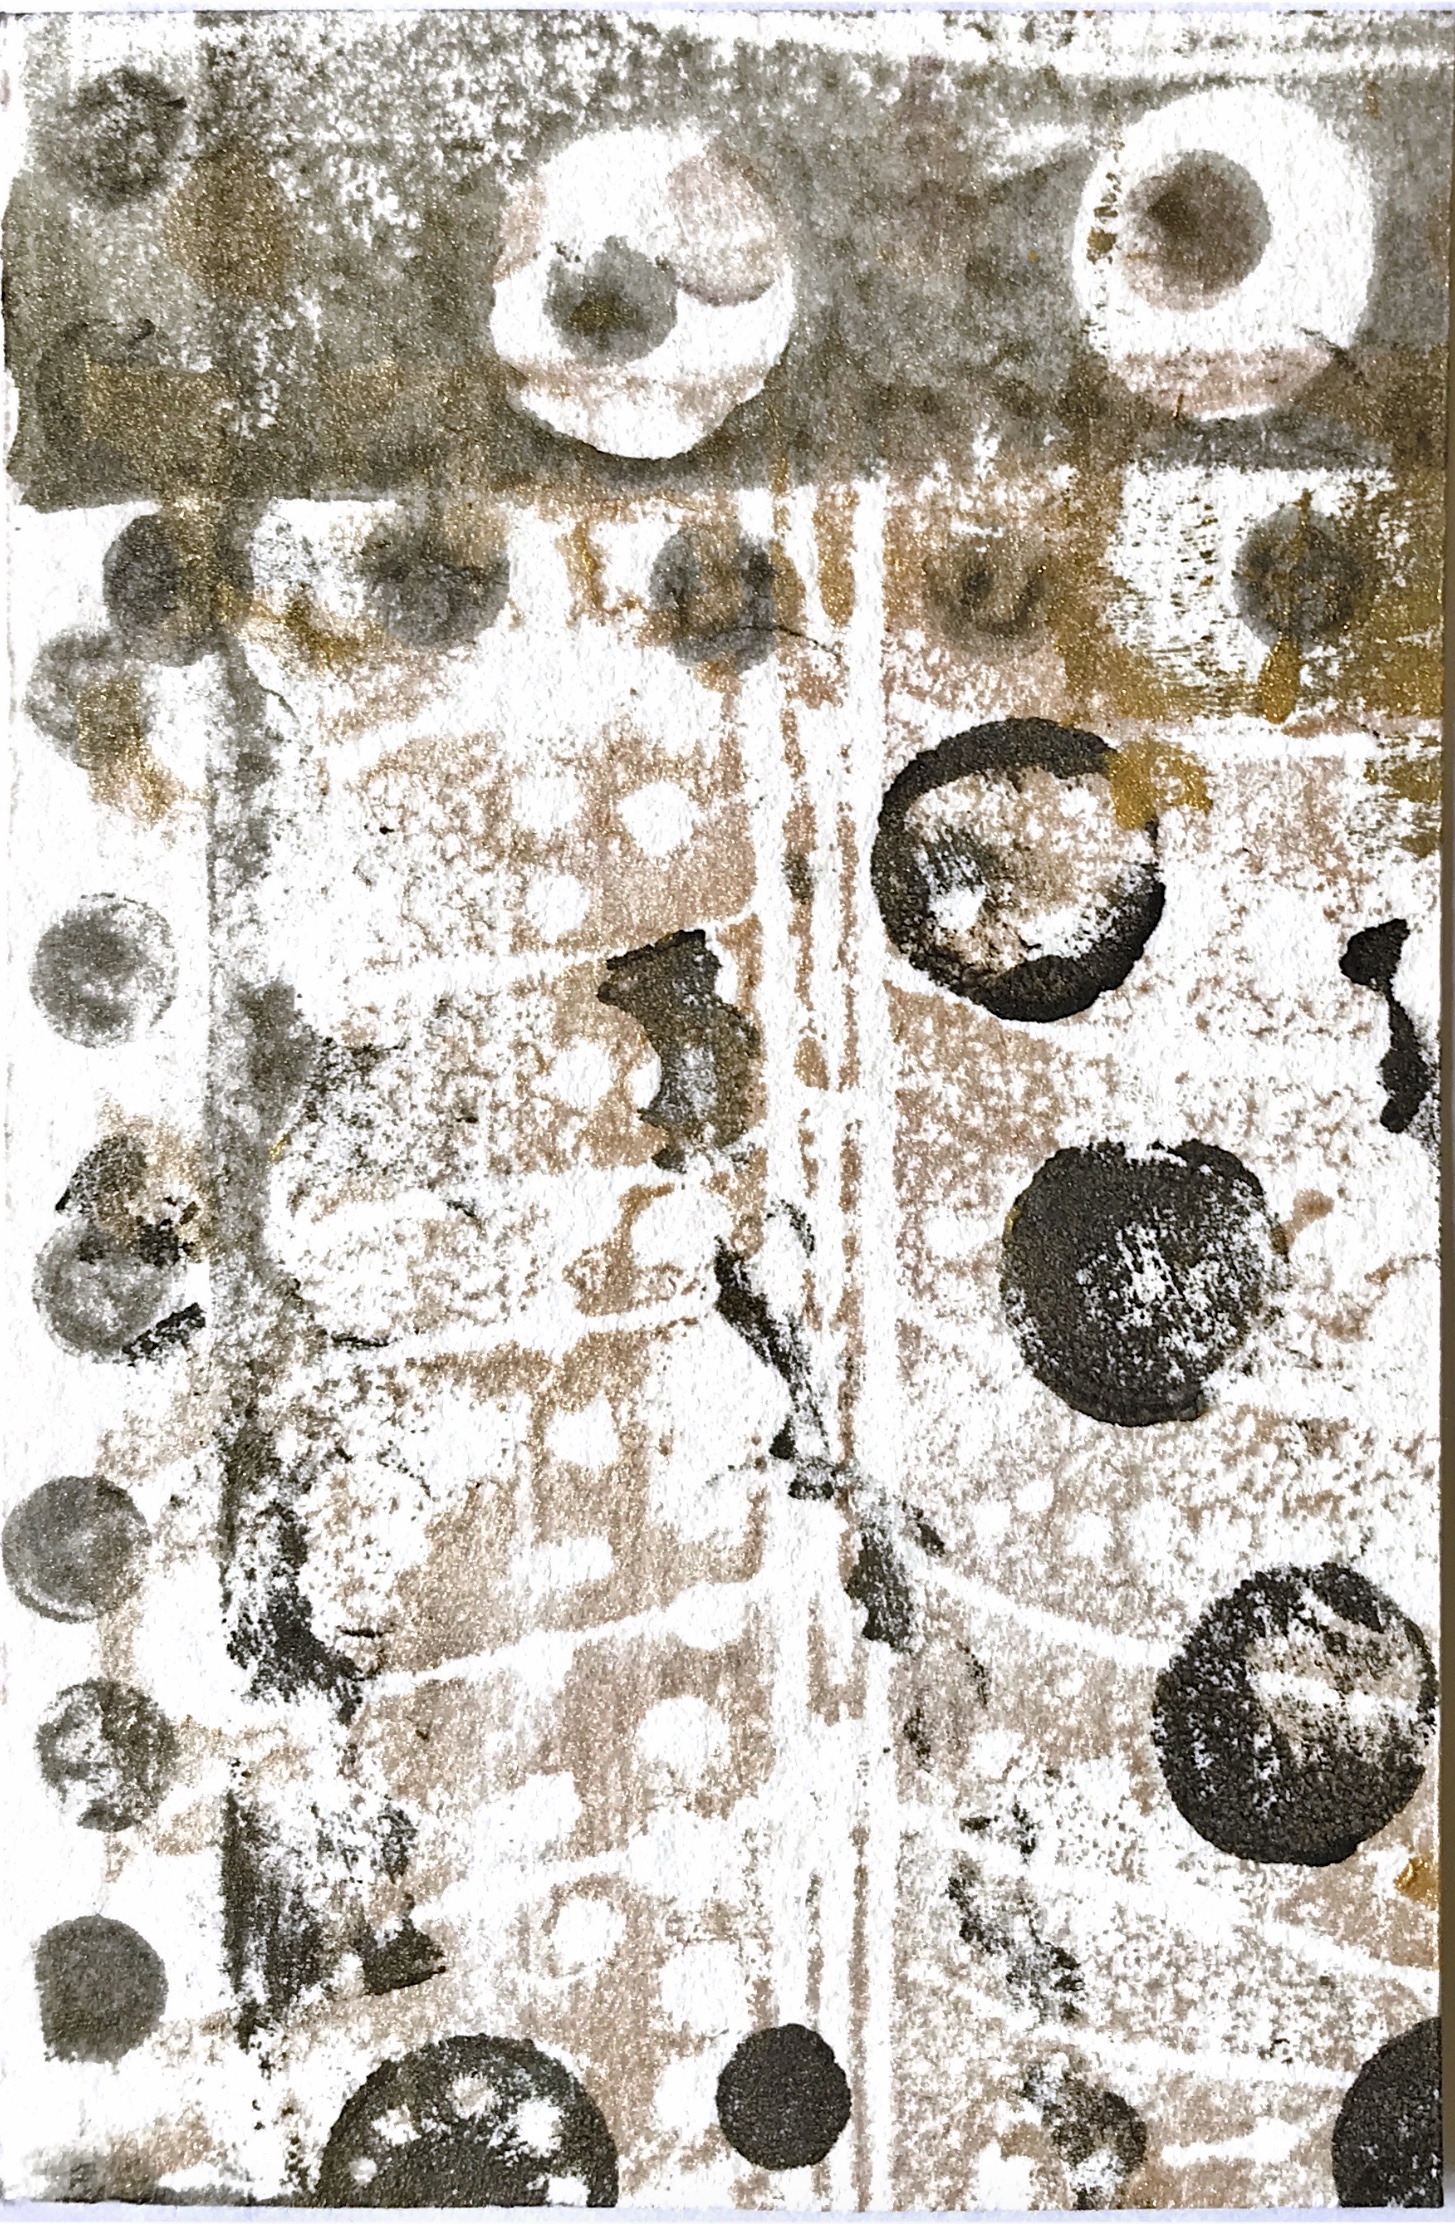
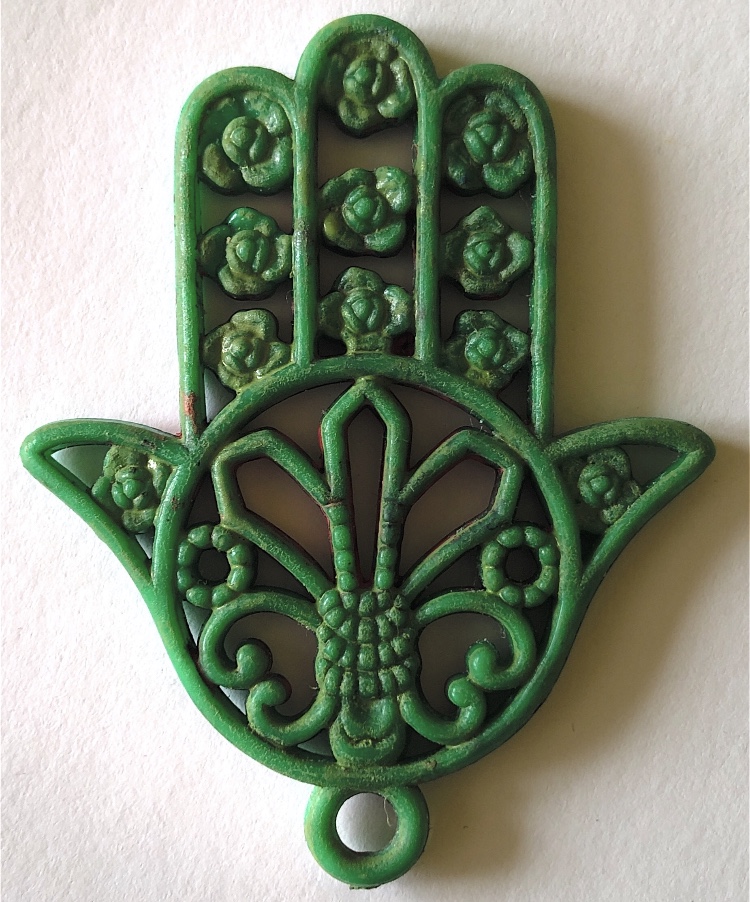
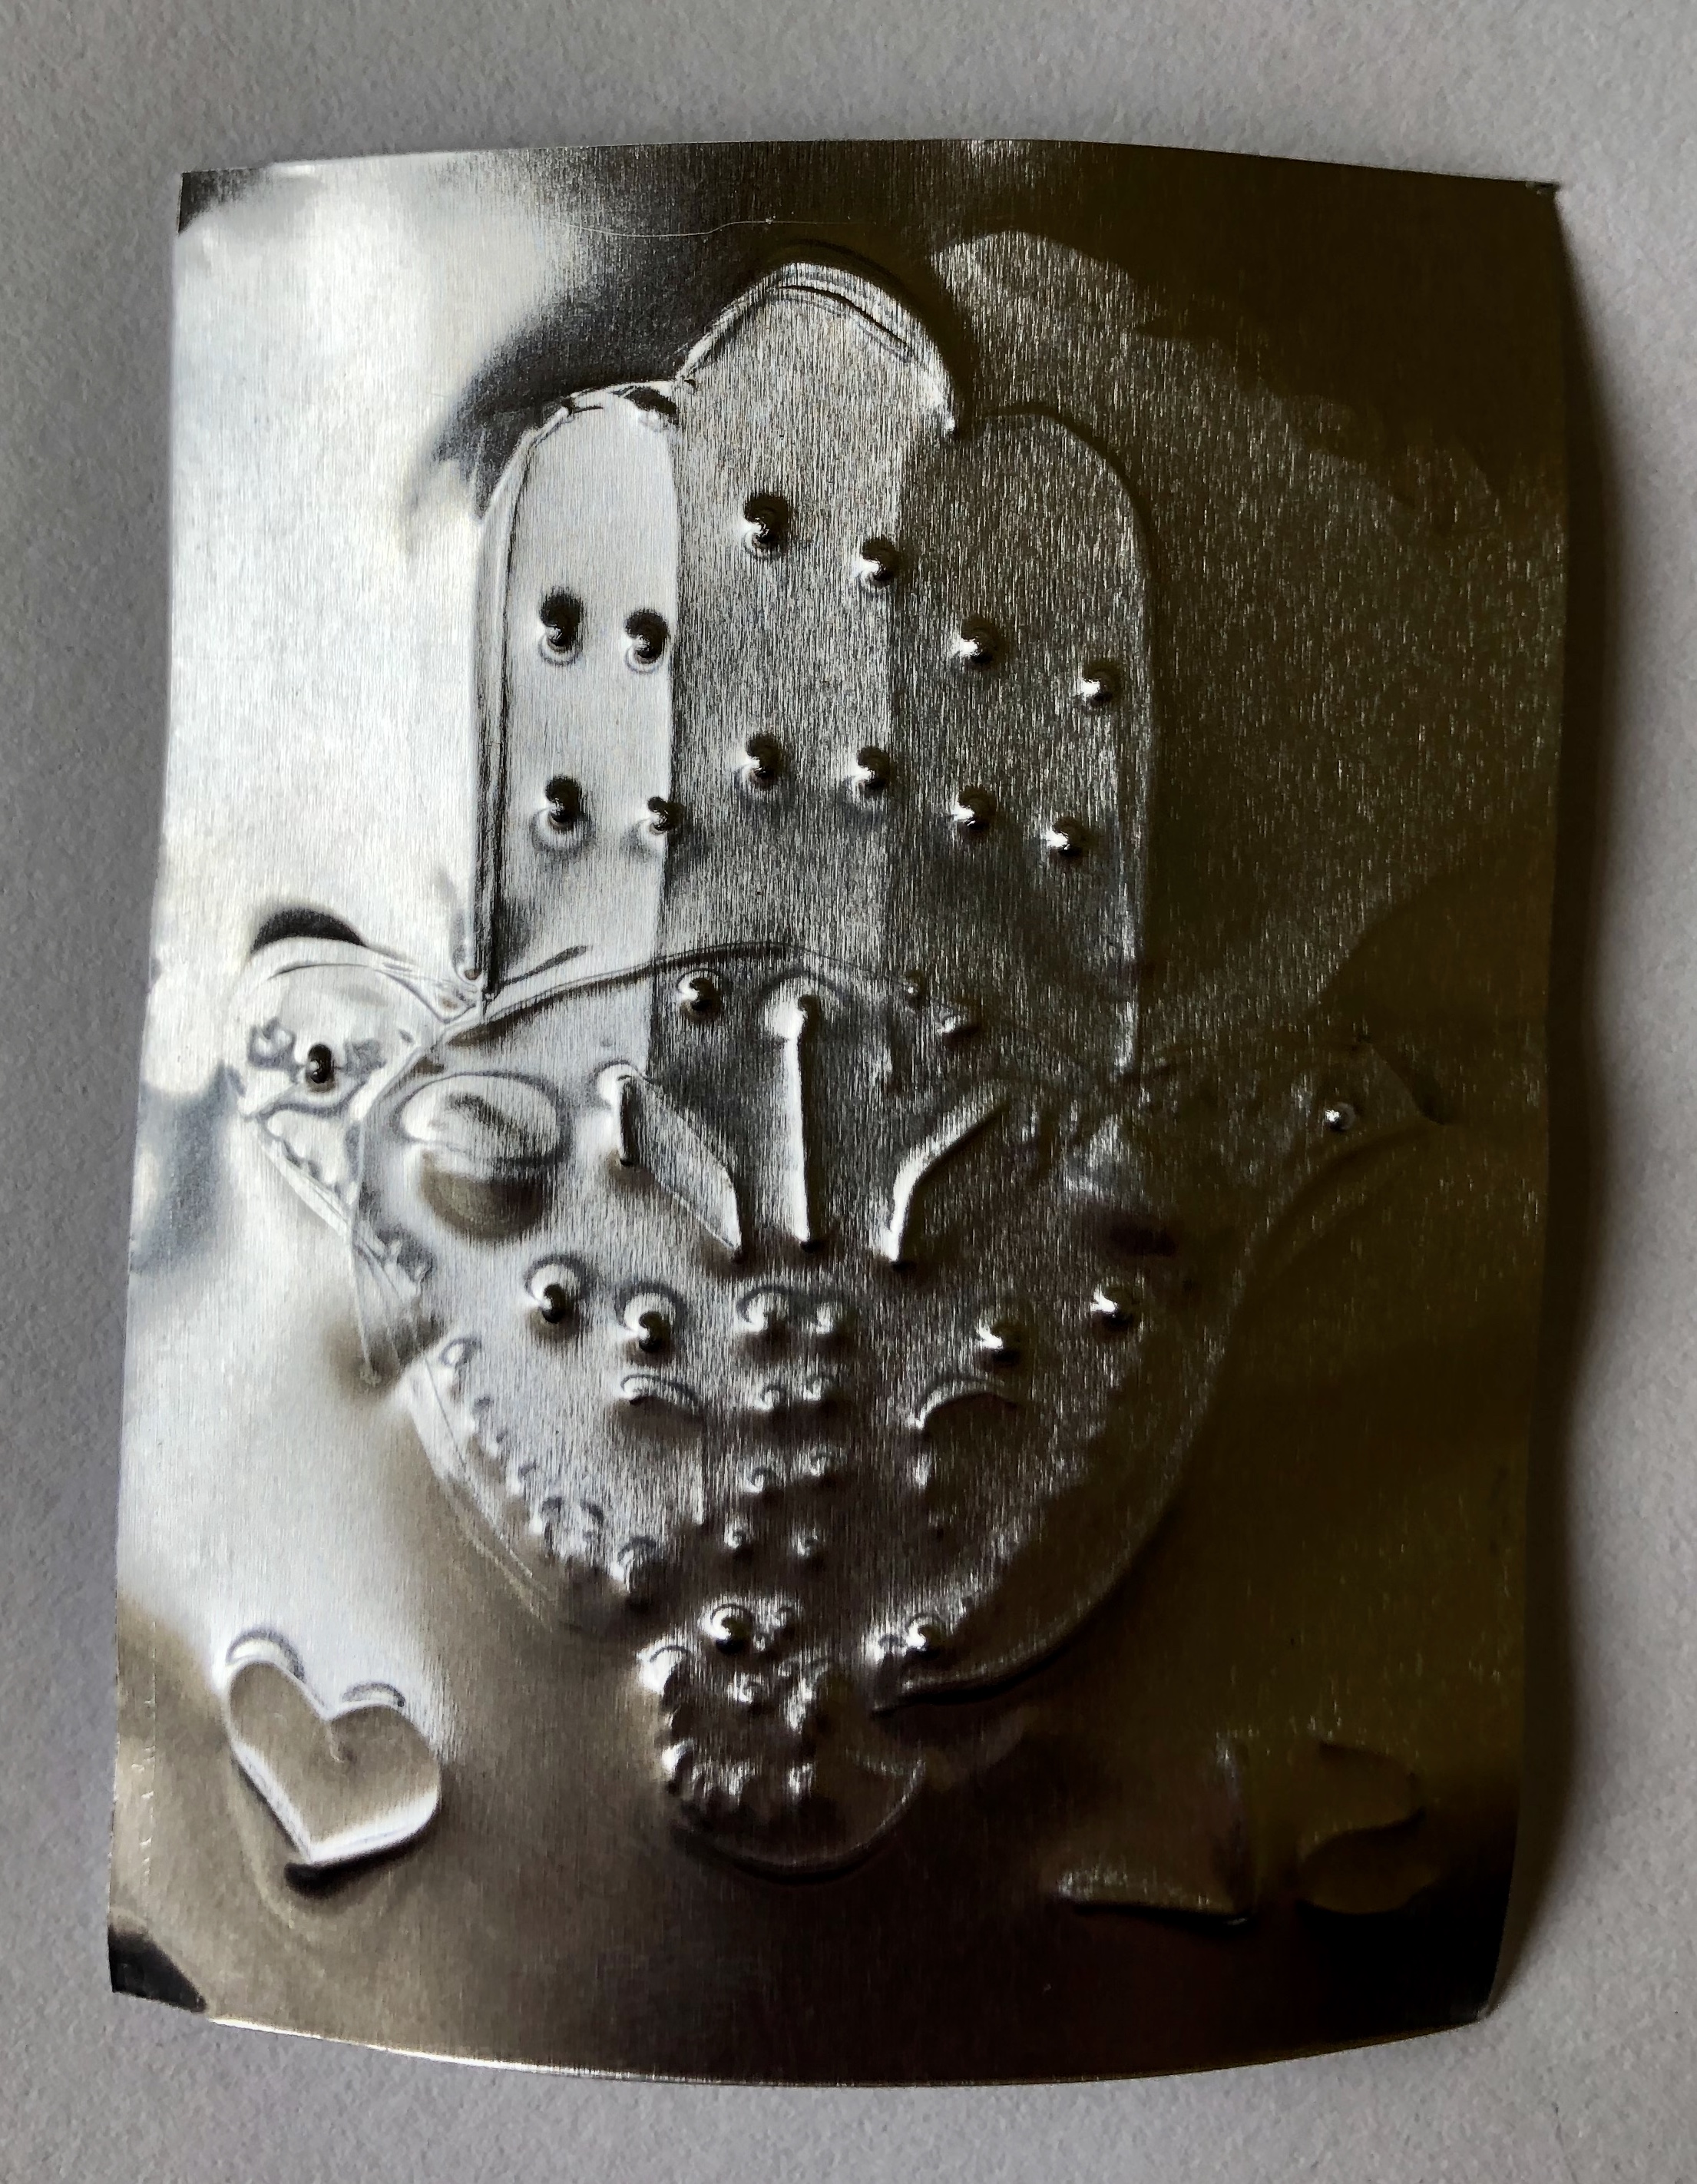
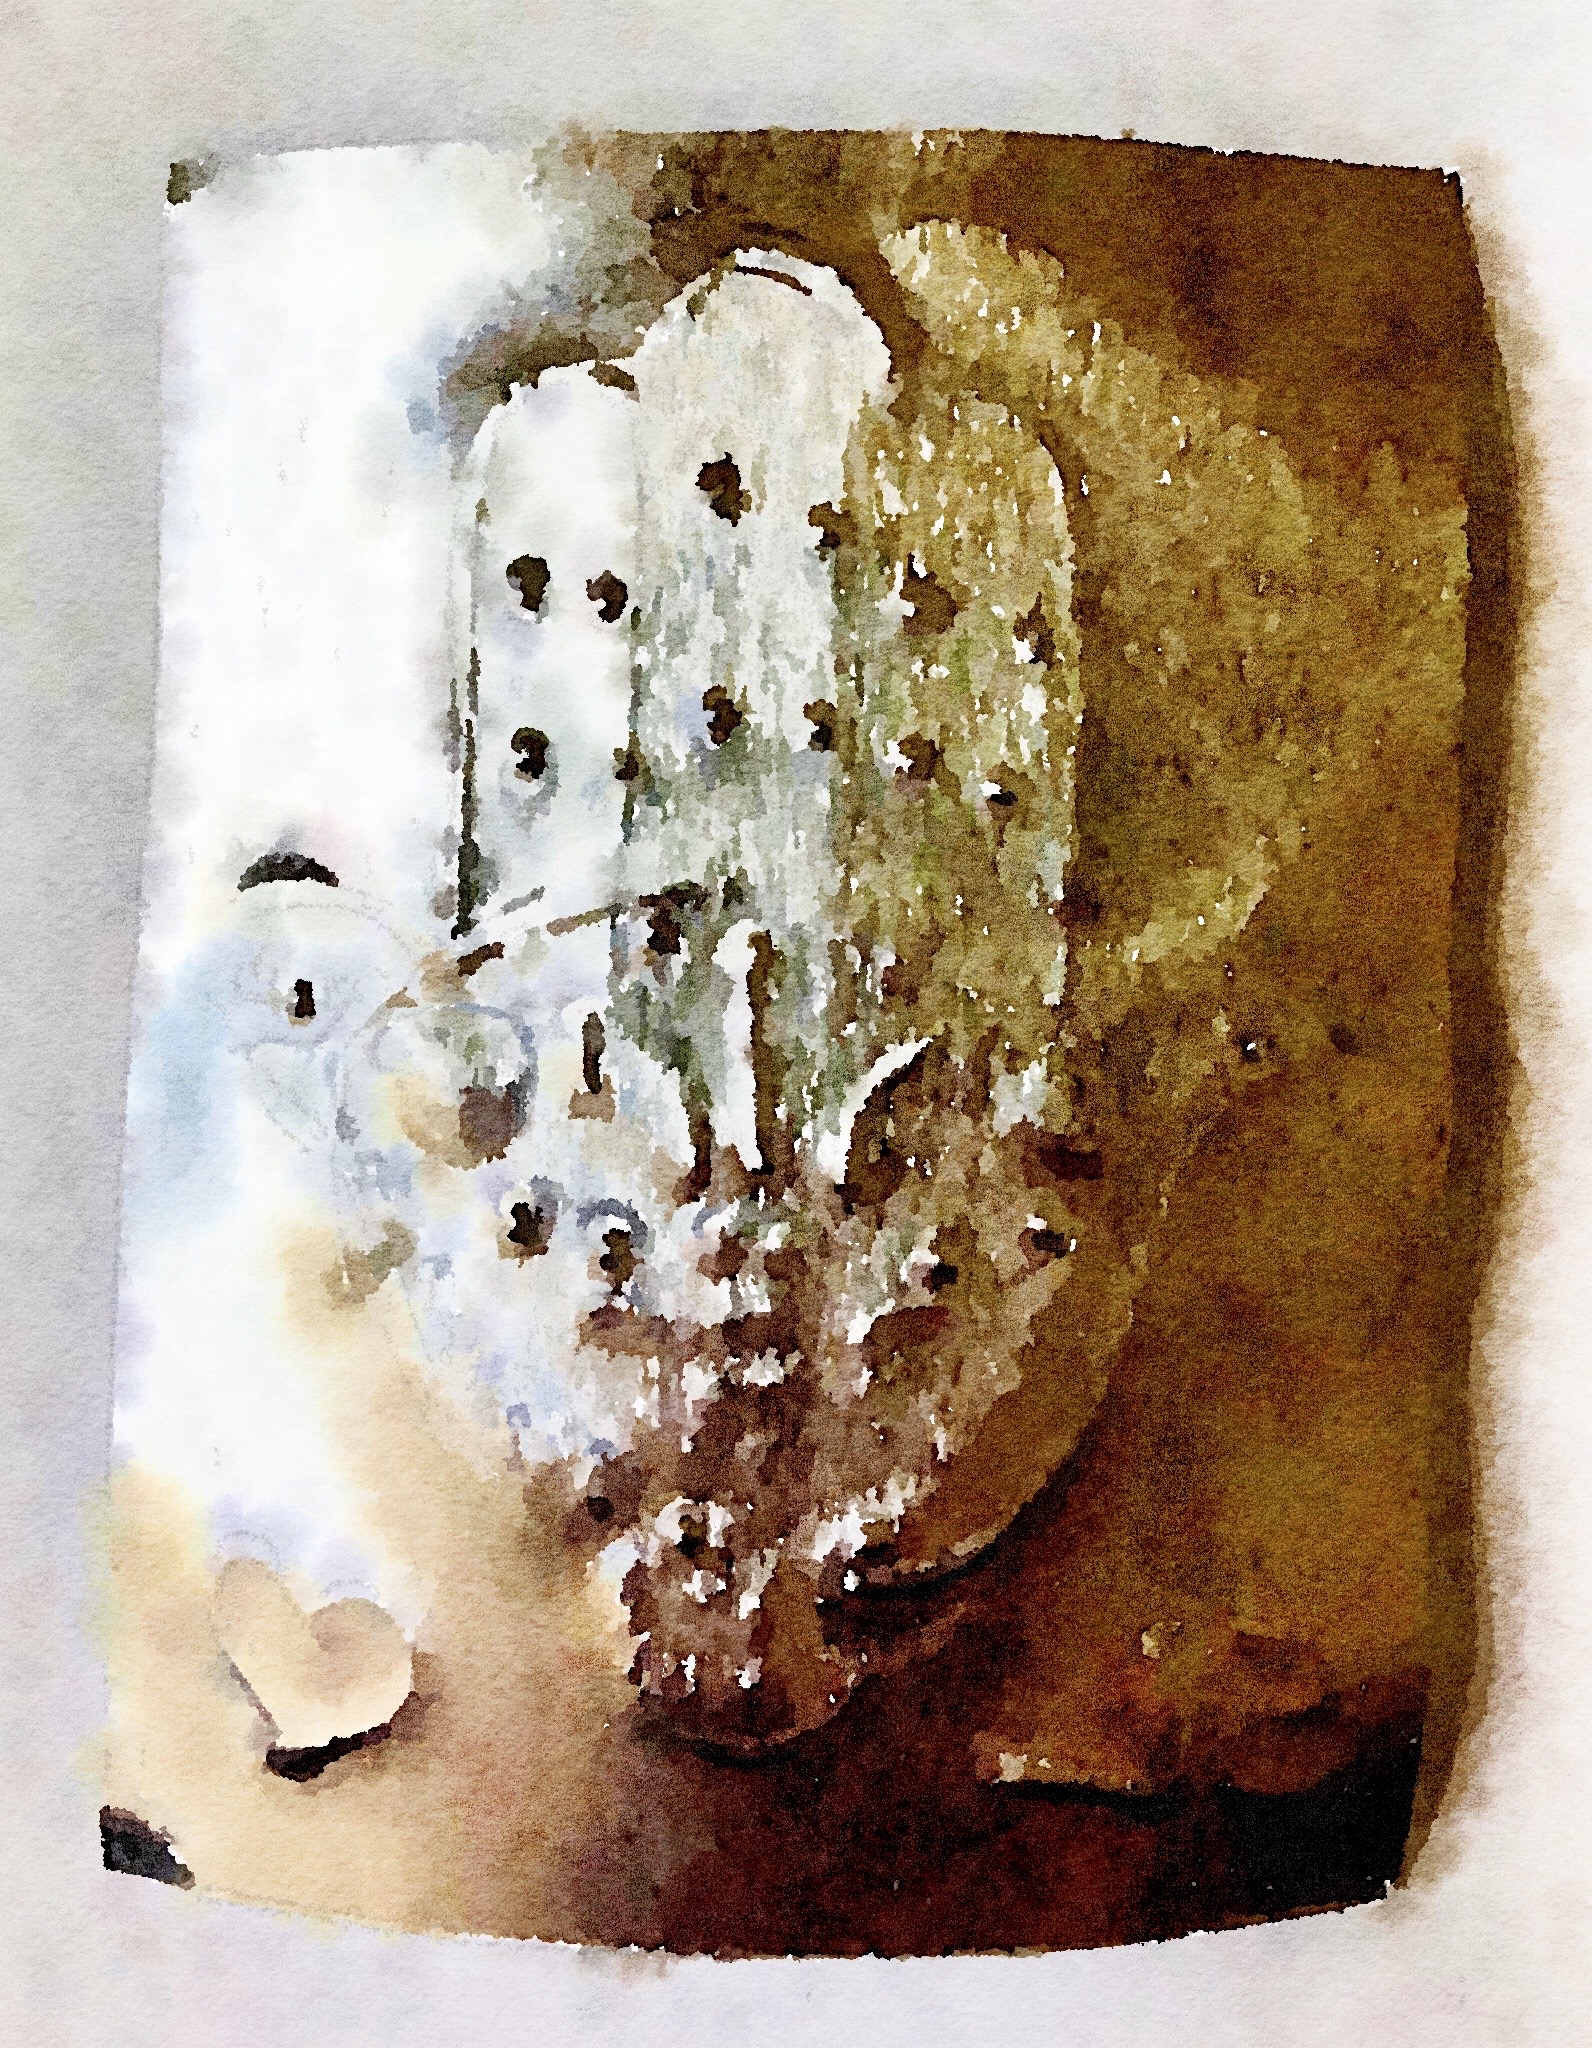
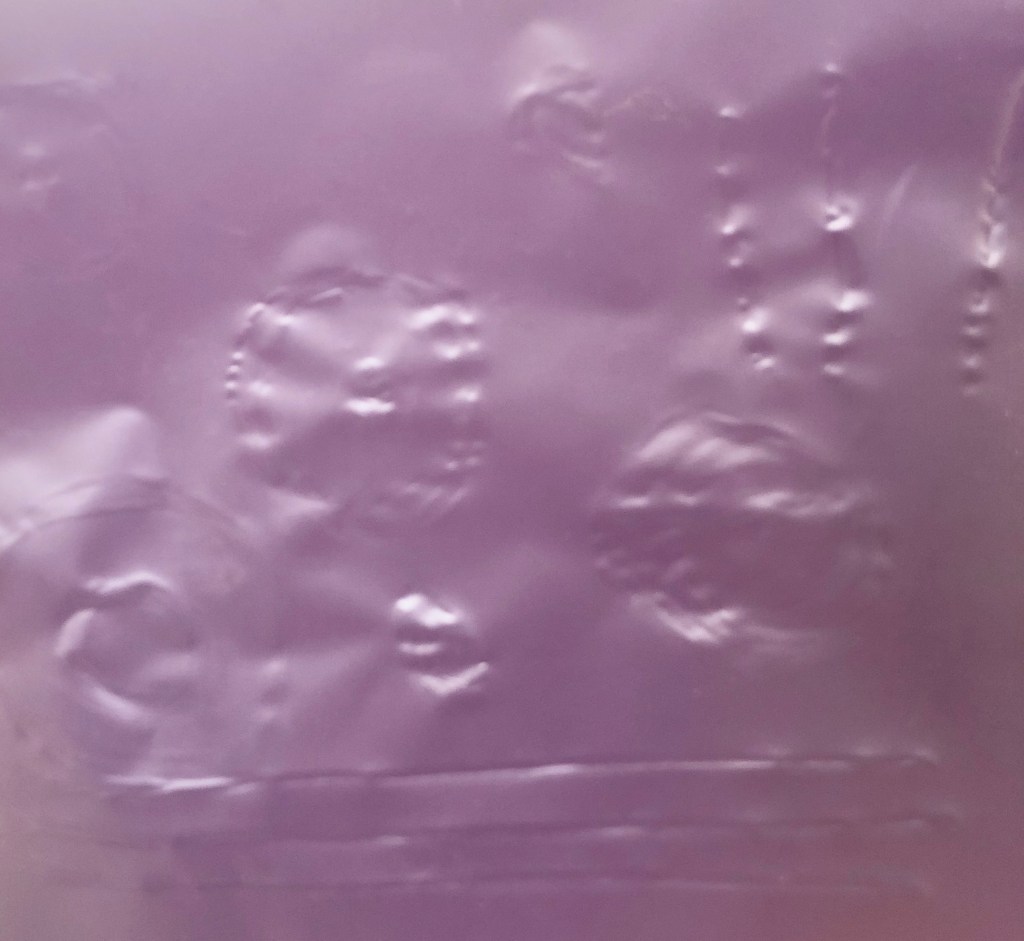
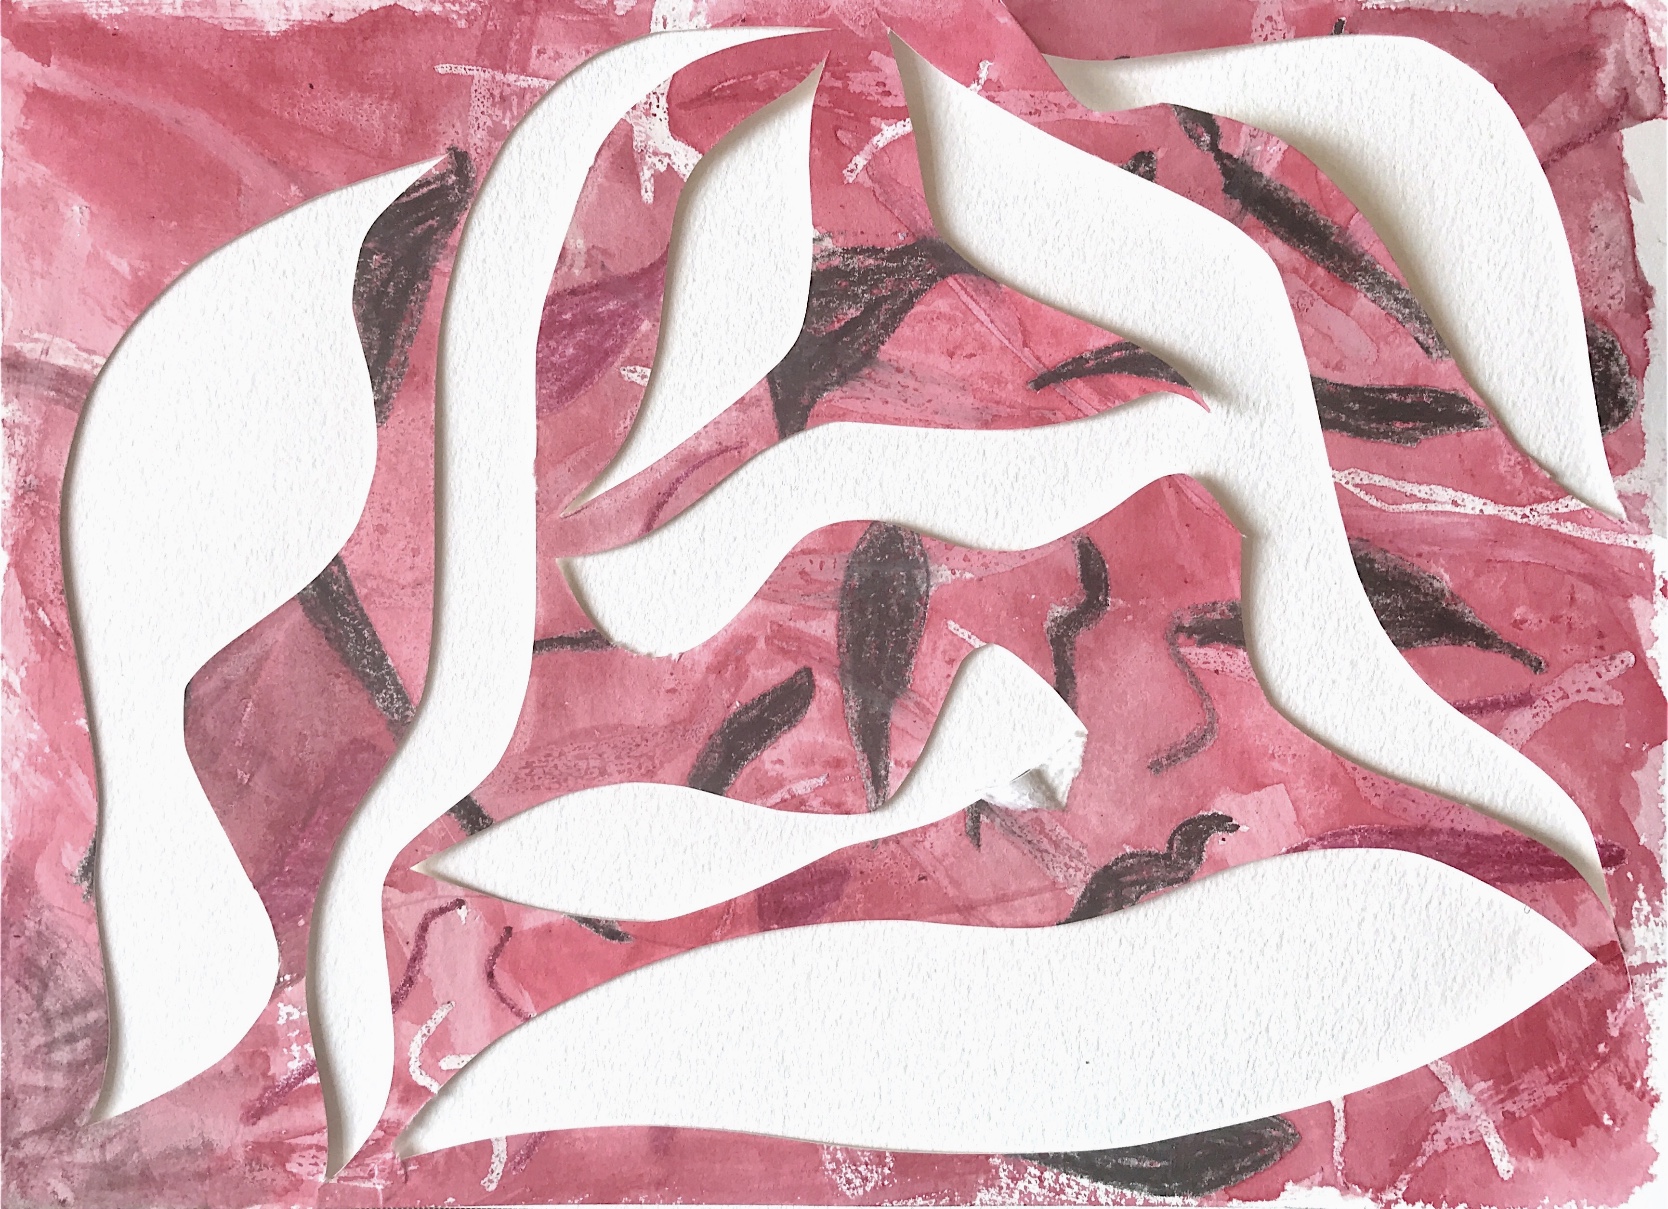
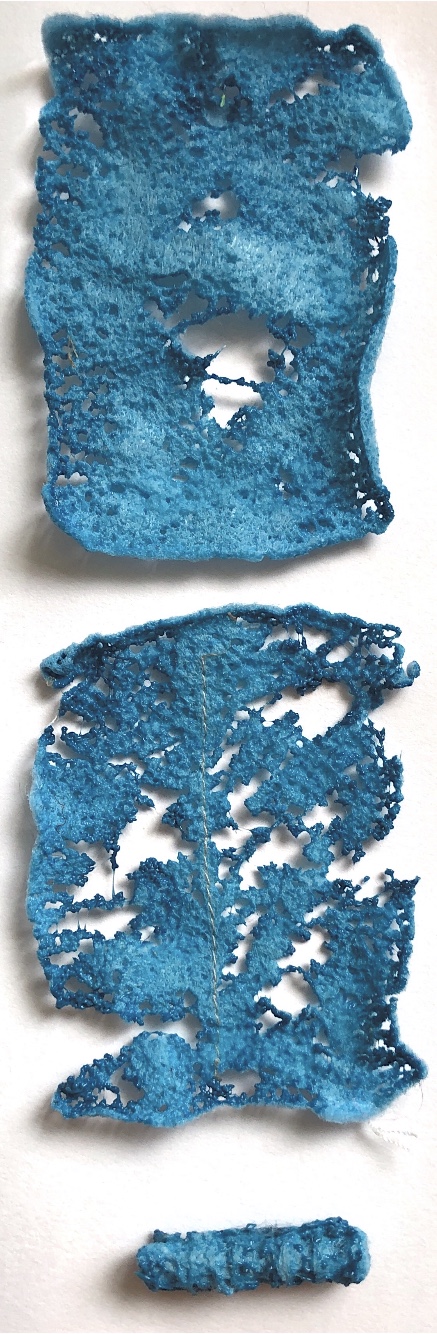
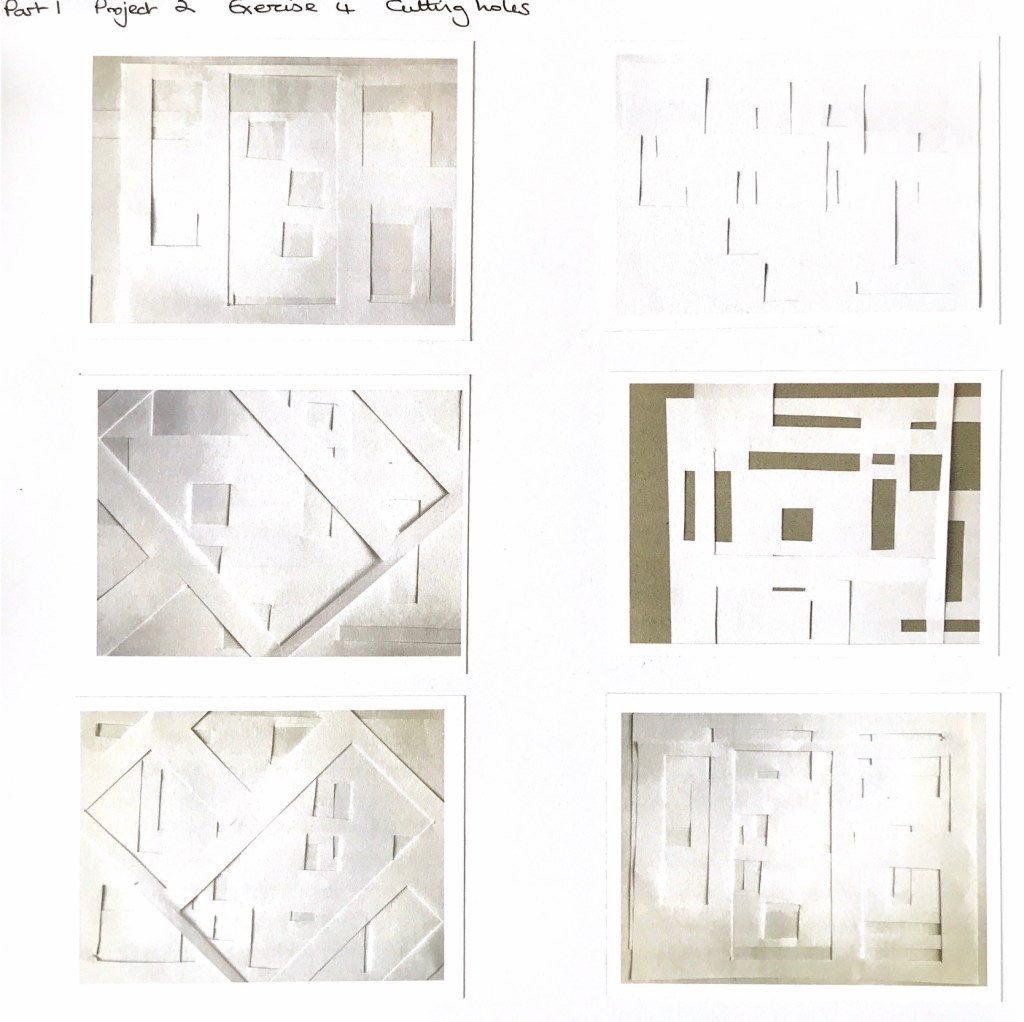
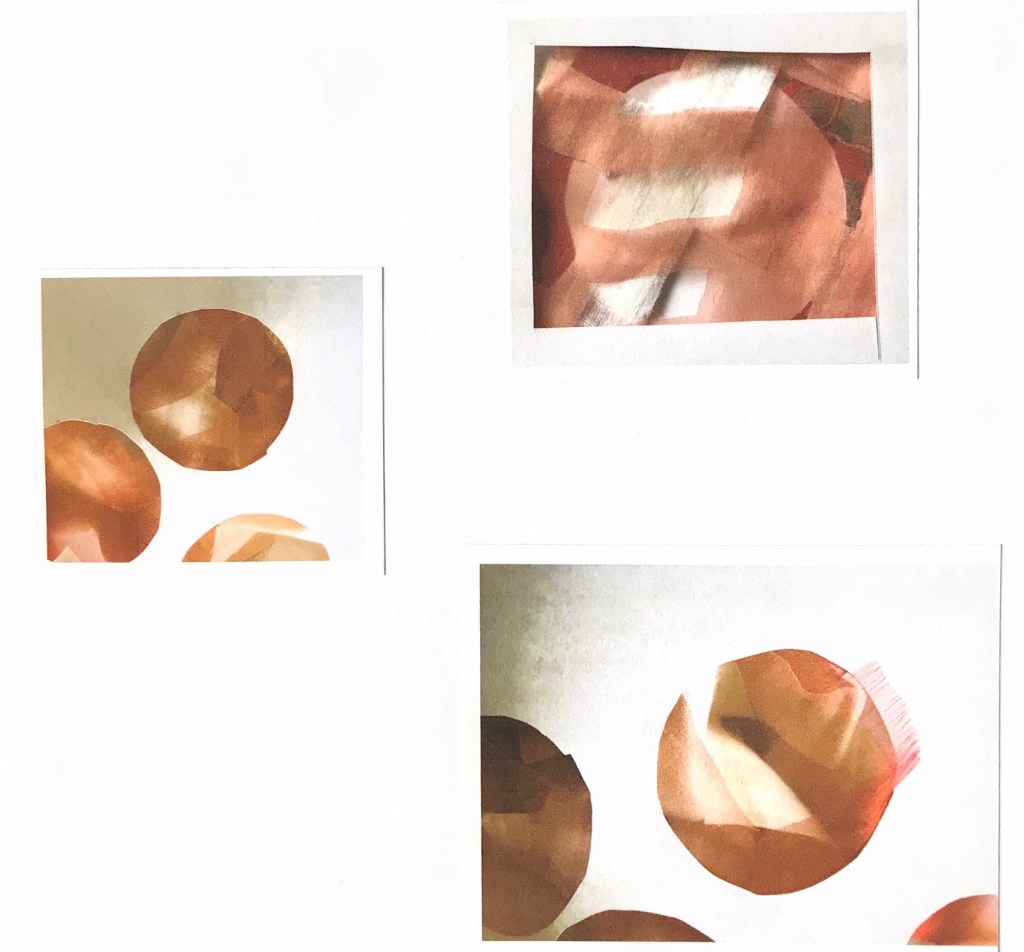
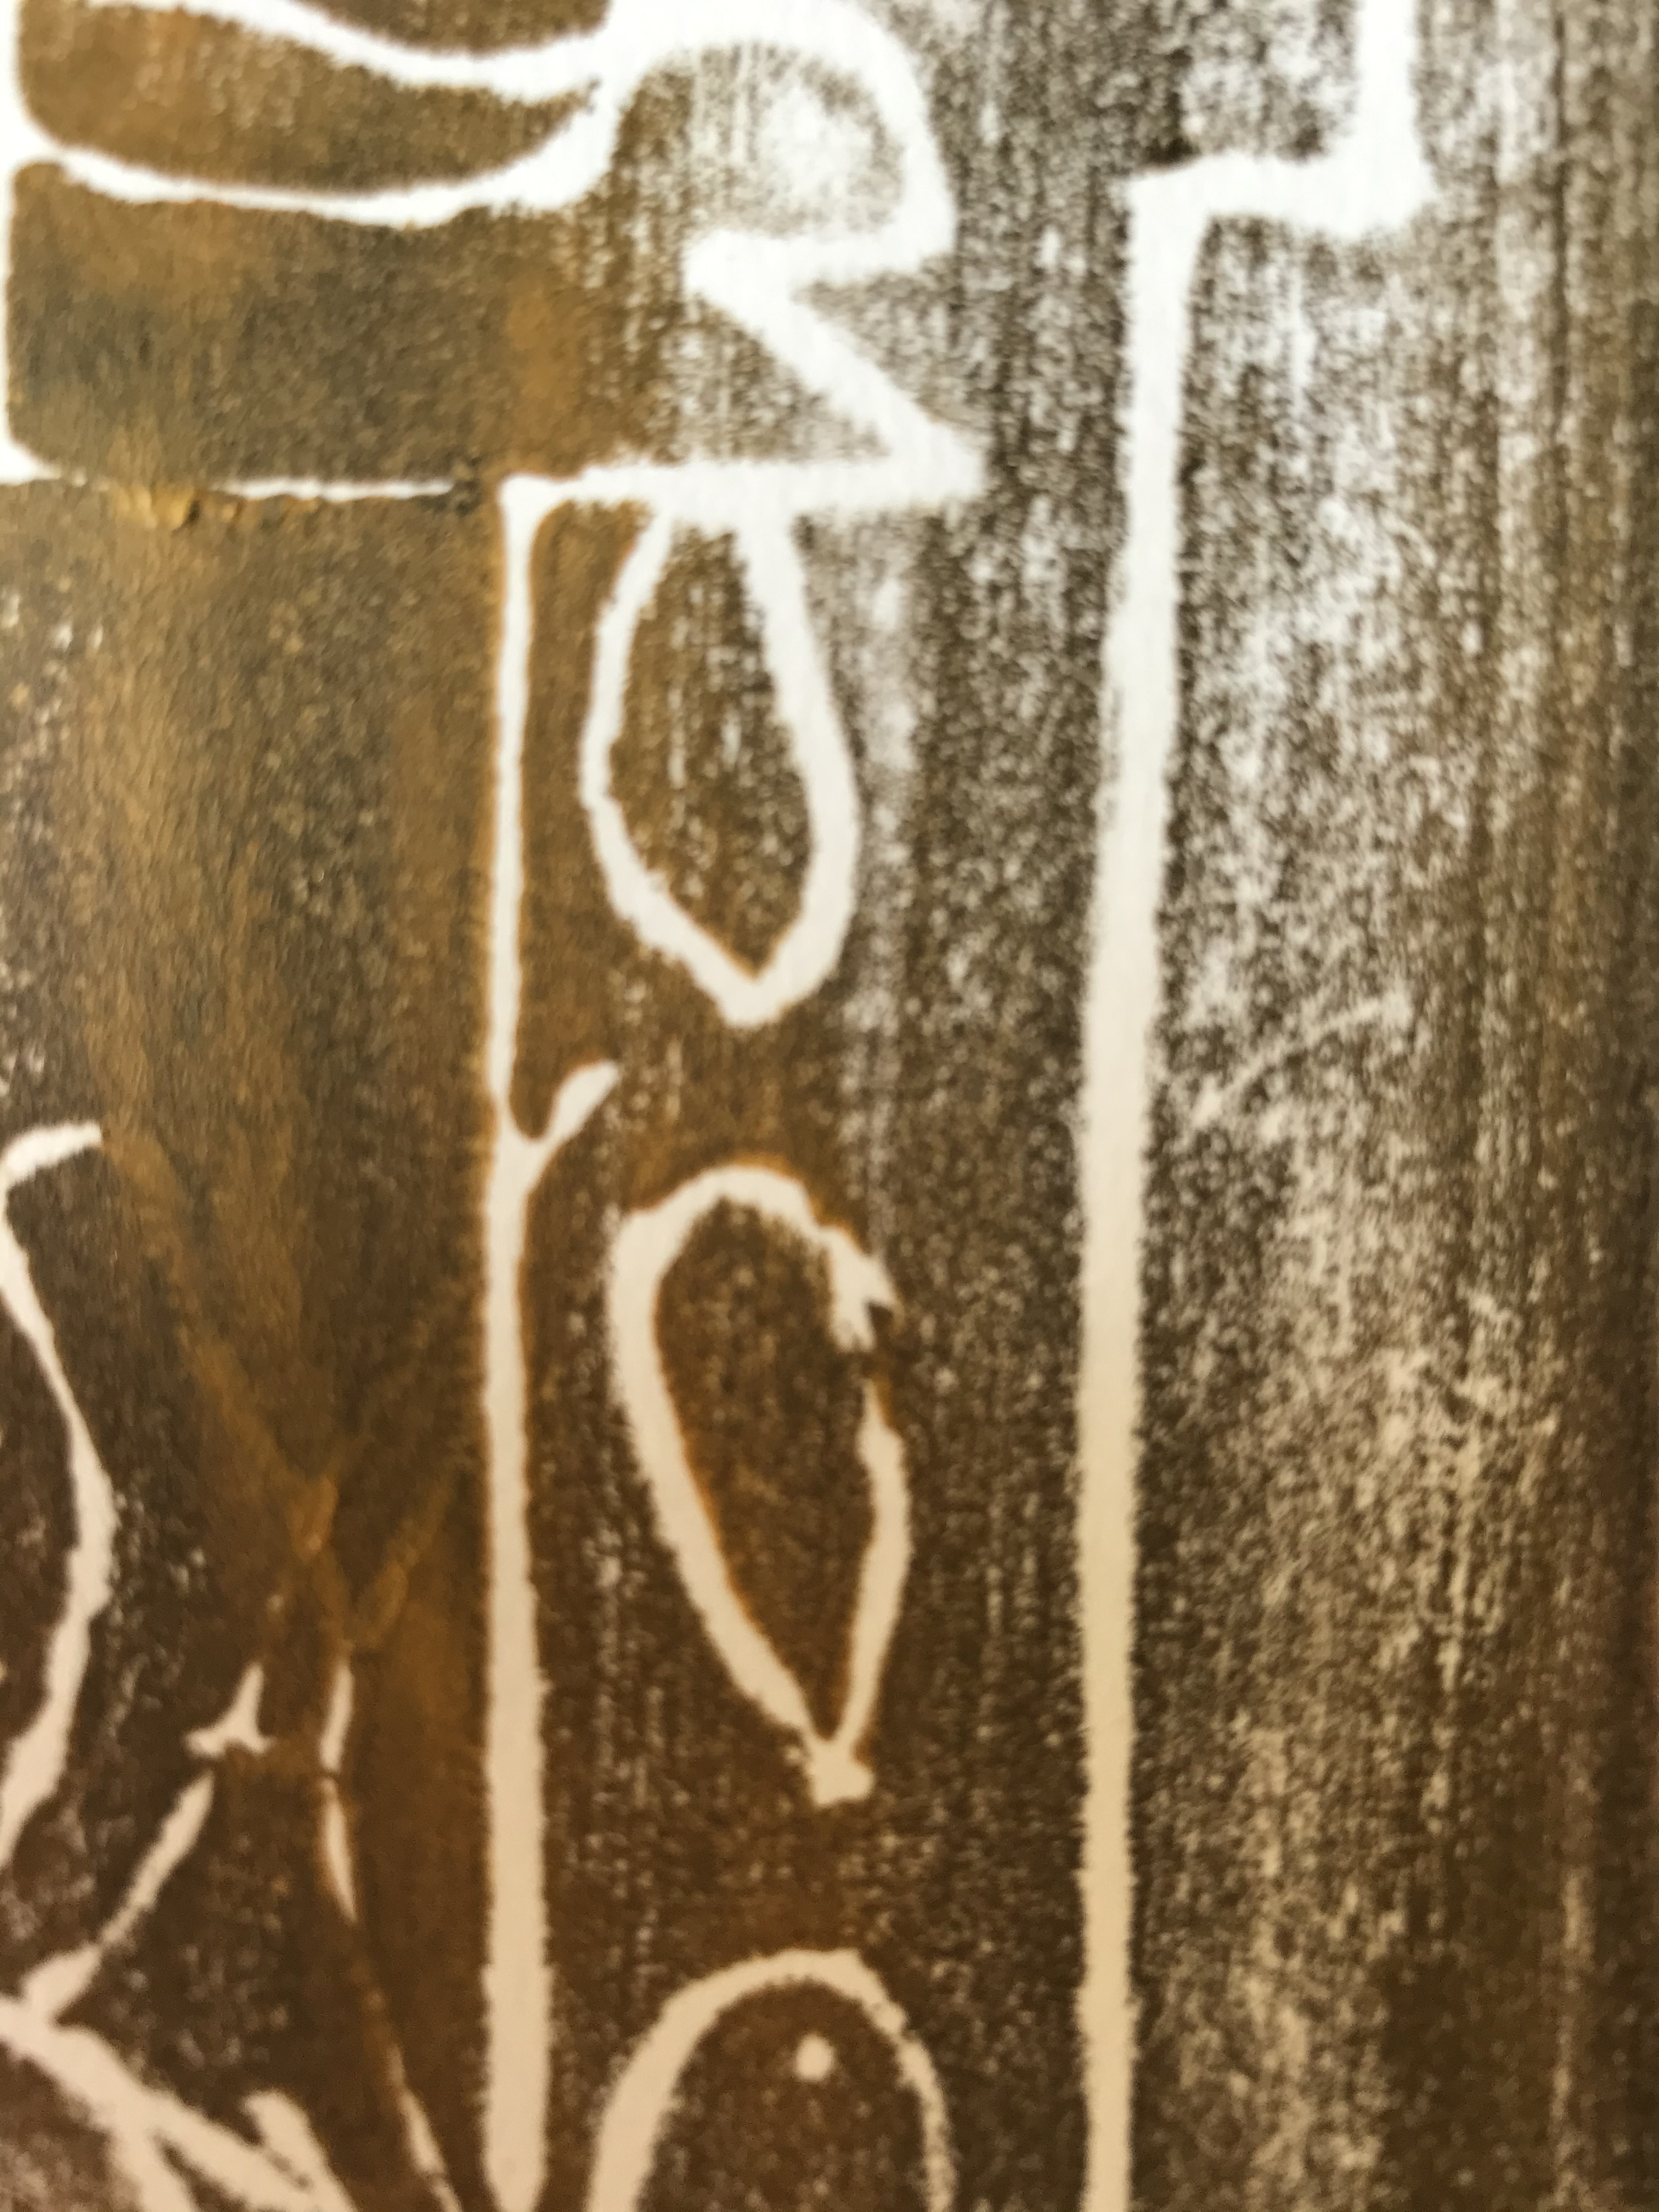
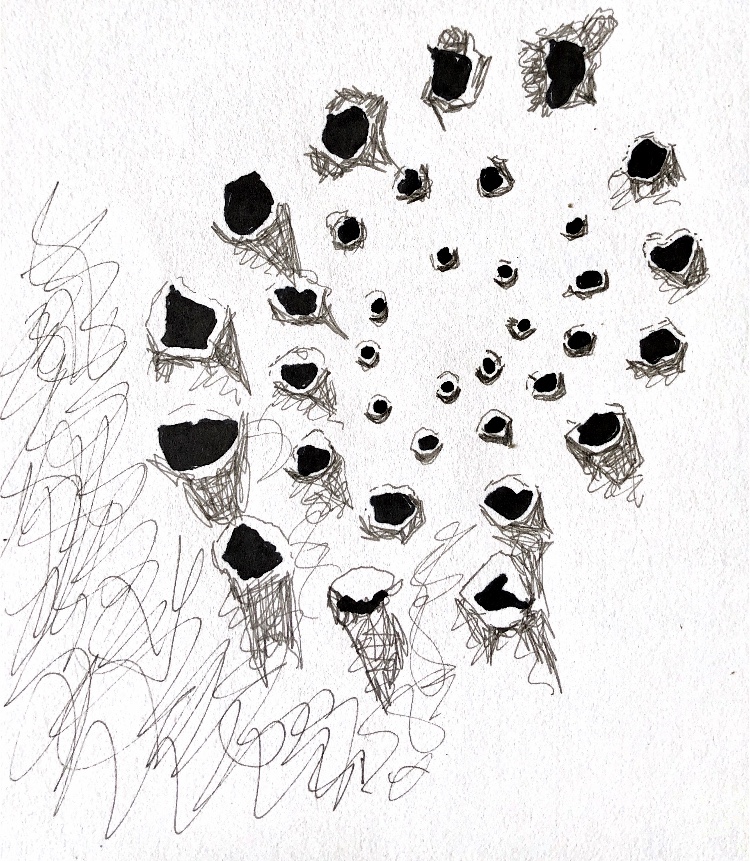
I wasn’t inspired by the section on embossing until I drew the sample and then made print blocks from the drawings. I also did not initially find cutting holes in paper gave me many ideas until I introduced some colour and a transparent element to create further tones and shades when the sample was held up to a window.

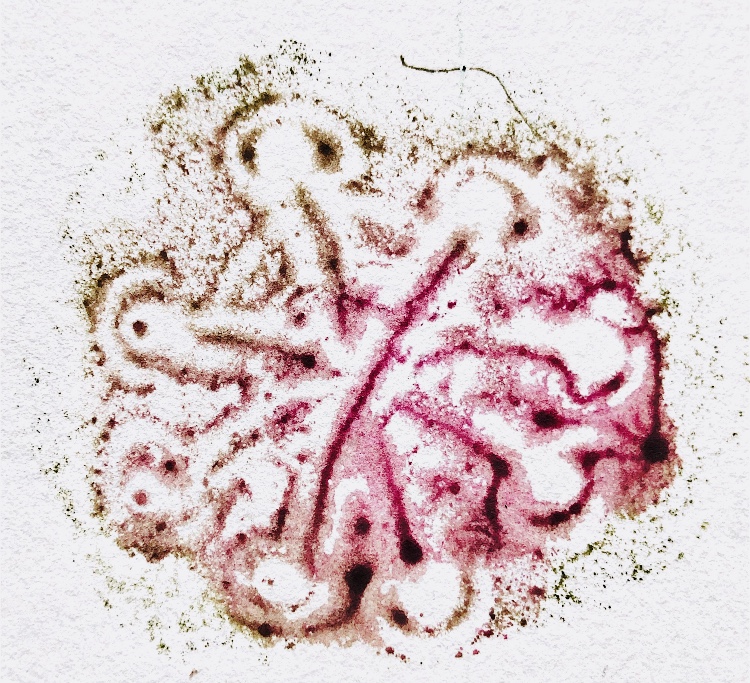
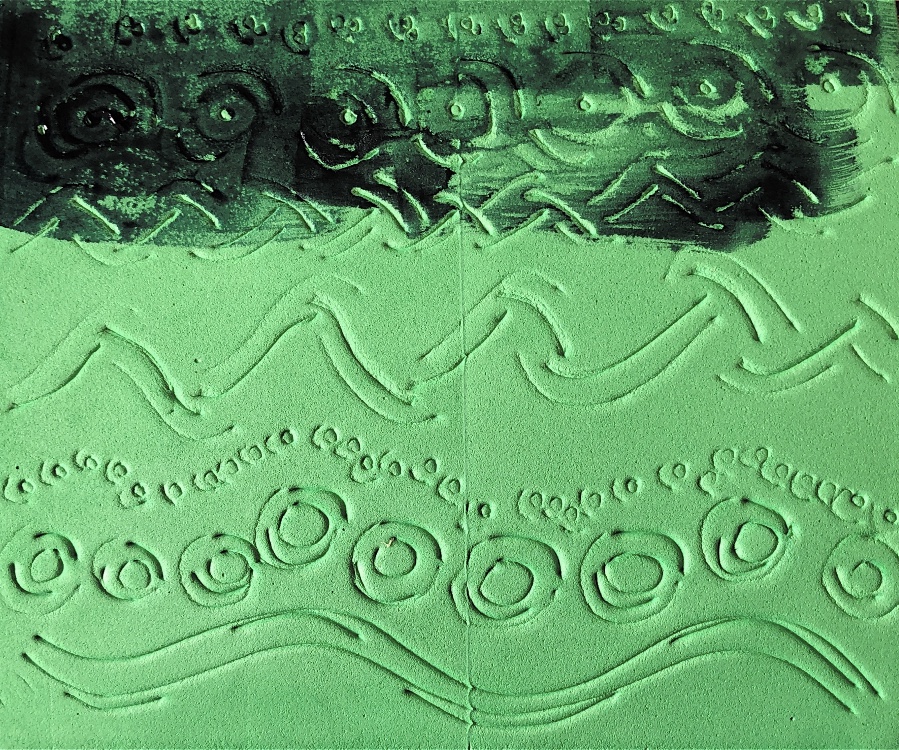
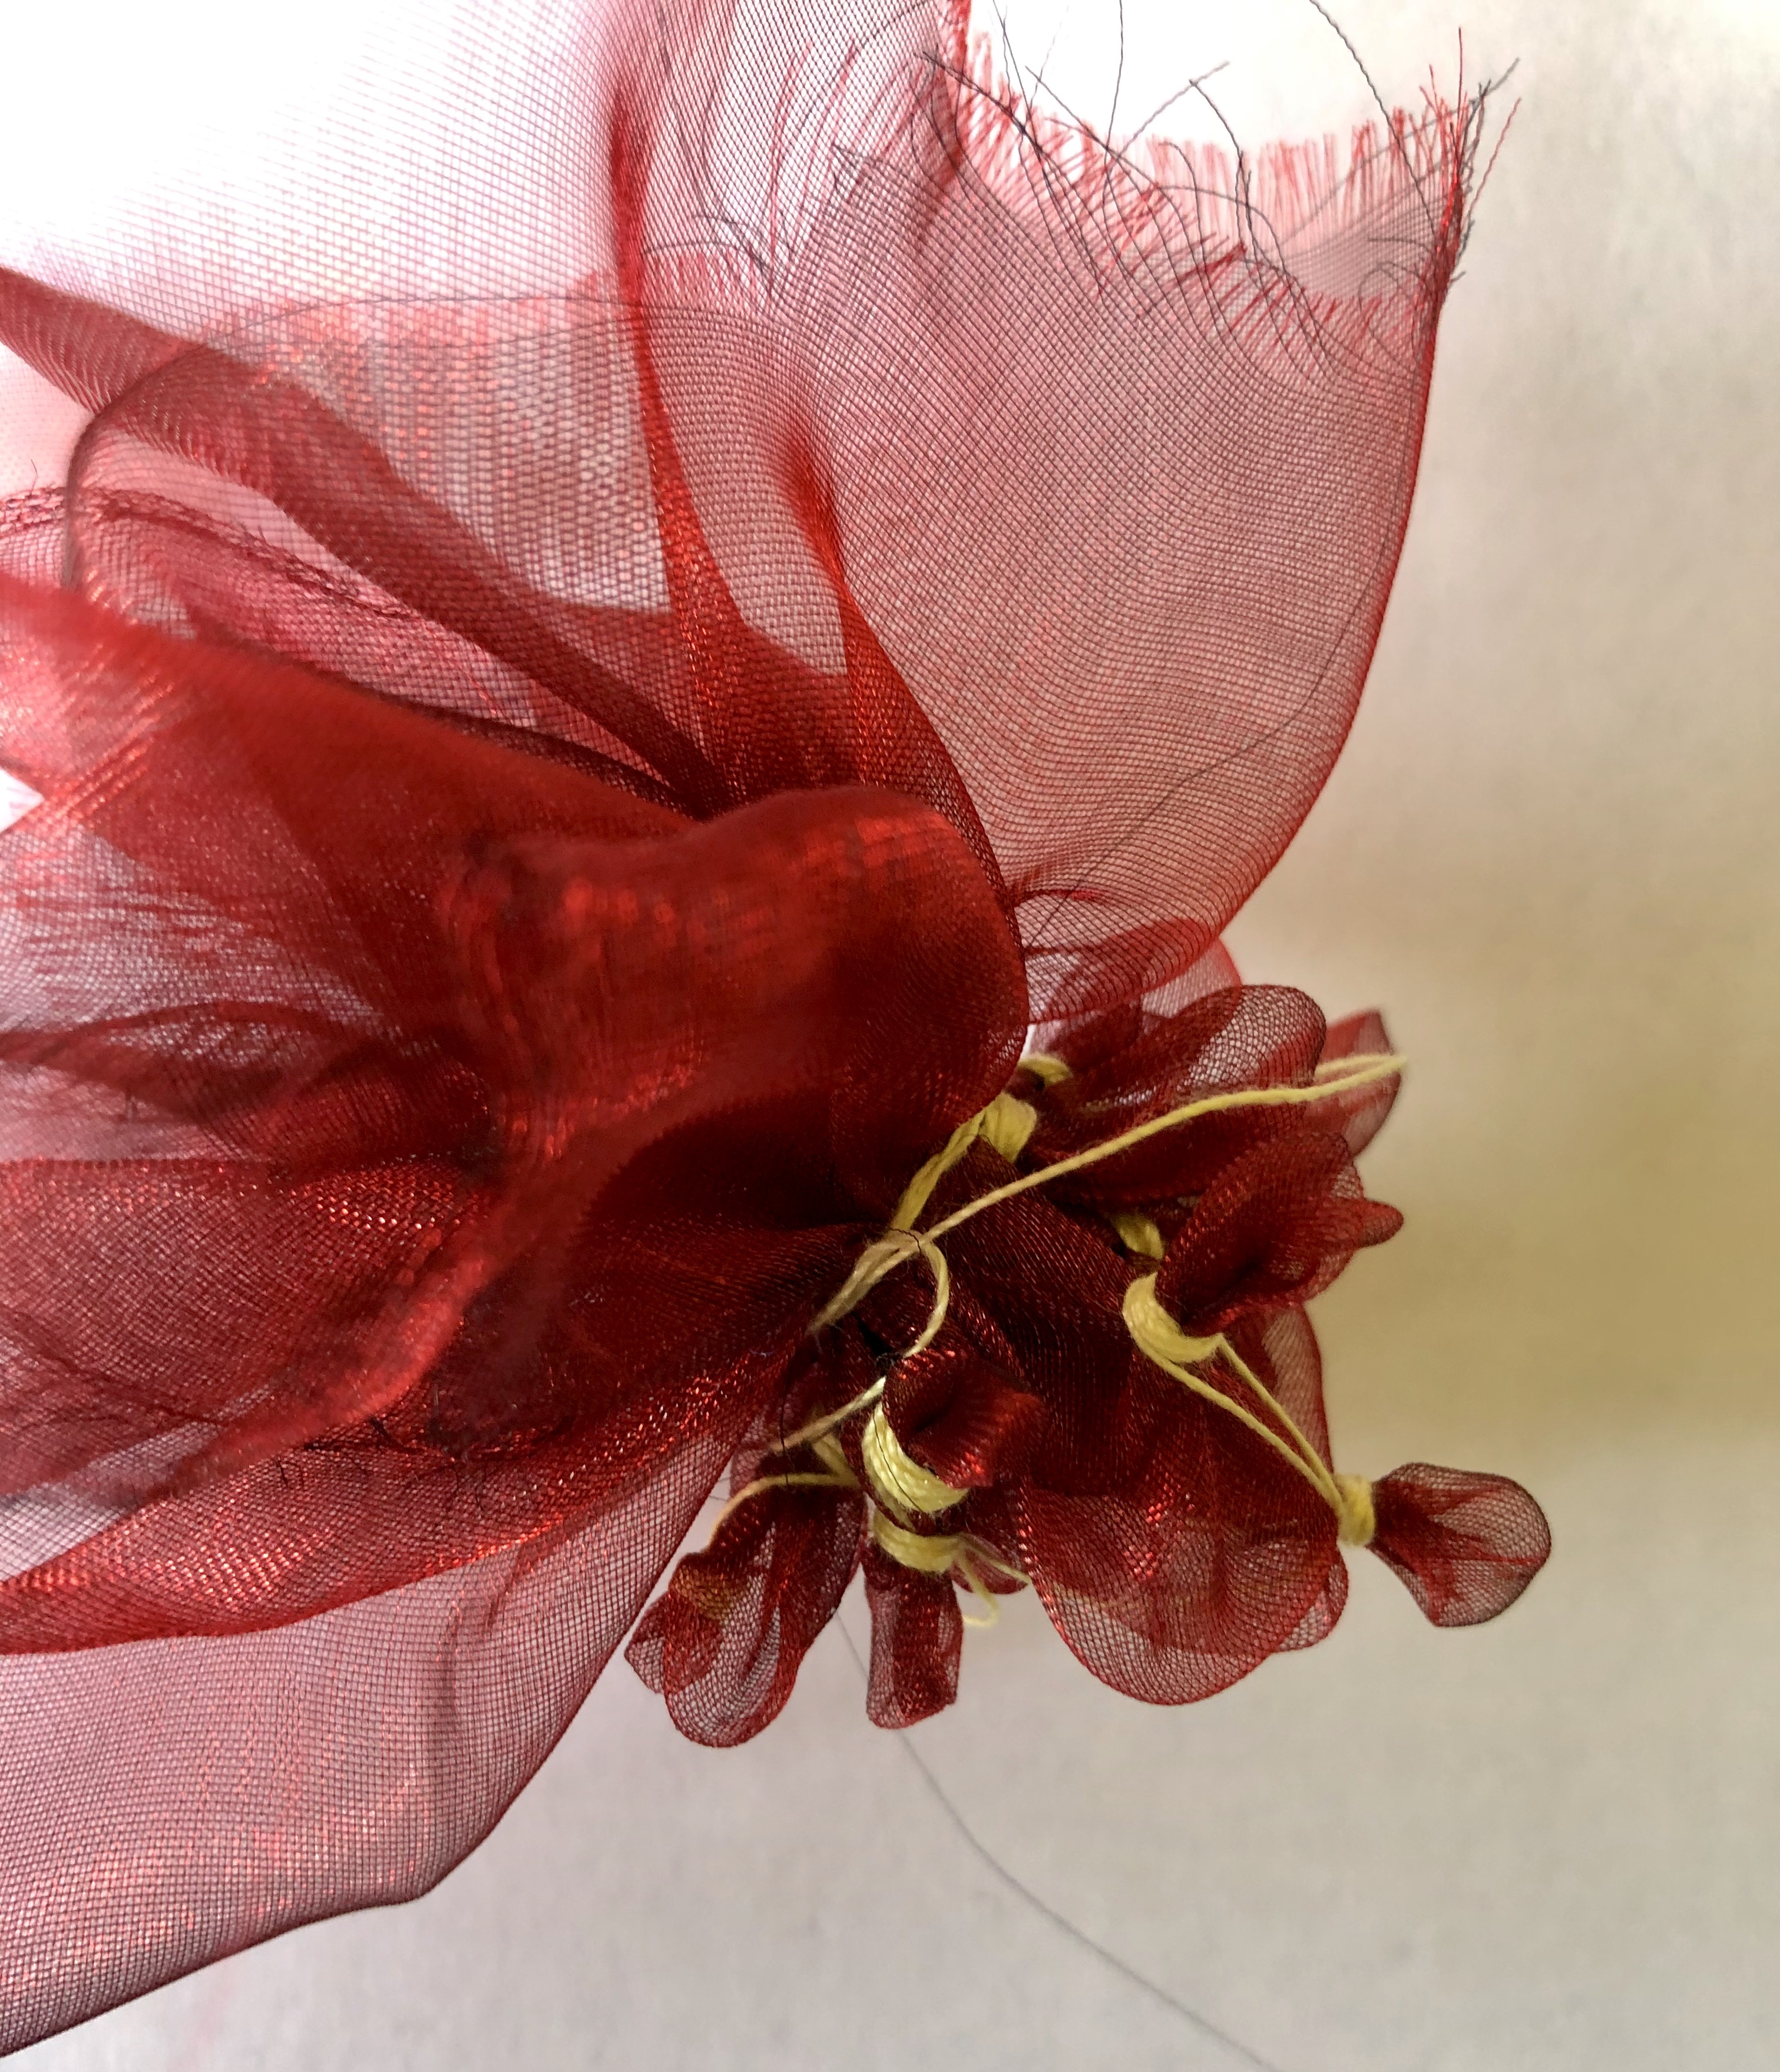
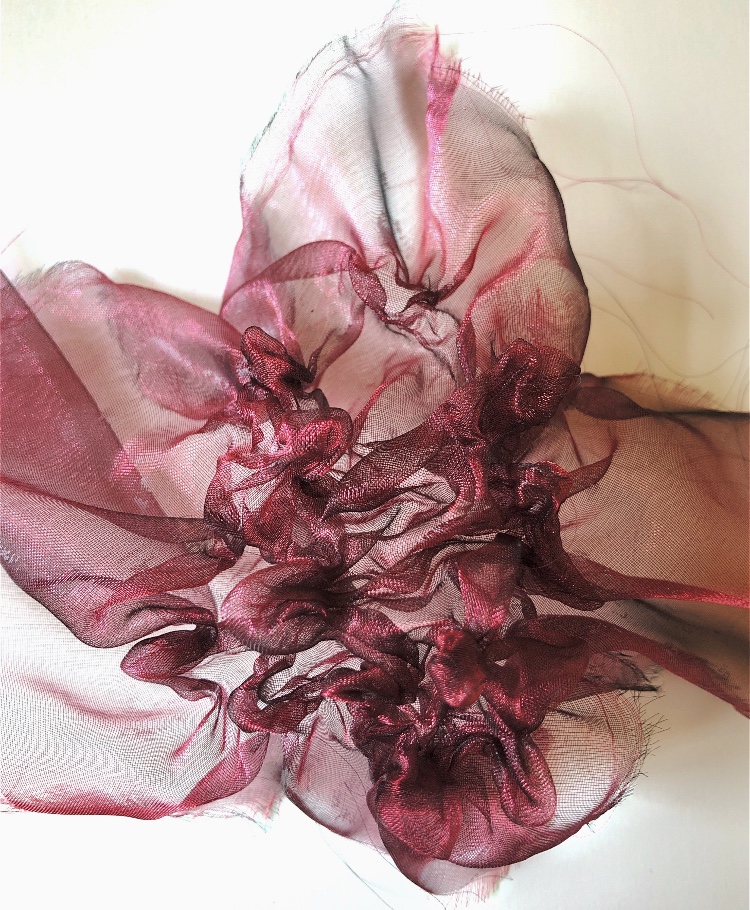
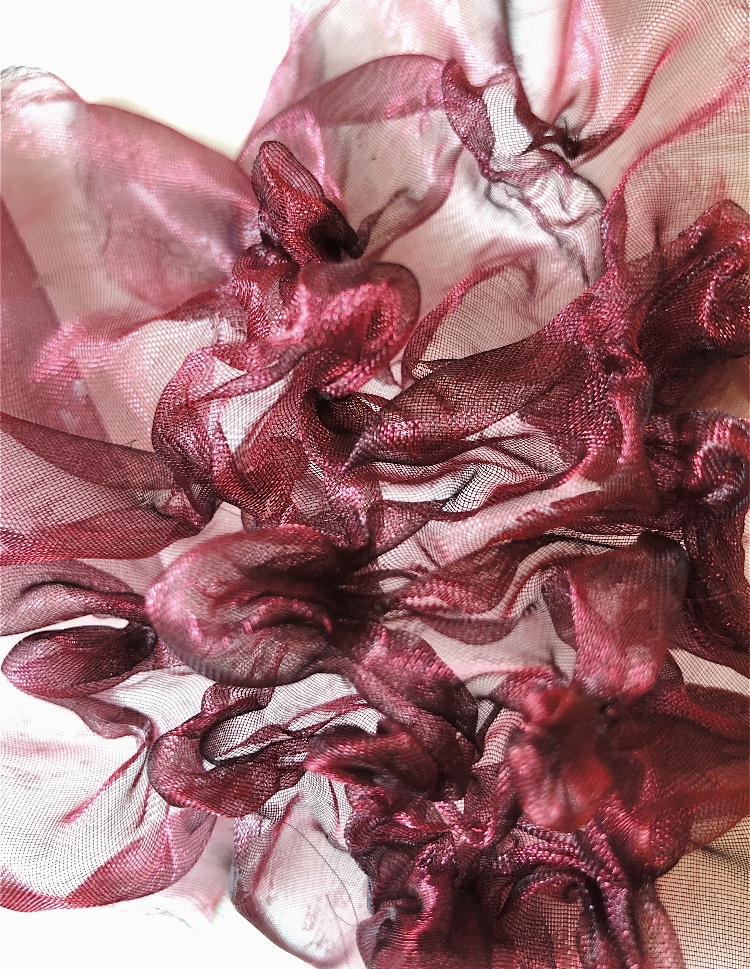
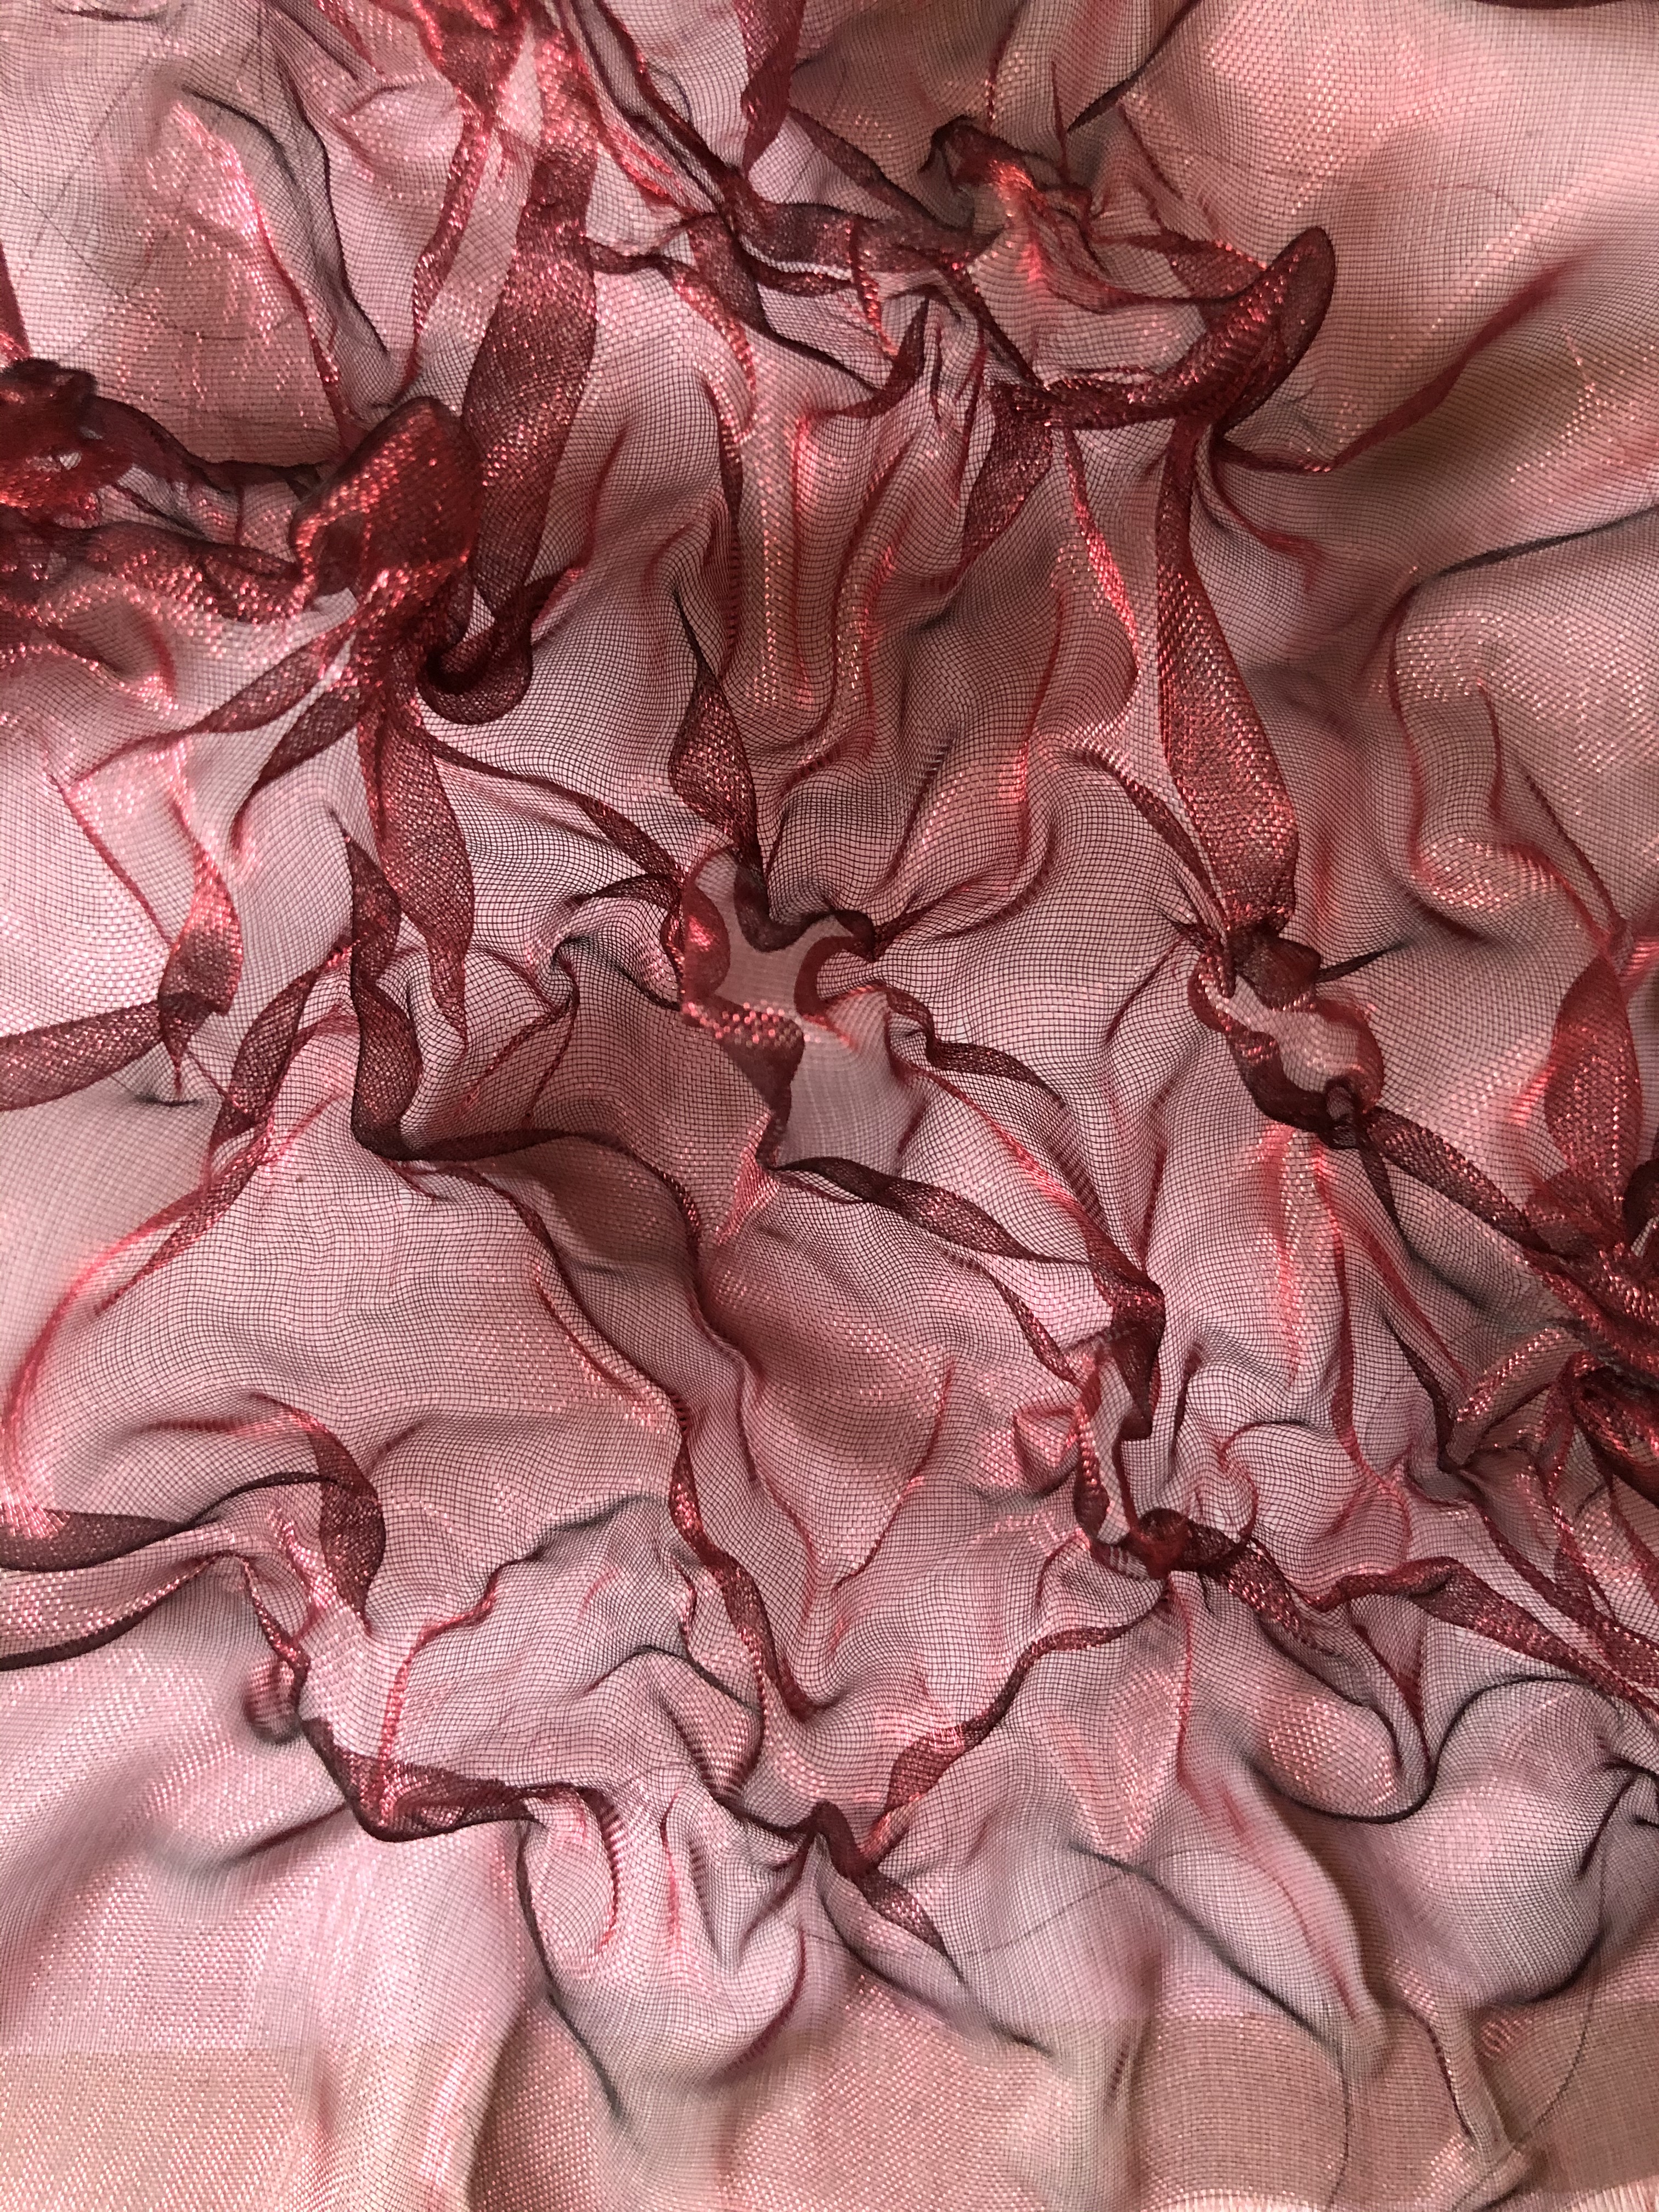
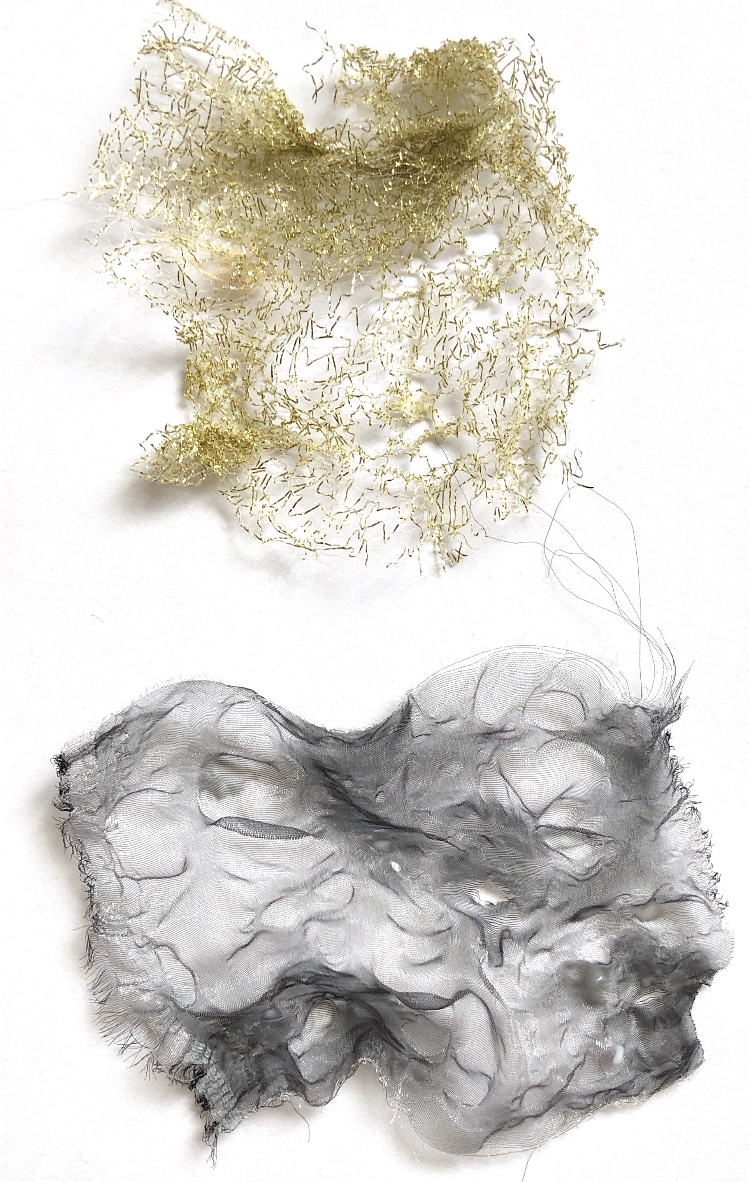
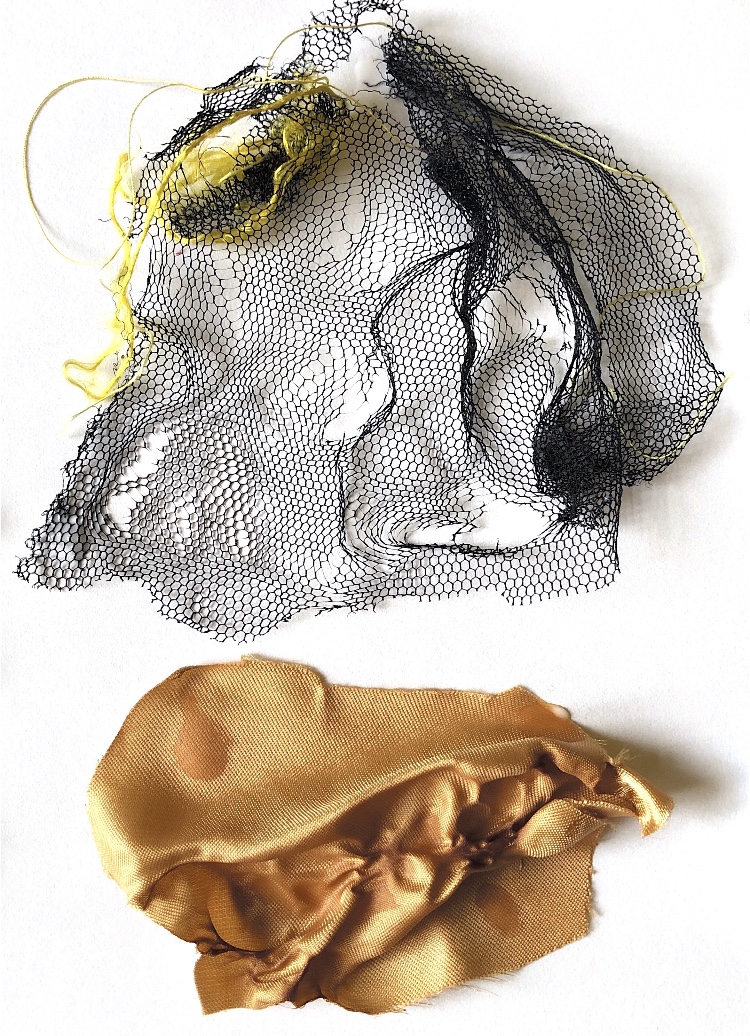
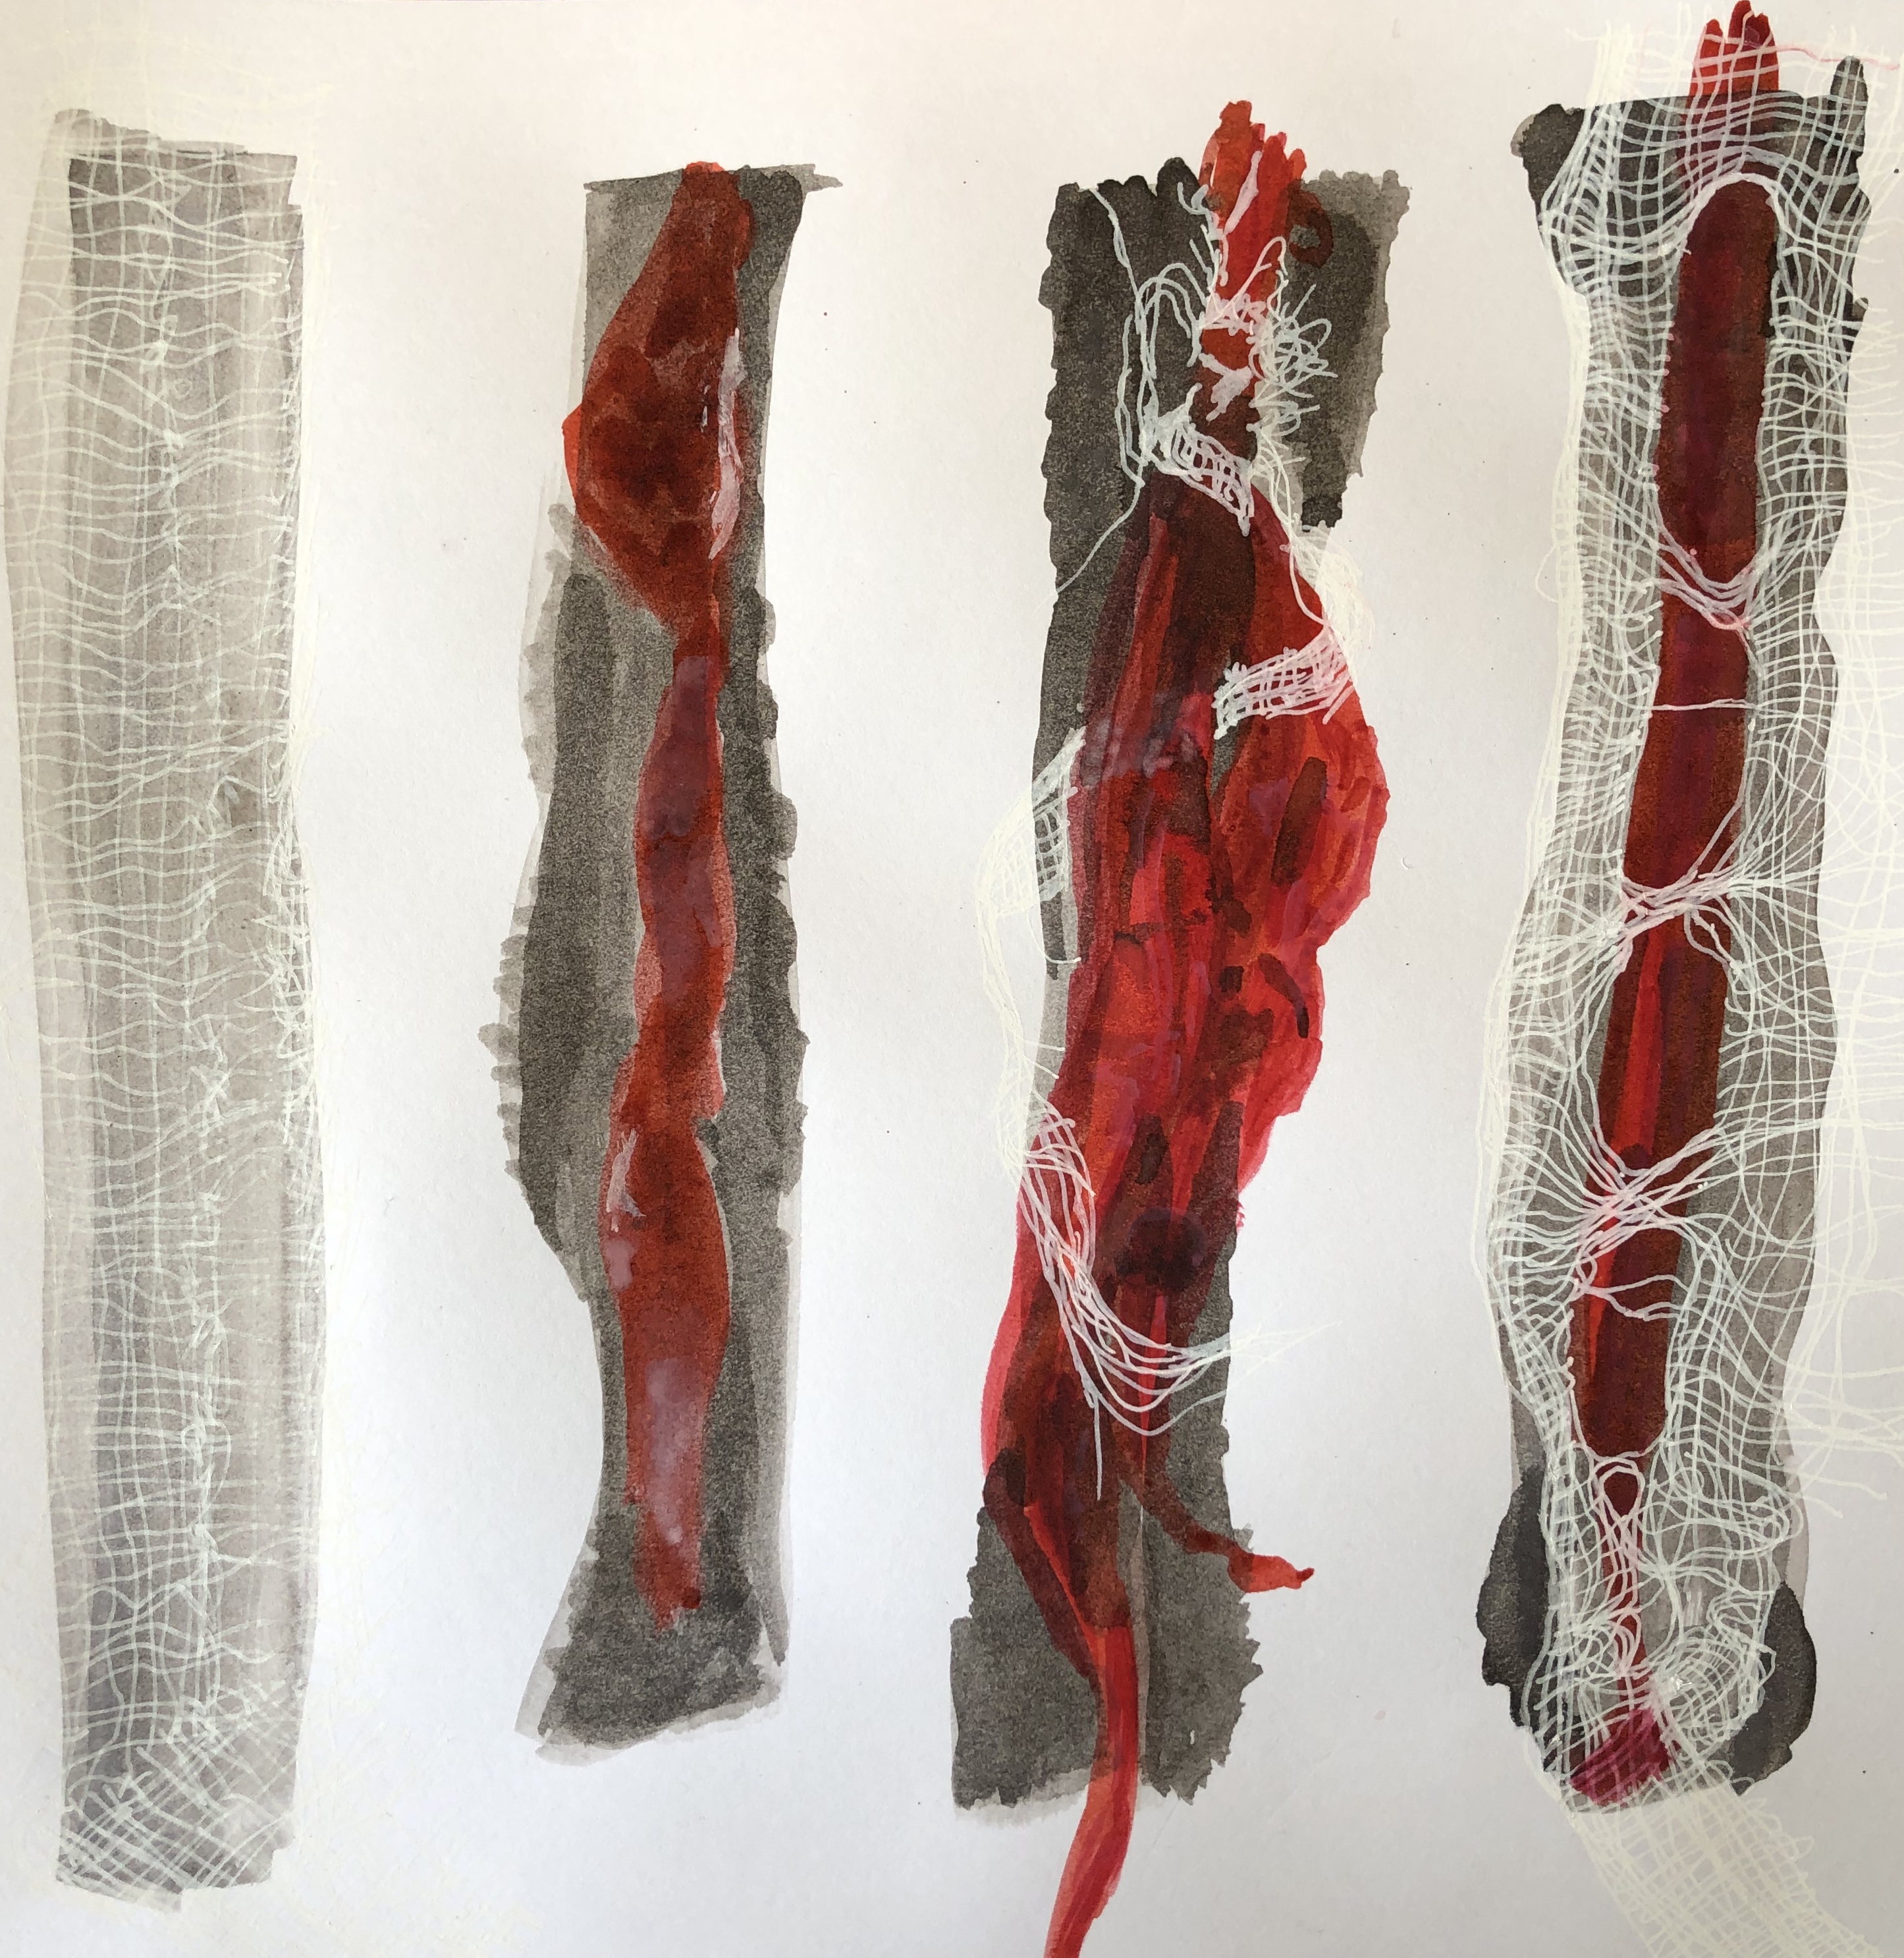
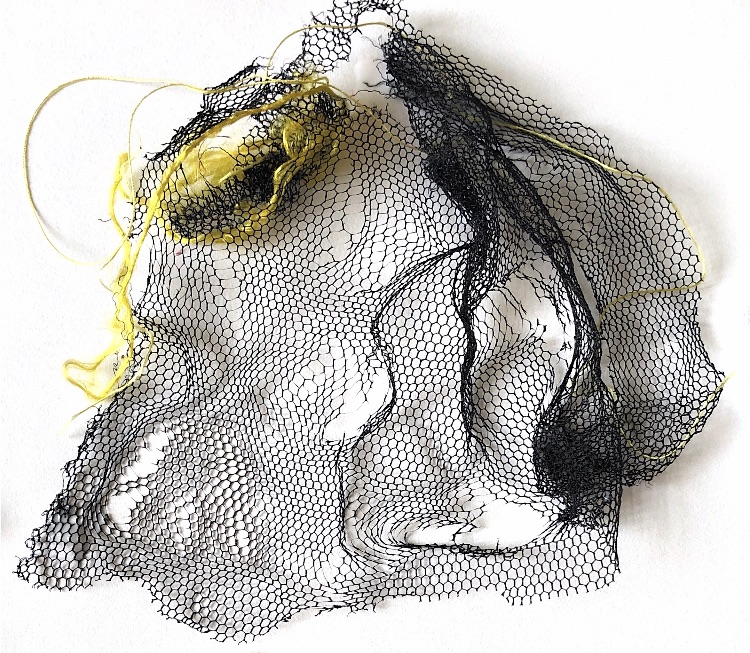
When using the heat gun I didn’t really get inspired until I drew/painted a piece of black net that I had heated until it went into holes, – once I had drawn it I started to stitch around the holes which transformed my thinking about this piece.

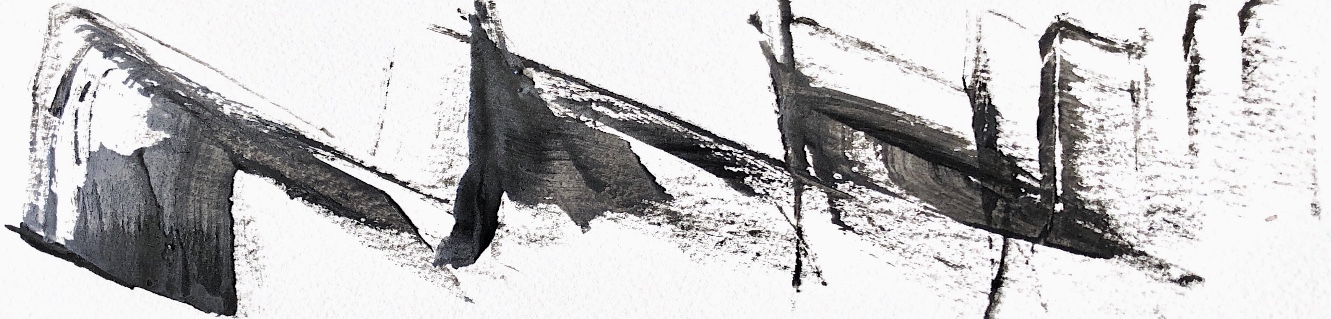
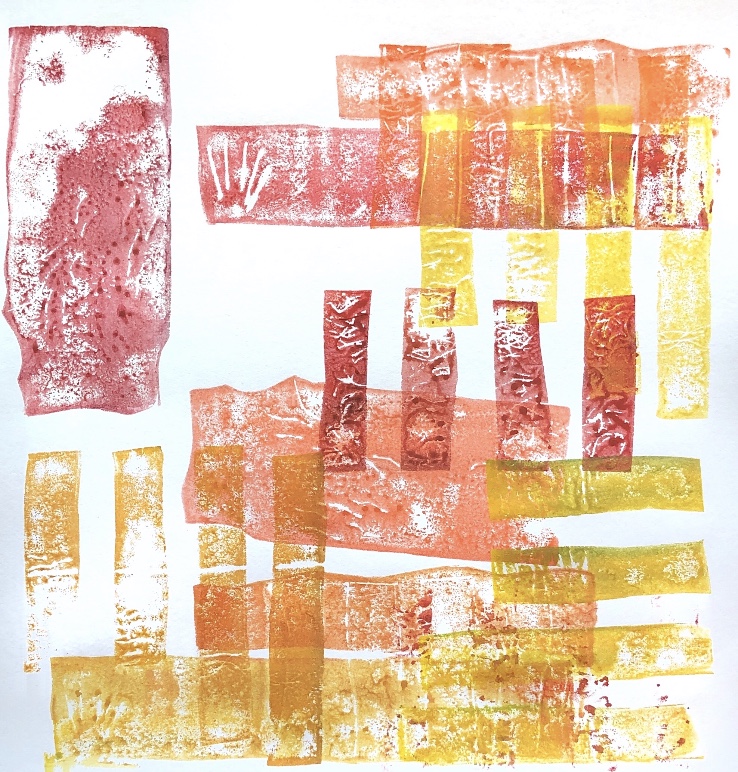
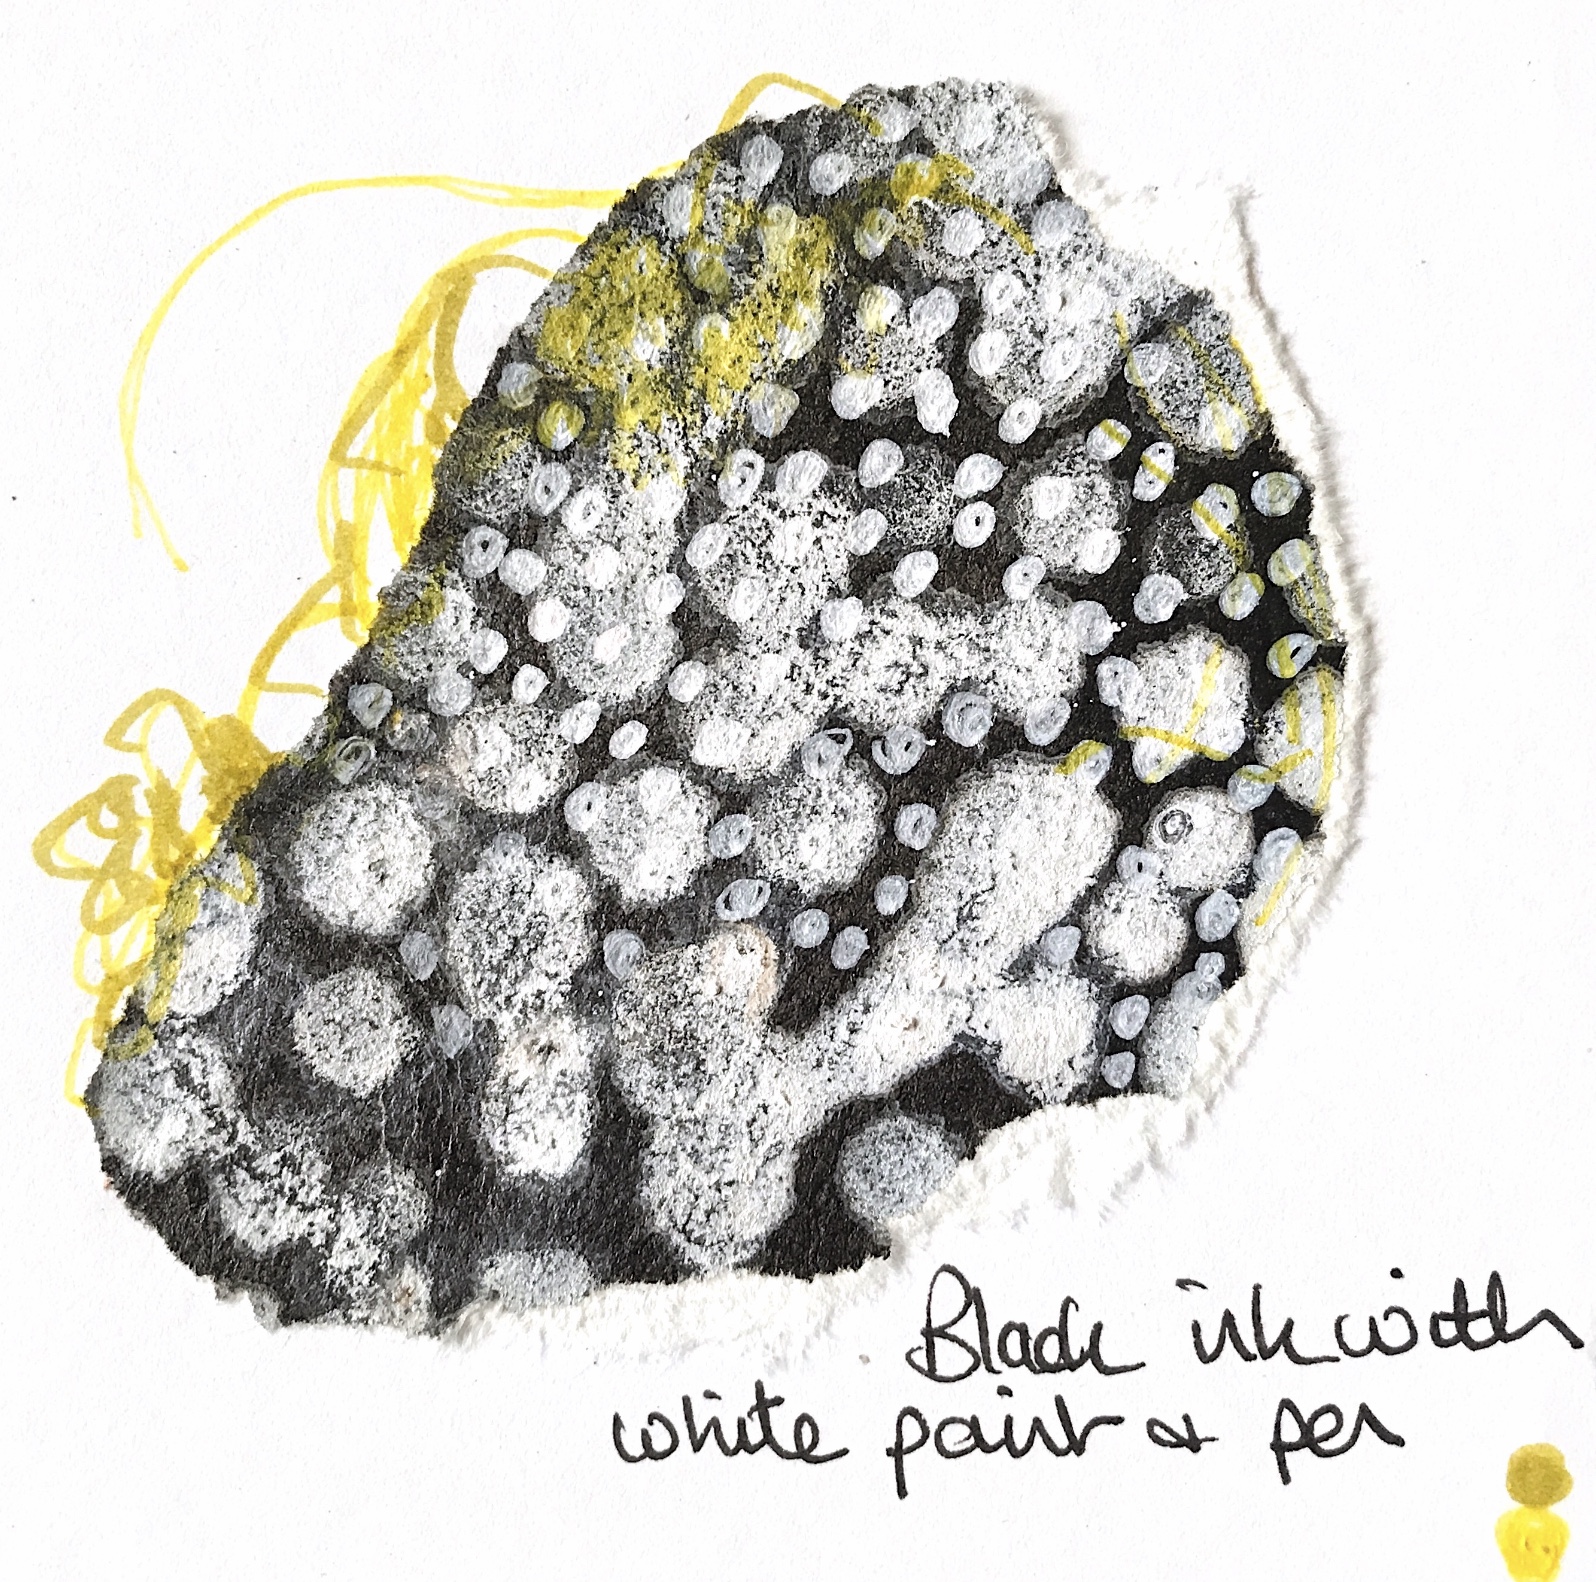
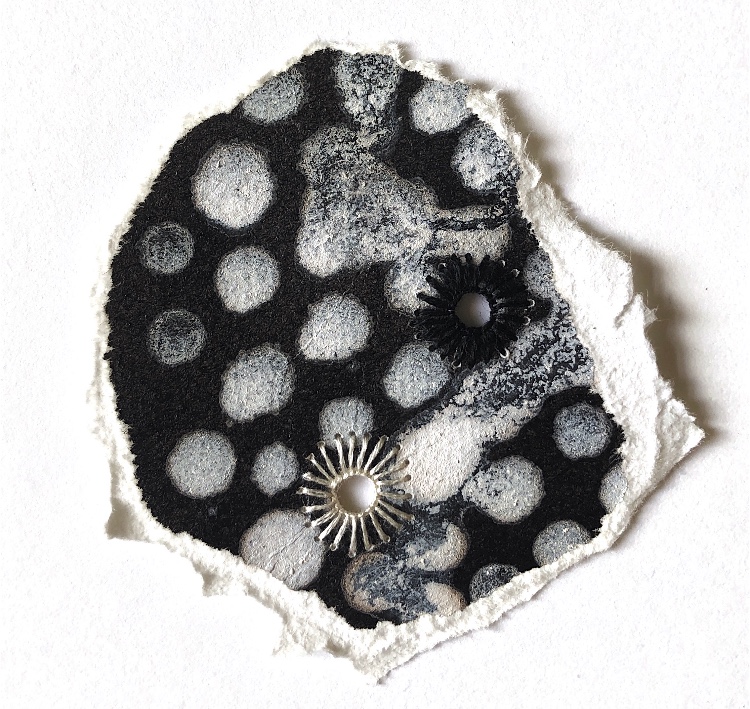
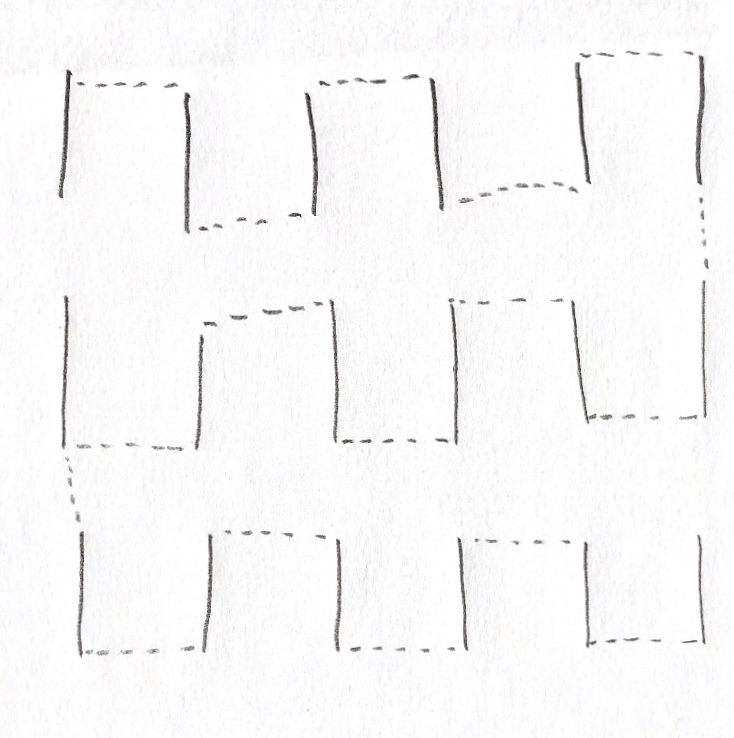
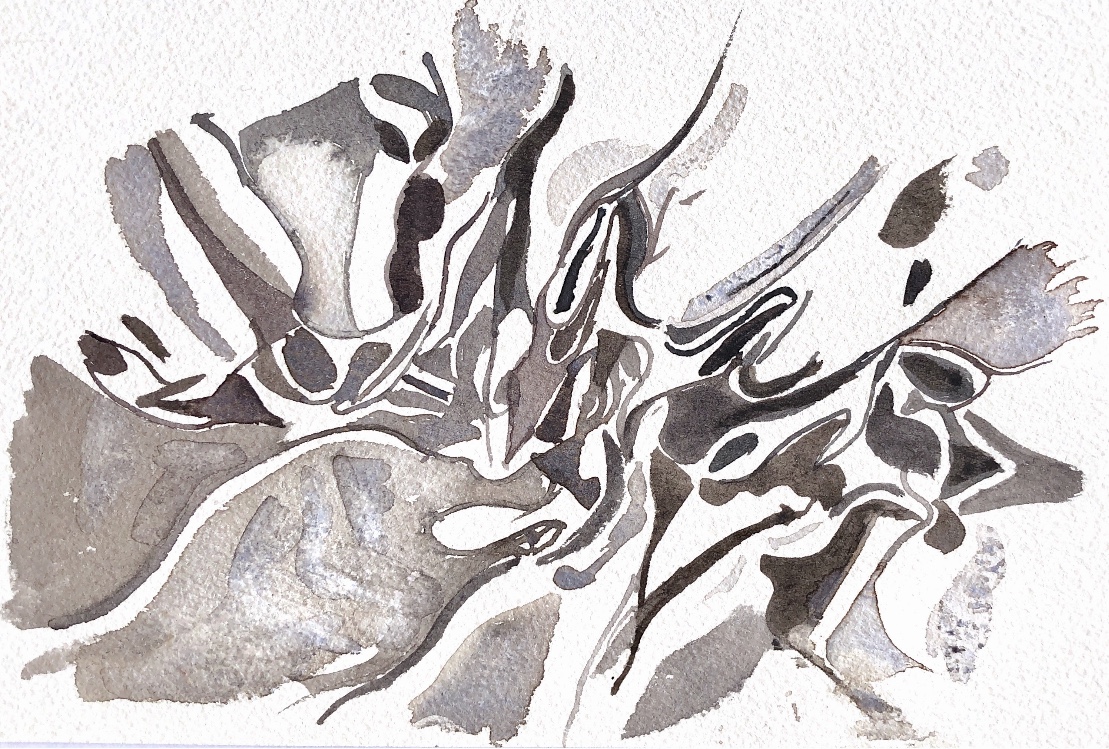
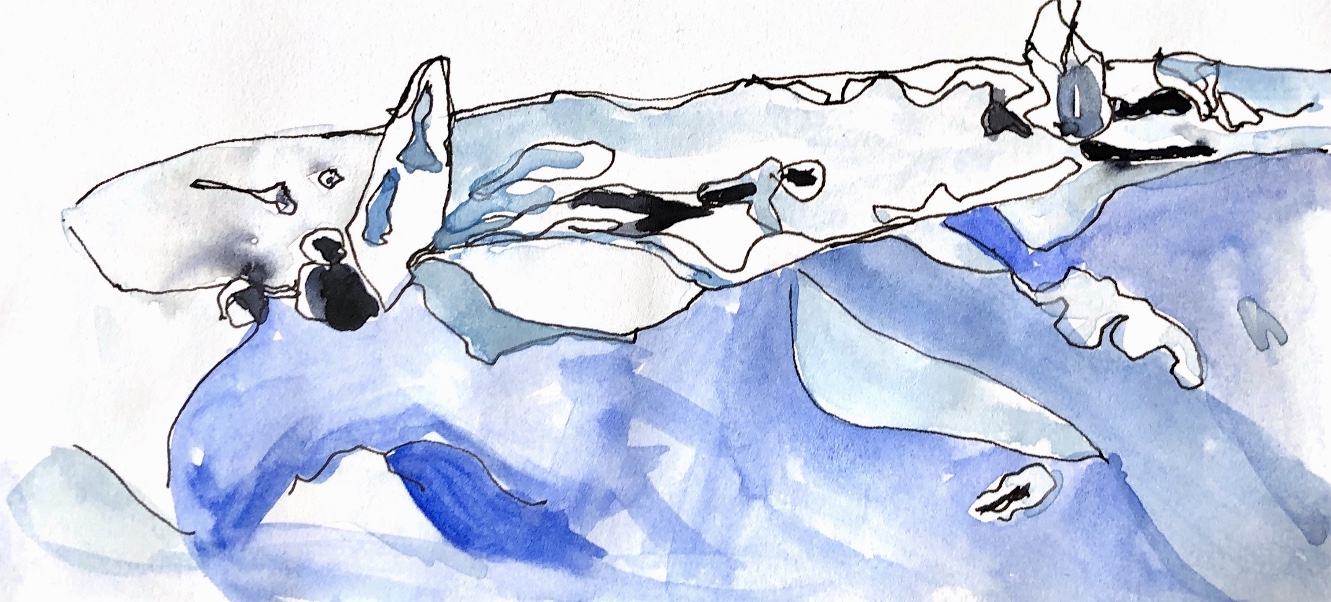
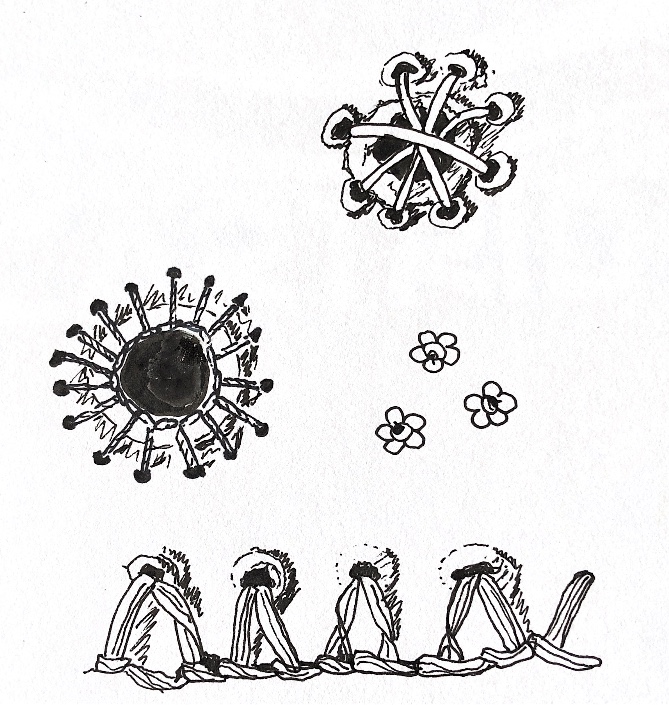
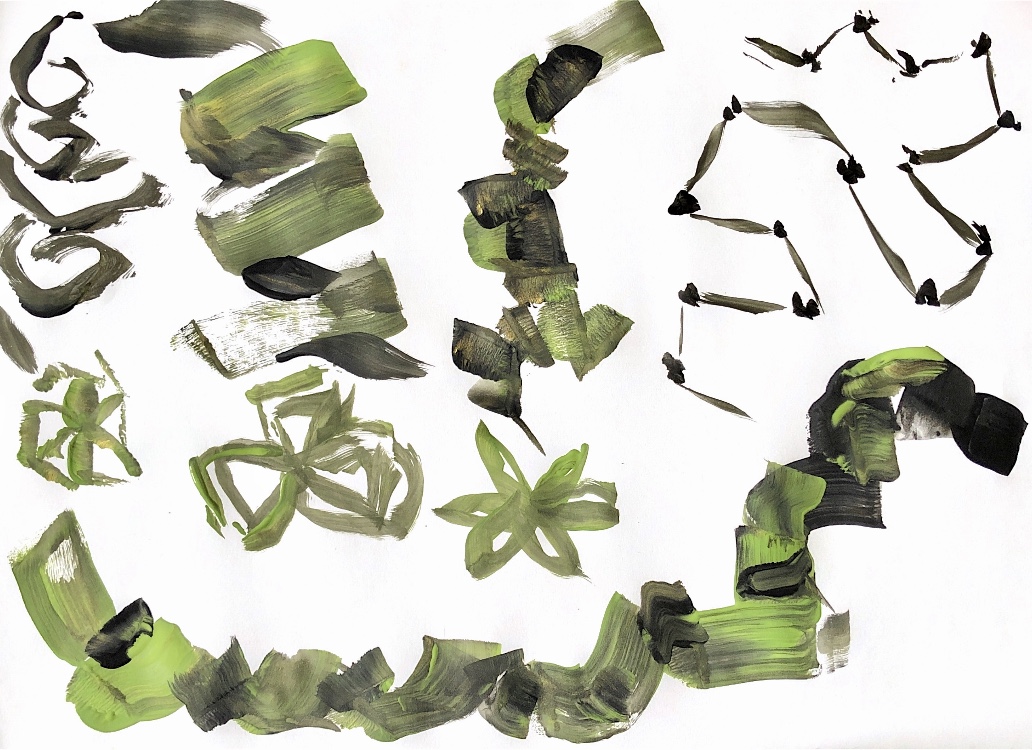
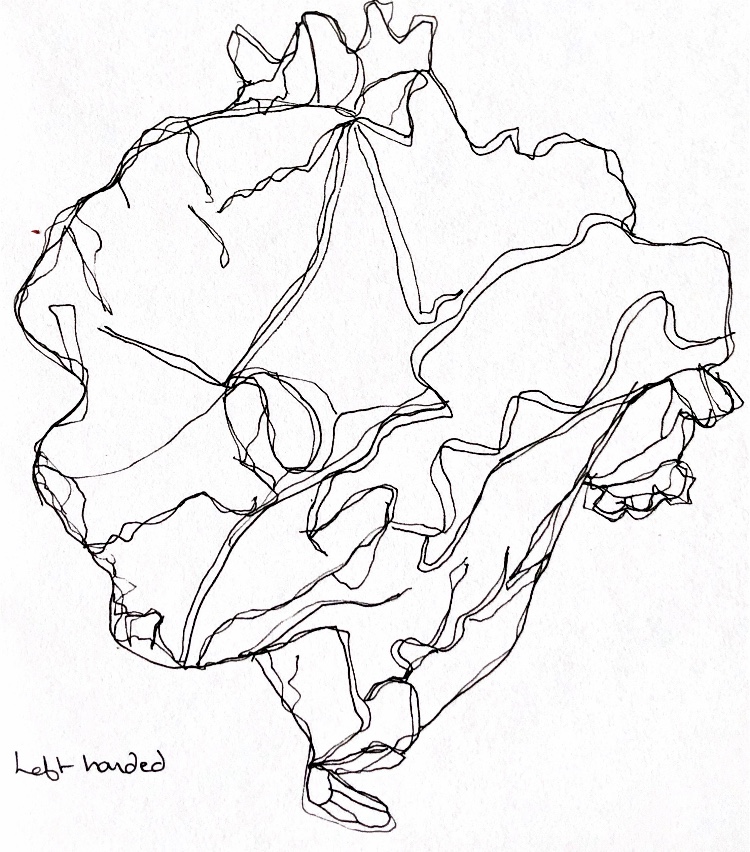
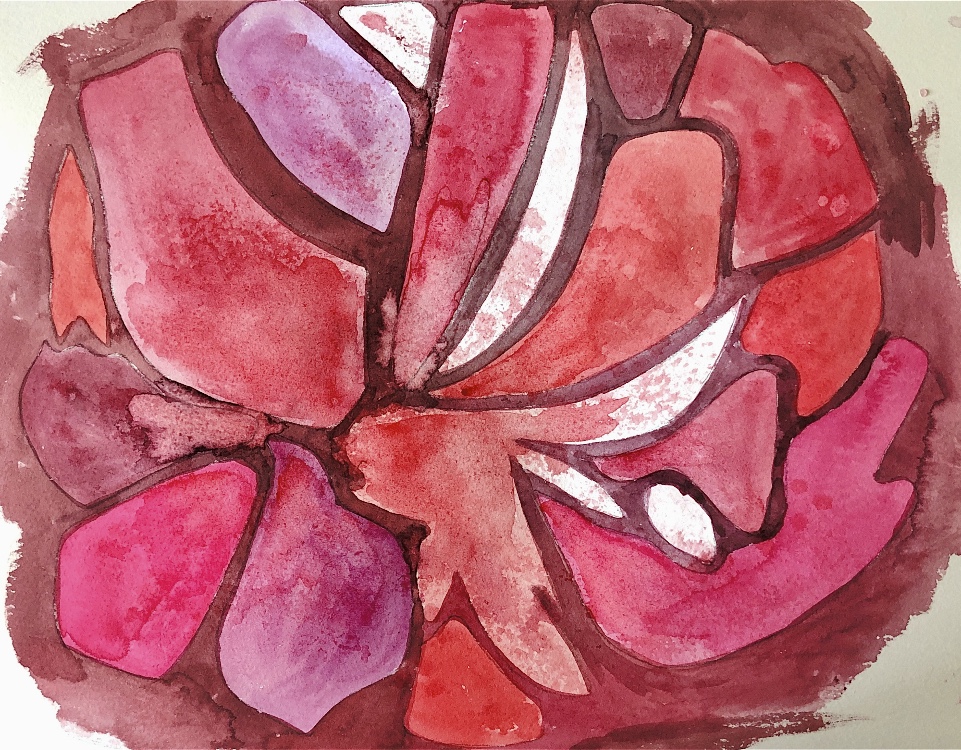
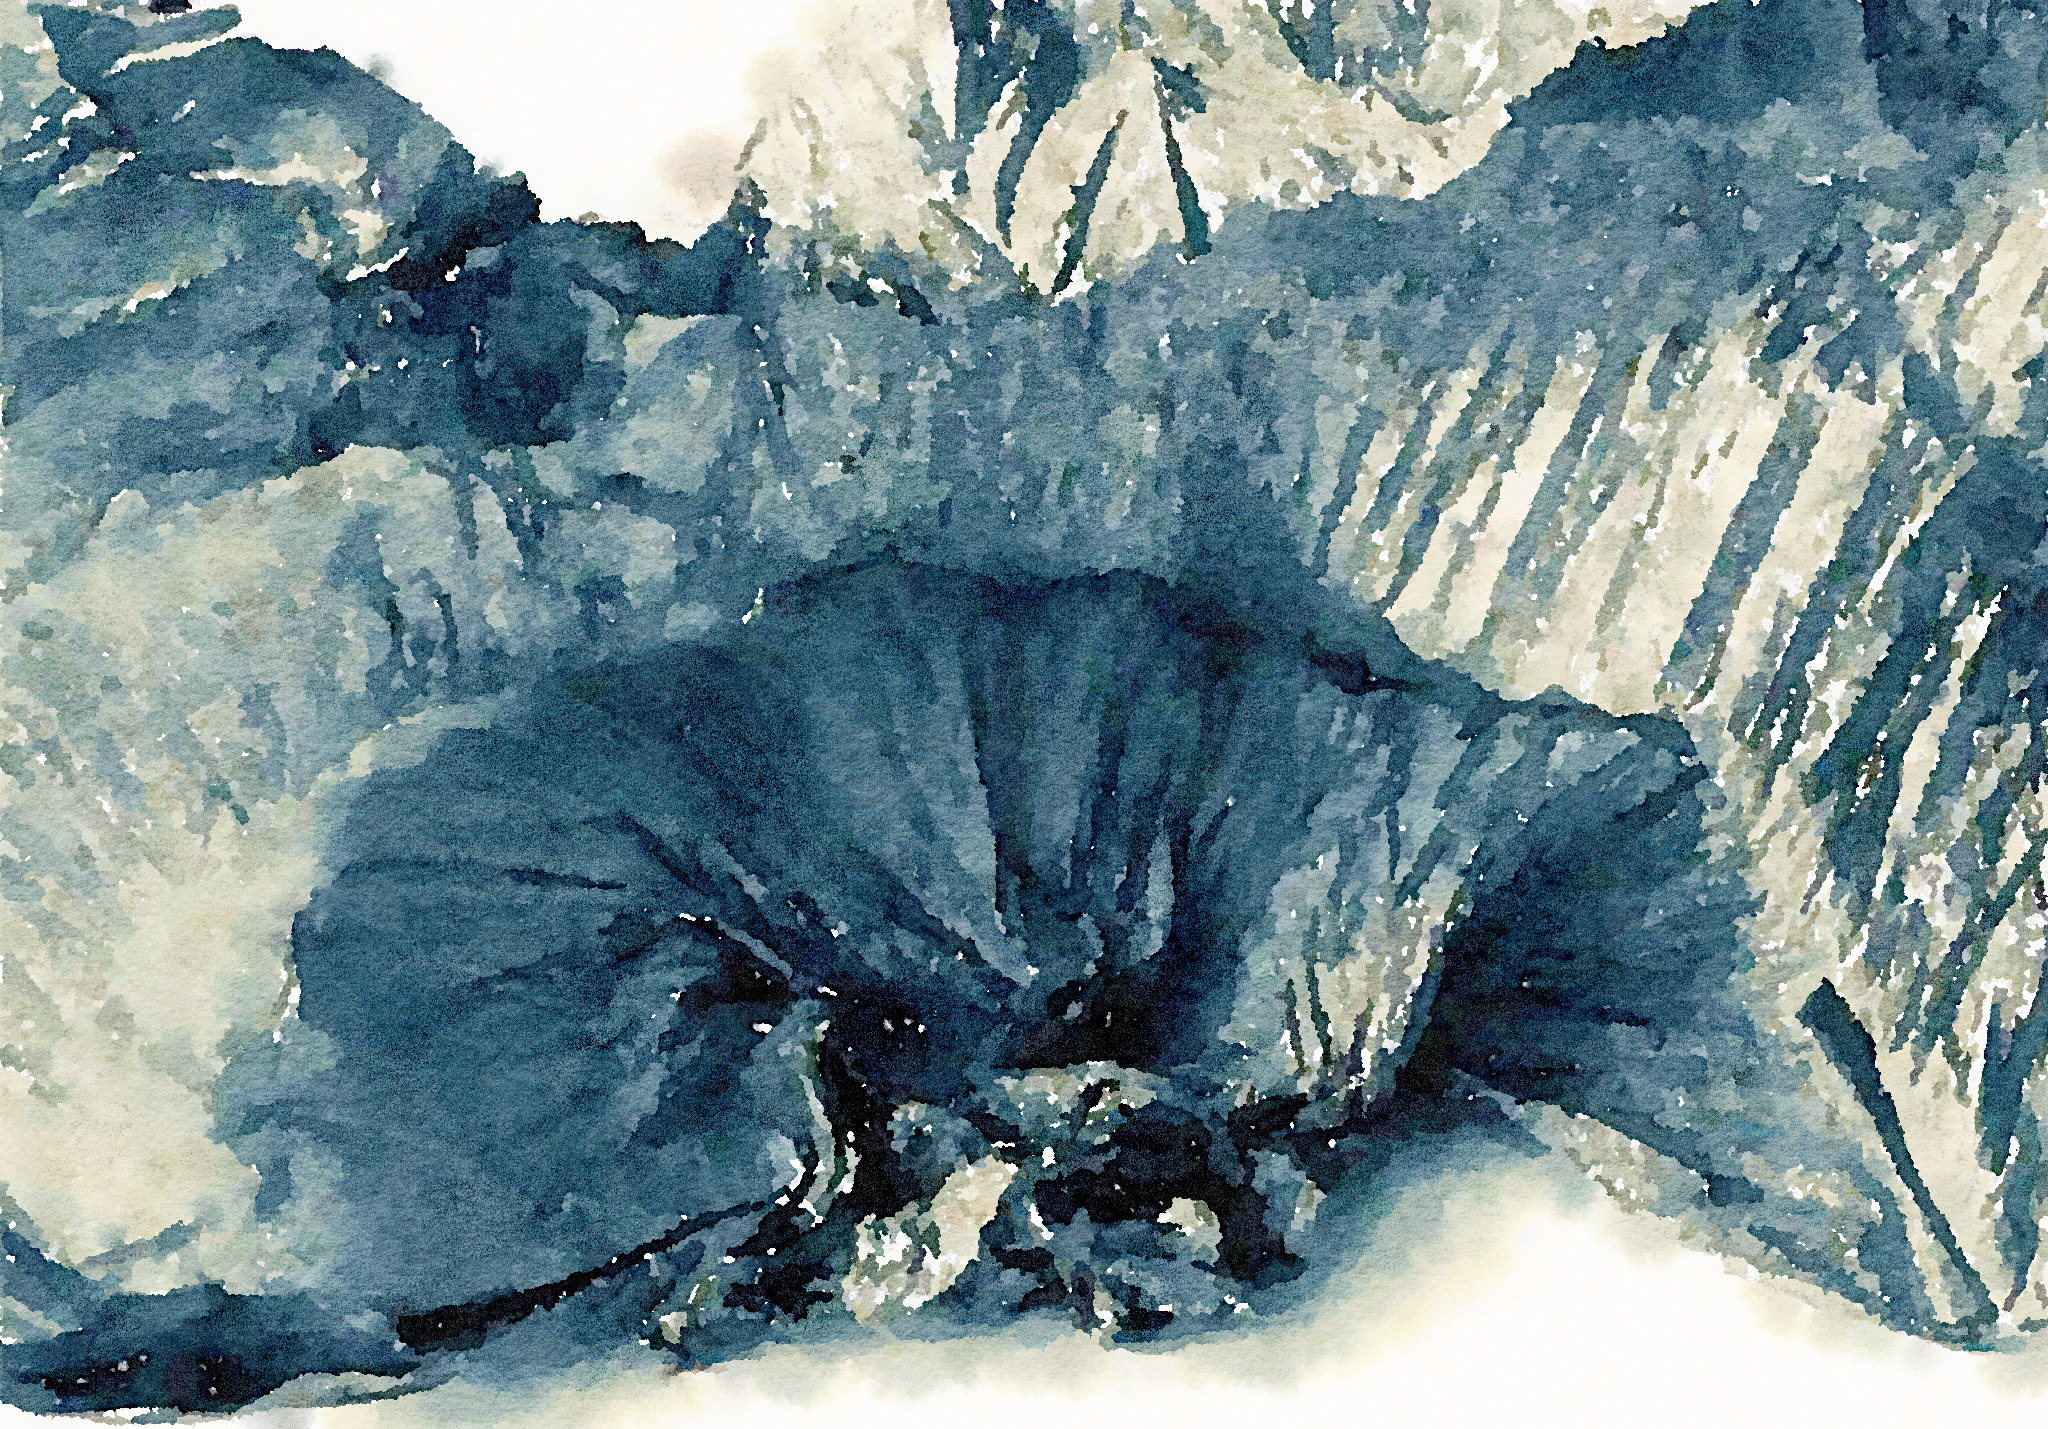
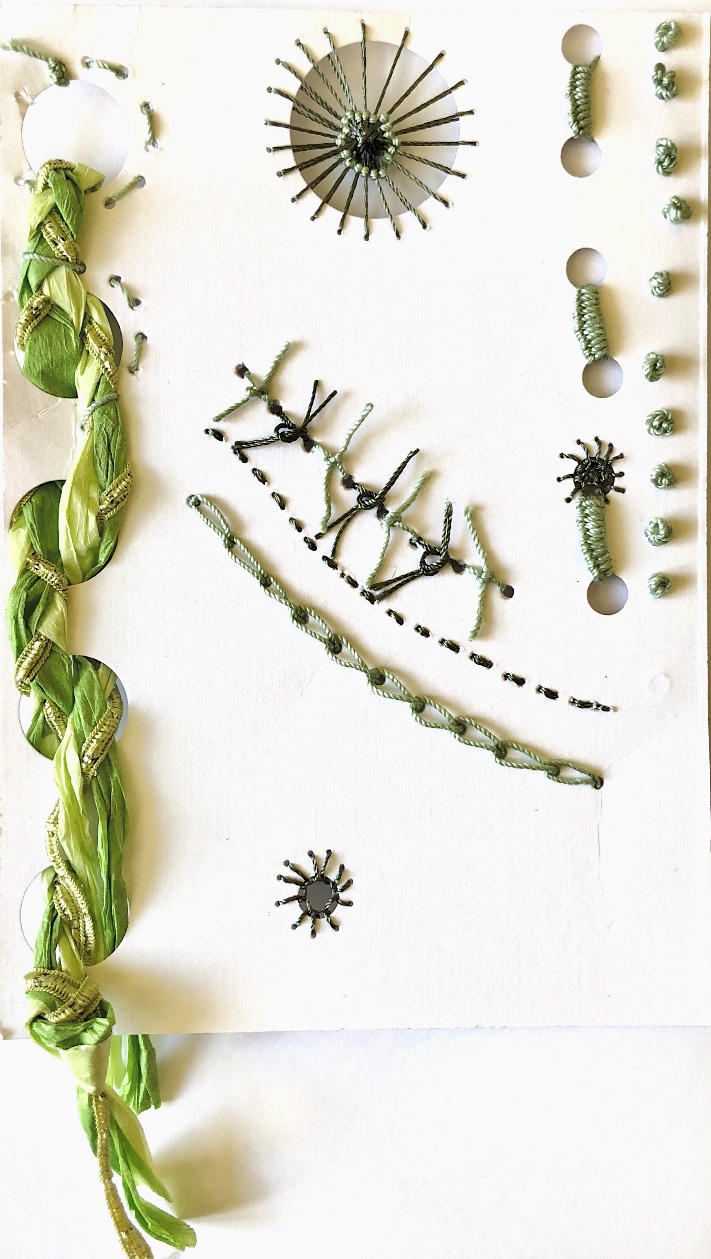
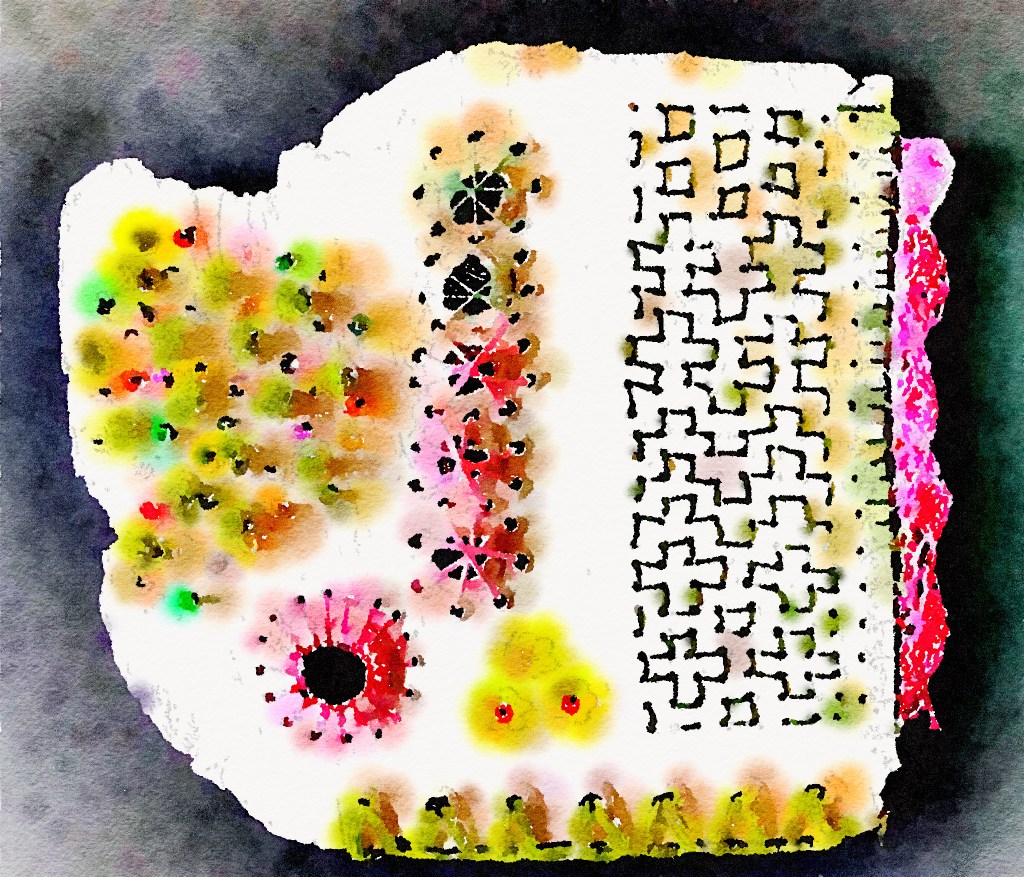
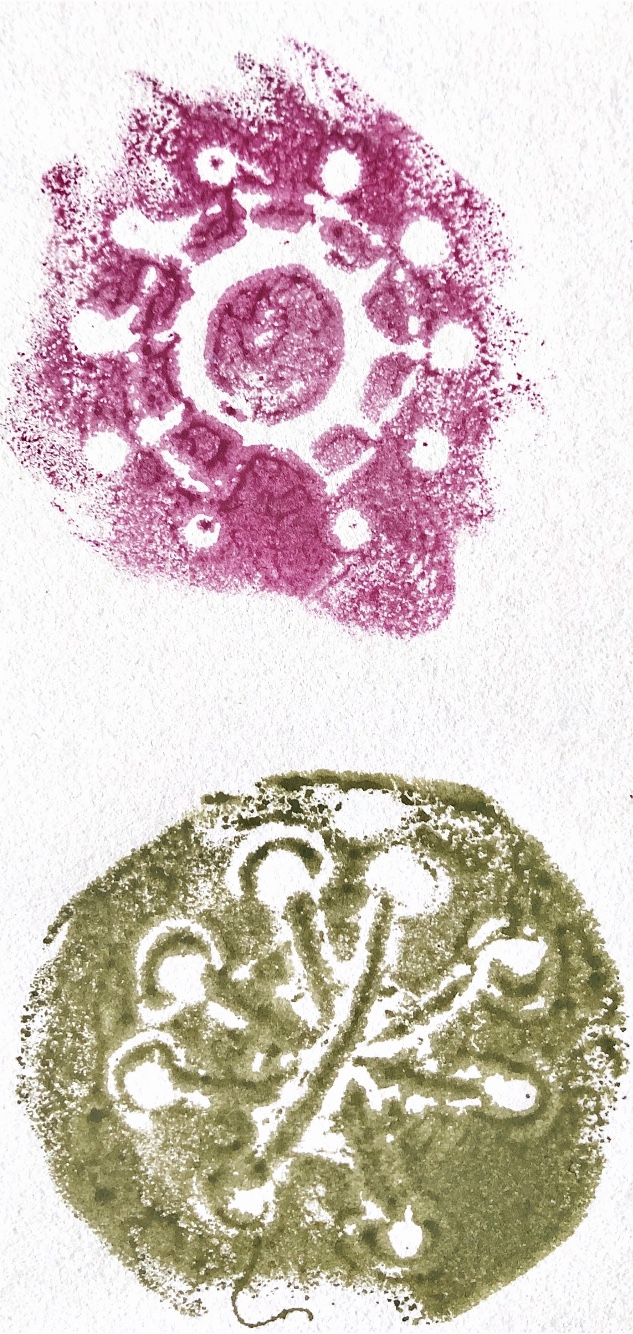
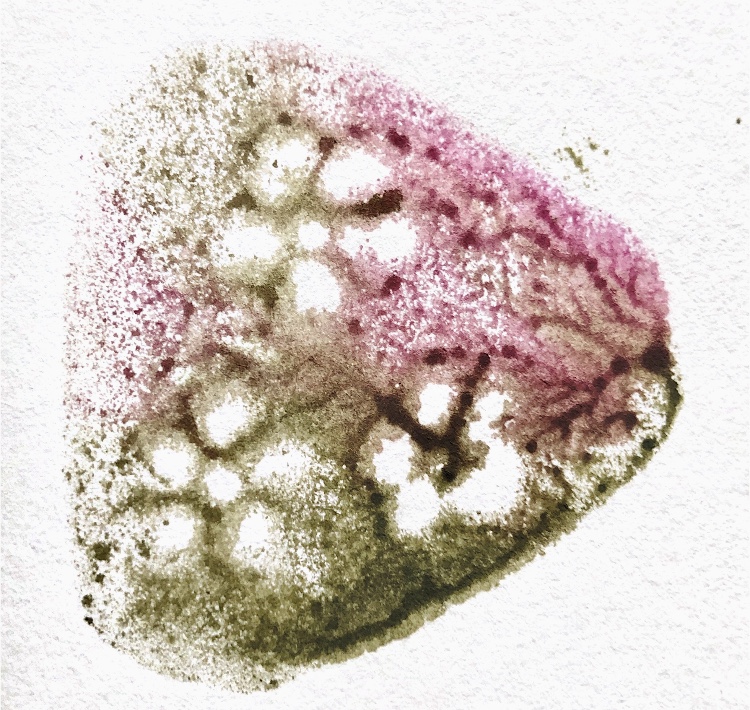
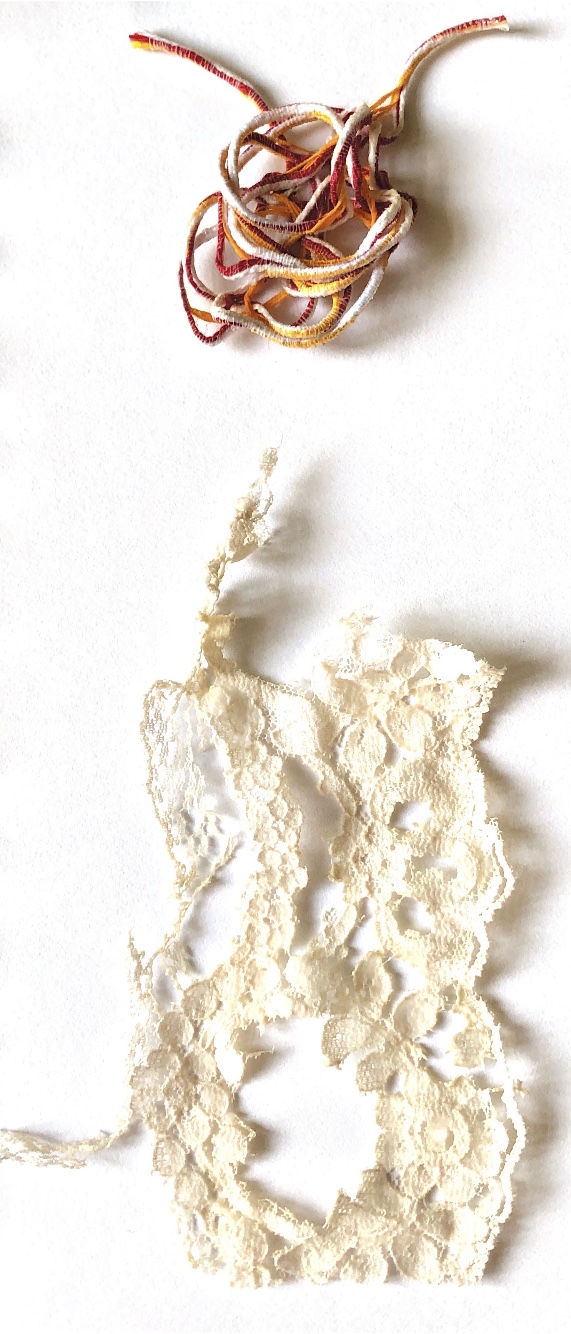
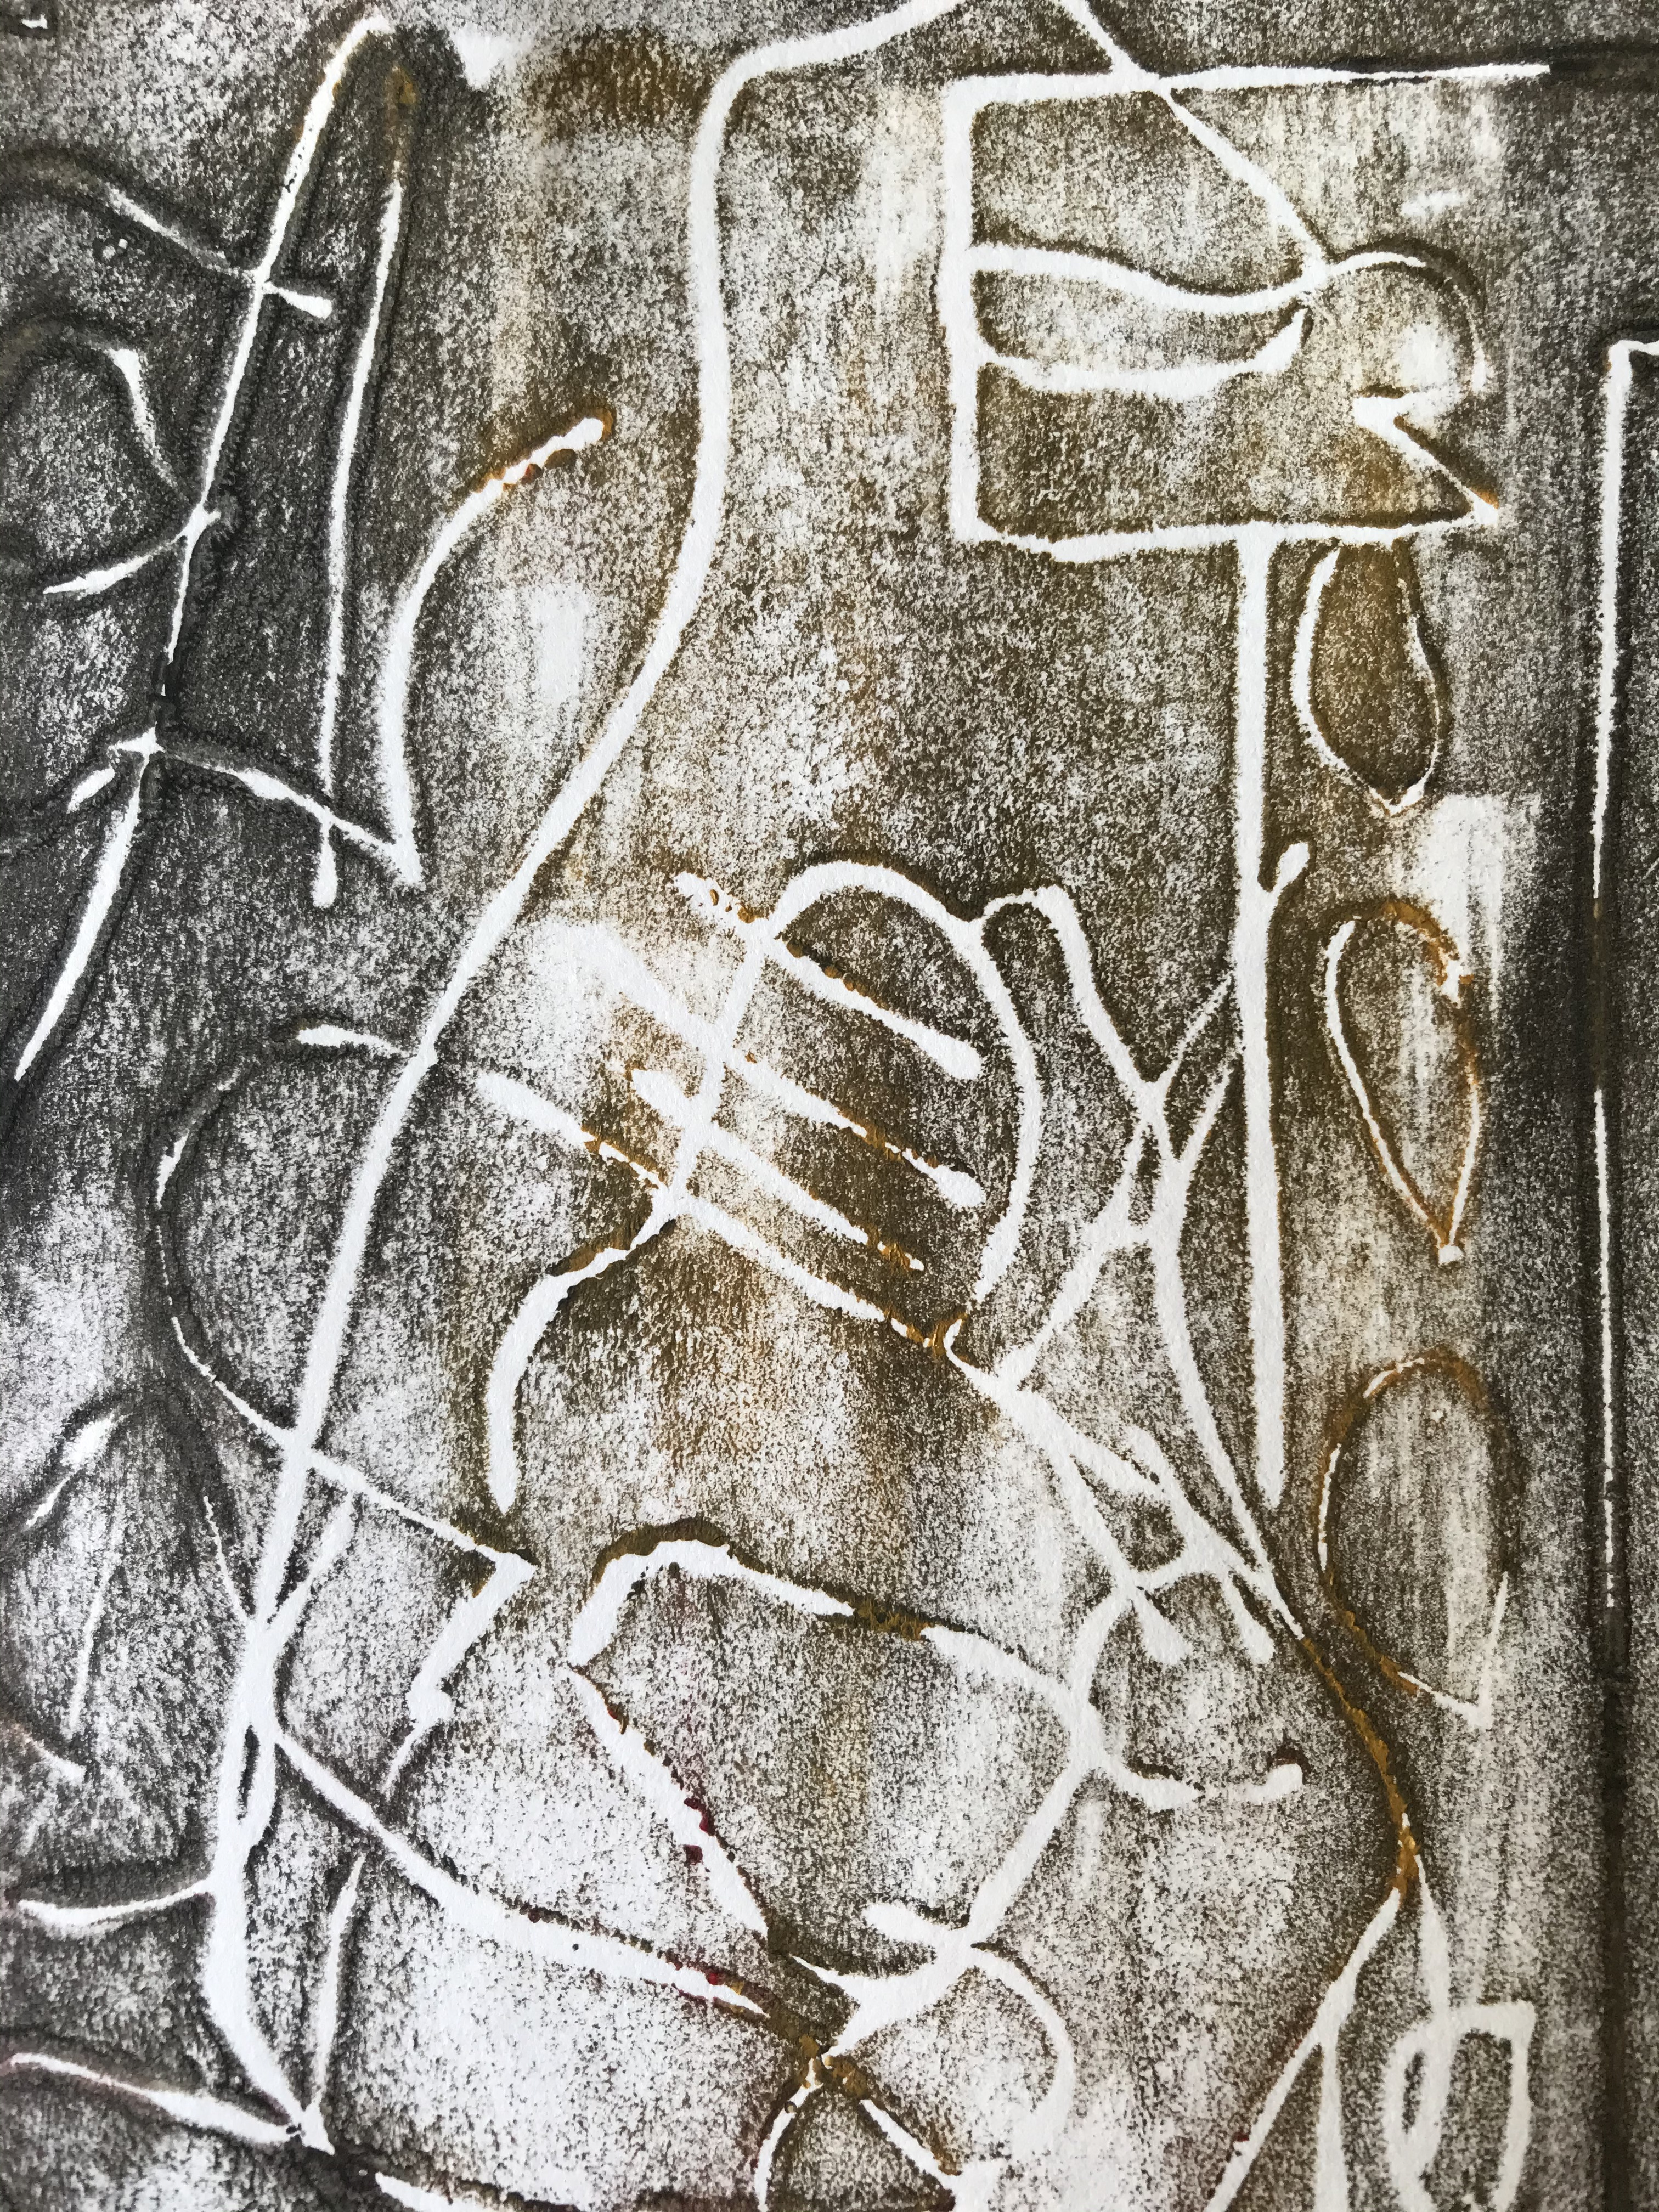
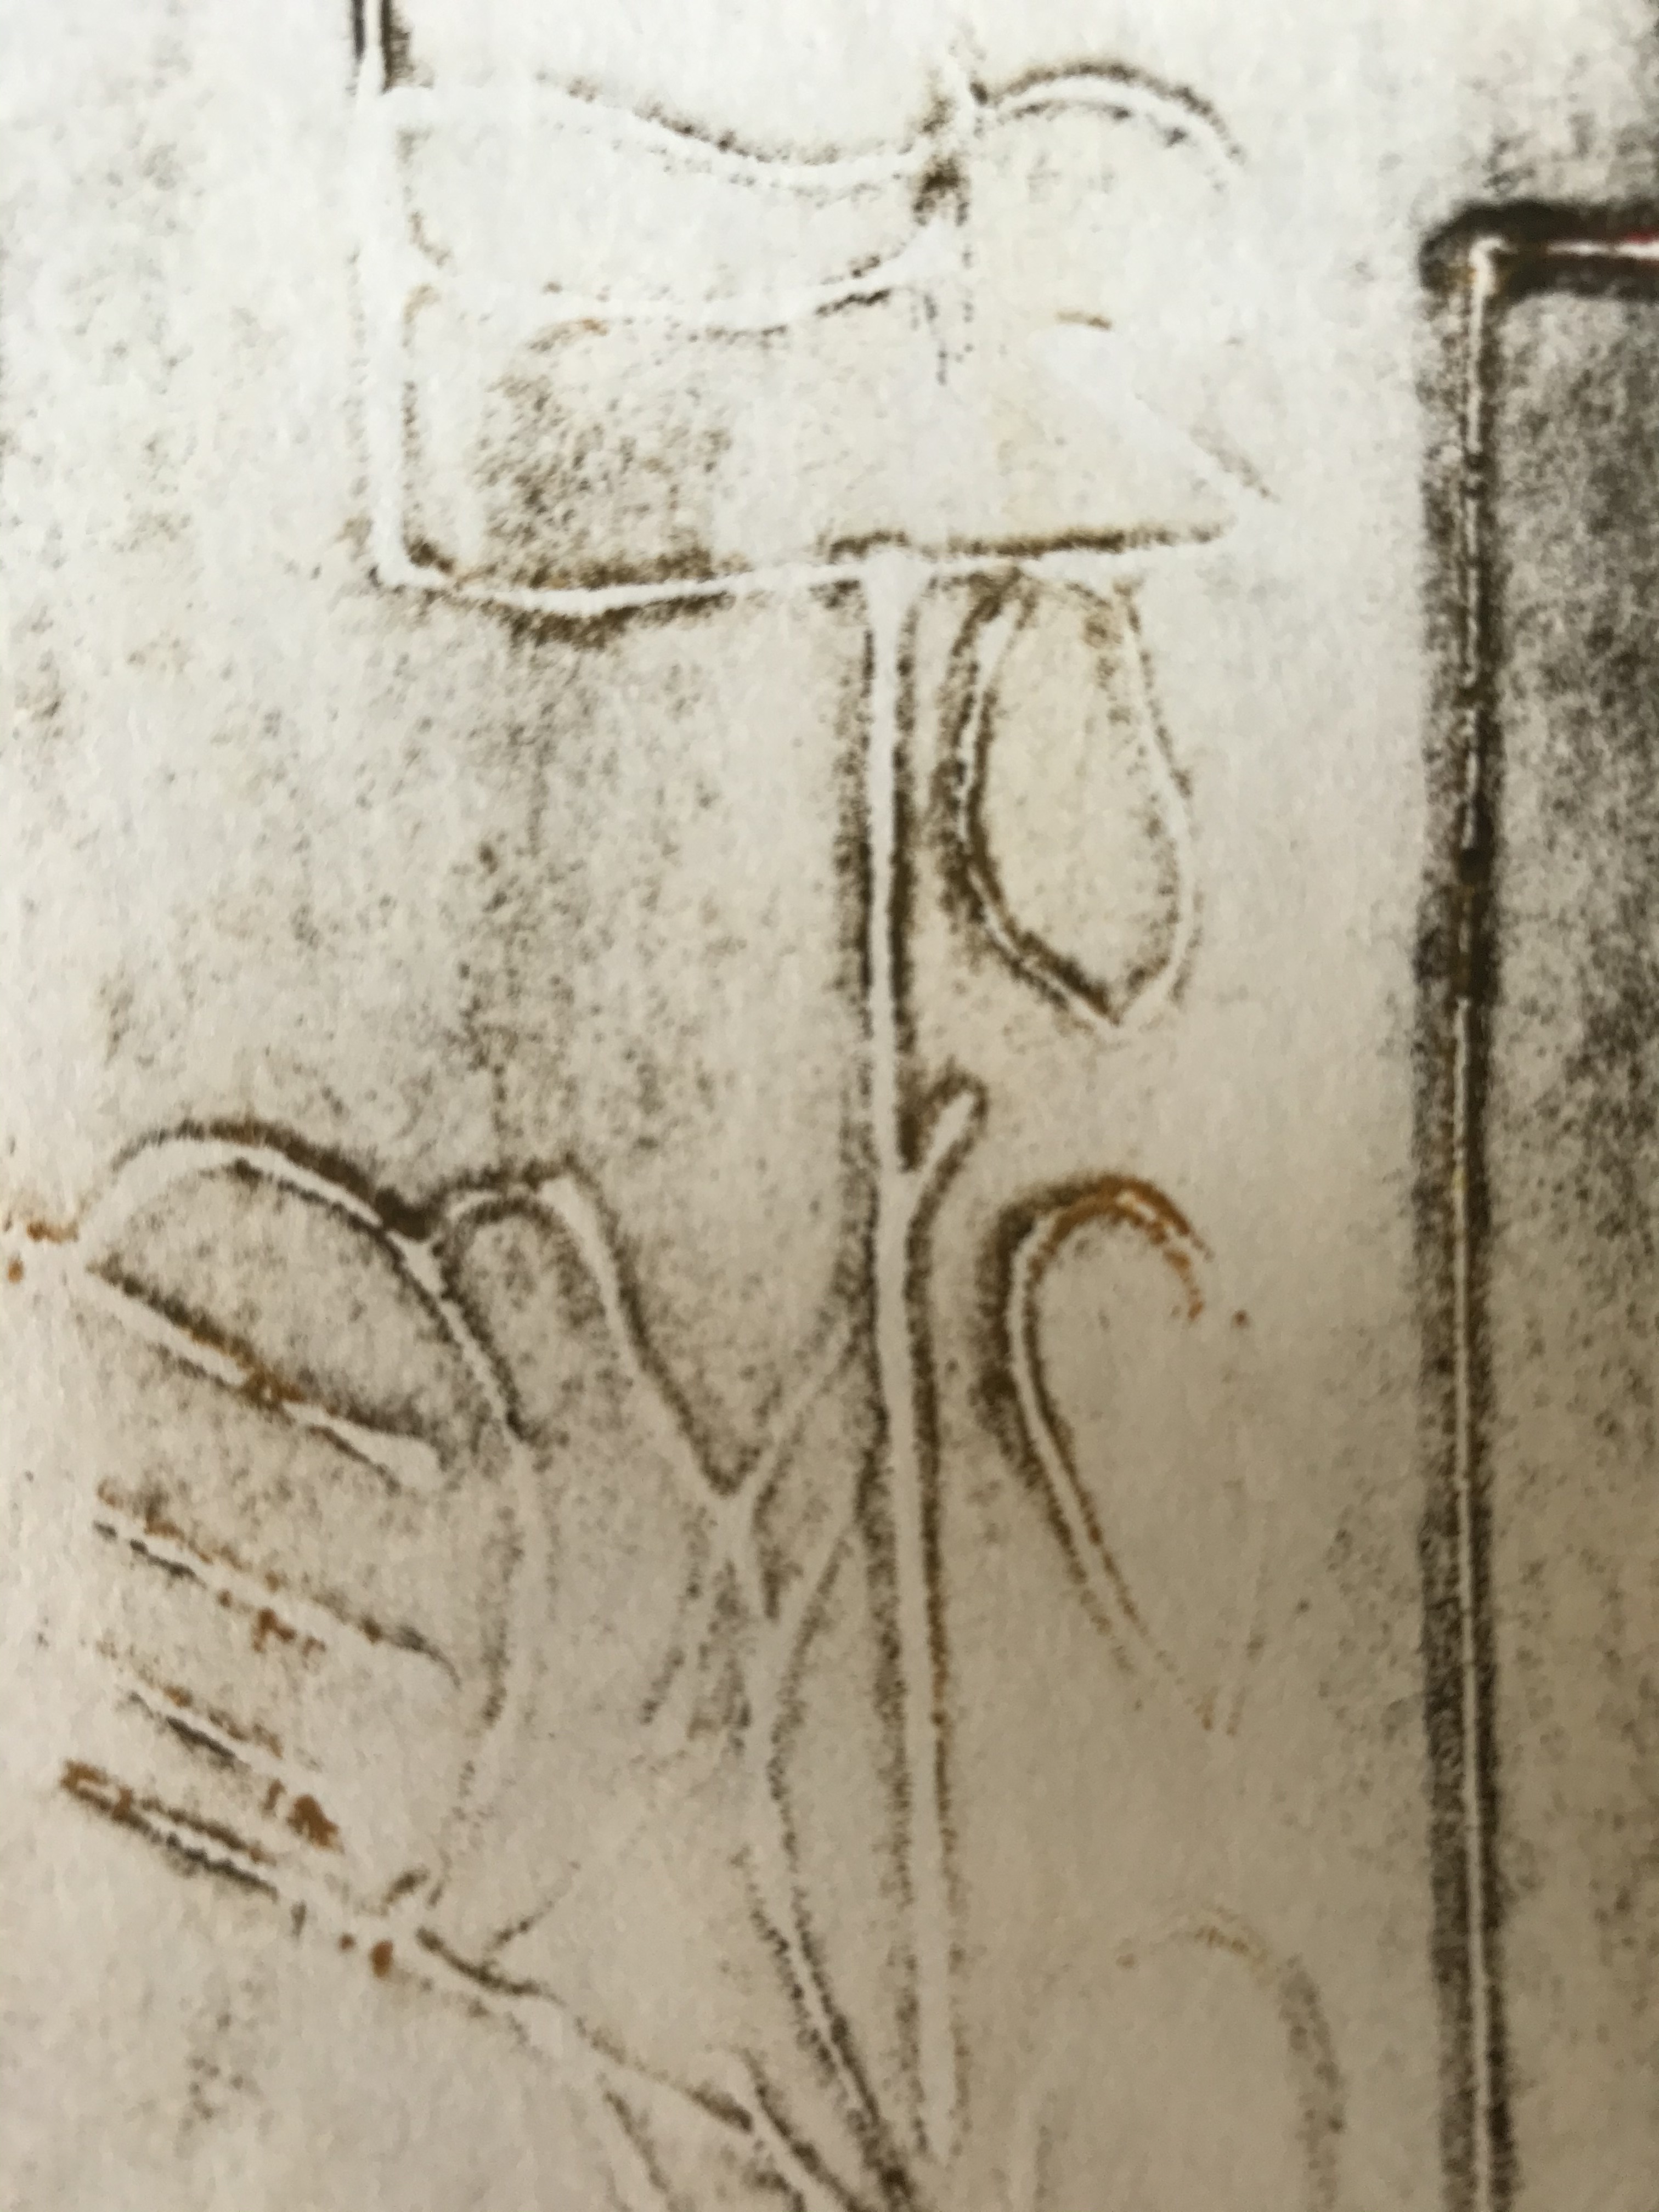
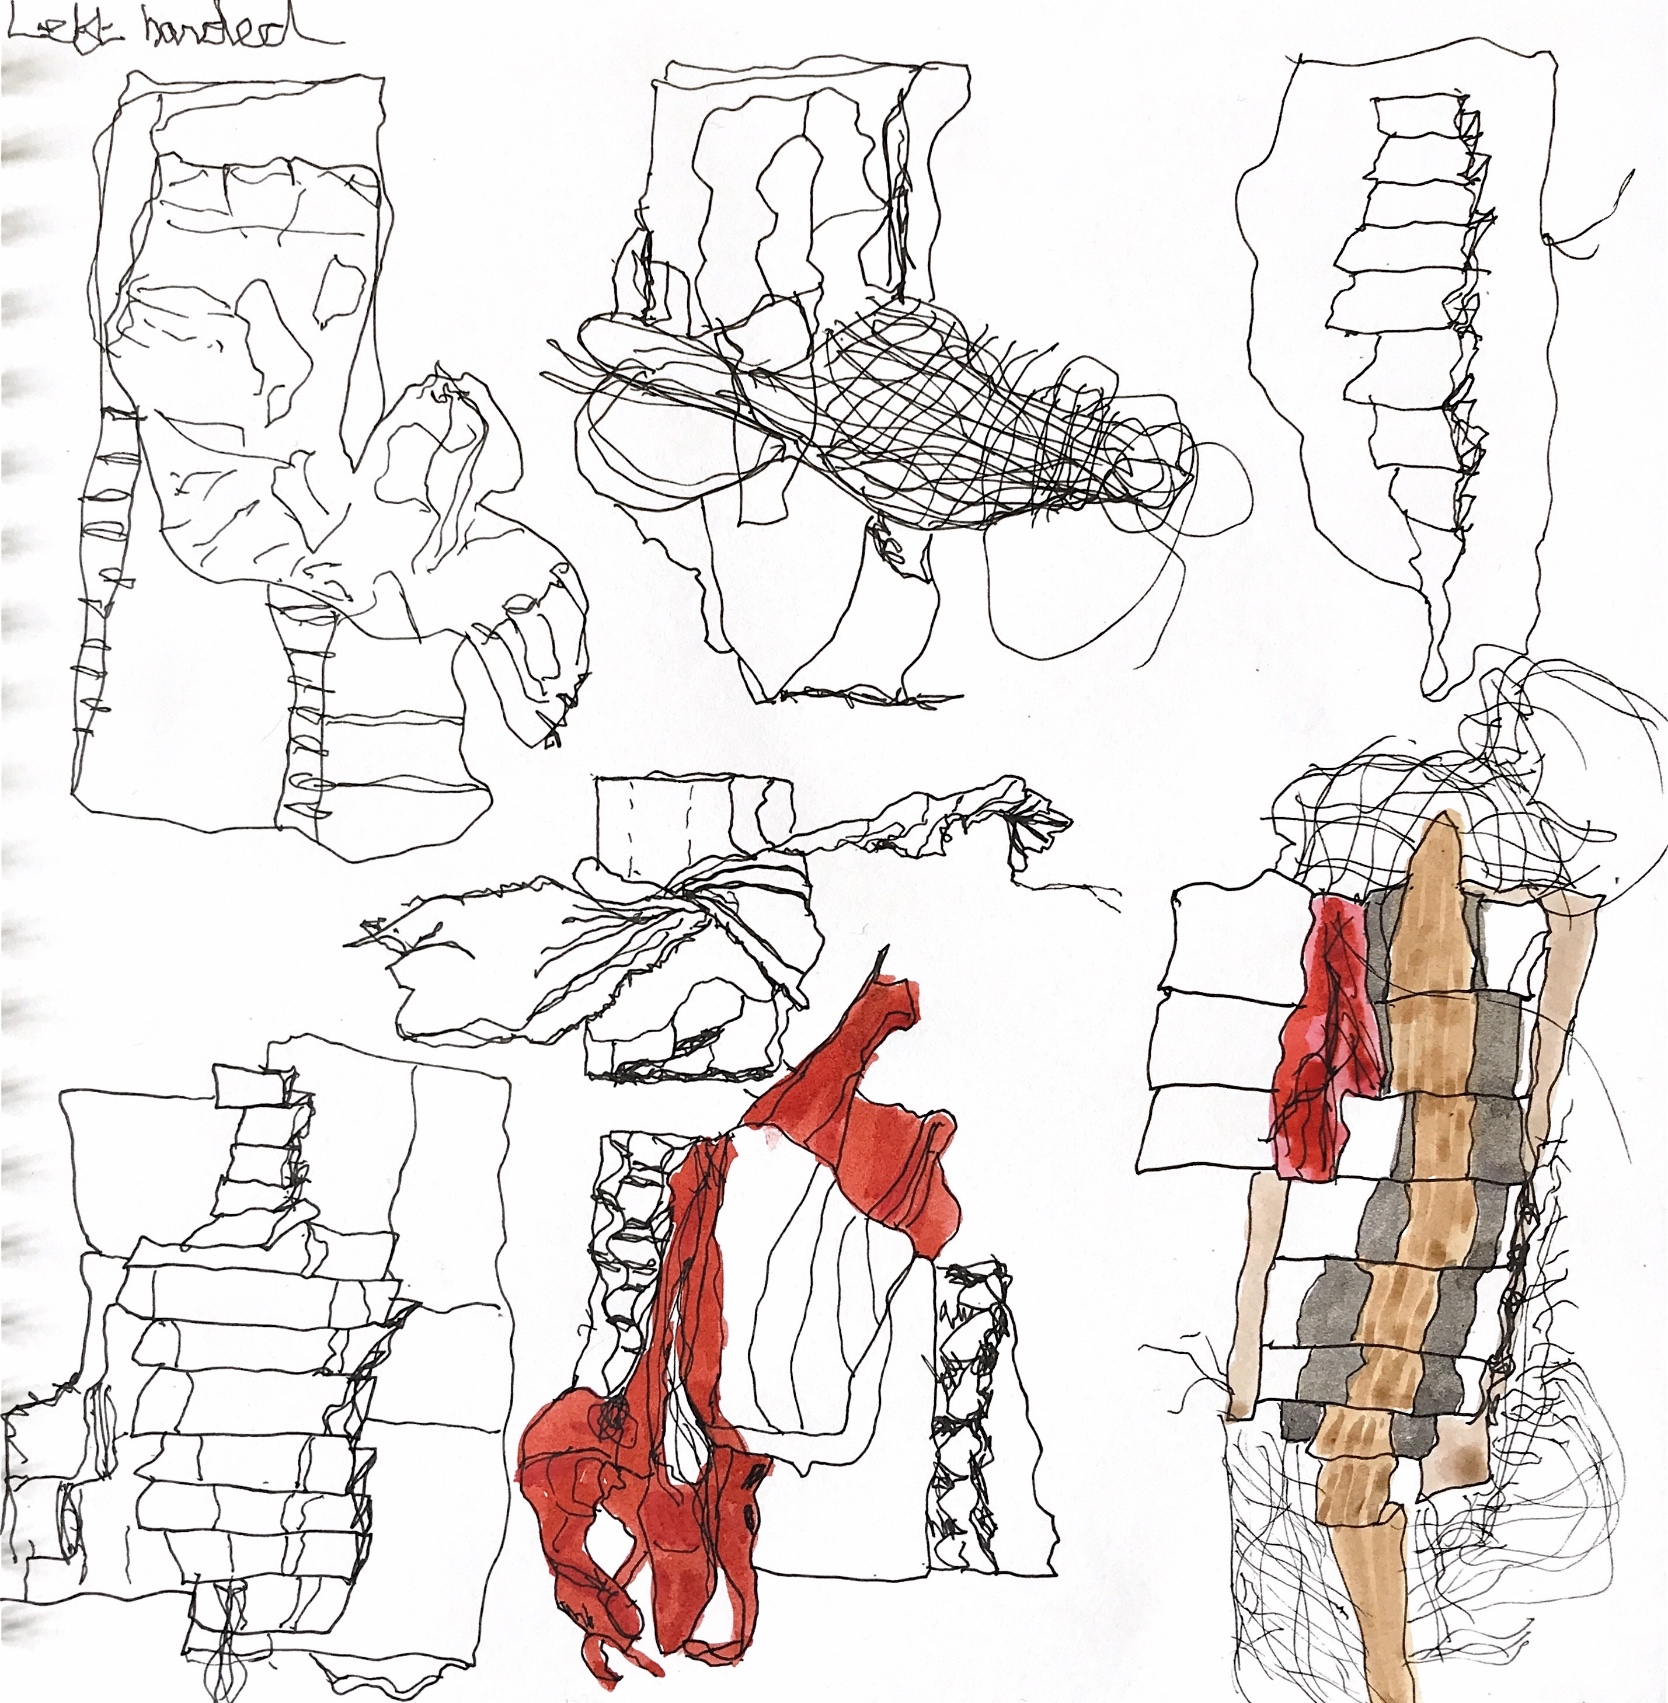
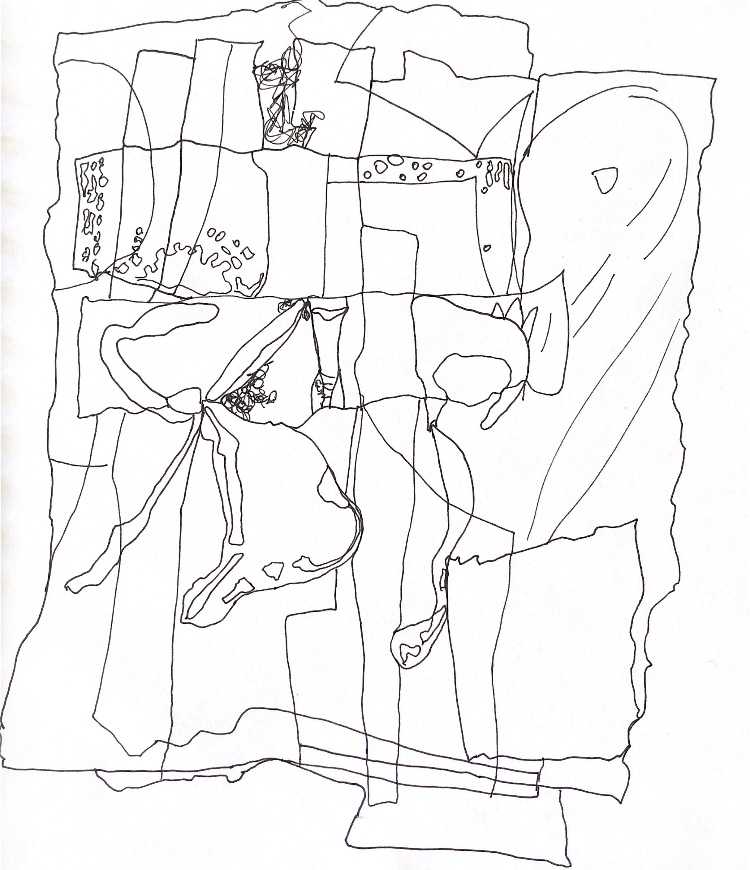
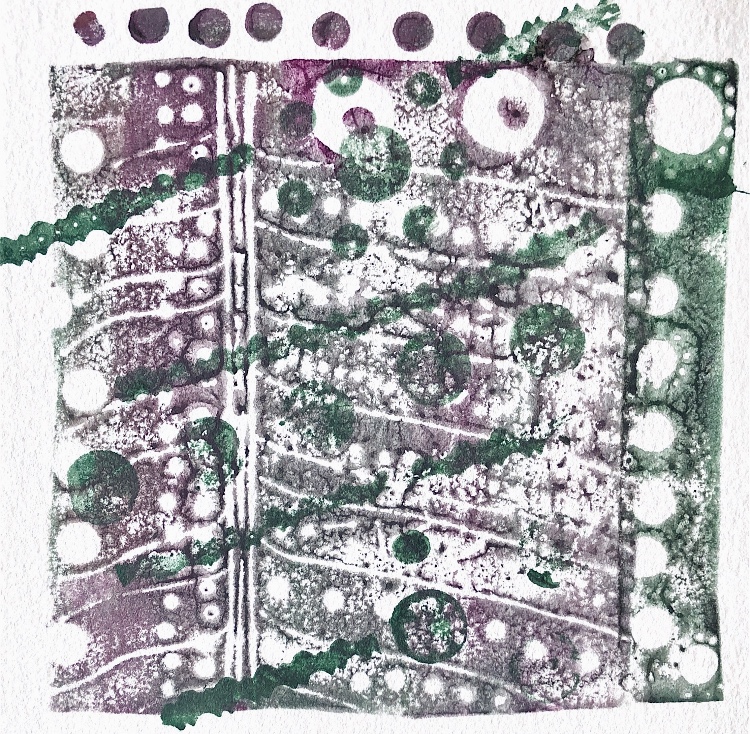
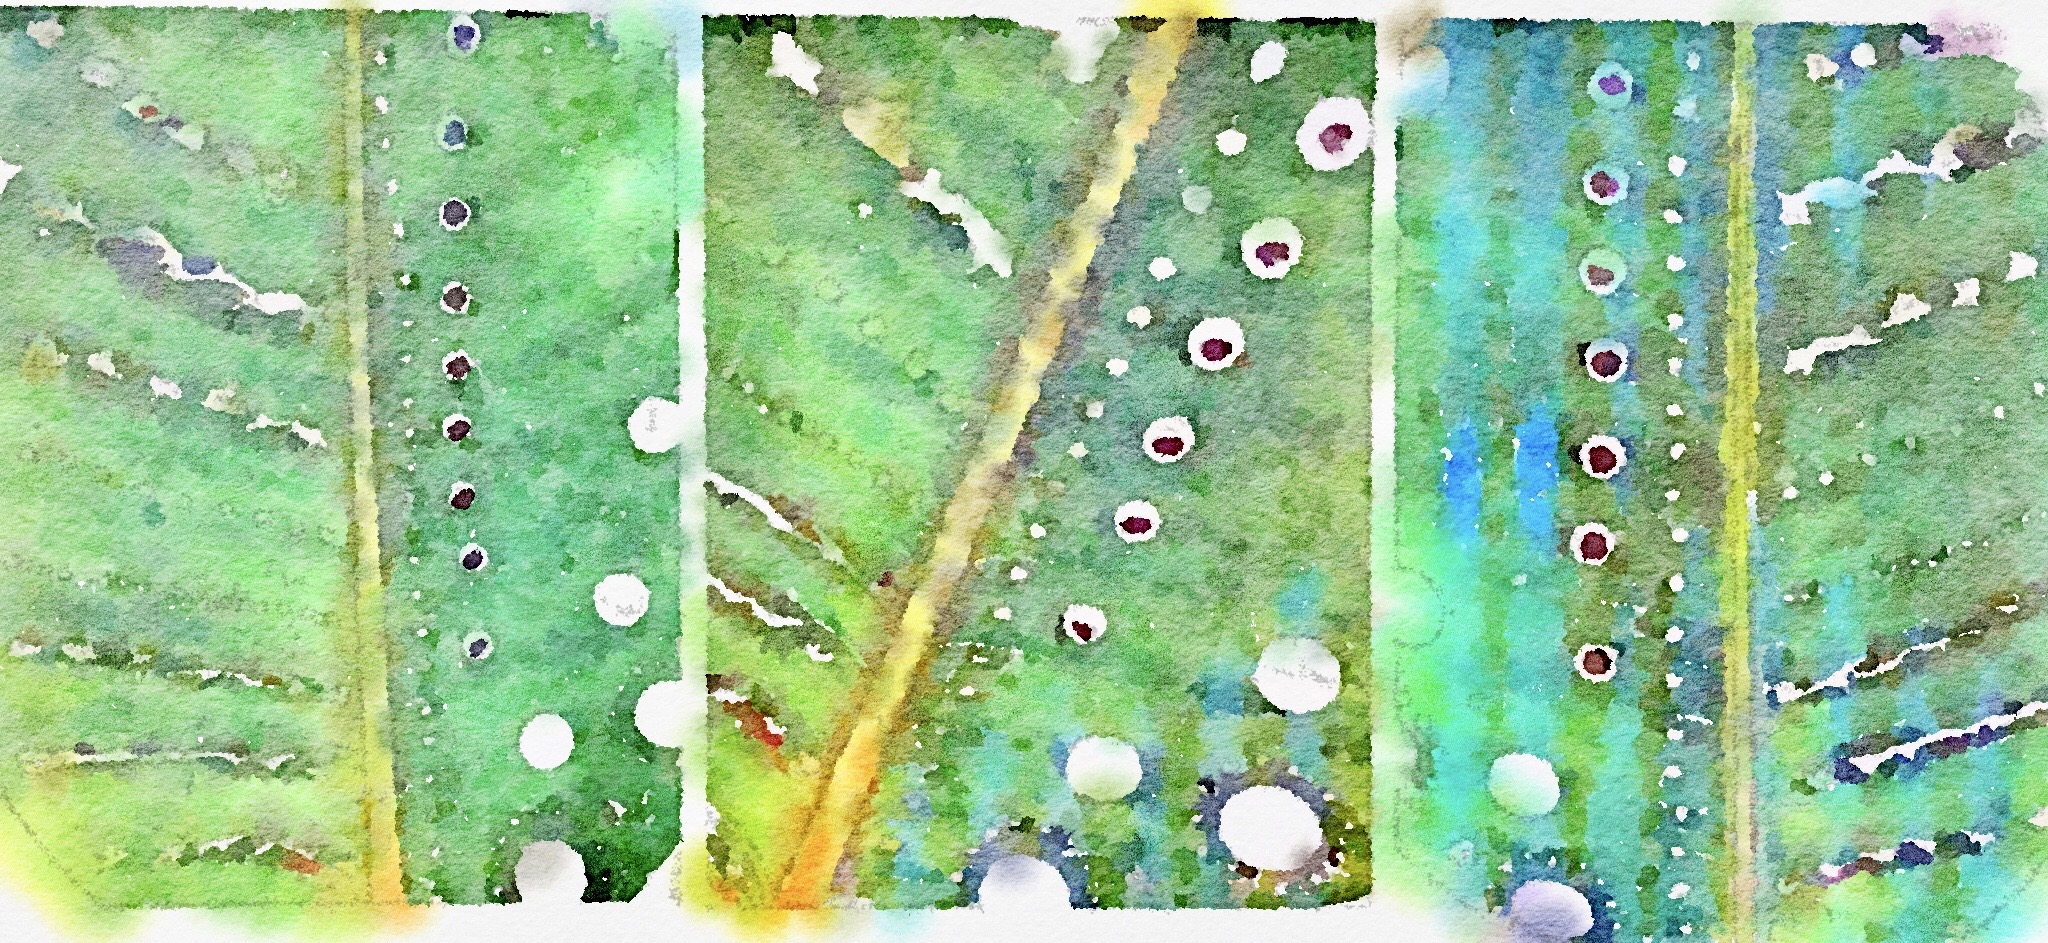
I drew a lot of my samples in my sketchbook using different methods and media. I can see now that by drawing, manipulating images and printing I am developing a rich and varied collection of ideas for pattern and stitch development that I could not do with photos and the samples alone. My drawing is improving and I particularly enjoy the freedom of using my non-dominant hand.

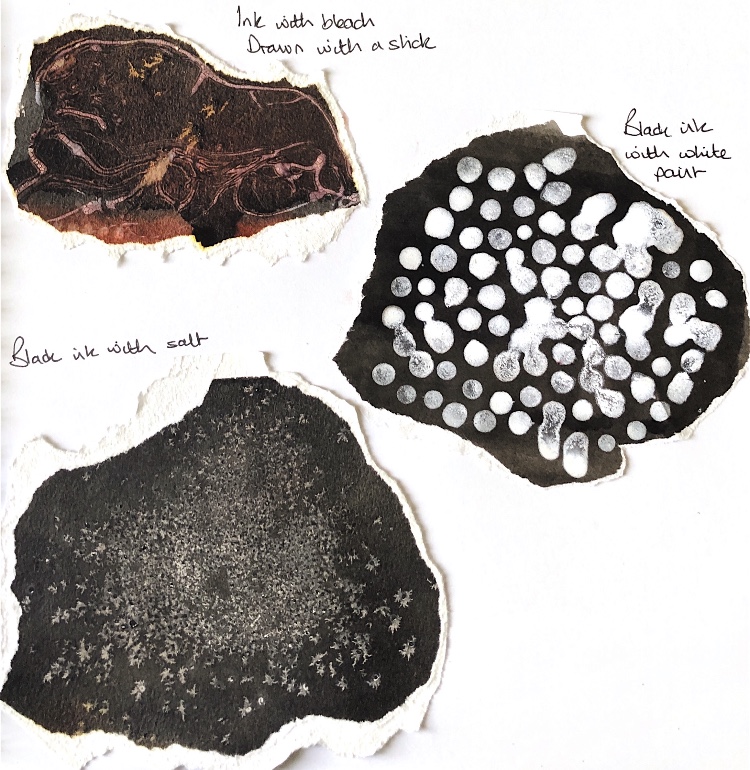
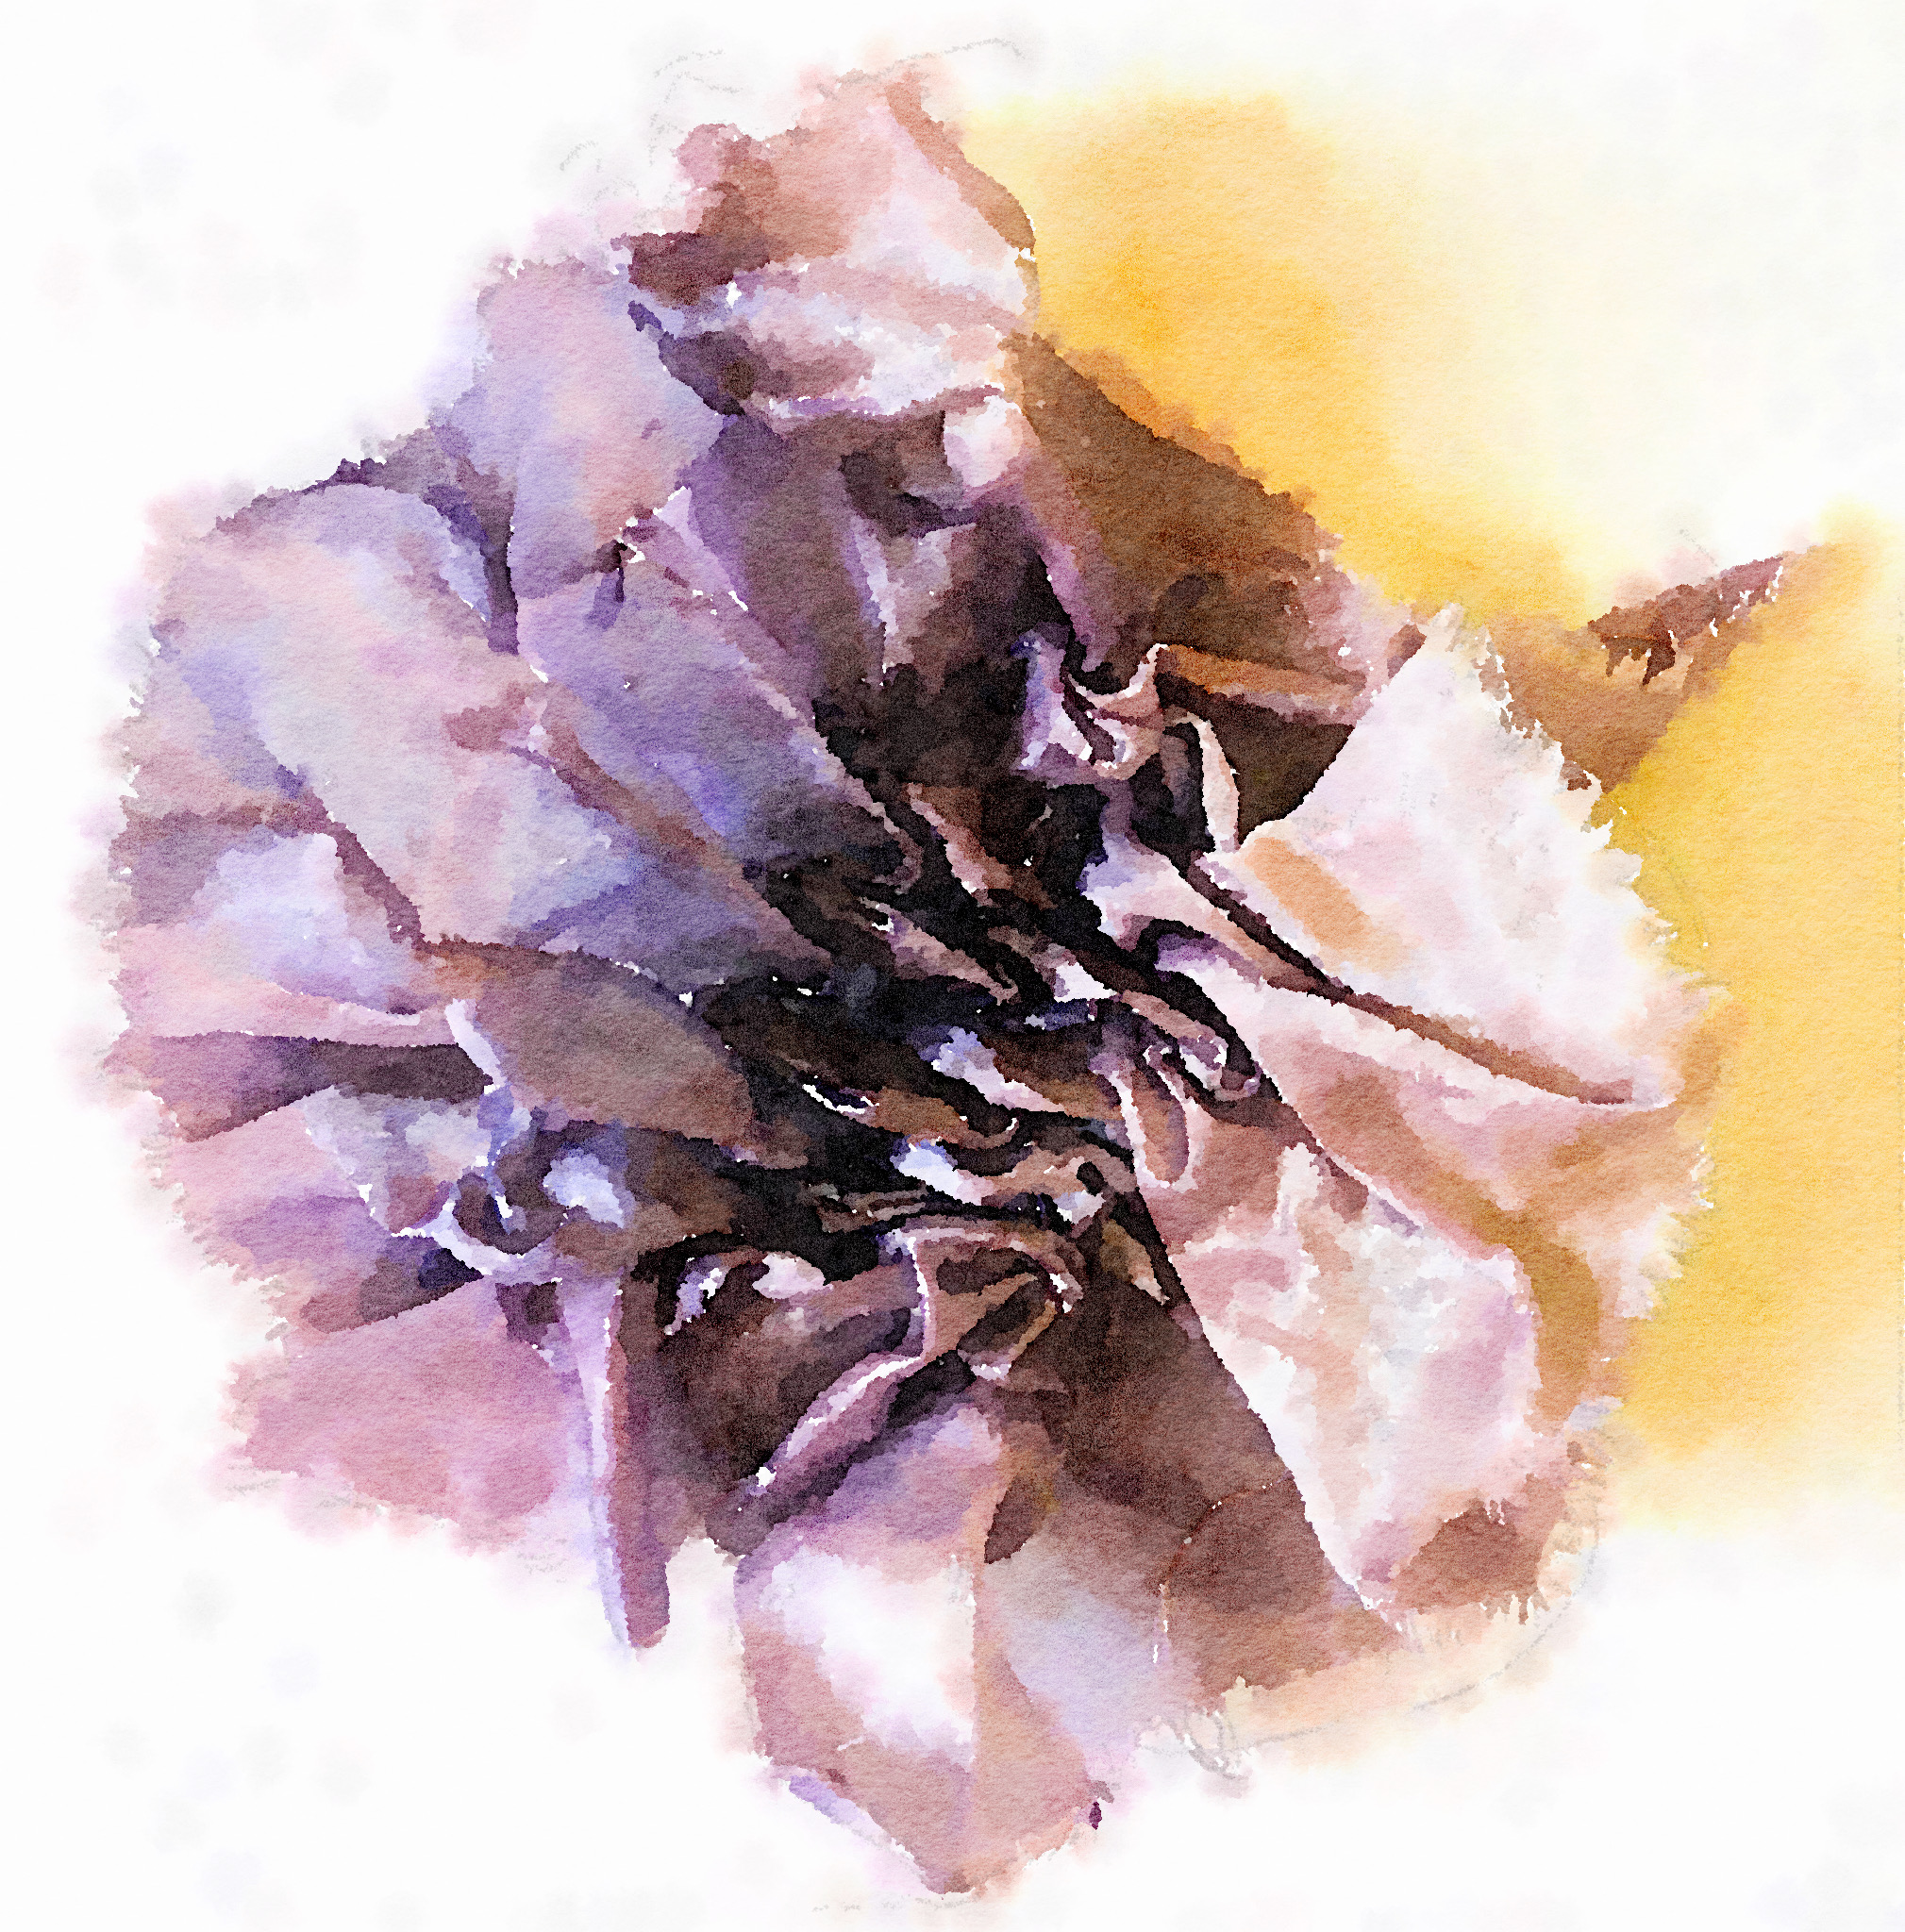
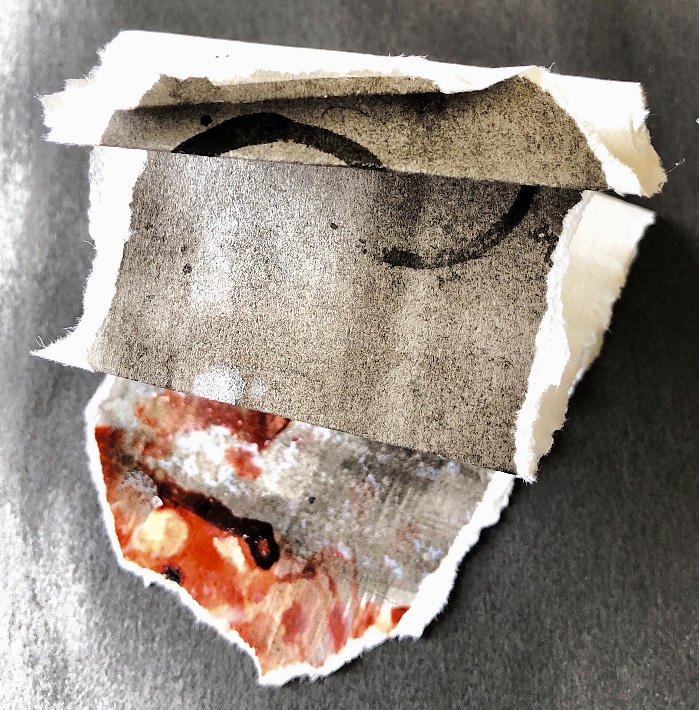
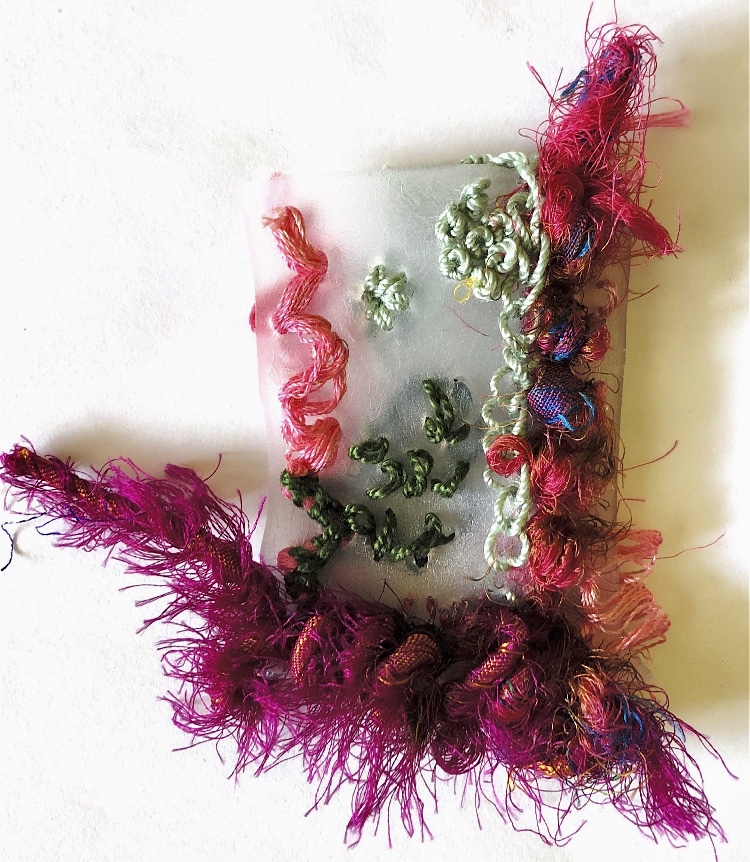
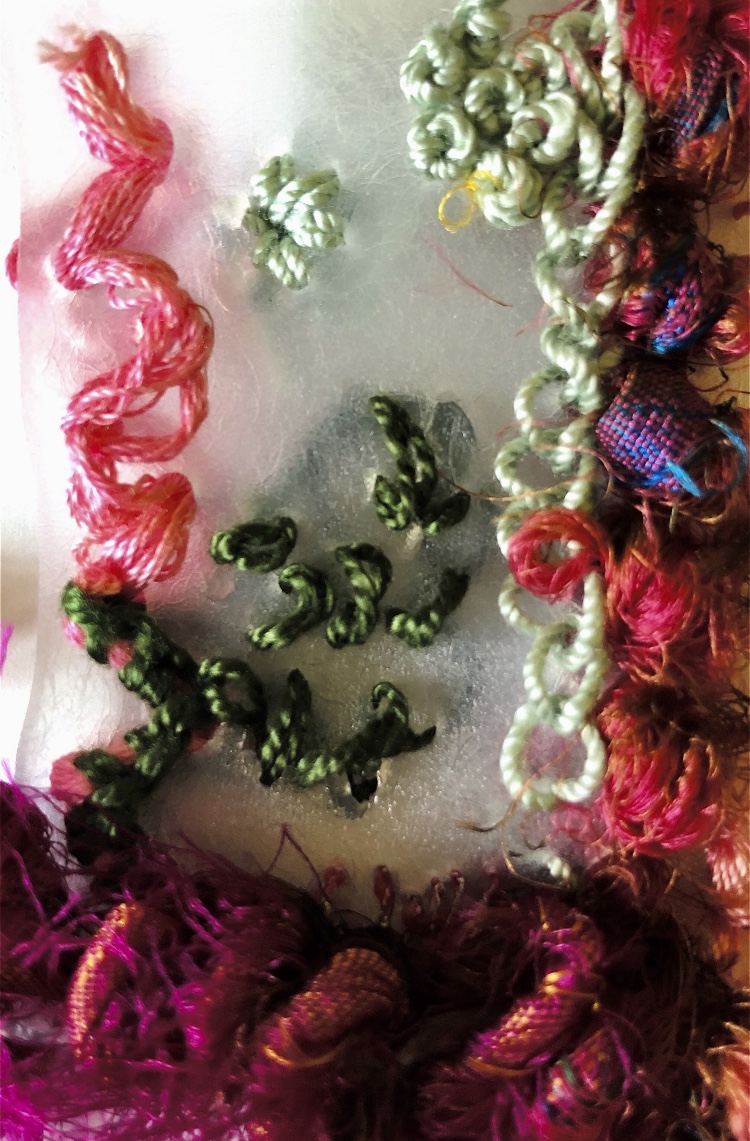
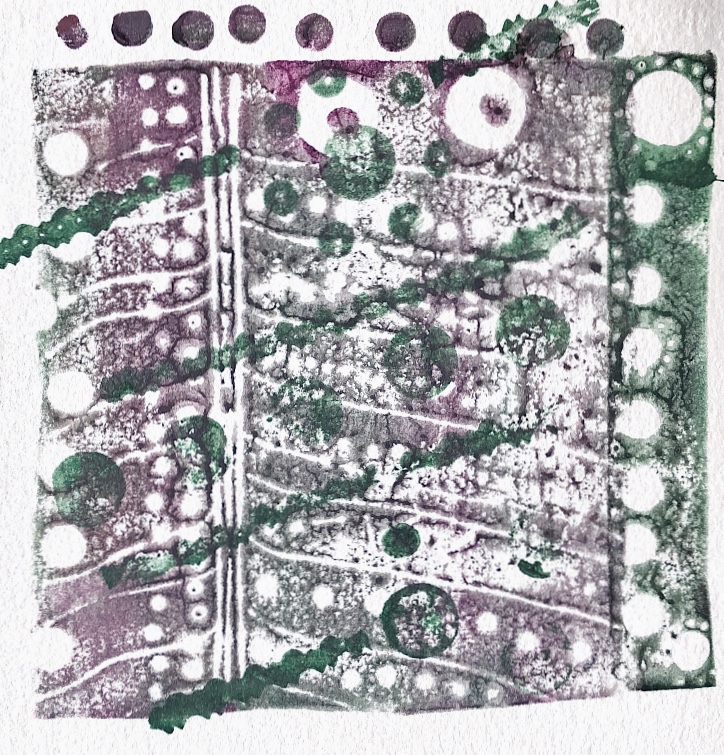
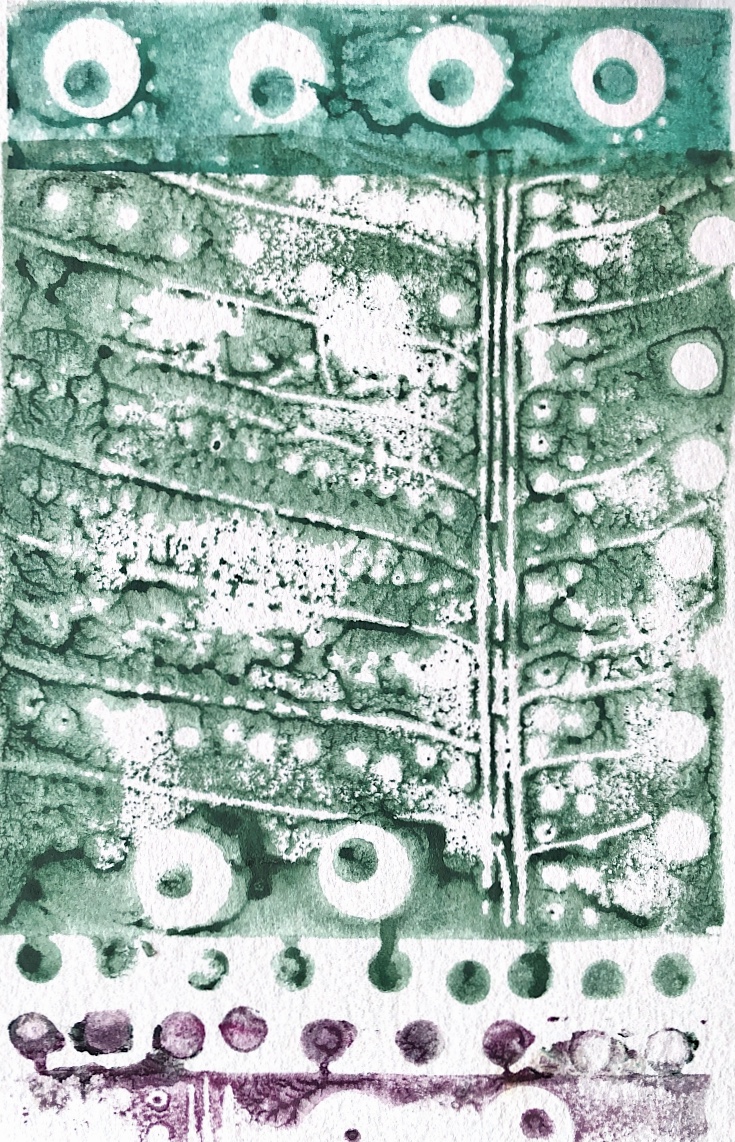
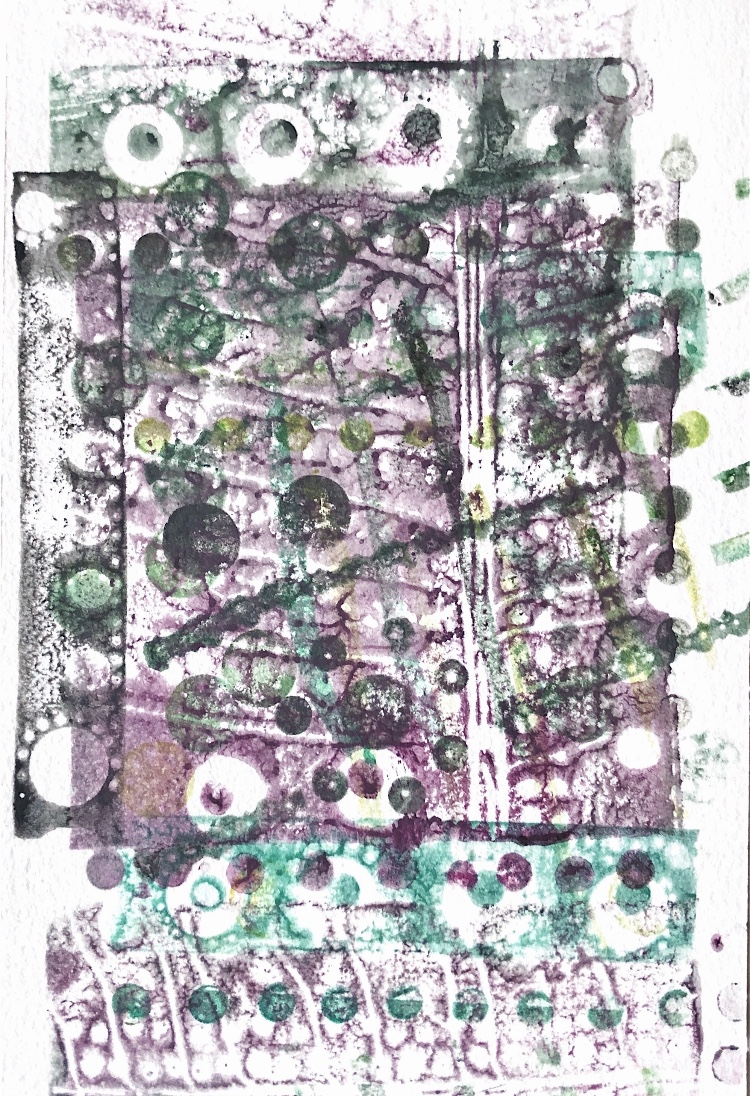
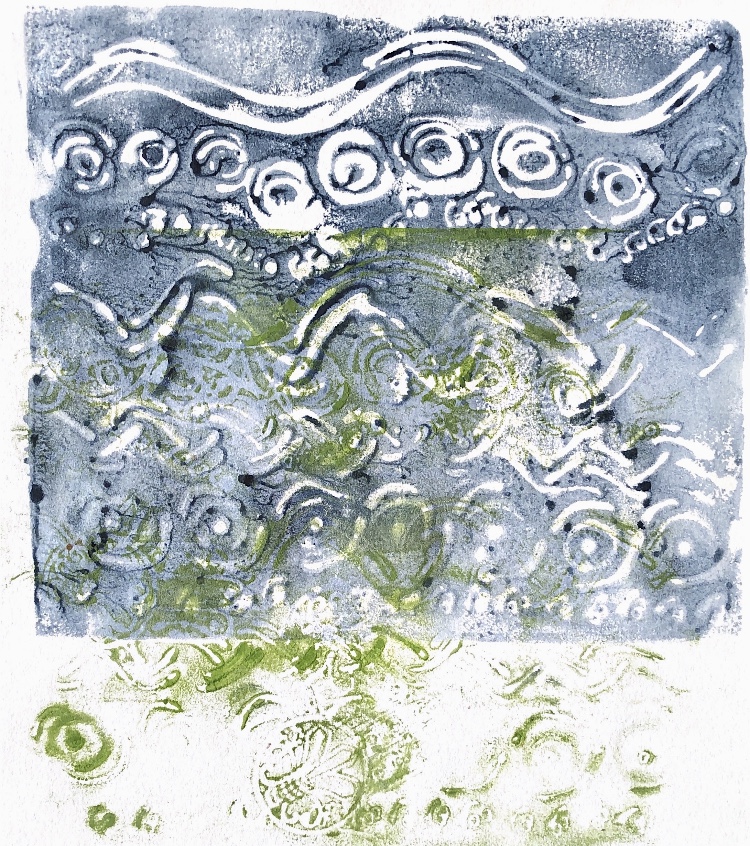
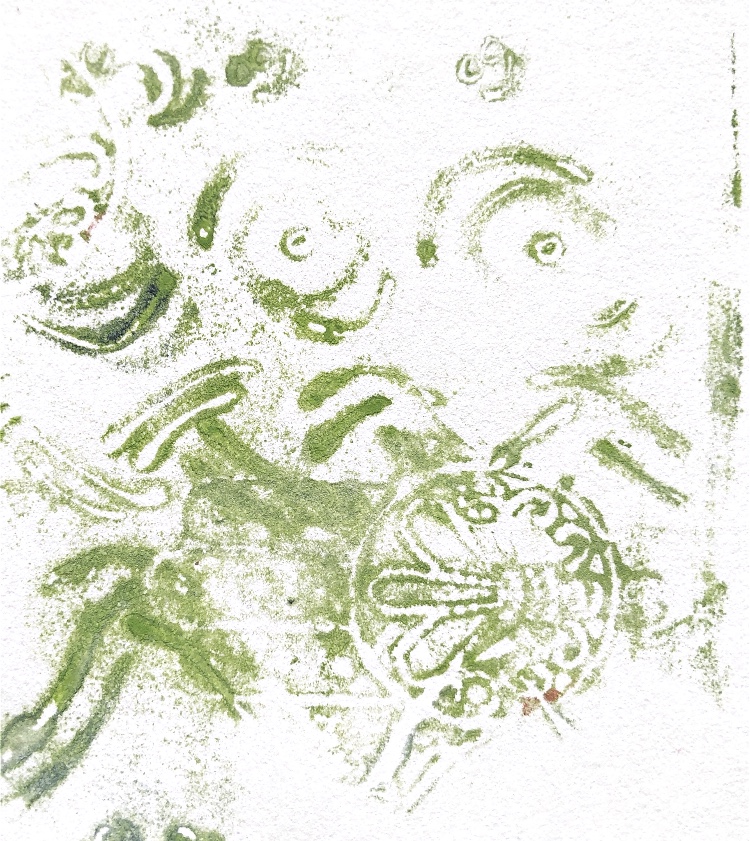
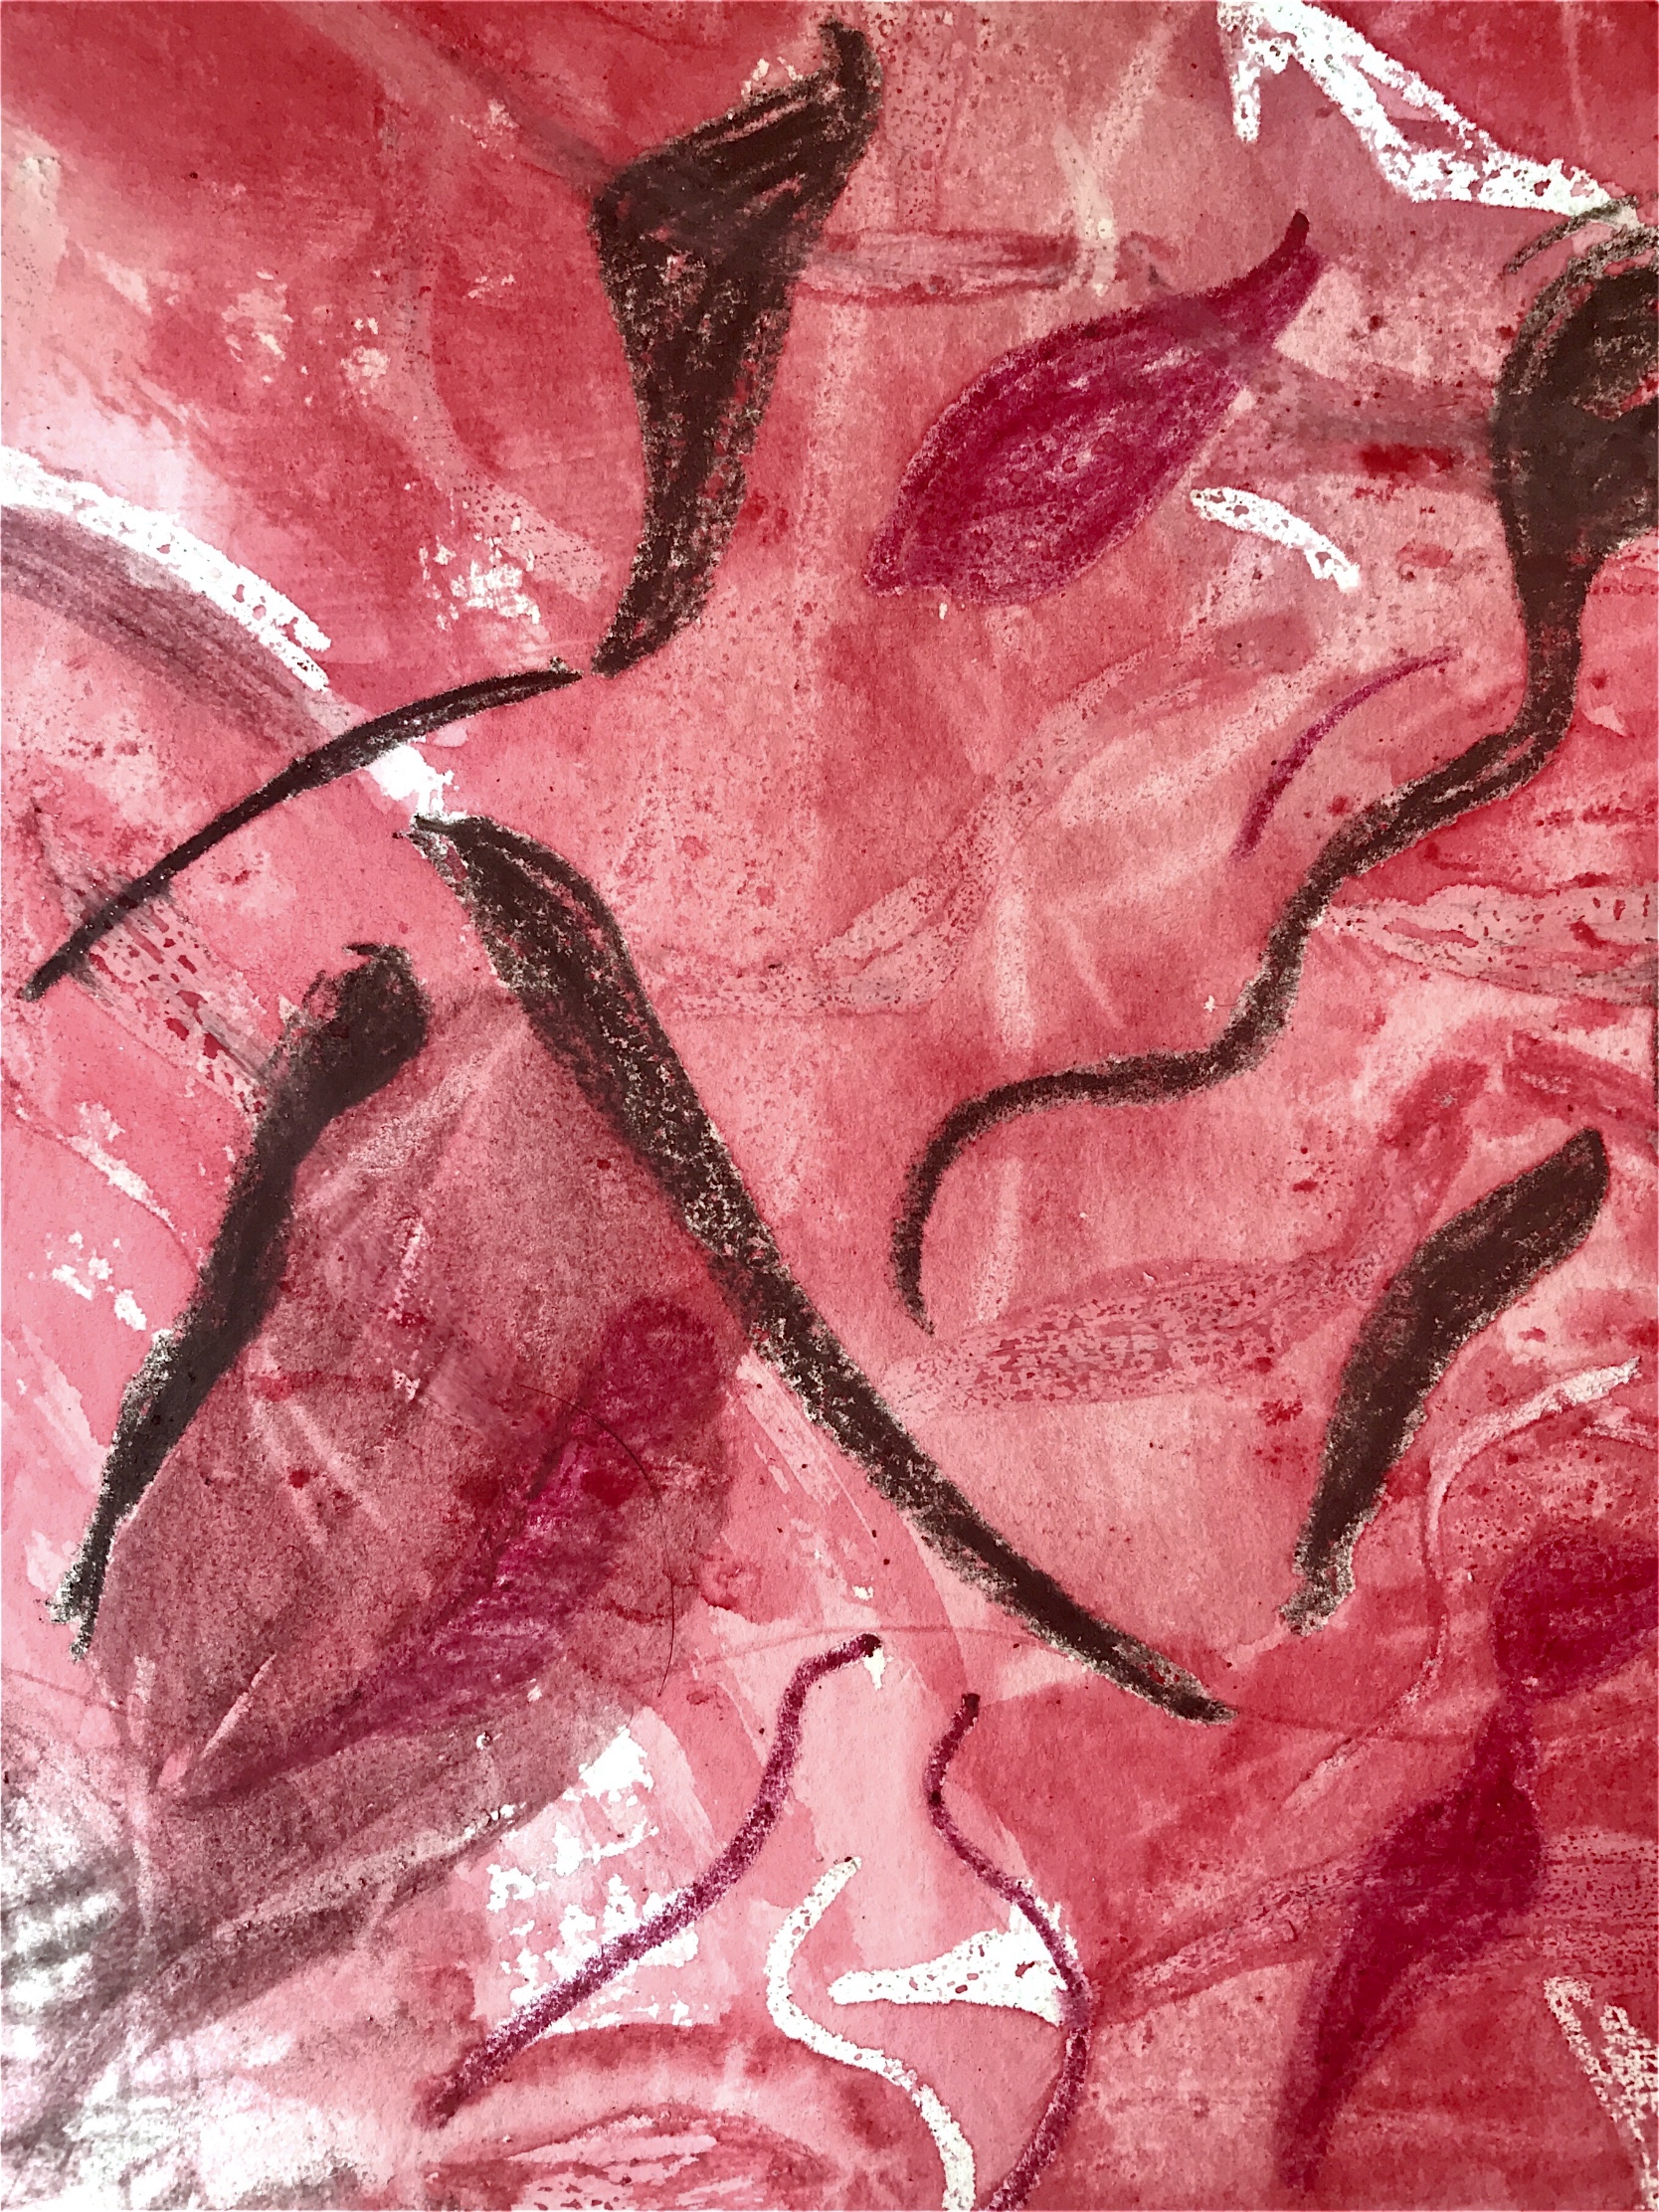
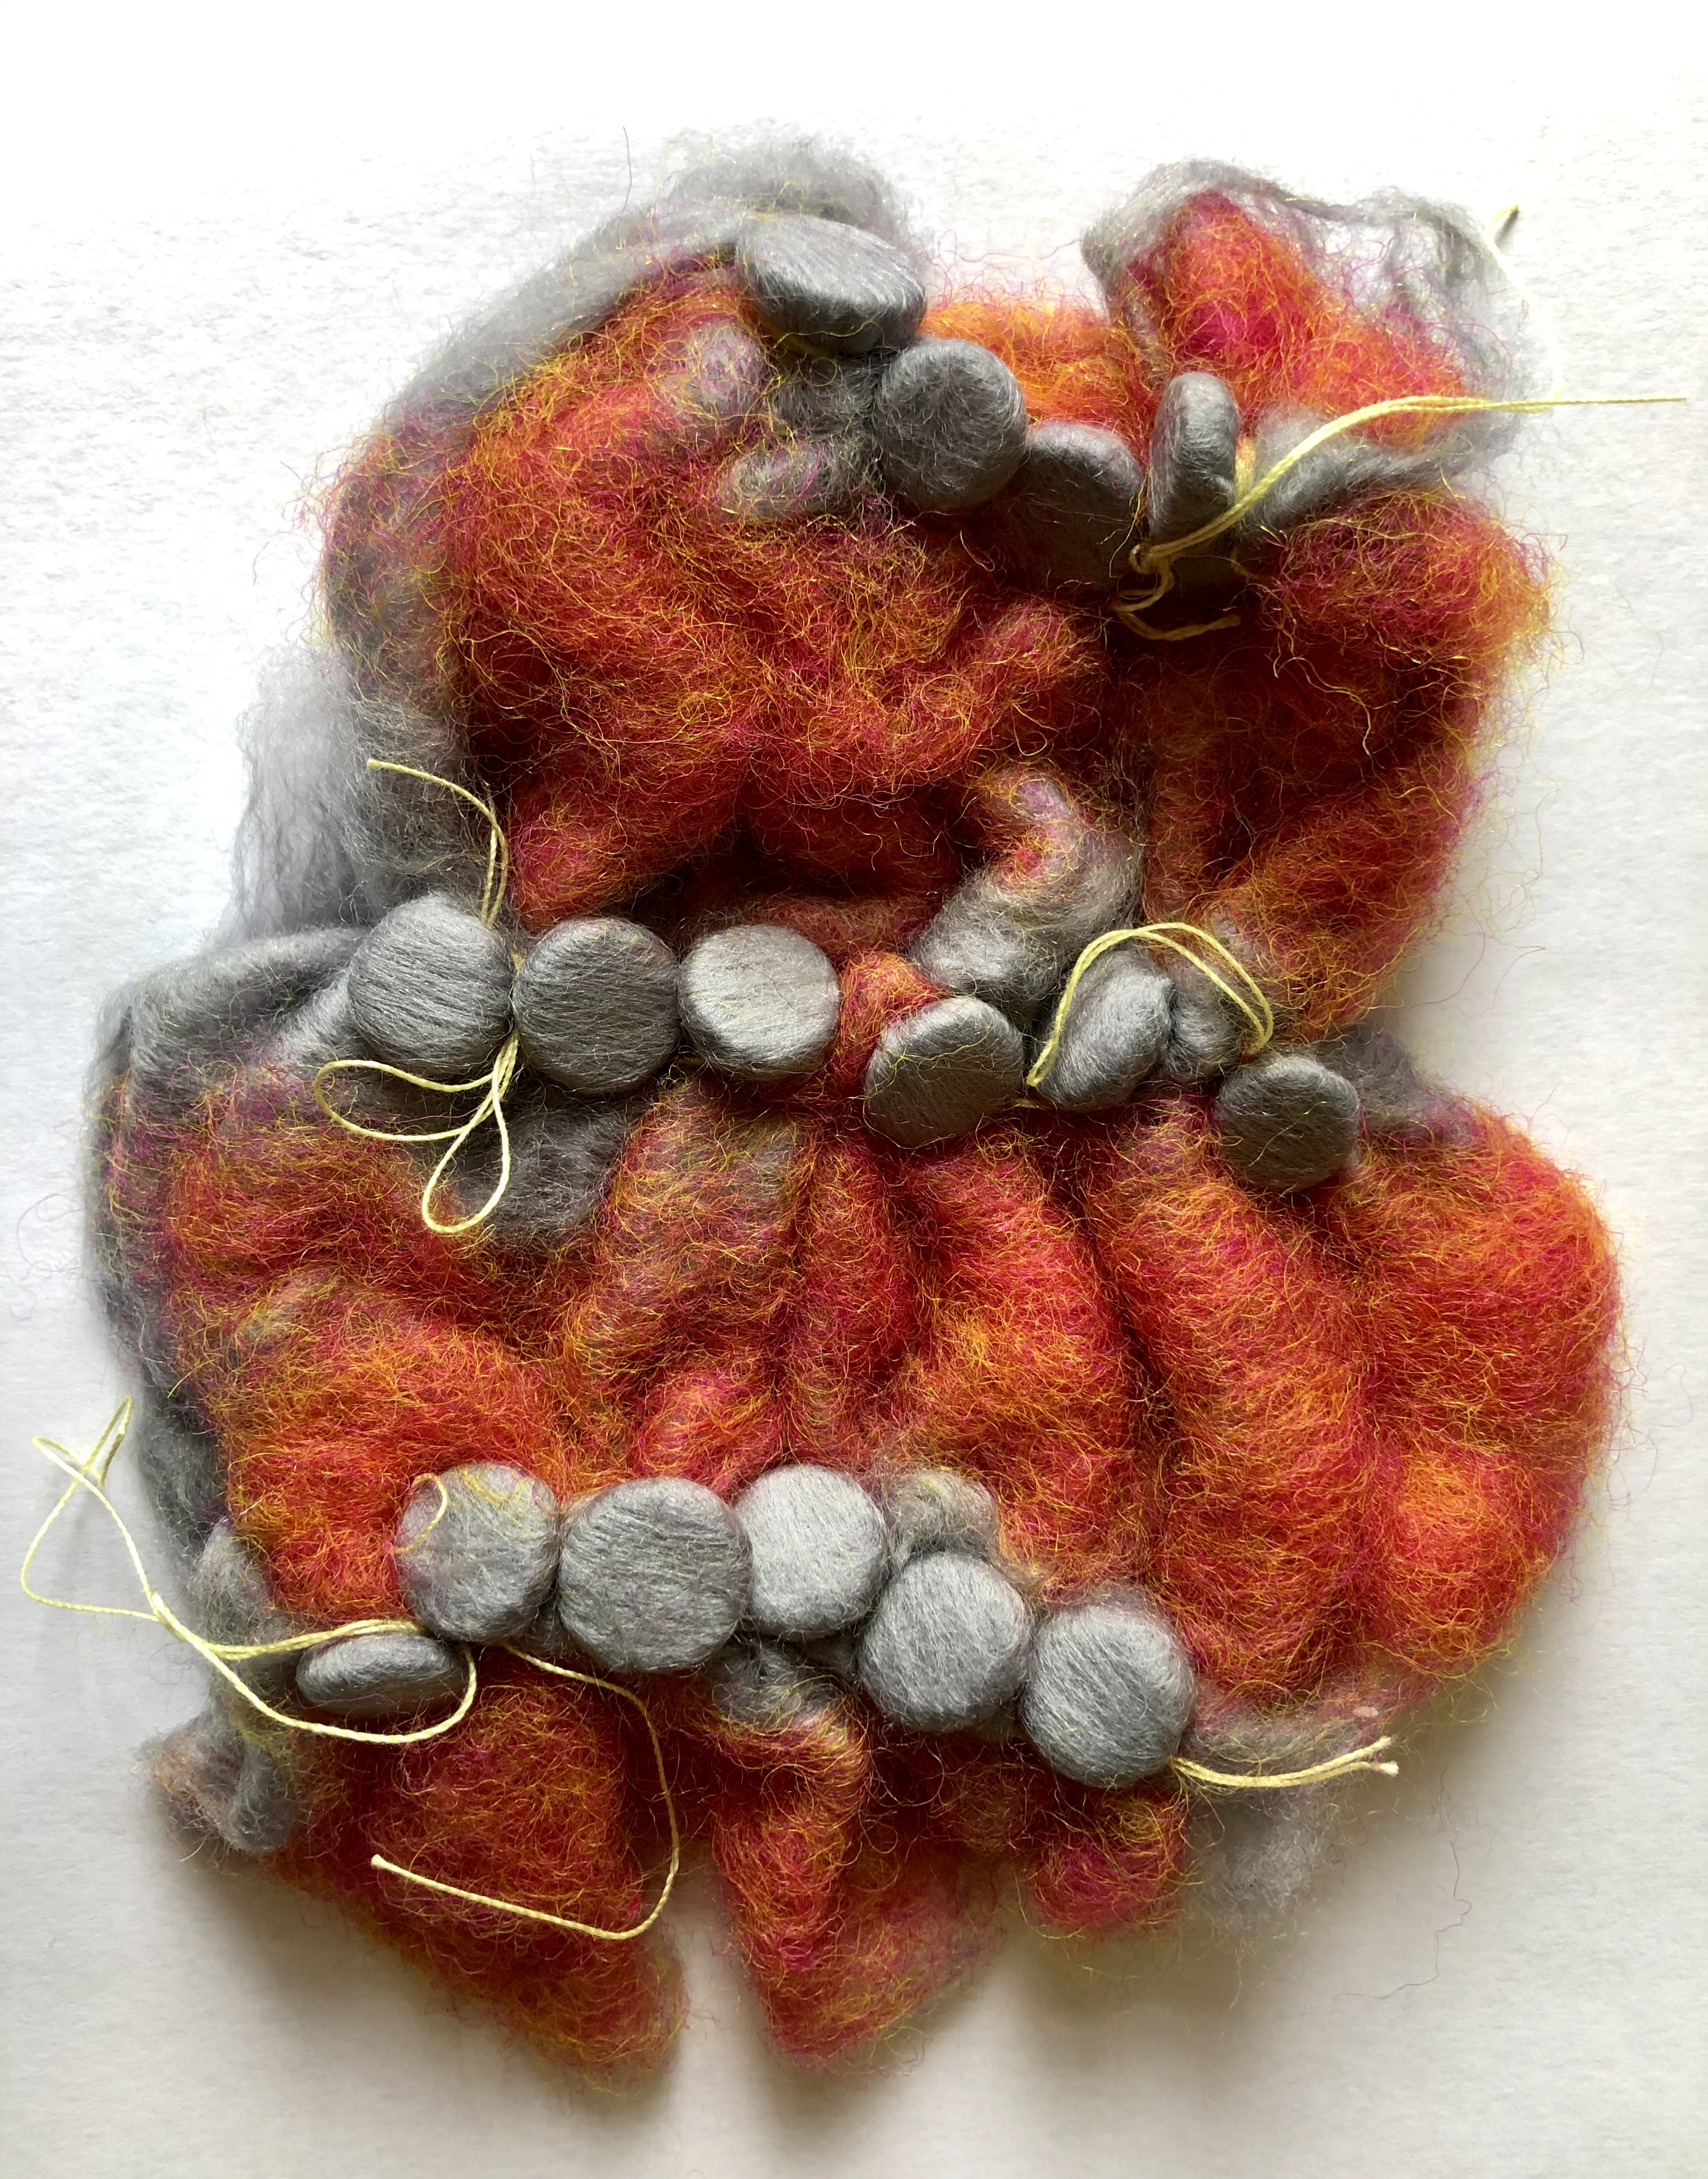
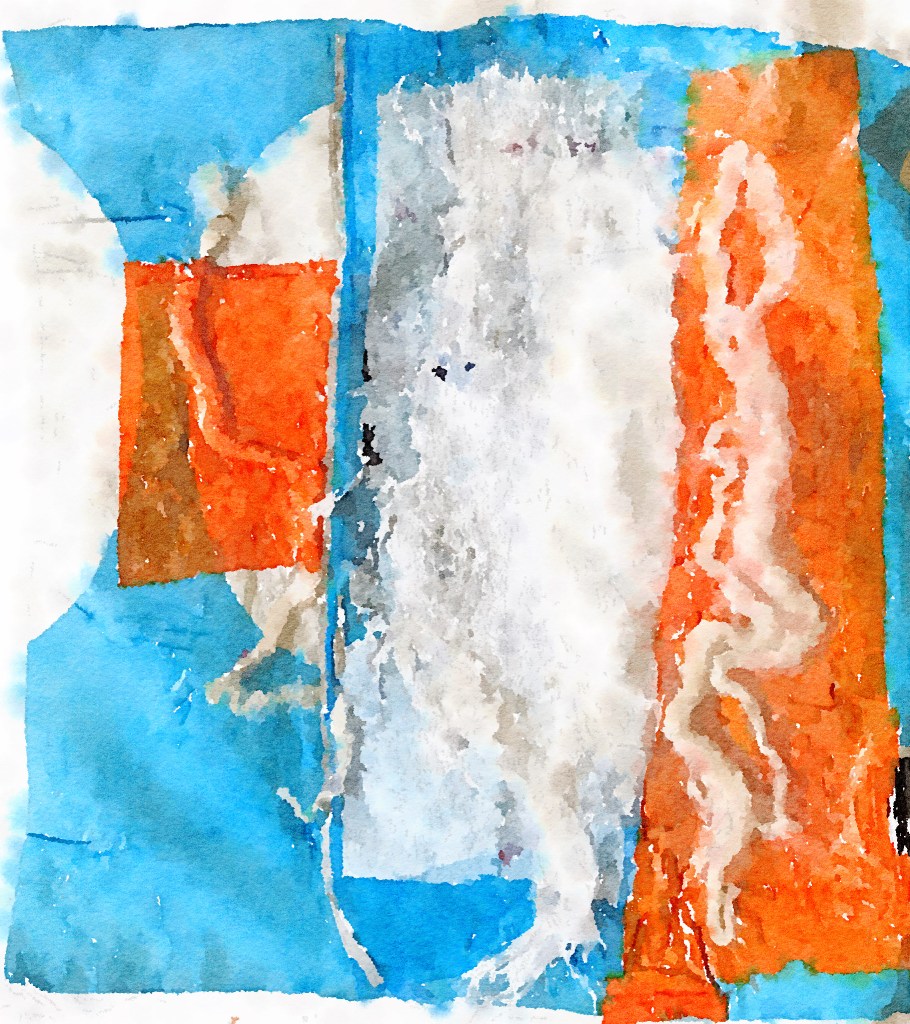
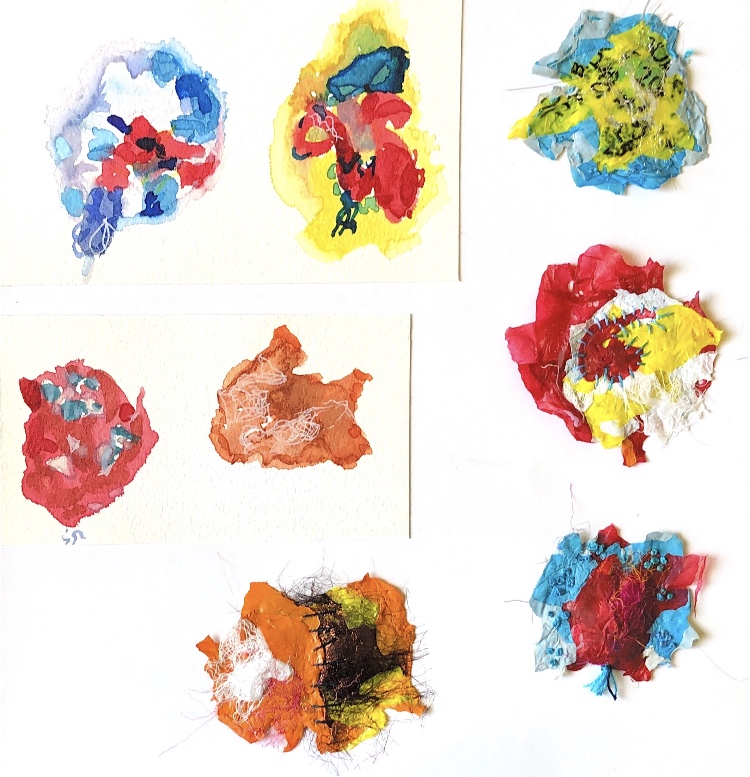
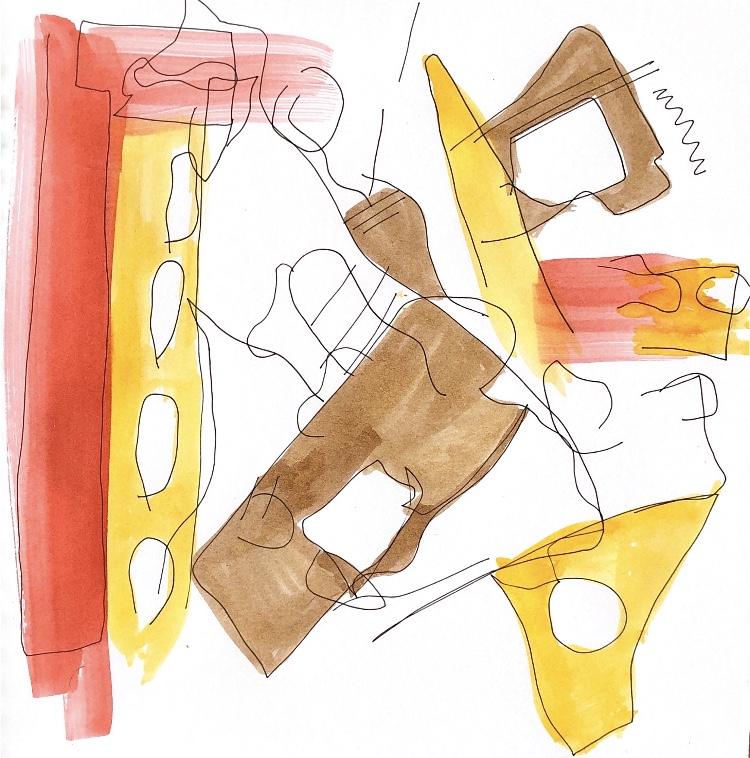
Colour has been important in many of my samples. In some cases I have introduced a small amount of colour with black and white to emphasise a line or to make a focal point, other samples are saturated with colour such as the plastic fusion. I have also used colour manipulation of photos to create different colour schemes.

I found the sorting stage a useful exercise to go through my work and work out which pieces have made me think differently, which have most potential and to look again at what techniques and materials please me and why.

Assessment Criteria

Demonstration of technical and visual skills

I have demonstrated a wide range of techniques using many different materials such as paper, plastic, clay, fabric and metal. My observational skills have been improved by drawing a lot of my samples in my sketchbook and finding different methods of doing this. My samples are well executed and thought out and have been developed in a logical way.

Quality of outcome

My presentation is clear and logical with understandable ideas and well photographed samples. I have sorted through my samples for presentation and explained my thoughts and ideas for choosing the particular pieces of work. I feel I am improving all the time in experimentation and ideas.

Demonstration of creativity

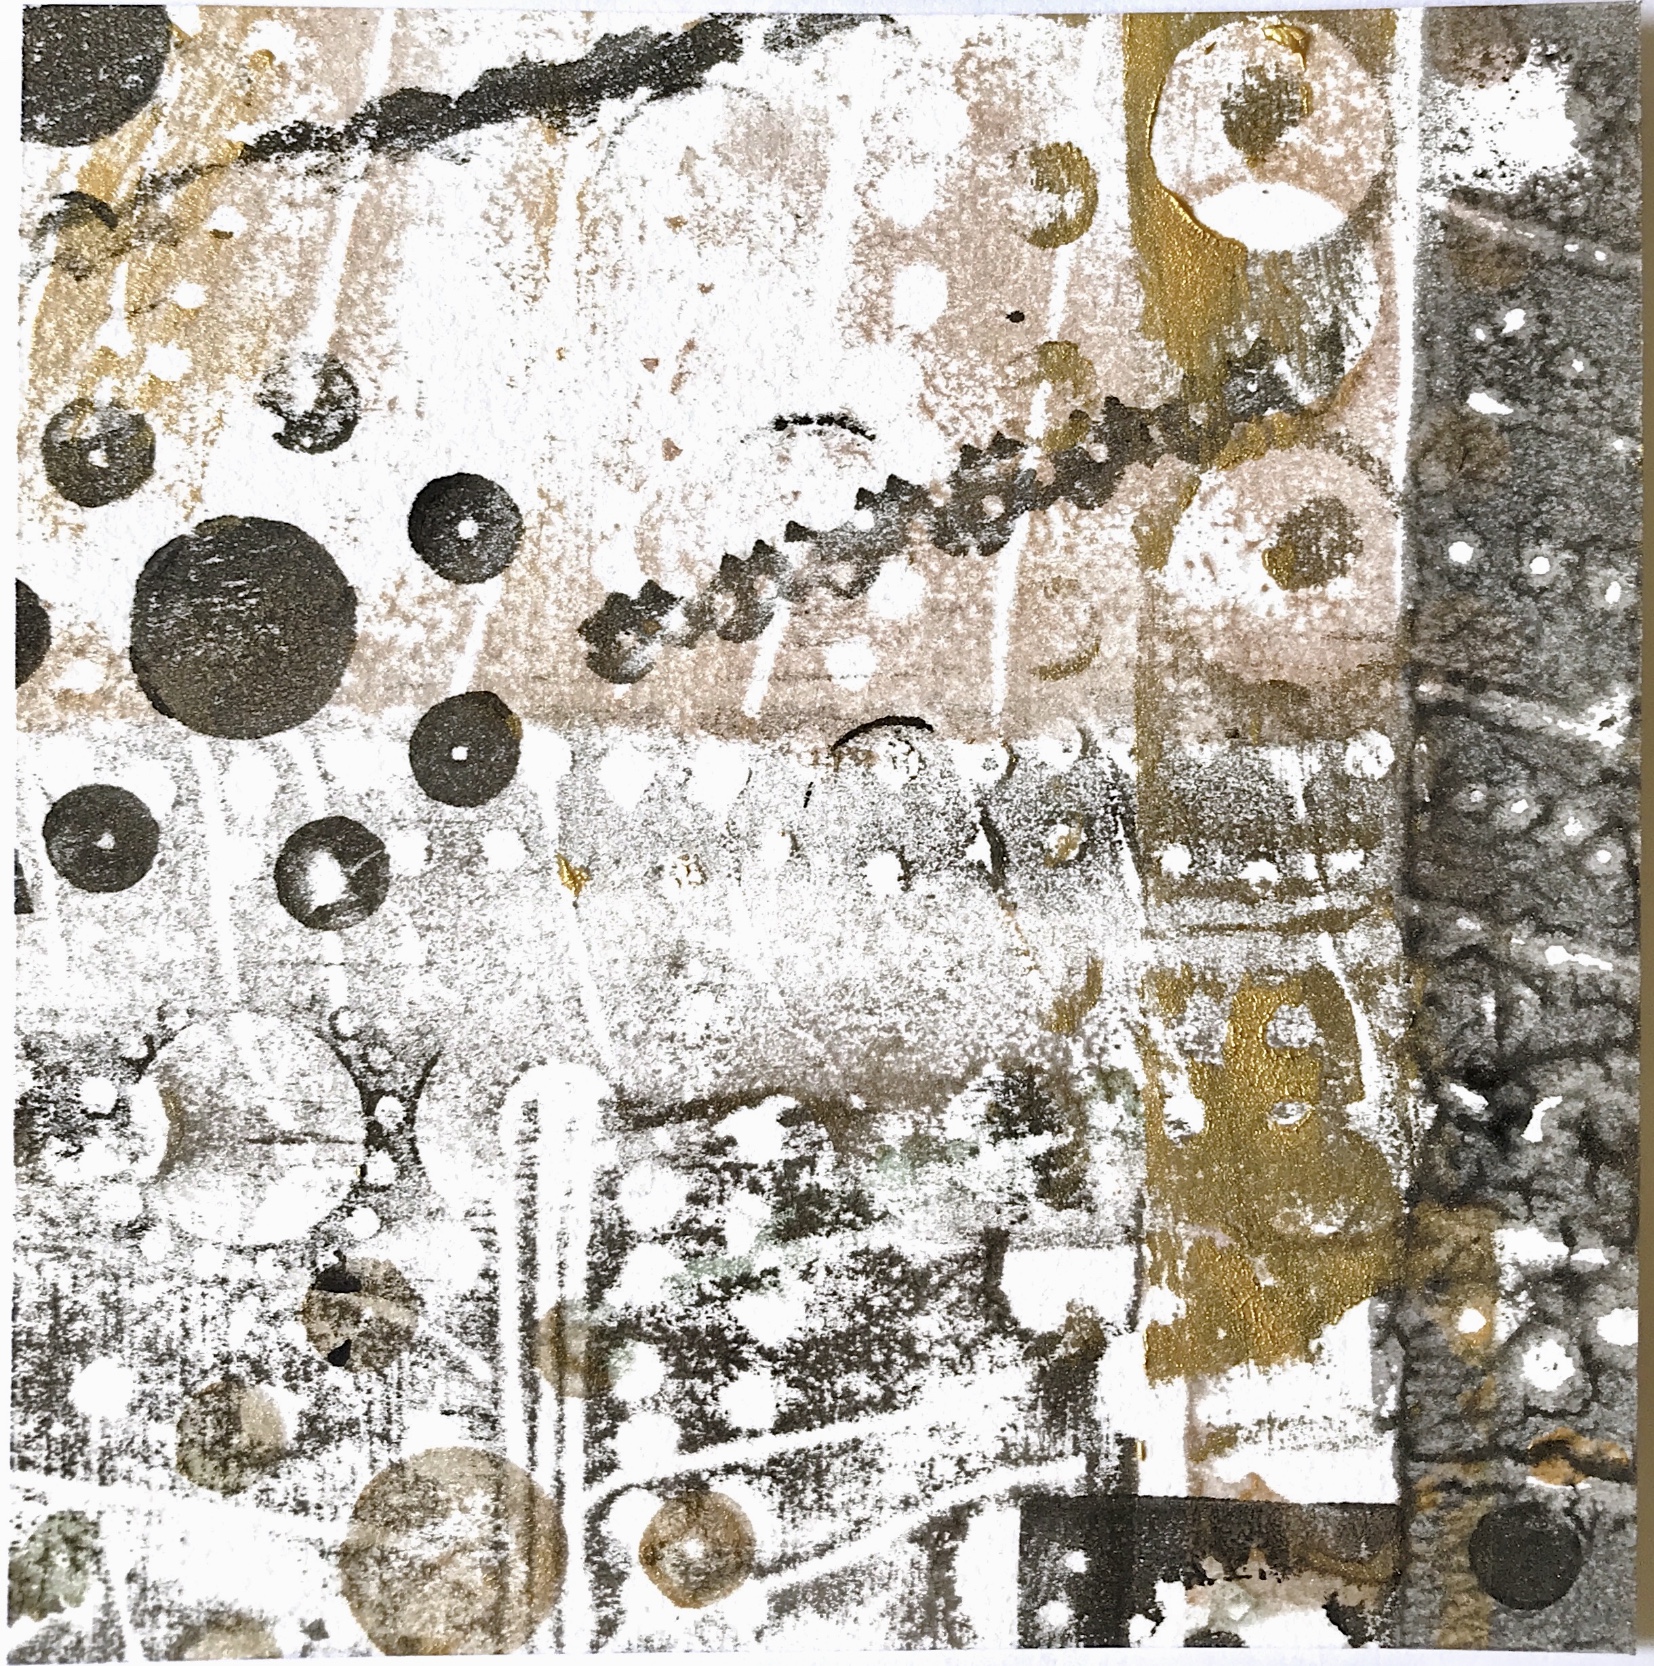
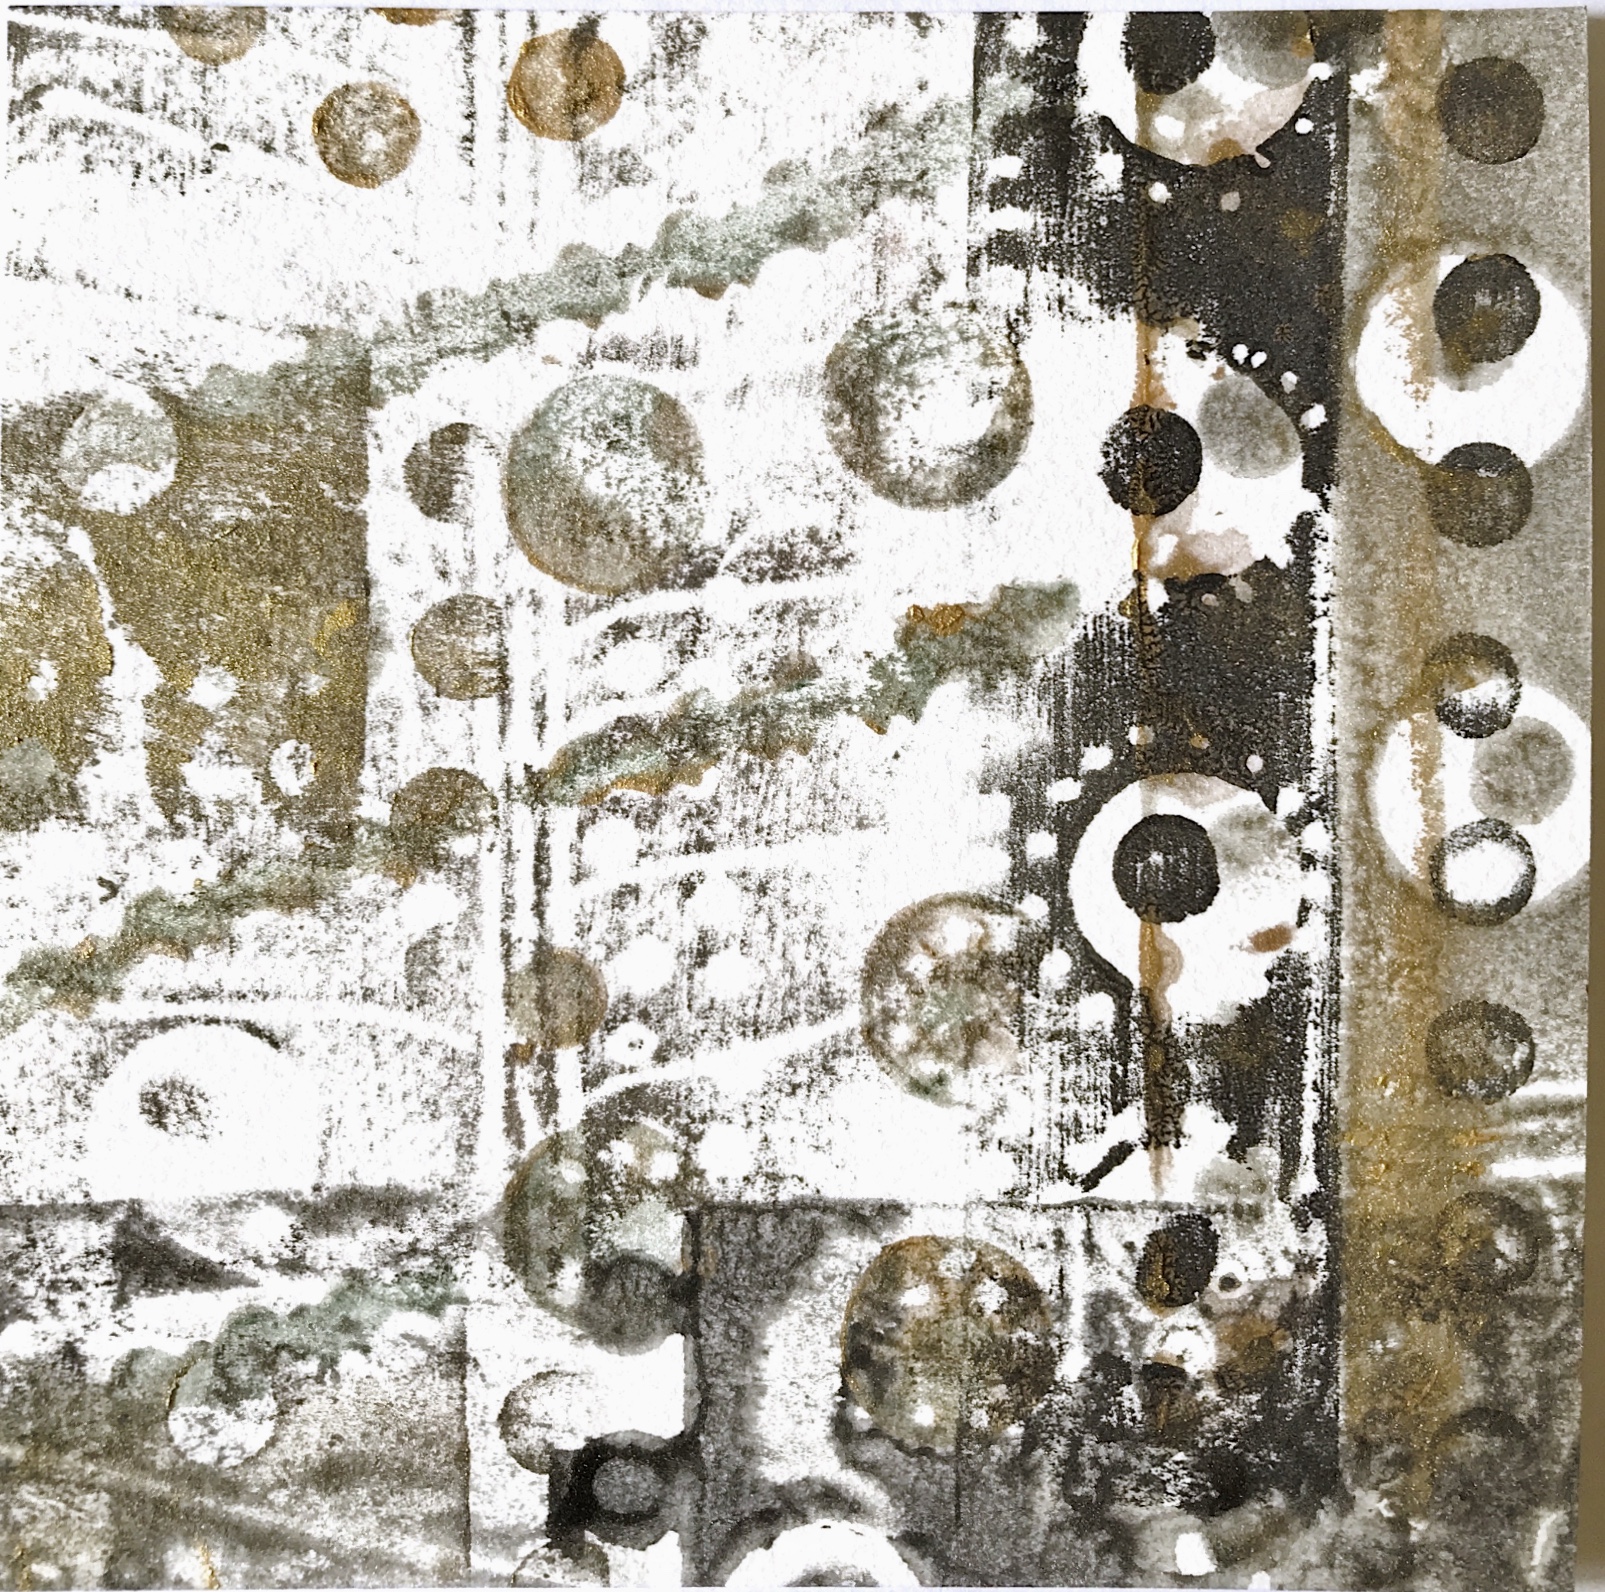
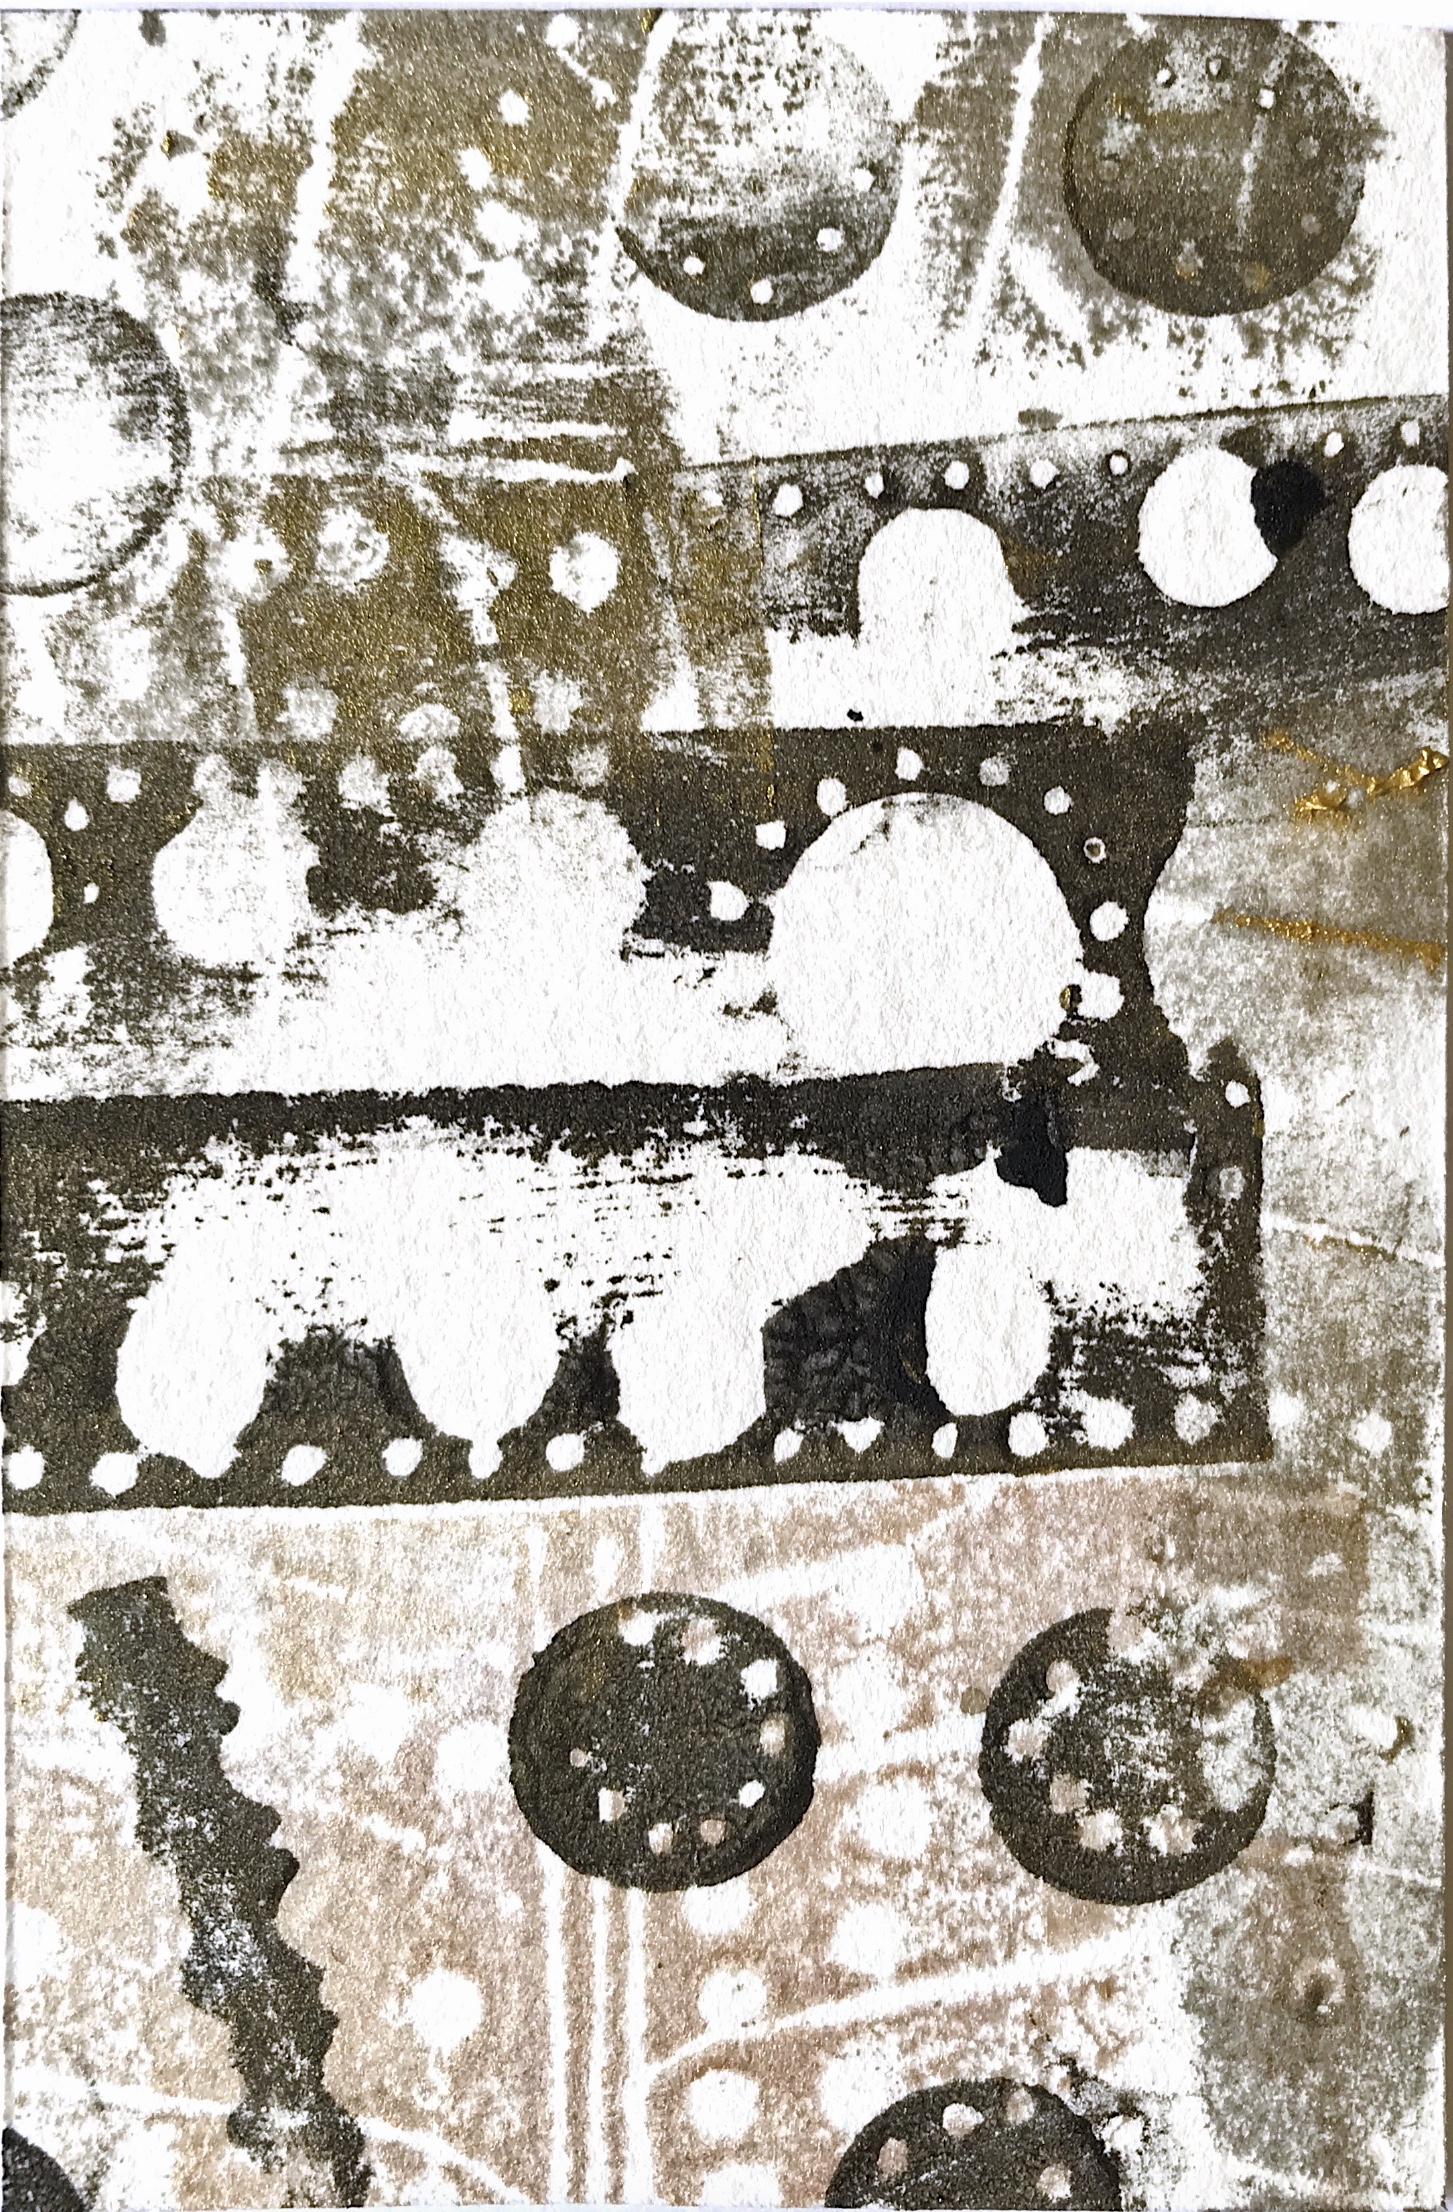
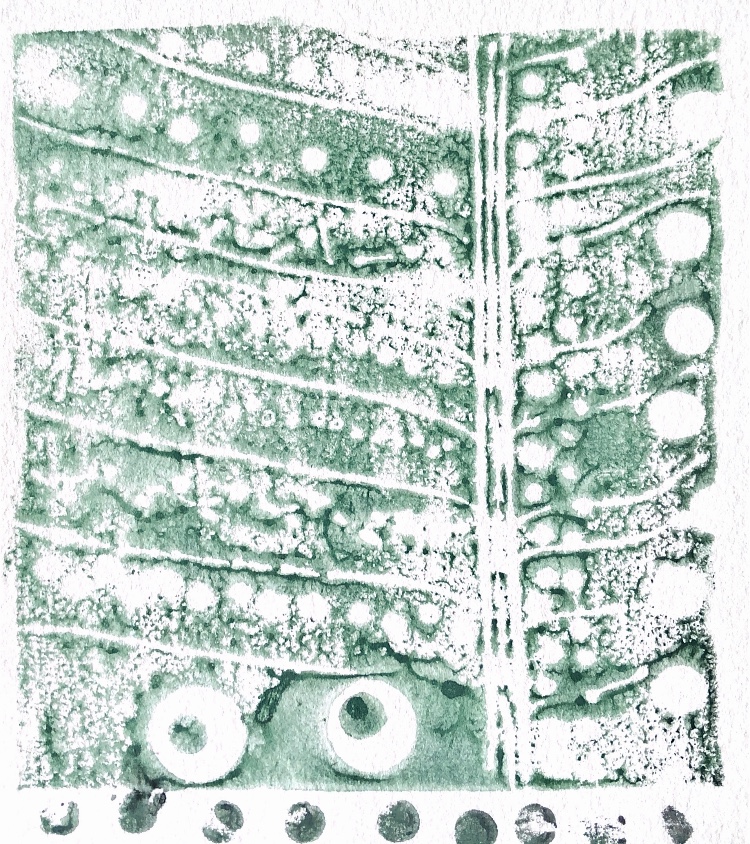
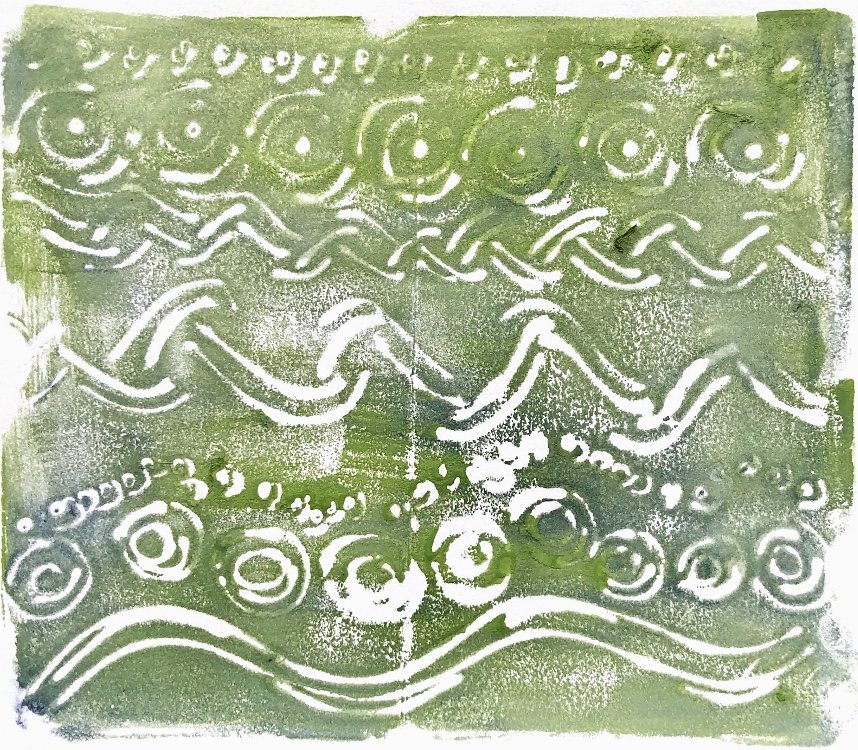
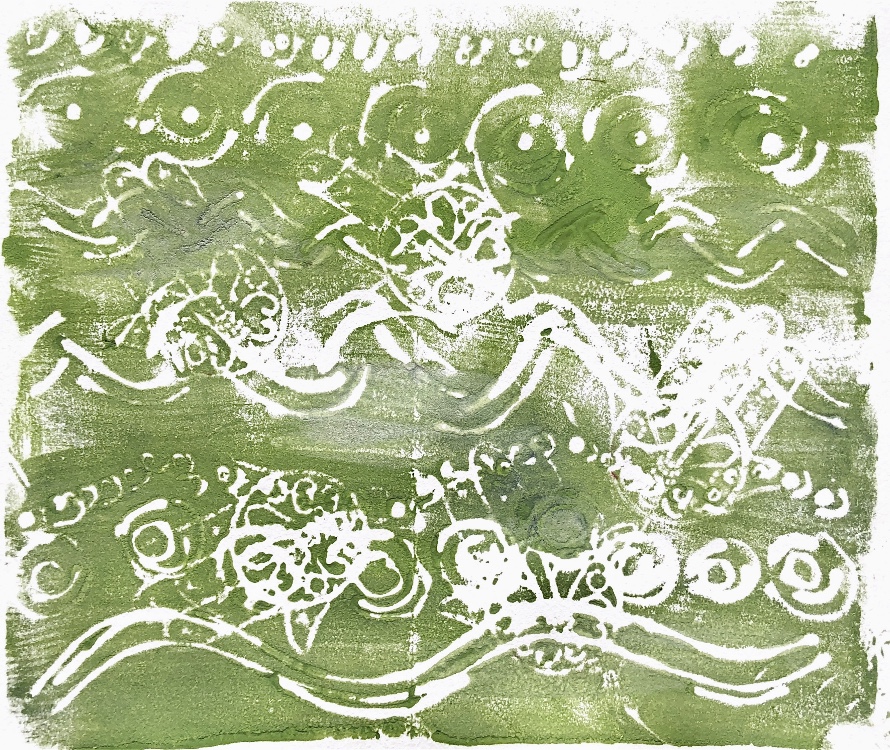
I have experimented with a wide range of techniques, some of which worked better than others, and I have progressed some of the samples with further experiments in stitch and manipulation – taking risks. There is so much in my sketchbook now for me to take forward to the next parts of this course. My foam prints in particular are very exciting.

Context

I have reflected more on my work as I have gone along and my critical thinking skills are developing. My research is definitely pushing me to look more at different ideas and to keep looking at different artists in my local area, on the Internet and through the library. Recently I have discovered Russell Mills whose use of colour, imagery and texture I find fascinating, particularly the strong abstract shapes and complex colour combinations. I will keep absorbing everything and listening and reading about textiles.

Textiles 1 Mixed media for textiles Part 1 Surface distortion

Sorting

I have approached the sorting stage by going through the ten exercises I selected, and choosing the samples that I feel are the most interesting either as they are or that have potential. Some I have drawn, some images have been manipulated in a photography application, and some I have used to inspire prints.

  1. Project 1 Folding and crumpling. Exercise 4 Incremental and twisted pleats Each of these samples is very simple but due to the paper used, the angle of the photography and the resulting shape, they feel like works of art just as they are. Colour also plays a major part here. The use of watercolour paper painted black, and torn to give a feathery white edge contrasts well with the definite folds. Paper printed on one side but not the other, and then folded, distorts the pattern in an abstract way here, but maybe the folds could be used to create specific patterning if I decide to take this technique further.

The thicker paper was more difficult to fold and twist, but the shapes and shadows created are bold and powerful, again contrasting with the soft white torn edges and the thread used to secure the ends.

Exercise 5 Basic crumpling technique I enjoyed the crumpling technique, the tactile nature of the samples is pleasing to look at and to hold. The papers I used worked well and could be crumpled many times to give a soft handle which still kept its shape when manipulated into ribs. Changing one of the sample photos into a black and white image and then manipulating it in the ‘Waterlogue’ app made a beautiful picture.

The second sample I have chosen was interesting to draw with my left hand. The scrunched gathers at each end remind me of smocking, and the messy middle is intriguing.

The experiment of stitching ribs on one of the samples worked well and the use of red thread on the monochrome paper emphasised the sharp folds. Because the stitching held the folded ribs in place, the paper could be further crumpled without destroying the sharp creases.

2. Project 2 Tearing and cutting Exercise 4 Cutting holes This was not my favourite technique, but to make it more satisfying and interesting I used patterned materials, and manipulation to make the samples more inspiring to draw. The drawings concentrate on the patterns and shapes and I particularly like the black and white pen drawings with a little bit of colour introduced. There is lots of potential here for pattern making for quilting or applique with lines for stitch.

Exercise 6 Tearing Here I got the chance to be more messy. The series of torn mini samples are lively and fun, using card, paper and plastic. I drew these with my left hand to retain the messy, free shapes and lines. I was not initially keen to use plastic bags to tear but the way in which the plastic pulls apart with a rippled edge is very satisfying and adds another dimension.

The second series of samples uses just three materials – paper, plastic and muslin, in black, red, and white, torn and arranged simply in different ways. The balance of the arrangements is very simple and pleasing but on closer inspection there is lots of detail due to the torn edges. This was fun to draw using inks and a white drawing pen.

3. Project 3 Heating and fusing Exercise 1 Fusing plastic Again plastic was not something I really wanted to work with but I found this exercise really inspiring. Using just coloured plastic bags cut into strips and ironed, The samples were easily translated into print blocks. The printing using Inktense sticks echoed the textured wrinkles on the plastic created by the ironing process.

Fusing scrunched up coloured pieces of plastic was very exciting – I incorporated bits of muslin and sari silk for a different texture, and the resulting samples remind me of jewelled brooches. They were fun to paint with watercolours, and this gave me the idea to make more and stitch into them. Hand stitching through the layers was not difficult, I tried different stitches on each sample. I am sure that this technique could be explored further with different coloured plastic and much more stitching to really intensify the embellishment to make beautiful, decorative, wearable art.

Exercise 2 Using a heat gun Having tried a variety of materials, the sample that excited me most to draw and work with was the black net. The large ragged holes made by the heat gun contrasted with the small neat holes in the net. This was very different to the other sample shown below which is heated satin. Having drawn and painted the sample using made tools and using salt on watercolour, I chose to stitch on one piece of watercolour paper. I love stitching on paper – the feel of the needle pushing through the paper is very satisfying and the stitch is firmly held in place by the paper to make a prominent mark whatever the thickness of thread.

Exercise 3 Using hot water Using a meandering hand stitch pattern on polyester satin I gathered up the fabric and then boiled it for 30 minutes. The result was an intriguing scrunched up fabric that could be pulled open and would crease up again when let go. The dark shadows created by the folds are full of pattern and captured clearly in the ‘Waterlogue’ app manipulation shown below. It was not an easy thing to draw but observing closely produced a drawing full of movement.

The sample is very reminiscent of the work of Jules Waibel who I researched at the beginning of these exercises – particularly her vases and underwear.

I also boiled a piece of prefelt I had made with buttons tied into it, however boiling alone did not fully felt the sample ,so I needed to handfelt it more fully with rubbing and rolling before taking out the buttons. Simple wax circles with a watercolour wash over captured some of the organic feel of this sample.

4. Project 4 Scratching and embossing Exercise 1 Embossing This did not prove to be a satisfying technique for me despite trying wet and dry paper and metal to emboss. This was my initial sample and probably the one I found most in to draw but I didn’t really manage to transform the other samples into anything more inspiring.

5. Project 5 Puncturing and stitching Exercise 1 Puncturing Here I have chosen two very different samples to focus on. The first is a fairly heavy transparent plastic which pulled and spiked when punctured with a tapestry needle. The photographs show a smooth, shiny surface which looks like ice, with cracks and icicles rupturing the surface. It almost looks like the surface of the moon. I’m not sure how to progress this sample but I chose it as it is so different to anything else I have produced both in texture and colour. It is laid on a piece of blue felt to photograph but also reflects coloured light from other surfaces – a bit like an oil spill. On reflection I can see that I did not fully explore the colour possibilities in my drawing.

I was very excited by the range of shapes created when puncturing a leaf from one of my houseplants. Clear round holes were made with a hole punch while ragged tears were made by a needle – some of which look like barbed wire. The patterns looked great when manipulated on the computer, and created fabulous print blocks as seen below. With a few simple print blocks the overlaid patterns are exciting and appealing even when printed with a couple of drab colours.

Exercise 2 Stitching I chose to make my first sample from a different material and chose air drying clay. I punctured lots of holes before it dried with needles, a bradawl and the wrong end of a pencil, with patterns for stitch in mind. The puncturing process created an undulating surface which I then used to hold beads and to emphasise some stitches. Kantha stitching, blanket stitch and running stitch worked well together with a crochet edging. The dried clay was still fairly fragile but it was interesting to stitch on and the smooth surface shows off the stitches really well. The surface could be further distorted by pressing materials into the clay before it is dry to create a pattern.

Stitching into plastic was a complete contrast as I needed to consider the reverse side which shows through the transparent plastic sheet. A left handed painting captured the exuberance of this piece but I am not sure the print block has the same impact.

Finally I have chosen a 3d piece folded and secured with cocktail sticks with stitching along the folds, as it nicely uses a number of techniques and makes use of a bold printed paper for added interest. I like the way this looks so different when viewed from another angle.

Textiles 1 Mixed media for textiles Part 1 Surface distortion

Project 1 Folding and crumpling

Exercise 5 Basic crumpling technique

Whenever I travel to another country I try to buy a newspaper, – this one from the Middle East felt soft and right for crumpling. The script gives lots of interest and accentuates the folds and crinkles. The paper did however tear as it became very crumpled, but I think that added to the interest of the resulting samples.

Having tried lots of techniques and taken many photographs I drew one of the images with my left hand, concentrating on the lines and edges.

Next I used a lightweight decorative paper and tried more techniques. This paper didn’t tear – maybe I was more careful! The ribs are clearly defined and could be further emphasised with careful stitching. I drew one of the samples with my left hand using a continuous line.

Stitched ridges

Next I used red tissue paper, crumpled to a lovely soft material which was easy to emboss over paint pots, and scrunched into pleasing shapes. Some were almost flowerlike, and these reminded me of Georgia O’Keefe’s paintings.

I used acrylics with a cardboard tool to create two images and also made a stylised watercolour painting. I feel the acrylic paintings work better for the subject as they have more movement and texture in them.

Two images were edited to black and white and then manipulated in ‘Waterlogue’ app.

This has been an interesting exercise with exciting results. Paper becomes soft like fabric when crumpled, but still holds its shape. It creates organic shapes and is very tactile. The other thing I like is that no two samples will ever be the same. These techniques transform a simple piece of paper into fascinating forms which could be developed further with stitch.

Textiles 1 Mixed media for textiles Part 1 Surface distortion

Project 1 Folding and crumpling

Exercise 4 Incremental and twisted pleats

  1. Incremental pleats – I made samples using different papers and shapes, sometimes measuring and marking the folds and sometimes folding ‘by eye’. Some were folded using the Fibonacci sequence and I can see that this would be further emphasised by using a longer piece of material to create more folds. Some were folded at angles, creating a different effect. Photographing the samples from different angles produced many different outcomes, and using black paper as a background emphasised the shapes. The torn edges of the watercolour paper samples give a lovely textured edging, contrasting with the sharp folds.

Folding the metal sheet I had was not easy as it is a little thick, but it holds its shape well and catches the light beautifully when photographed.

2. Twisted pleats – made using a variety of papers and fabric, with machine stitch, hand stitch, paper clips and folding used to secure the twists in place. Thinner papers and fabrics are easier to manipulate, and the length of the initial fold influences the number of twists.

This exercise has shown that really interesting shapes can be achieved with just a few folds. I particularly like the samples made with watercolour paper where the texture of the torn edges contrasts with the sharp folds, and the patterns and colours on the paper are changed by the shadows and manipulation of the placement of the folds.

Textiles 1 Mixed Media for Textiles Part 1 Surface Distortion

Project 5 Puncturing and stitching

Exercise 2 Stitching

  1. Using a needle, hole punches and a bradawl to make holes in cartridge paper, I created a range of lines and spaces to stitch. The larger circles offered lots of ideas for combinations of threading and stitch.

2. I used the leaf from the puncturing exercise and stitched into the holes with a variety of materials. I liked the look of the string as it is another natural material. As the leaf had become brittle – being a few days old, some of the punctured holes split when sewn.

3. Stitching on clear plastic is interesting as the stitching material can be seen through to the back of the plastic as well as on the front. I cut strips of the same plastic to stitch with and found that stretching these strips created intriguing shapes as seen below. Ribbon, thick string, paper, and fine yarn all create different effects.

Painting with my left hand and lino cut printing, based on the plastic sample.

4. Wrapping paper folded and then punctured with a hole punch/bradawl. I found that threading with cocktail sticks kept the folded shape, and stitching emphasised the folds.

5. Shrink plastic sewn and then shrunk. I think that this idea could have possibilities but it is difficult to puncture without tearing the material. I used a hole punch but this only reaches so far into the material – a punch with a longer reach would be needed to explore this further.

6. Air dry clay was punctured while still wet and then stitched when dry. I love this – it has the feel and look of an old textile due to the texture of the clay. Creating holes in the clay creates bumps and dips to be incorporated into the design.

I used a variety of stitches including ‘Kantha’ patterns. The sample was photographed on a white and a black background. It may be interesting to texture the surface of the clay with fabrics before it dries next time.

Sample images manipulated in ‘Waterlogue’ app.

Pen drawing and simple prints

The paper and clay samples are my favourites from this exercise and I see the clay sample as leading on from the paper experiment. Maybe I need to try ‘paper clay’ – I will investigate.

When stitching the dried clay I was worried about breaking it but this is also a worry with paper which can easily tear. The limited colour palette on these samples works well, and I think I could experiment with a more muted or natural colour palette to give a vintage/ancient textile look with my stitches. Also creating a texture on the surface of the clay would add to the mood of the piece.

Textiles 1 Mixed media for textiles Part 1 Surface distortion

Project 5 Puncturing and stitching

Exercise 1 Puncturing

Samples made using a range of tools with copy paper, paper napkin and handmade paper. Samples are different depending on which side the tool is pushed through from, and pressure affects the size, shape and ‘jaggedness’ of the hole.

Pen drawing capturing the shadows created by the holes as seen from the reverse side.

Punching through metal requires more effort – for this sample I used a hole punch and a bradawl. The action of puncturing bends the metal creating shadows.

Puncturing plastic causes the material to stretch and create a very tactile surface – it reminds me of ice in the sample I chose to draw. I took photos from various angles to capture the surface. Because the material is transparent the pattern can be seen more clearly with a contrasting colour underneath or with plenty of light at an angle to pick up the texture.

This drawing was done with my left hand.

Puncturing corrugated card again photographed from different angles.

The fibrous texture of this leaf created interesting marks – holes made too close together caused the leaf to split but this too made random patterns. The tiny fibres sticking out are a contrast in colour and texture to the leaf surface, and the organic lines in the leaf contrast nicely with the man made holes.

Collage made with magazine papers and poppy seeds.

Close up photos of the leaf sample were manipulated with ‘Waterlogue’ app. I then made print blocks to play around with the patterns.

This exercise has produced some exciting and surprising results with lots of starting points for design and inspiration for stitch. I am finding left handed drawing frees me up and creates more pleasing results with pens and pencils. My drawings and prints are starting to capture the feeling of the samples without being an exact copy.

Textiles 1 Mixed media for textiles Part 1 Surface distortion

Project 4 Scratching and embossing

Exercise 1 Embossing

Embossing on paper is much easier with a piece of felt underneath. Anything softer would cause the paper to tear and on a hard surface it does not work! These marks are very tactile and create shadows on the paper.

Having made embossed marks into copy paper with a metal embossing tool, I drew the shapes – trying to echo the shadows, and made a print block. I guess the action of pressing into the foam is embossing so that is another material! The resulting prints were interesting and to add another dimension I impressed a plastic shape into the foam which worked well.

Another piece of foam with embossing made by pressing over a plastic shape made geometric prints.

Pressing copy paper over a metal coil needed a fair bit of pressure: wet paper created more intense marks, and wet hand made paper created a deep impression.

Using a plastic shape again I used paper and a metal sheet to compare results. The metal sheet result was easier to achieve with less pressure and is more interesting to observe as it catches light in many colours.

I manipulated the image of the metal sample in the ‘Waterlogue’ app and then did a watercolour painting to look at the colours and shadows..

Embossing paper on beads and a wooden stamp produced less than exciting results! I also tried plastic and cardboard but this didn’t inspire me either. I guess that is what sampling is about.

I haven’t been excited by this technique. I have found it hard to create interesting results with many of the samples.

Textiles 1 Mixed Media for Textiles Part 1 Surface distortion

Project 3 Heating and fusing

Exercise 3 Using hot water

  1. Fine white polyester satin with different buttons tied in – this worked really well and the fabric retained its shape after being boiled for 30 minutes.

2. Next I used two tone red and black organza tied with cotton without inserts. Again this worked brilliantly and the colours of the organza are highlighted in the resulting sample. The springiness of this sample is reminiscent of the organza lingerie produced by Julie Waibel (www.julewaibel.com) who uses steam pleating to create her shapes.

Using crayons and watercolour I tried to capture some of the shapes and movement in this sample – I wasn’t particularly inspired by the result so I cut shapes and arranged them in a collage. The piece of paper from which I cut the shapes would make a good stencil or mask for monoprinting.

3. Folded polyester fabric produced strong pleats and folds.

4. Folded polyester fabric held with a clamp.

5. Polyester satin stitched as shown and gathered. This produced a really textured sample and it would be interesting to try different stitch patterns. Next time I will mark dots on the fabric to make the stitching easier!

6. I tried using the pattern on this piece of polycotton and tied buttons where the dots were, but the fabric had too much natural fibre and did not hold the shape very well, – I need to find some patterned polyester to try this again as a pattern would definitely affect the end result if the shape held.

7. Hand made, wet felted prefelt with buttons tied in. This worked really well but I needed to hand felt the piece, as boiling on its own was not enough . This is an interesting organic sample which could be further embellished with stitch. I think next time I would just hand felt with hot water and soap to obtain a better result.

Textiles 1 Mixed Media for Textiles Part 1 Surface distortion

Project 3 Heating and fusing

Exercise 1 Fusing Plastic

Now that we are all trying to recycle I don’t have so many plastic bags but I managed to find a few different colours and thicknesses to start my experiments. Using baking paper as a sandwich I cut and tore shapes to layer then ironed. The colours are vibrant and I also left the bar codes and writing on the pieces I used for extra pattern.

I enjoyed making prints inspired by the fused plastic and the texture of a foam print block captures the wrinkles created by heating the plastic.

Moving on to trapping, some samples worked better than others. I am not so keen on the trapped card or the flower, but the trapped fabric strips which can be seen where the plastic has melted into holes could be developed further and stitched heavily to echo the patterns which can be seen through the plastic.

I scrunched up the plastic bags into balls with other materials (fabric, silk, paper and muslin) and then ironed them with a lot of pressure. The smaller samples remind me of jewelled brooches and I can see a lot of possibilities with this technique. I did watercolour sketches of these samples and also made more which I have stitched into – I am excited by these.

Pleating the plastic also worked well to give lines and blocks of colour. Again I felt printing was a good way to capture these shapes and I made a print block. The ghost prints made after the first print have a transparency and airiness which I feel captures the light plastic sample.

Manipulation of some of the images in the ‘Waterlogue’ app produced some interesting results.

Exercise 2 Using a heat gun

Using a heat gun produced samples which were more 3D. Materials could also be manipulated into beads. I tried melting sequins but this did not work – they didn’t melt. I coloured the Tyvek and texturite plastic before heating, and on the tyvek the gold paint bubbled up to give a metallic look. The shapes are organic and very tactile – I think I may try stitching into them before I heat the materials to develop these samples further later on. The bubbles are either concave or convex depending on which side the heat is applied from.

Heating tulle produced holes and distortion very quickly, and with lace the finer bits disappear first leaving the more heavily worked areas.

Samples above

Tyvek Texturite plastic Felt

Plastic bags Metallic fabric and Organza Angelina fibre

Crisp bag Metallic cord and Lace Tulle and Polyester Satin

Sequins, beads and buttons trapped in Texturite plastic

I chose to concentrate on the tulle sample and the satin sample for my drawings. The bleach pen I used didn’t really work so I need to investigate this further but the black and white drawings using ink, salt, white paint and a white pen could be developed with stitch as in one of my examples. I also like the tiny bit of yellow silk thread which had attached itself and didn’t alter with the heat.

Just a few more observations – shrink plastic painted and heated (inspired by heated plastic bags), and glue used to draw and then painted over (inspired by heated metallic cord). I am particularly pleased with the drawing of the Texturite sample using PVA glue and watercolour – it captures some of the texture and translucency of the sample.

Textiles 1 Mixed Media for Textiles Part 1 Surface distortion

Project 2 Tearing and cutting

Exercise 4 Cutting Holes

Having read through the introduction to Part 1, I decided to pick out exercises that interested me, in no particular order. I chose Exercise 4 Cutting Holes as I wanted to see what I could do with a seemingly simple technique. I chose to start with copy paper and cut rectangular holes randomly, then layered the sheets in different ways. Even with this thin paper, shadows were cast at the cut edges, and shapes and patterns emerged. I tried to emphasise the shapes and shadows in my drawings, and I think the black drawing pen worked really well.

Using copy paper and circle cut outs, I bent some of the sheets into curves which distorted the shapes. I also used dotted lines in one drawing to suggest the circles in the underneath layer – these could be stitched with running stitch.

Printed paper and corrugated card add another dimension. I particularly like the photos taken at an angle, looking at the ends of the card and the arrangement of materials at right angles to each other. It is like looking through a window. I have added some watercolour on one drawing which I think works well to add depth.

The next samples were achieved by holding a number of sheets of copy paper to a window. The shapes appear ghostly in the background alongside the sharp shapes of the top layer of paper. I also like the little splashes of colour where the trees outside can be seen. I used diluted watercolours to achieve the light effect.

Working with fabric and paper together produced different results – particularly as I chose two different fabrics. One was a transparent rust coloured organza, and the other was a white woven check cotton fabric. I cut holes in both and firstly layered them with white paper to look at the patterns.

Layering the fabrics and screwing them up before taking the photograph provided movement and irregular shapes. Layering with coloured paper and corrugated card provided further interest. I combined black and white drawings with some colour. I am finding that I am more at ease with a drawing pen than with pencil, and I like to add a splash of colour here and there.

Exercise 6 Tearing

I chose this exercise as I felt it would be a good contrast to the precise nature of cutting. I started with coloured papers and corrugated card. Depending on which way the card is torn gives a different result, and this can be seen in the sample. I also tore a shaped mount and laid this over the torn collage to draw. This would be a good technique for designing 3D vessels with patterns as the observational drawing suggests.

Using loosely woven muslin torn into strips adds another dimension. It doesn’t tear readily and the tearing action creates shapes, lines and holes in the fabric. Handmade paper tends to tear more easily with the grain, – torn against the grain it produces more wobbly edges. Paper also can be torn towards or away from you and this also gives different results. All of these results can be seen in the woven sample, which was really interesting to draw.

Next I tried tearing plastic in the form of a red carrier bag. It isn’t a material I have used before but I was really excited by the results. The plastic did tear but it also stretched and ruffled along the edges and could be manipulated to create lumps and holes which altered the transparency and colour of the plastic. I made simple samples with torn black paper, torn white muslin and the torn red plastic. I used inks, watercolour and a white pen to draw these samples and I am really pleased with them. There are lots of white lines which could be stitched to give texture over layered papers or fabric.

Next I decided to combine materials and techniques to create some mini samples, and to loosen up my drawing I used my left hand. I pleated some materials and tore and tied others. They are all fairly simple but all create interesting drawings. I am pleased with the combination of black pen with a little splash of colour.

Having done some drawing with my left (non-dominant hand) I tried drawing without looking at the pen/paper for this sample. The collage has been made with torn strips of paper and card. I really like the random nature of the drawing but I’m not sure I enhanced it by adding colour.

I felt I needed to use a different media to push this sample in a new direction so I made a print block from ‘Funky foam’ using the drawing as my inspiration for the lines. The resulting prints made using acrylic paint have some great shapes and lines which could inspire applique work and stitch.

Drawing each of my samples has made me observe line, tone, shadows and shapes more closely. I am enjoying these exercises, and was surprised at the effects of using plastic – something I was reluctant to try at first as I thought it wouldn’t be attractive!

I am going to leave the sorting process until I have completed 10 exercises.