Author Archives: paper and stitch

Unknown's avatar

About paper and stitch

I am a textiles student with OCA

Textiles 1 Mixed media for textiles Part 3 Molding and casting Project 1 Molding from a surface Resin

Epoxy resin

This is not a cheap material but I remember as a child having a ‘Plasticraft’ set to make items from a clear resin to which you could add small objects to be held within the cast. I wanted to have another go!

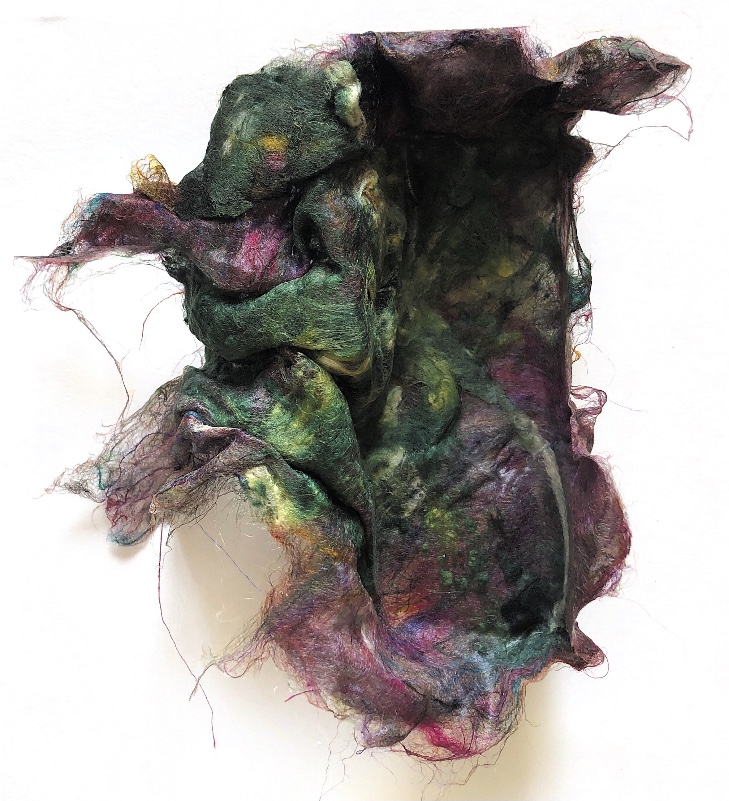
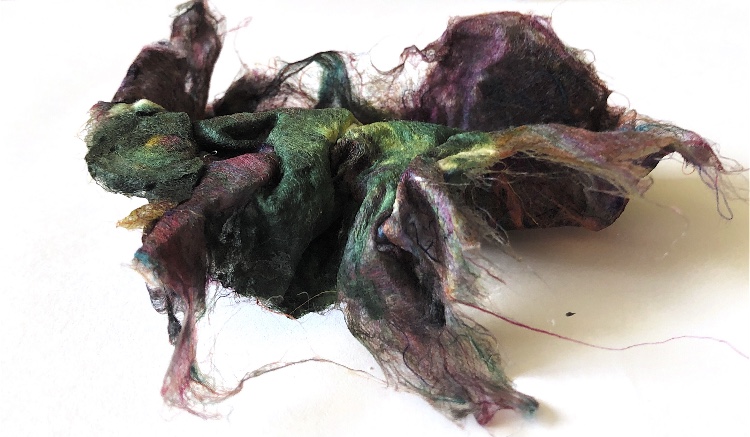
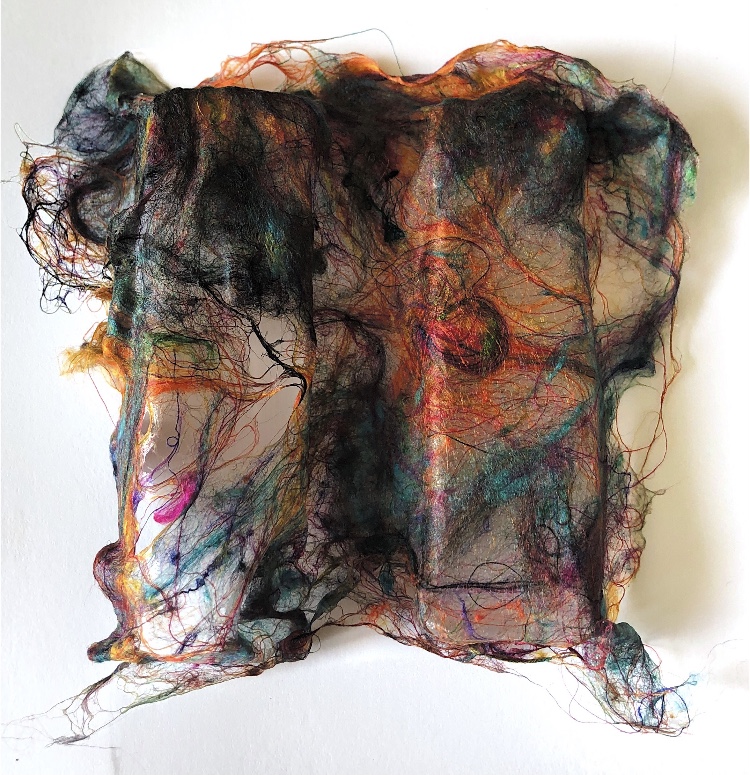
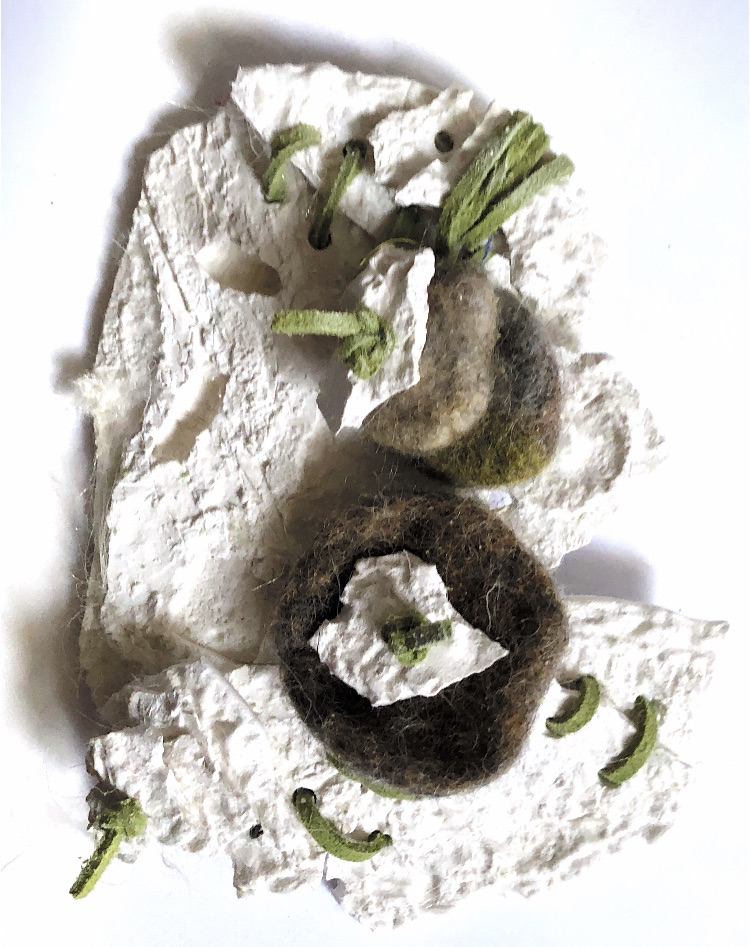
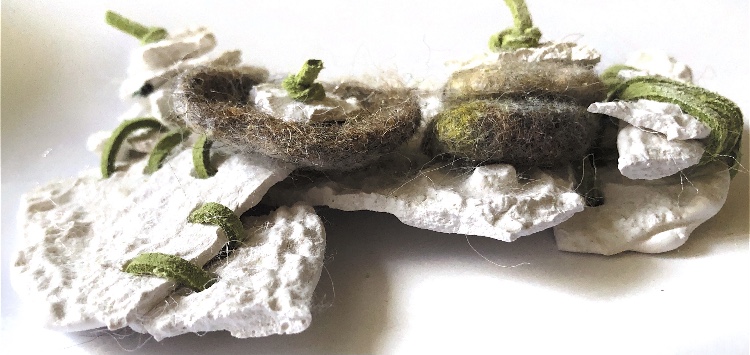
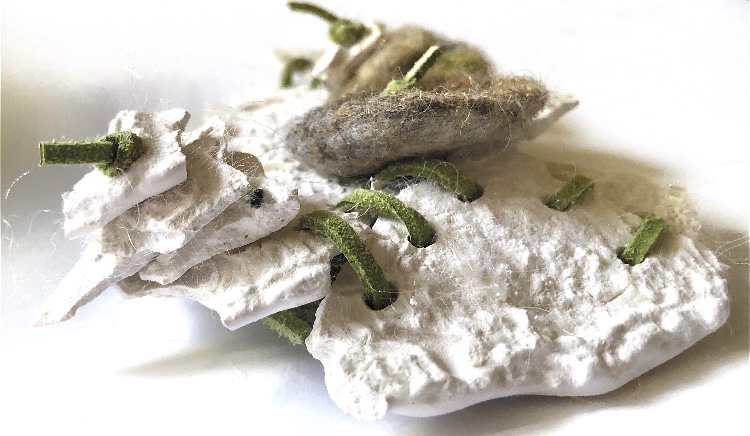
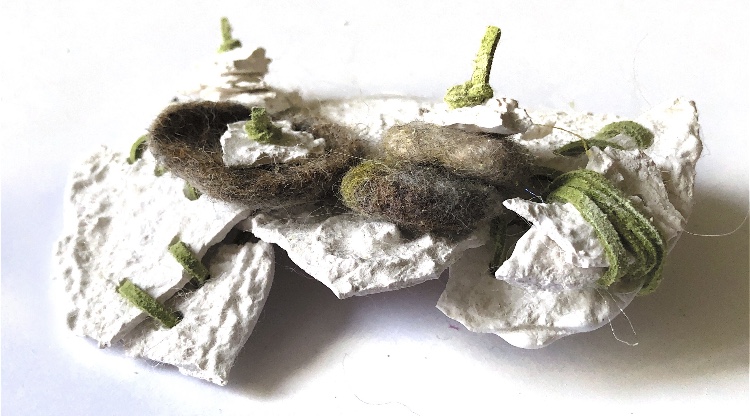
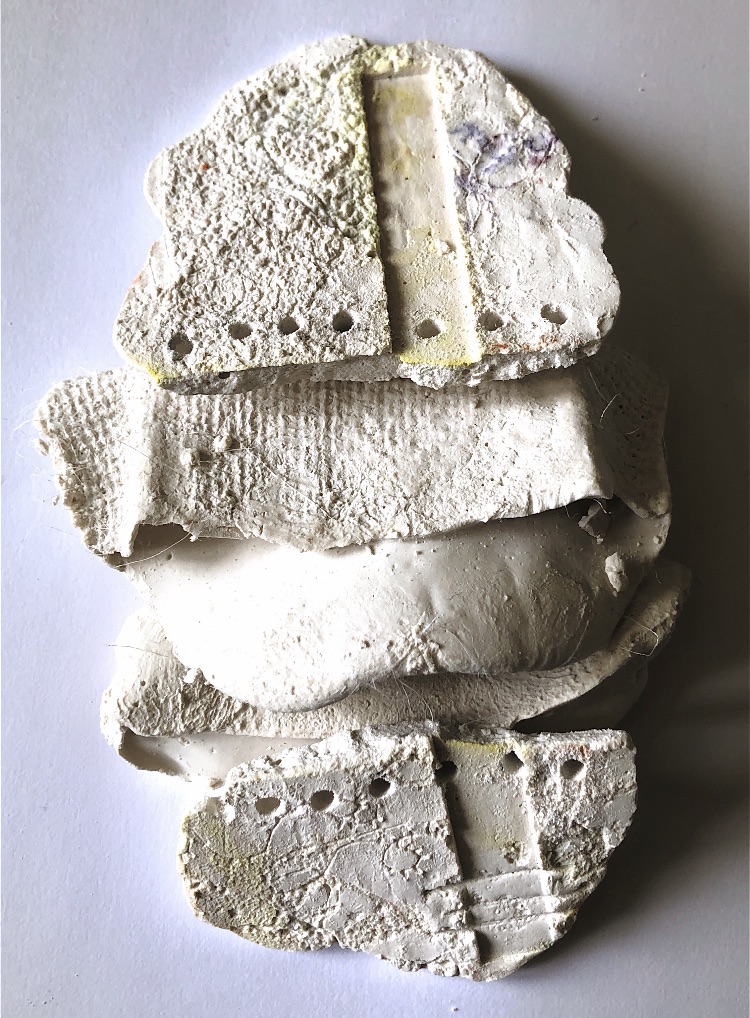
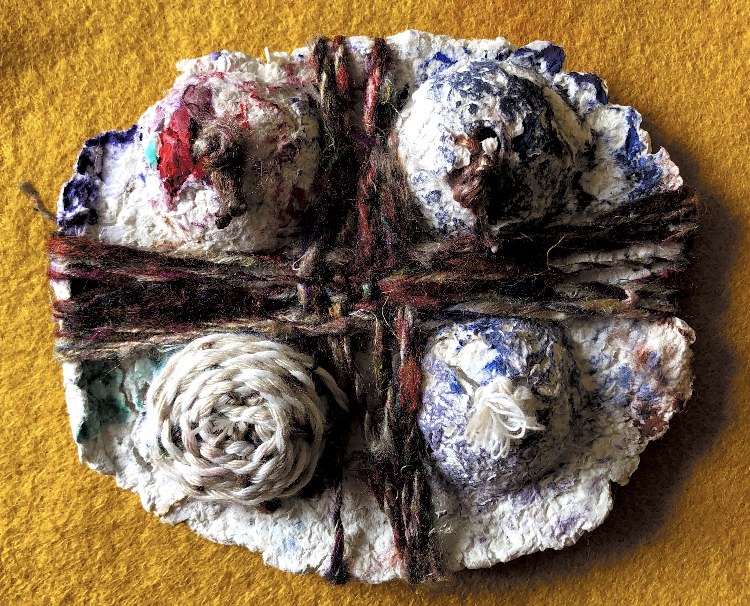
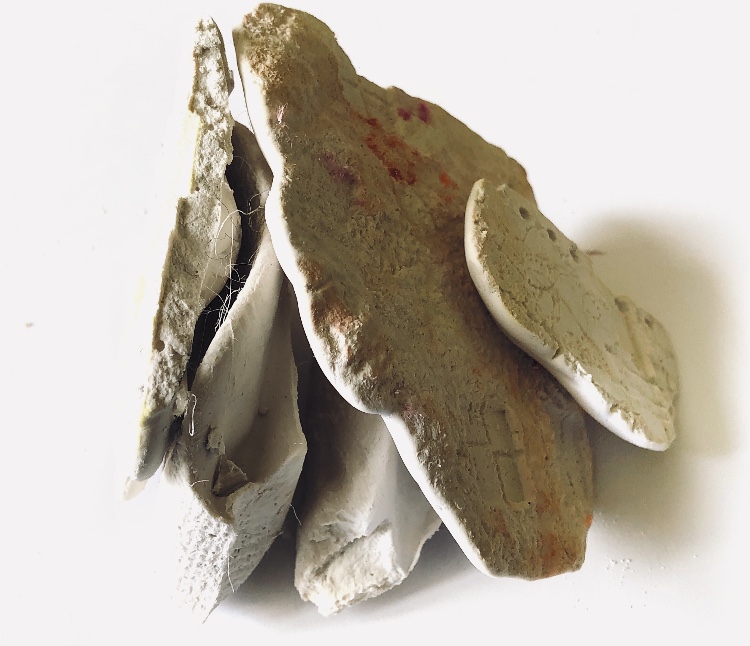
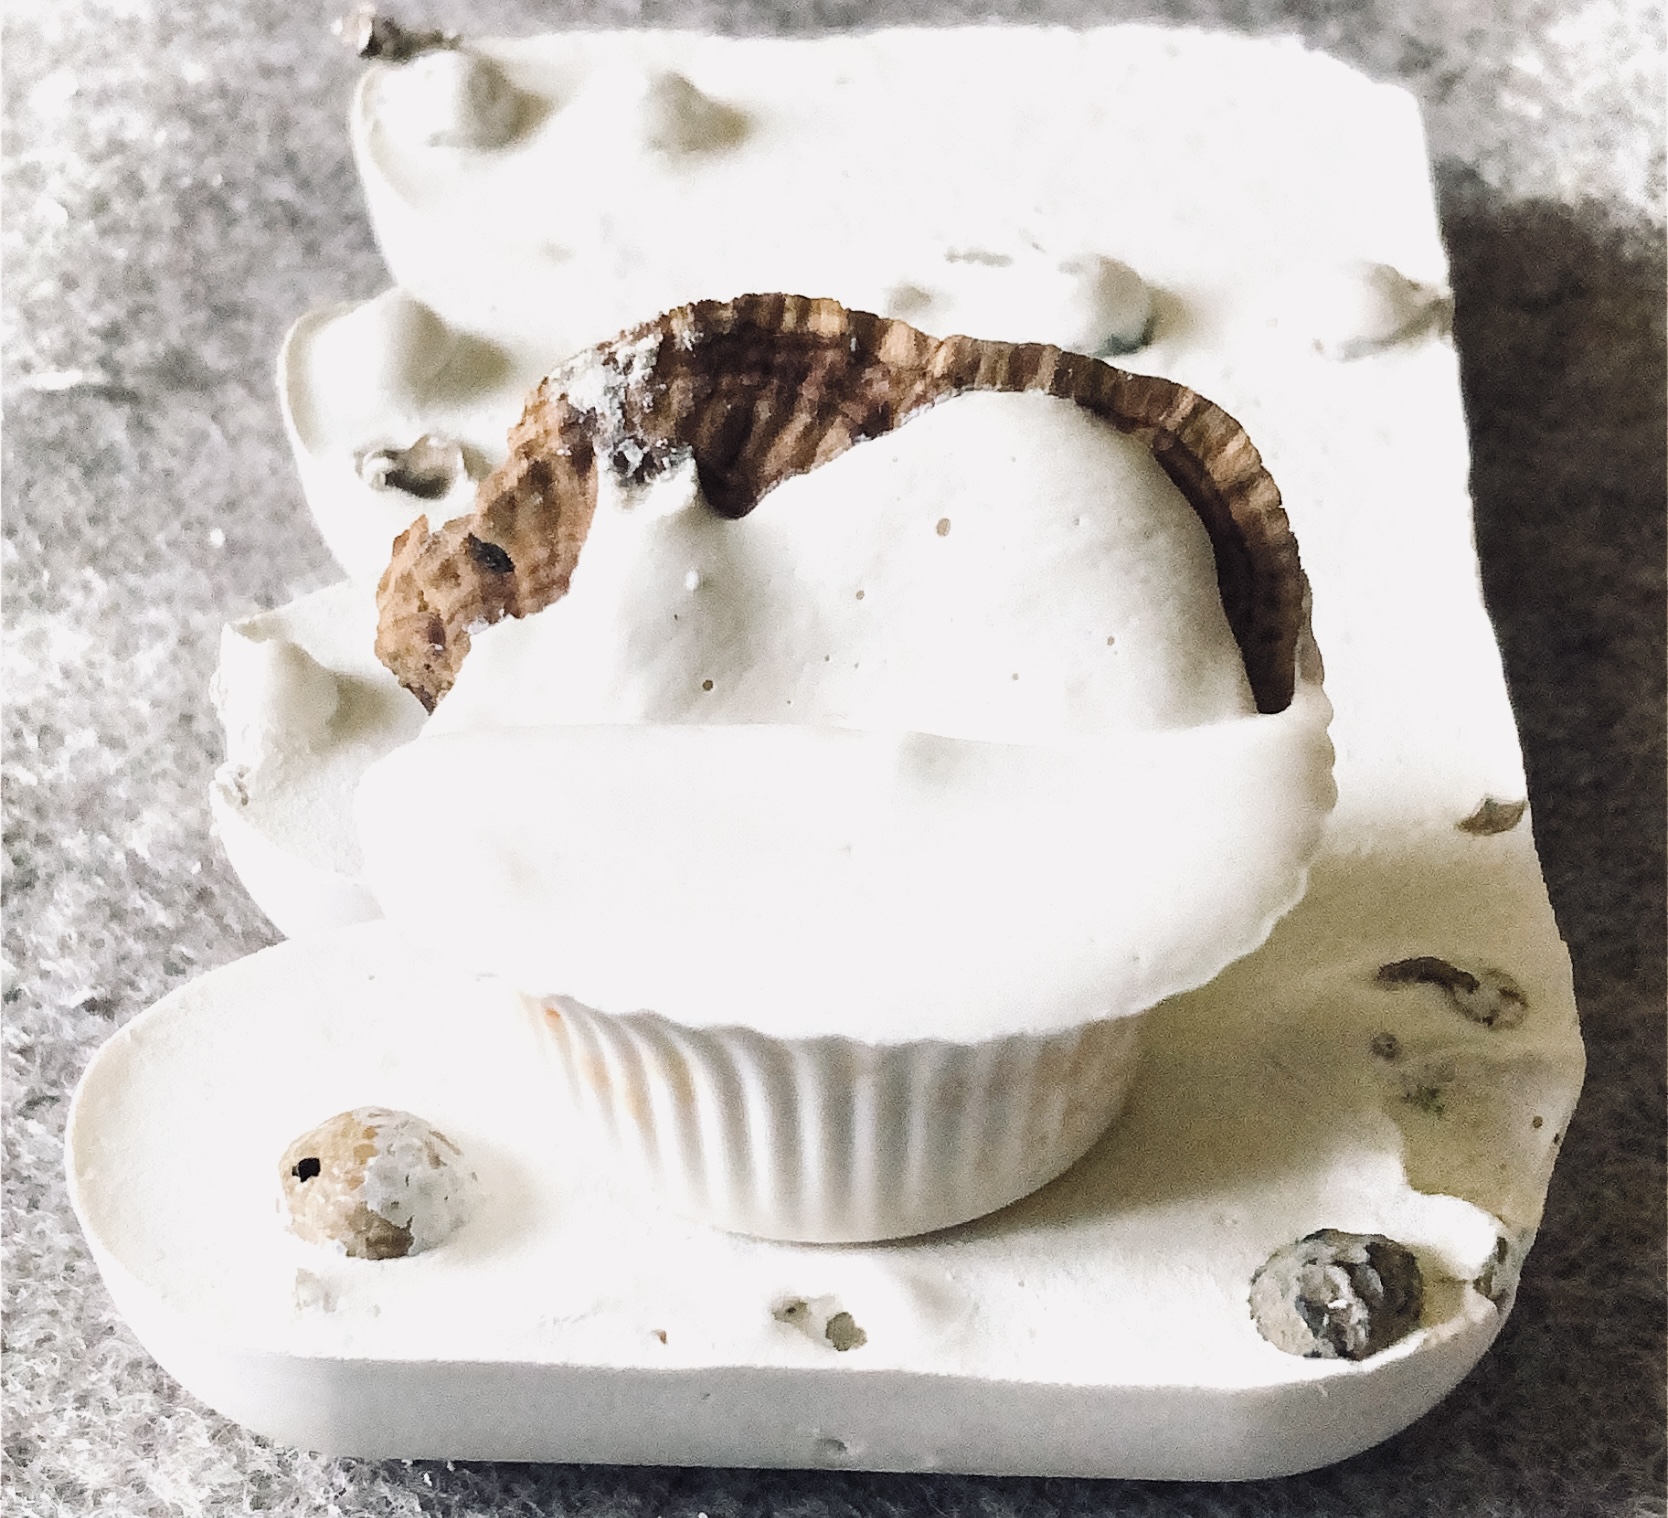
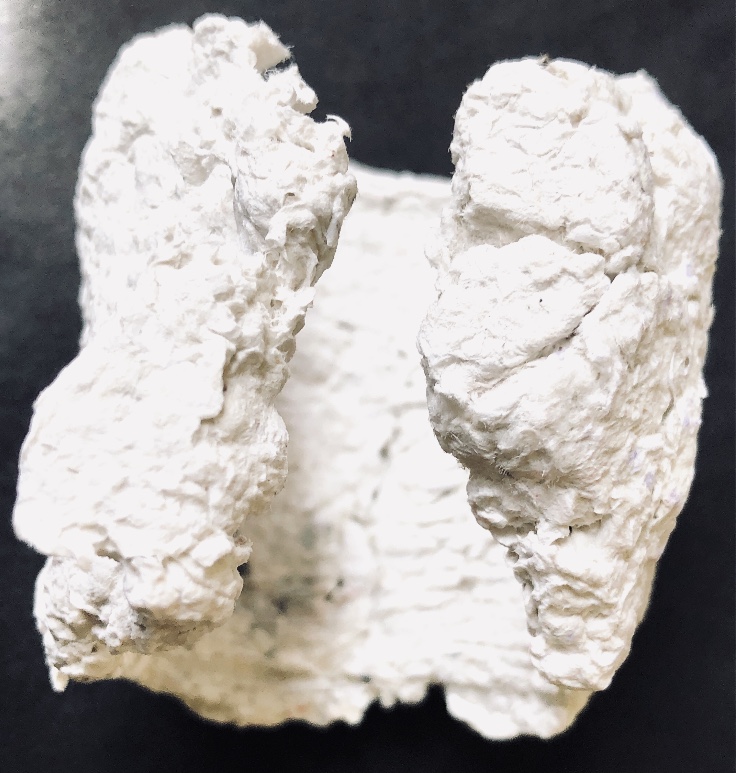
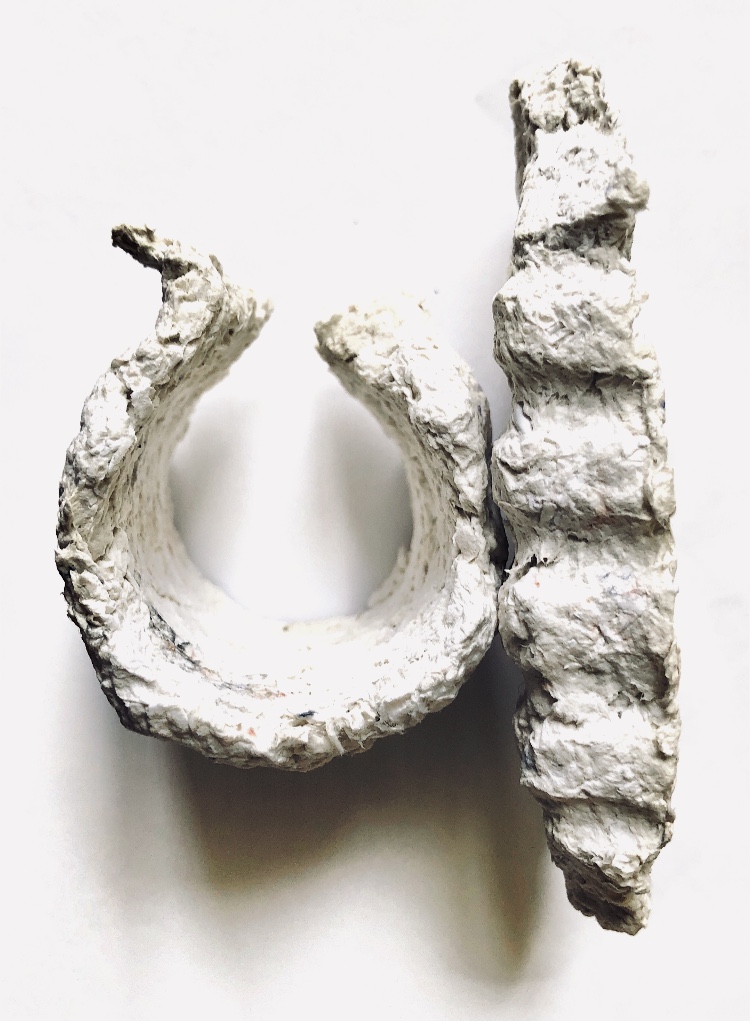
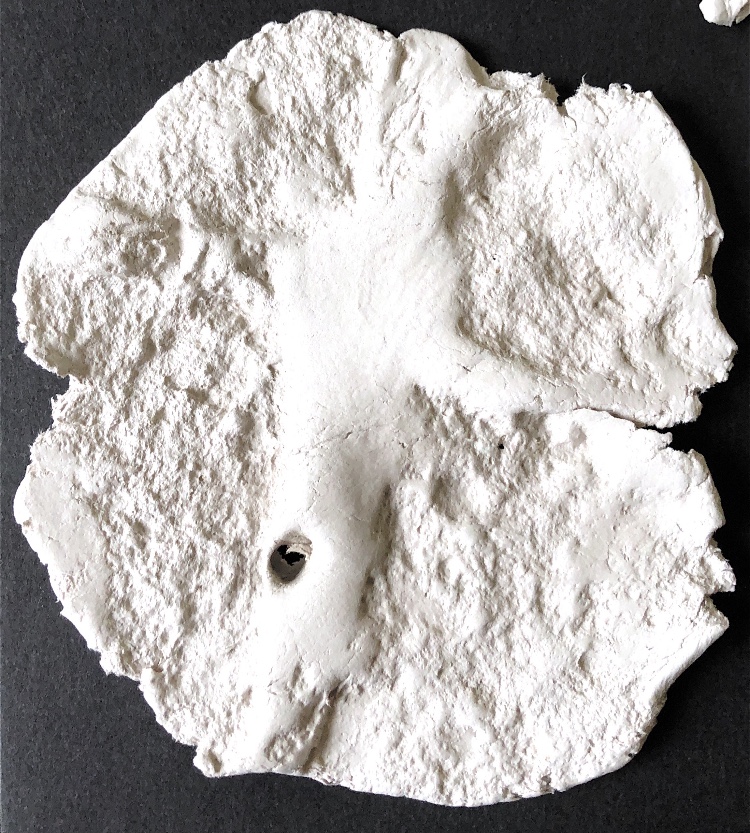
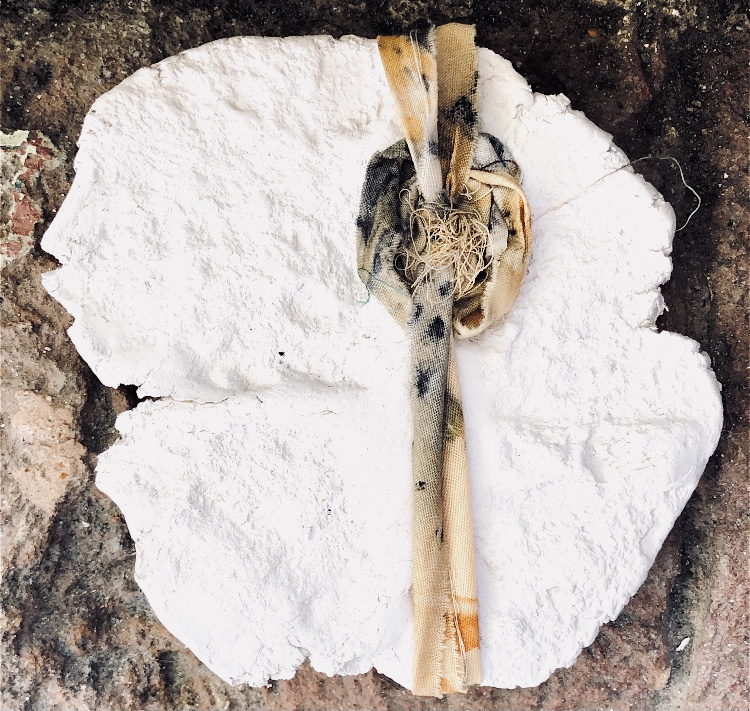
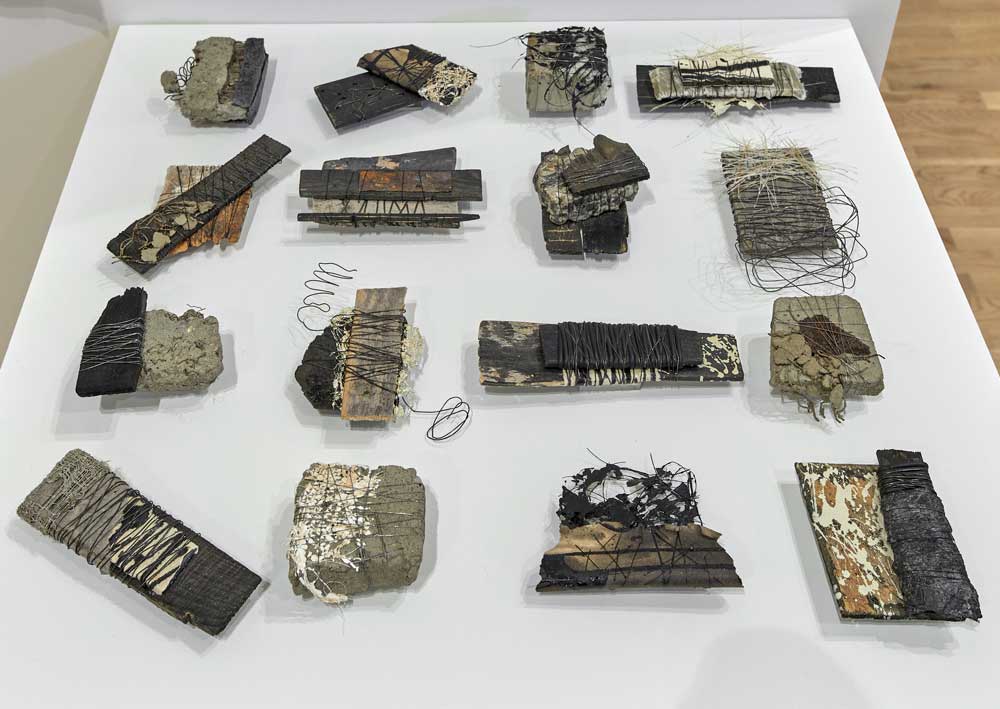
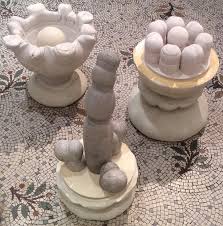
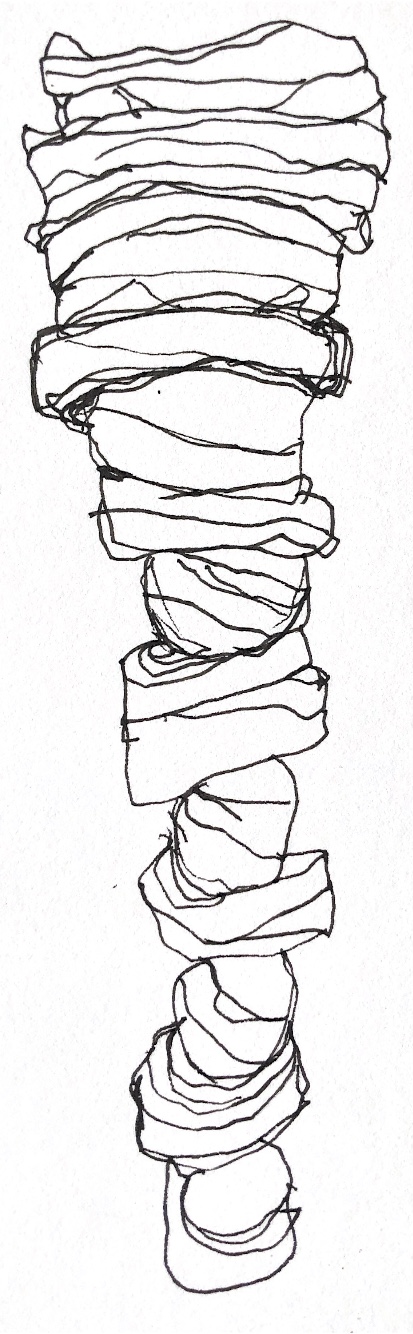
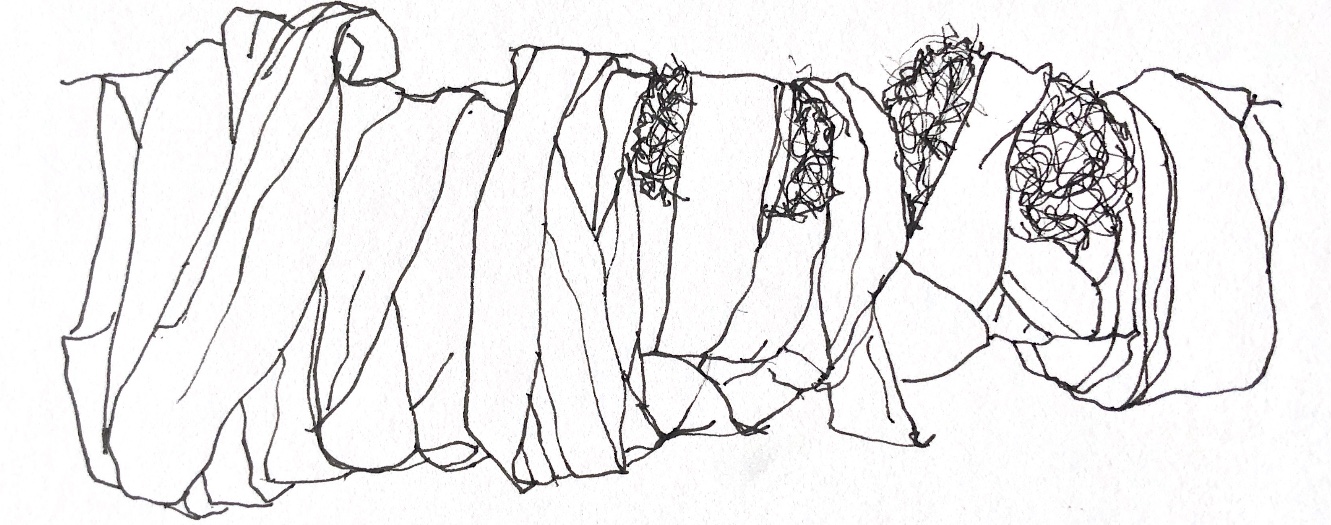
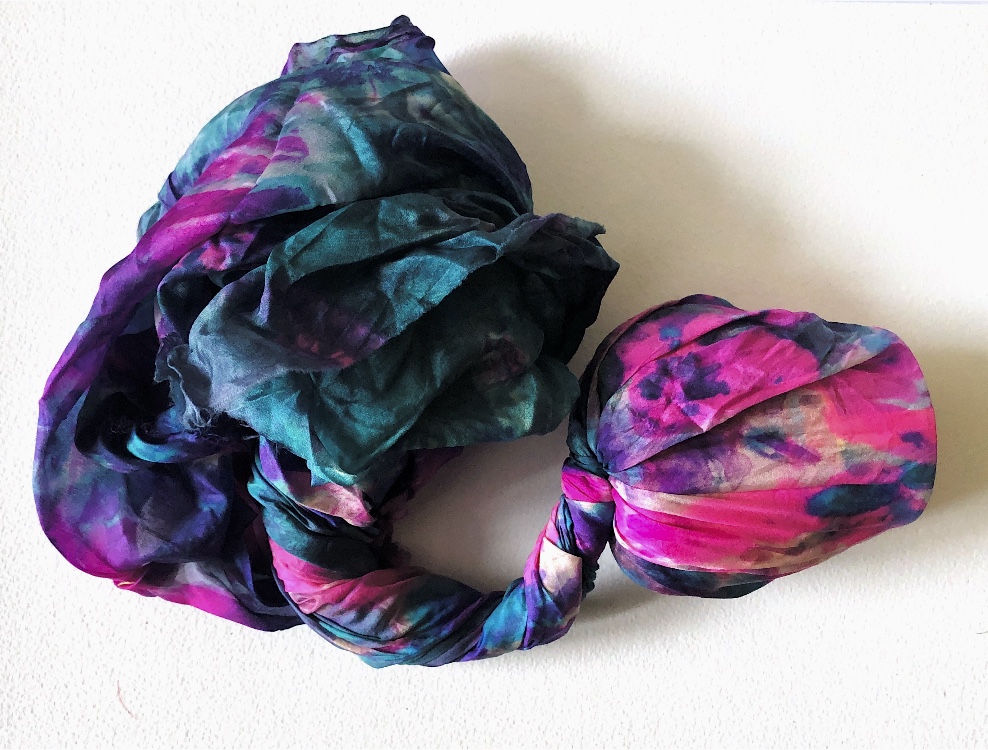
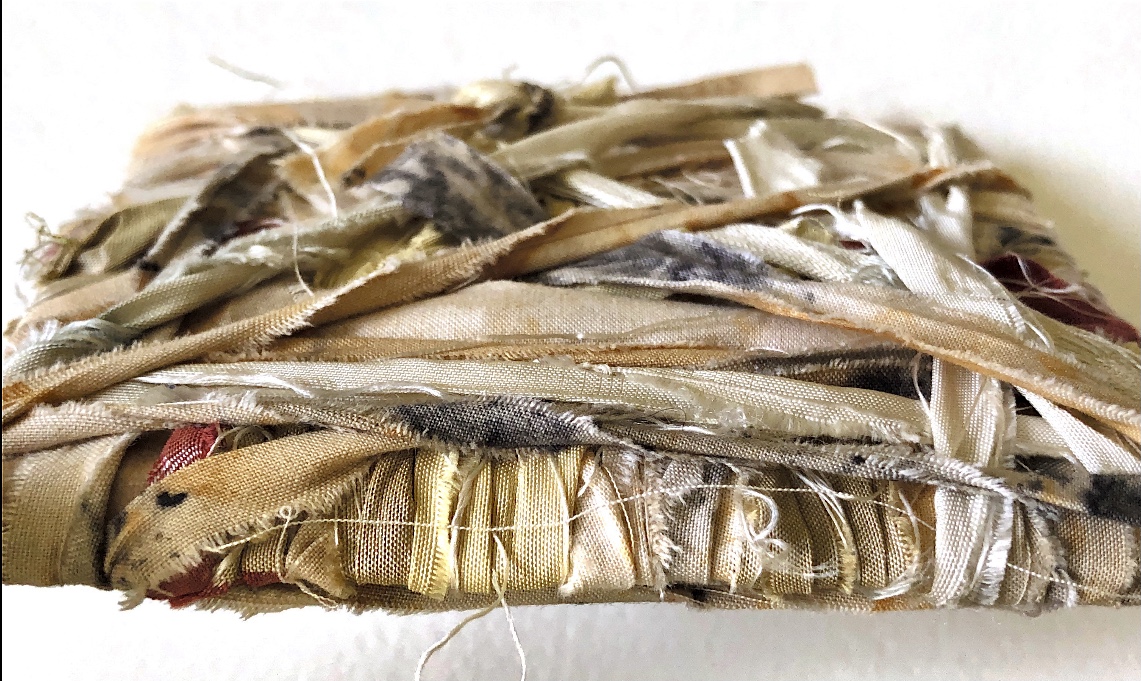
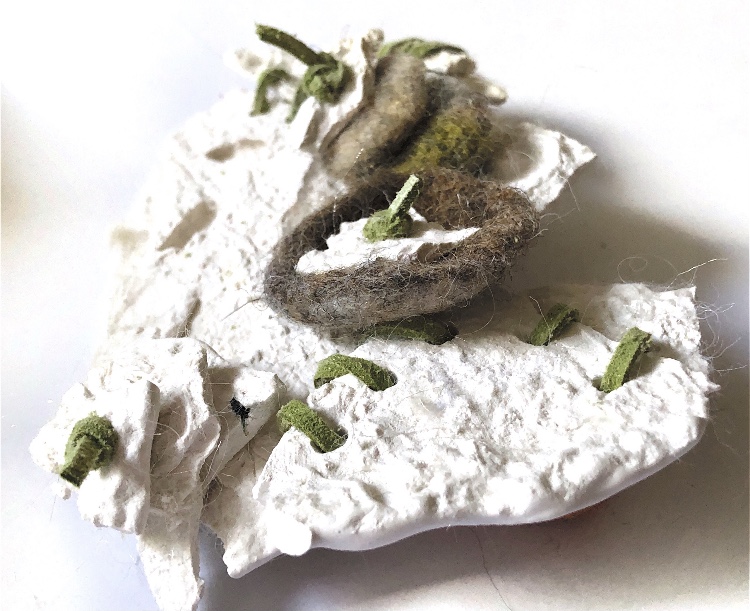
I wanted to incorporate objects and ideas from my previous sampling (plaster, felt pebble and plaster stacks, plaster shapes, latex shapes, silk fibres).

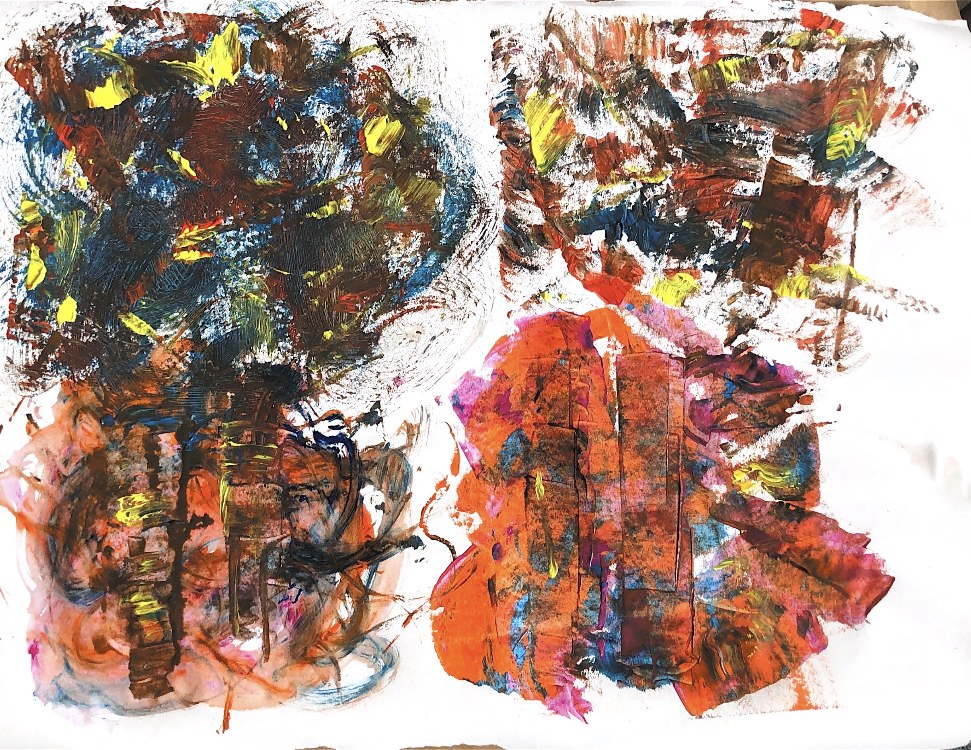
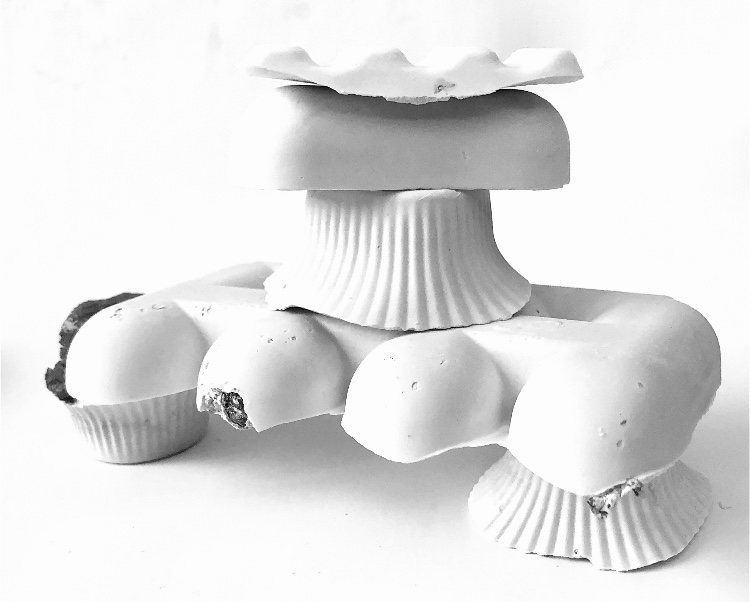
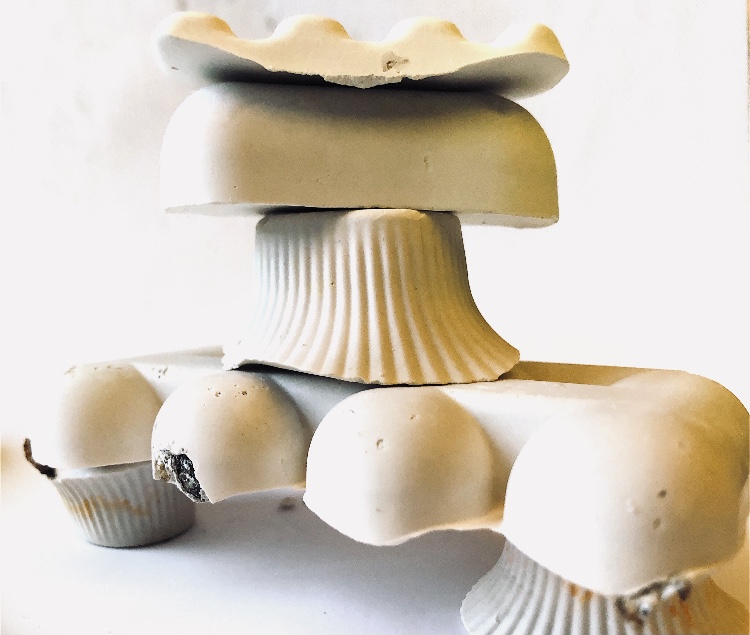
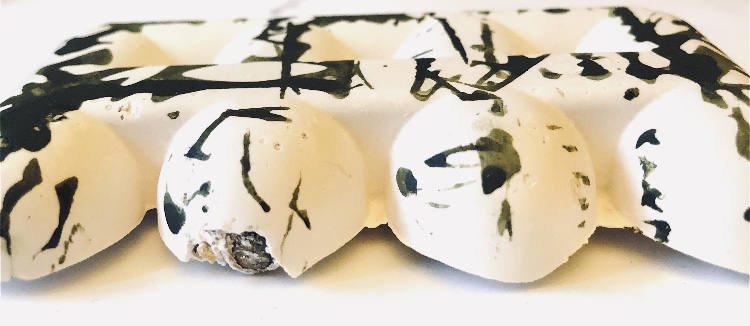
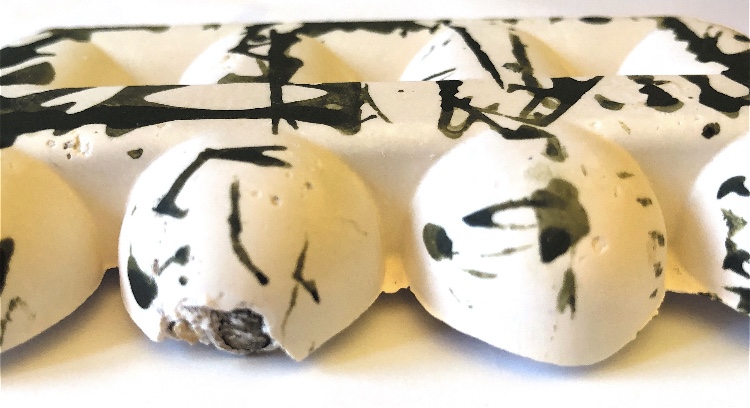
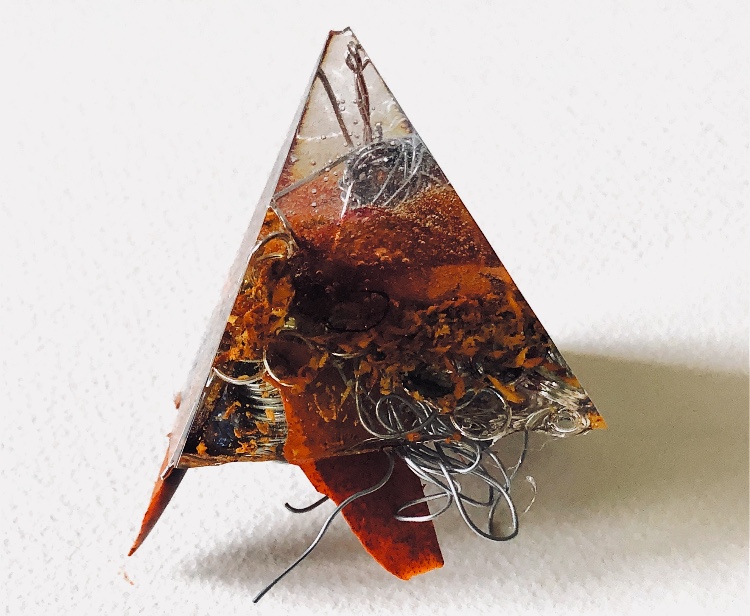
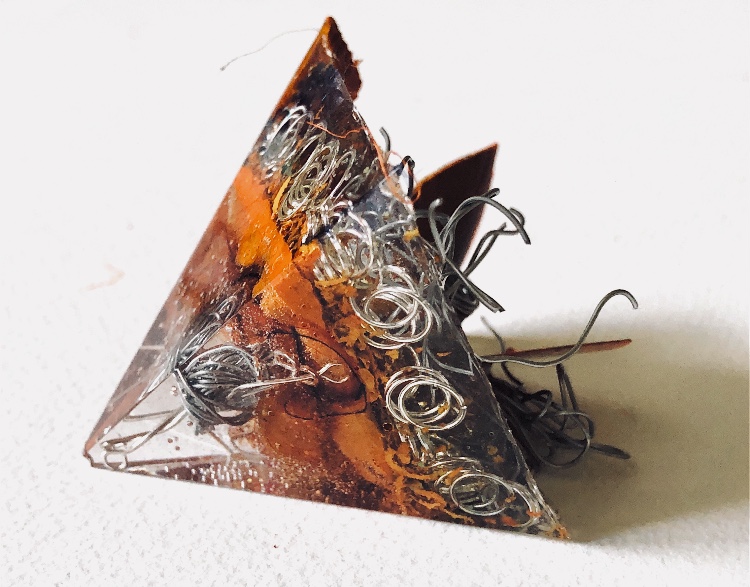
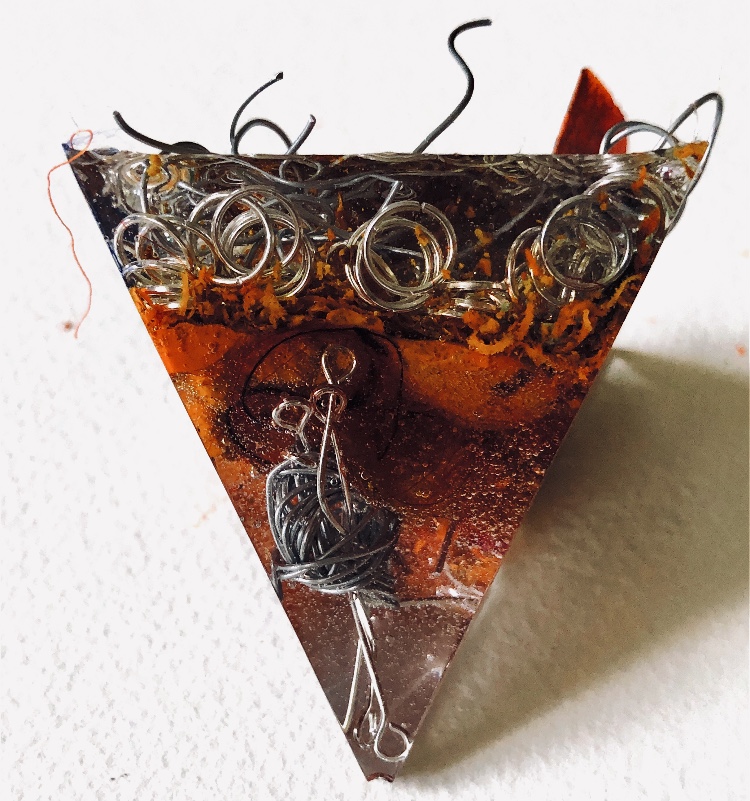
It was a long wait (24 hours) before I could remove the samples from the mold and hold them in my hands to view from all angles. They are satisfyingly smooth and heavy, but I deliberately left one side with protruding objects for a contrast. There are bubbles in the resin but I rather like the idea that the objects have been submerged and captured in a moment in time with bubbles rising from this action. It feels natural.

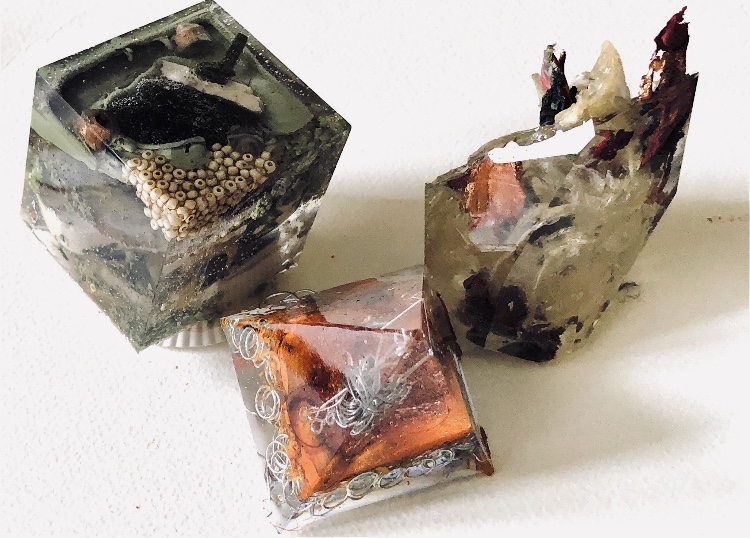
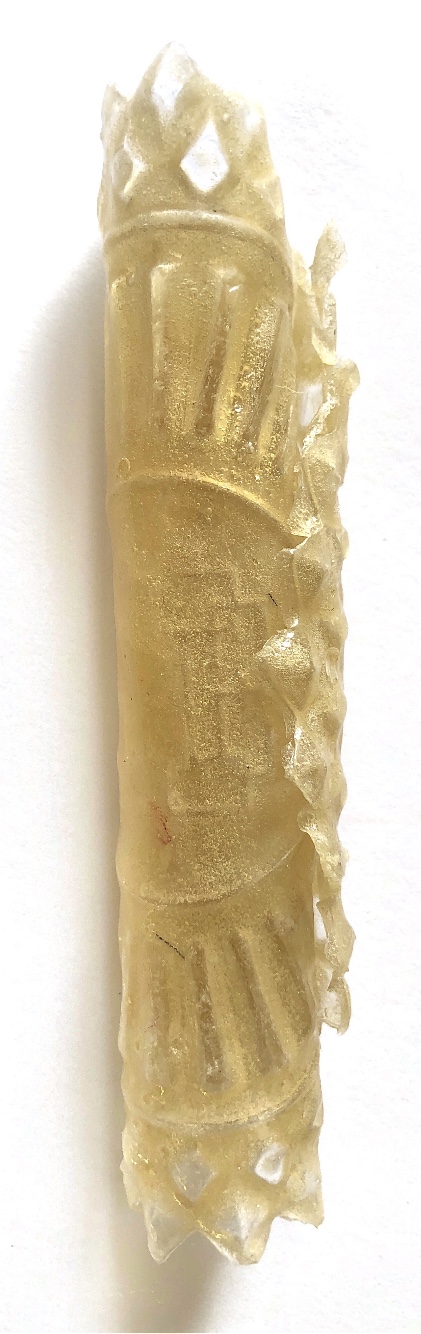
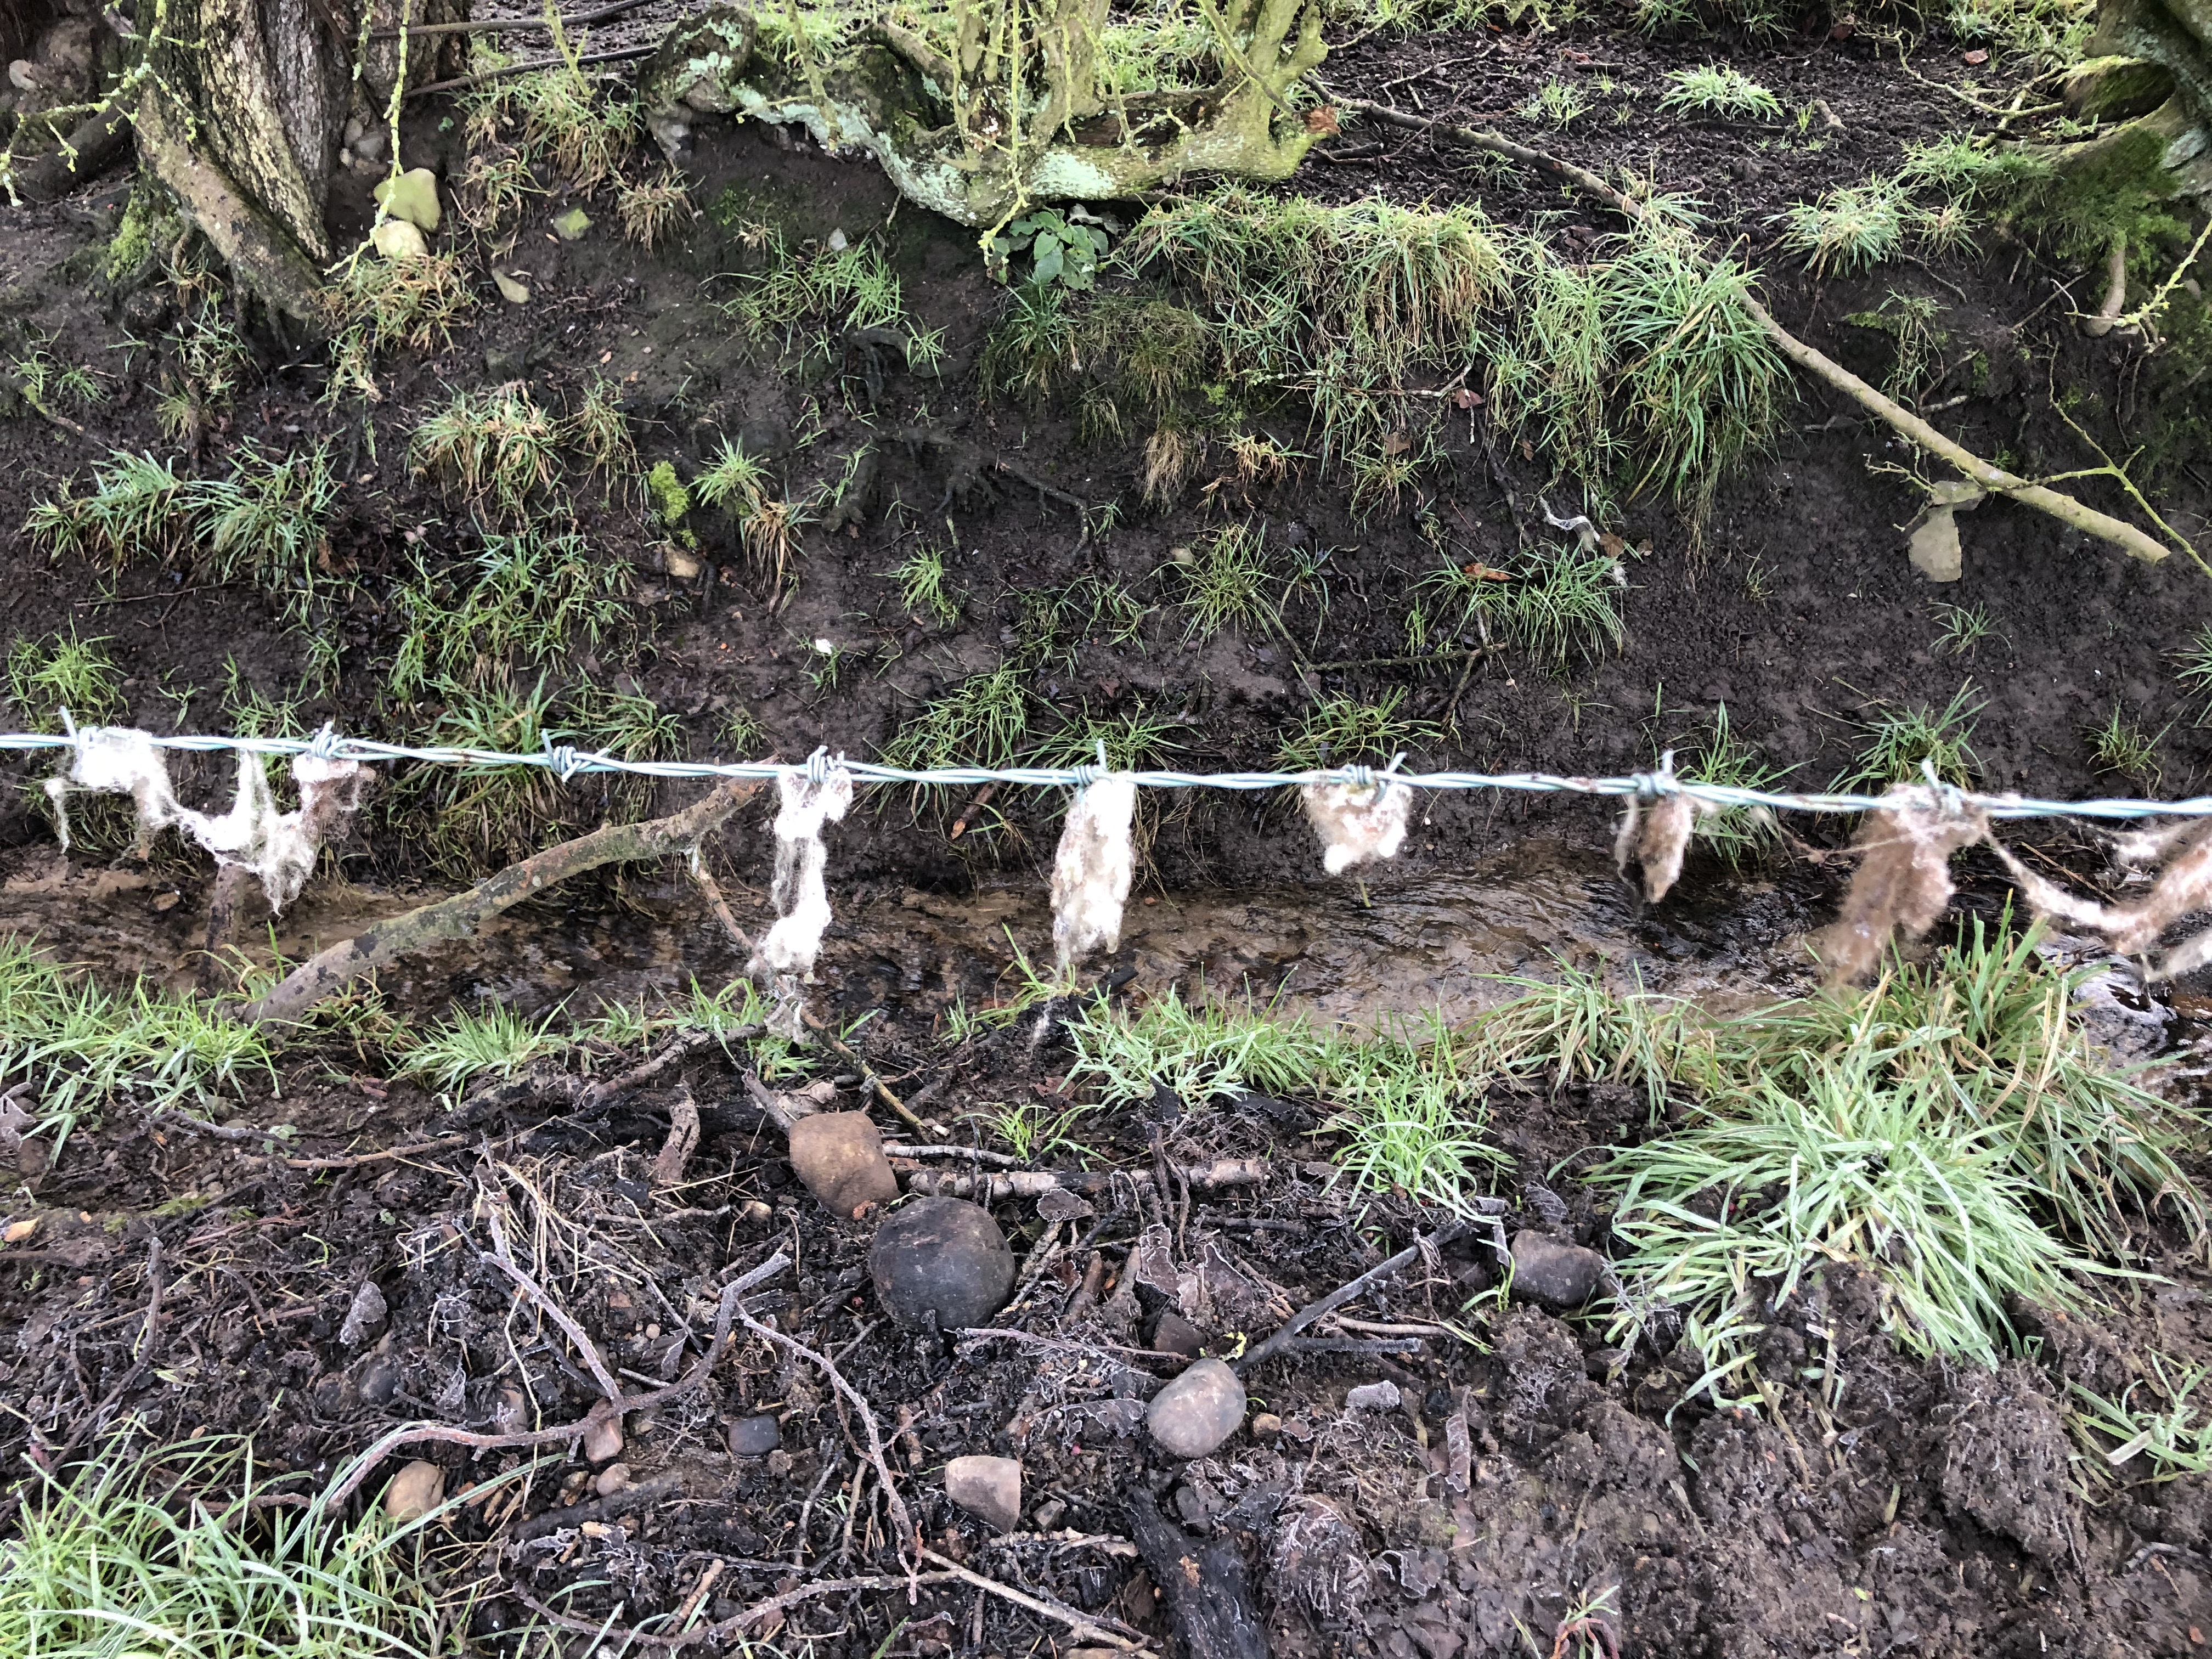
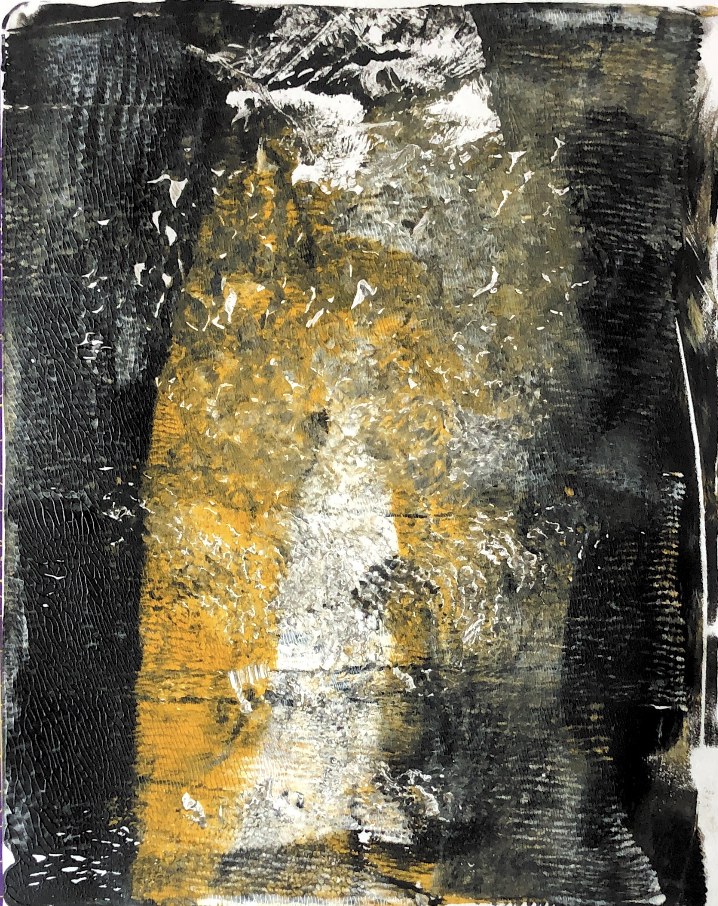
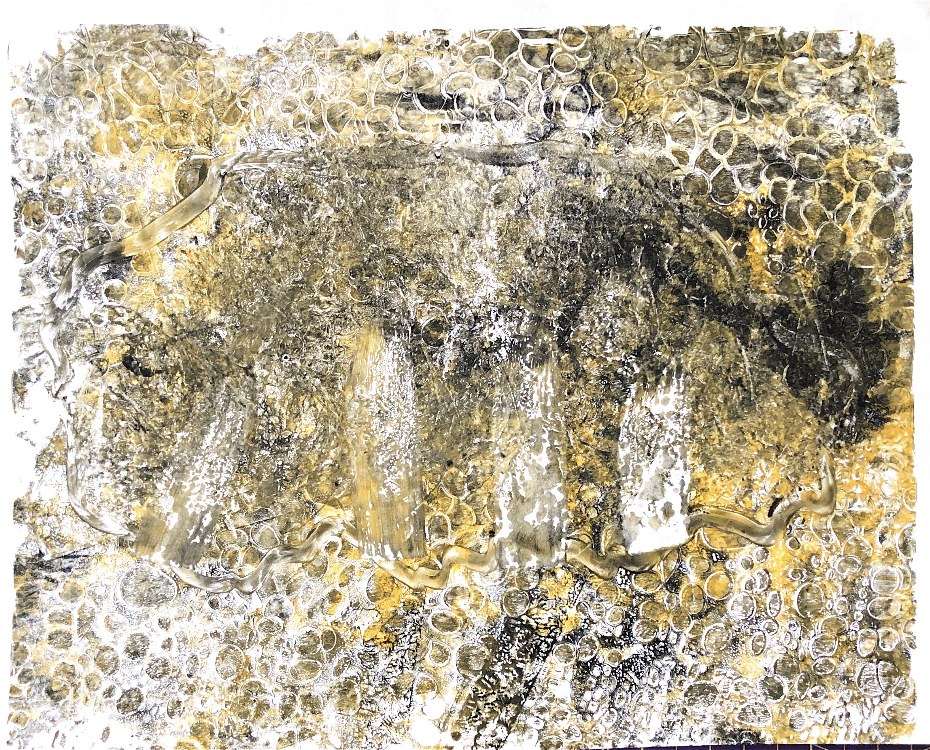
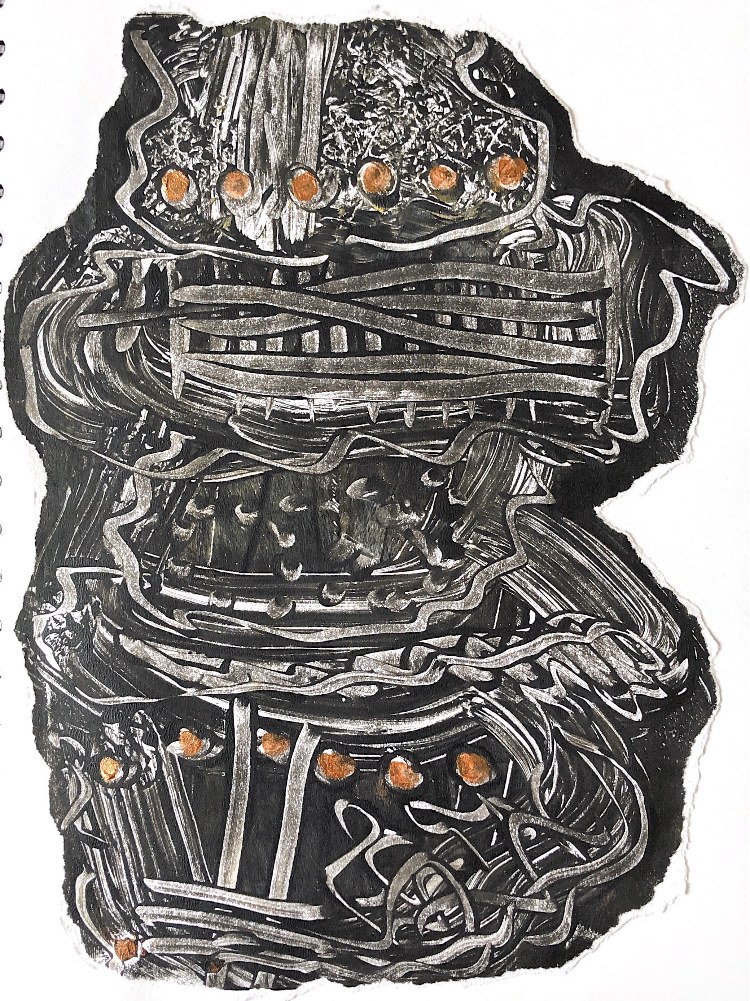
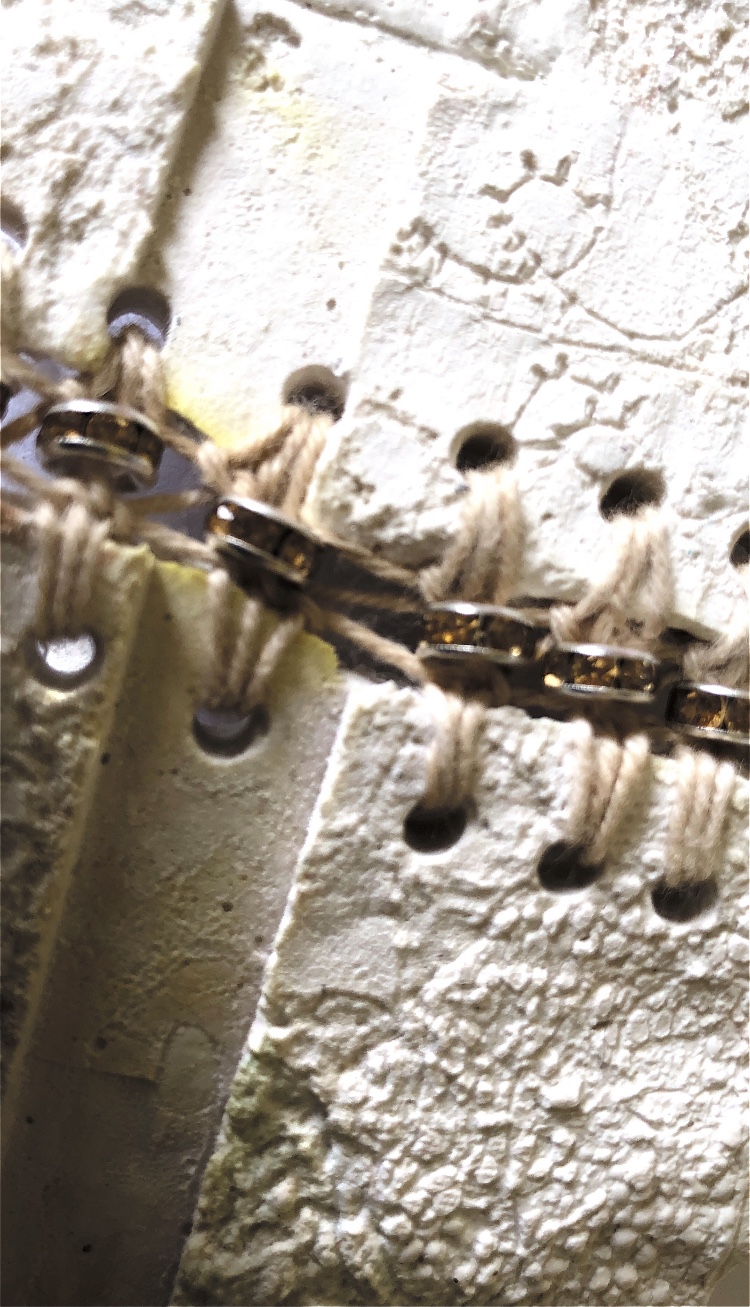
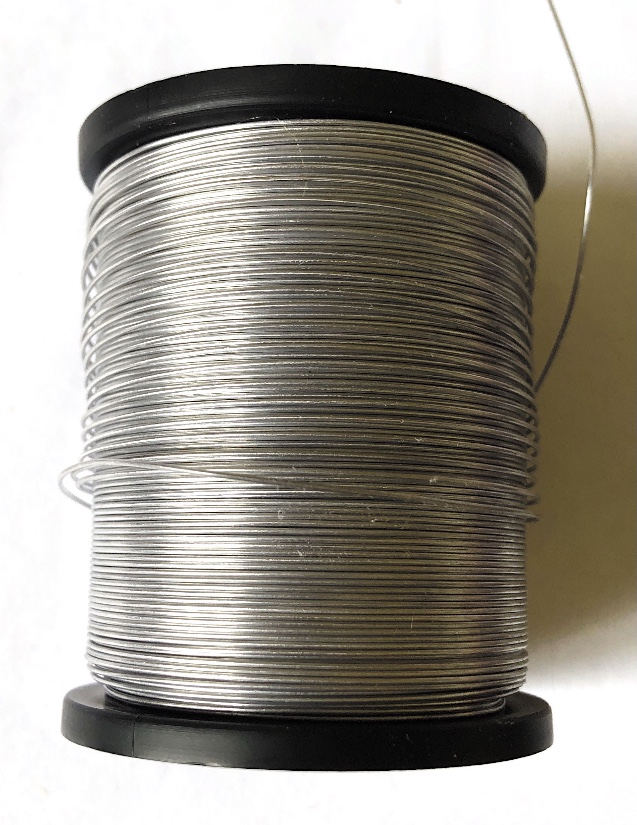
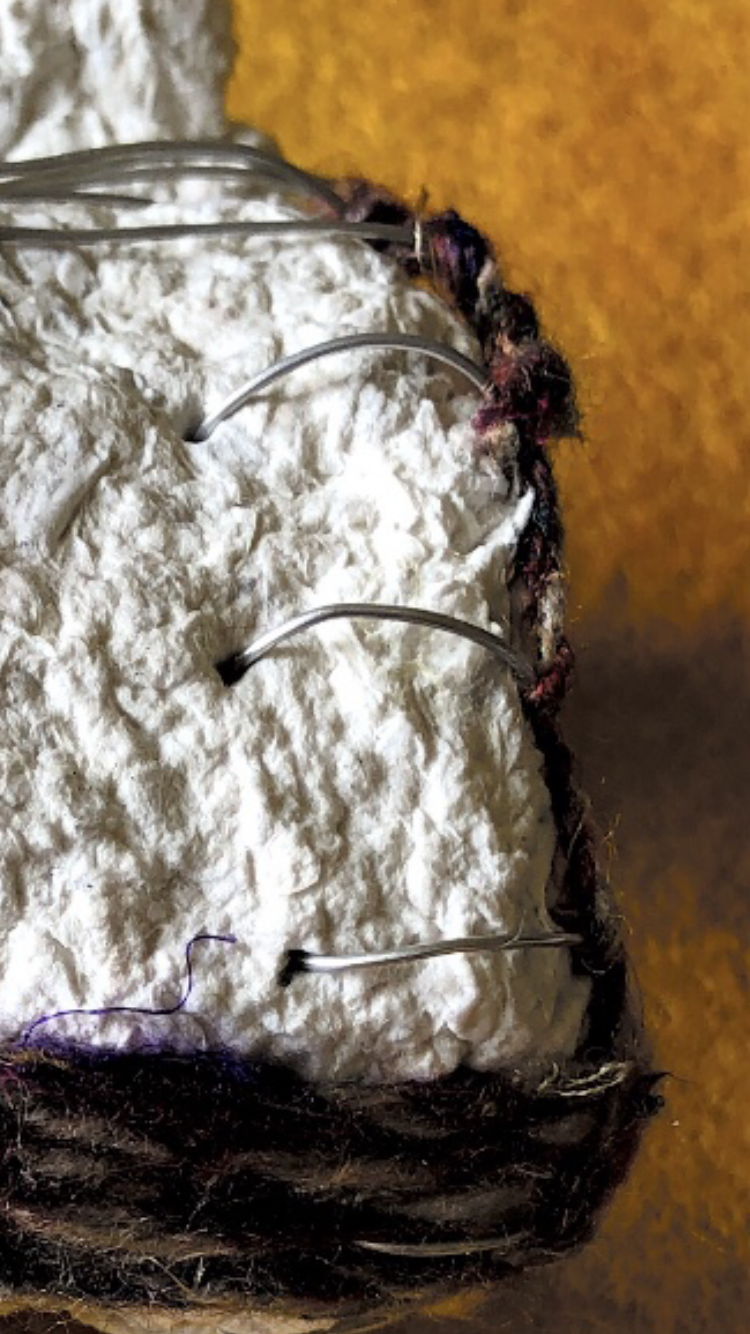
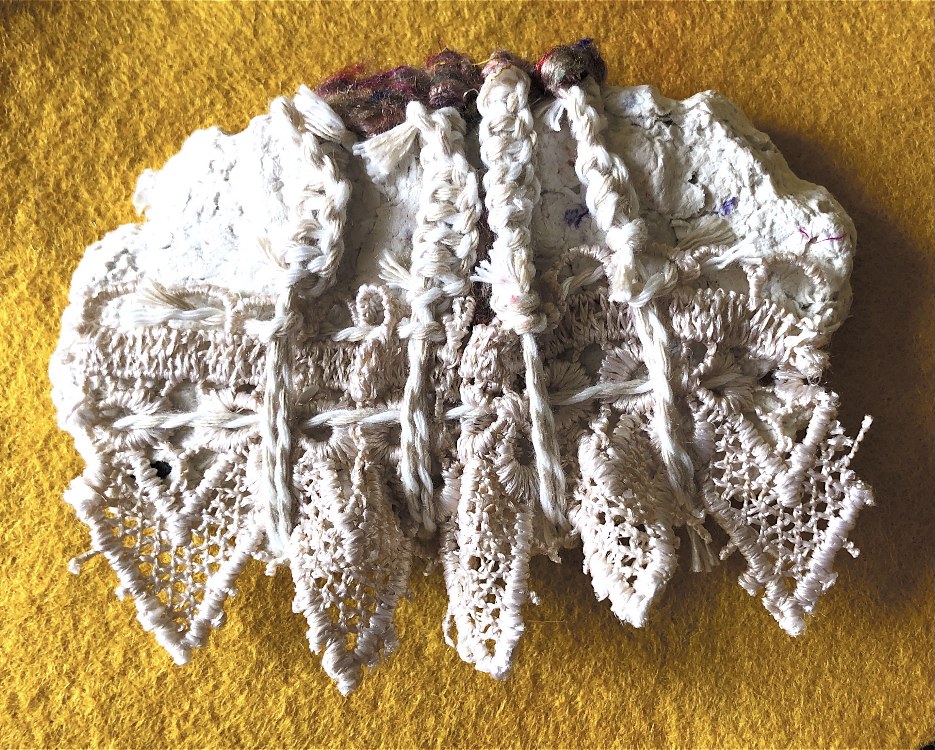
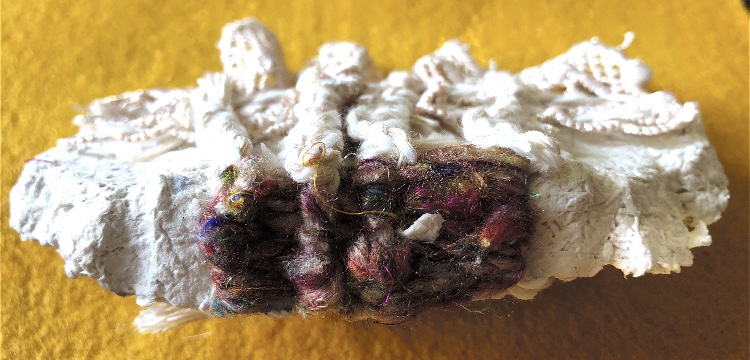
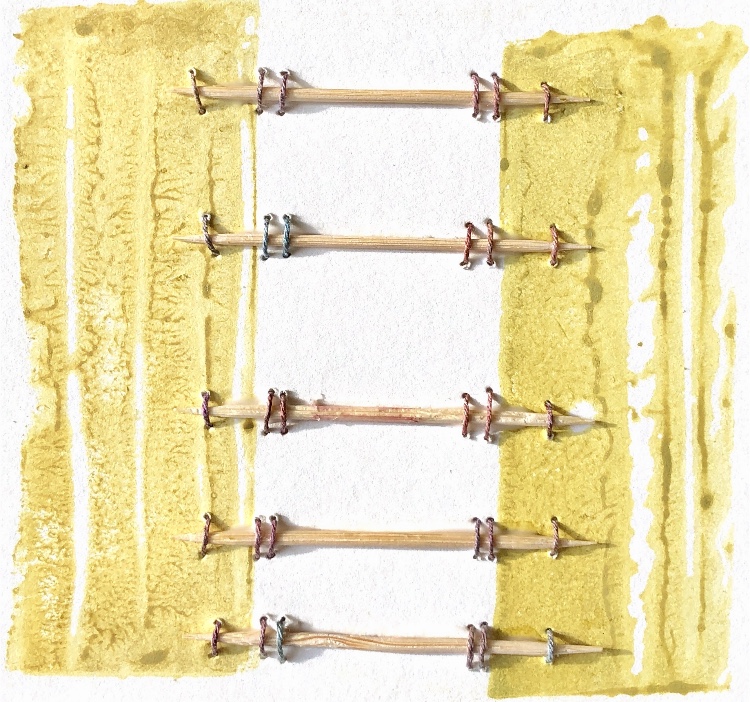
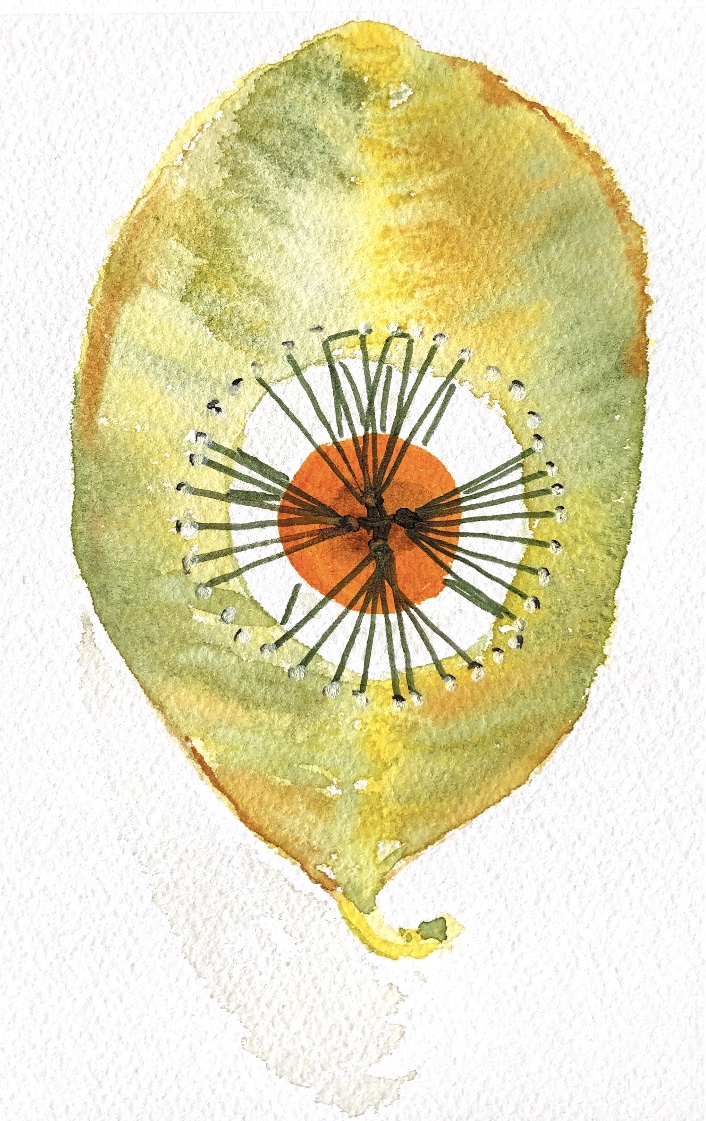
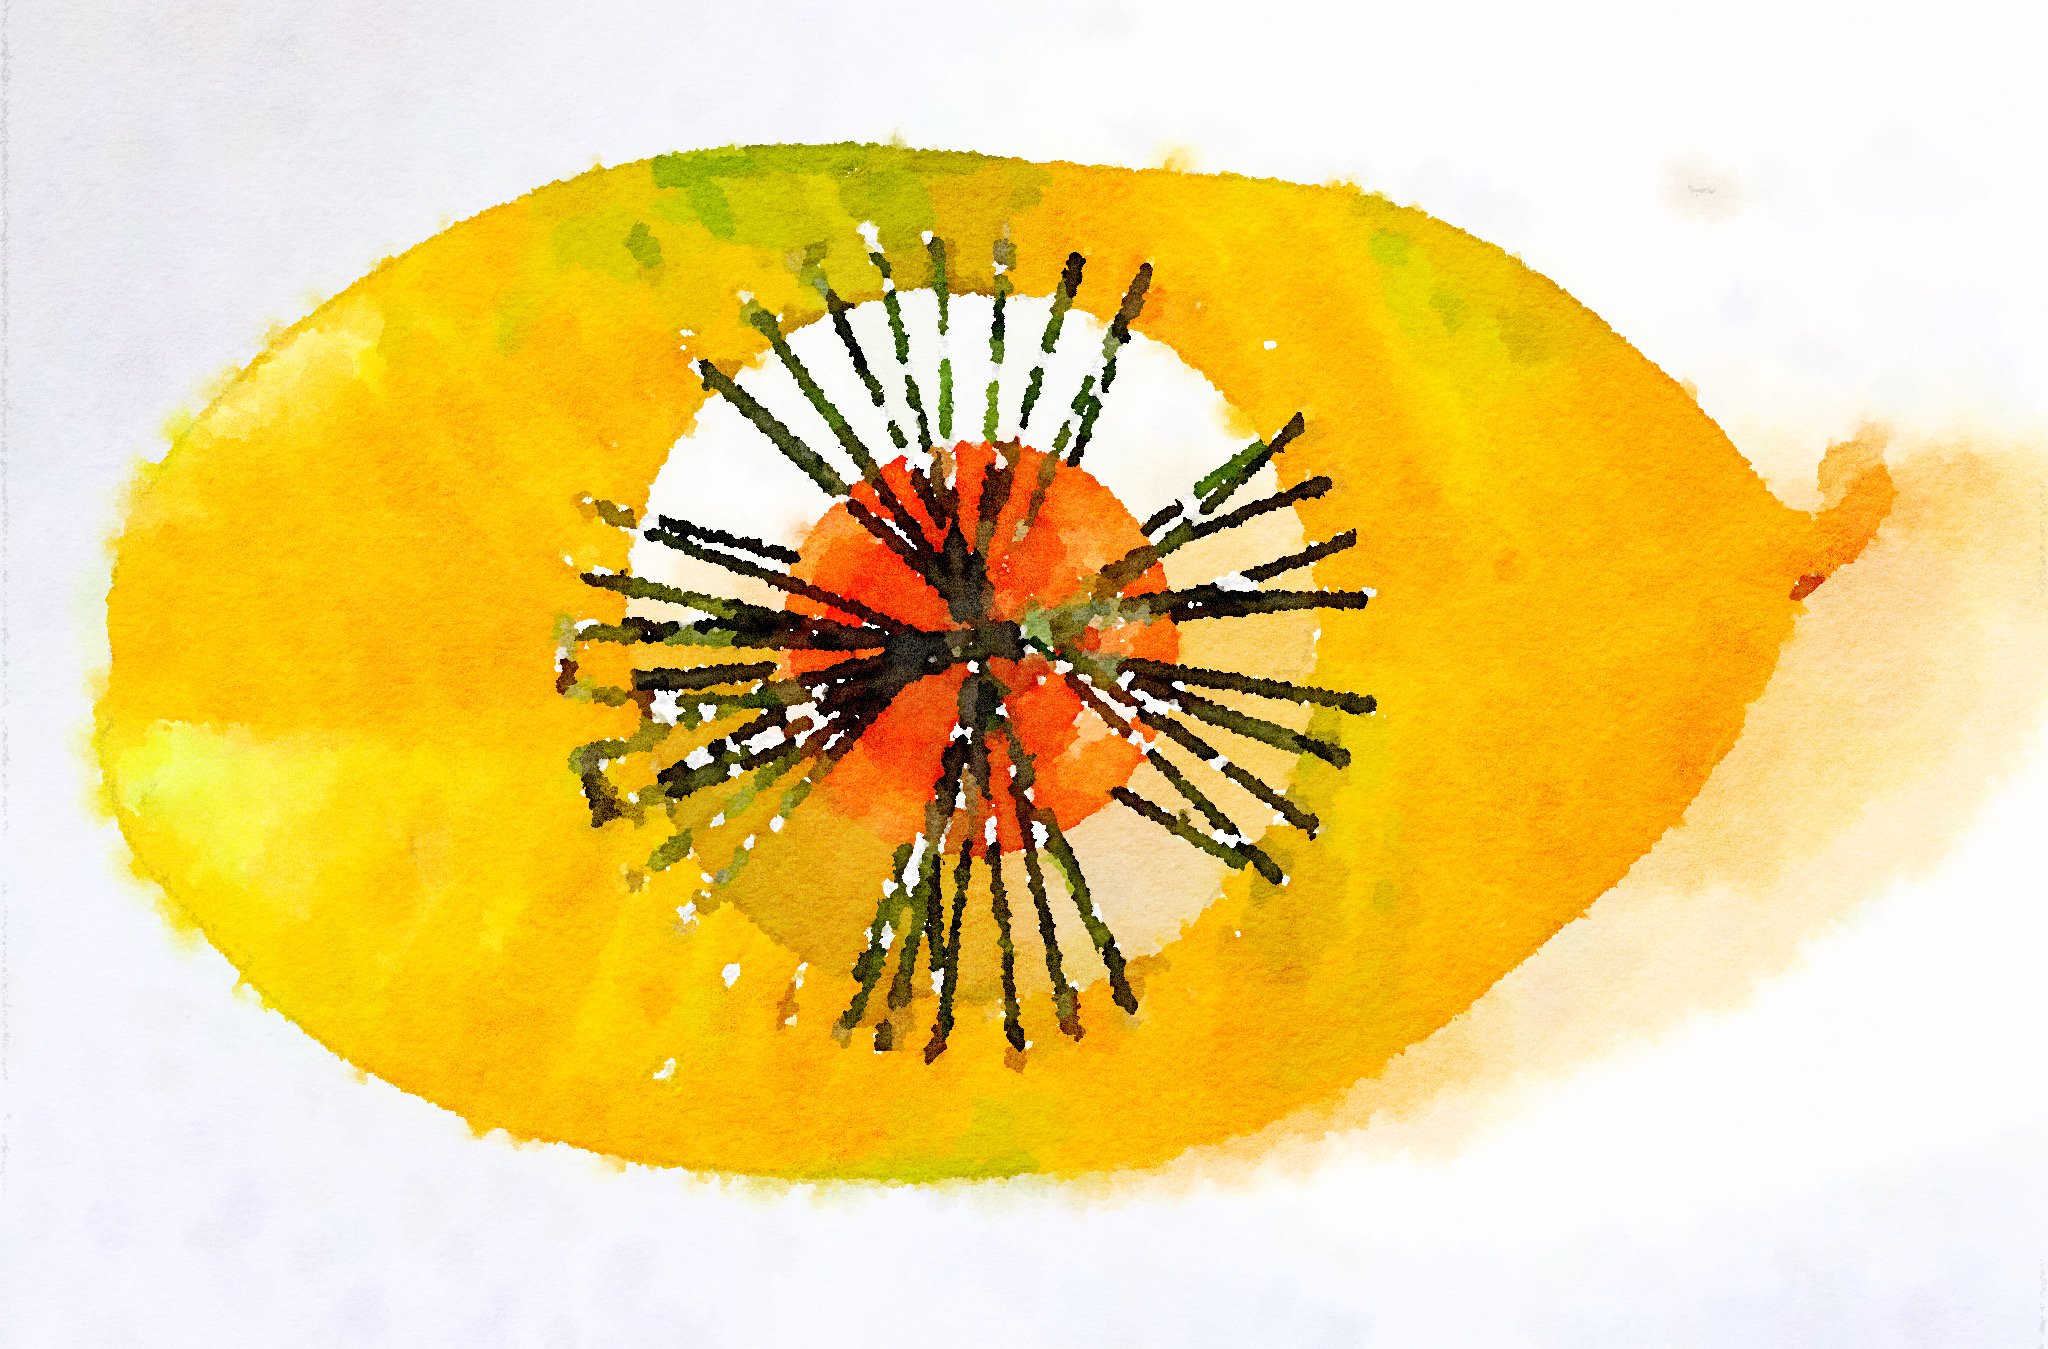
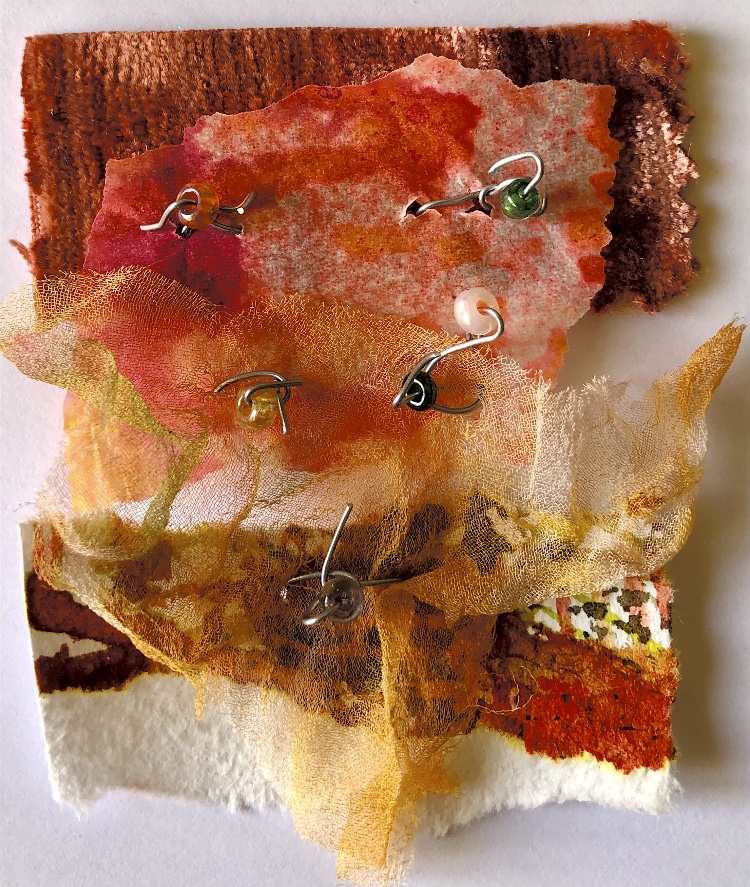
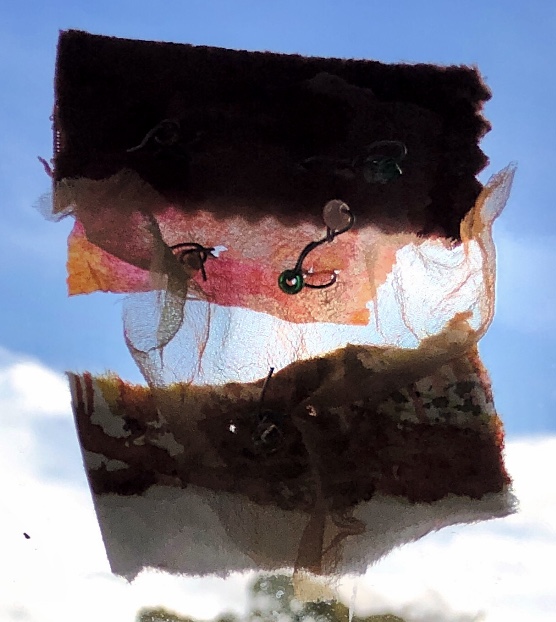
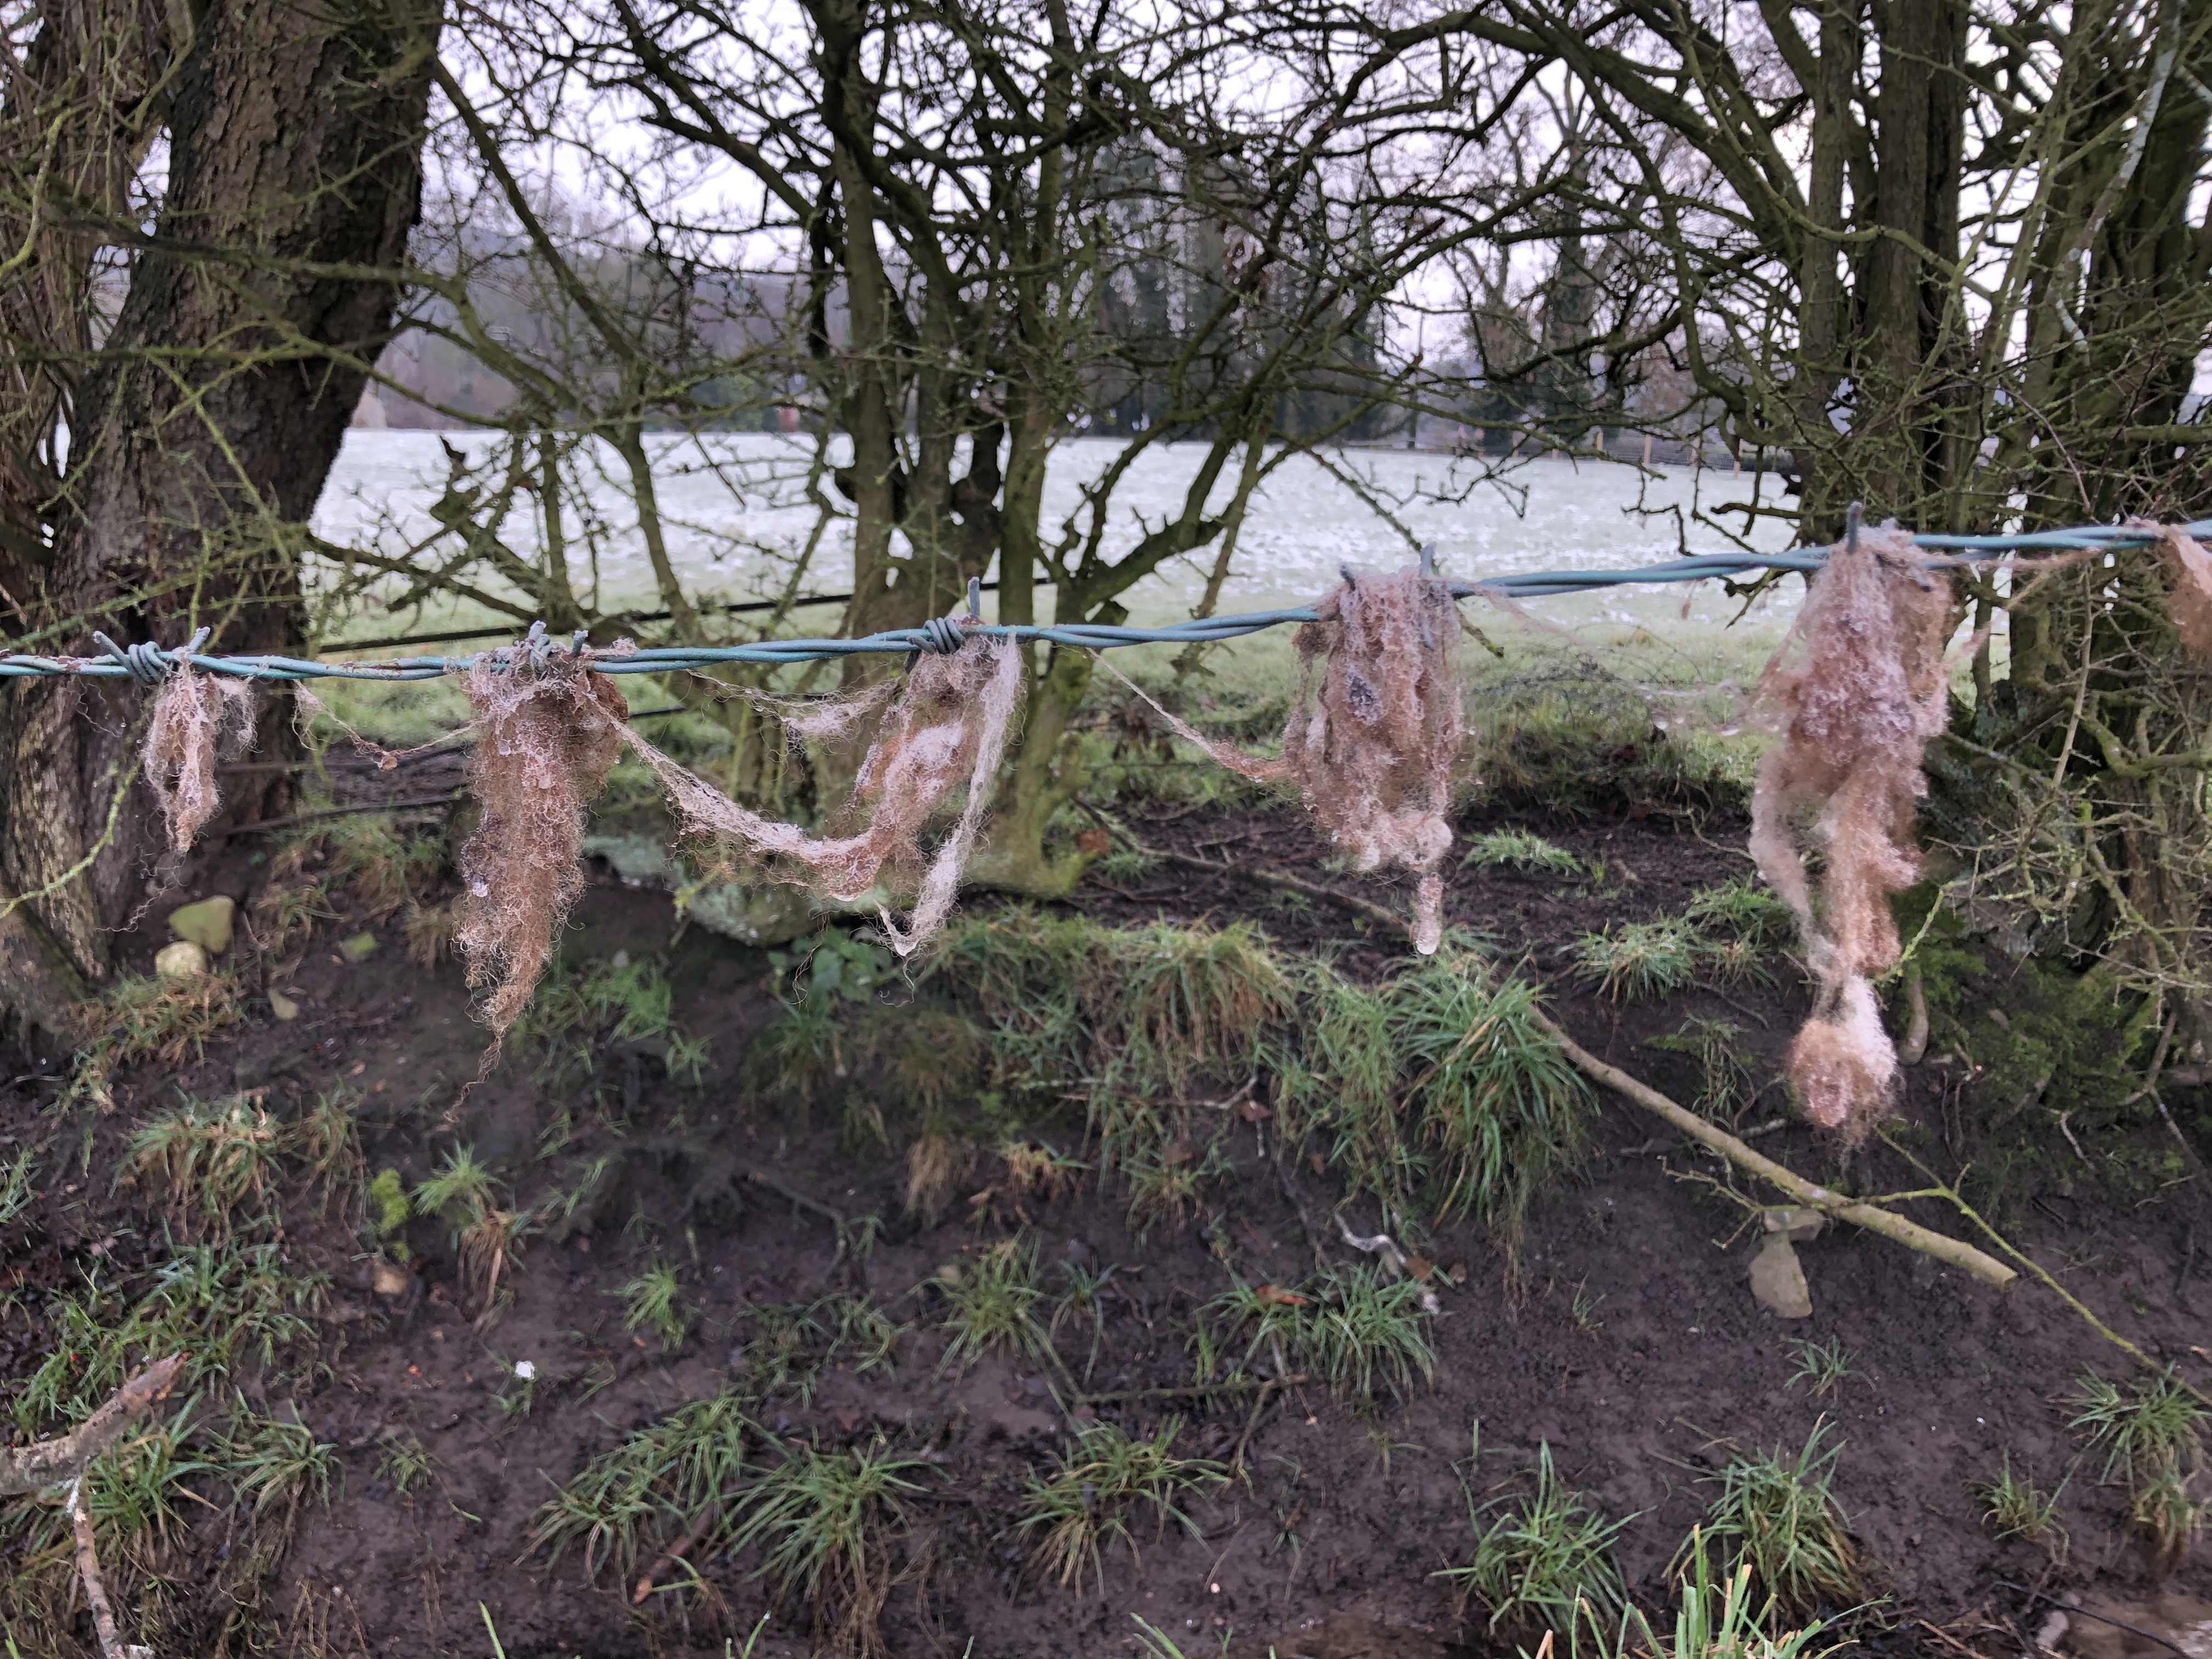
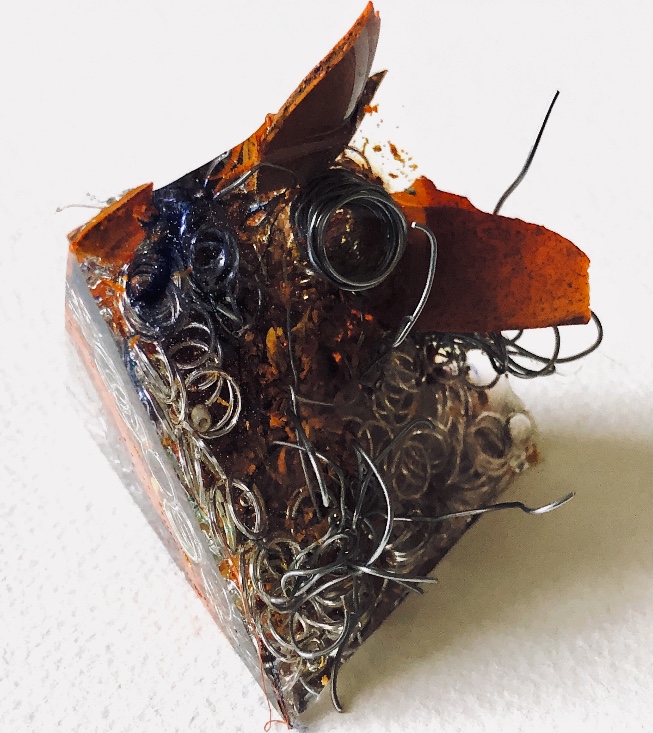
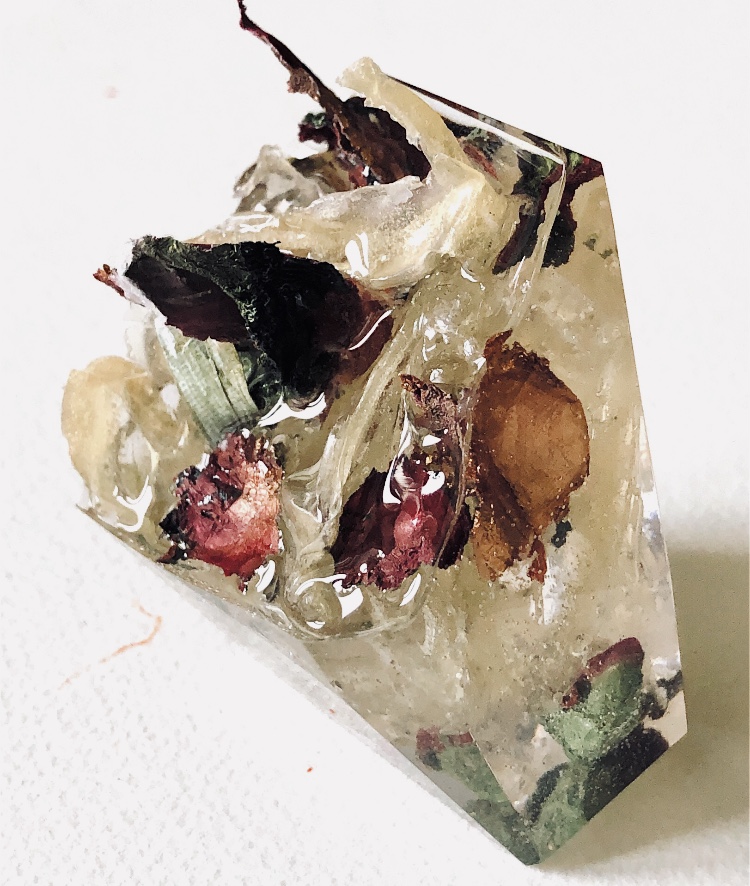
Fig 1. Pyramid mold. For this sample I was inspired by the pictures and samples of barbed wire with fibres caught on the barbs. I used wire and jewellery findings together with silk fibres and wax crayon melted and shaved to give colour. Every facet gives a different view. The orange colour works well as a contrast to the wire.

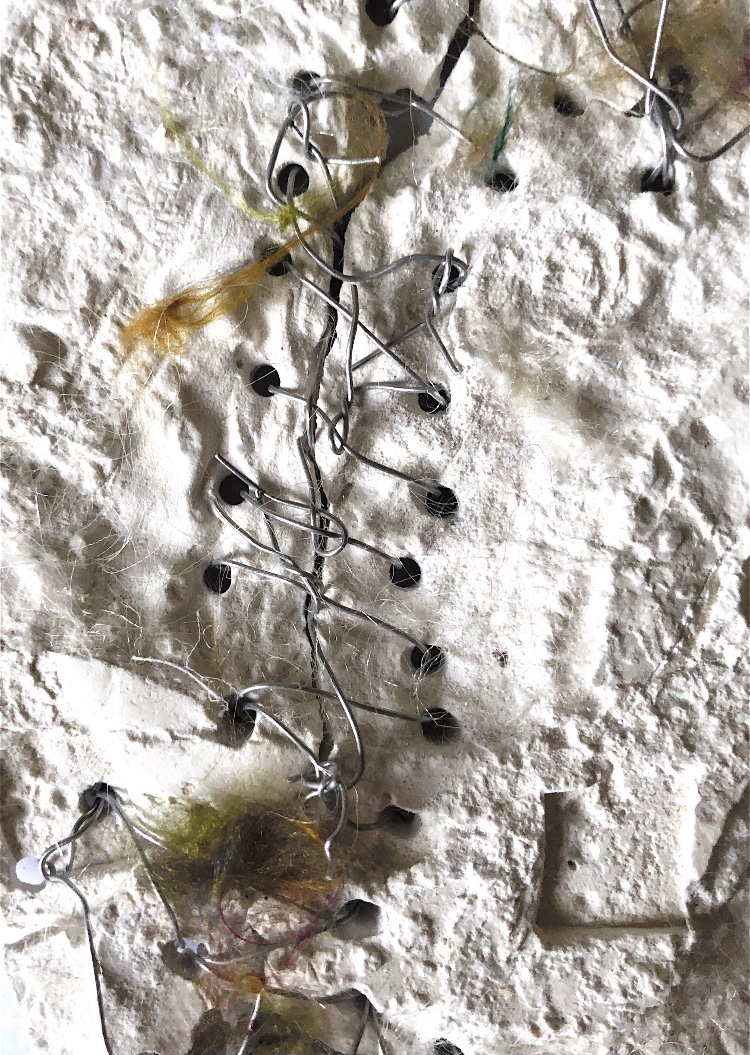
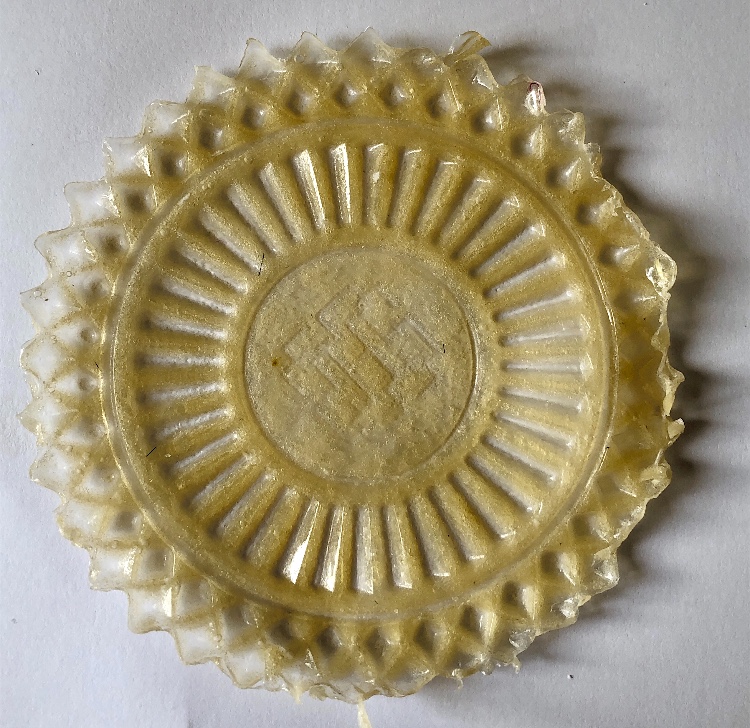
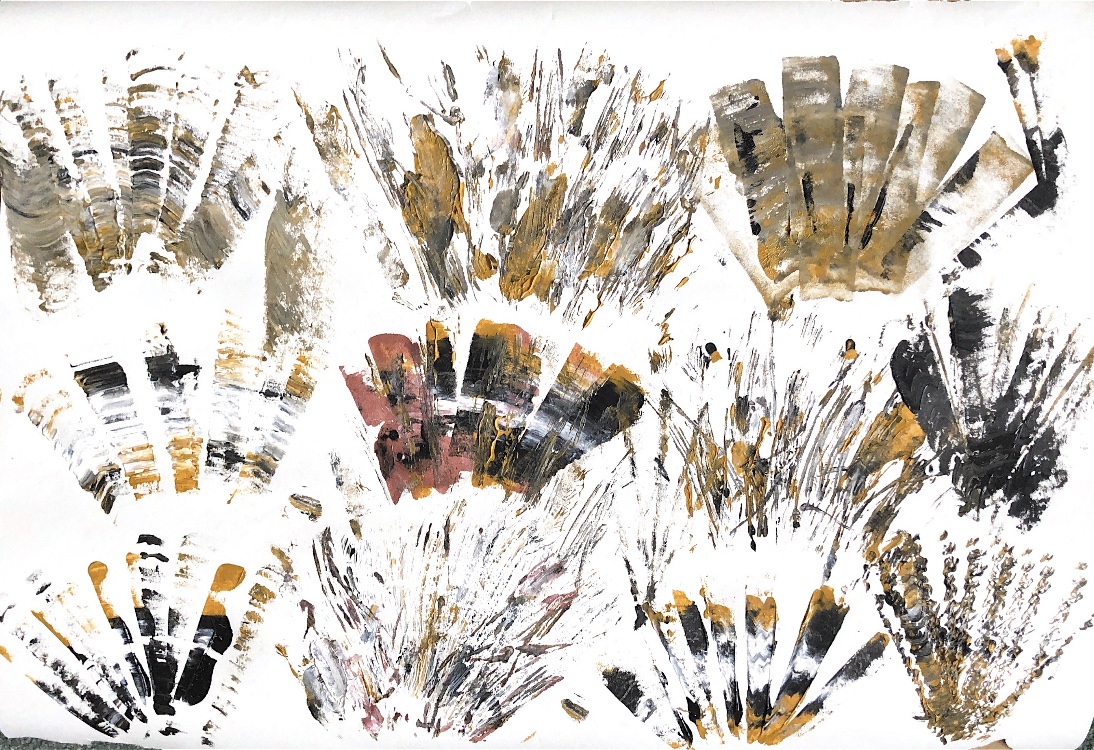
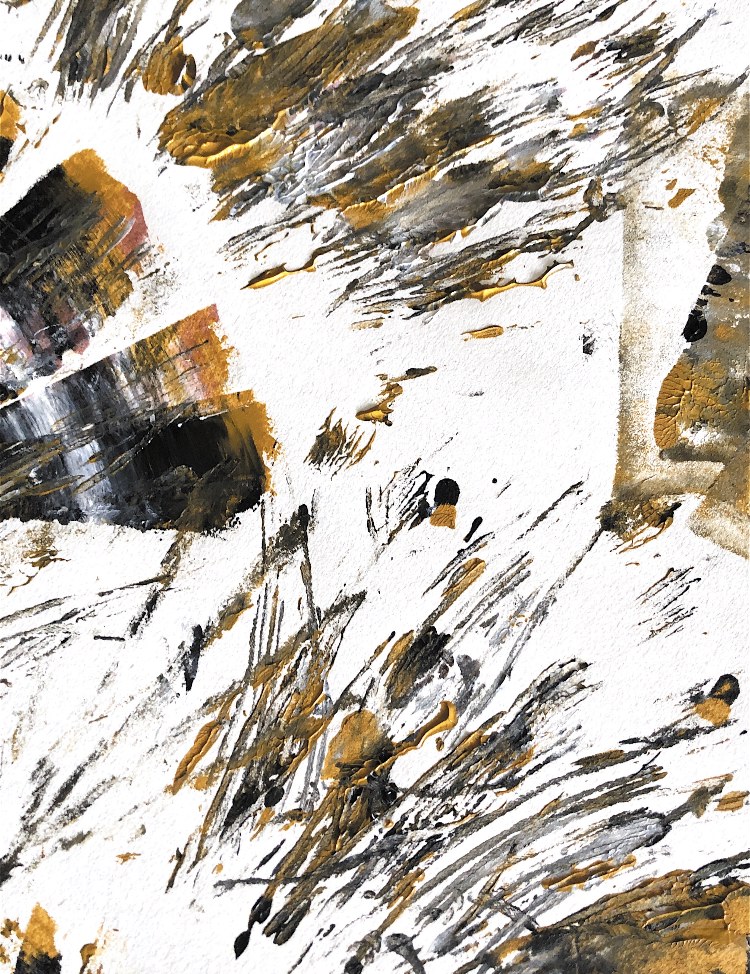
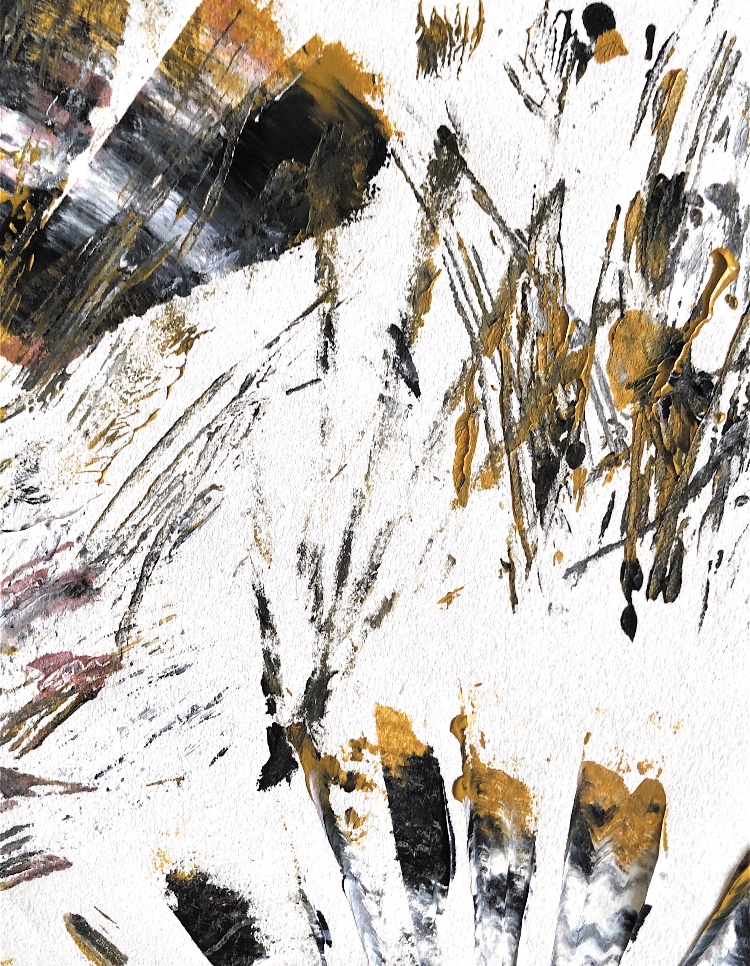
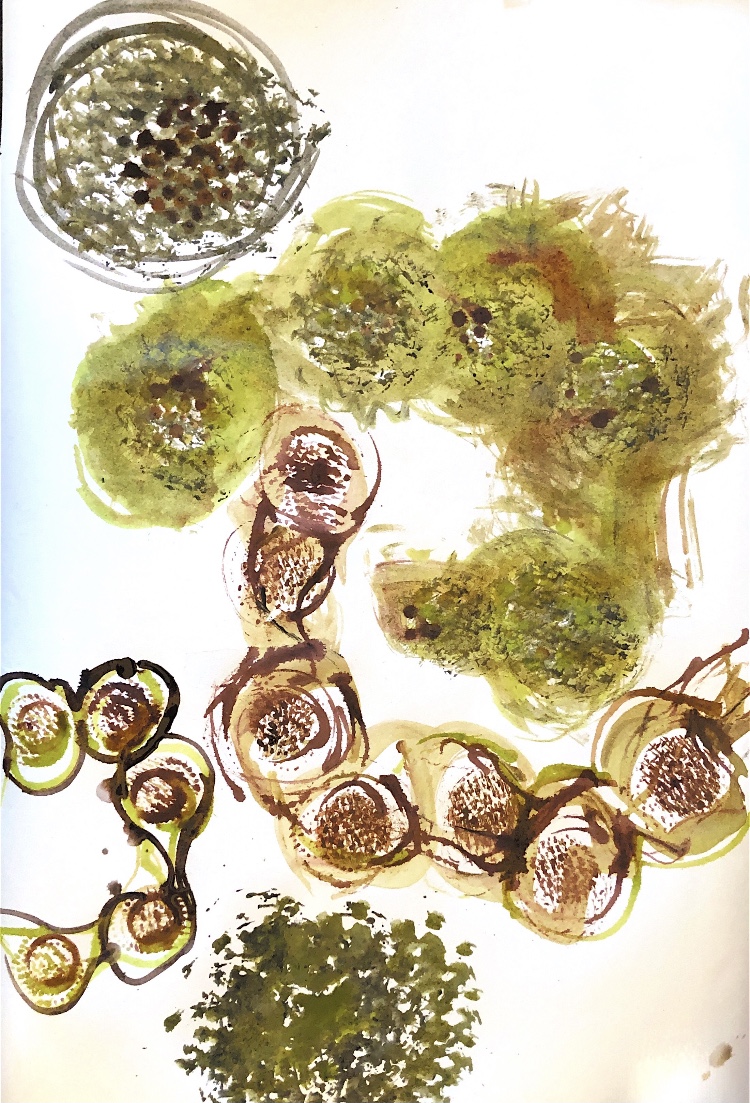
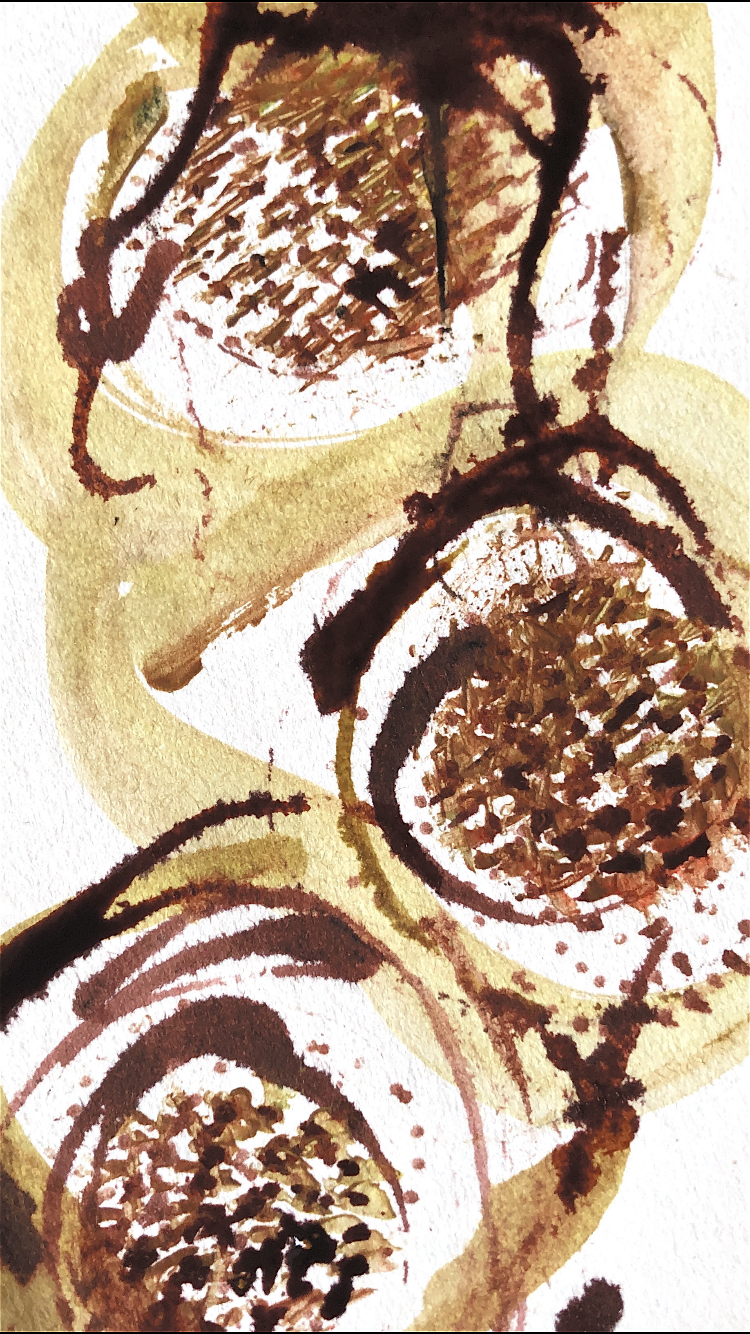
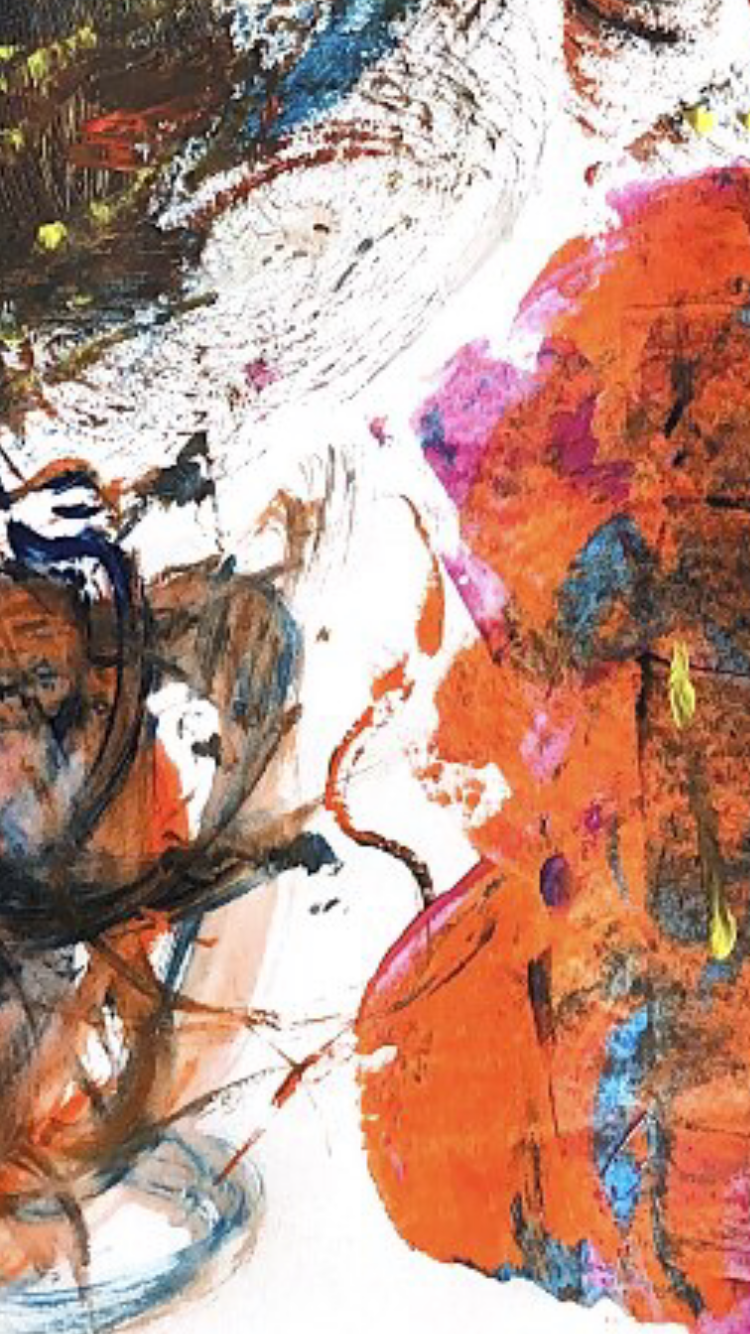
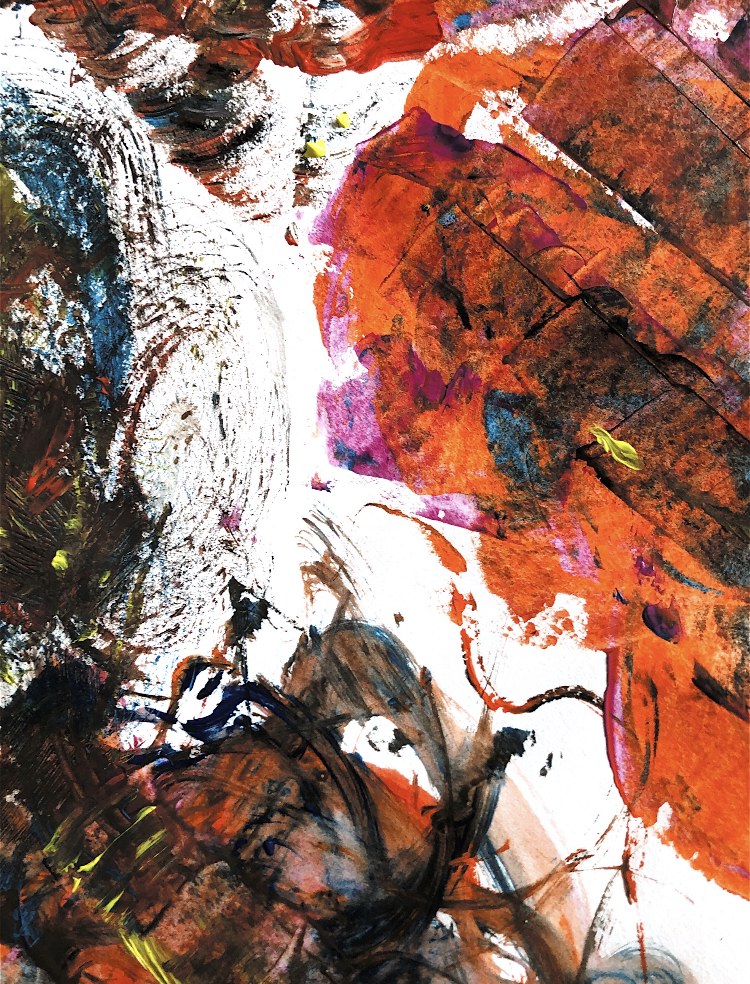
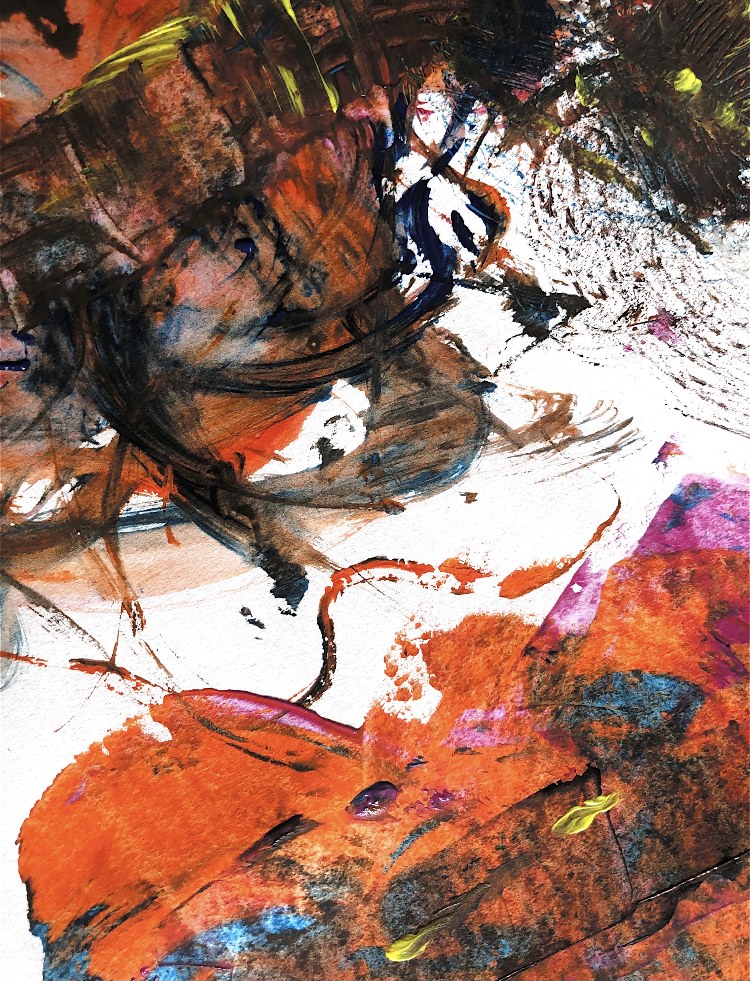
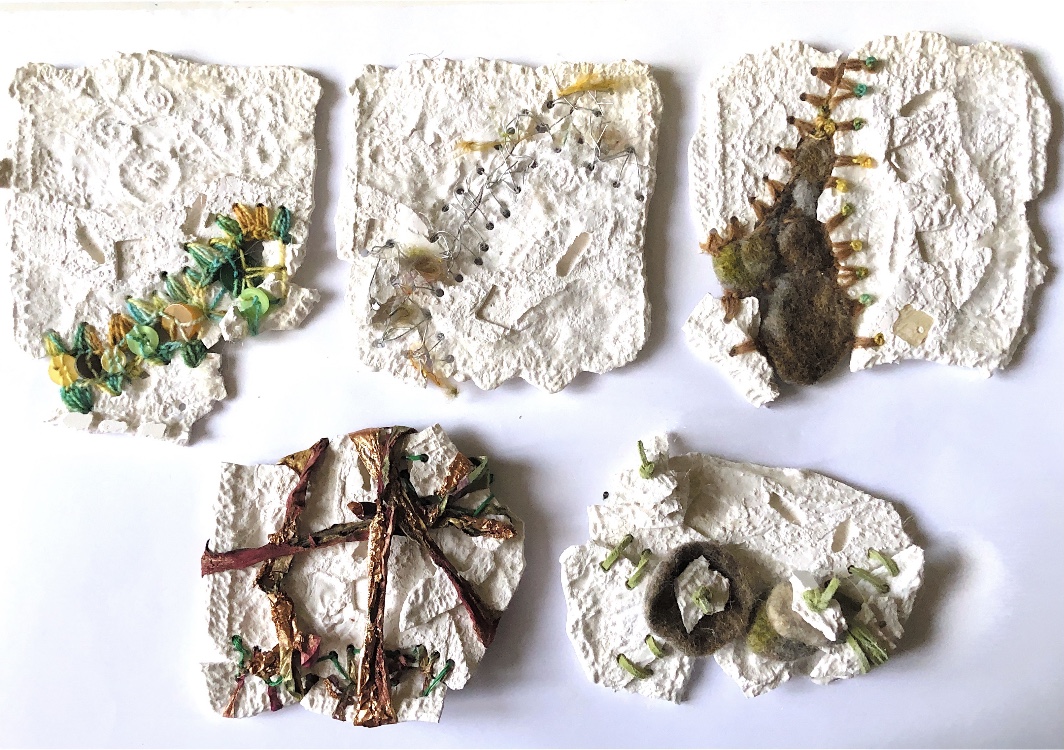
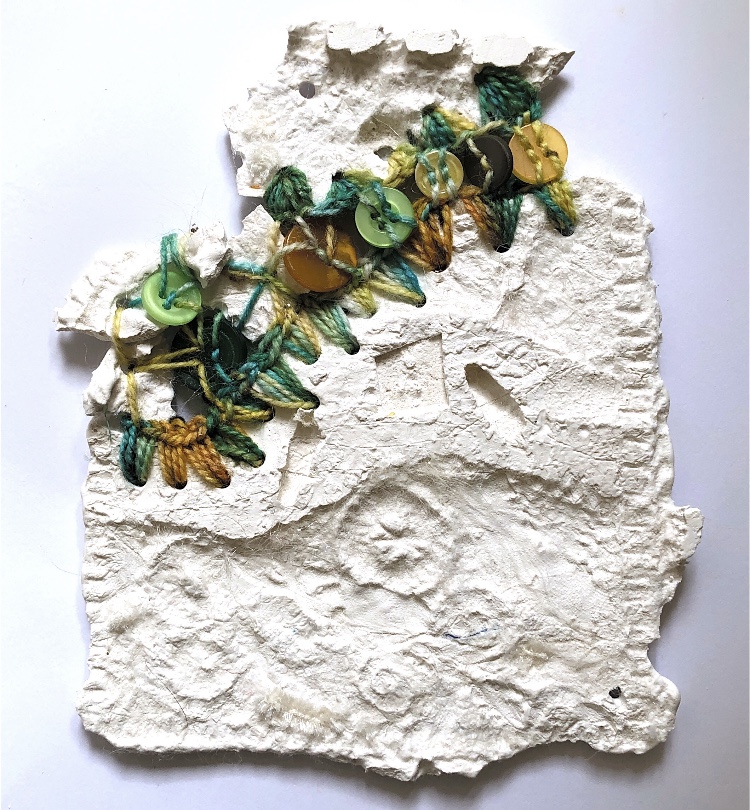
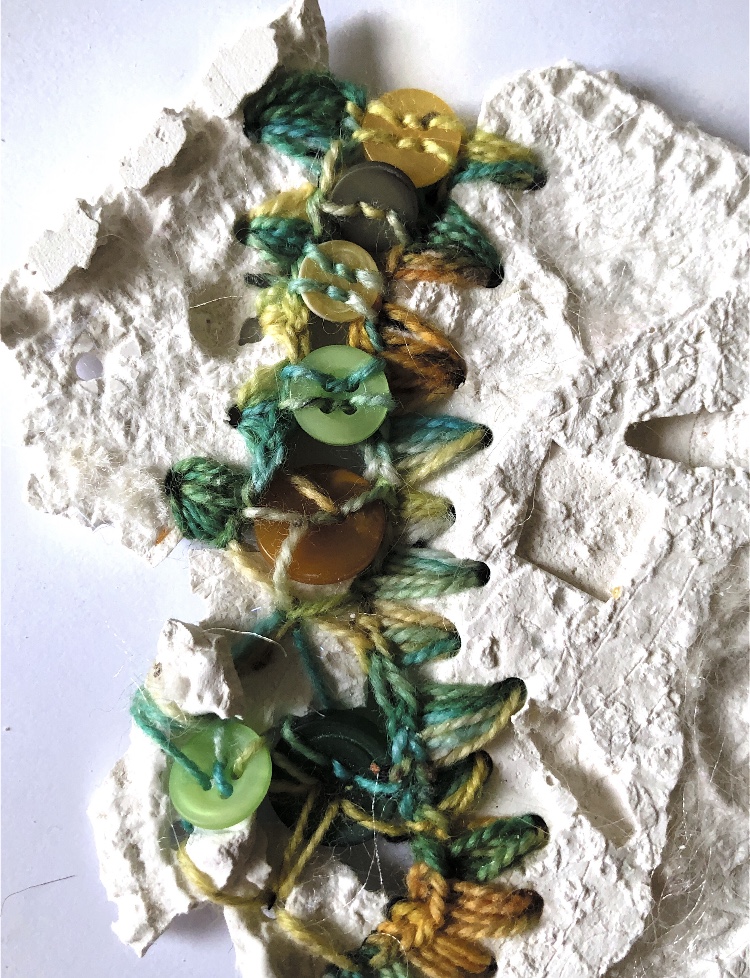
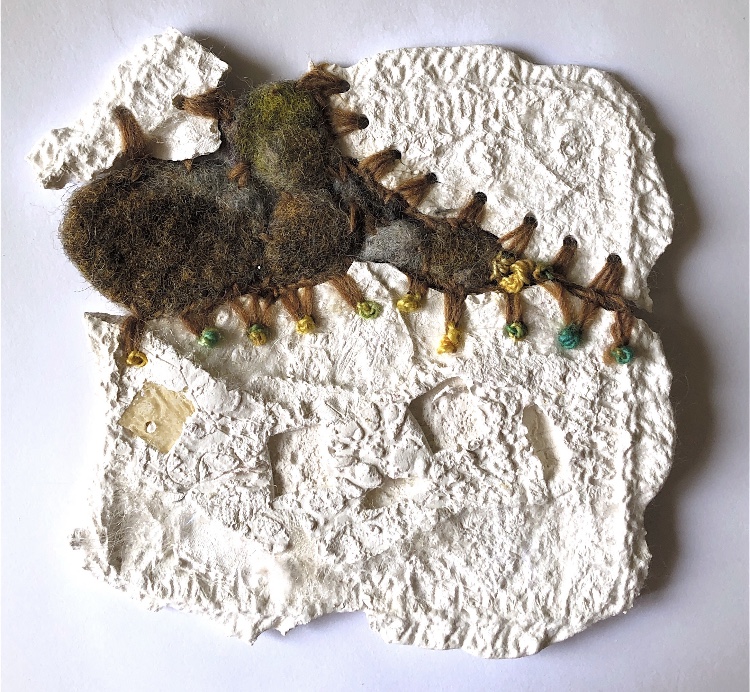
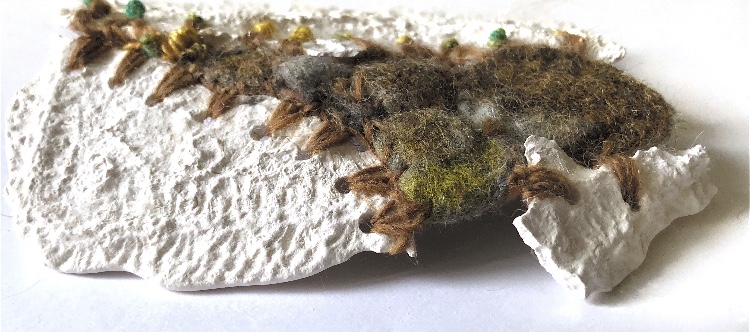
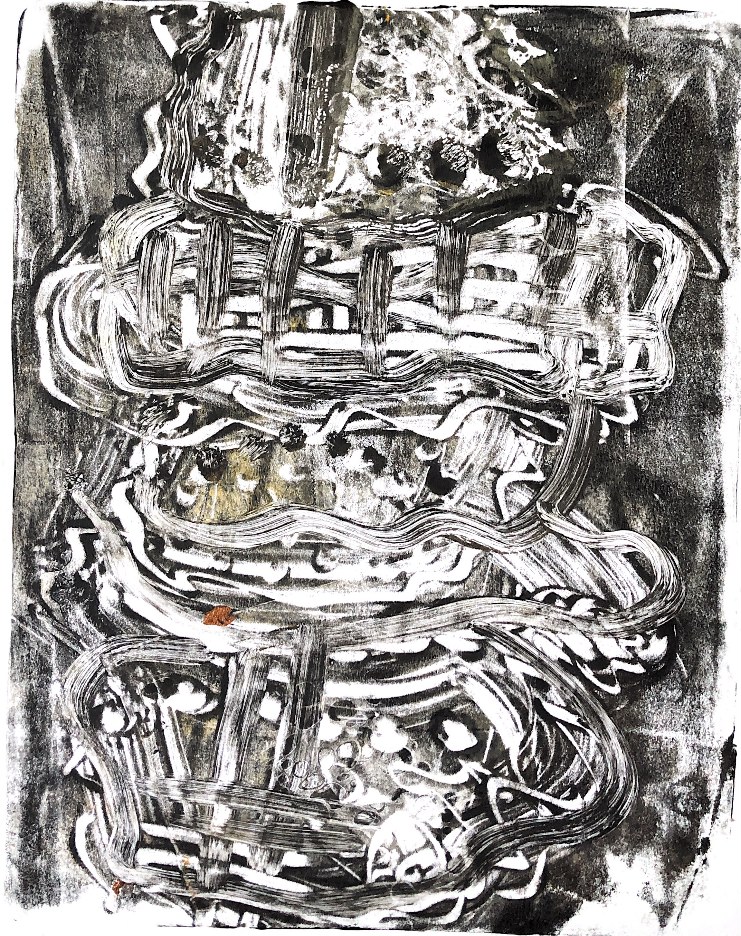
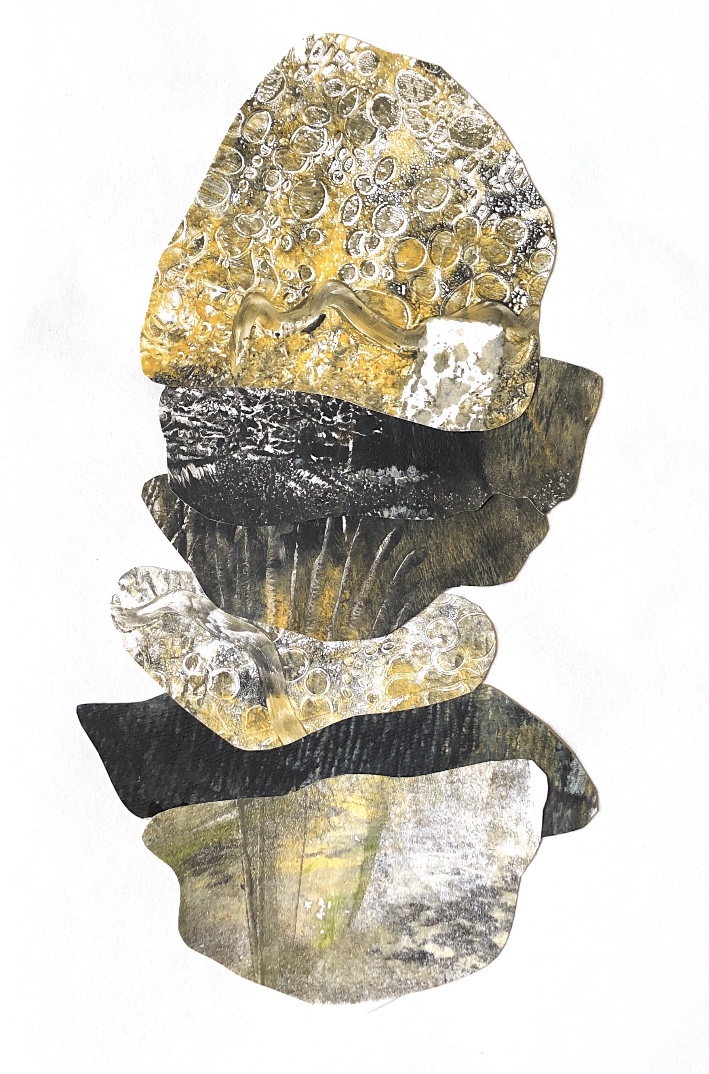
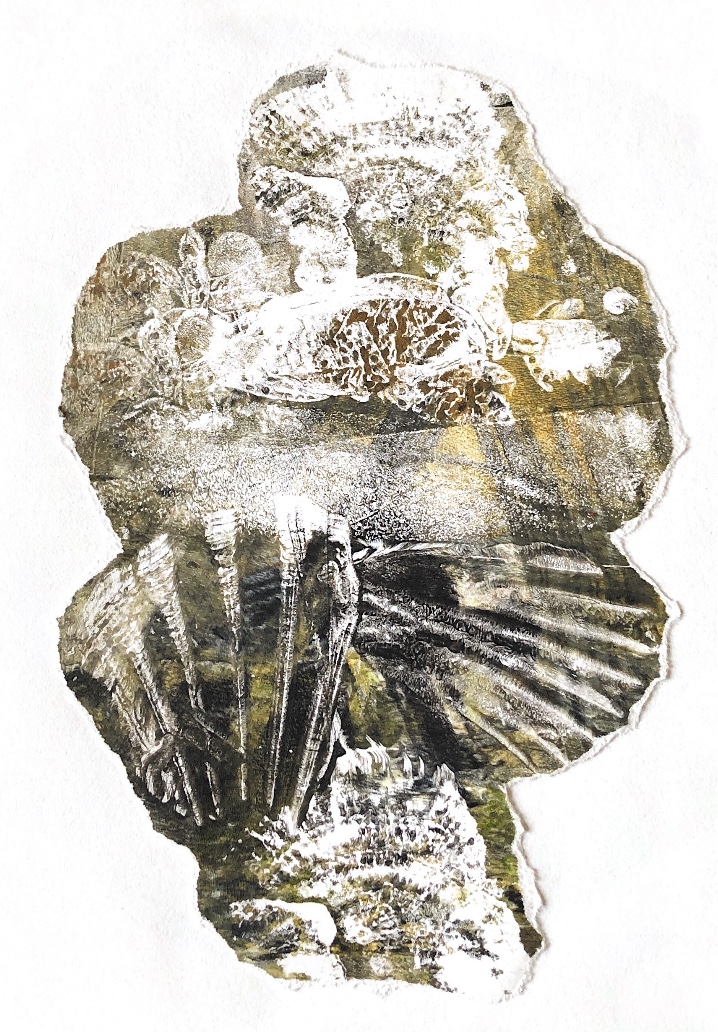
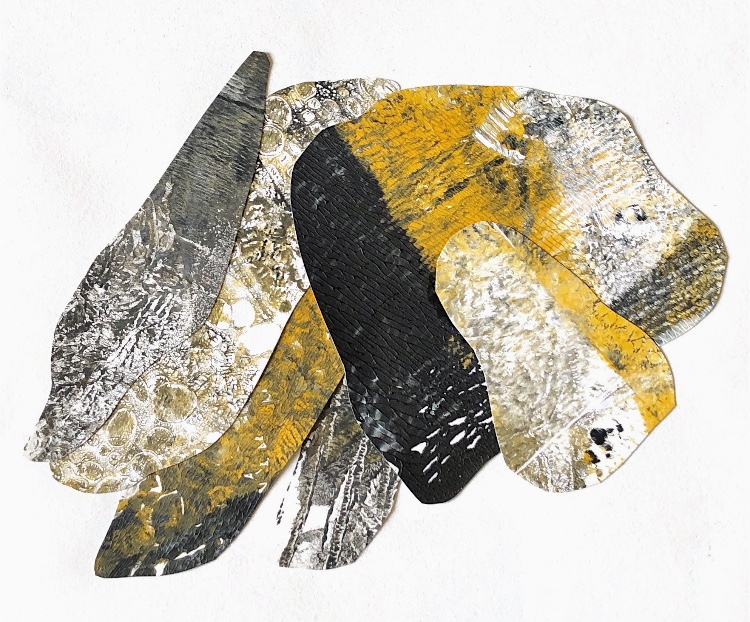
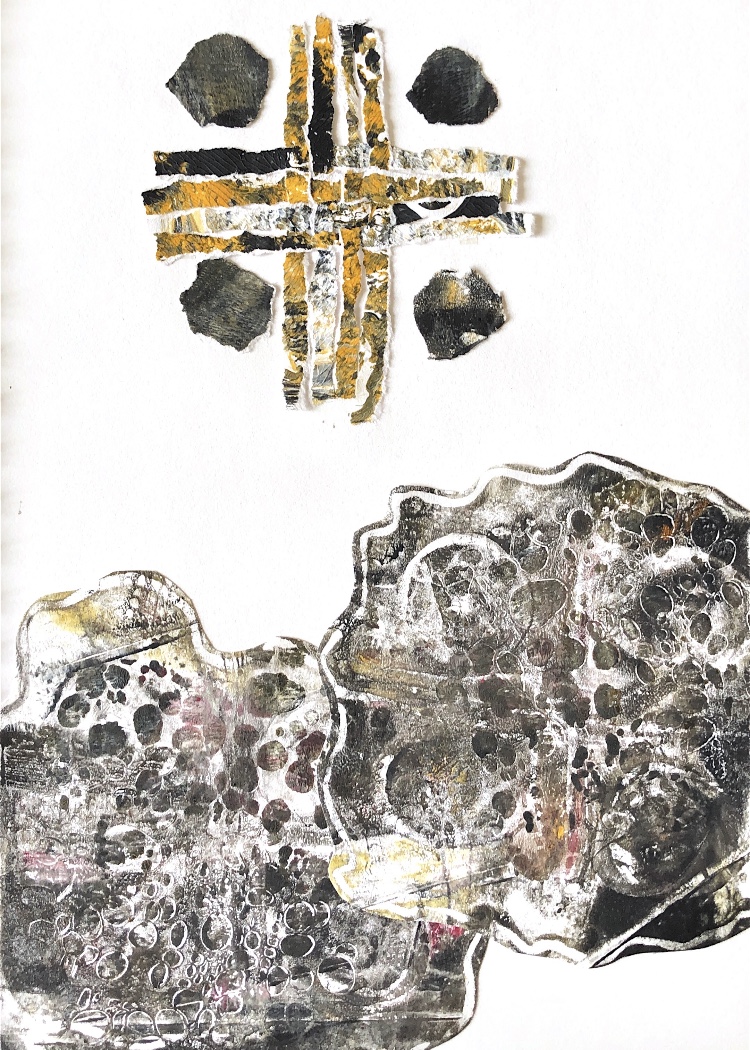
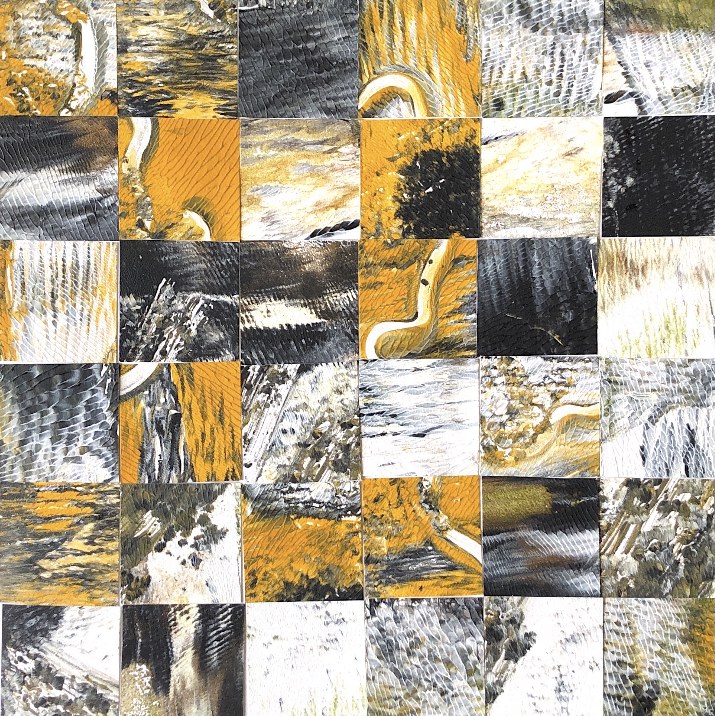
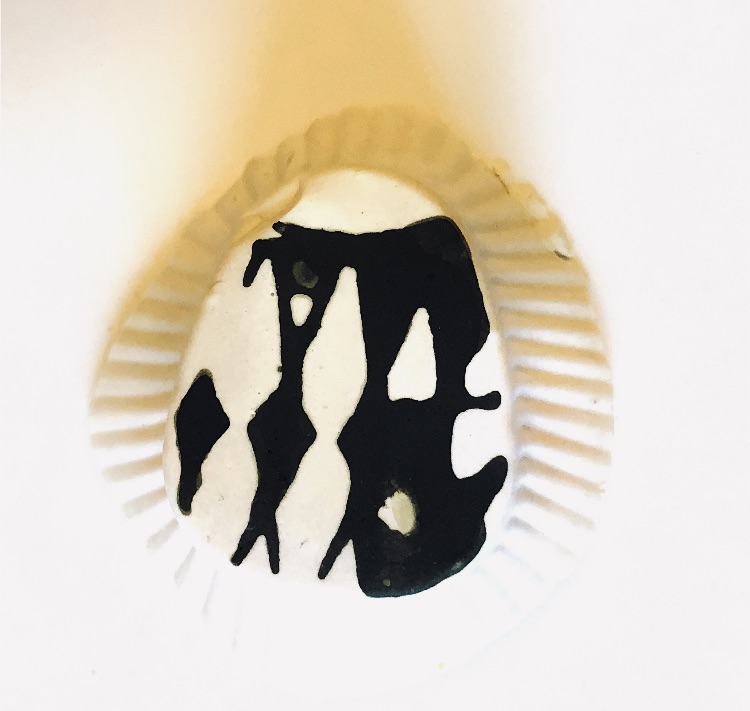
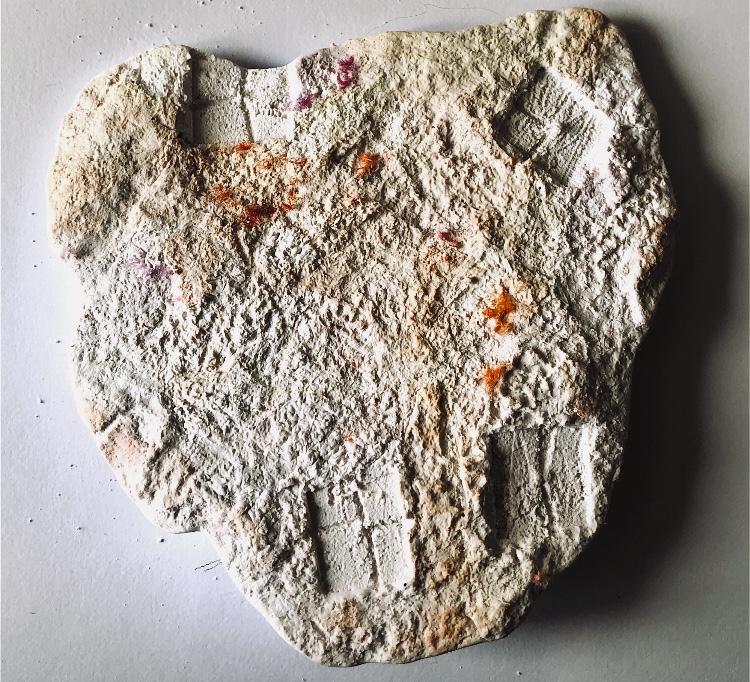
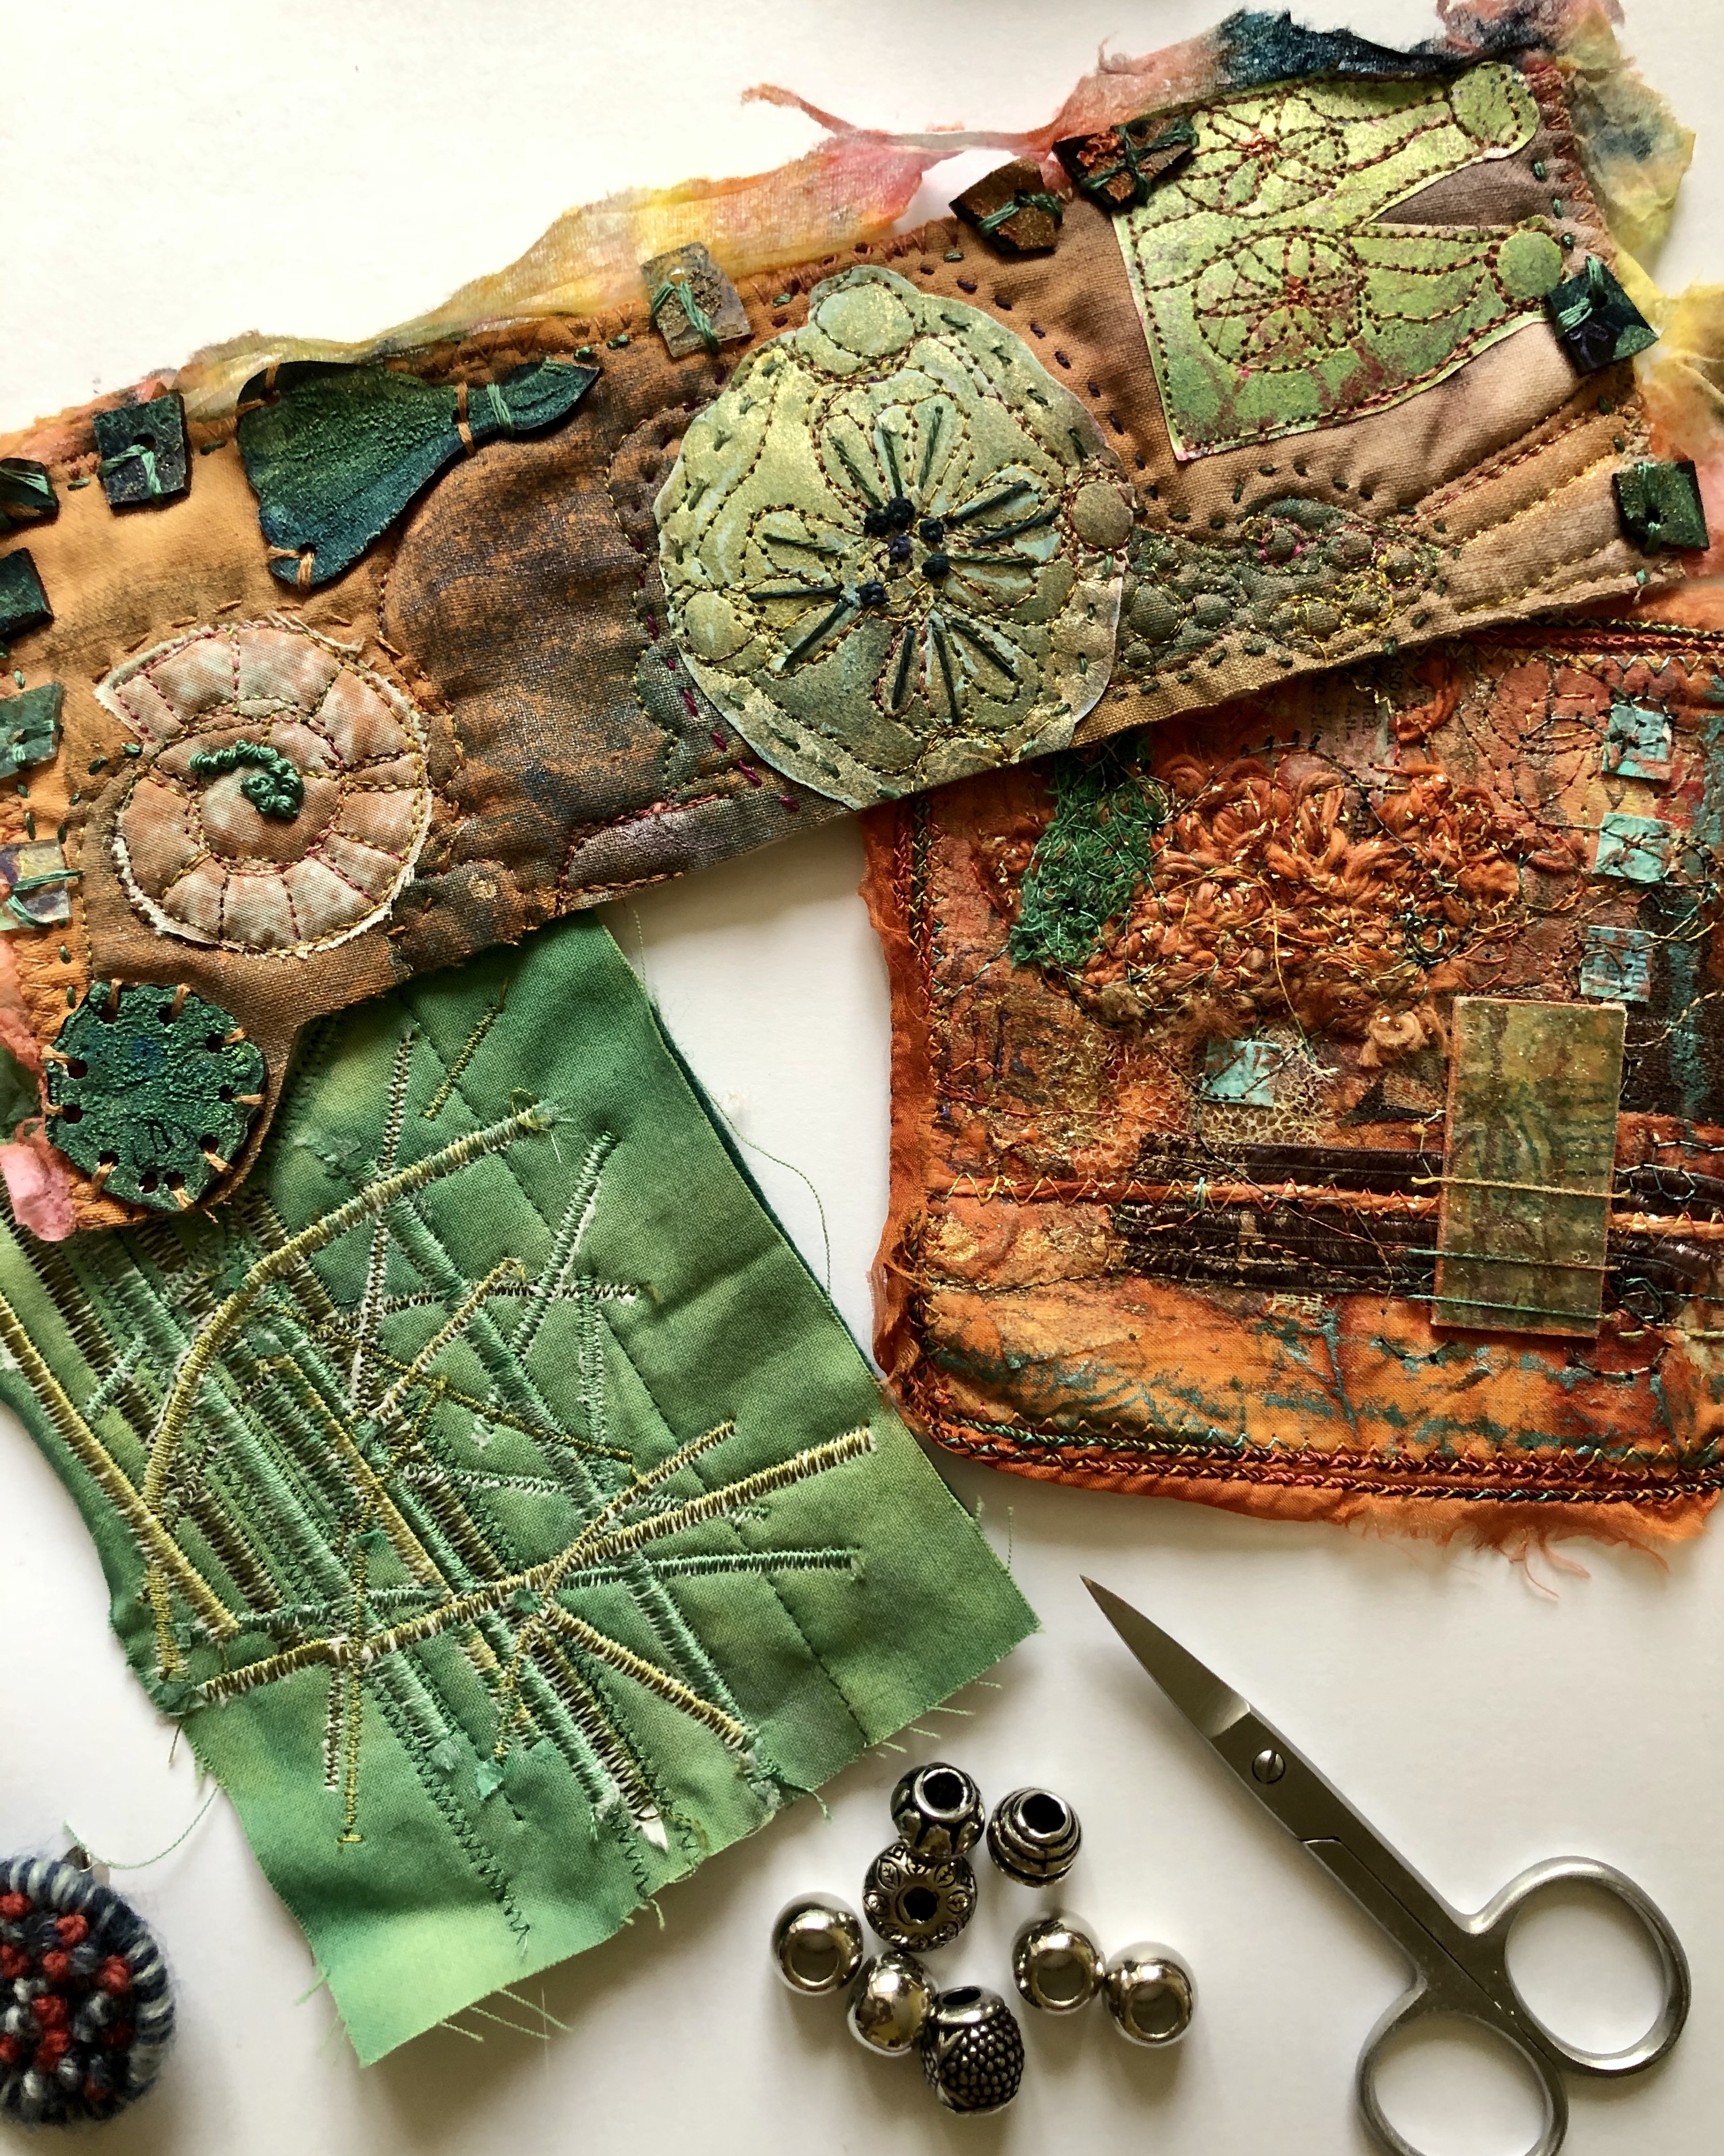
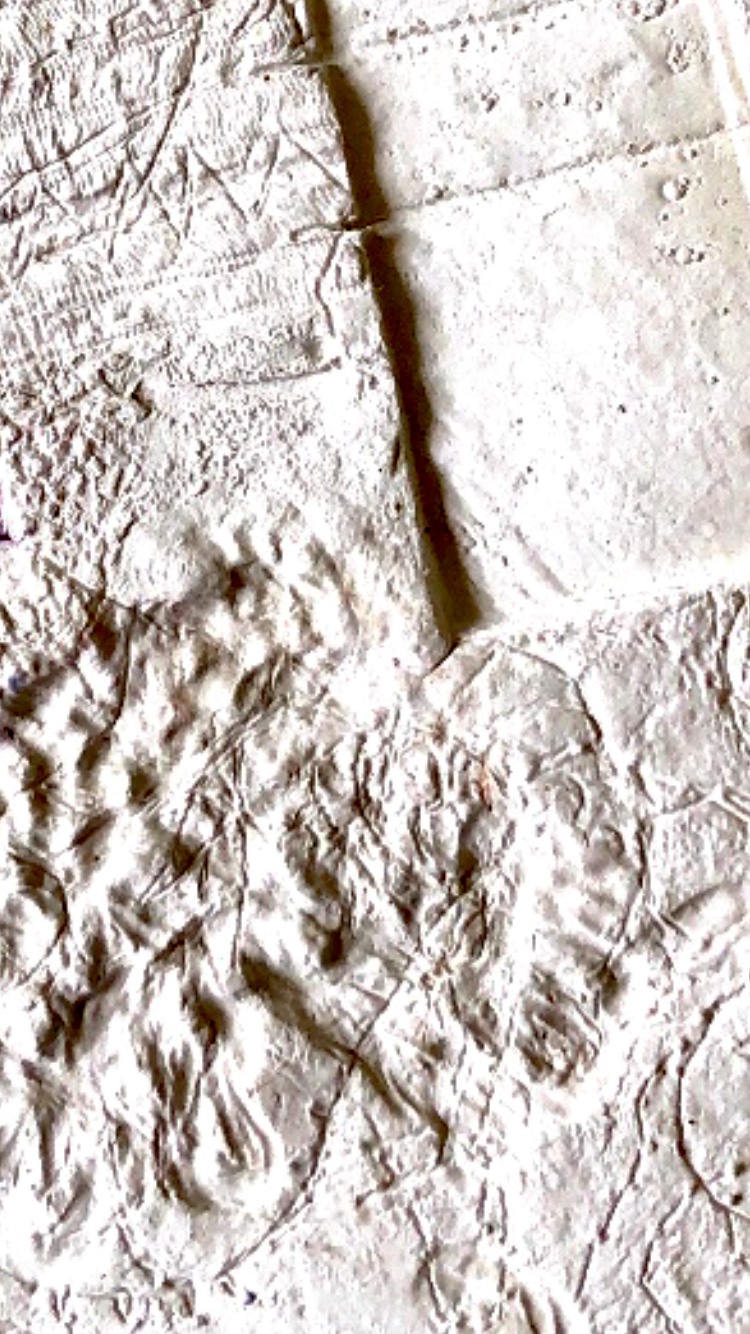
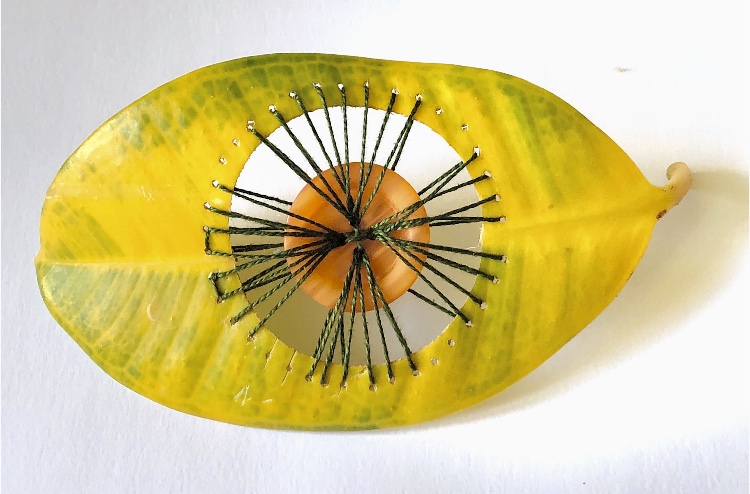
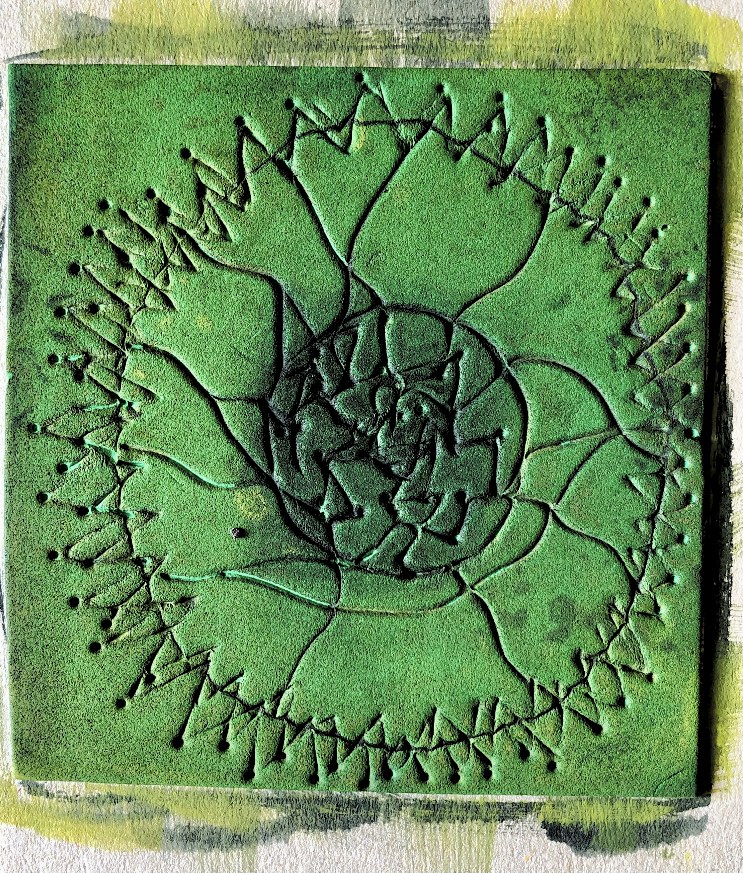
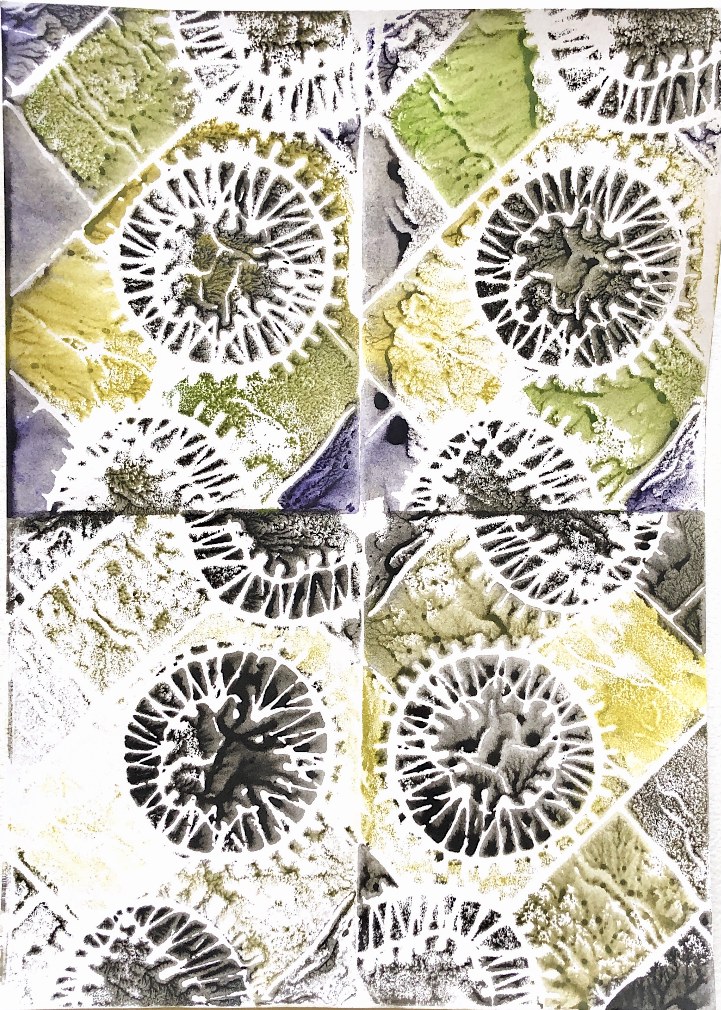
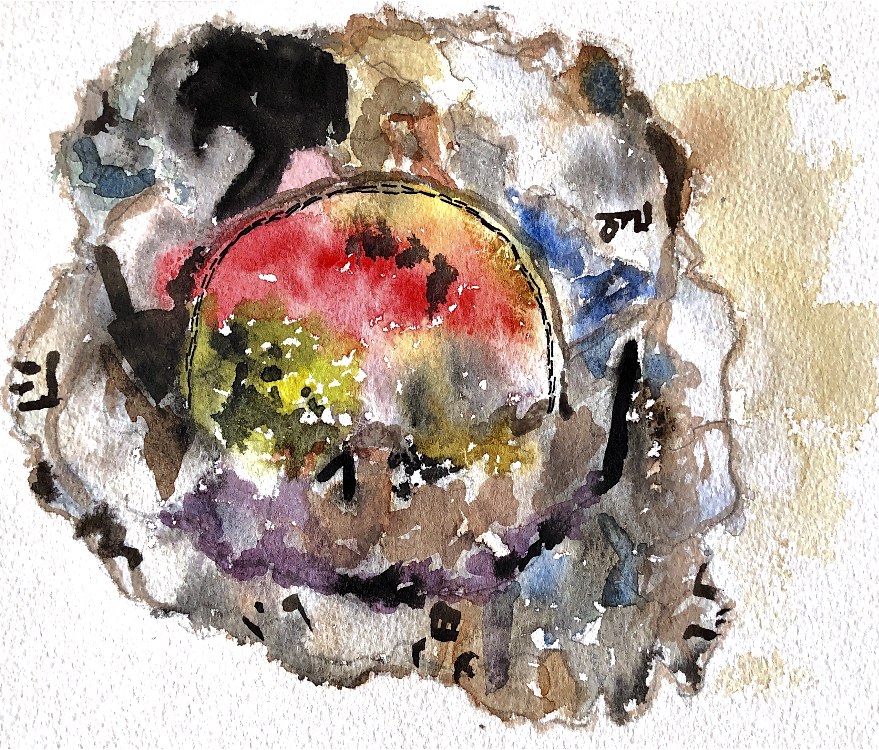
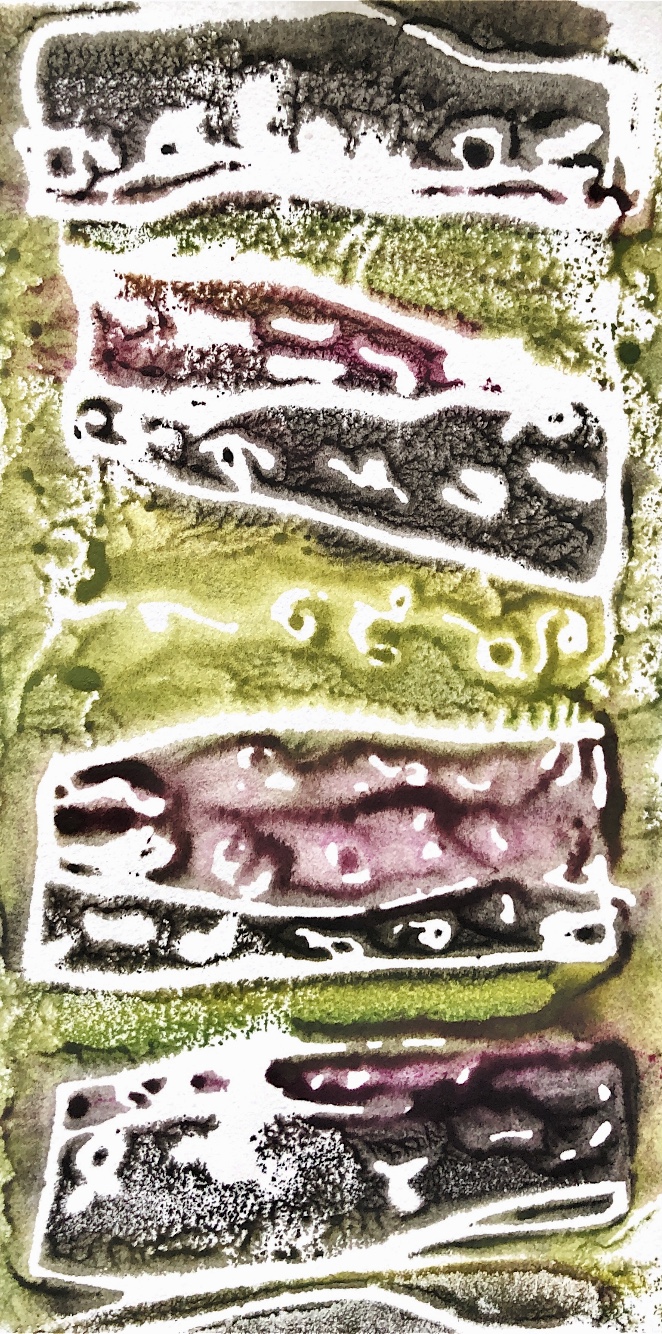
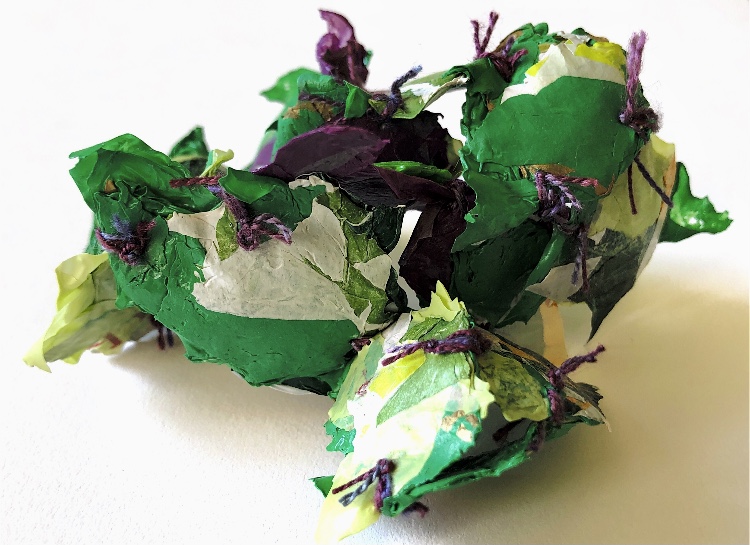
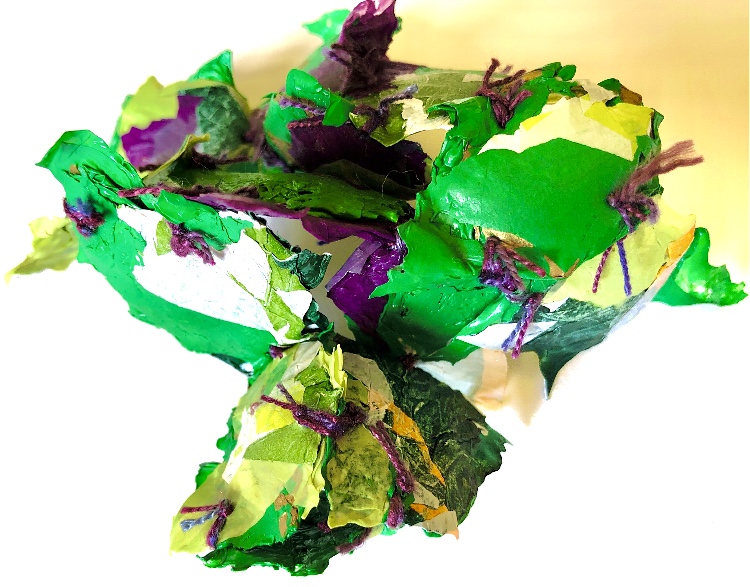
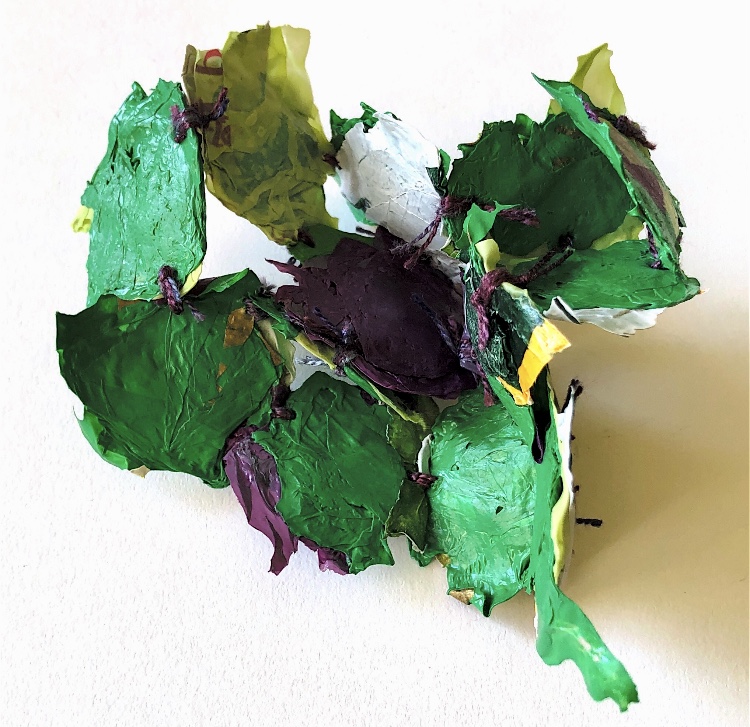
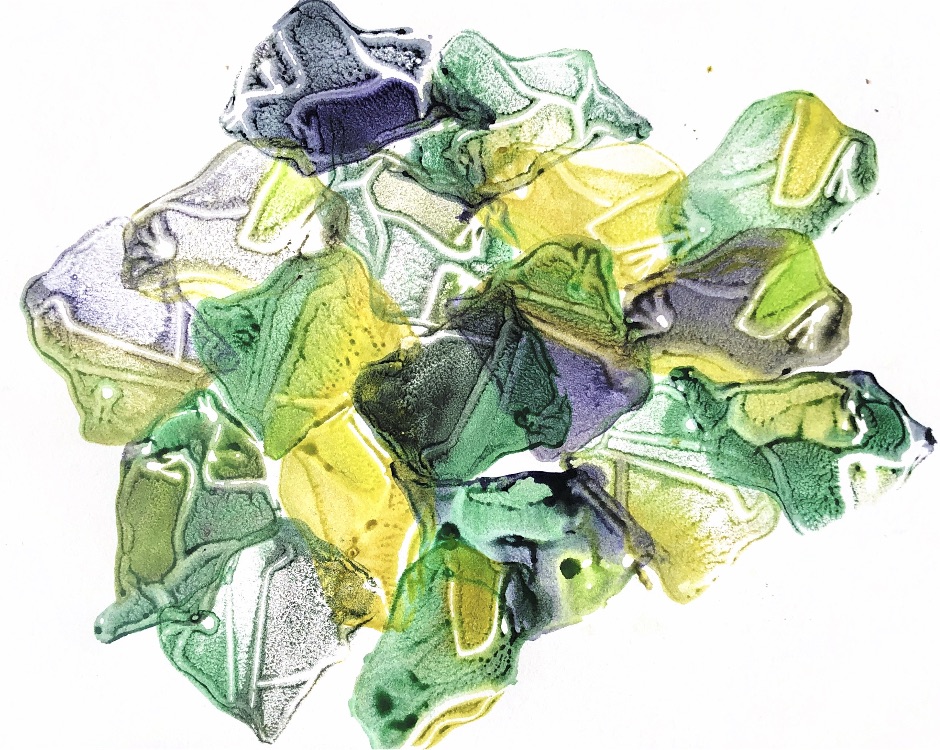
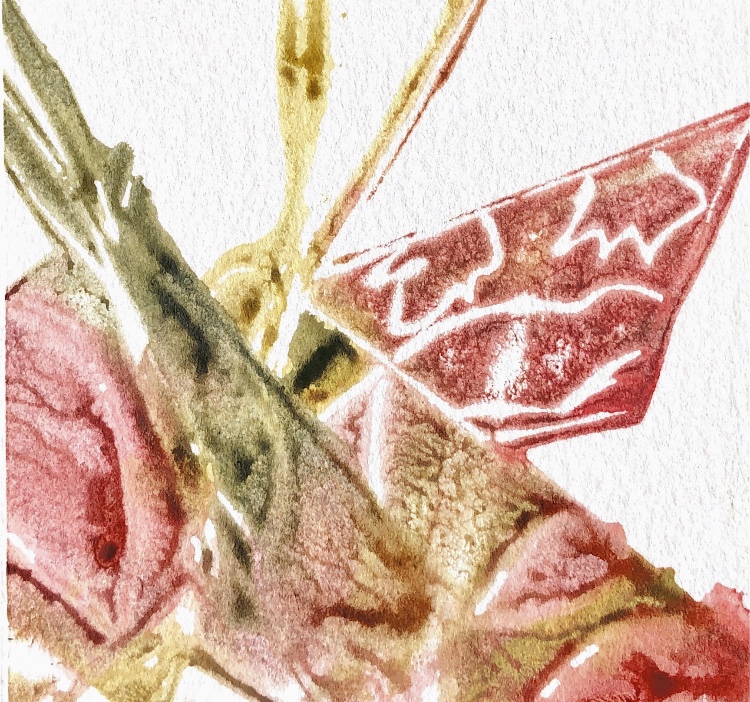
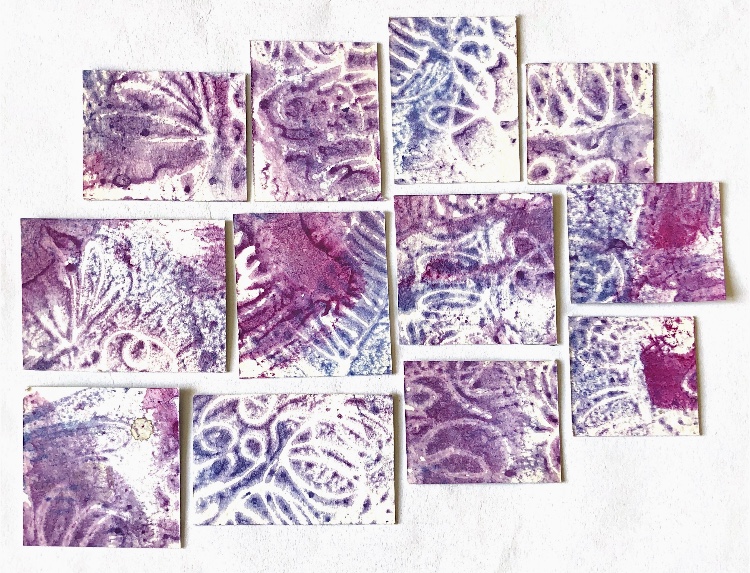
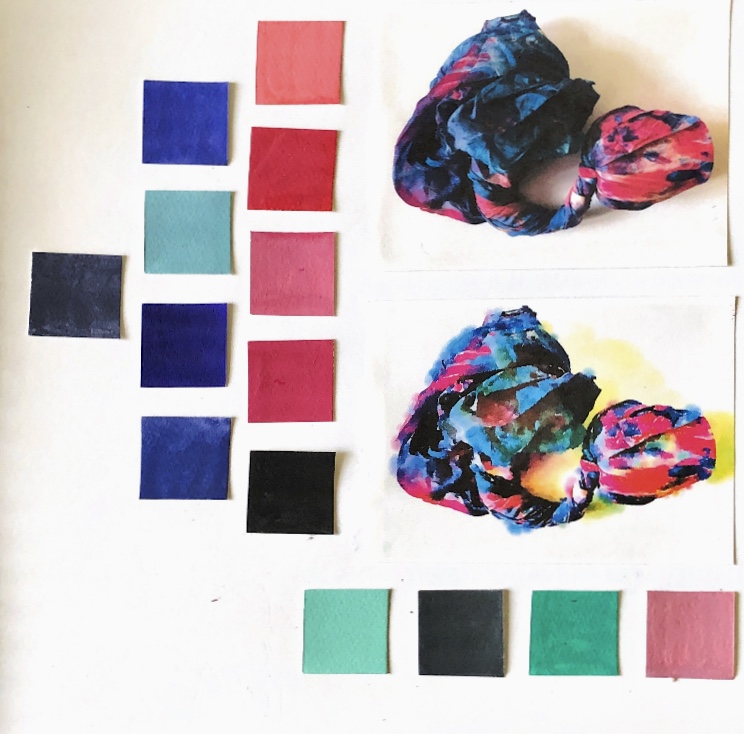
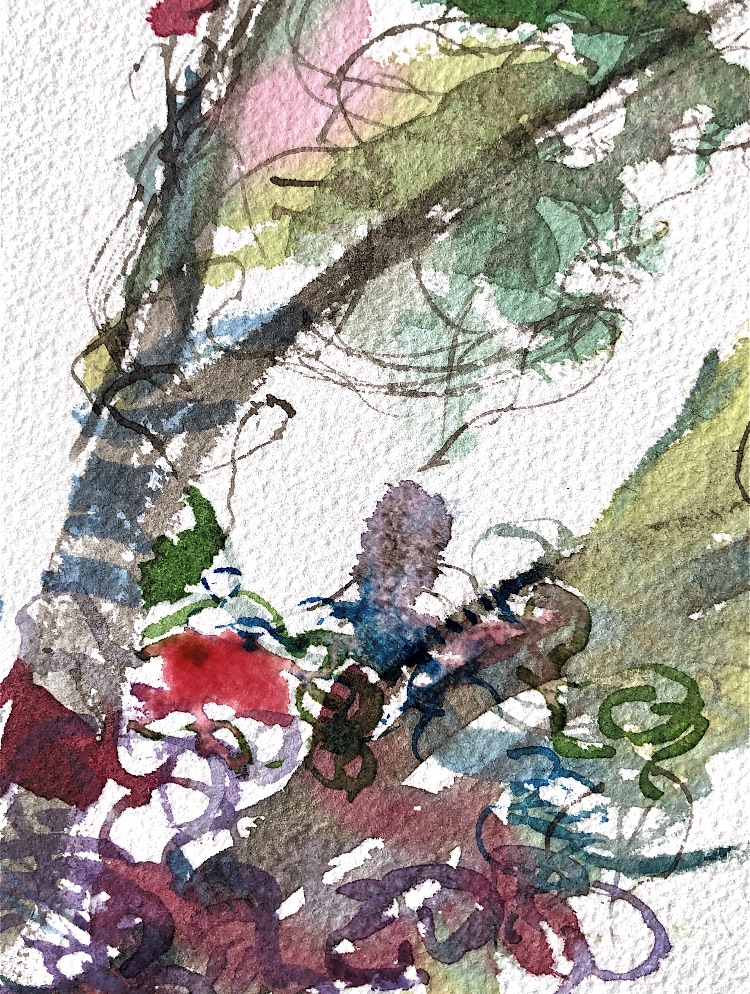
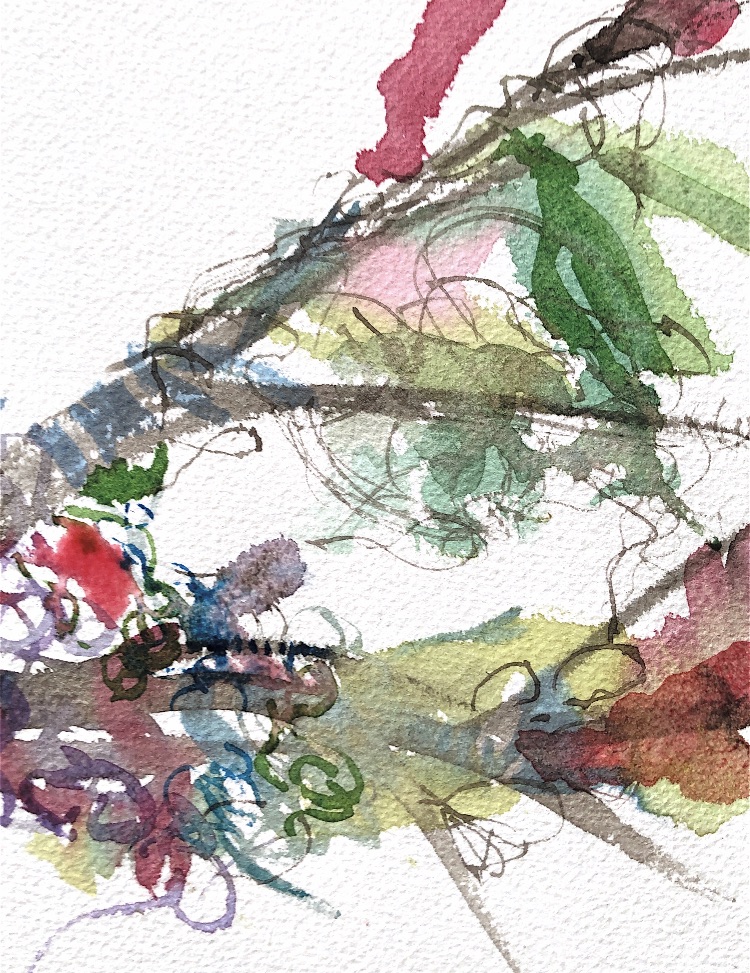
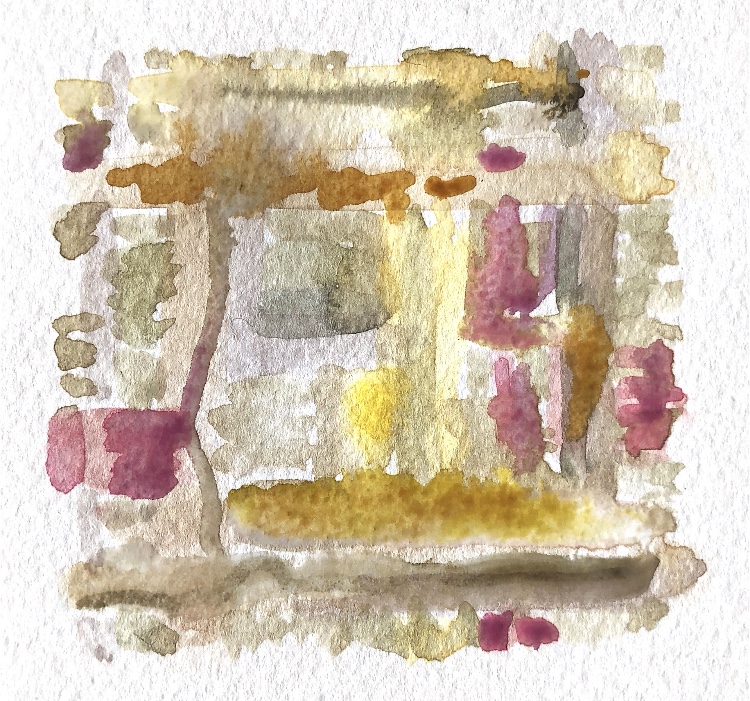
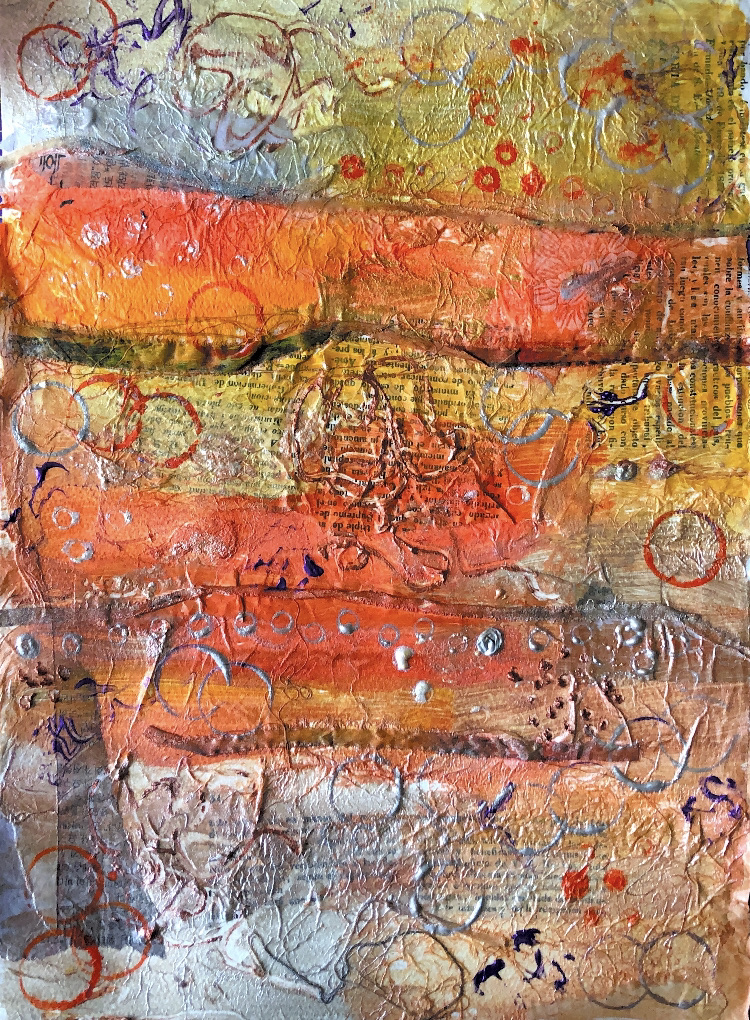
Collaged papers painted as a response. Triangle cut out and wire added.

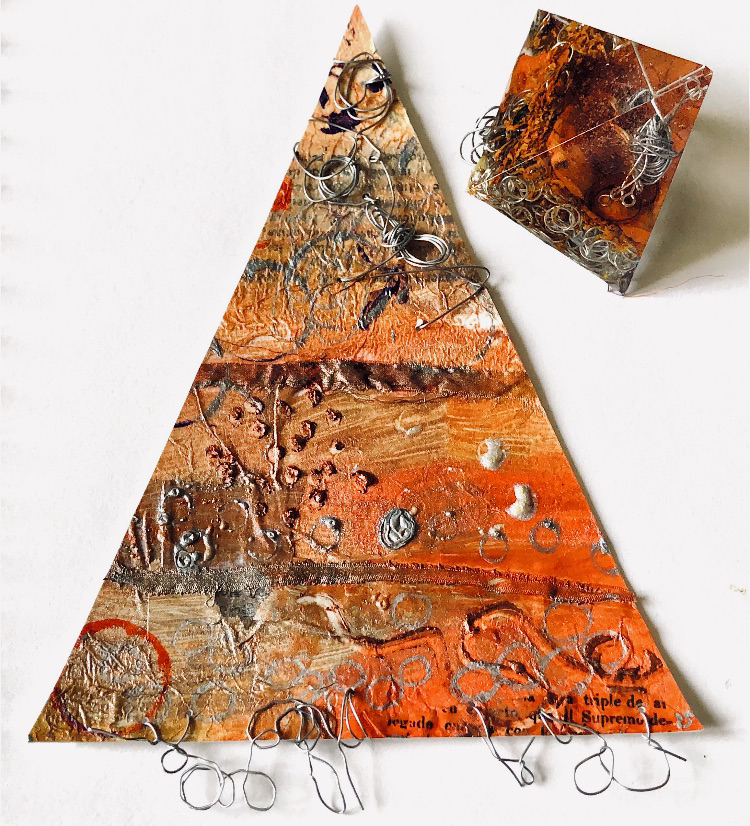
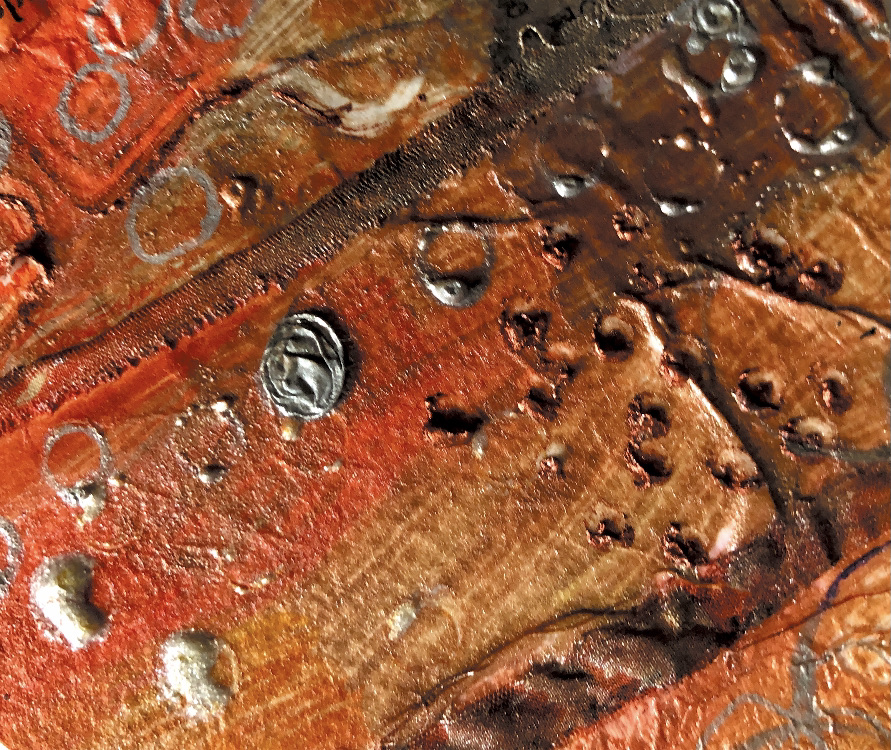
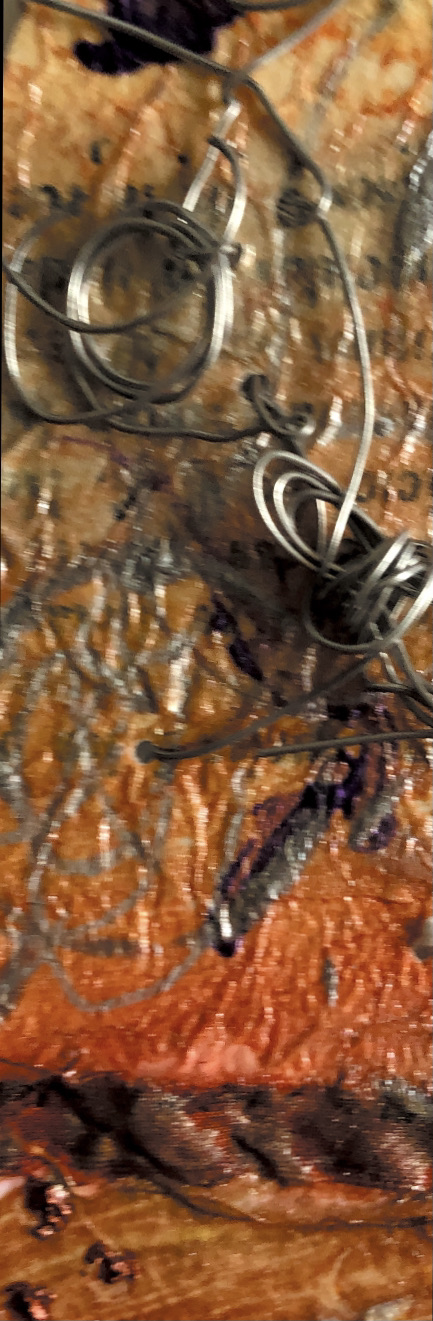
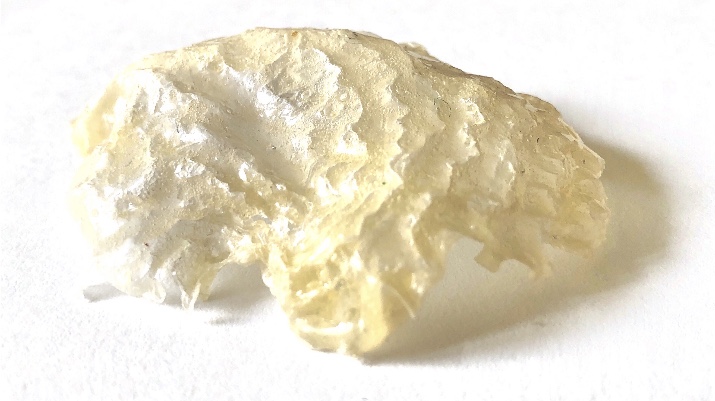
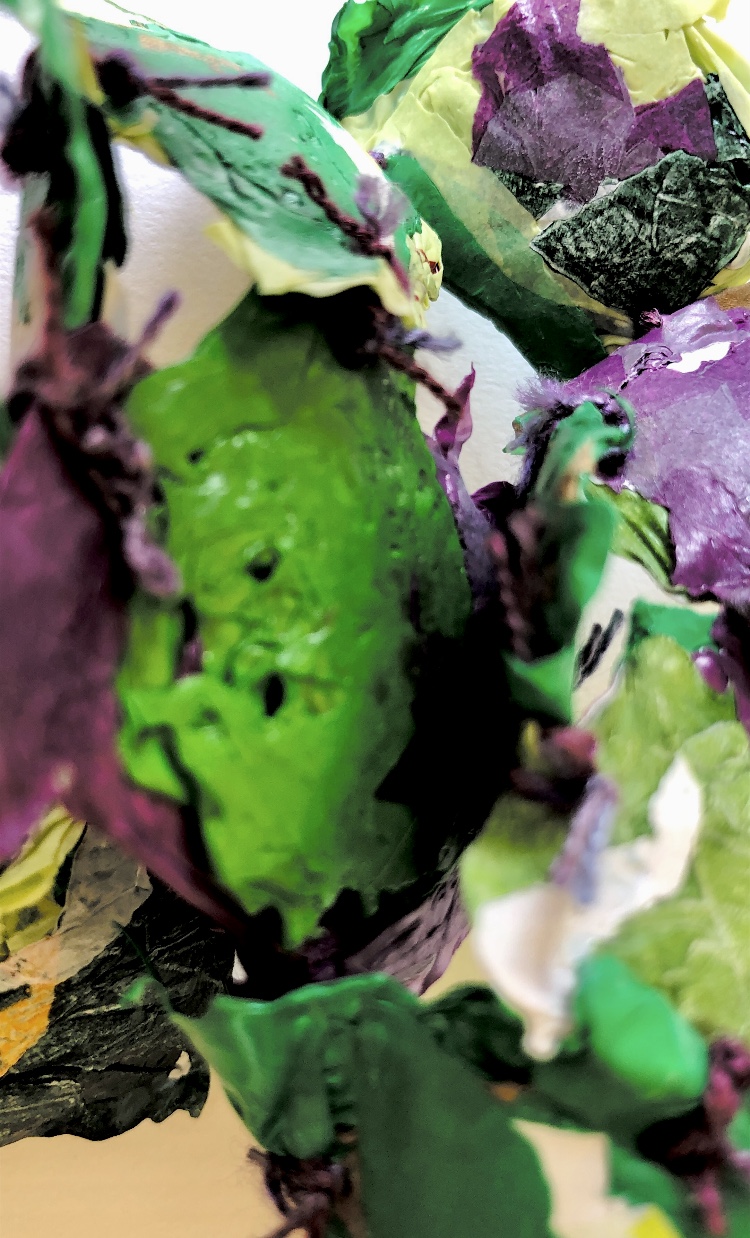
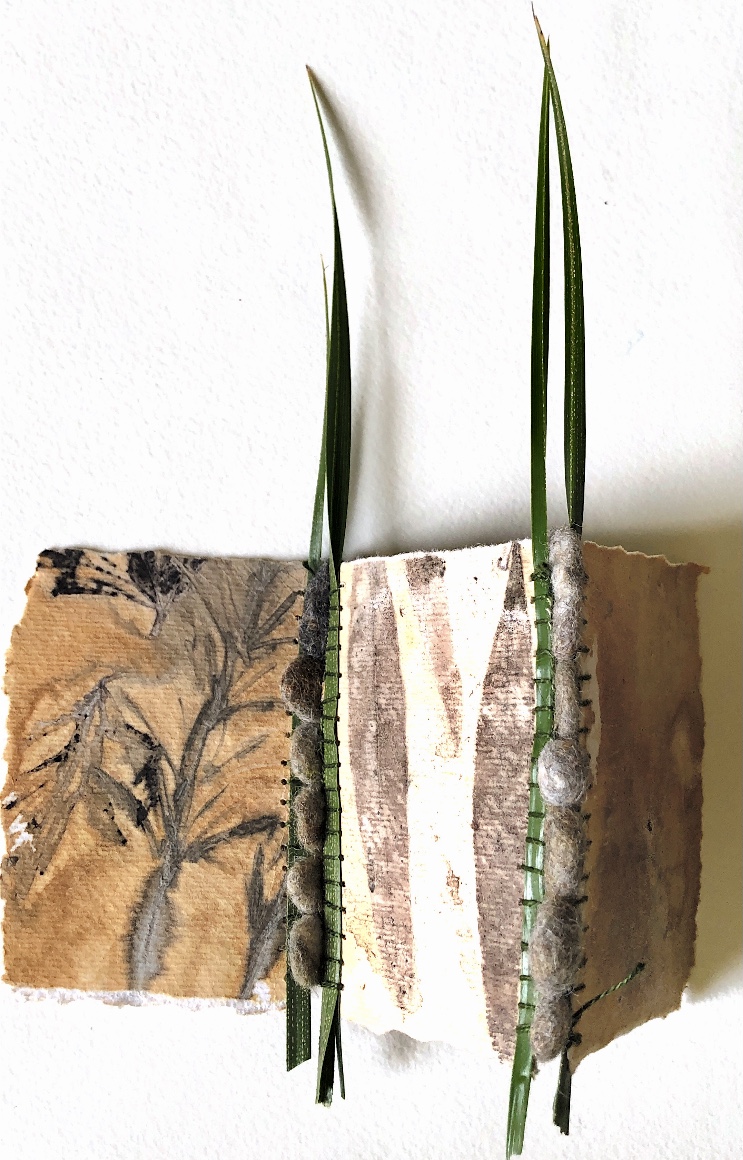
I experimented further by pouring resin onto one of my triangles to add more materials. It is difficult to see in the photos but this made a shiny raised coating which emphasised the colours and trapped materials beautifully.

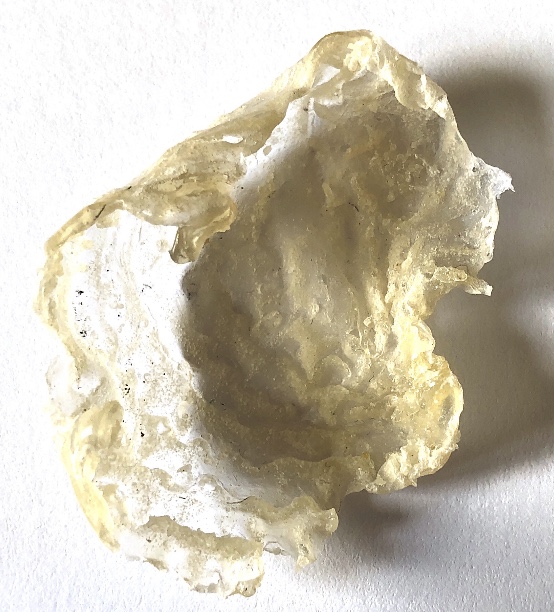
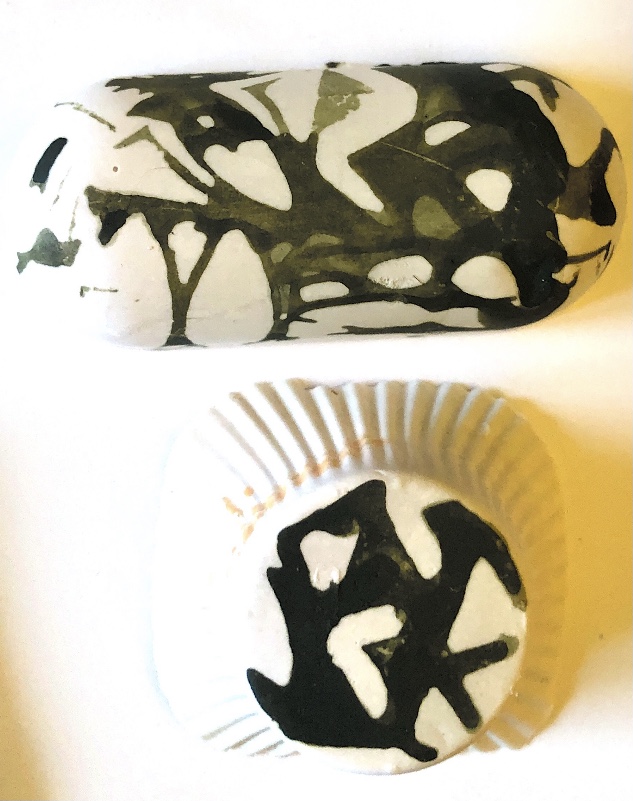
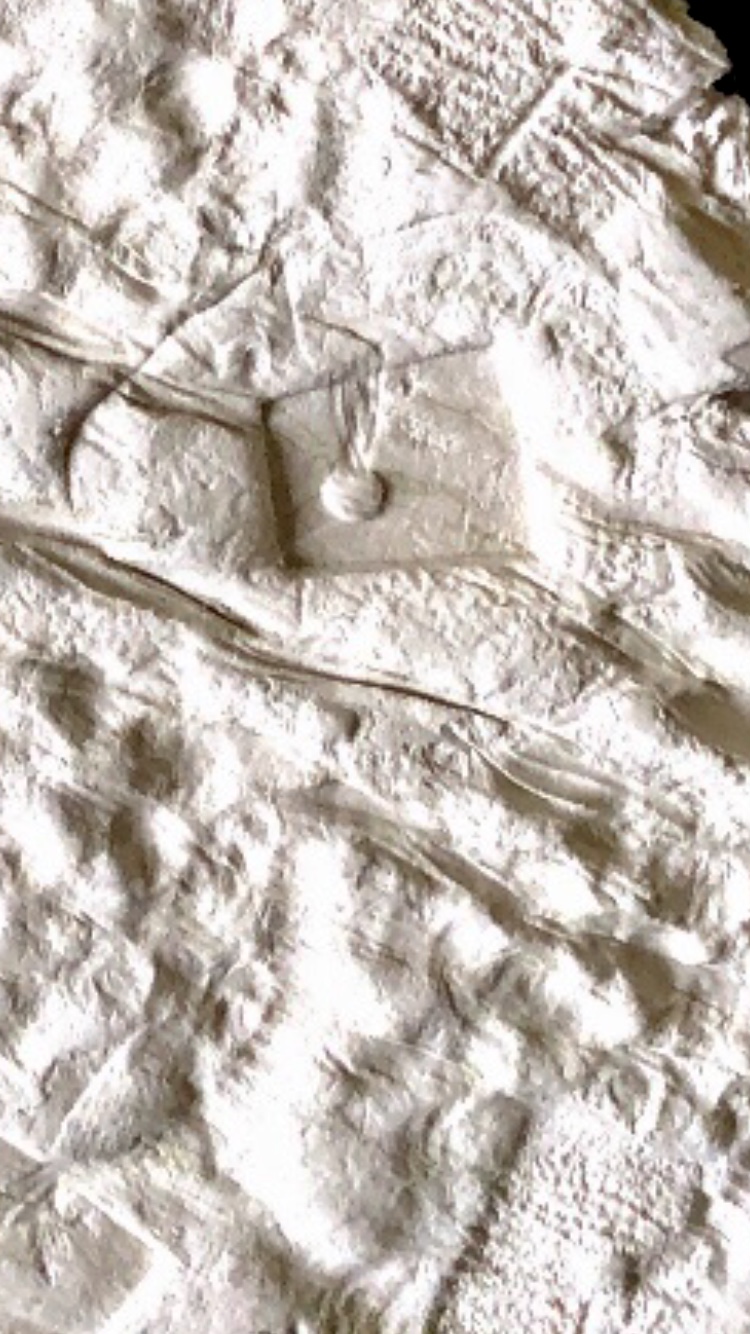
With the leftover resin I poured another shape.

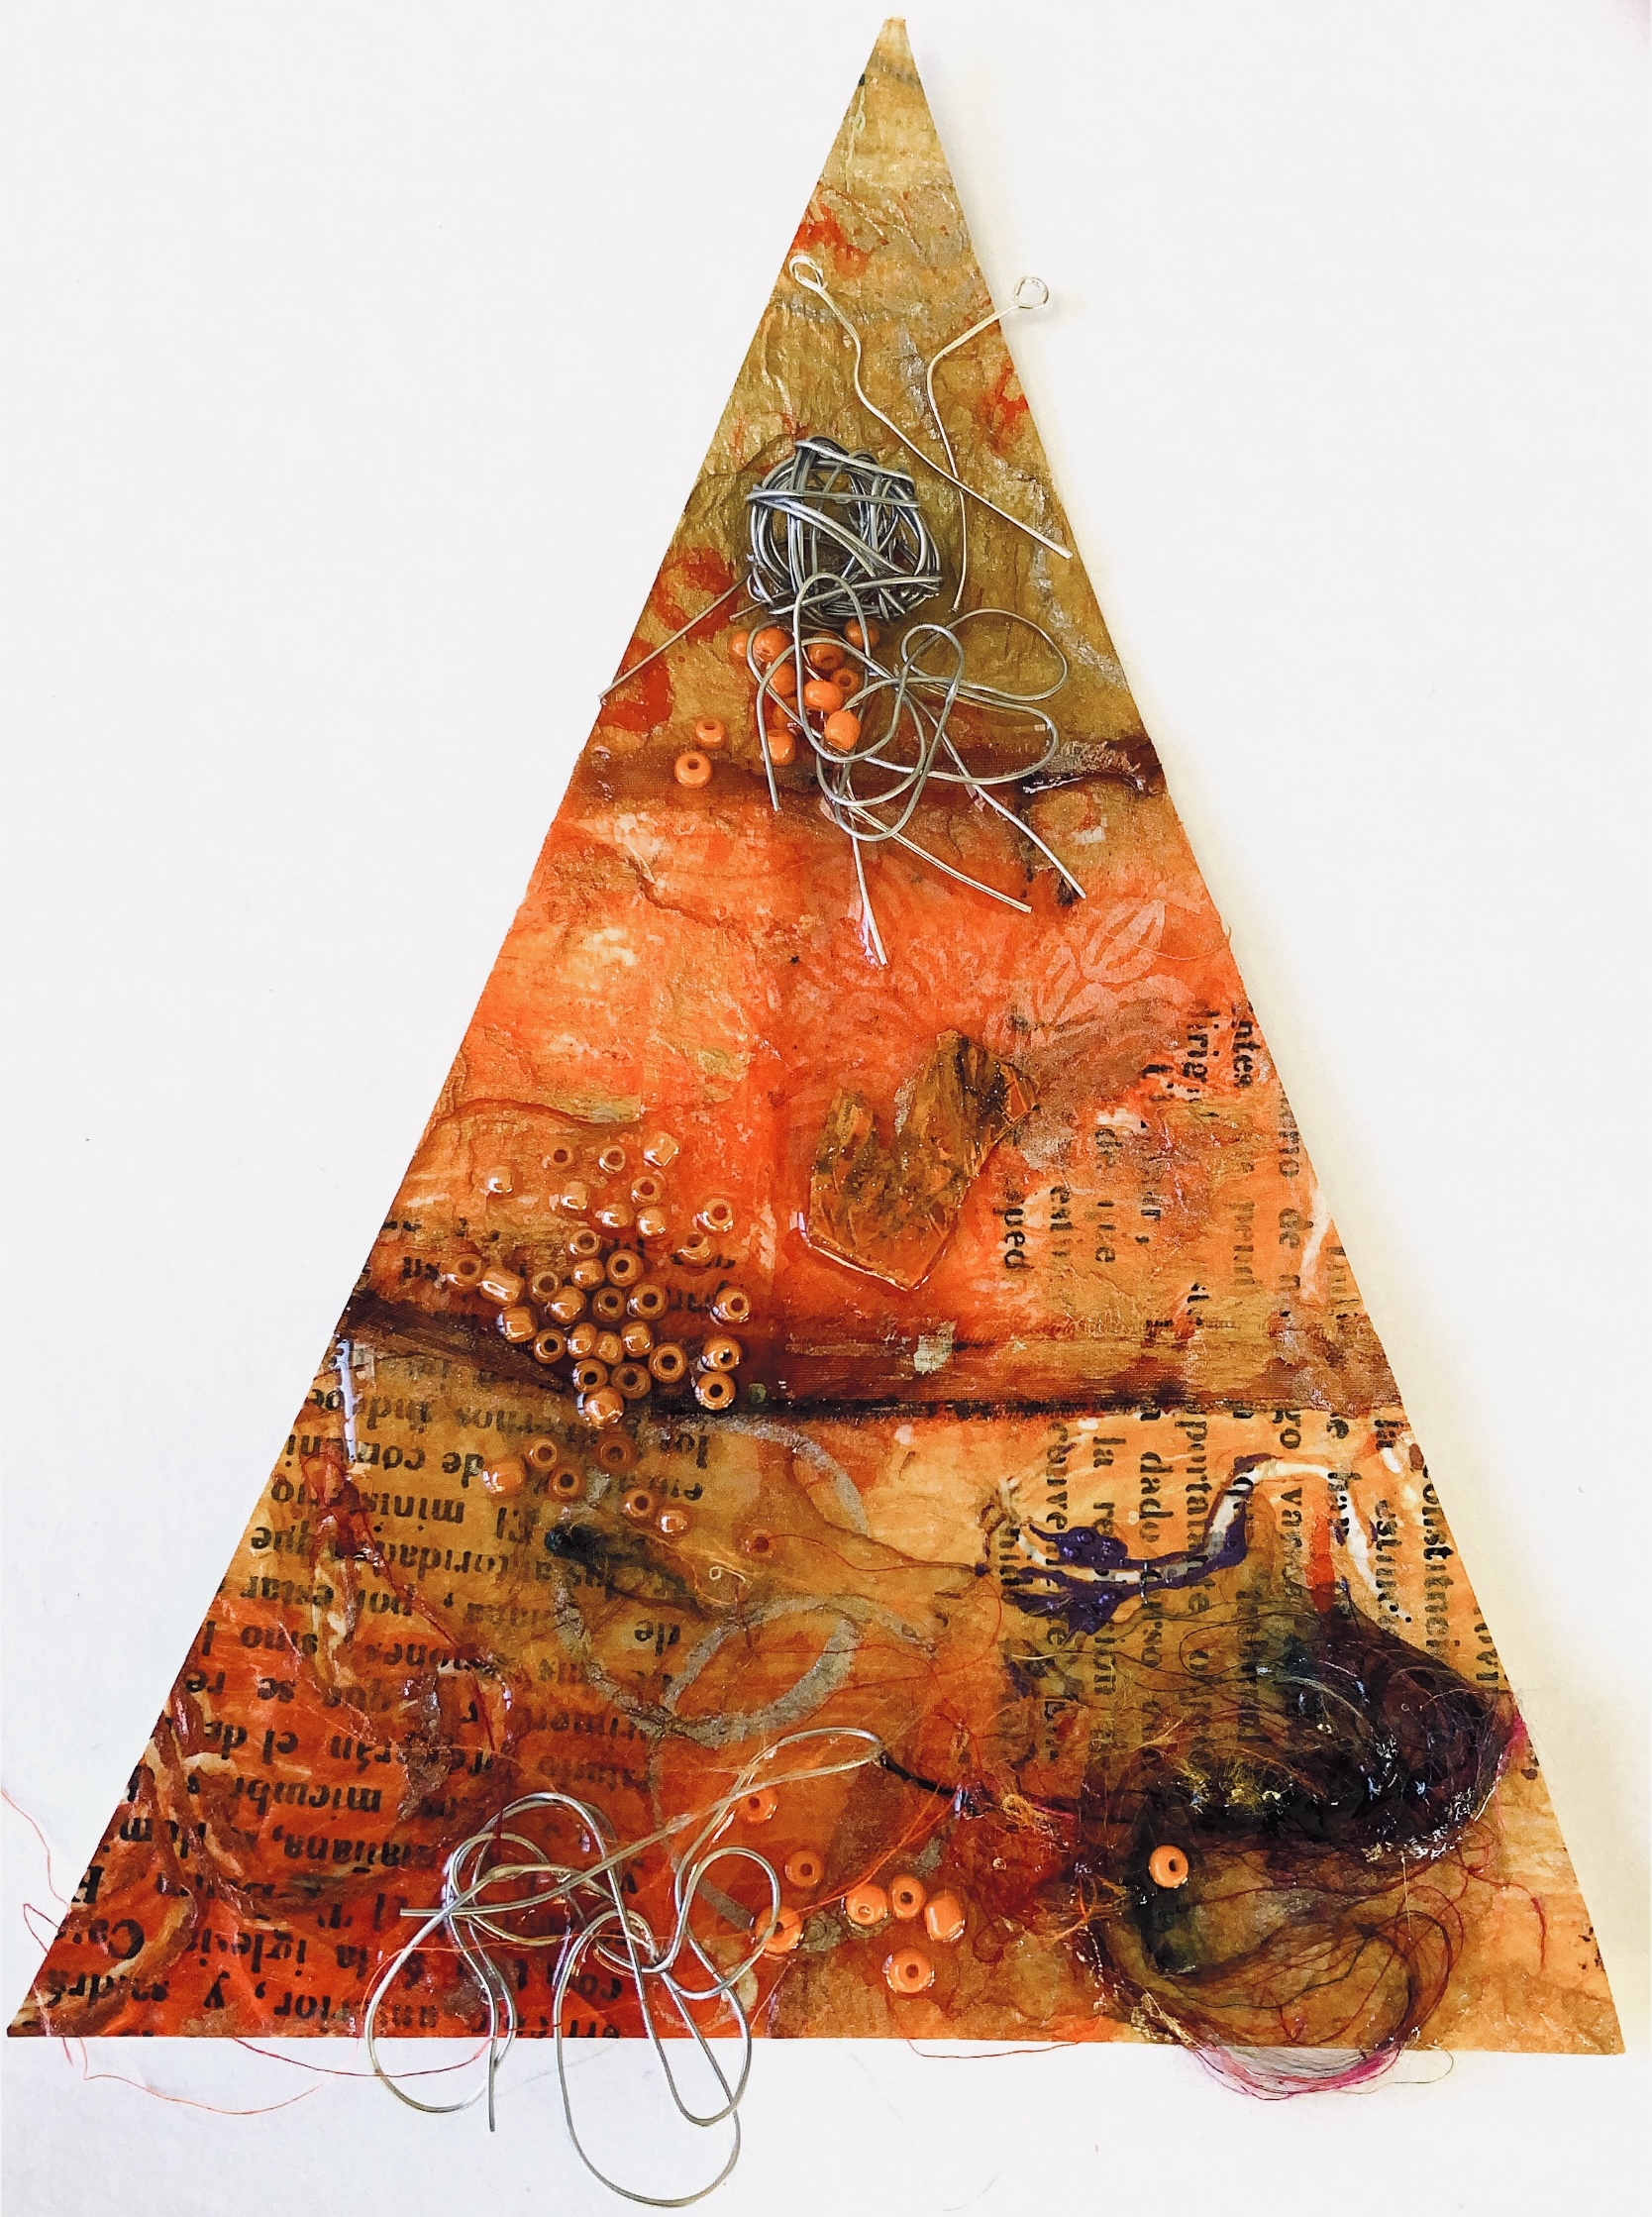
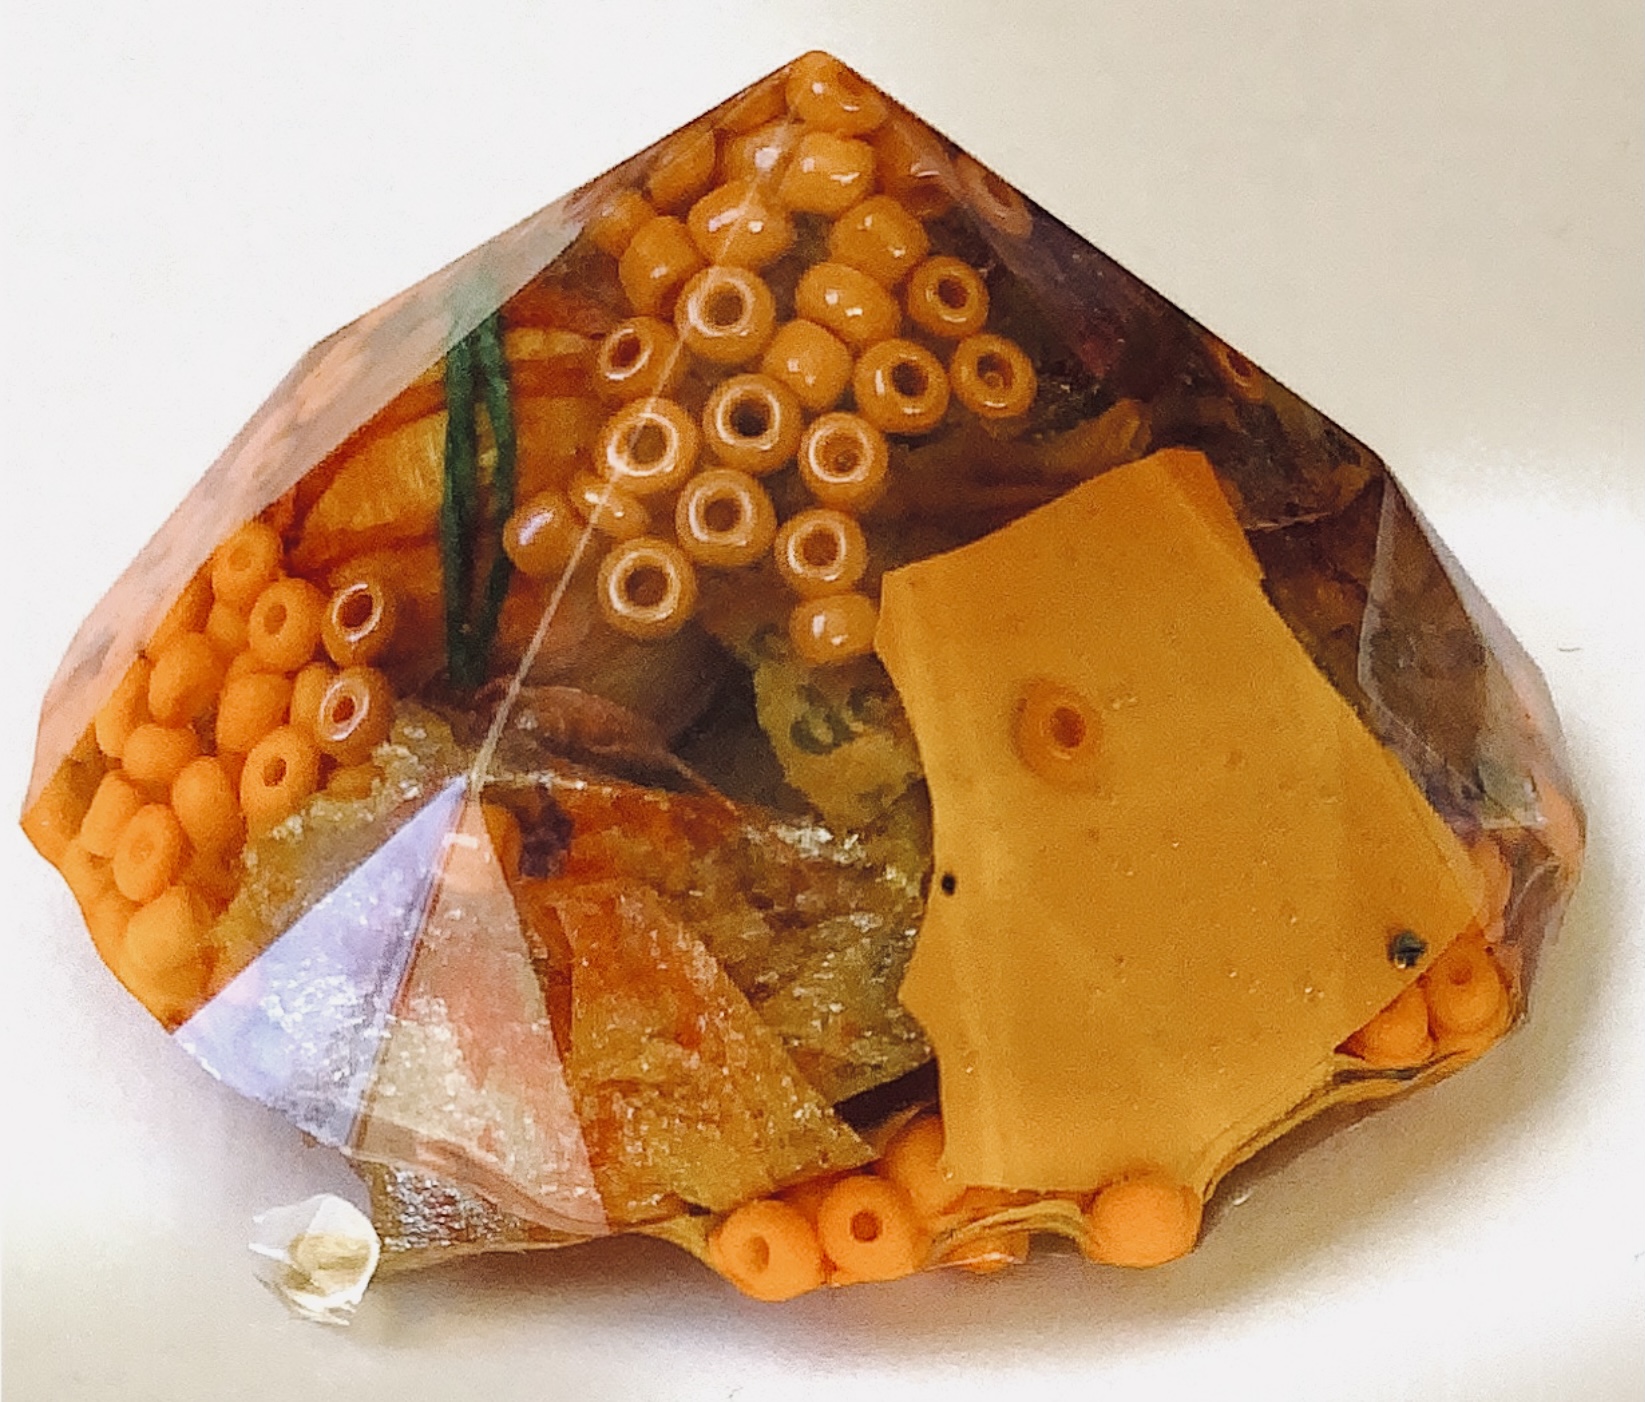
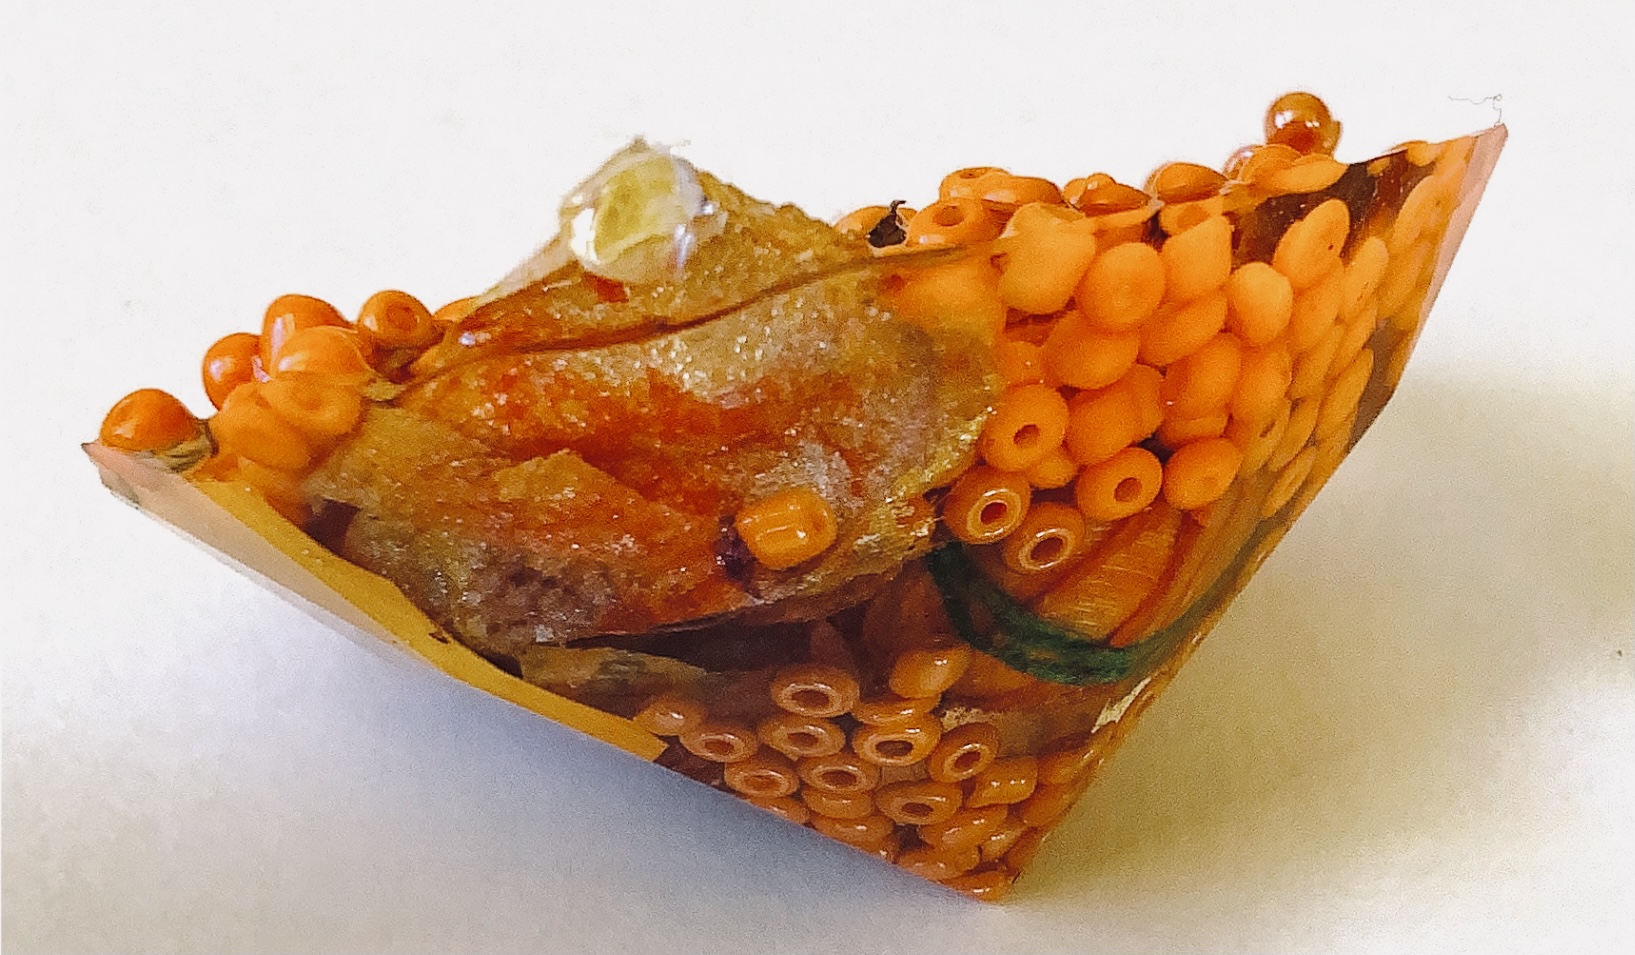
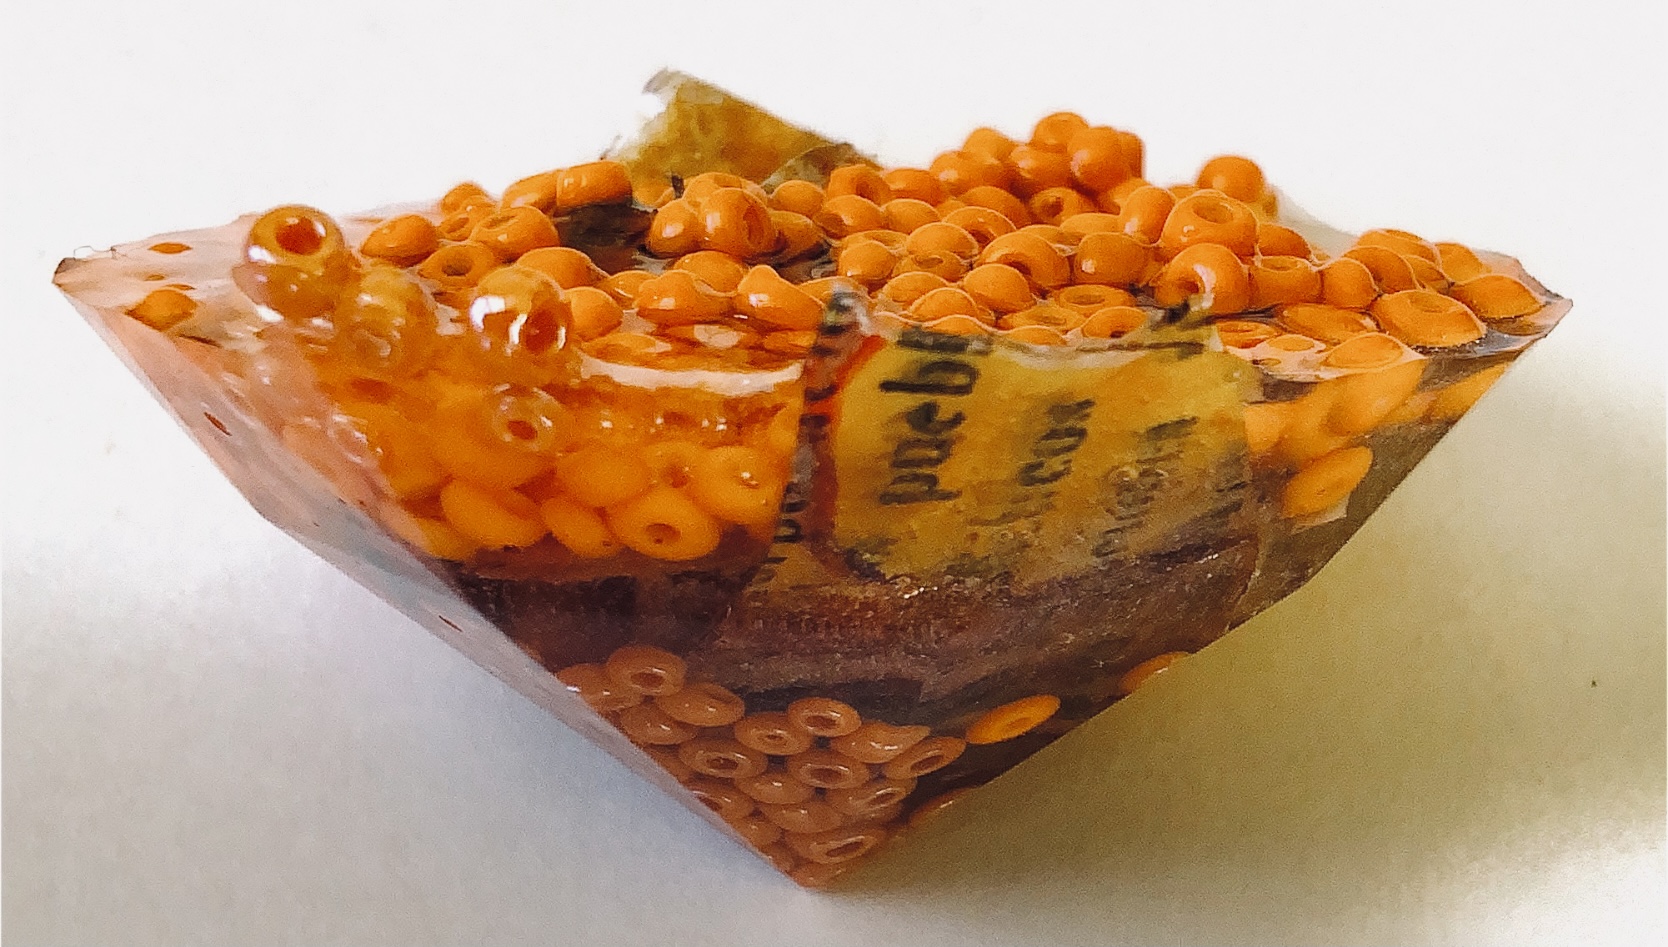
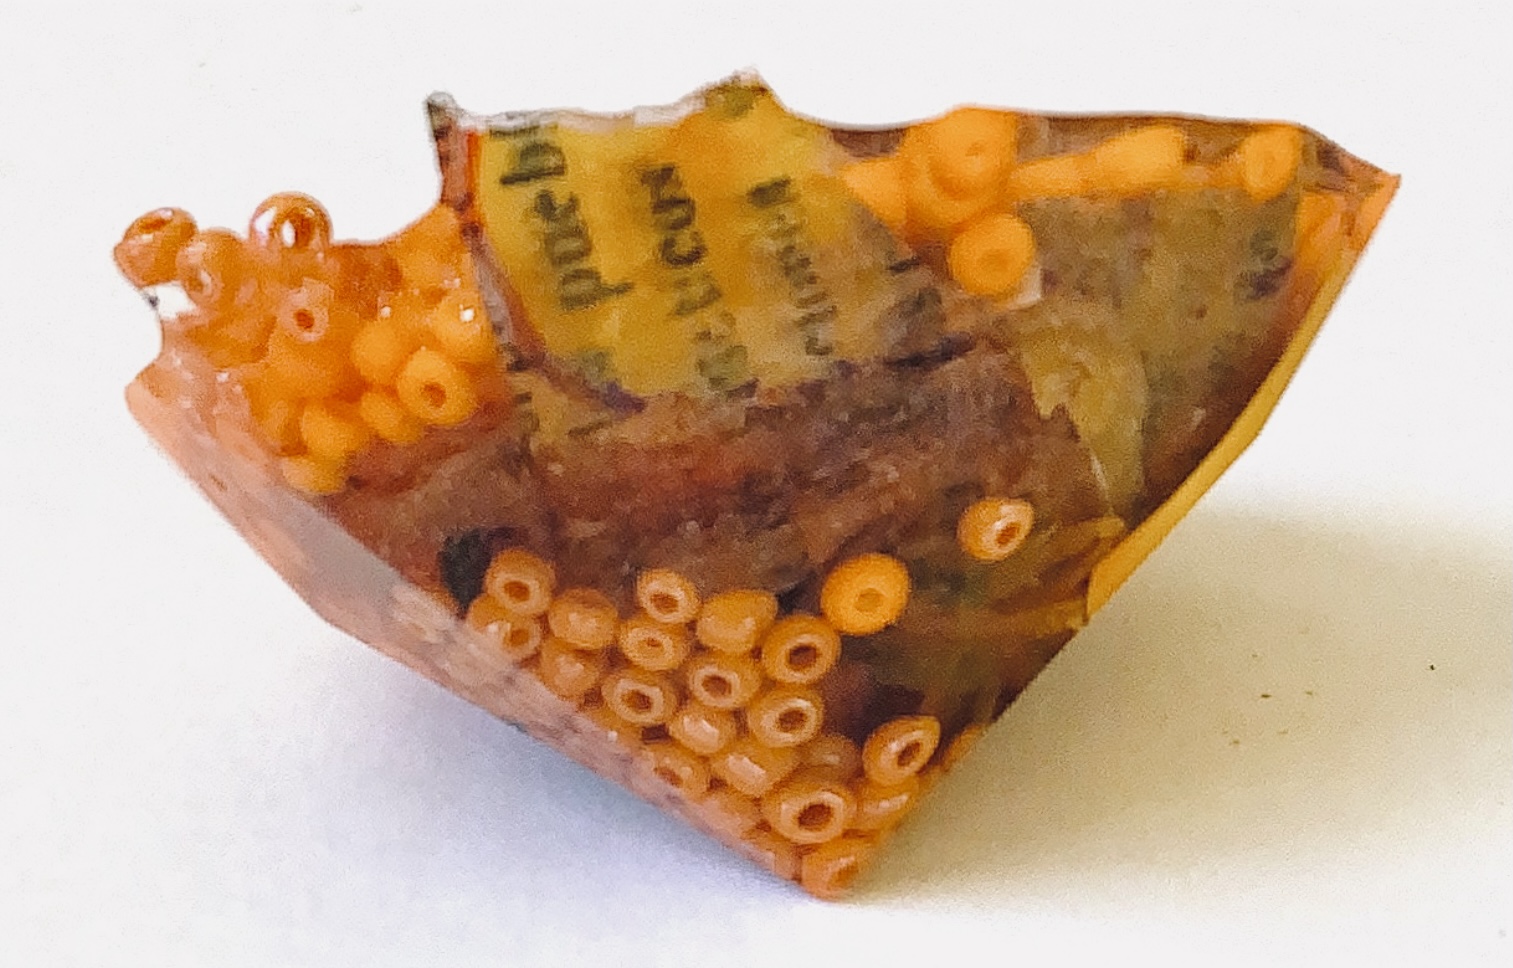
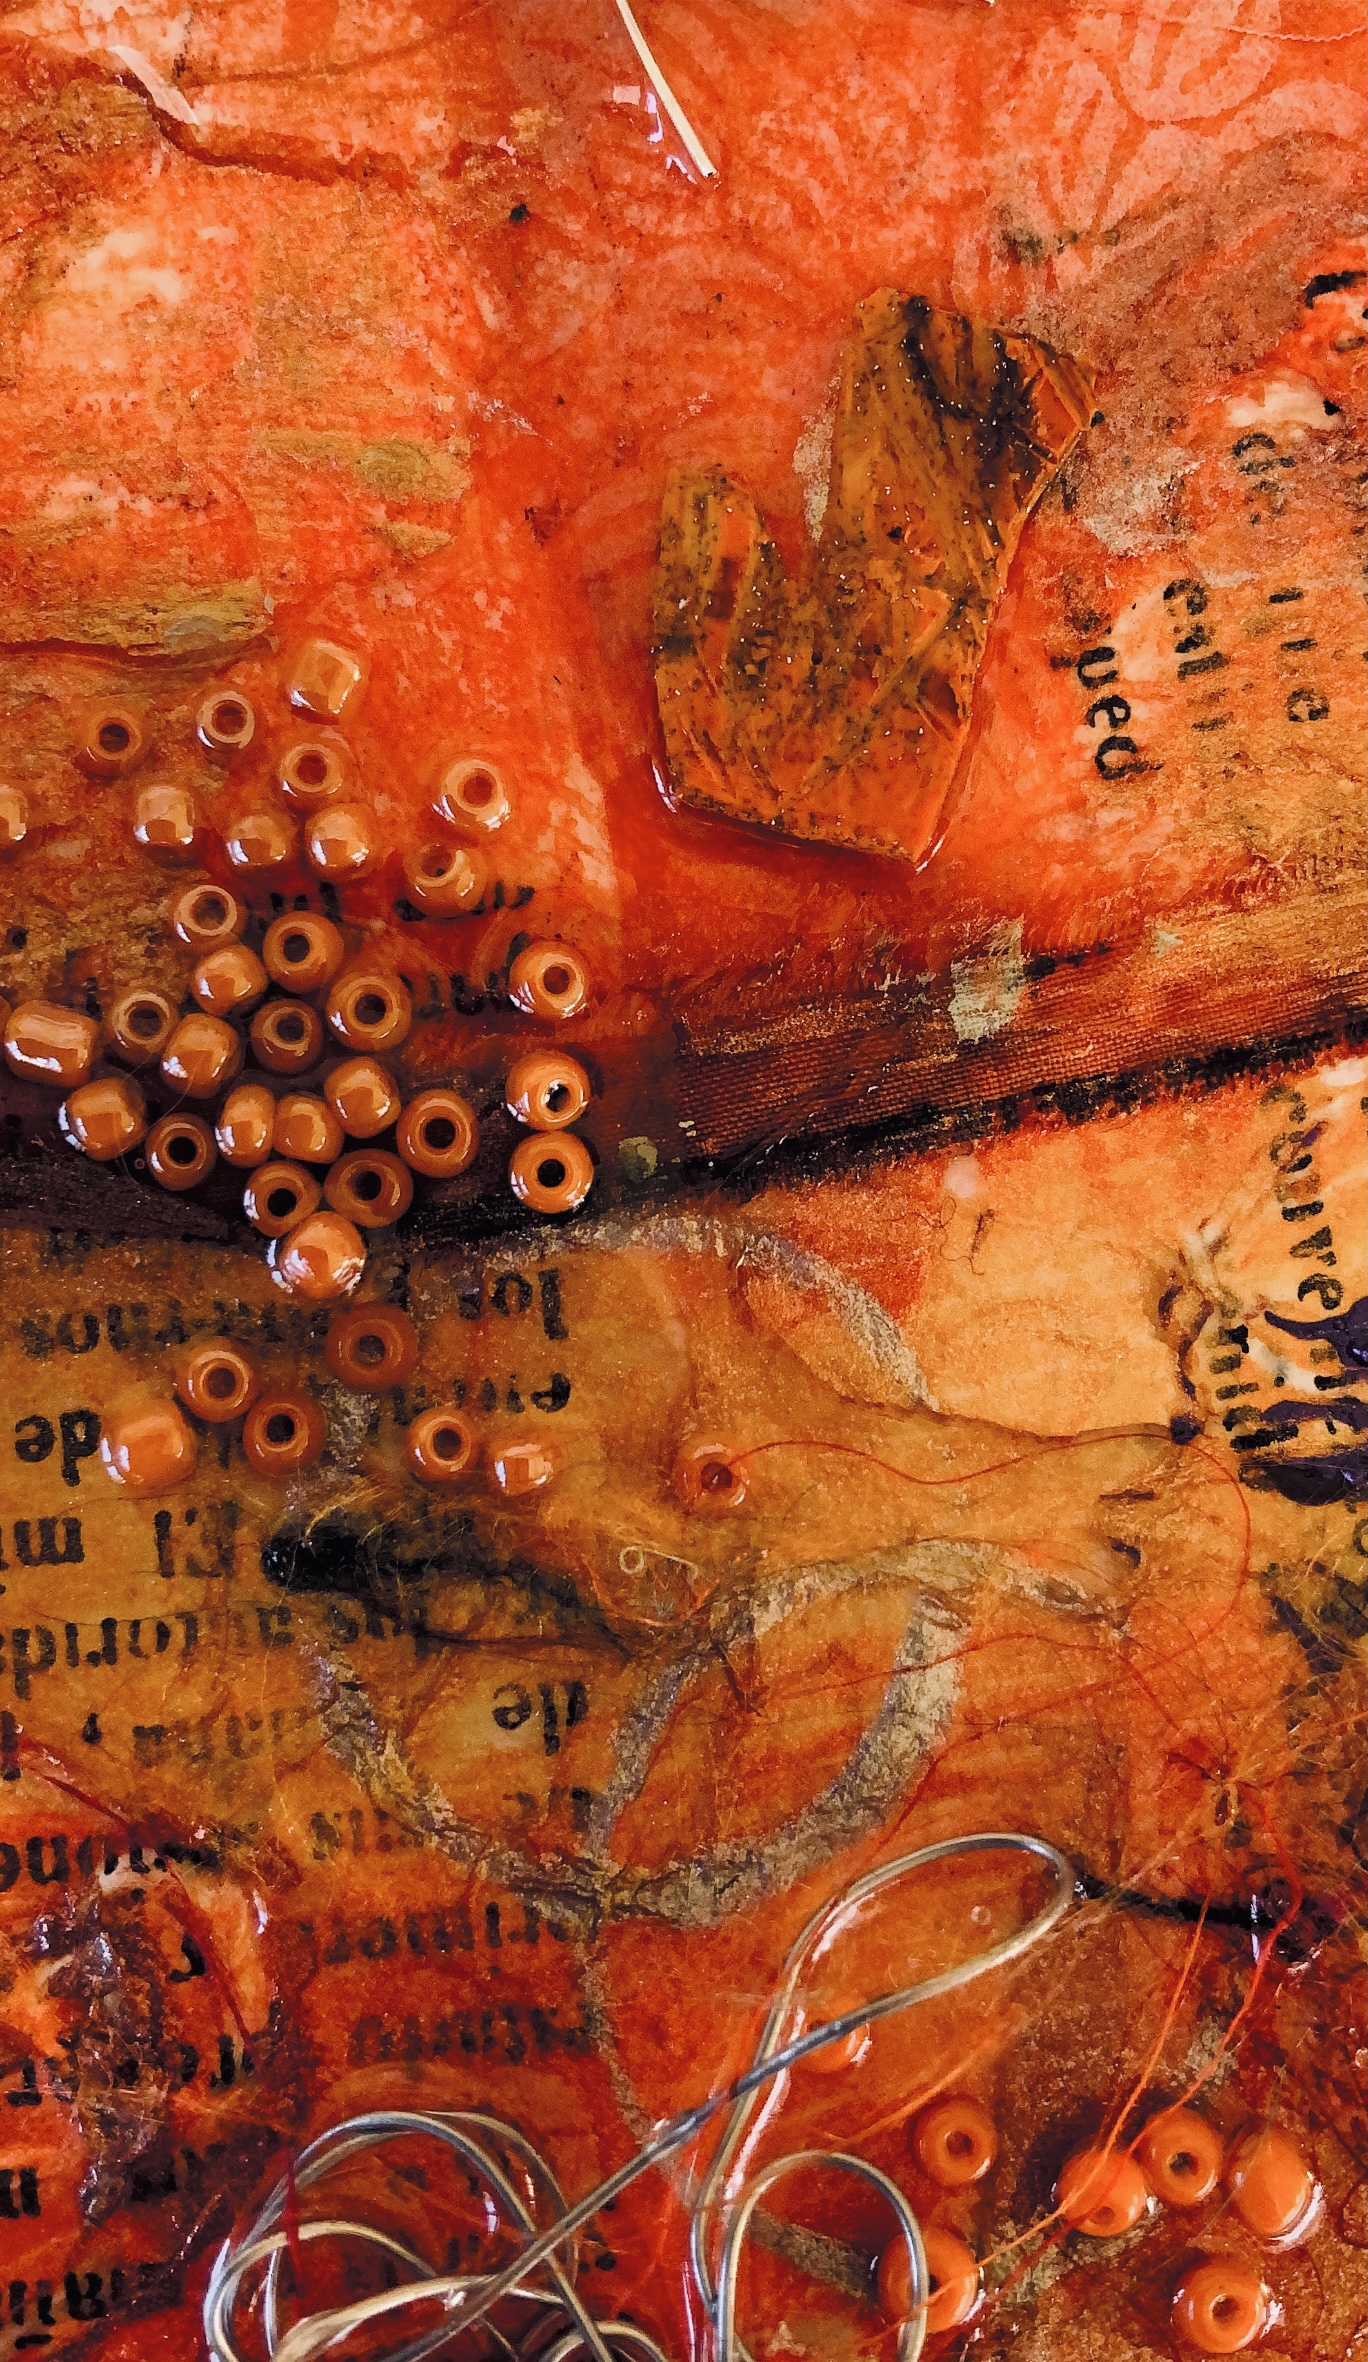
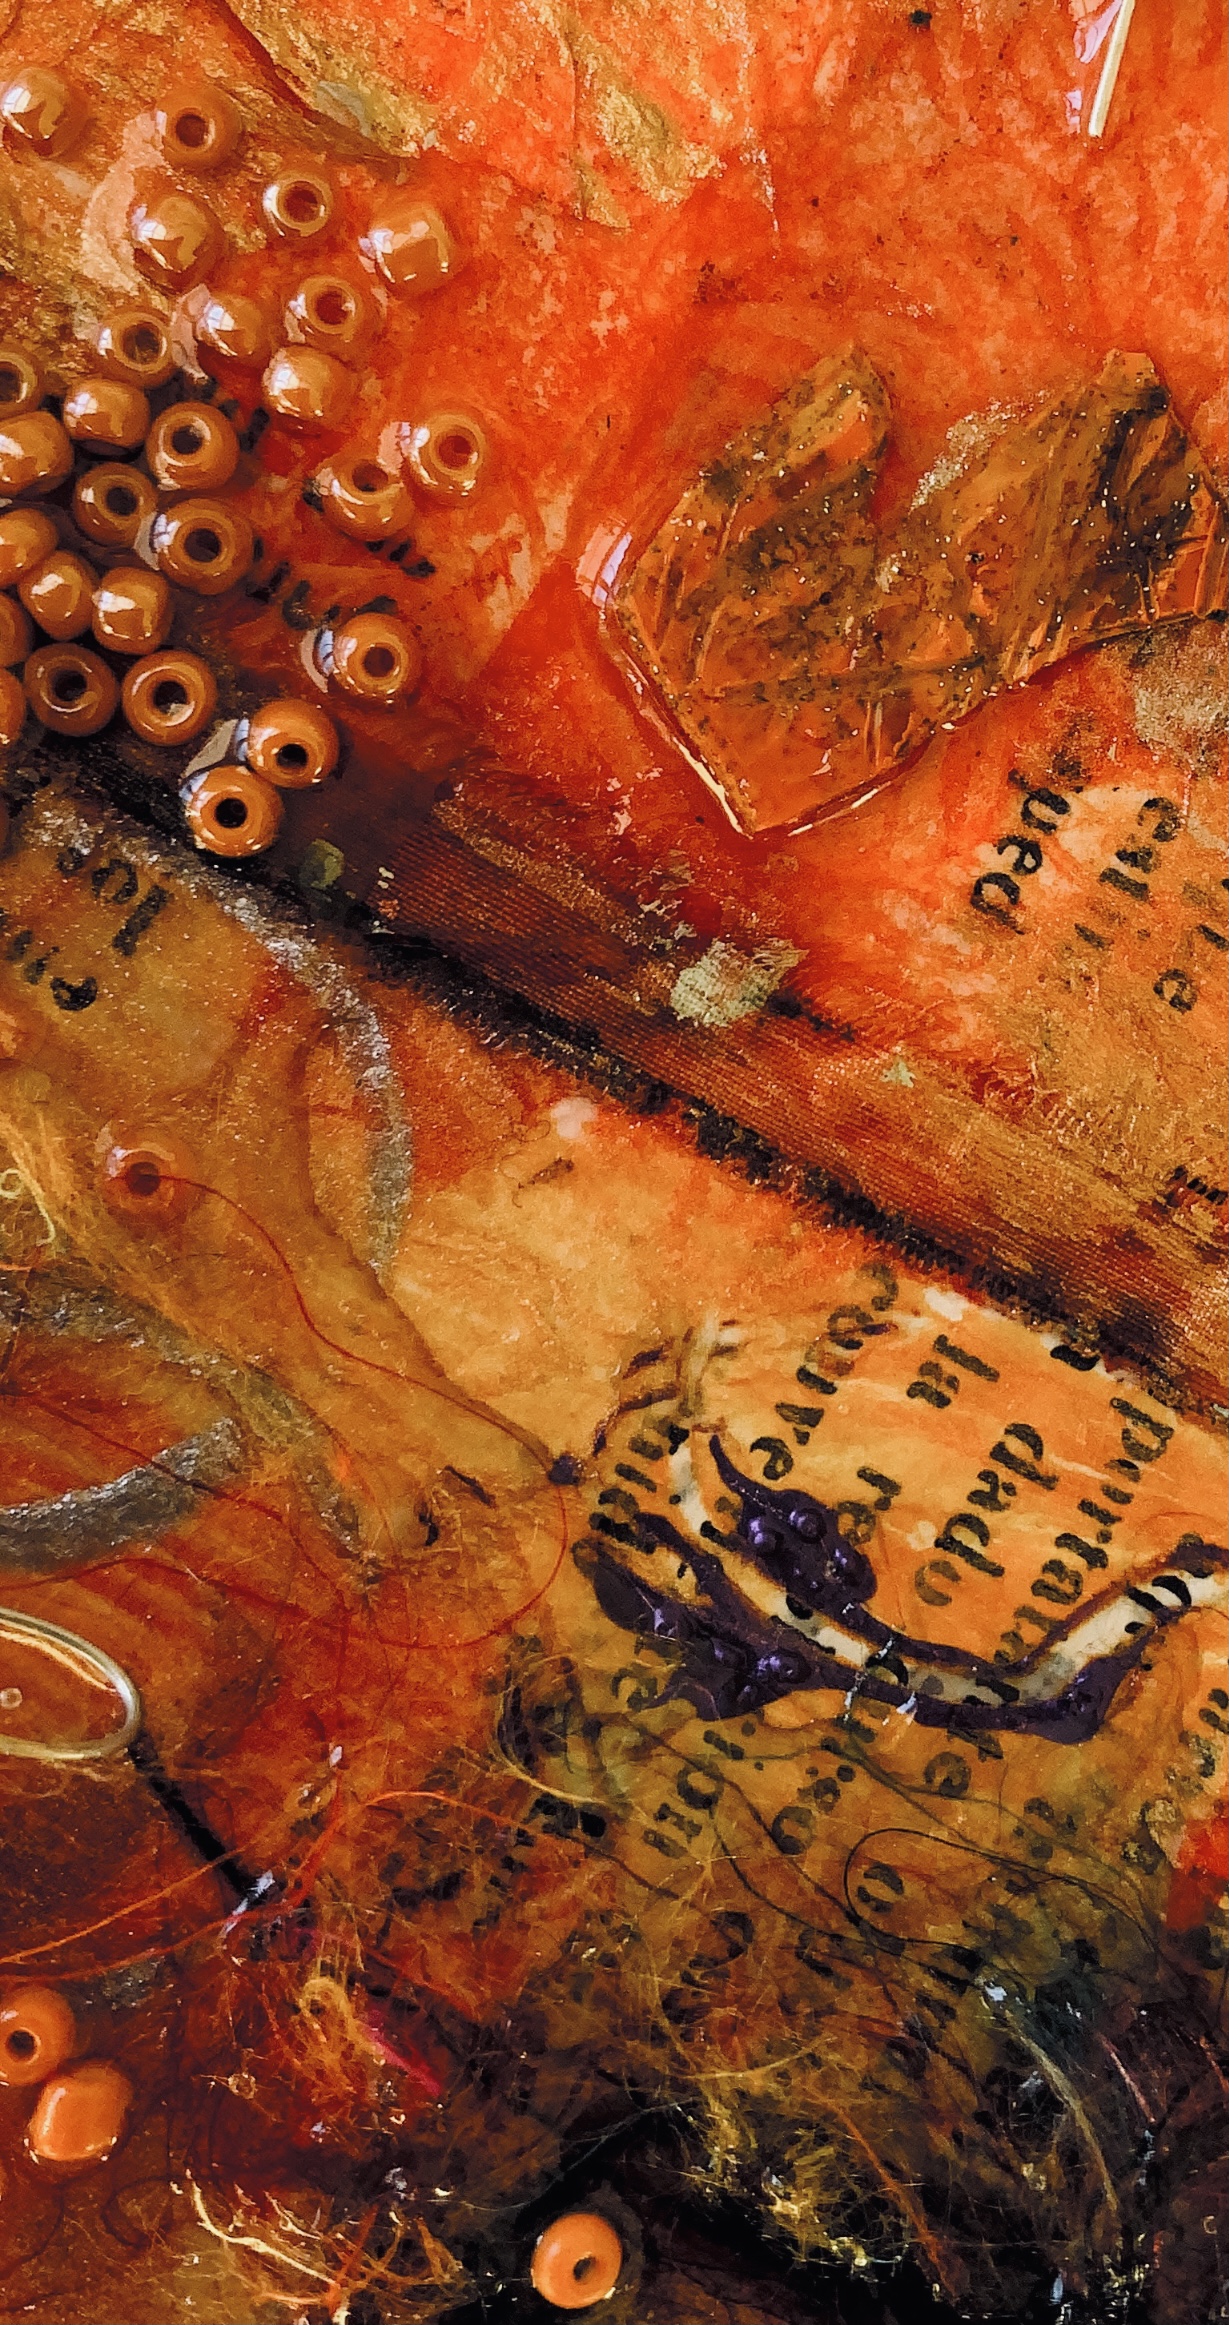
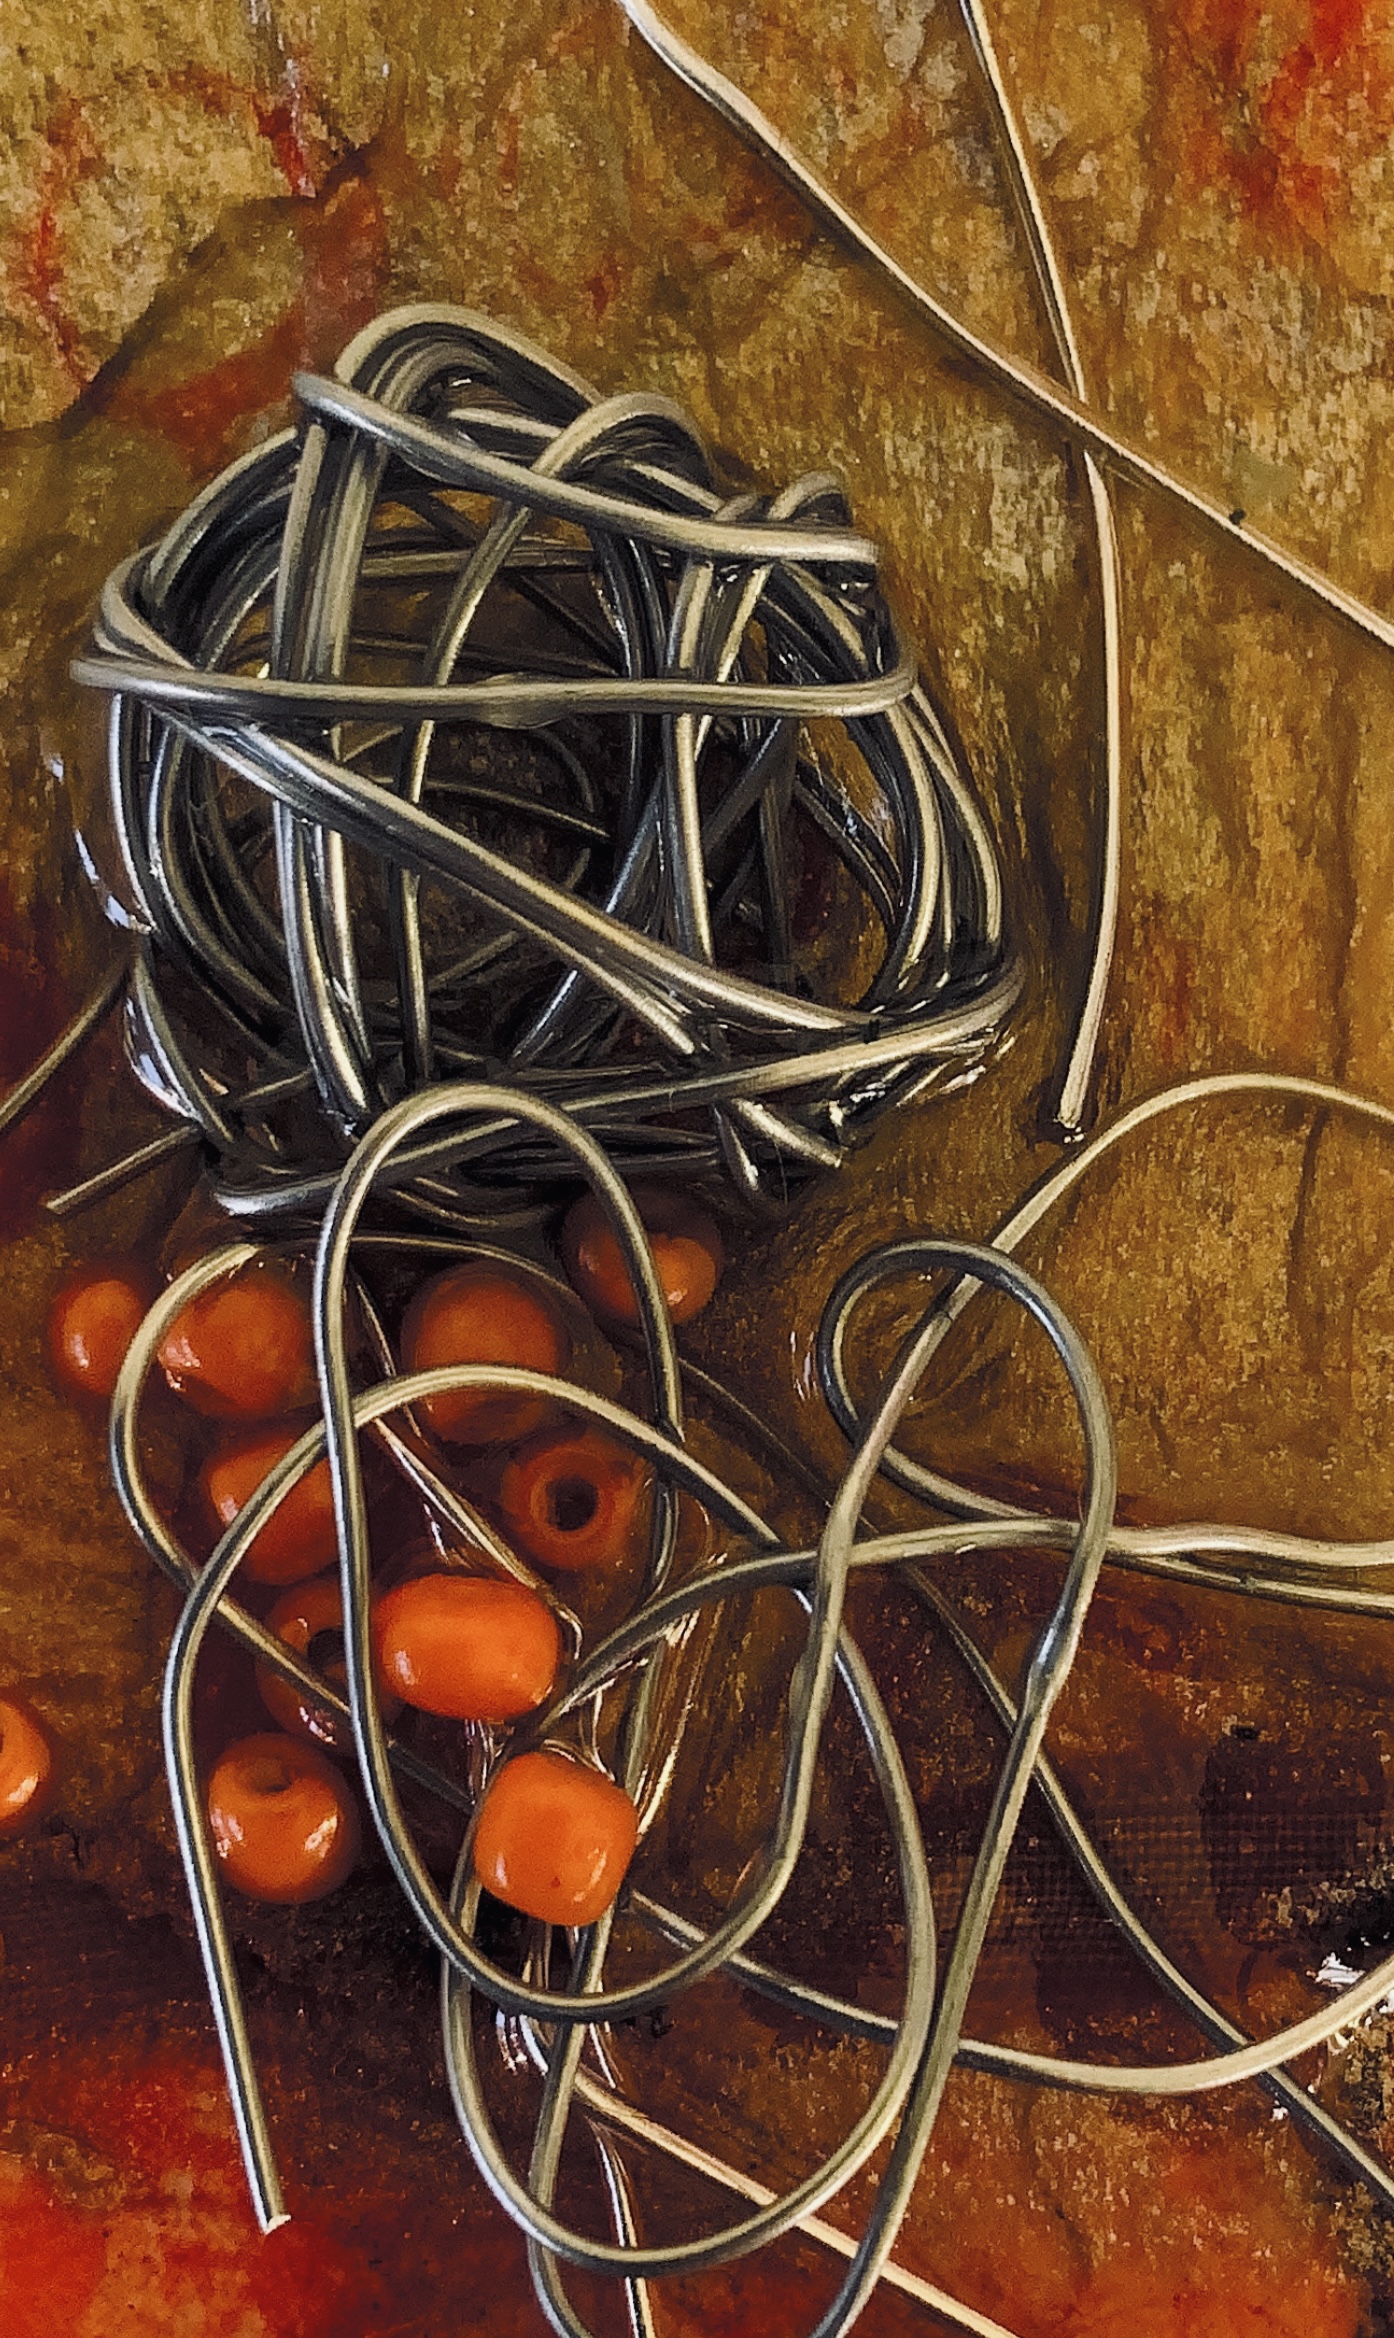
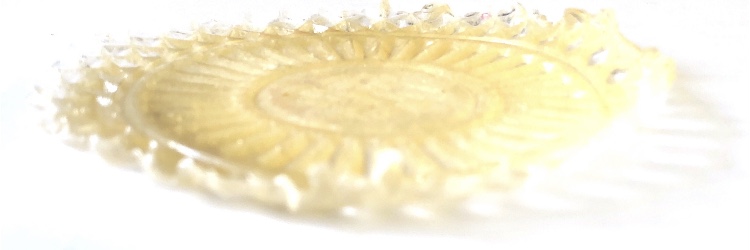
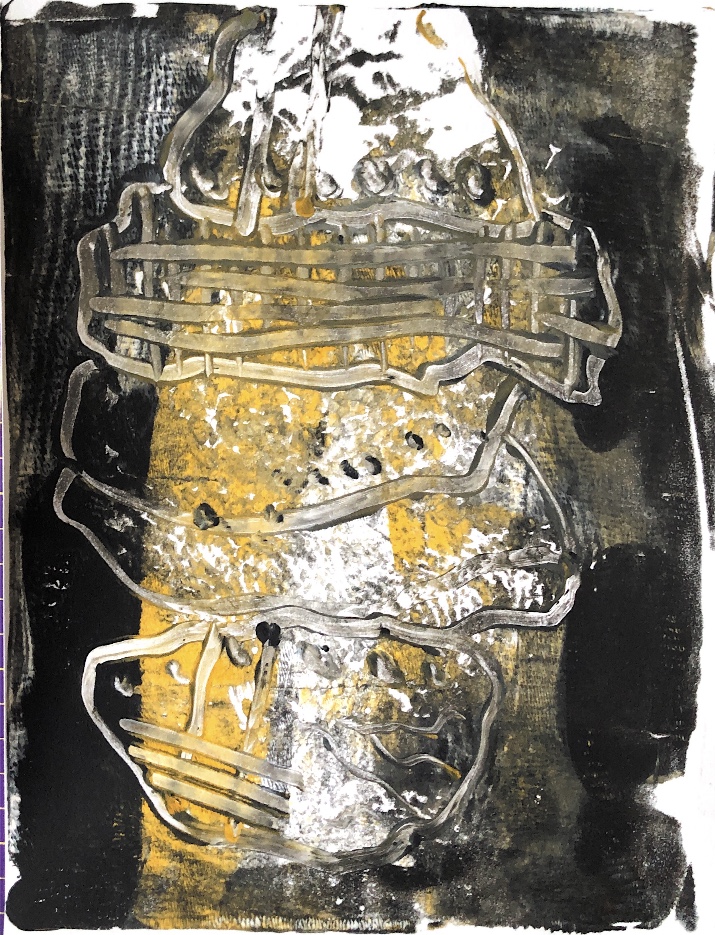
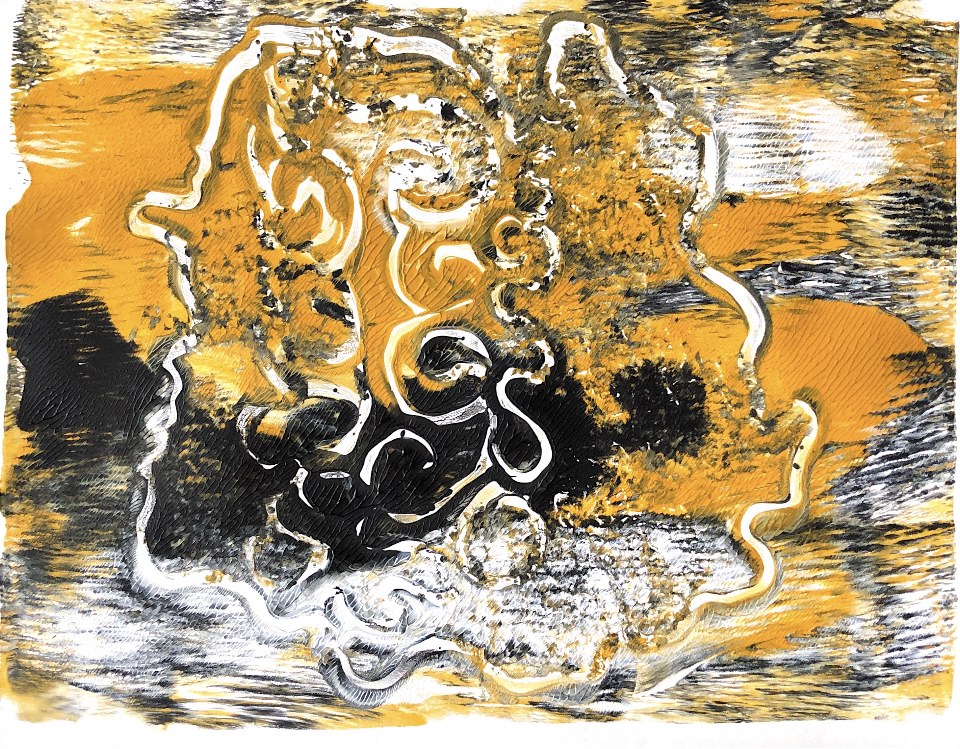
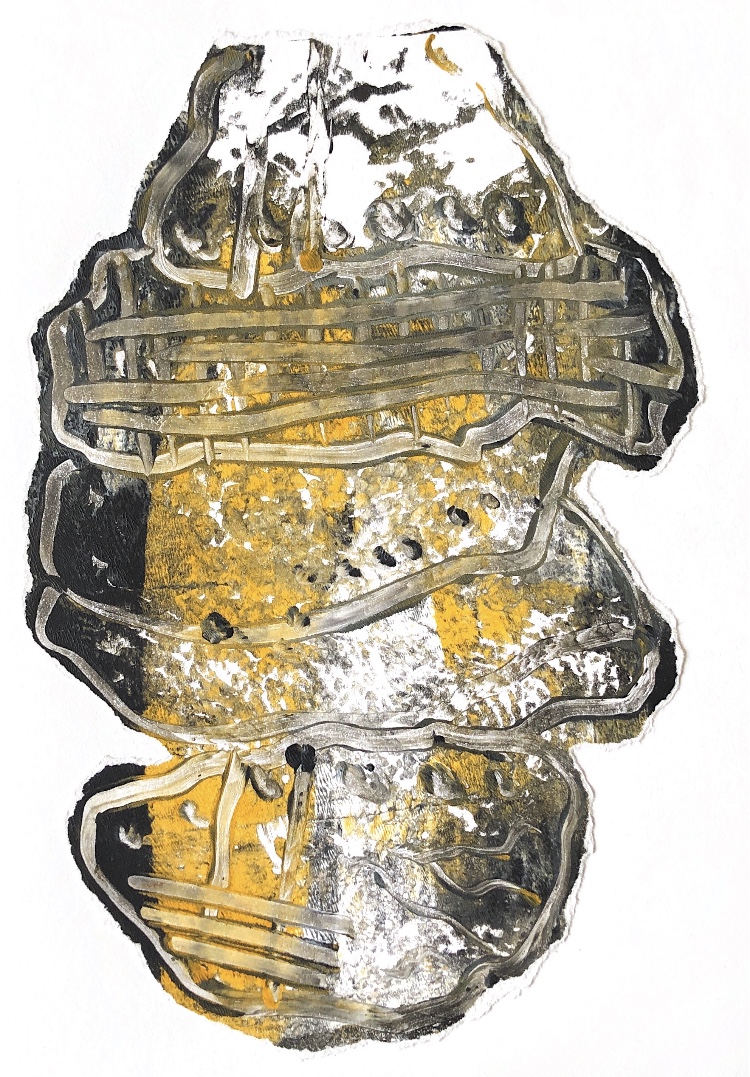
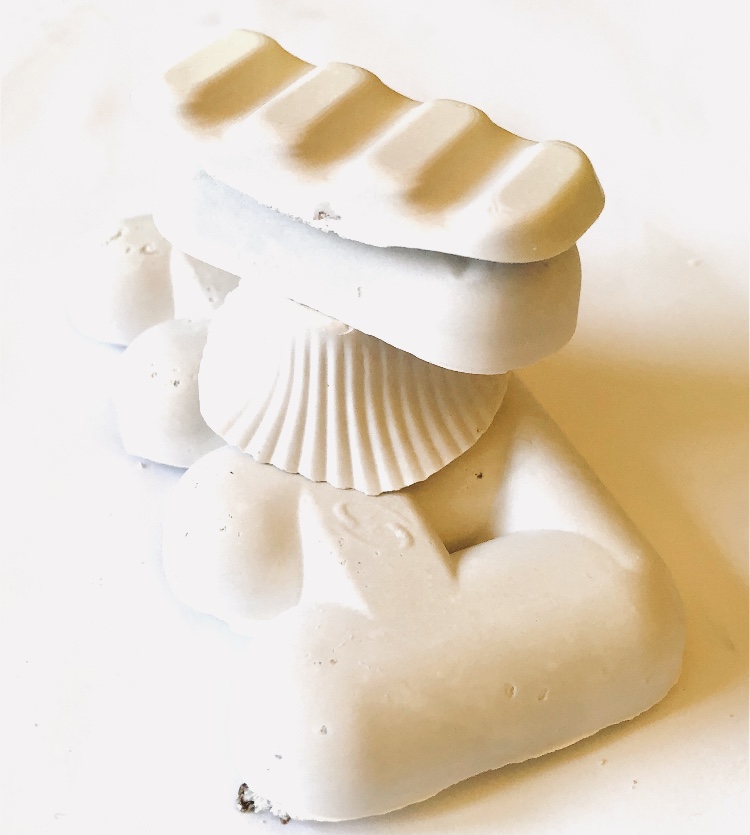
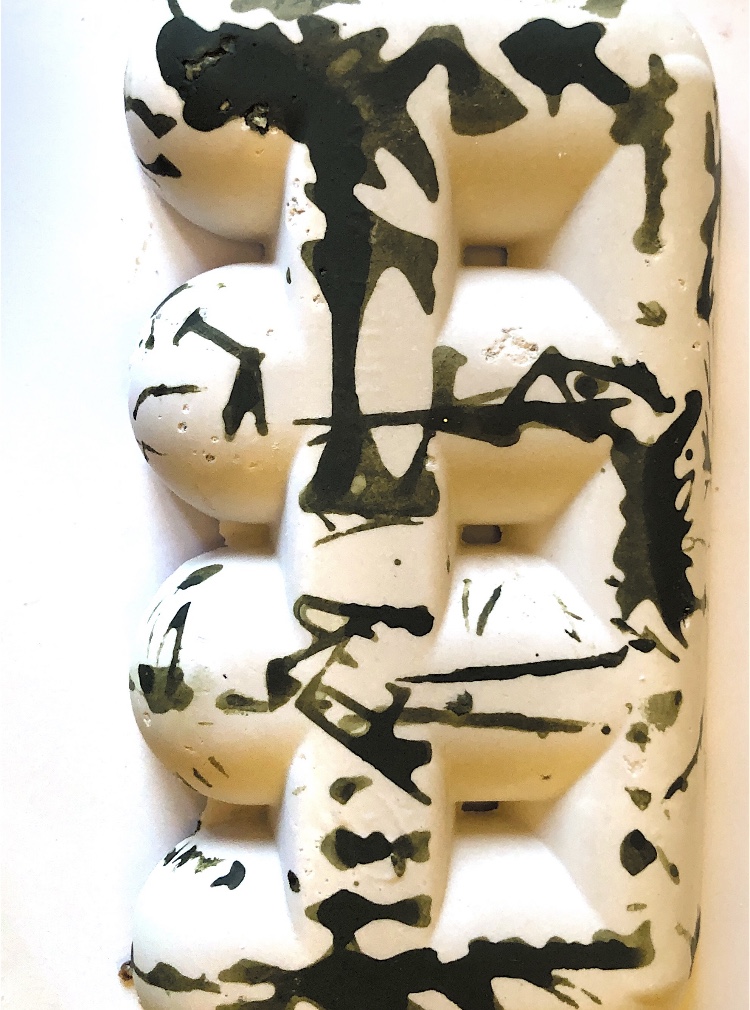
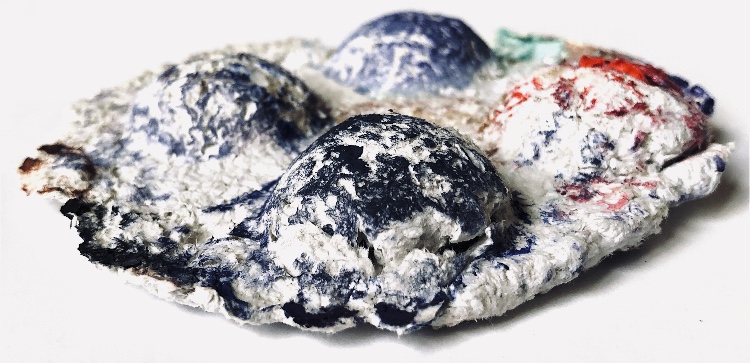
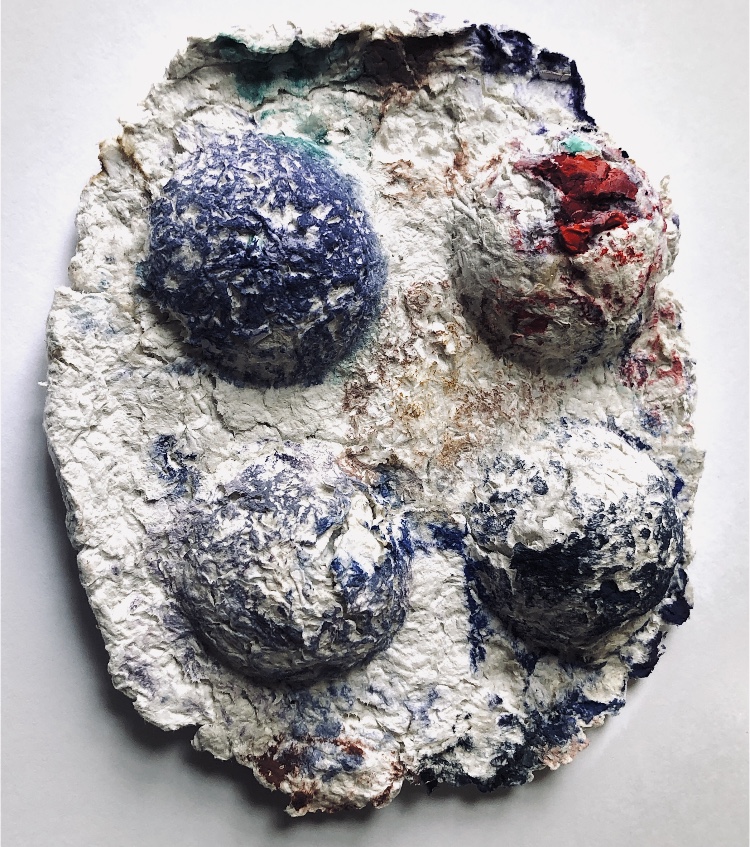
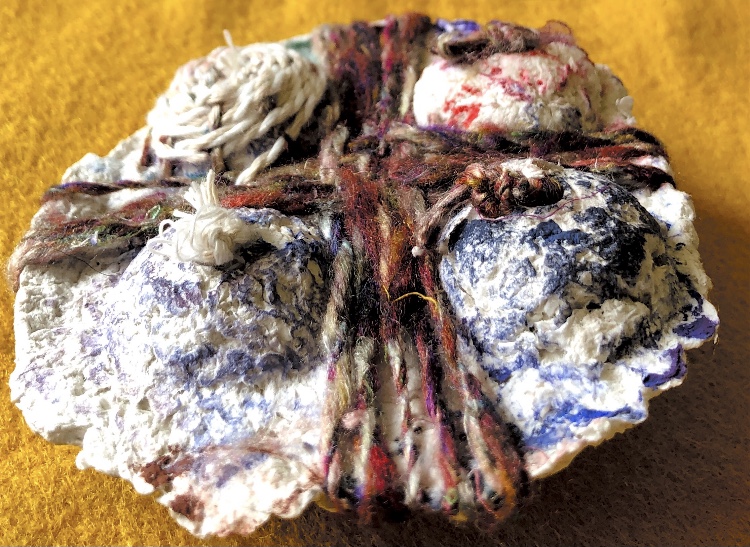
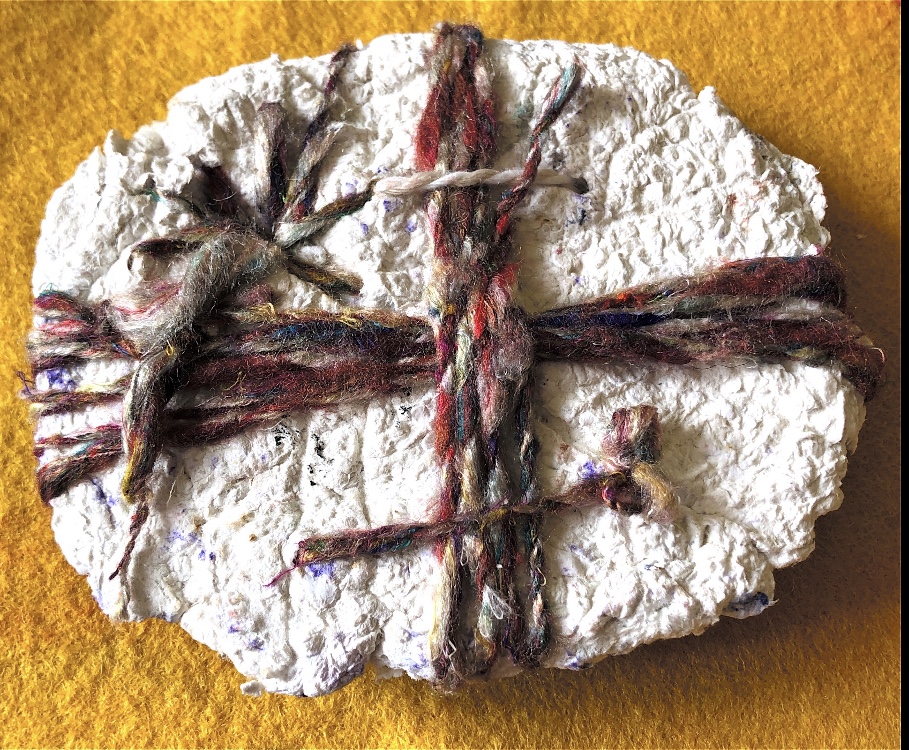
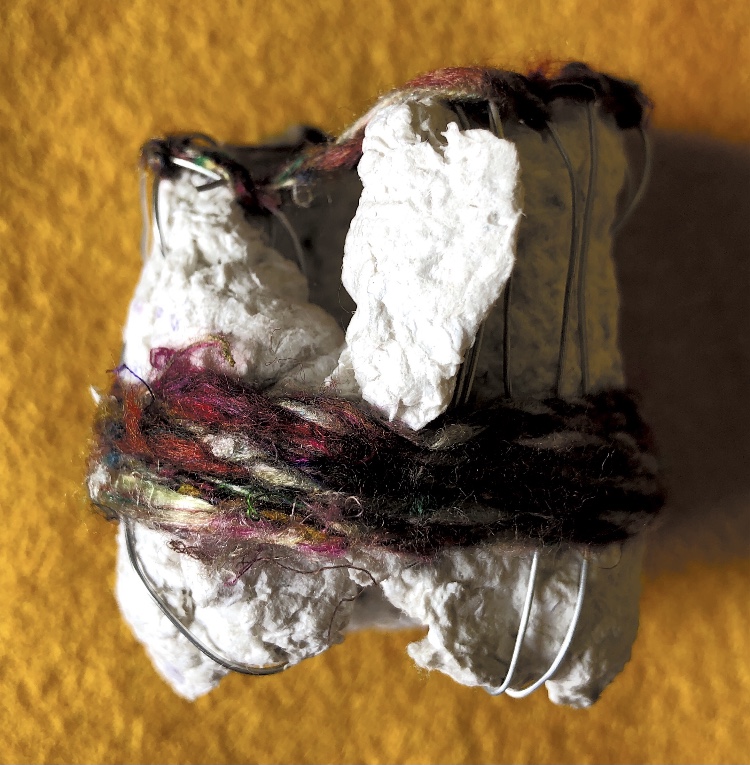
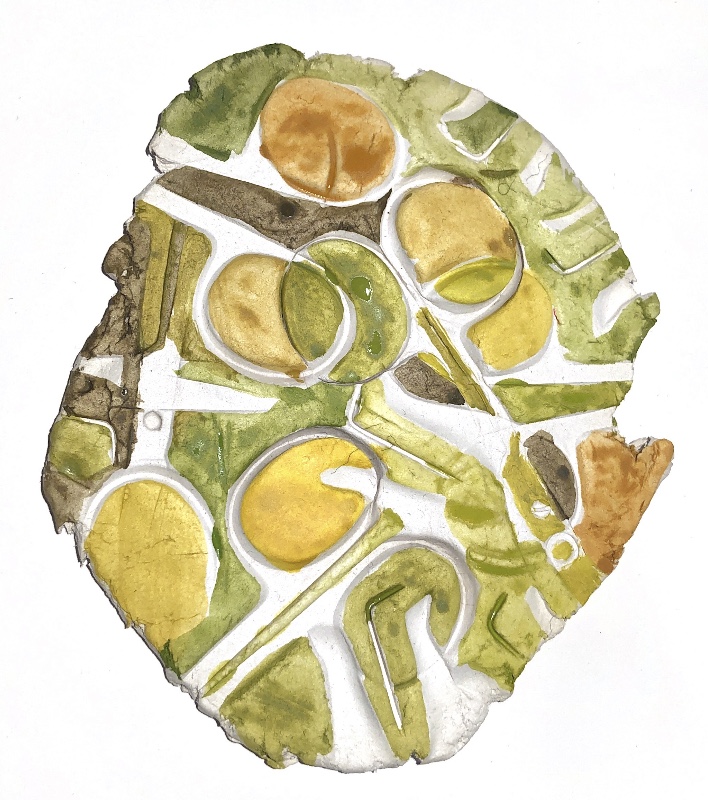
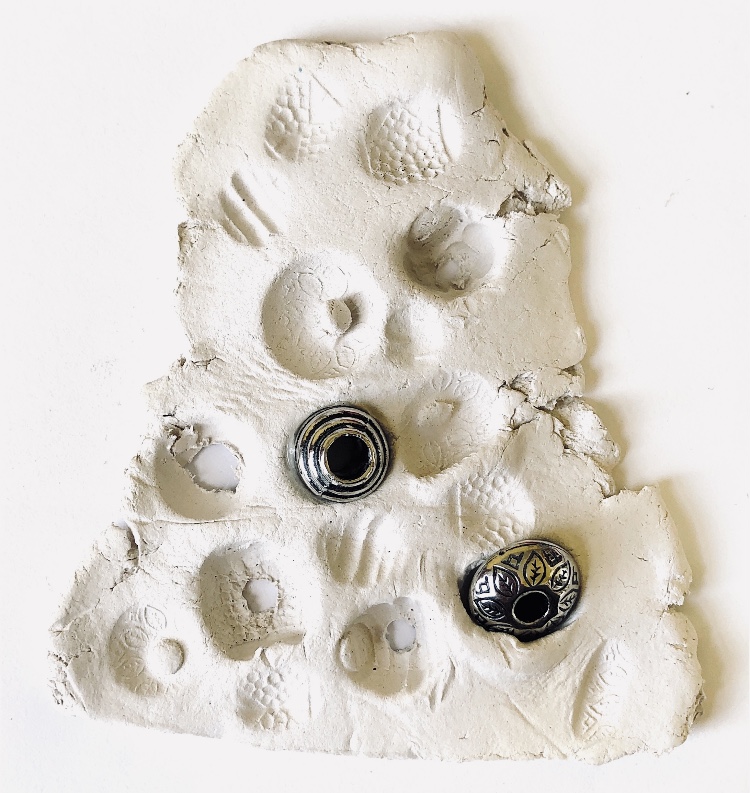
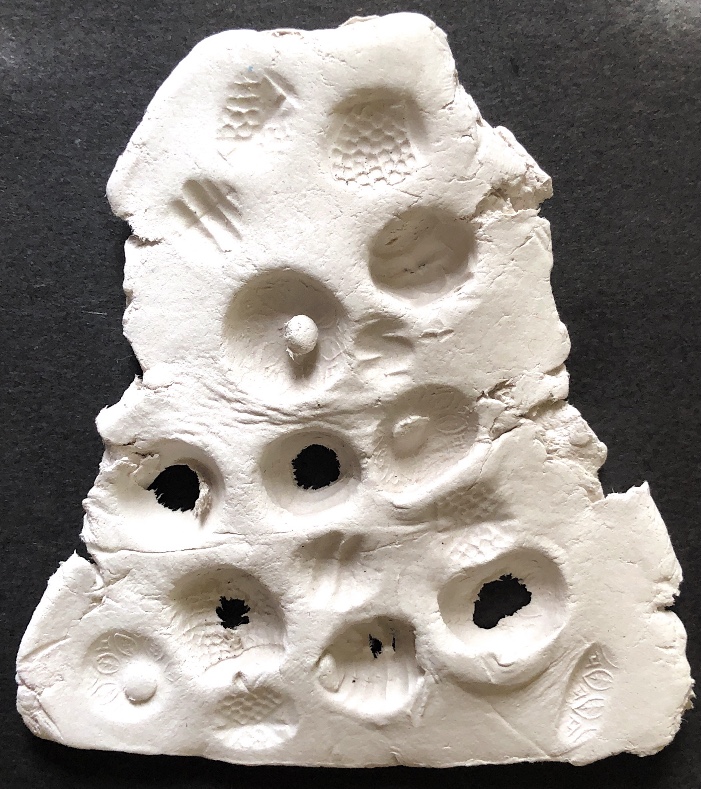
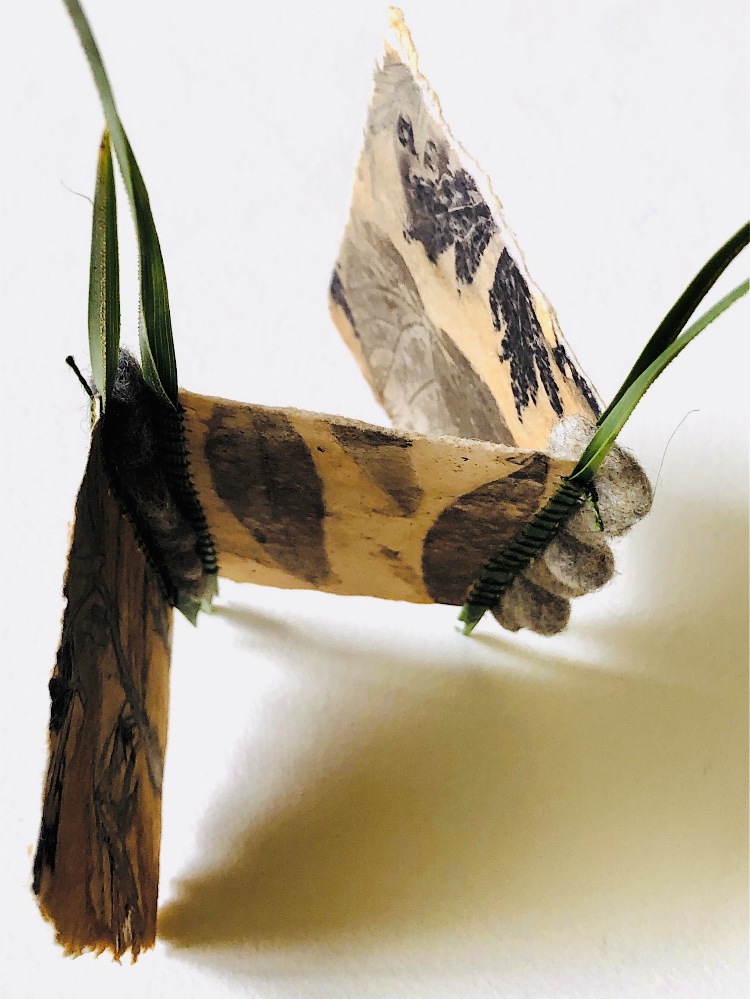
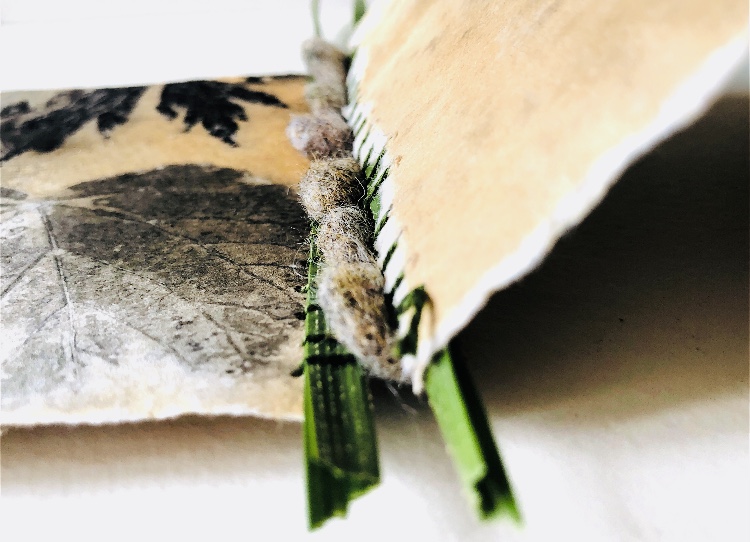
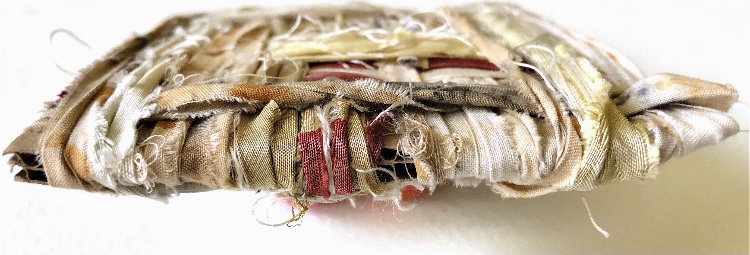
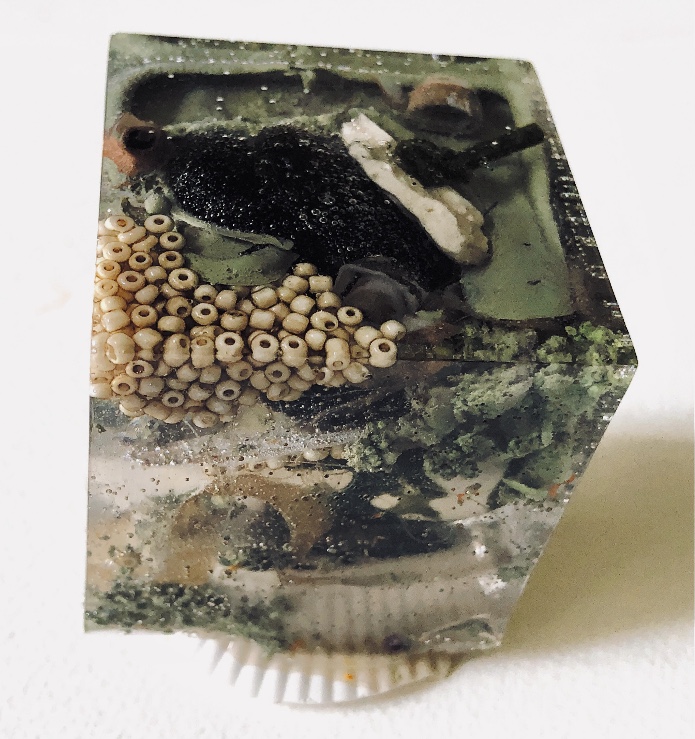
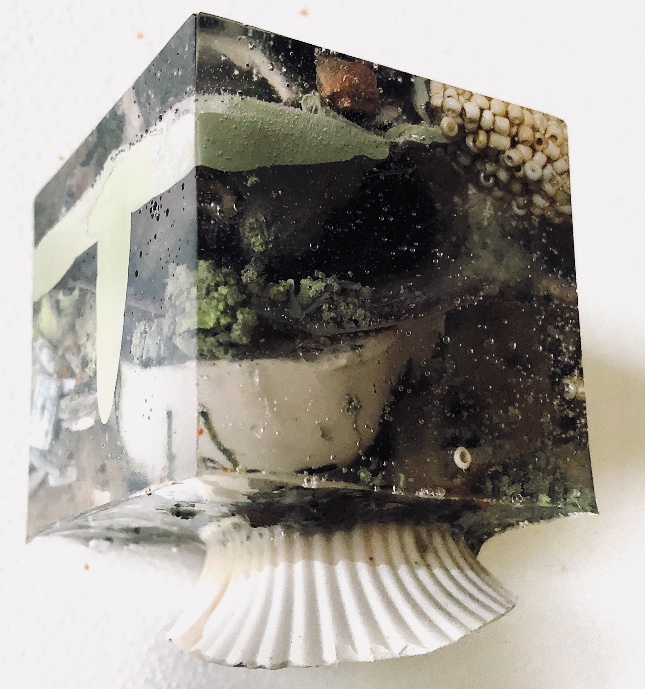
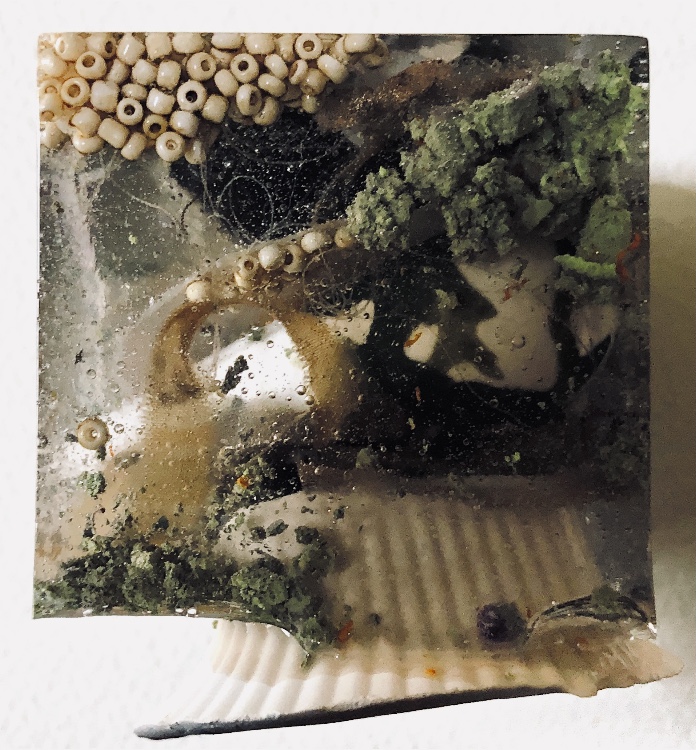
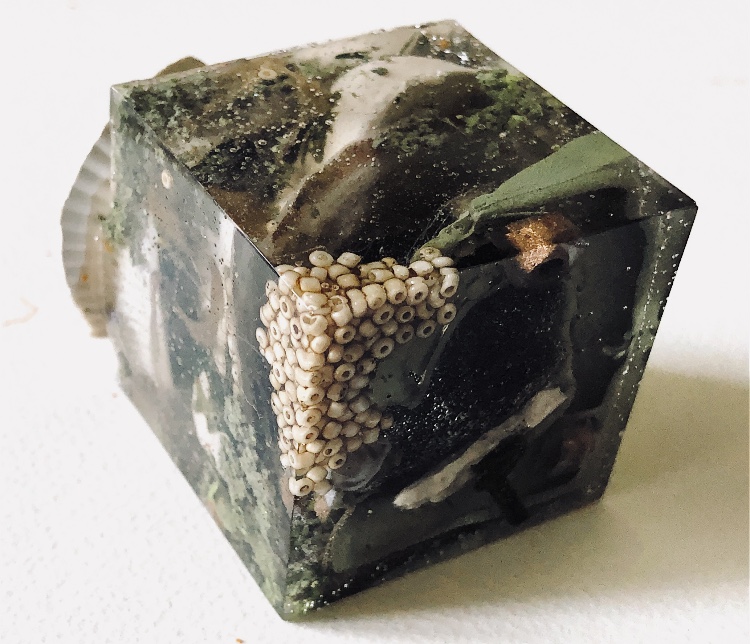
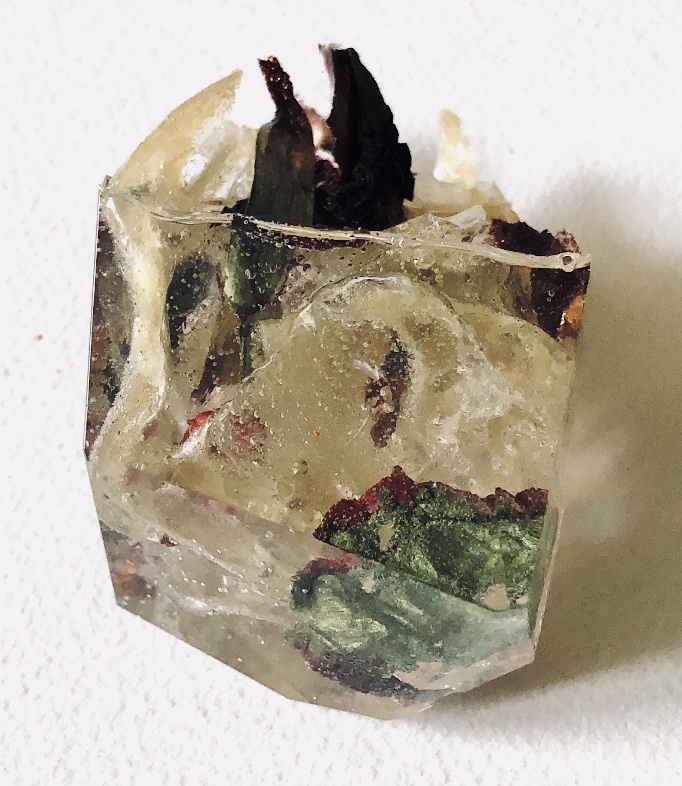
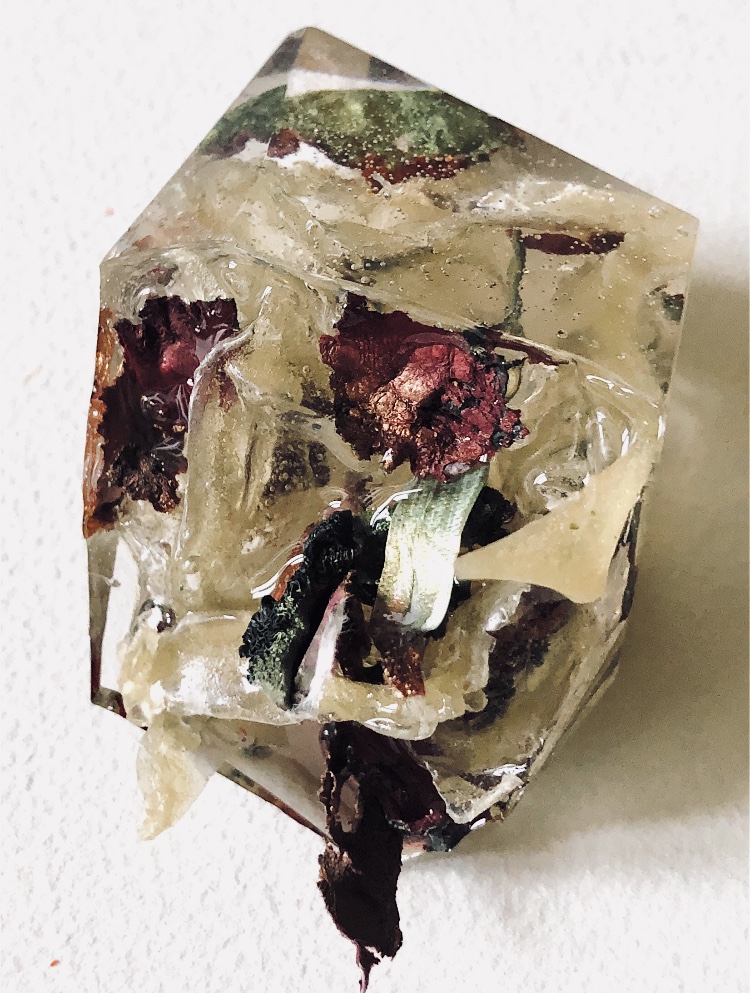
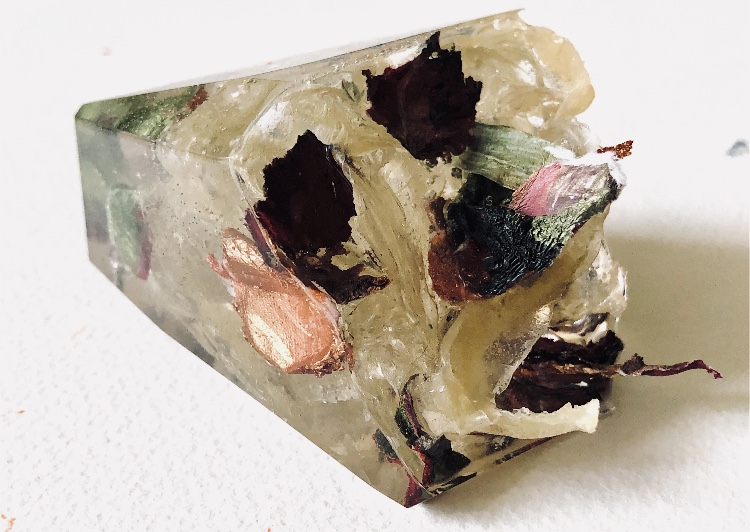
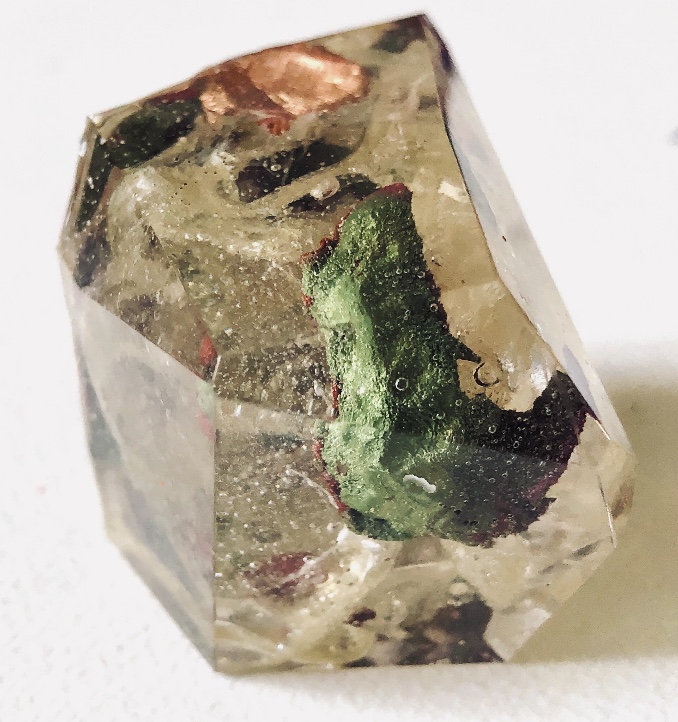
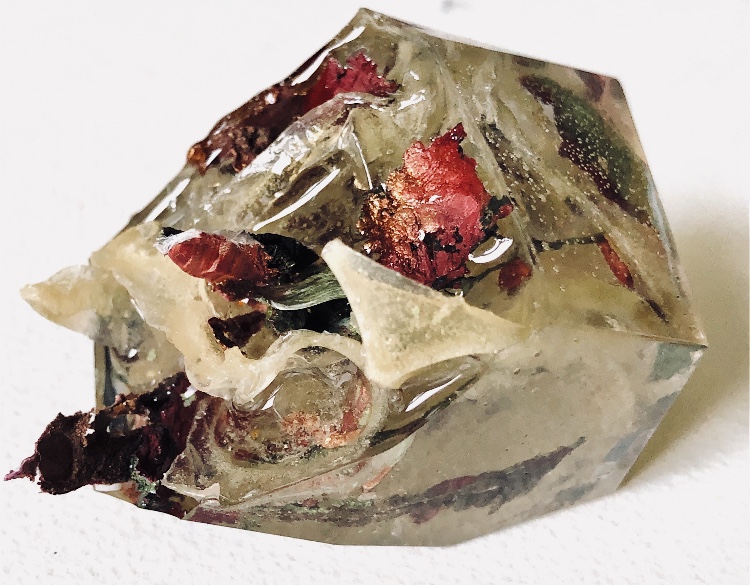
Fig 2. The square mold I filled with beads, plaster of paris shapes, green wax crayon (melted and shaved) fine strips of fabric and felt/plaster stacks tied with cord. I added in a plaster shape as a stand so that the cube stands at an angle off of the surface. This has a feel of the forest – underfoot. It it like a view underground of moss, pebbles. rocks and buried treasure, or maybe a rockpool – especially as the bubbles can be clearly seen in this sample.

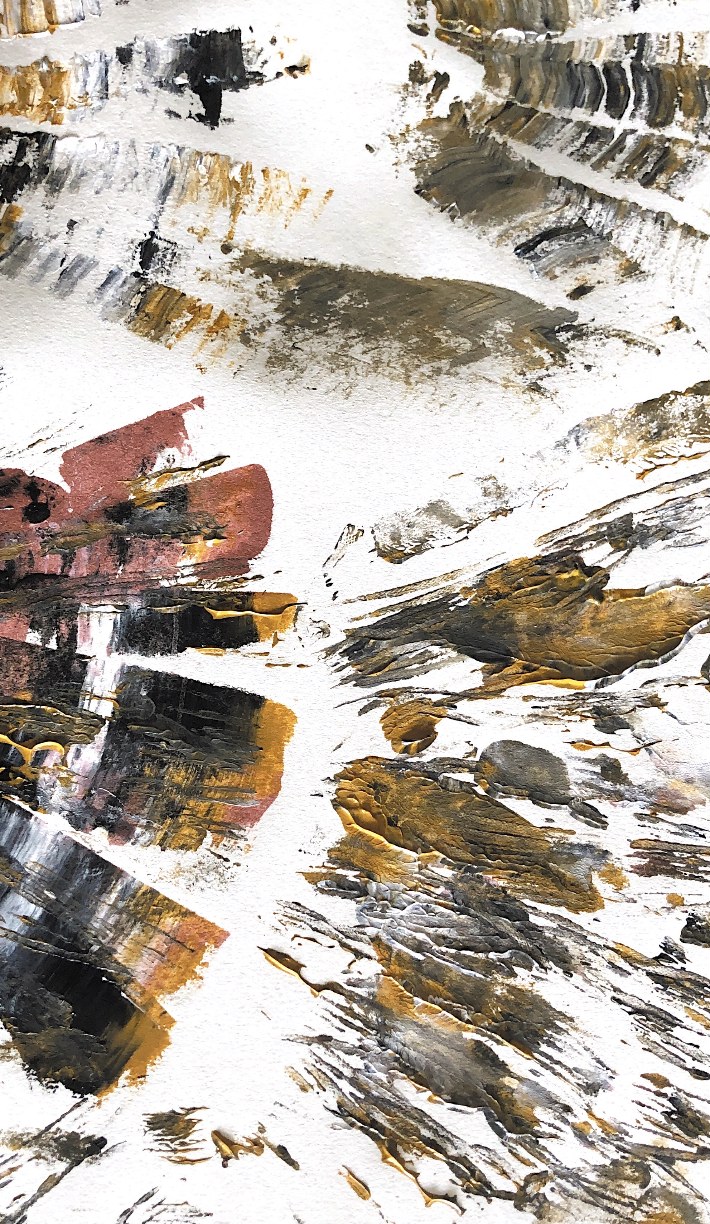
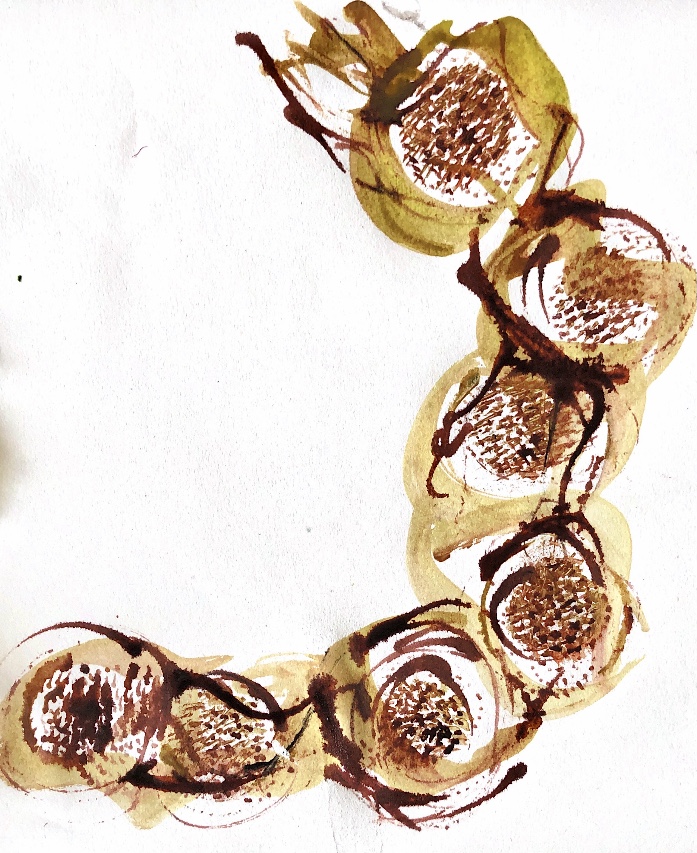
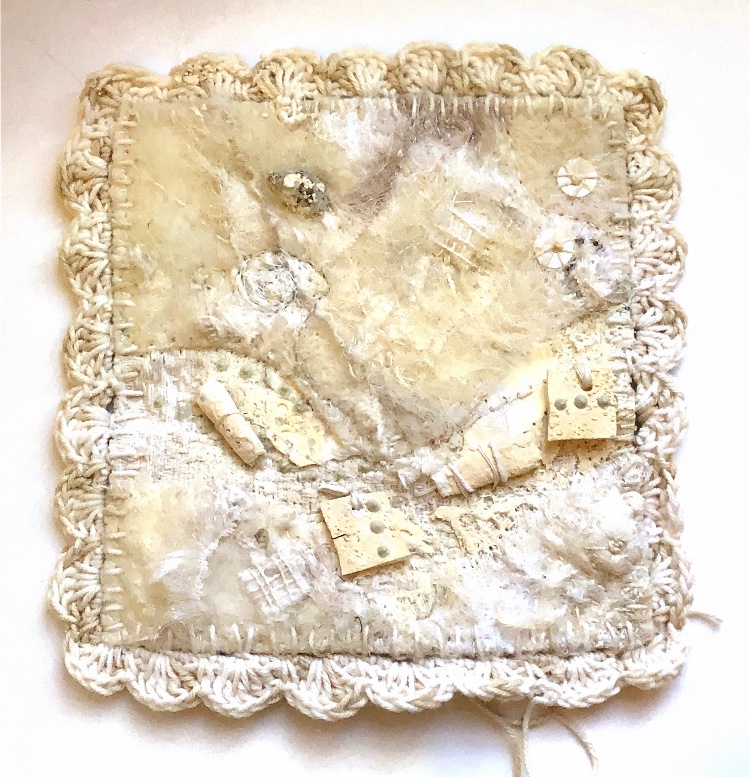
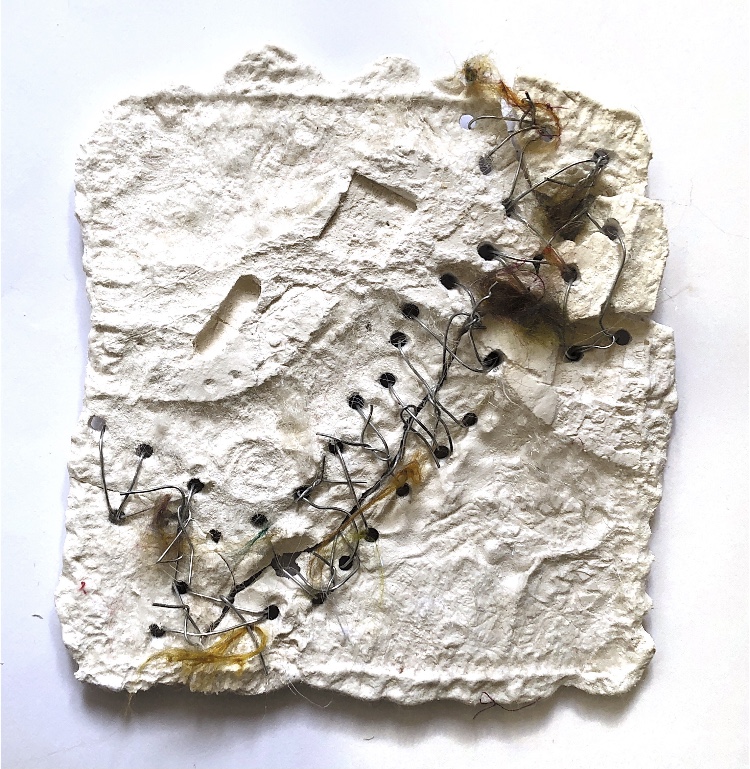
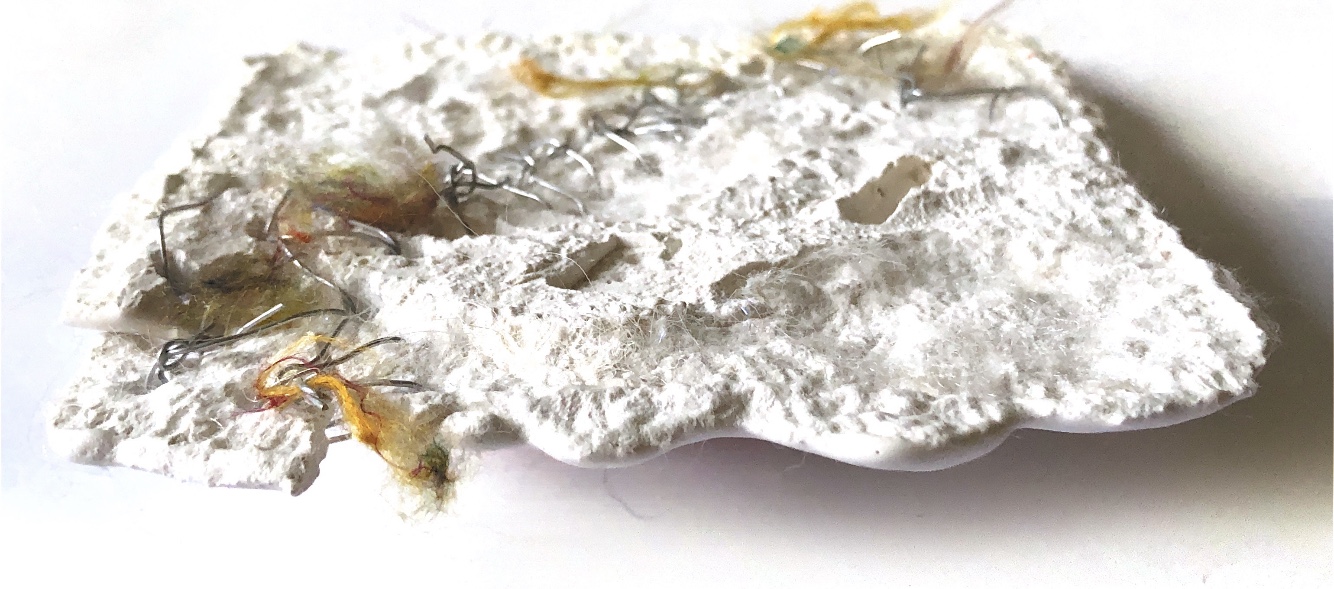
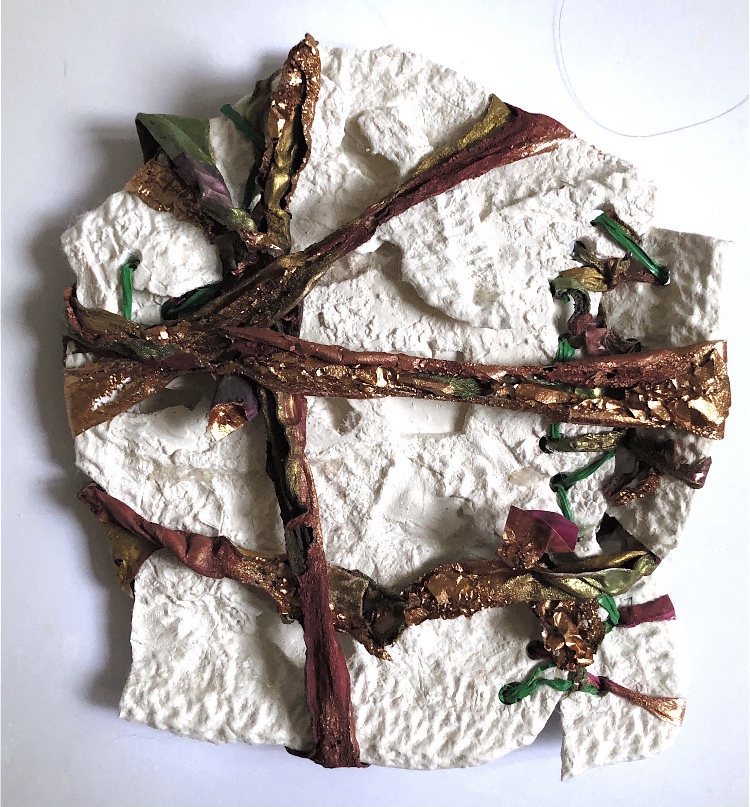
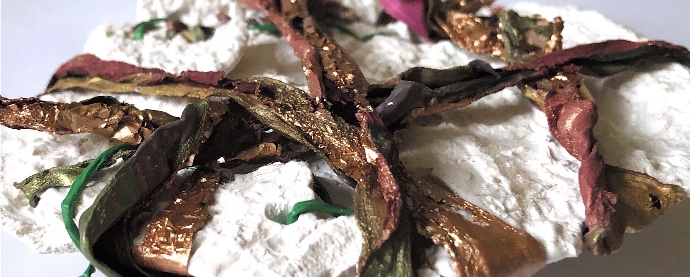
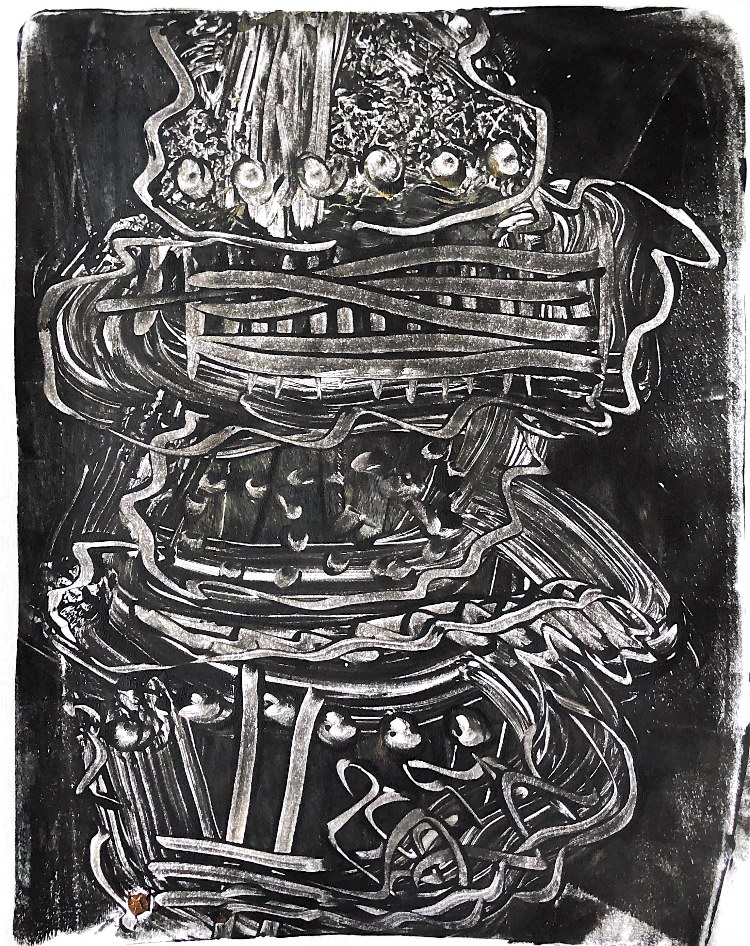
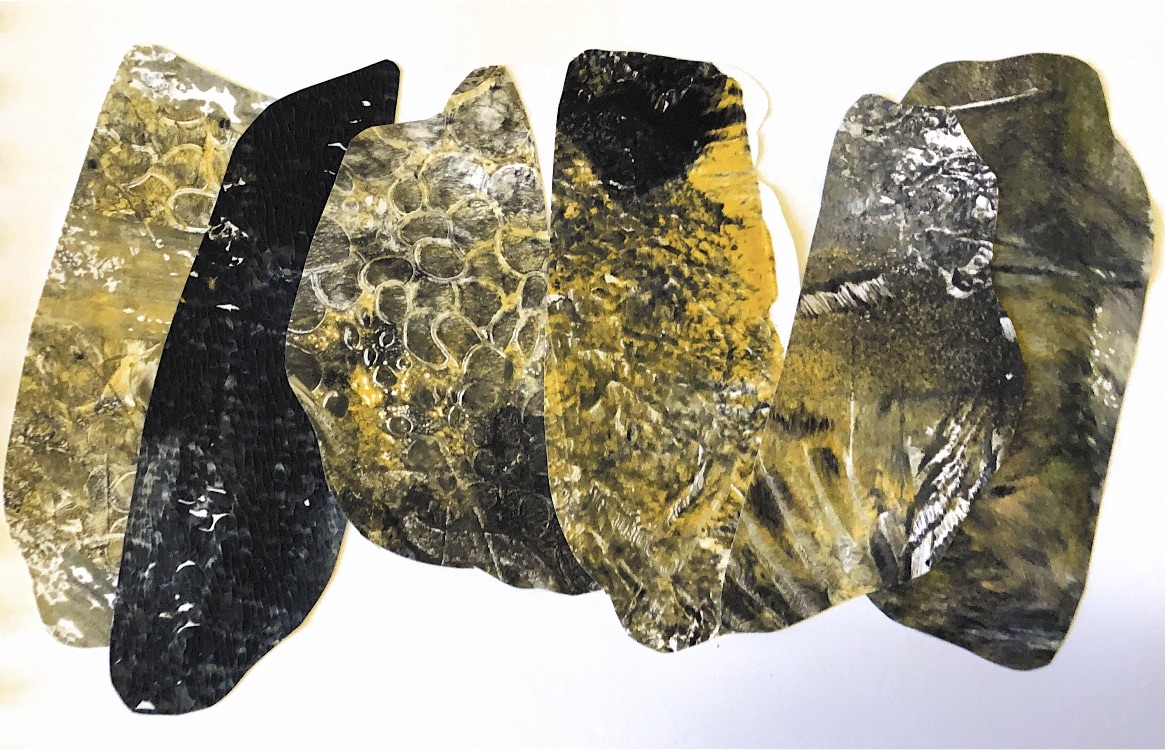
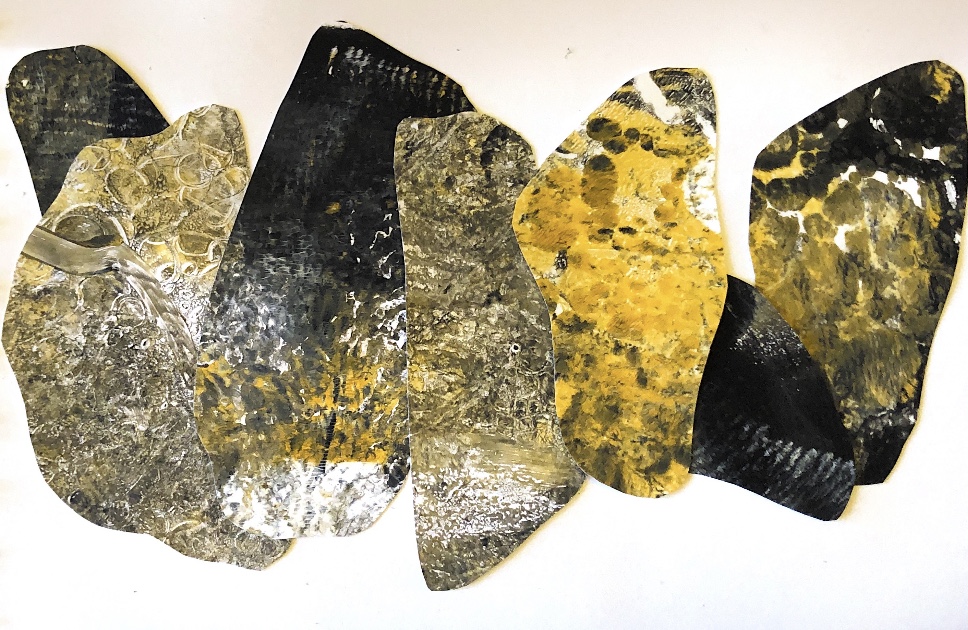
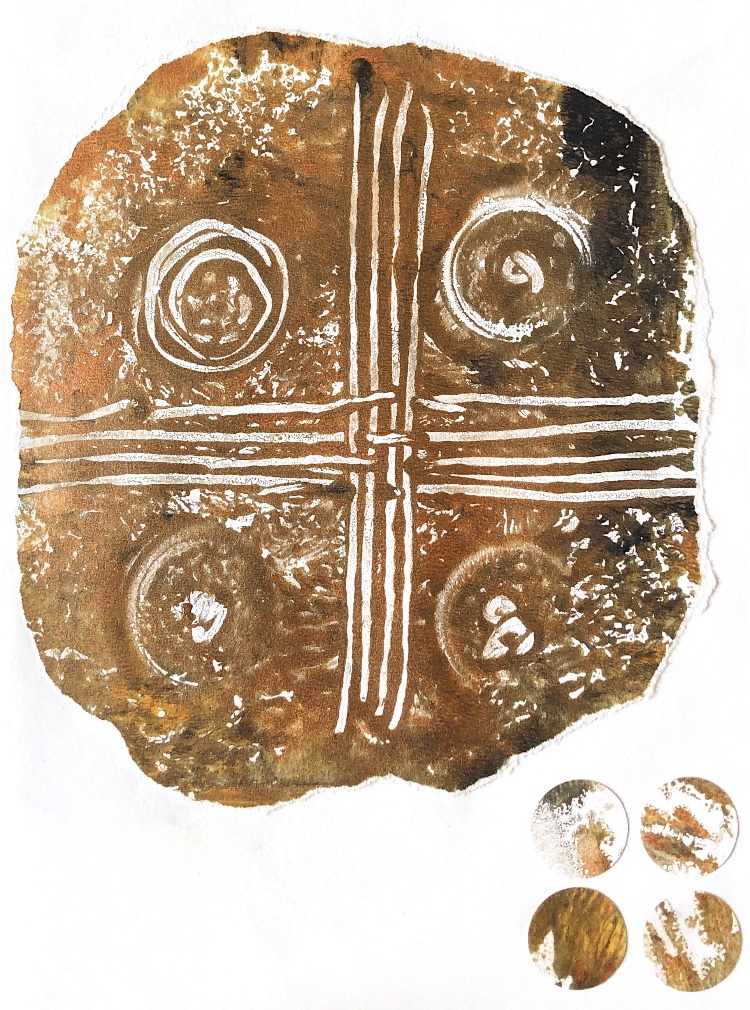
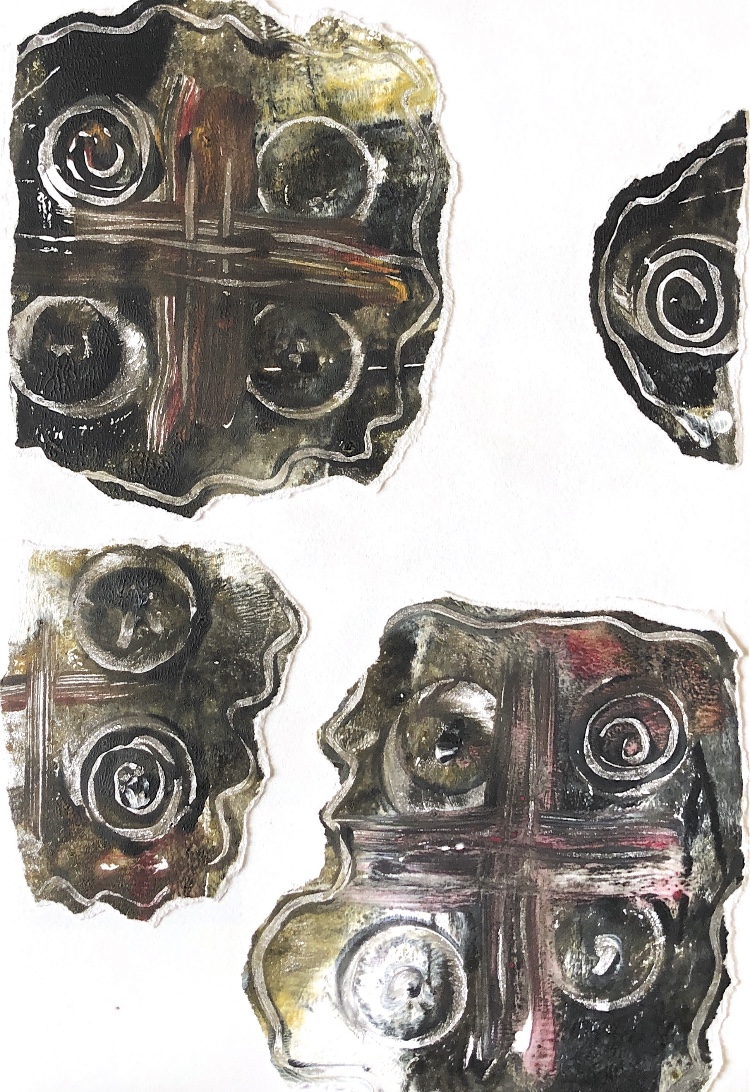
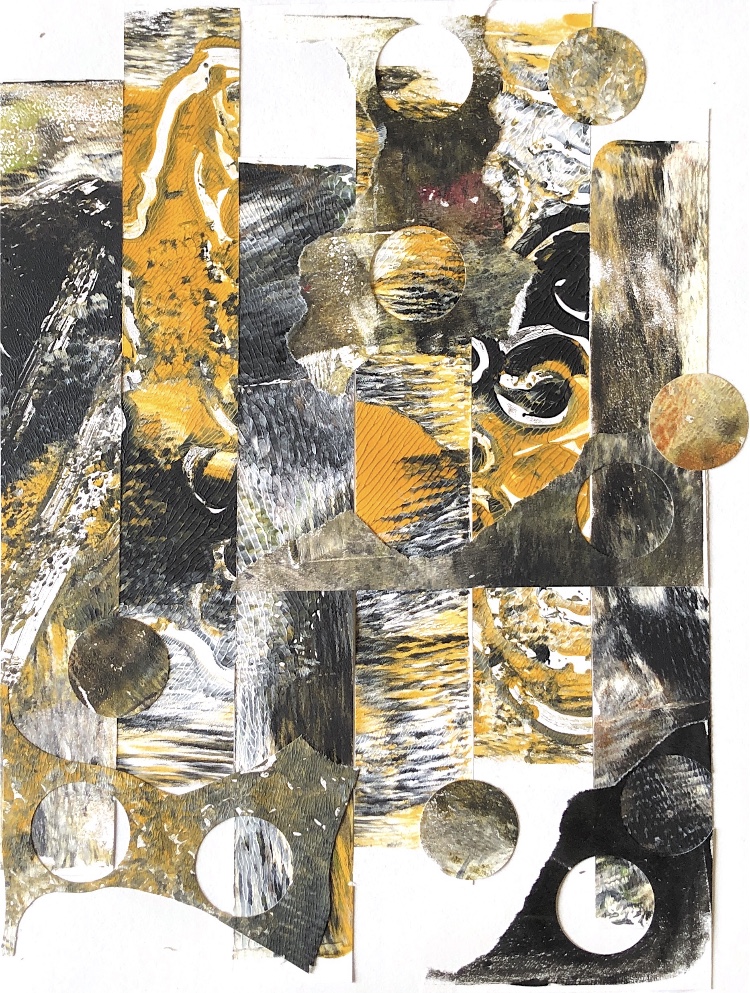
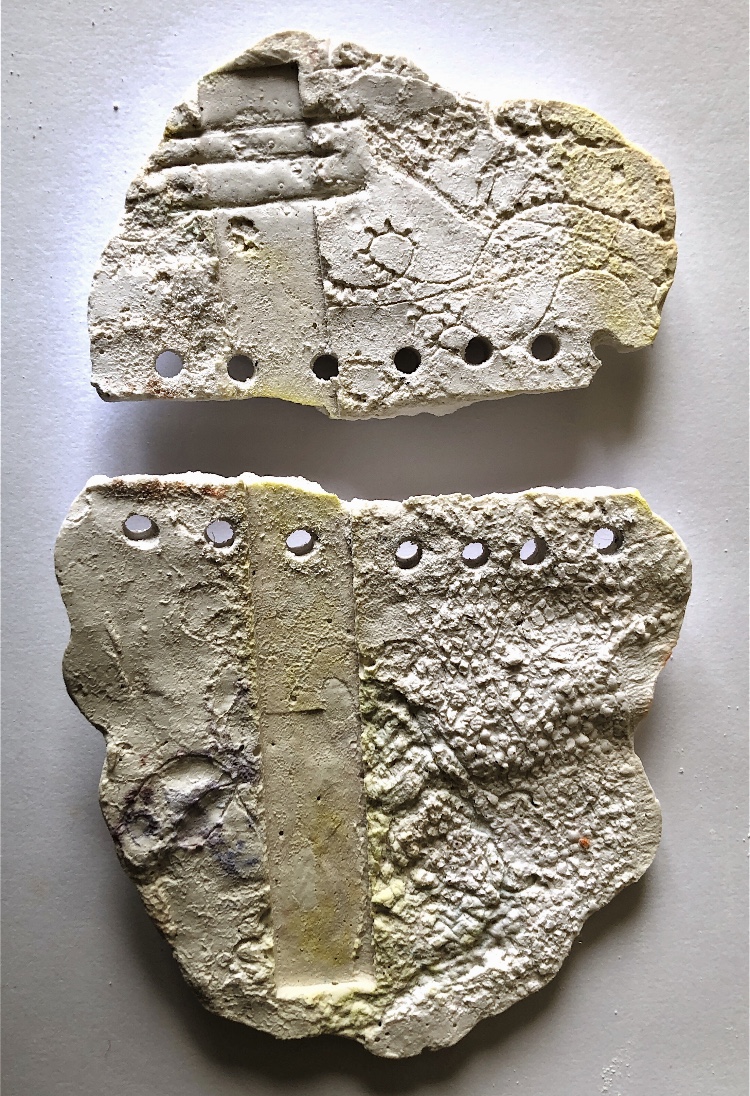
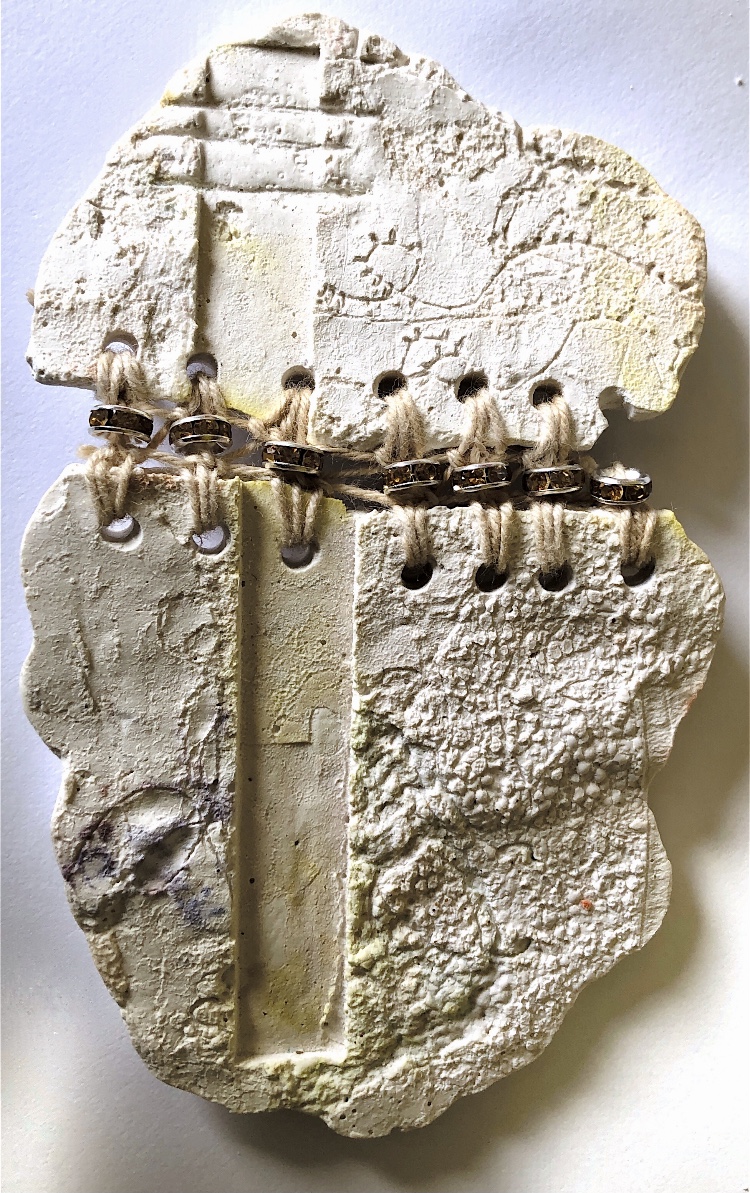
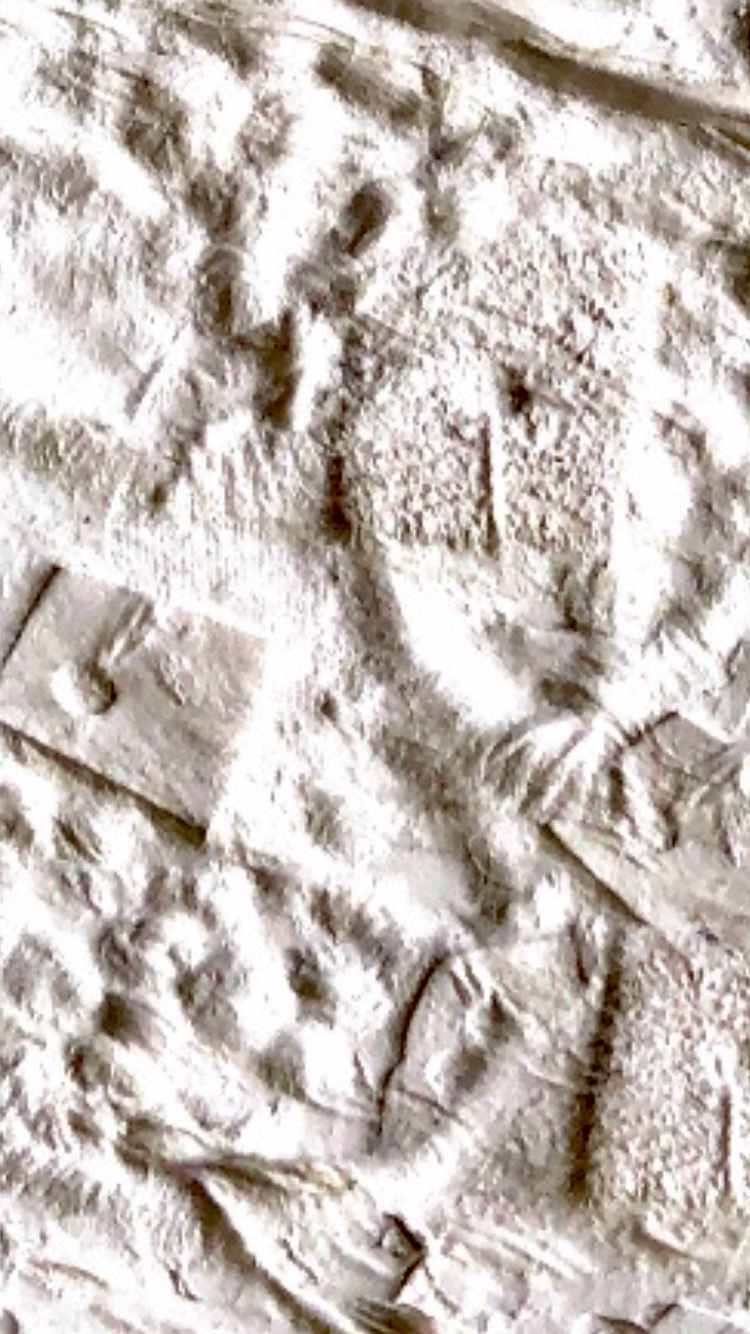
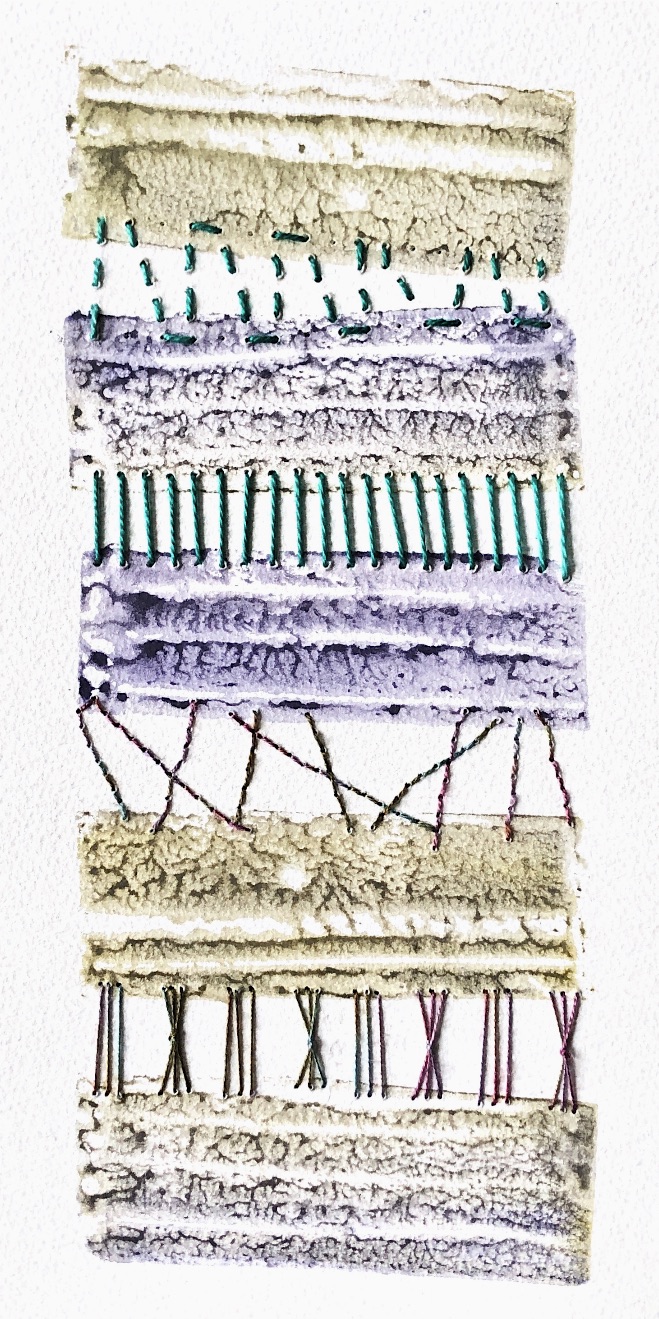
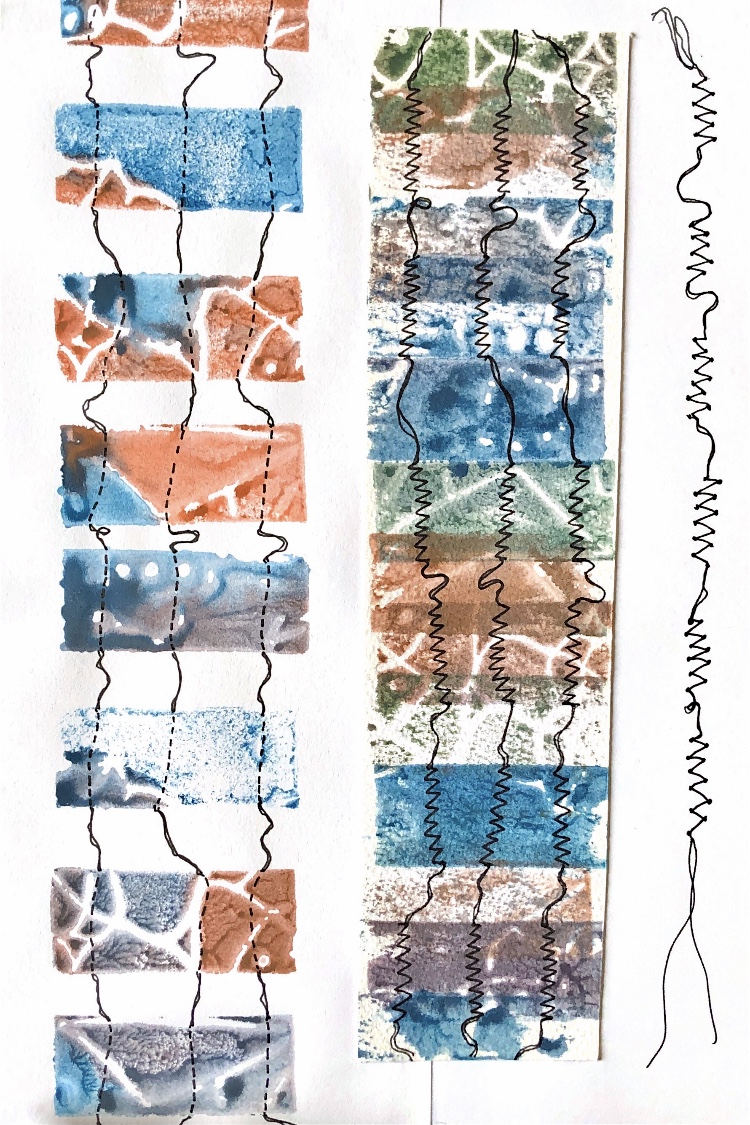
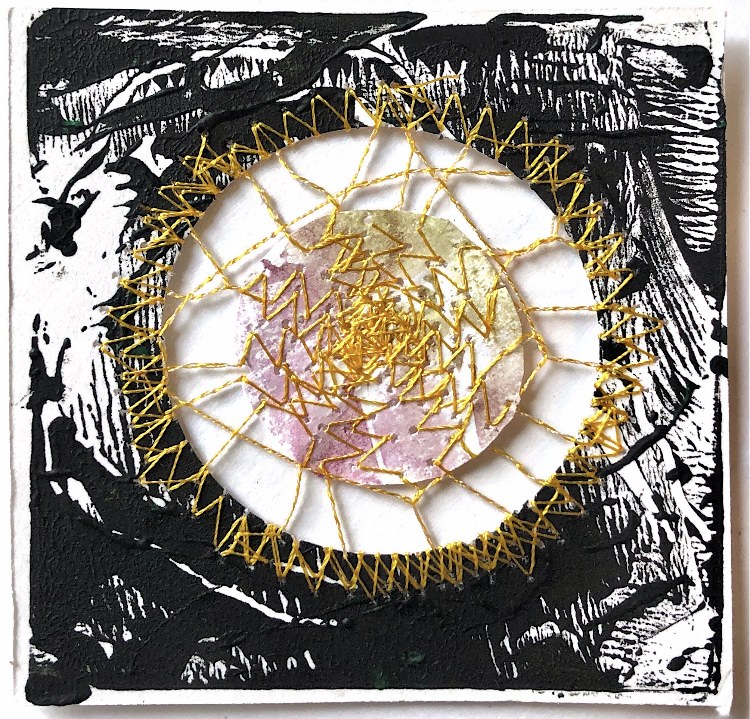
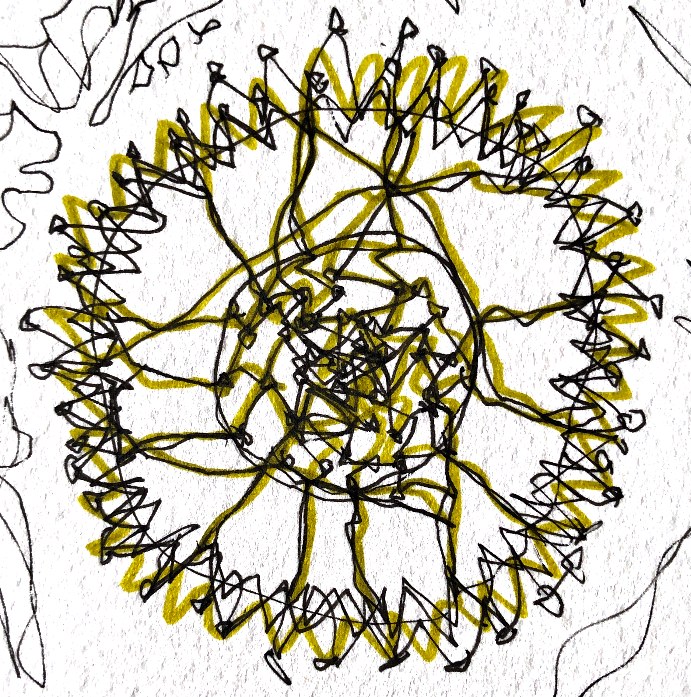
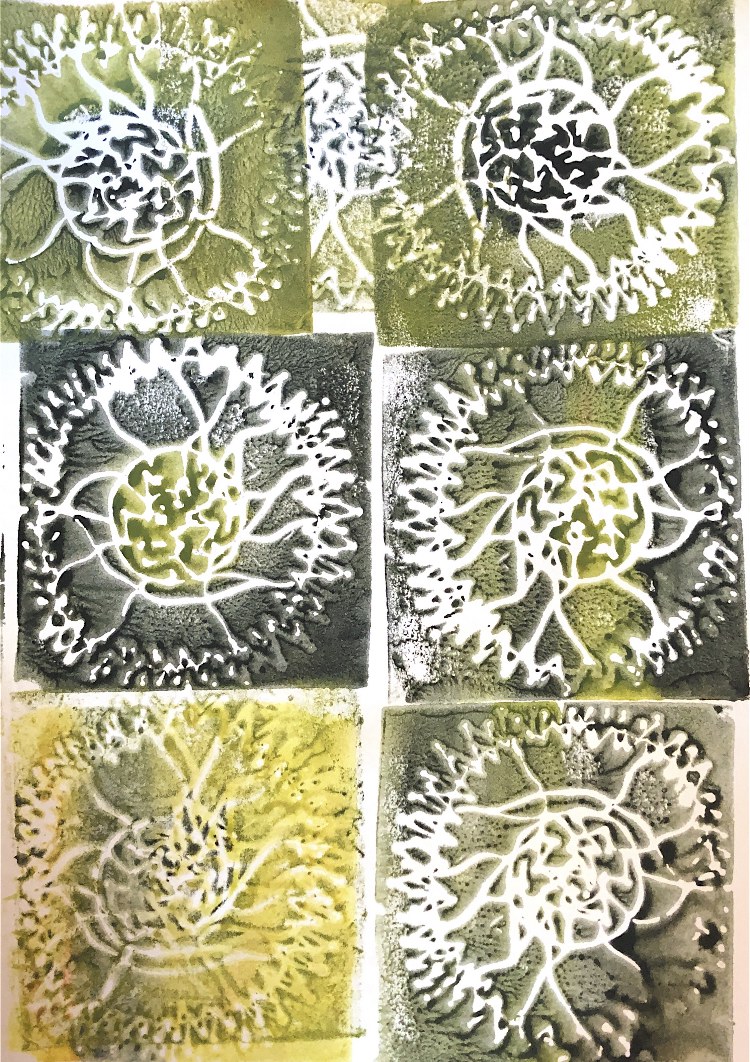
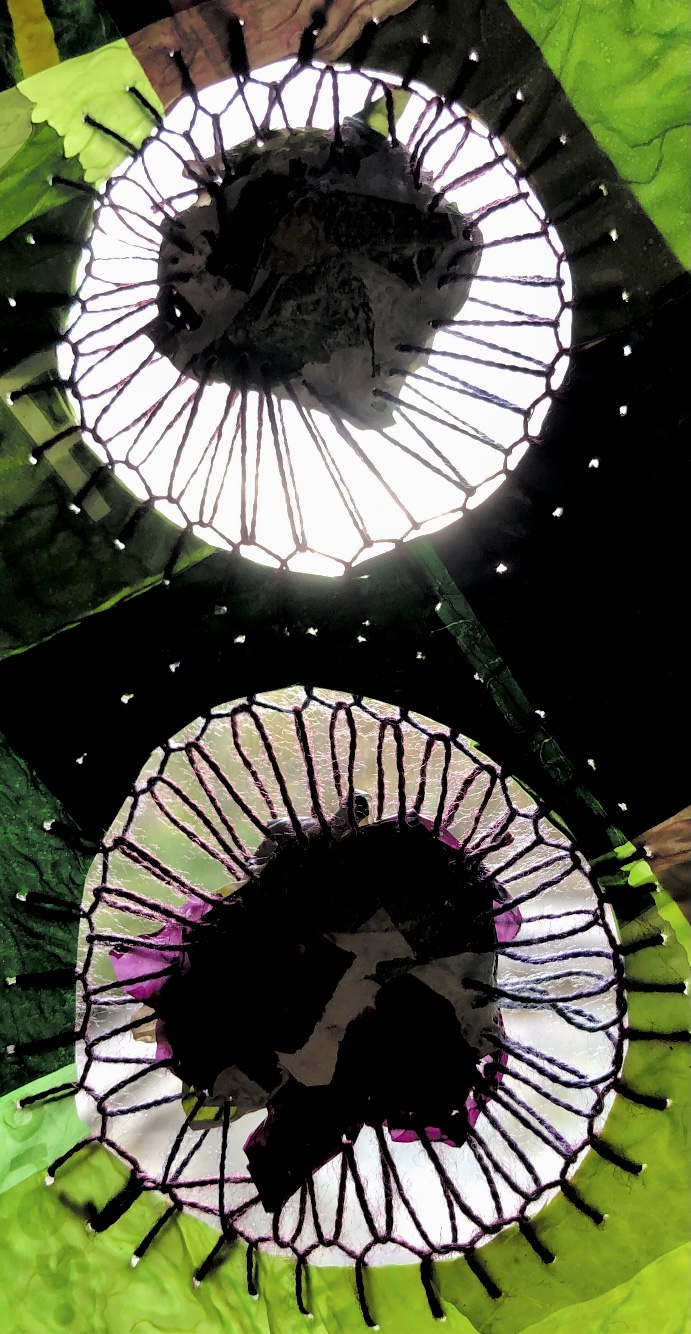
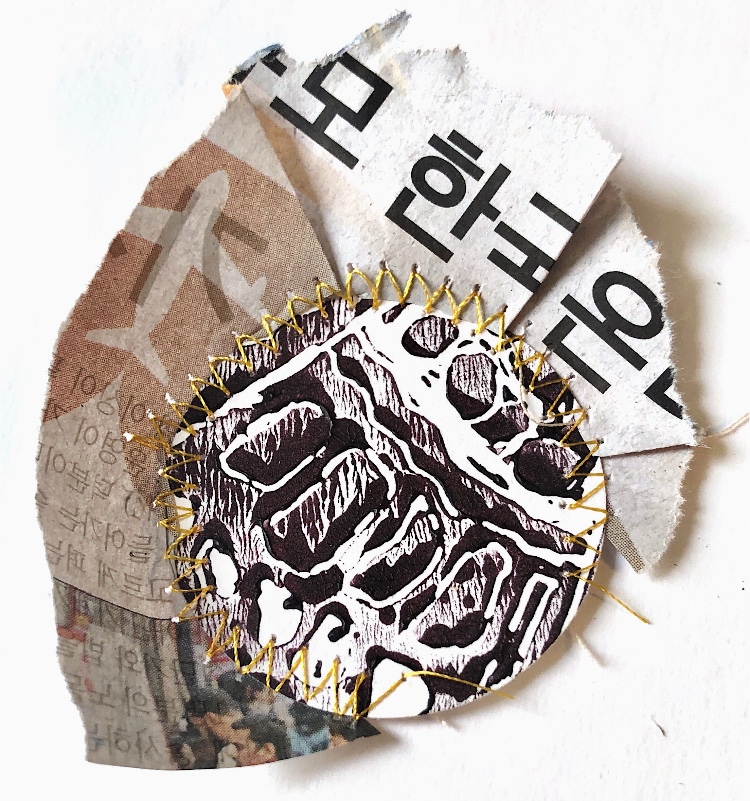
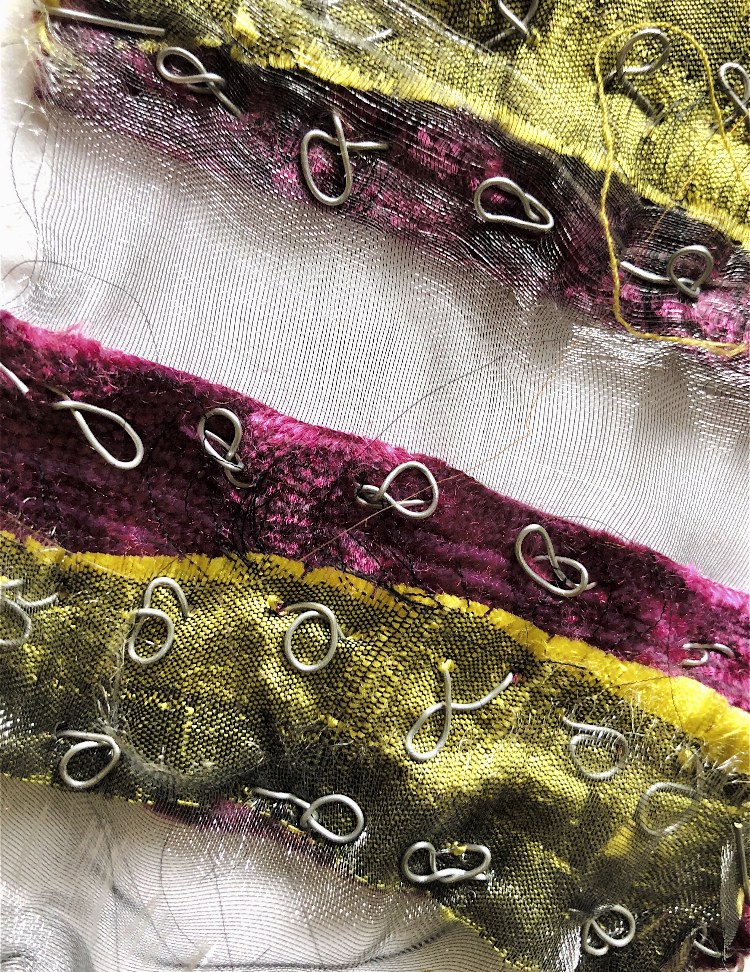
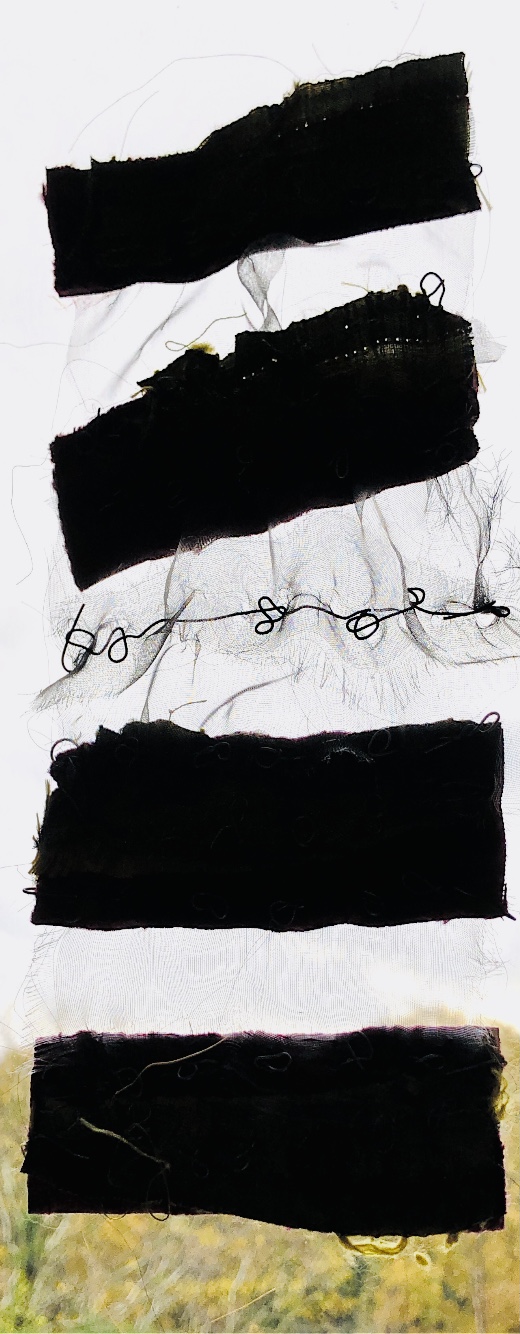
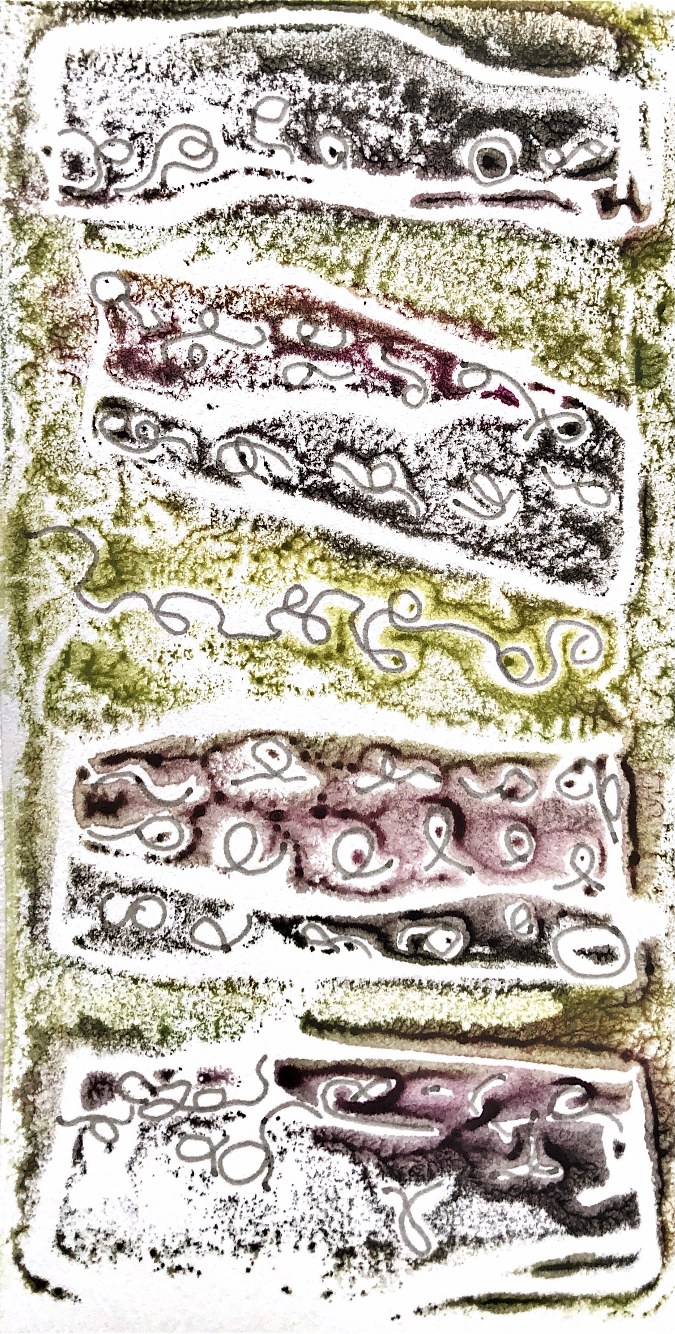
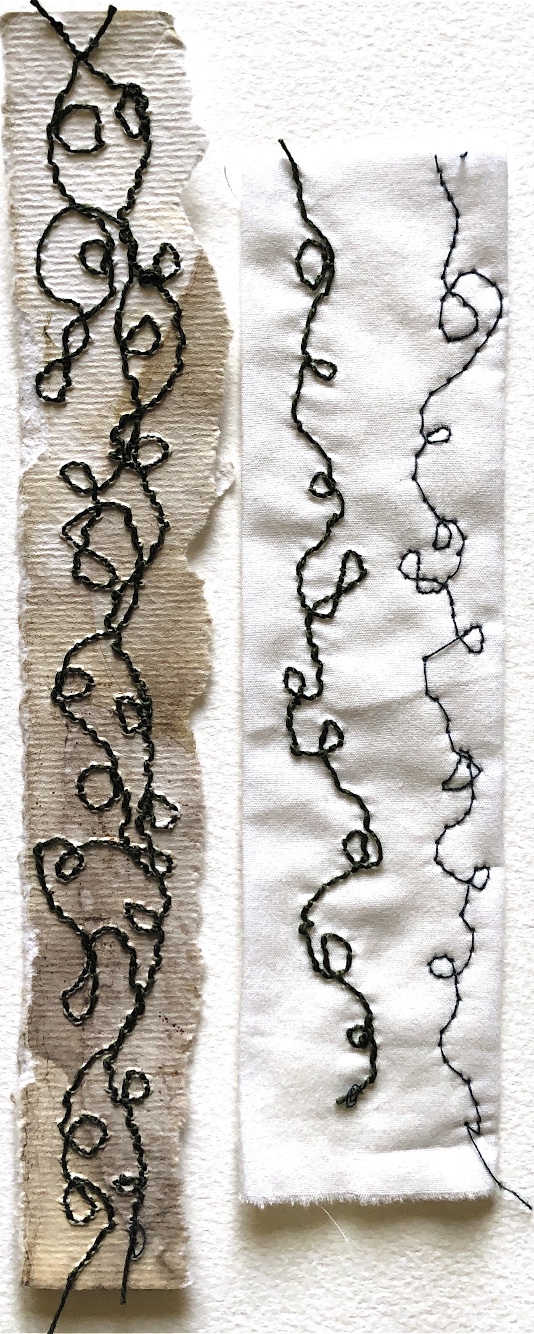
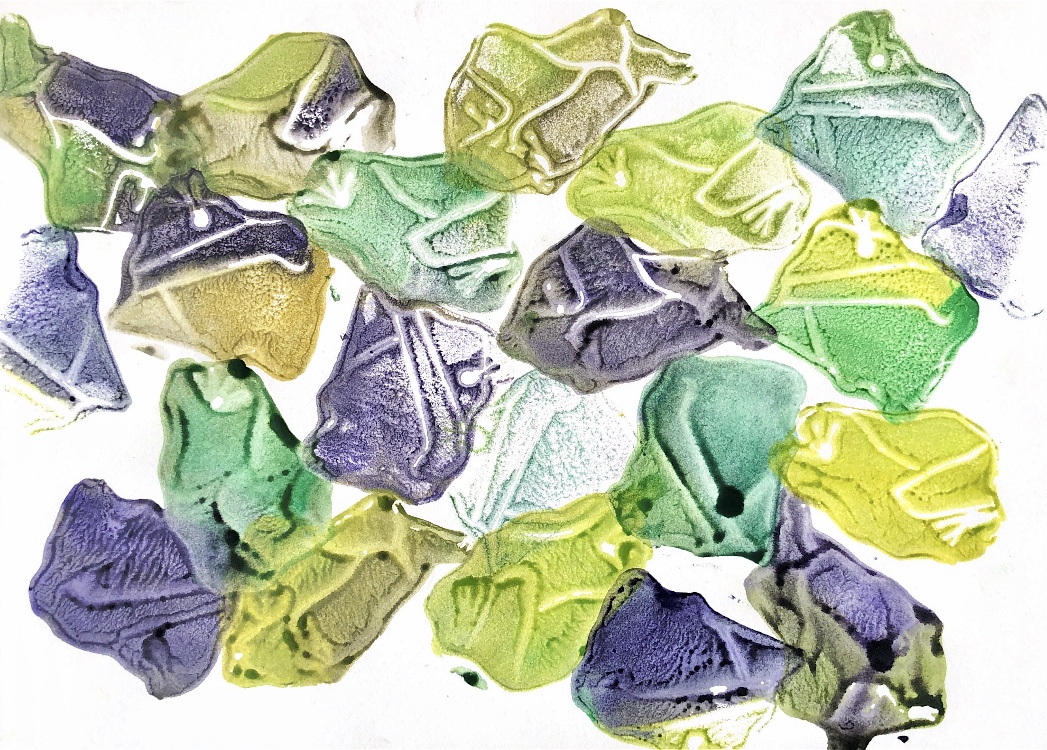
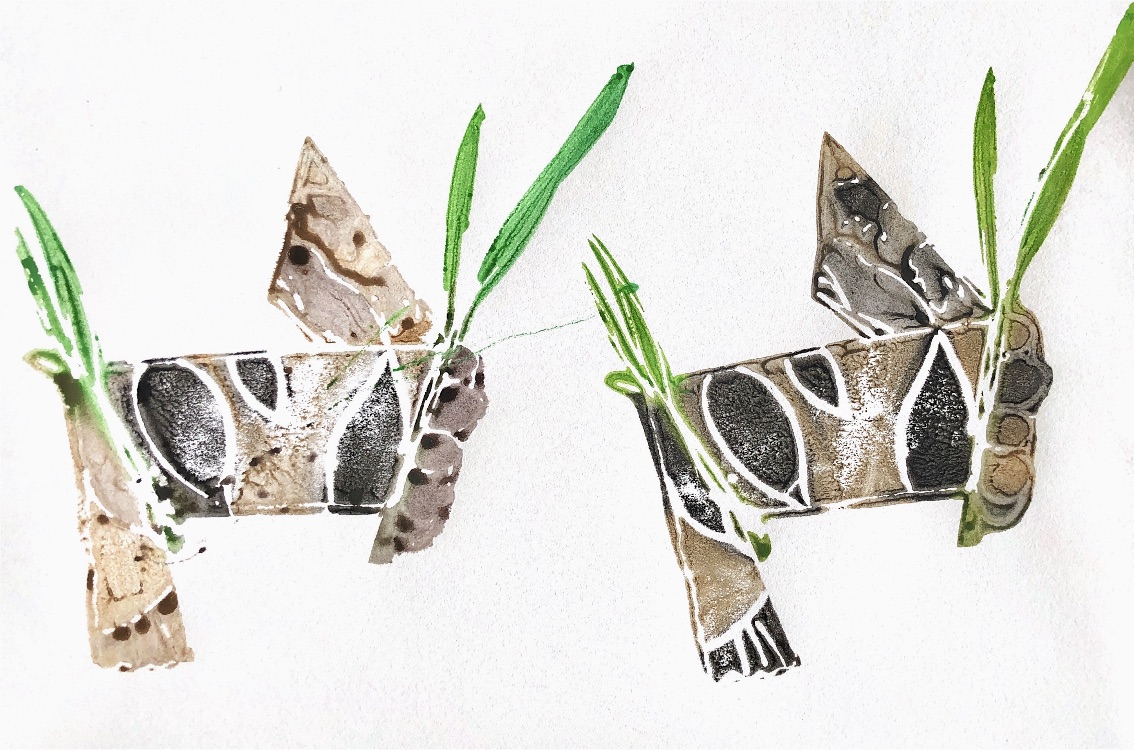
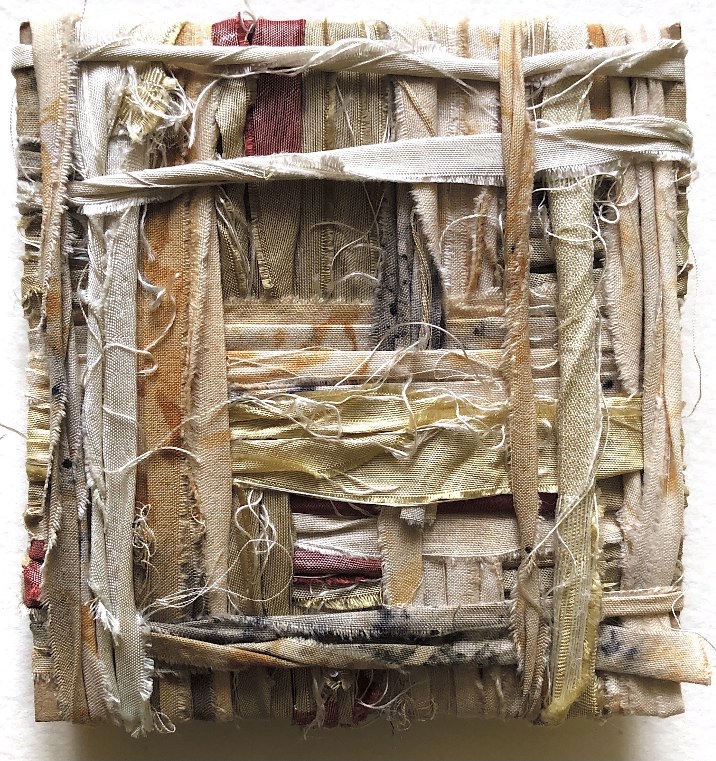
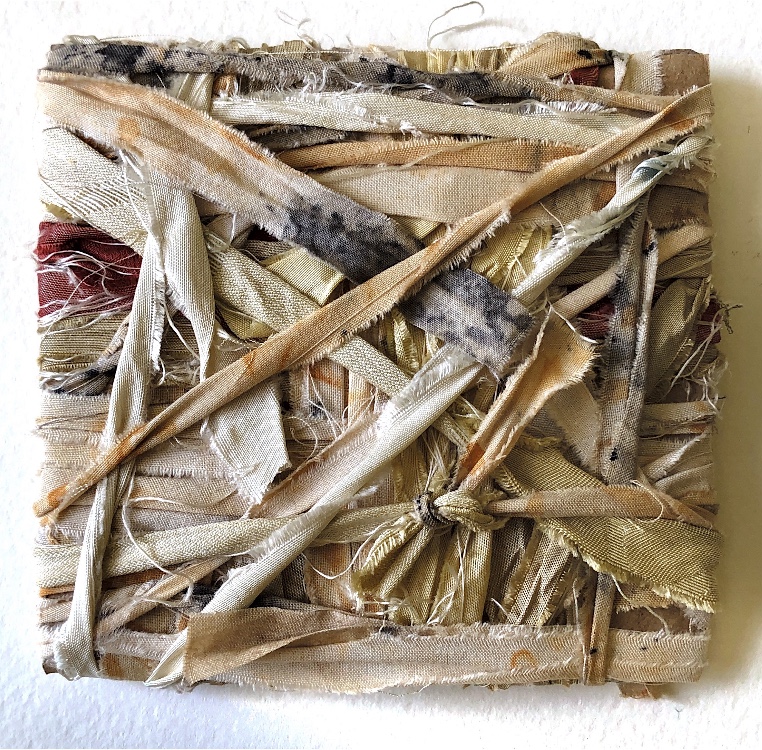
Collage papers painted. Squares cut out – hand and machine stitched.

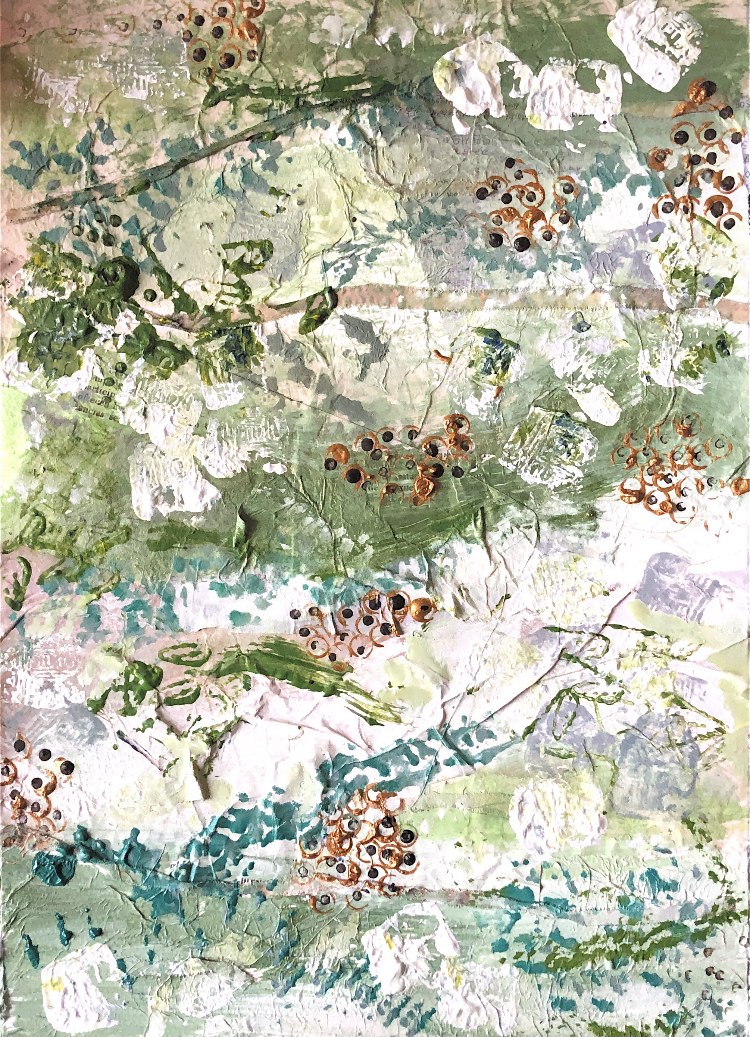
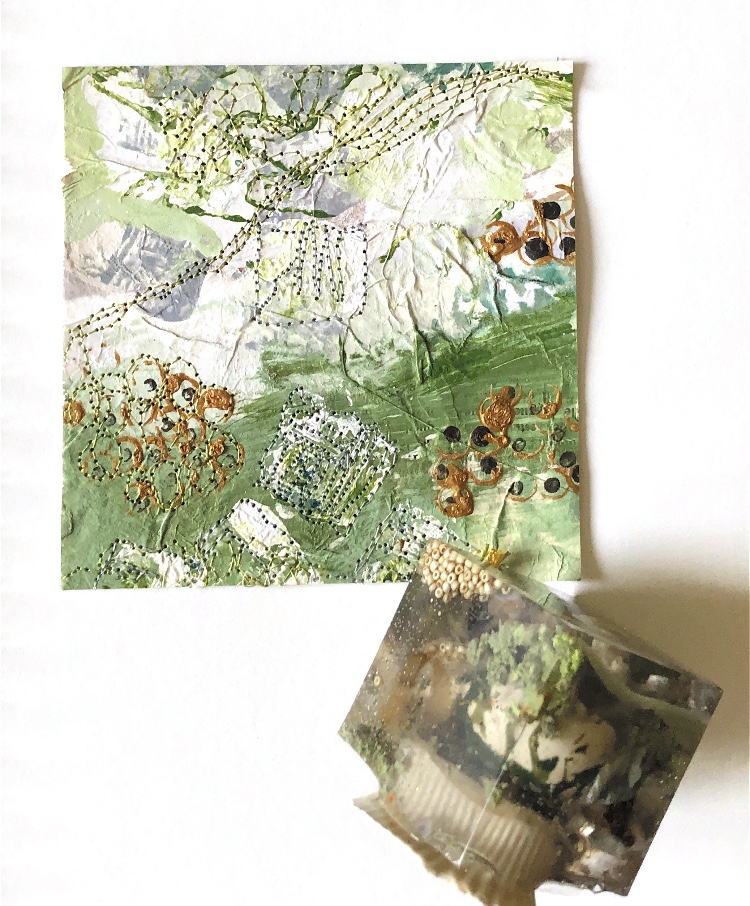
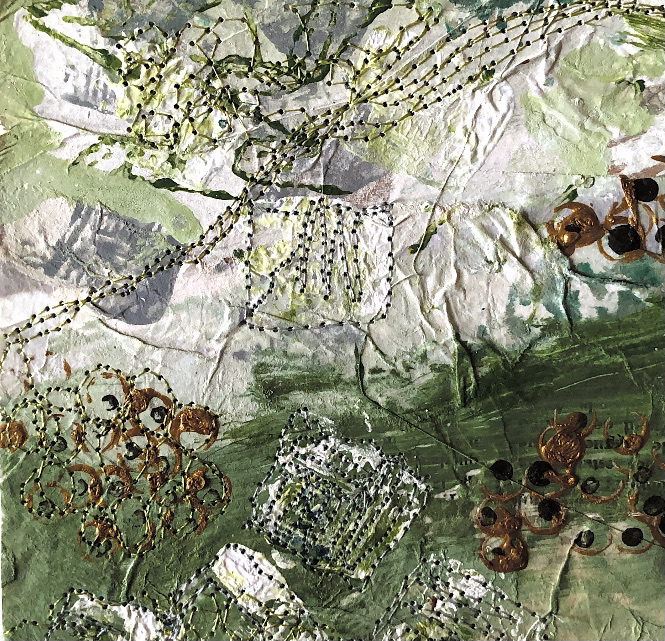
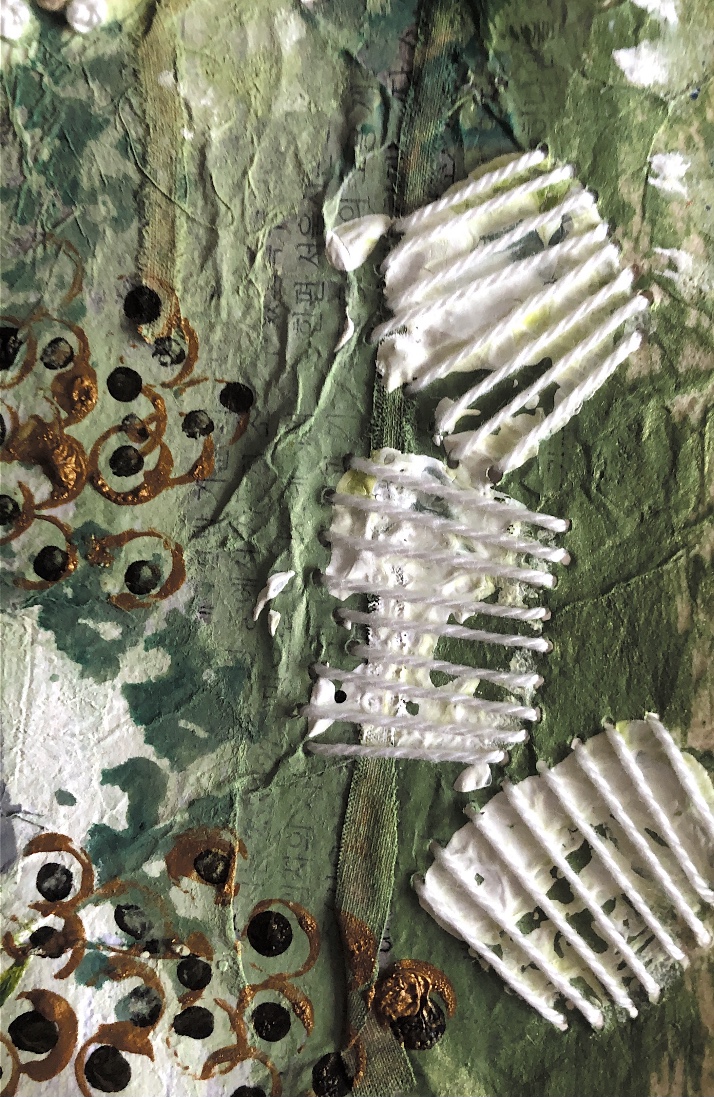
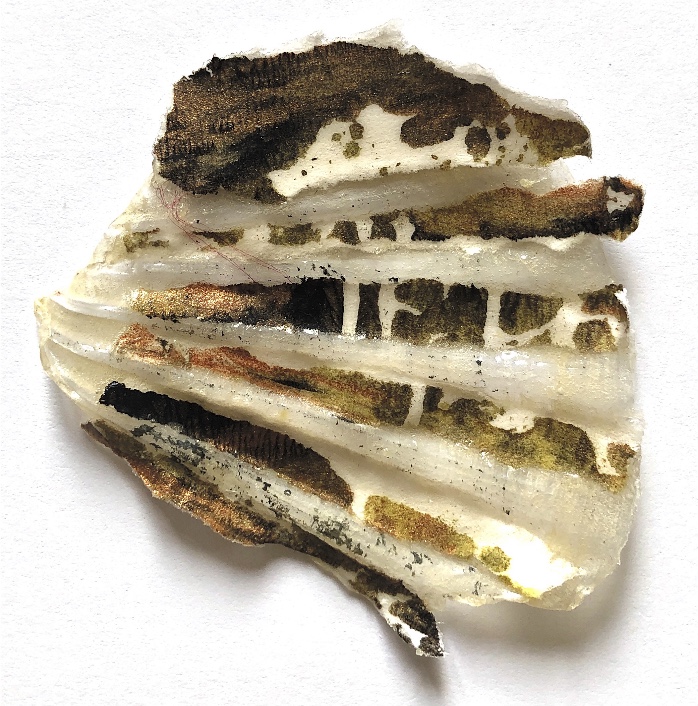
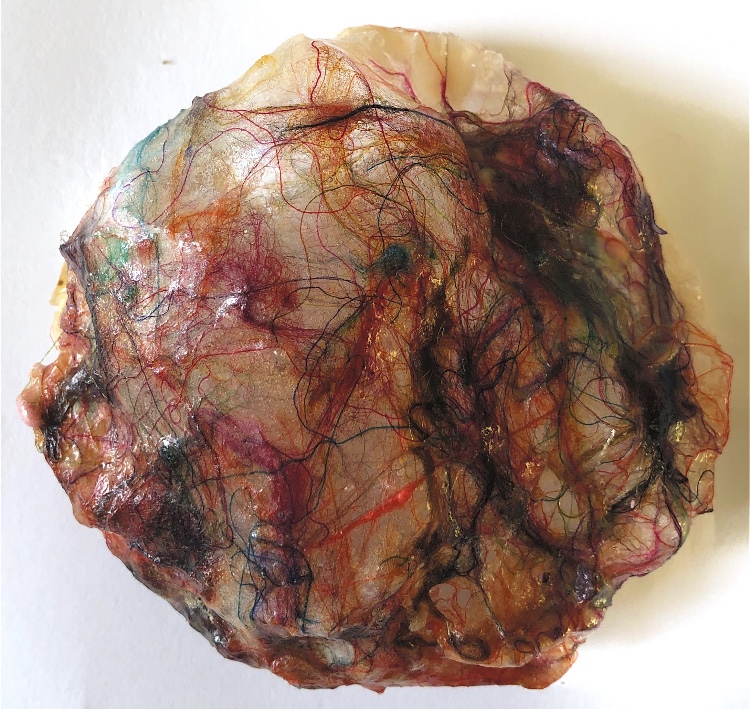
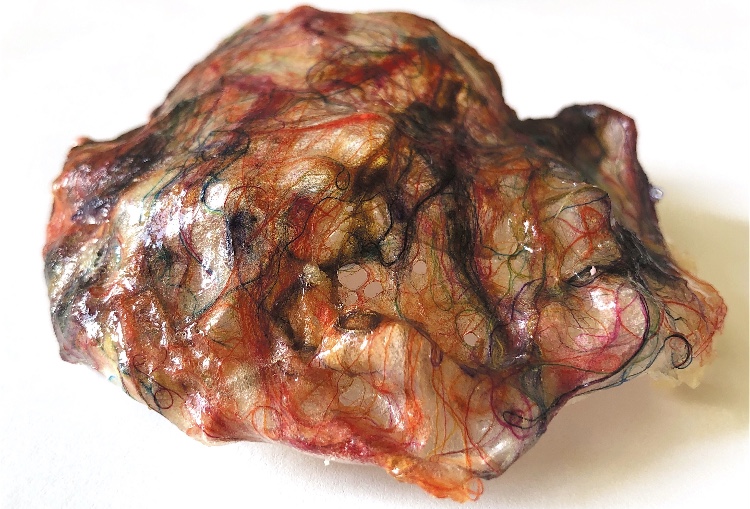
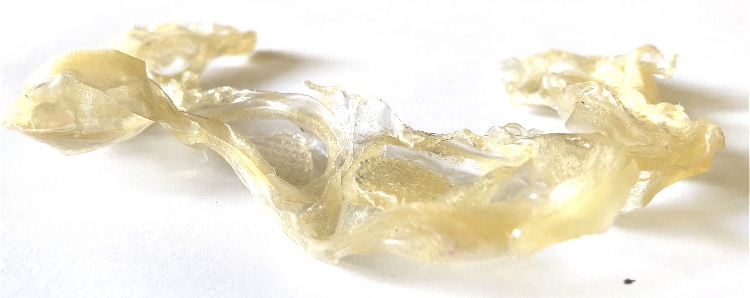
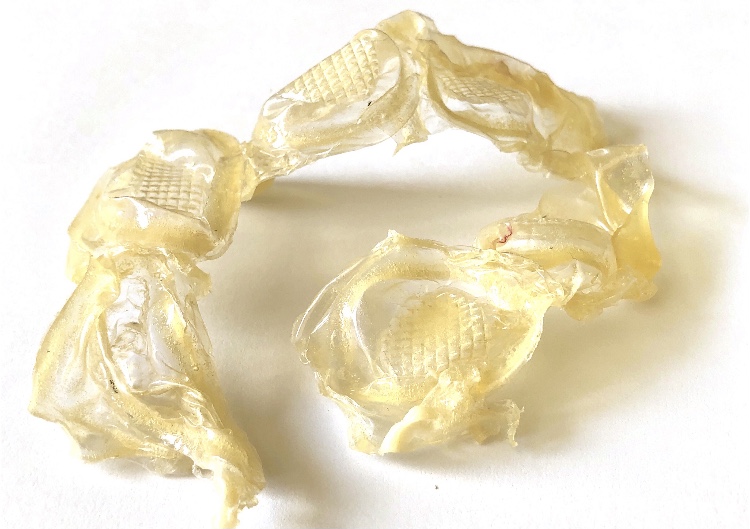
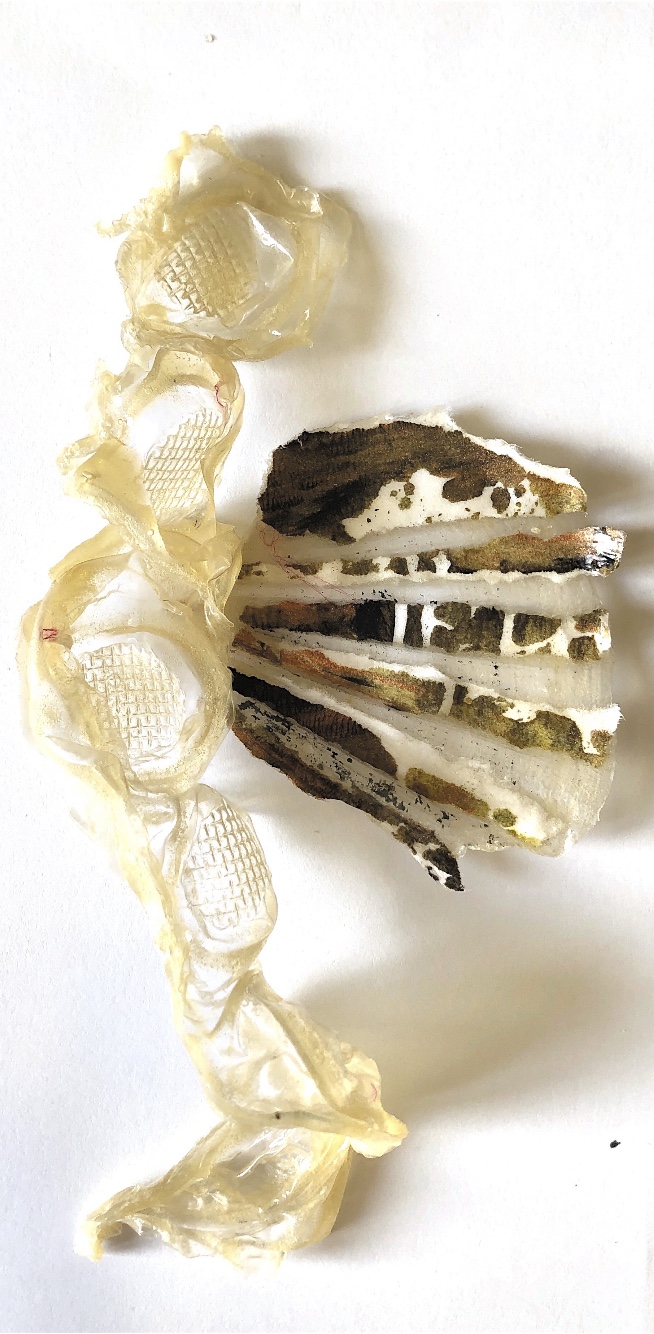
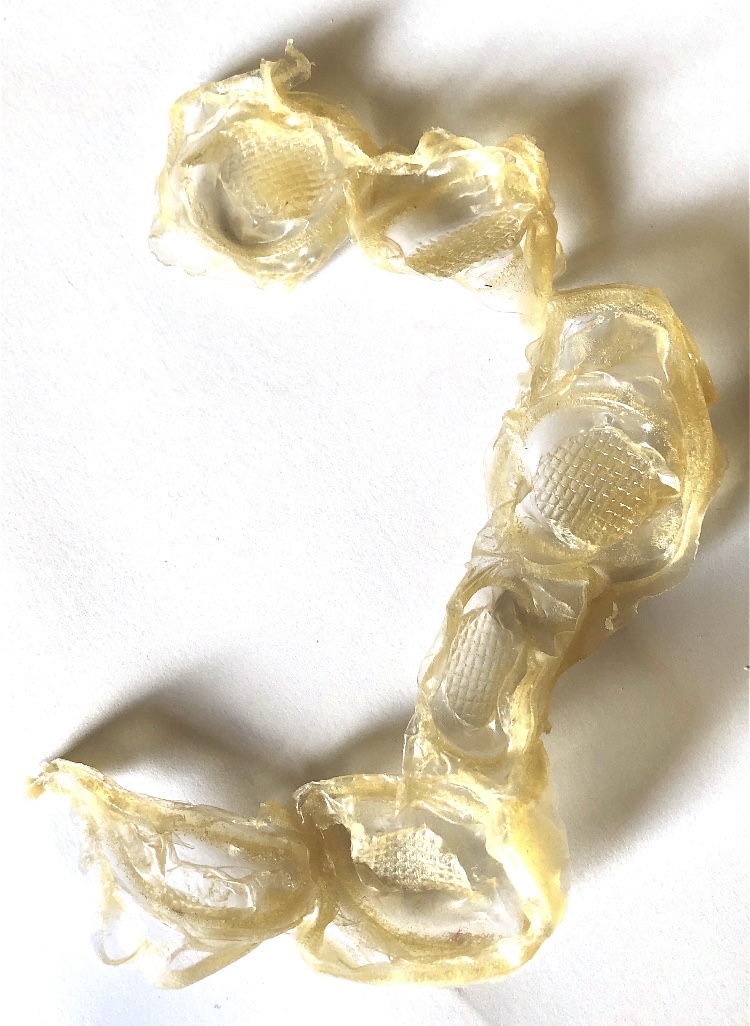
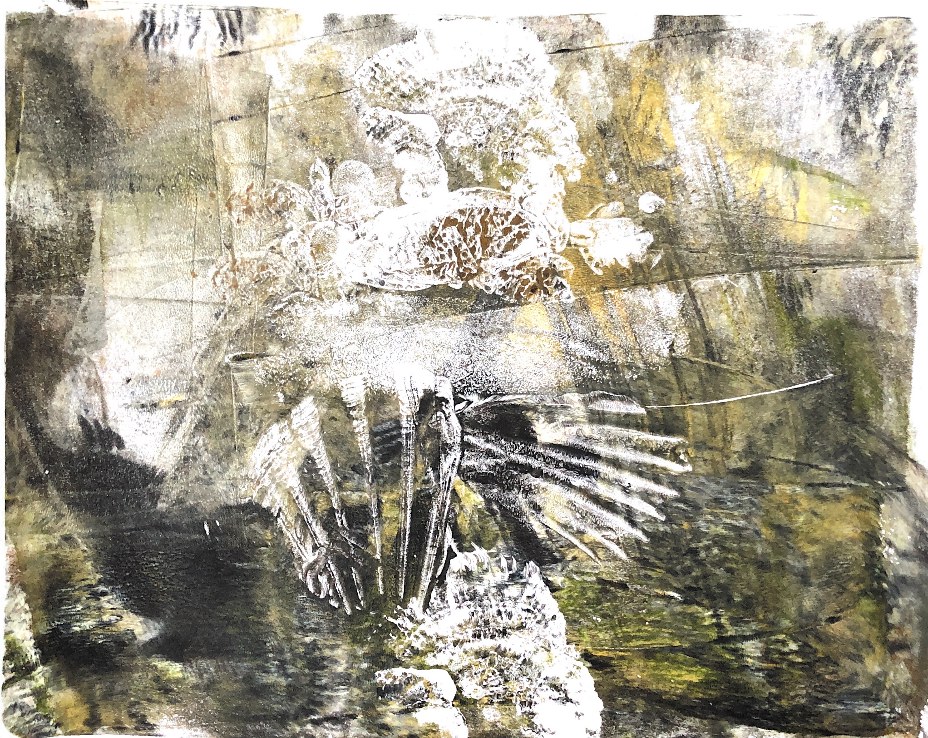
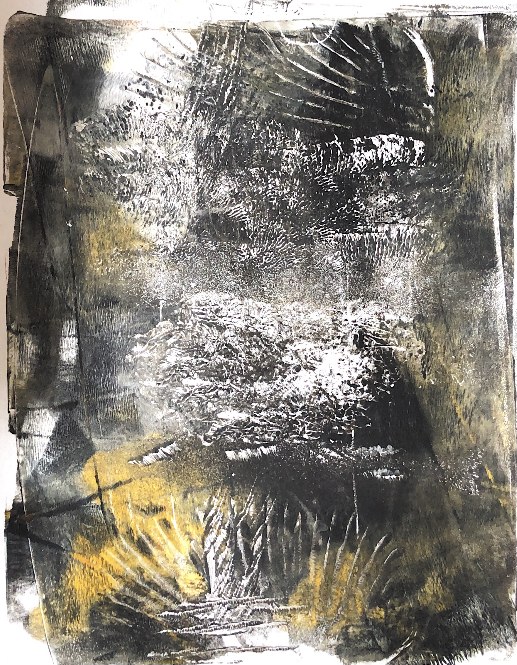
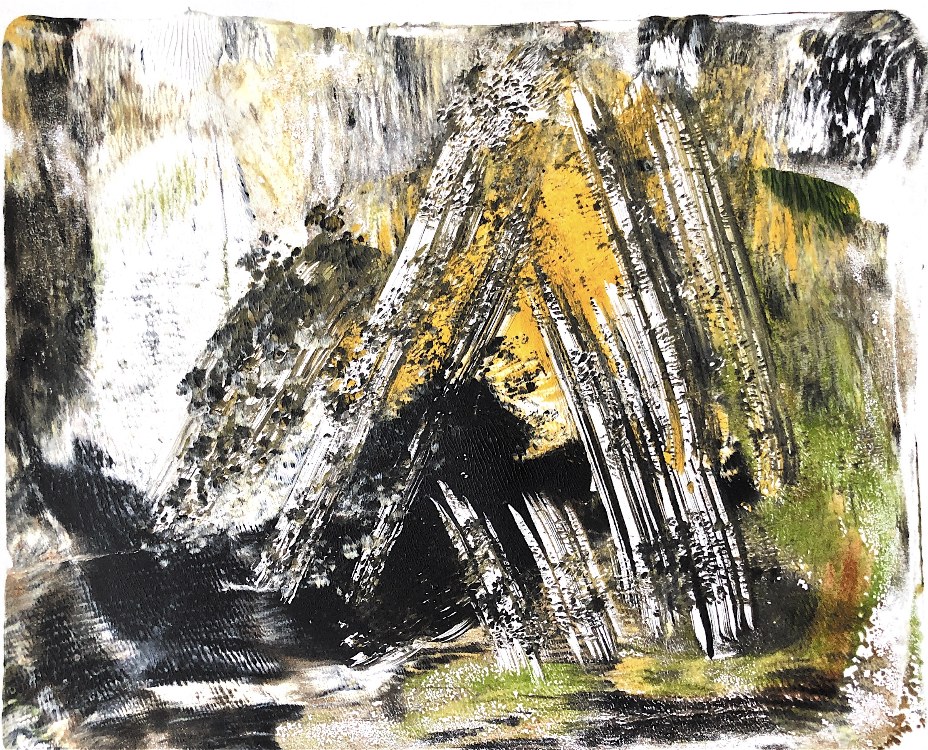
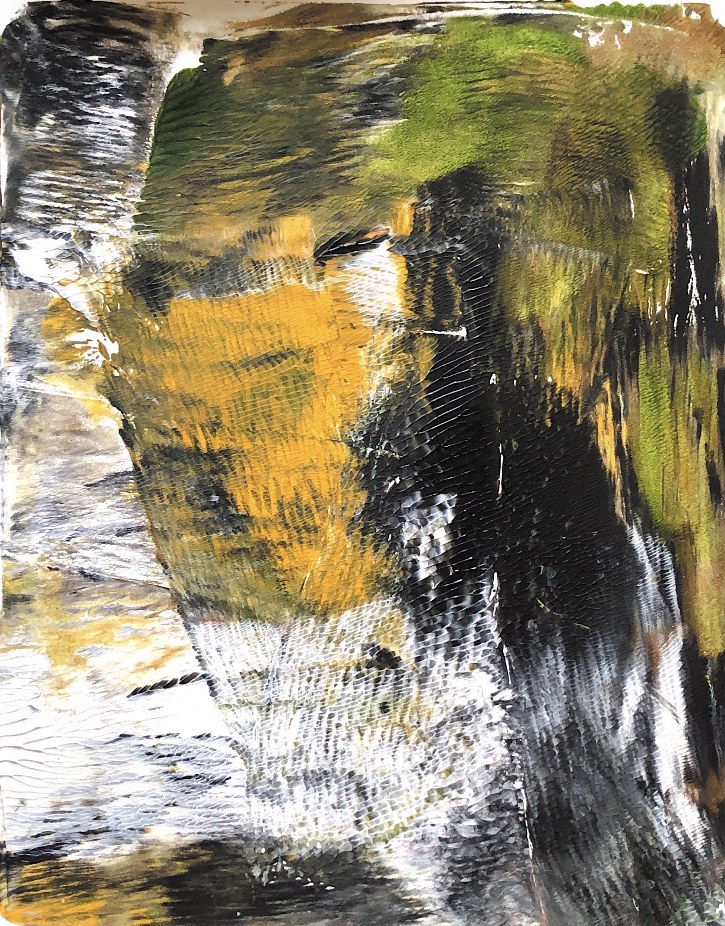
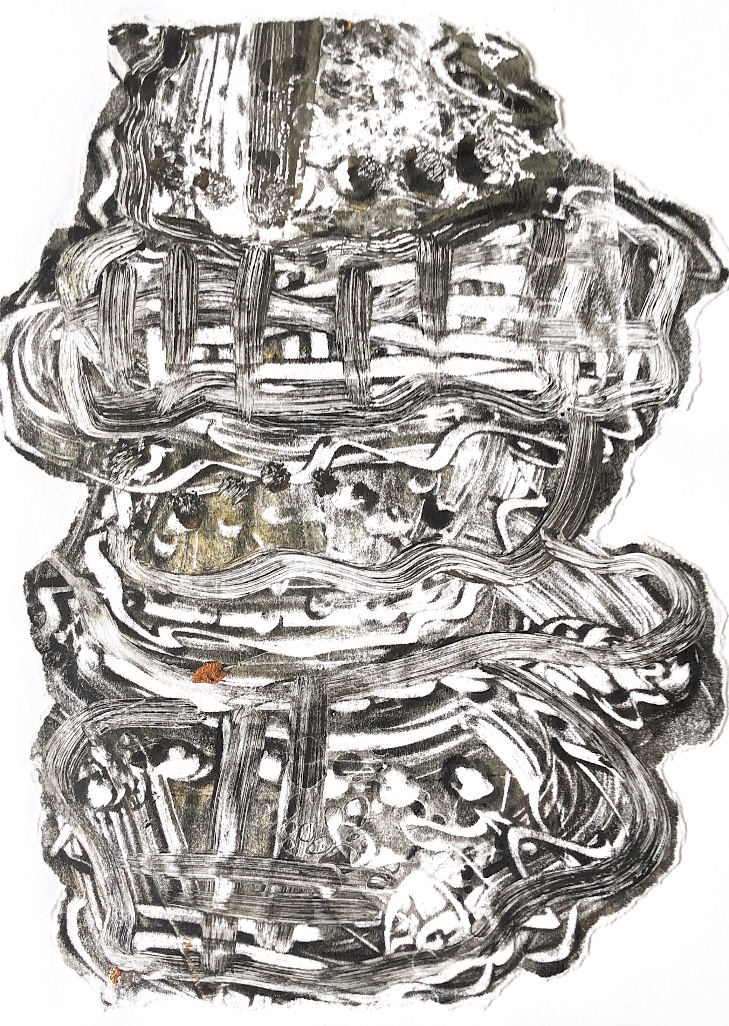
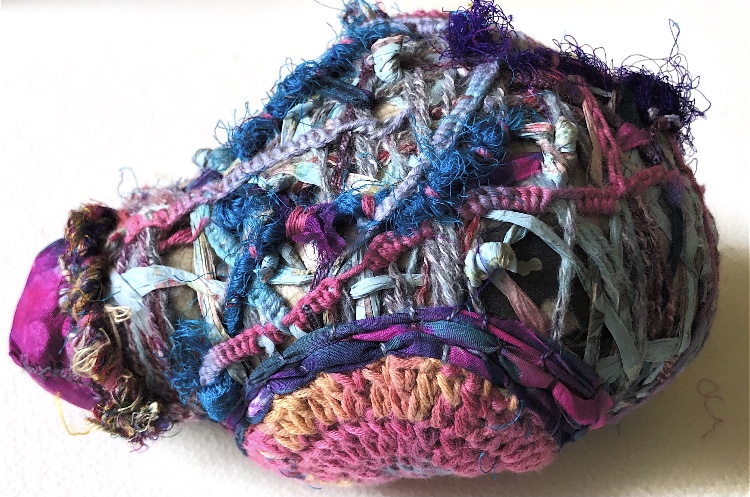
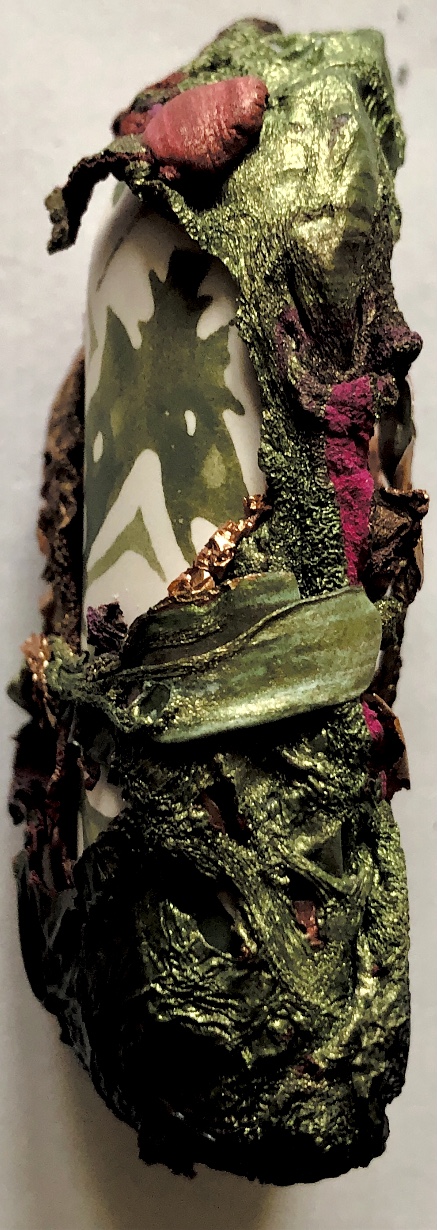
Fig 3. For this asymmetric mold I added pieces of heat treated and painted Tyvek and molded latex from a previous sample. There is a strong contrast between the translucent ethereal pieces of latex and the strong jewel like Tyvek pieces which catch the eye. There is movement in this sample where the latex bends and twists like a jellyfish or seaweed.

What an amazing material – making 3d objects that encourage the viewer to look at what is encased in a different way. It enables lots of materials to be put together in a microcosm. The materials are suspended in time and space. Light travels through the pieces and is also reflected by the facets and materials inside.,

There is also something special about how these samples feel to touch and hold. They are weighty, smooth, textured, angled, rounded, cool, sharp, and hard.

Lots of inspiration here for further sampling and stitched textile ideas. I also want to combine resin with other materials such as plaster and fabric, and to explore latex further.

Textiles 1 Mixed media for textiles Part 3 Molding and casting Project 1 Molding from a surface More sampling

Latex

Cast from shells, a glass lid, a foam sample and a sweet container. Paper was added to one sample and silk fibres to another.

This piece reminds me of seaweed.

In response to encouragement from my tutor, I tried mark making on a larger scale than I am used to. The paper is A2 size and I used acrylic paint and inks with a range of homemade implements.

Latex is such a flexible material and despite my initial reluctance I have enjoyed using it. I like the organic look of some of the pieces and they worked well as inspiration for mark making. I particularly like the piece with paper embedded as it adds colour and strength as well as pattern and strengthened lines. My samples are mostly quite fine and fragile but I prefer this to a thick layer.

Silk fibres

Silk fibres wetted with acrylic medium/watered down PVA glue were laid over plastic forms and left to dry.

The dried samples keep their shape well and are soft enough to stitch into and manipulate further. The colours are bright but the samples retain an ethereal quality especially around the edges.

Using an A2 piece of paper, homemade implements and acrylic paints I tried to capture the movement and colour in this sample.

This has been a good exercise in taking risks both with materials and drawing. I have pushed myself to get out of my comfort zone and have made lots of inspiring pieces.

Textiles 1 Mixed media for textiles Part 3 Molding and casting Project 1 Molding from a surface Developed samples

Sketchbook quick drawing – ideas for manipulating and embellishing samples using joining and wrapping

I found these lovely pictures and did a bit of brainstorming about colour, shape and texture.

These pictures were taken on a walk and show a broken fence tied together with coloured string, a dry stone wall with top edge stones, a stone stack, stacked stones with moss, barbed wire with sheeps wool caught on the barbs, a dry stone wall with moss, and more barbed wire.

I made the following group of samples by pouring a thick plaster mix onto textile work I had made previously (see sample below). As I said previously, when I first tried this technique I was too impatient and the casts broke, however this time I wanted them to do just that so I could rejoin the pieces.

In order to sew I needed to drill holes along some of the edges – some of the pieces broke further but as I was going for an organic theme this didn’t really matter.

One of the textile pieces used to cast. It was quite hard to remove the plaster but once I had, the textile pieces were ok.

Group of 5 samples

Fig 1. Photos of pieces crocheted together with buttons

Fig.2 Photos of pieces joined with wire and wool fibres caught on wire barbs

Fig.3 Photos of pieces blanket stitched and rejoined with felt pebbles in between

Fig.4 Photos of pieces wrapped with coloured Tyvek and plastic, heated to appear weather worn

Fig.5 Photos of pieces joined with green leather thong, with stacked felt pebbles and pieces of plaster.

I have found plaster great to work with as it picks up tiny detail and in its natural colour it resembles stone. Mixing this with other materials is exciting as this adds colour, shapes, different texture, pattern and height. I have tried not to do too much embellishment on each piece to allow the cast plaster to be the main constituent; this means the 5 pieces work well as a group. Taking inspiration from nature and man made countryside images allowed me to focus my embellishment in terms of colour and execution.

Looking back to my previous samples I can see that assemblage is a real inspiration for me to carry forward.

Textiles 1 Mixed media for textiles Part 3 Molding and casting Project 1 Molding from a surface Sketchbook work

Following feedback from my tutor about expanding my drawing vocabulary and mark making, I decided to use monoprints to document some of my samples. I chose 3 colours to reflect the stonelike colours of my paper mache and plaster samples – black, white and yellow with a tiny bit of copper and green. Using a gelli-plate and various tools such as shells, erasers, pot pourri and corks I made a lot of prints. This was quick and fun with a bold result full of movement.

Fig 1. Prints inspired by plaster assemblage

Fig 2 Prints inspired by wrapped paper mache sample

Fig 3 Prints inspired by various surfaces and shapes from my samples and the joy of mark making!

I tore and cut shapes from the prints and used some to collage with. I find these really inspiring and exciting – lots of ideas for development and stitch.

Fig 4 Torn and cut shapes inspired by plaster assemblage

Fig 5 Collage inspired by ‘dry stone wall’ assemblage

Fig 6 Cut shapes and collage inspired by broken plaster shape with drilled holes

Fig 7 Torn shapes, weaving and collage inspired by wrapped paper mache.

Fig 8 Further collage ideas

I am very pleased with the shapes, patterns and colour palette of these ‘drawings’. There is a lot here that offers ideas for stitch and applique, but also a lot of ideas to take forward in 3D using the molded materials.

Textiles 1 Mixed Media for Textiles Part 3 Molding and Casting Project 1 Molding from a surface

Before moving on with another material I did a little bit of research into assemblage art and sculpture. I looked at the diverse work of artists such as textile artist Jean Draper who makes small forms to be joined together into larger pieces, Louise Nevelson who makes wooden assemblage pieces, and Rob Plattel who works with natural materials such as driftwood and plants. Although each artist works in a very different way, they all use small shapes which are beautiful in their own right, to make larger patterns and forms with maximum impact and a great deal of detail.

Fig 1 Draper, J. (Date unknown) Emerging Detail Free standing or wall piece depicting new growth. Hand-wrapped points made from fabric and hemp, hand-made paper and clay At://www.textileartist.org/jean-draper-interview-hand-stitched-landscapes/ (accessed 30/12/2020)
Fig 2 Nevelson, L. (1959) Case with Five Balusters, from Dawn’s Wedding Feast,
wood, paint, 27 5/8 x 63 5/8 x 9 inches.
Collection Walker Art Center, Minneapolis.
At ://sites.google.com/site/dgvartteacheryr7/focus-artist-louise-nevelson (Accessed 30/12/2020)
Fig 3 Plattel, R. (Date unknown) Zonnekroon (silphium perforatum – a herbaceous perennial plant) At:http://www.naturalart.nl/portfolio/

Stonecast powder (plaster of Paris)

After Christmas I ended up with lots of plastic sweet trays so these became the perfect mold for my experiments with this material. No mold release was necessary and apart from needing to pour quickly once the powder was mixed with water it was very easy to use. Very fine detail is picked up in this process. A little bit of colour was also picked up from the oil residue in the marzipan tray. With one of the samples I embedded a piece of pot pourri and it makes a piece that looks like a snail or shell with a creature peeking out below. I really enjoyed assembling the individual pieces, stacking and arranging them in different ways to make mini sculptures. I was inspired by the work of Louise Nevelson in these samples as in Fig 2 above.

I introduced some more small pieces of pot pourri in one of the larger samples but they mostly got lost apart from the rough hole in the first piece below.

Seen from the reverse side the added bits are visible – I think they floated in the mixture!

Adding wrapping to some of the samples adds colour. I particularly like the small sample with a stitched covering on half of it (below right). It has the look of a talisman, and the smooth stone like shape of the plaster contrasts nicely with the rough texture of the stitched felt and cotton. The work of Jean Draper in Fig 1 above uses lots of thread and wrapping in muted colours which inspired my colour choices here.

More samples arranged in piles again inspired by Louise Nevelson.

With a wooden stamp and a dark green inktense block I added pattern and colour to some of the samples. This was not easy on curved shapes with a wooden block, but this added to the element of surprise and I really like the results.

Next I tried using textiles as molds. The first two samples were made by pouring the mixture into small fabric soap bags. The fabric stuck to the plaster a bit and the resulting samples retain the texture and some of the fibres. There is a marked contrast between the surfaces that were against the textile and the smooth untouched top poured surface. These samples look a lot more natural, the second one I think looks like a seashore find.

This next piece was made by pouring the mixture onto a piece of embroidered and embellished felt. It has picked up some of the coloured fibres, and after a wash the felt is good as new!

For the following piece I poured onto a stitched and collaged small sample. When I tried to remove it, the sample it broke in half (I may have been a tad impatient) but this gave me a chance to join it back together by drilling holes into the sample and stitching with cotton hand dyed thread and small beads. I like the contrast of the textured, stone like, natural sample, with the stitching and the shiny beads.

While out walking I have been looking at dry stone walls – they are everywhere around here. This led me to balance and layer some of the flatter samples. This is definitely an idea to explore further.

I have really enjoyed working with this material – it is quick and versatile, easy to drill holes into and picks up incredibly fine detail. I am starting to be inspired by 3D objects that can be handled, and feel I am becoming more experimental in my work.

Textiles 1 Mixed media for textiles Part 3 Molding and casting Project 1 Molding from a surface

Papier-Mache pulp

For these samples I purchased some lightweight pulp that just needed to be mixed with water. One thing I discovered is that in a cool winter environment this takes forever to dry so I ended up putting it into an oven, which worked well.

I didn’t use anything as a mold release but the pulp released itself nicely once it was partly dry. It was hard to pick up fine lines and indents with this material. Once dry it has a small amount of flexibility and retains a lot of texture.

Using a paint palette as a form meant that the paper picked up some of the colour which added to the visual effect. The smooth domes contrast with the rough texture and edges of the shape. I really like this piece – I could add in specific colours another time, but maybe this would spoil the random effect? On a larger piece the colours could form a pattern.

Using a reel of wire produced a bangle like sample. It holds its shape but has a little bit of flexibility. The lines of the wire are just visible if you look closely on the inside edge. I have also discovered that I can push a needle through this sample which gives scope for stitching and joining as well as wrapping.

Using a wooden stamp to impress a moulded piece of paper mache made a piece that reminds me of broken bits of Roman buildings seen on my travels – the pictures below were taken in Zadar, Croatia, just lying on the grass.

A plastic food container produced deeper ridges which cast shadows on the sample making good contrast in tone. I like the simple arrangement of two of the samples in the photo below, with the straight and curved edges, deep and shallow indents and the viewpoint looking into one piece and at the edge of the other..

I decided to add some stitching and wrapping to these samples and did some research on talismans and amulets as the shapes of the samples reminded me of the small items you would want to hold, wear or keep in your pocket to feel and touch; and to protect you and bring you good luck.

For the first sample I wrapped and wove with hand spun silk (spun by me) and cotton cord; the texture of the yarns contrasting with the smooth domes of the sample. The yarns form a cross which could also be seen as a religious/spiritual symbol. The back of this piece is also interesting.

The next sample I stitched with wire and used the silk to wrap. Once again a cross has been formed. This piece reminds me of a bracelet and I like the way that the rough texture of the paper mache makes it look old and worn.

For the third sample I added lace and some stitching to emphasise the ridges using cotton cord. I added a little bit of colour and texture on one edge with the silk yarn.

I have enjoyed working with the paper mache and like the way it can be stitched into. It doesn’t pick up fine detail but has a crumbly rough surface resembling old stone. I’m wondering if I can use it again in conjunction with other materials. The only thing I am worried about is how stable and strong it is.

Textiles 1 Mixed media for textiles Part 3 Molding and casting Project 1 Molding from a surface

Air drying modelling clay

I thought I would start with a material that I have used before to start with. Air drying modelling clay comes in a range of colours, – I already had some in white. This clay stores well as long as it is well wrapped up, it is easy to use and safe.

I wanted to use some bits of stitching, a surface from my home and odds and ends from my craft room.

For the first group of samples I used the brick walls in my studio to cast my clay, and also played around with beads and scissors. Pressure makes a great difference to the surface texture – heavy pressure caused some of the beads to make holes in the clay. I left the rough edges of clay on the samples. Some edges cracked as they dried but this didn’t matter for these initial samples. A close up photo of the brick cast shows the tiny details captured in the clay.

For the next lot of samples I used some old stitched pieces, discarded in a box. The clay picked up every tiny stitch as can be seen in the close up photos. It also picked up a bit of colour on one piece.

Air drying clay is easy to work with and responds well to a variety of casting surfaces. Here I have added some colour and embellishment to some of the samples to experiment more.

Textiles 1 Mixed Media for textiles Part 3 Molding and Casting Stage 1 Research

Casting materials

I’ve had a look online at lots of images and tutorials for casting, including a range of materials. I would like to try a range of materials and have already got or obtained supplies of the following materials – air dry clay, paper mache pulp, plaster powder, hand moldable plastic, liquid latex, epoxy resin and concrete.

Some things to think about are safety, proportions of materials to mix and order of mixing, mold release, and how to store unused materials. I will read up on all of this as I try out each material.

I did a bit of brainstorming re the items I might use to cast – brooches, jewellery, crochet, lace, leaves, beads, zips, lids, foil containers, plastic food containers, pasta, feathers, bubble wrap…….

I also thought about items that could be added as embellishments – paper, beads, flowers, sticks, pieces of embroidery, wire…….

Some materials may be able to have holes made in them before they set whilst others may be able to be drilled and carved once hard. Perhaps I could push objects into the sample while it is still soft?

Artists, designers and makers using molding and casting in their creative output

Ann Goddard

I am interested in the way Ann Goddard uses different materials together. She uses hard and soft materials, textile and non textile materials. The fragility of fine textiles together with solid, heavy concrete make visually exciting and tactile pieces. I want to touch and hold them. I like the natural colours – white, black, rust, grey and beige.

These works use molded and cast pieces as one element in the finished work which also uses wrapping as part of the design. I definitely want to explore the idea of joining, wrapping and using wire in my samples.

Fig 1 Goddard, A. (Date unknown) Assemblages (Recycled mixed media scraps, threads, wire) at https://www.62group.org.uk/artist/anngoddard/#:~:text=Ann’s%20practice%20straddles%20the%20boundary,within%20a%20Fine%20Art%20context.&text=Ann’s%20ongoing%20body%20of%20work,habitats (Accessed 08/12/2020)

Bethany Walker

I like the way Bethany Walker uses concrete to surround her textiles. The glimpse of stitch through the solid natural concrete is intriguing. I also notice that I am increasingly drawn to series of works. The natural colour and surface of the concrete shows off the splash of colour and texture of the embedded stitched piece. I also notice that the sides of the concrete squares have been painted to match the stitching.

I am inspired to use some of my textile work to mold the surface of my casting materials and maybe to embed the same textile pieces in the finished sample.

Fig 2 Walker, B. (2013) Trinkets (Mixed media textiles) At https://www.textileartist.org/bethany-walker-interview-cement-textiles (Accessed 08/12/2020)

Rebecca Fairley

I was introduced to Rebecca Fairley’s work by Rebecca herself in a video sent out to students. I was blown away as I had never seen anything like it before and to see her handling the pieces while she talked about them was really inspiring. I really like the way she uses textiles to mold the concrete, leaving surprisingly detailed impressions of the knits and fabrics on the surface. The results are visually interesting and very tactile. Rebecca also traps objects in some of her work.

Again these pieces inspire me to use my own stitched pieces or crochet to mold surfaces.

Fig 3 and 4 Fairley, R. (Date unknown) Concrete molded on a crochet surface, and, Concrete molded on nylon in a hand stitch ruffle. At https://www.textileartist.org/rebecca-fairley-oca-textiles-tutor (Accessed 10/12/2020)

Victoria Ferrand Scott

Victoria Ferrand Scott works mainly with plaster, concrete, bronze and latex, but for these sculptures inspired by plant forms she has used fabric molds which stretch under pressure, giving an abstract, organic look. The concrete is mainly smooth and rounded but will have retained some texture from the fabric mold.

I am inspired to experiment with using fabric or other materials such as paper for molds so that the mold can be manipulated while the material is still soft.

Fig 5 Ferrand Scott, V. (2015) Cultivars (Concrete) At https://www.axisweb.org/p/victoriaferrandscott/ (Accessed 10/12/2020)

Ben Young

Again I am inspired by the use of very different materials in these works – glass and concrete. The pieces are smooth and textured with right angles and a more organic shape combined. There is colour in the glass piece which sits against the natural concrete. It appears solid and heavy, but the translucency of the glass gives a glimpse of the concrete.

I’m wondering if I could use epoxy resin in place of glass, to create pieces using a combination of materials.

Fig 6 and 7 Young, B (date unknown) Wind Dancer and New Lands (Laminated clear float glass with cast concrete and sterling silver) At https://brokenliquid.com/projects (accessed 08/12/2020)

Eduardo Paolozzi

Paolozzi uses lots of textures and shapes to build up an abstract piece of work. I can see combed lines, cast pieces, curves, straight lines and segments which could be inspiration for casting my material samples.

Fig 8 Paolozzi, E. (1978) Plaque for Rosenthal (embossed porcelain)

Now I have lots of ideas but I’m not sure how they will work with the materials I have – time to experiment!!

Textiles 1 Mixed media for textiles Part 2 Joining and wrapping Assignment 2 Reflection using the assessment criteria

Demonstration of technical and visual skills

I have used a wide range of natural and man made materials for these exercises and combined them in different ways. I have continued to demonstrate and develop my visual awareness by painting, drawing, printing, and photo manipulation; I also used crochet to ‘draw’ one sample which was very successful. I have used a variety of colour palettes to enhance my samples together with the use of strong technical skills. I have considered design and composition on every sample, producing inspiring and exciting results.

Quality of outcome

All of my samples are well presented with clear photos taken from different angles, mainly on a white background for clarity. I have researched and reflected throughout my blog to give a coherent background to my thought process. At the sorting stage I considered and chose a wide variety of samples, each with something different to inspire, excite or reflect upon, and documented my thoughts on each piece.

Demonstration of creativity

I have made lots of samples and developed some of these further using different materials. Through constant experimentation and evaluation I am starting to develop my personal voice. In the sorting stage I have reflected on my colour choices and my sense of what has worked best for me, together with ideas for future work. Each sample I have chosen demonstrates technical and creative skill.

Context

My research is wide ranging – magazines, books from the library, websites, newspaper articles, my local area, and talking to people. I have focussed my research to concentrate on artists, designers and makers whose work I felt I could use as a starting point for ideas, and I have continued to research and reflect as I have progressed. My learning log documents my ideas and thought processes, and the development of my own designs, together with constant reflection. I am getting more comfortable with the process of continually reflecting and want to work further on discovering and using the context of ideas, artworks and inspiration.

Textiles 1 Mixed Media for textiles Part 2 Joining and wrapping Stage 4 sorting

Sample 1

I love the variety of these simple samples using corrugated card and a variety of joining materials. Having drawn them I decided to print the card shapes onto watercolour paper and then to add stitching, crochet and couched sticks. I like to stitch on paper and can see that this technique of printing first and then embellishing could be used for a variety of subjects, combining different materials to add texture.

Sample 2

Cutting circles and adding in a smaller circle with a joining technique worked well on the leaf and on paper. The fragility of the leaf meant that holes had to be carefully punched before hand stitching, but the result is strong. The machine stitched paper sample made a lovely print. The idea was then translated to fused plastic bags. I love the way the light shines through the holes in the plastic, and the way the angular shapes of the plastic pieces contrast with the irregular nuggets of heated plastic hand sewn into the cut out imperfect circles. There is so much to look at in the developed sample and this could be progressed into a much larger piece for a wall hanging.

Sample 3

Using circles with different curves, – I joined one to another with the device of small pleats. The simplicity of this sample is enhanced by the newspaper and printed watercolour paper. The images on the paper are bold and contrast with the torn edges and clear simple joining method. I loved painting this sample and it put me in mind of the Japanese tradition of Wabi Sabi – the beauty of this is in the simplicity and imperfection. The development of this sample with more layers of paper and more colour again made a very striking piece with ideas for a colour scheme in the monochrome with red, yellow and tiny splashes of blue. This piece also is reminiscent of Elizabethan ruffs, – the technique may work well on paper clothing or edgings for other work.

Sample 4

I chose to include this sample initially due to the photo I took of it seemingly flying in the sky. The floaty fabric attached to the heavier pieces has an ethereal quality, however on closer inspection the joins are made with wire and beads, making a tactile surface. The development of this sample used more layers and more wire twists but kept the same qualities of the original. I still feel it is like a butterfly, strong but fragile, just resting on the leaves of a bush before it flies away again. I am interested in using different weights of material with details such as stitching, beads and wire to create abstract but beautiful pieces. I could see this being developed into a group of small hanging pieces.

Sample 5

Having discovered that I like working with fused plastic, I collected certain colours to use to make smallish fused irregular shapes. The bold greens are complemented by purple. The simple stitched joins allow this sample to be manipulated into different shapes and this was interesting to explore with small print blocks. I would like to investigate stitching into these plastic nuggets and to explore their assembly into larger pieces or series. Although these colours are eye catching (and I love green) they are not inspiring me so maybe I could explore another colour scheme for further samples.

Sample 6

I chose this sample as I have always been interested in bookmaking. The use of natural leaves and eco printed paper together with natural coloured felt pebbles is soothing and pleasing. I like the colours – natural with just a little green, the torn pages, and the long slender leaves giving height and interest to the shape. I explored colour in some of my sketchbook work but I prefer the natural, organic colours of the original.

Sample 7

I love the joyful madness of this sample, created by using materials which had retained their shape after being previously wrapped around a wooden spoon. Wrapping them again created loops, twists, knots, and bows. The harmonious colours blend and make a kind of stylised decorated stick. It makes me think of something to be used in a dance – maybe with bells on. These types of accessories would be interesting to research for future work.

Sample 8

Wrapping a jar with a square of dyed silk was really interesting. The strong shape of the jar contrasted with the soft, flowing piece of silk to create bold shapes looking like a still life arrangement. The colour choice was an unusual one for me but I wanted to try some freeform crochet to capture the feel of the sample and I think this was very successful. While working on this sample I was inspired by an article in ‘Selvedge’ magazine Issue 97 about Joana Vasconcelos who creates huge colourful sculptures including crochet. I had never seen intricate crochet hand worked on this scale before and I found it exciting and inspiring. (Gray, L ‘View’ in Selvedge Magazine Issue 97 )

Sample 9

This sample was fun to make and I used lots of different materials. It looks like a flower with bright buds but also maybe a bit of decay as if it has nearly finished flowering for the season. Again the influence of Wabi-sabi in my thoughts enhances its beauty. A scribbly watercolour captured the sample beautifully. I like the frayed edges of the fabric and the wire and paper making its way up the stalk – almost like another plant winding around. There is lots here to inspire, from the clashing colour scheme to the faded beauty of the flower stem itself.

Sample 10

I wanted to include this sample as it refers to my research of Egyptian mummy wrapping. The torn strips of eco dyed cotton wrapped in a pattern create a depth within the piece and the fraying threads twisting and curling are a contrast to the tight wrapping. The sample looks totally different from the back and edges. Small bits of colour add to the aged and worn look, as if they have resisted the fading somehow, or they are a more recent repair. The patterns made by the wrapping could all be further developed.

Sample 11

This sample came alive for me when I cut it from the form around which it was wrapped. It became organic and cocoon like, rather than solid. I would like to develop this idea with a more natural colour pallette. The cocoon idea is very appealing.

Sample 12

I chose to include this sample as it just makes me happy. The photographs have caught the fragility of the materials caught up in the strong, linear cotton wrapping. The cotton yarn entraps the organic material so it cannot escape. The materials trapped are pieces created earlier in the exercises. The beauty of the sunlight reflected on the leaves and petals together with tiny pieces of gold and pink fabric, and the tight wrapping of the stems makes this an intriguing piece to hold and view from all angles.

Having reviewed the pieces I chose at the sorting stage I can see that I have chosen a variety of colour schemes. To me, the schemes I like best are the natural and monochrome ones with a splash of colour as in samples 3, 6,10 and 12. It would be interesting to develop the other samples using this sort of colour scheme. I also like the use of frayed, torn, natural fabrics which sit well with these colour schemes.

I have done much more drawing, painting, printing and photography manipulation to capture my samples and I feel I have lots of ideas to draw from for future exercises.

The research I have done and continue to do really inspired me for these exercises. For my initial research I chose to look at artists whose work caught my imagination and whose techniques I thought could inspire my experiments such as Judith Scott’s vibrant use of colour, Donna Rhae Marder’s joining techniques and traditional Egyptian mummy wrapping. As I progressed I also took inspiration from Christo & Jeanne-Claude’s wrapped cans, sculptures and trees and from magazine articles such as the one about Joana Vasconcelos.

I have lots of ideas for future work as documented in my samples above, but my problem now is choosing which ones to work on. I think my colour pallette is developing and I have favourite materials, and I want to explore series and hanging objects as well as costume and accessories so that hopefully is a starting point!