Author Archives: paper and stitch

Unknown's avatar

About paper and stitch

I am a textiles student with OCA

Research point 1 Cas Holmes

Cas Holmes

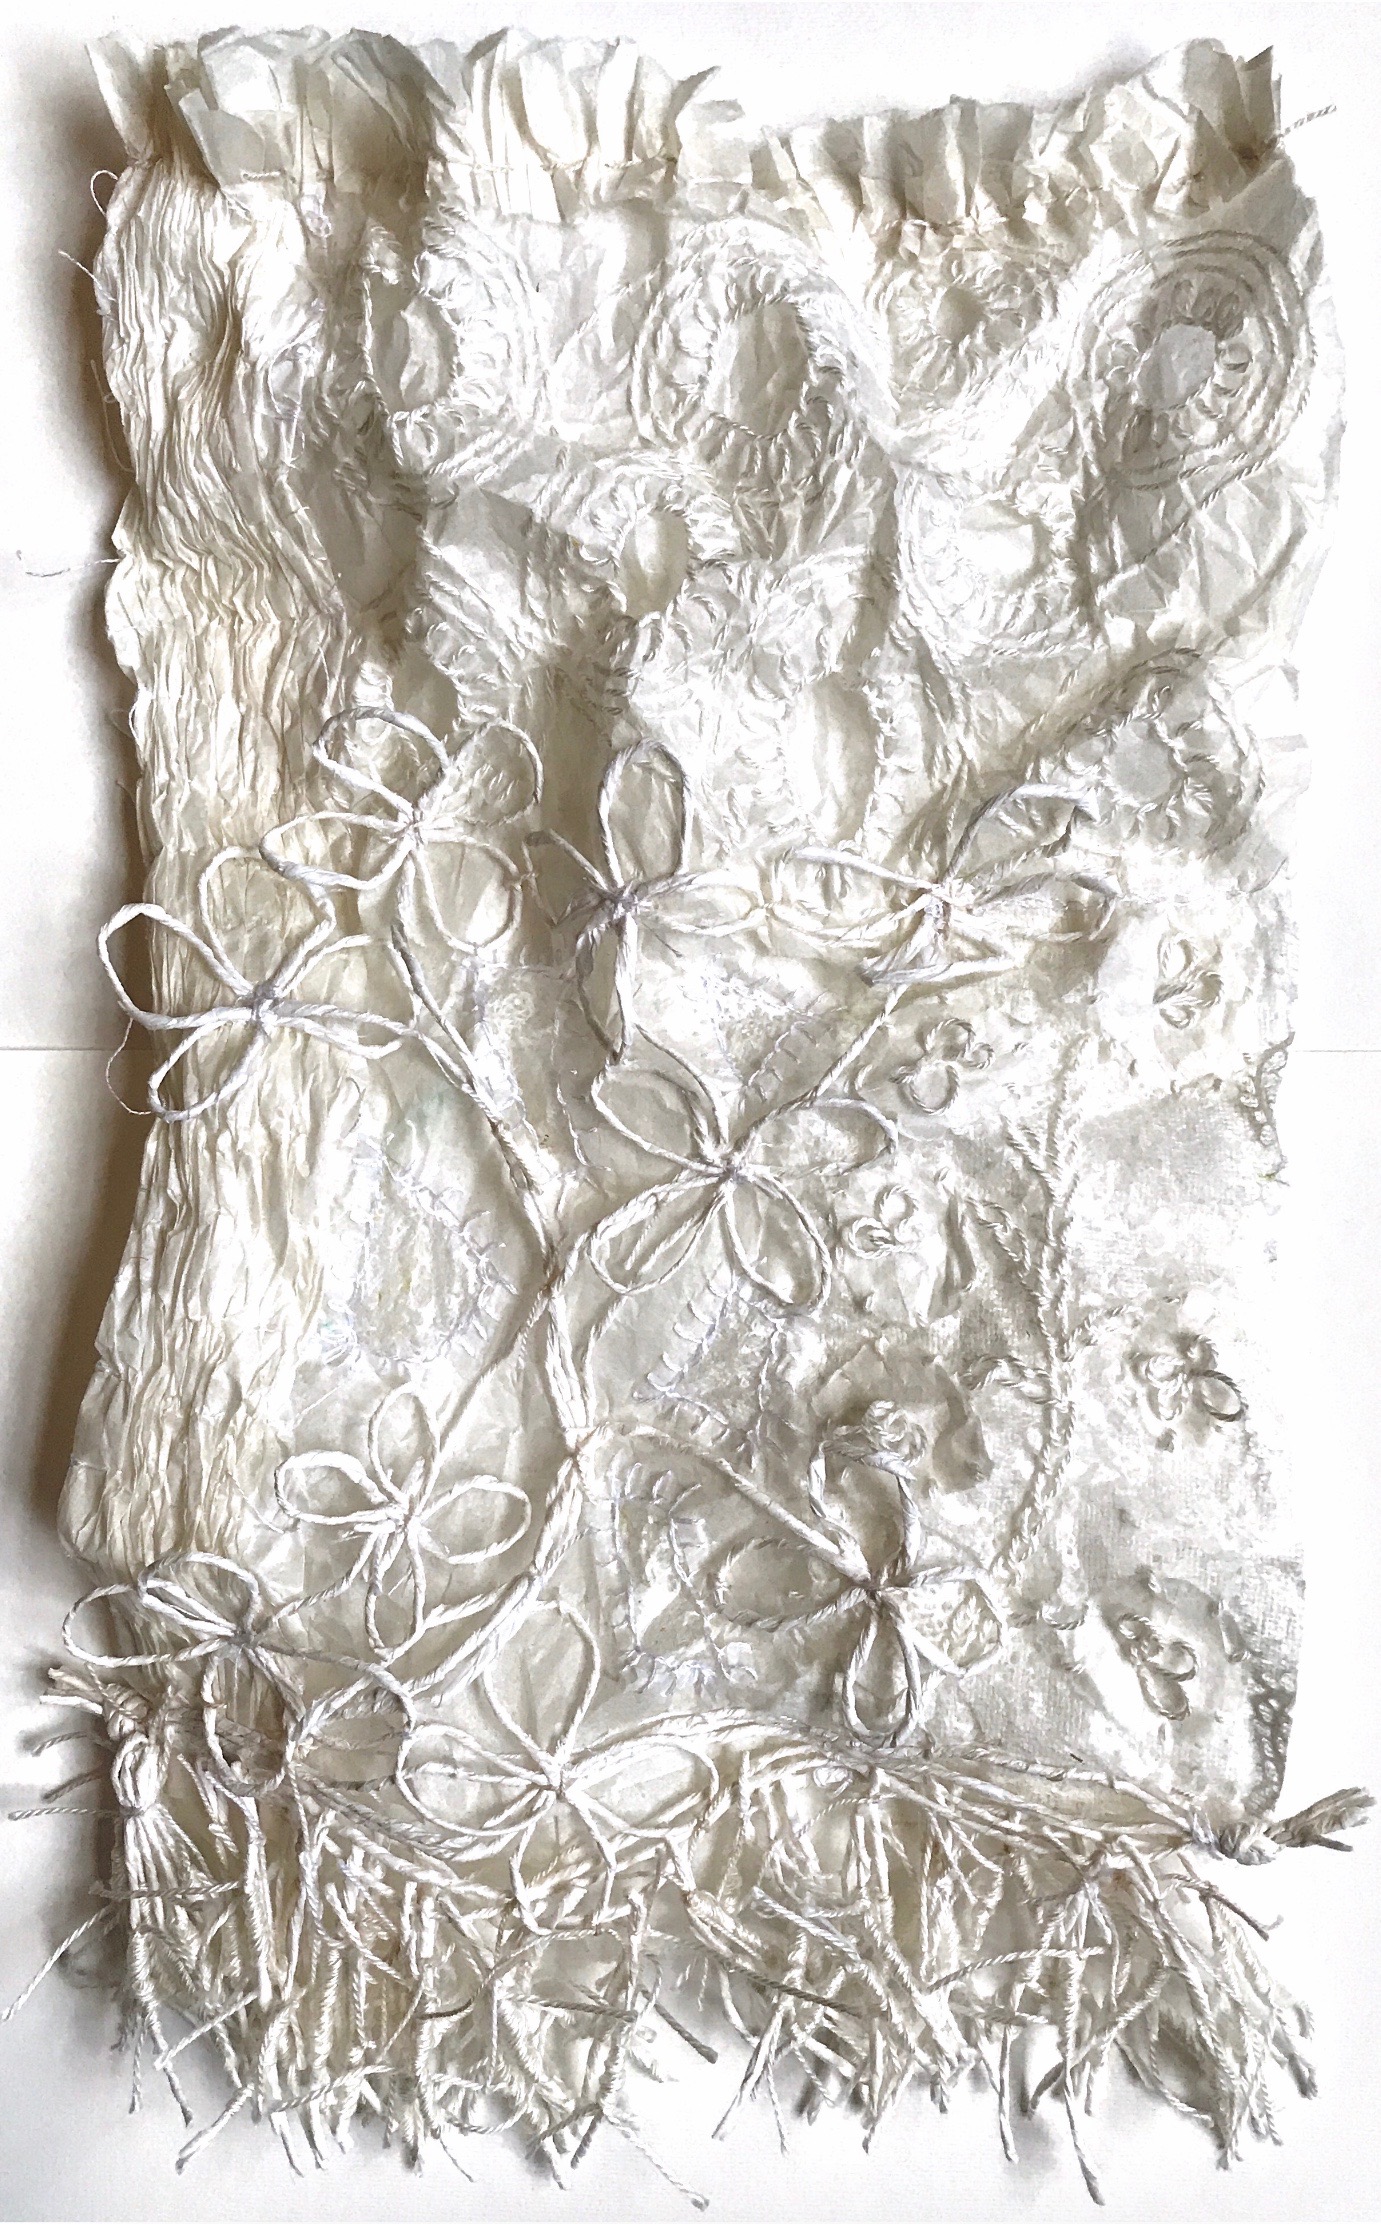
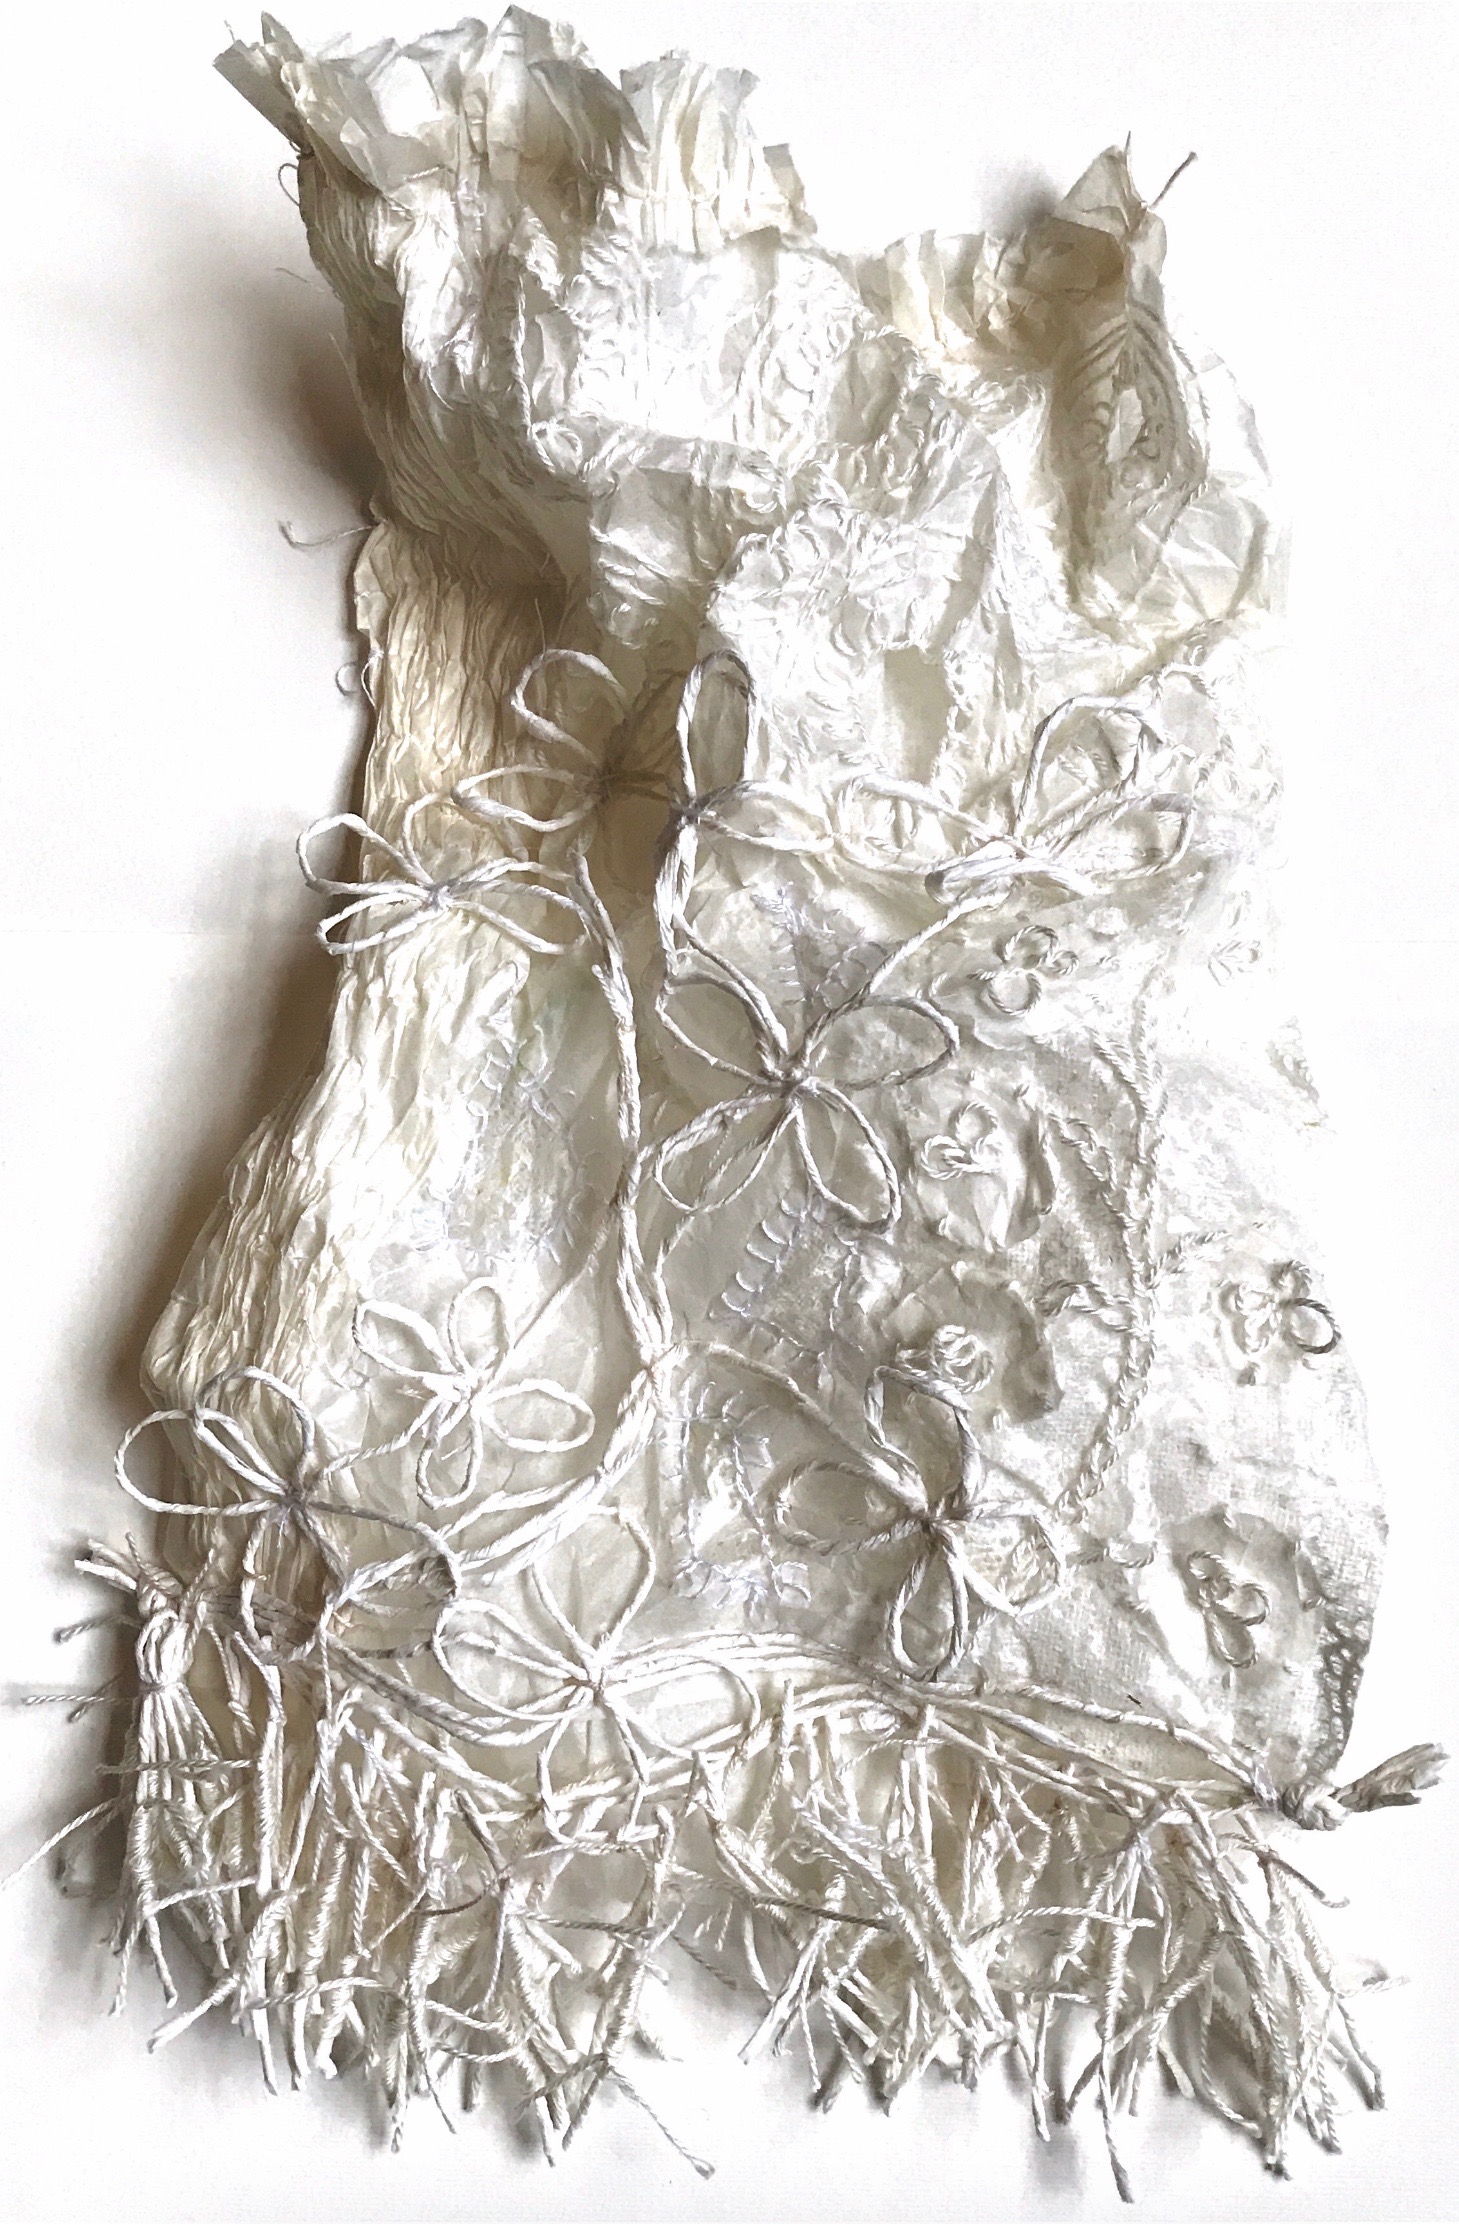
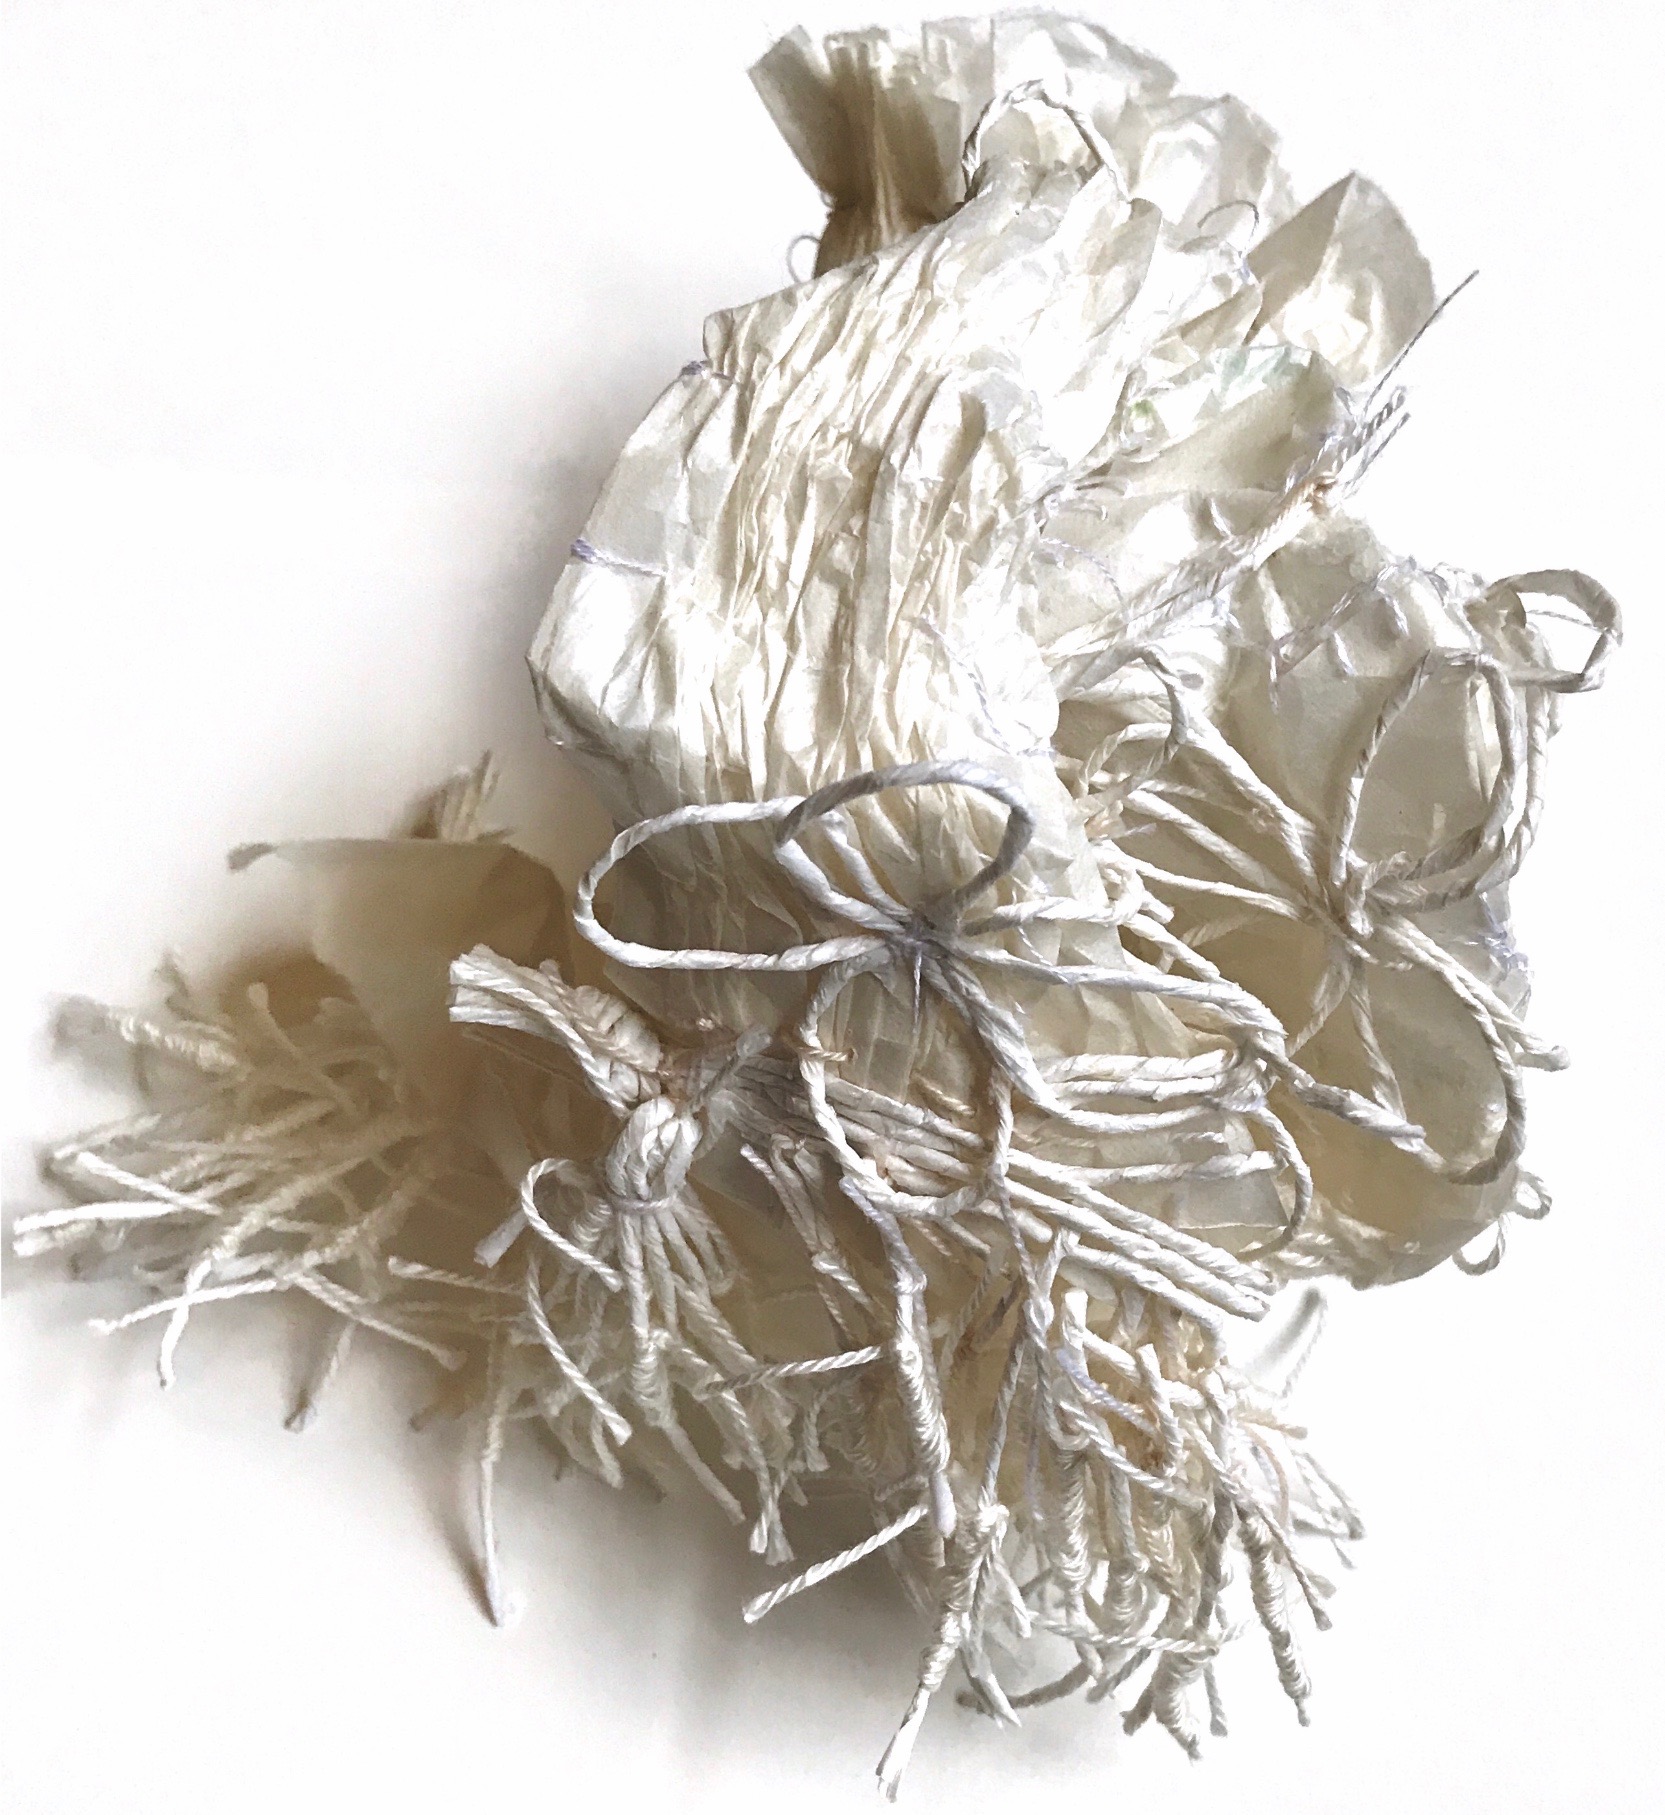
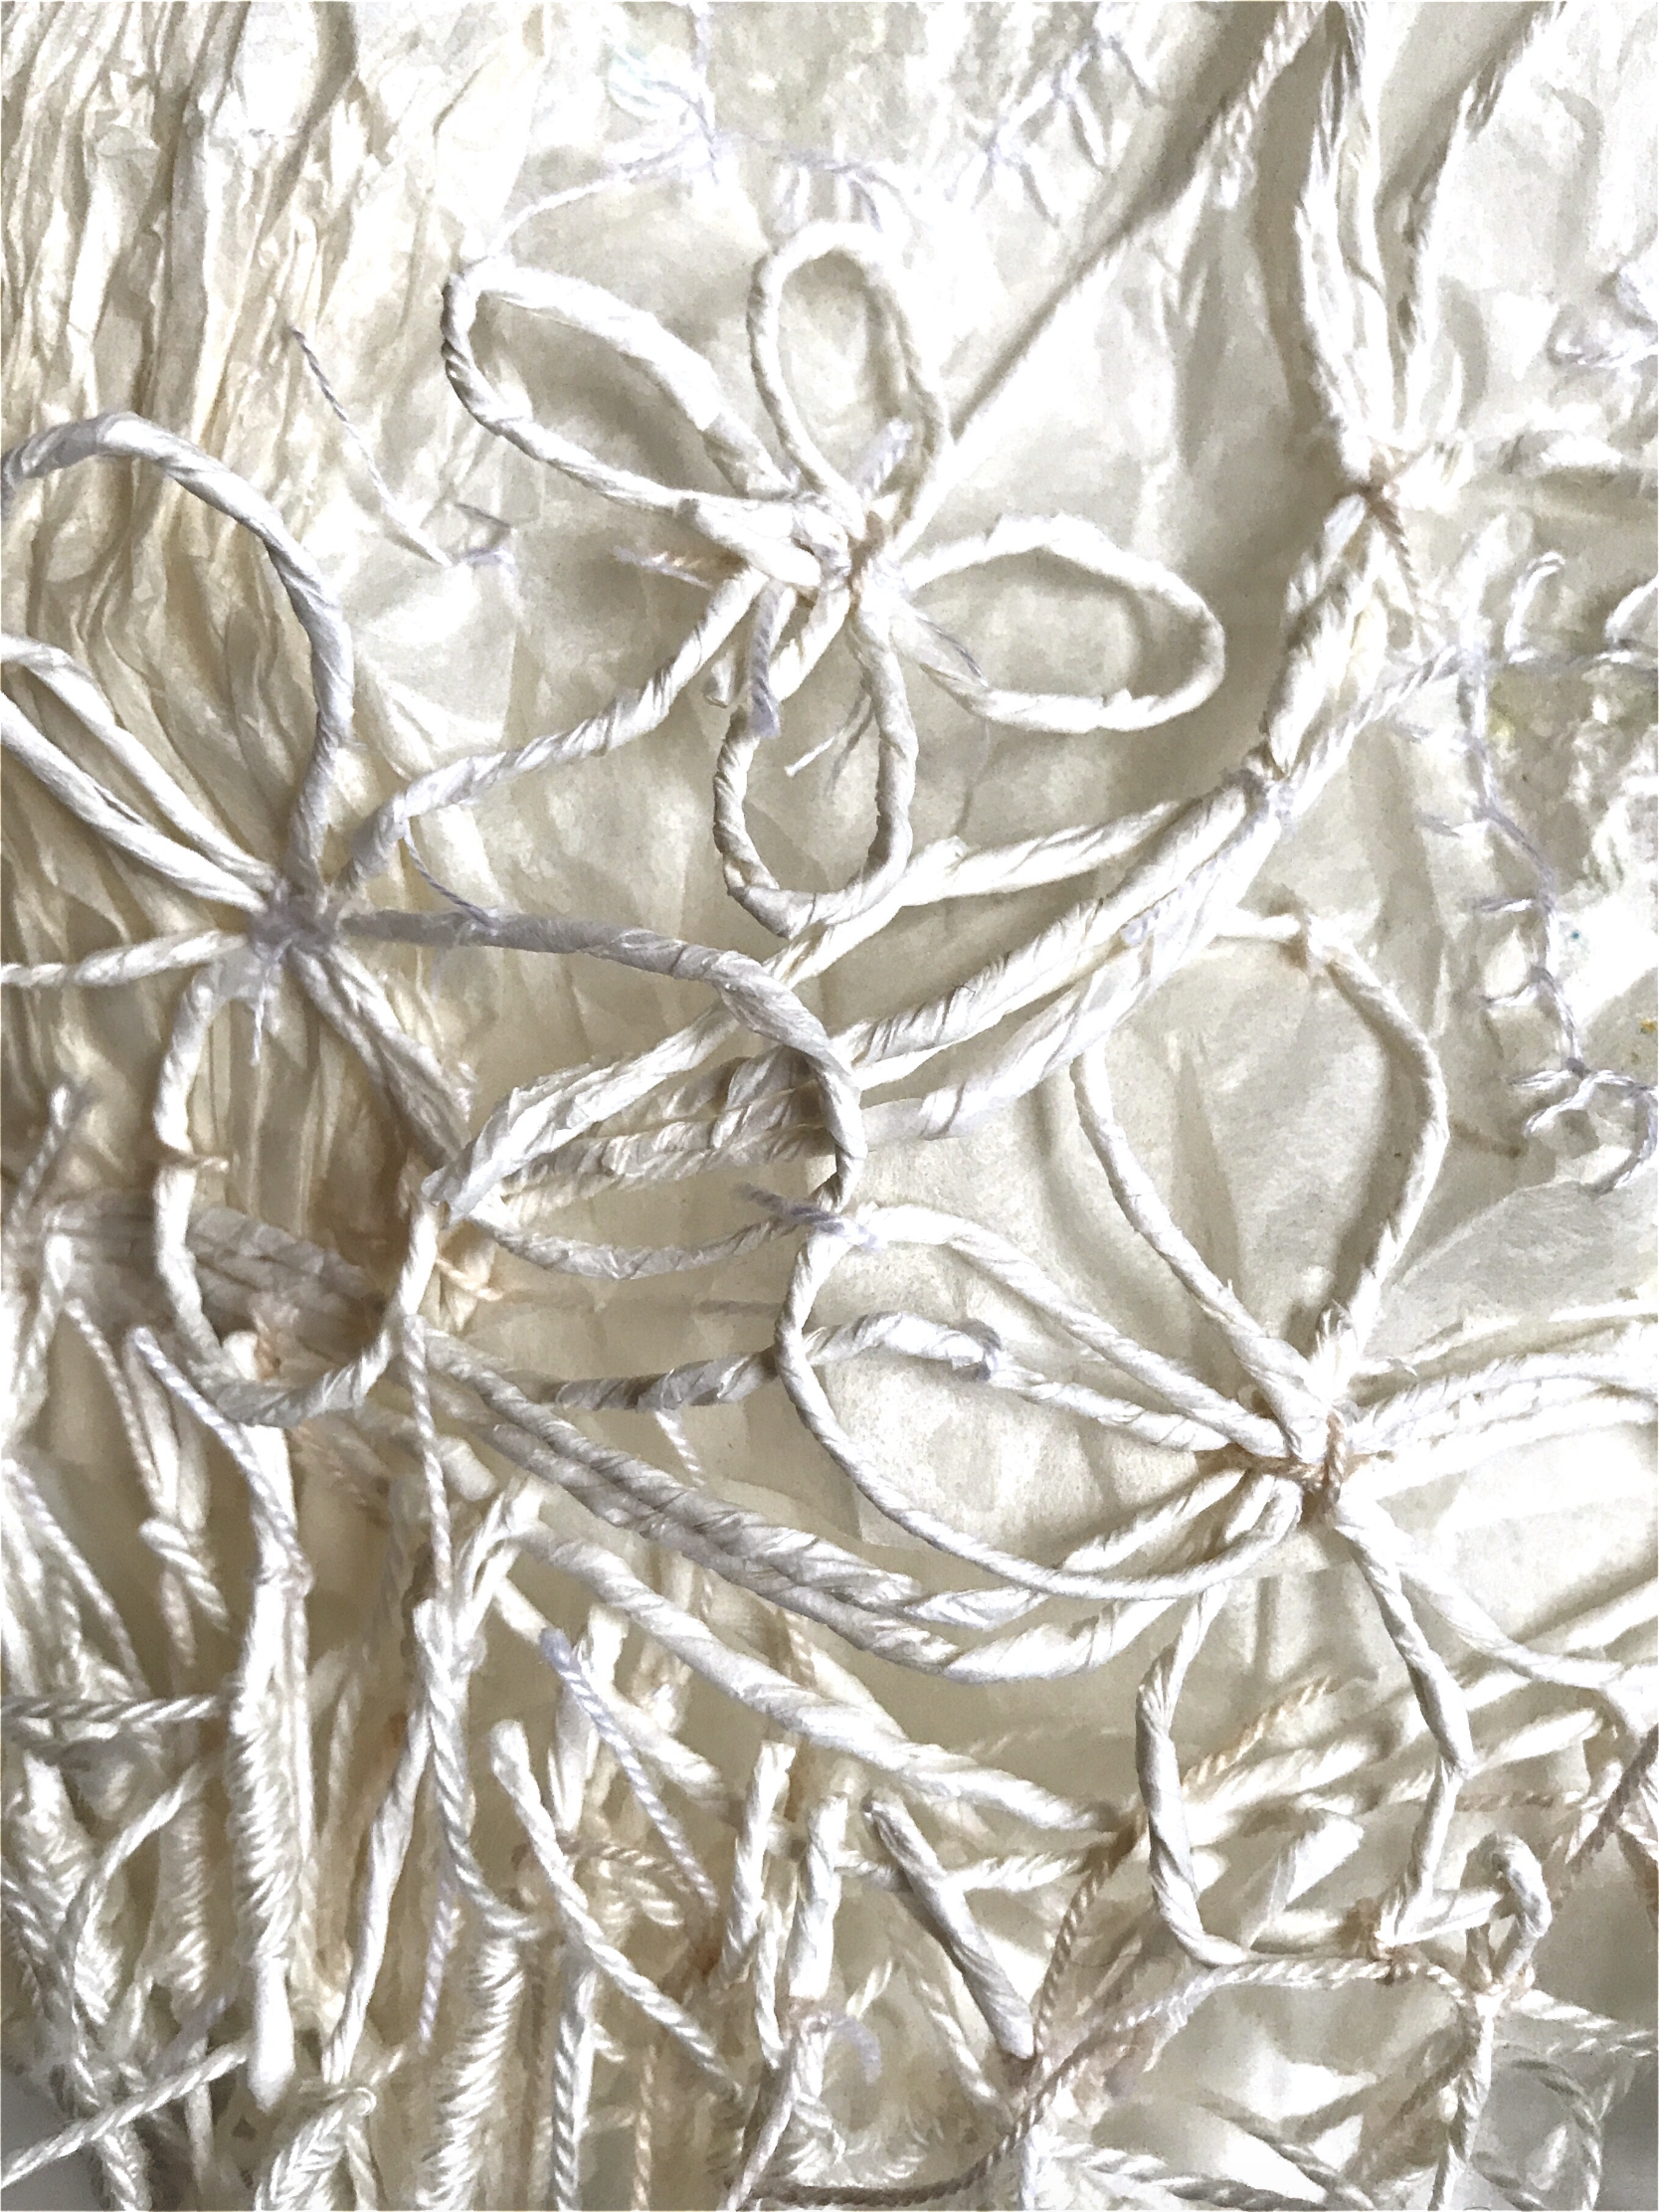
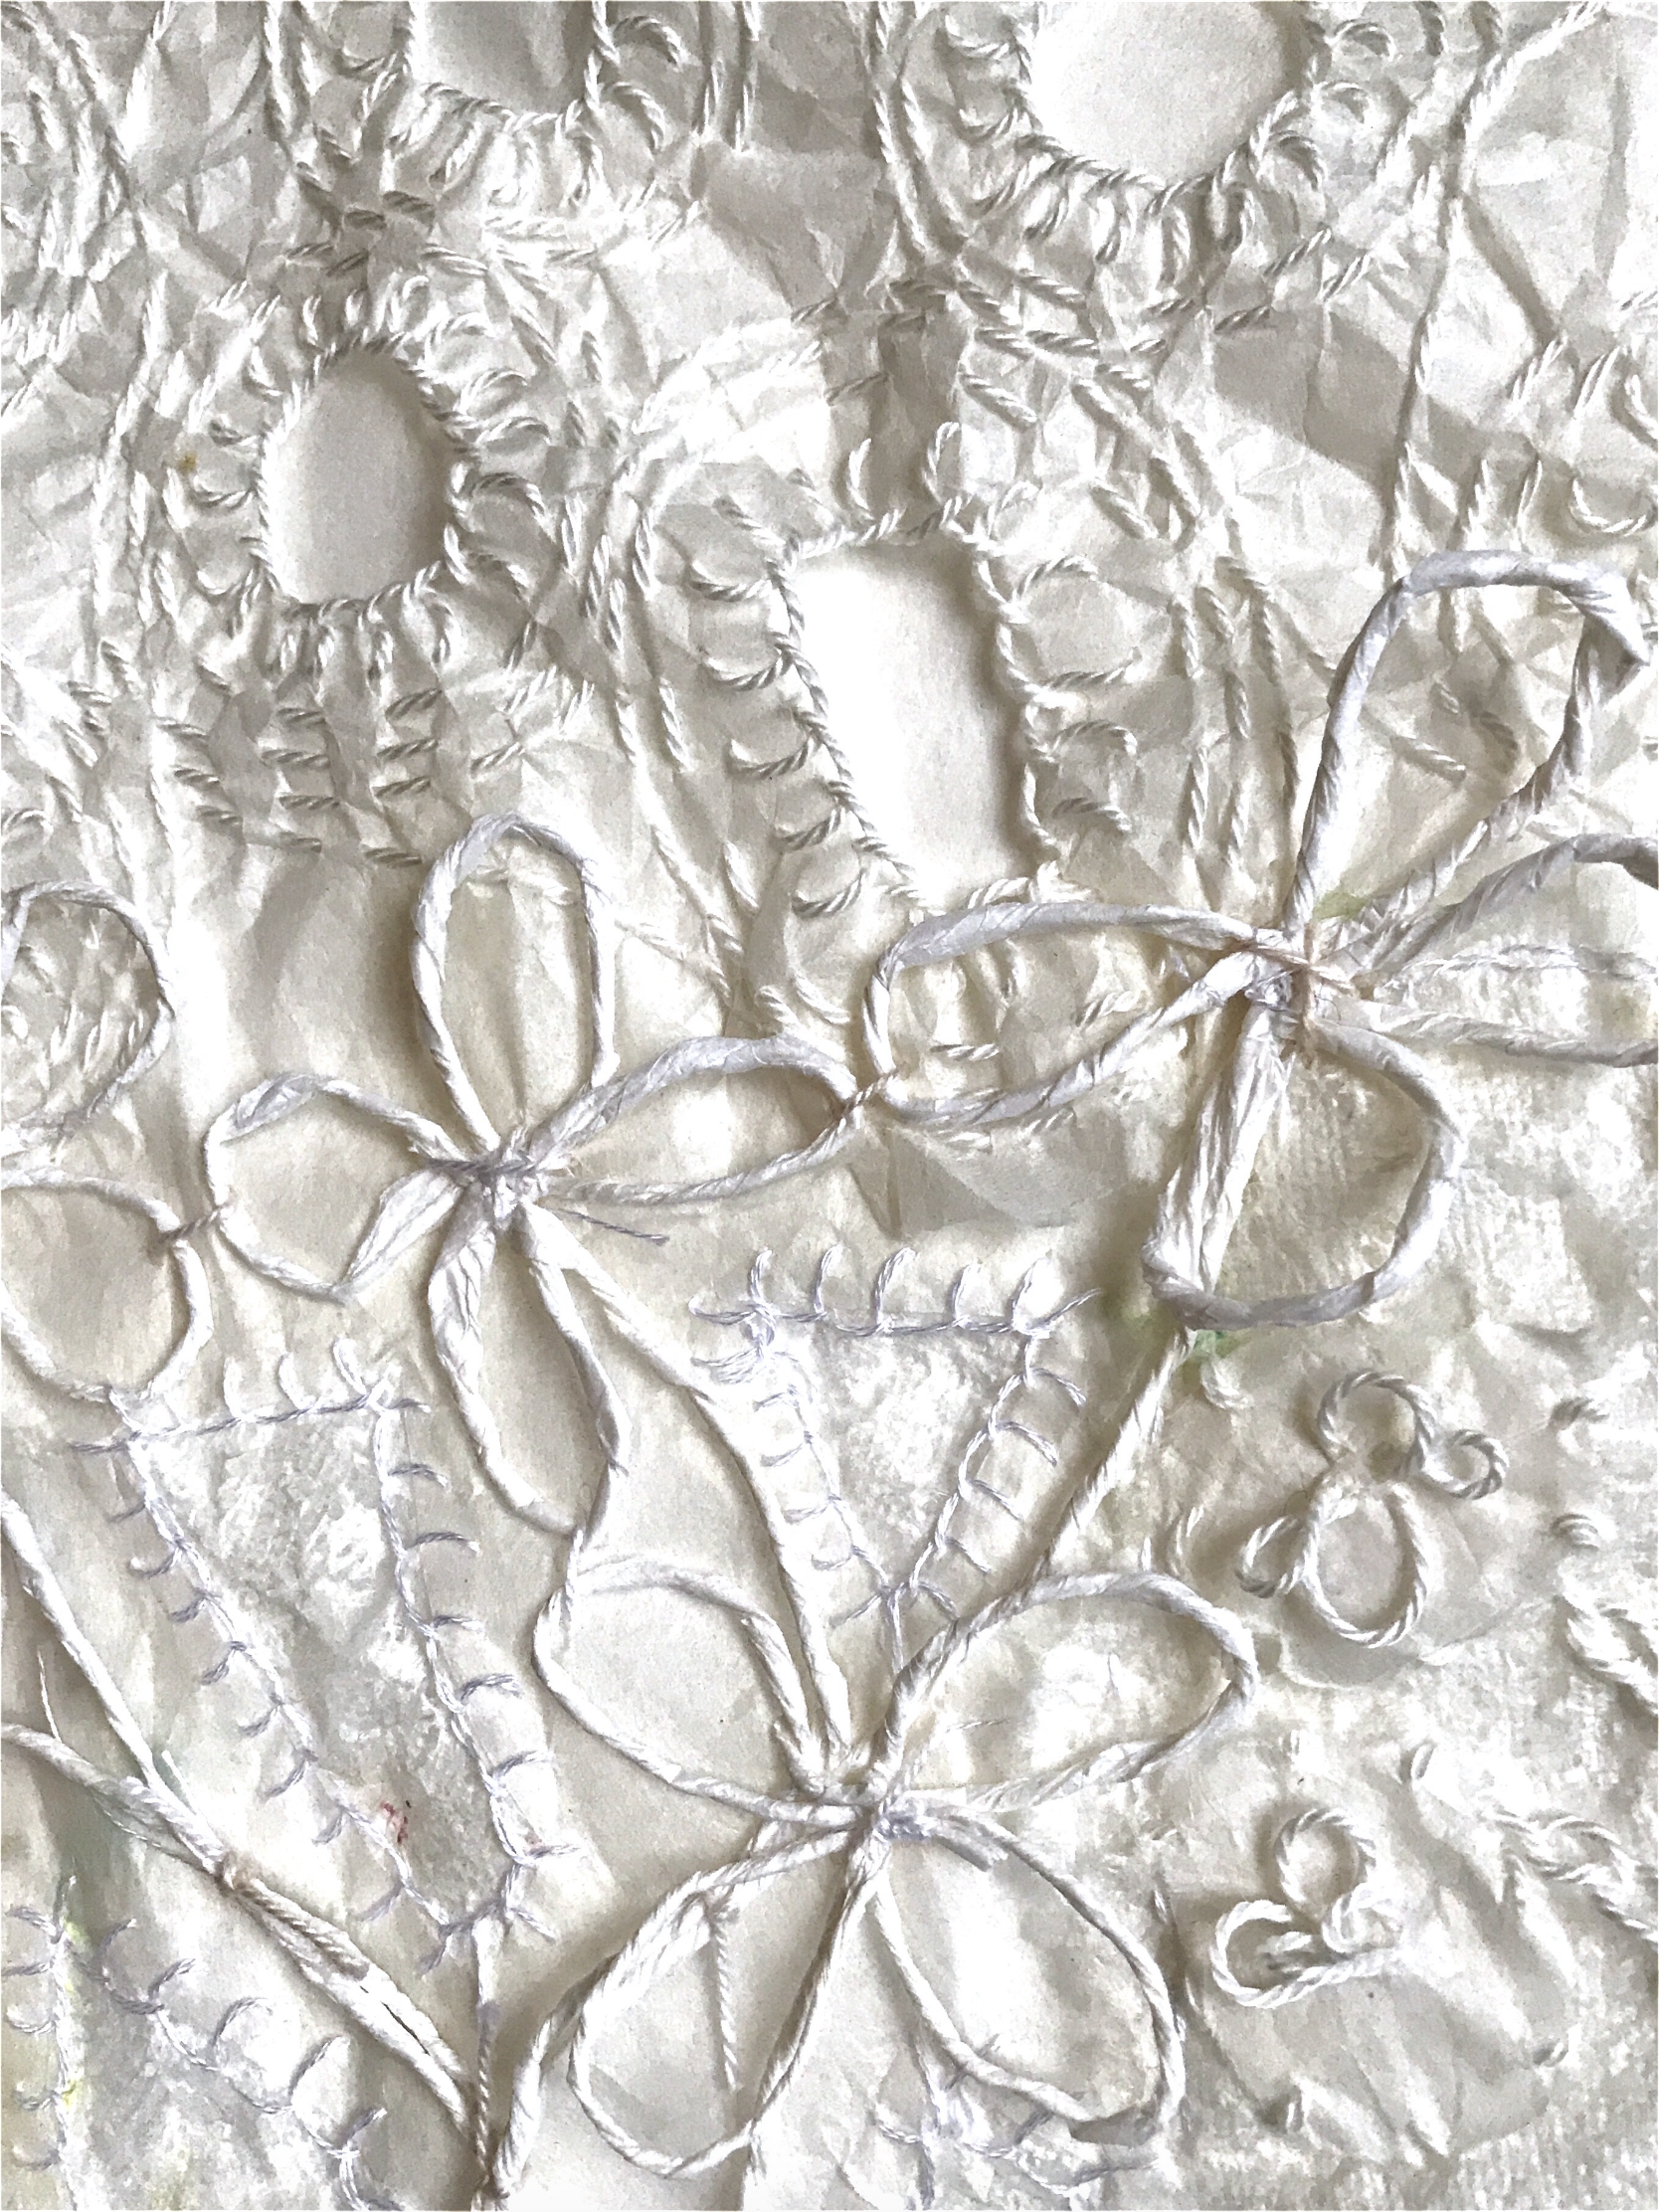
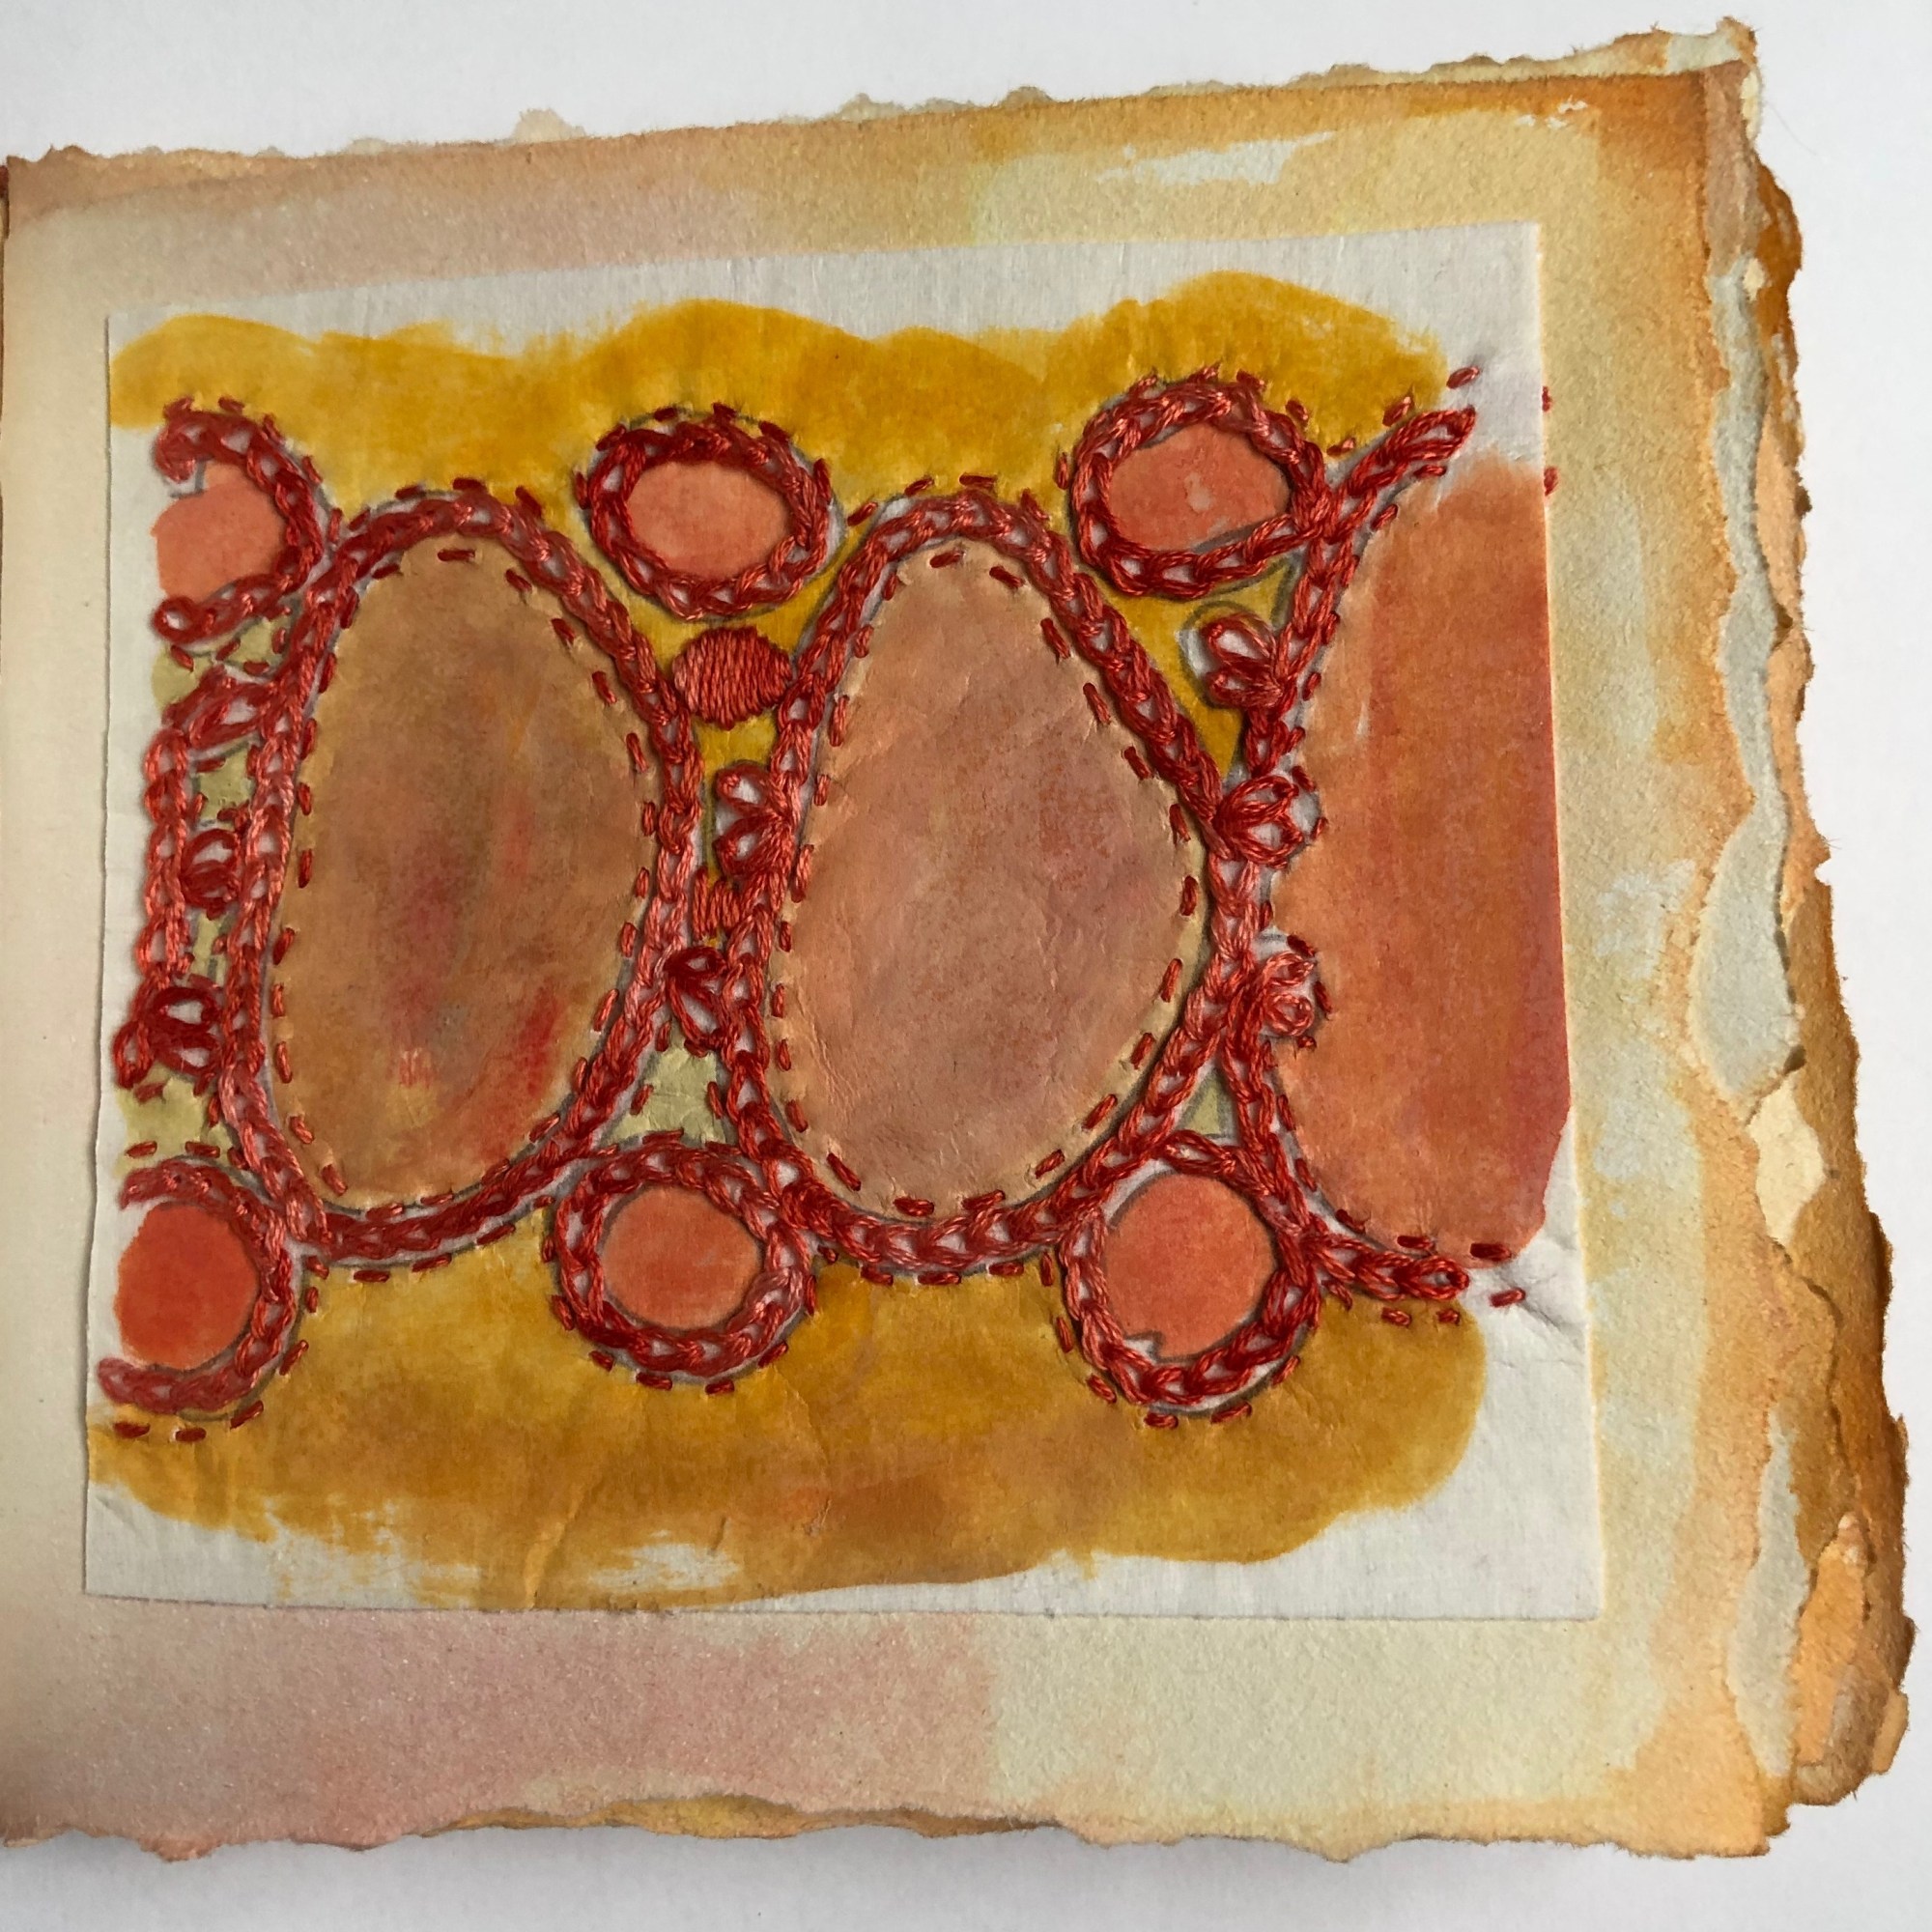
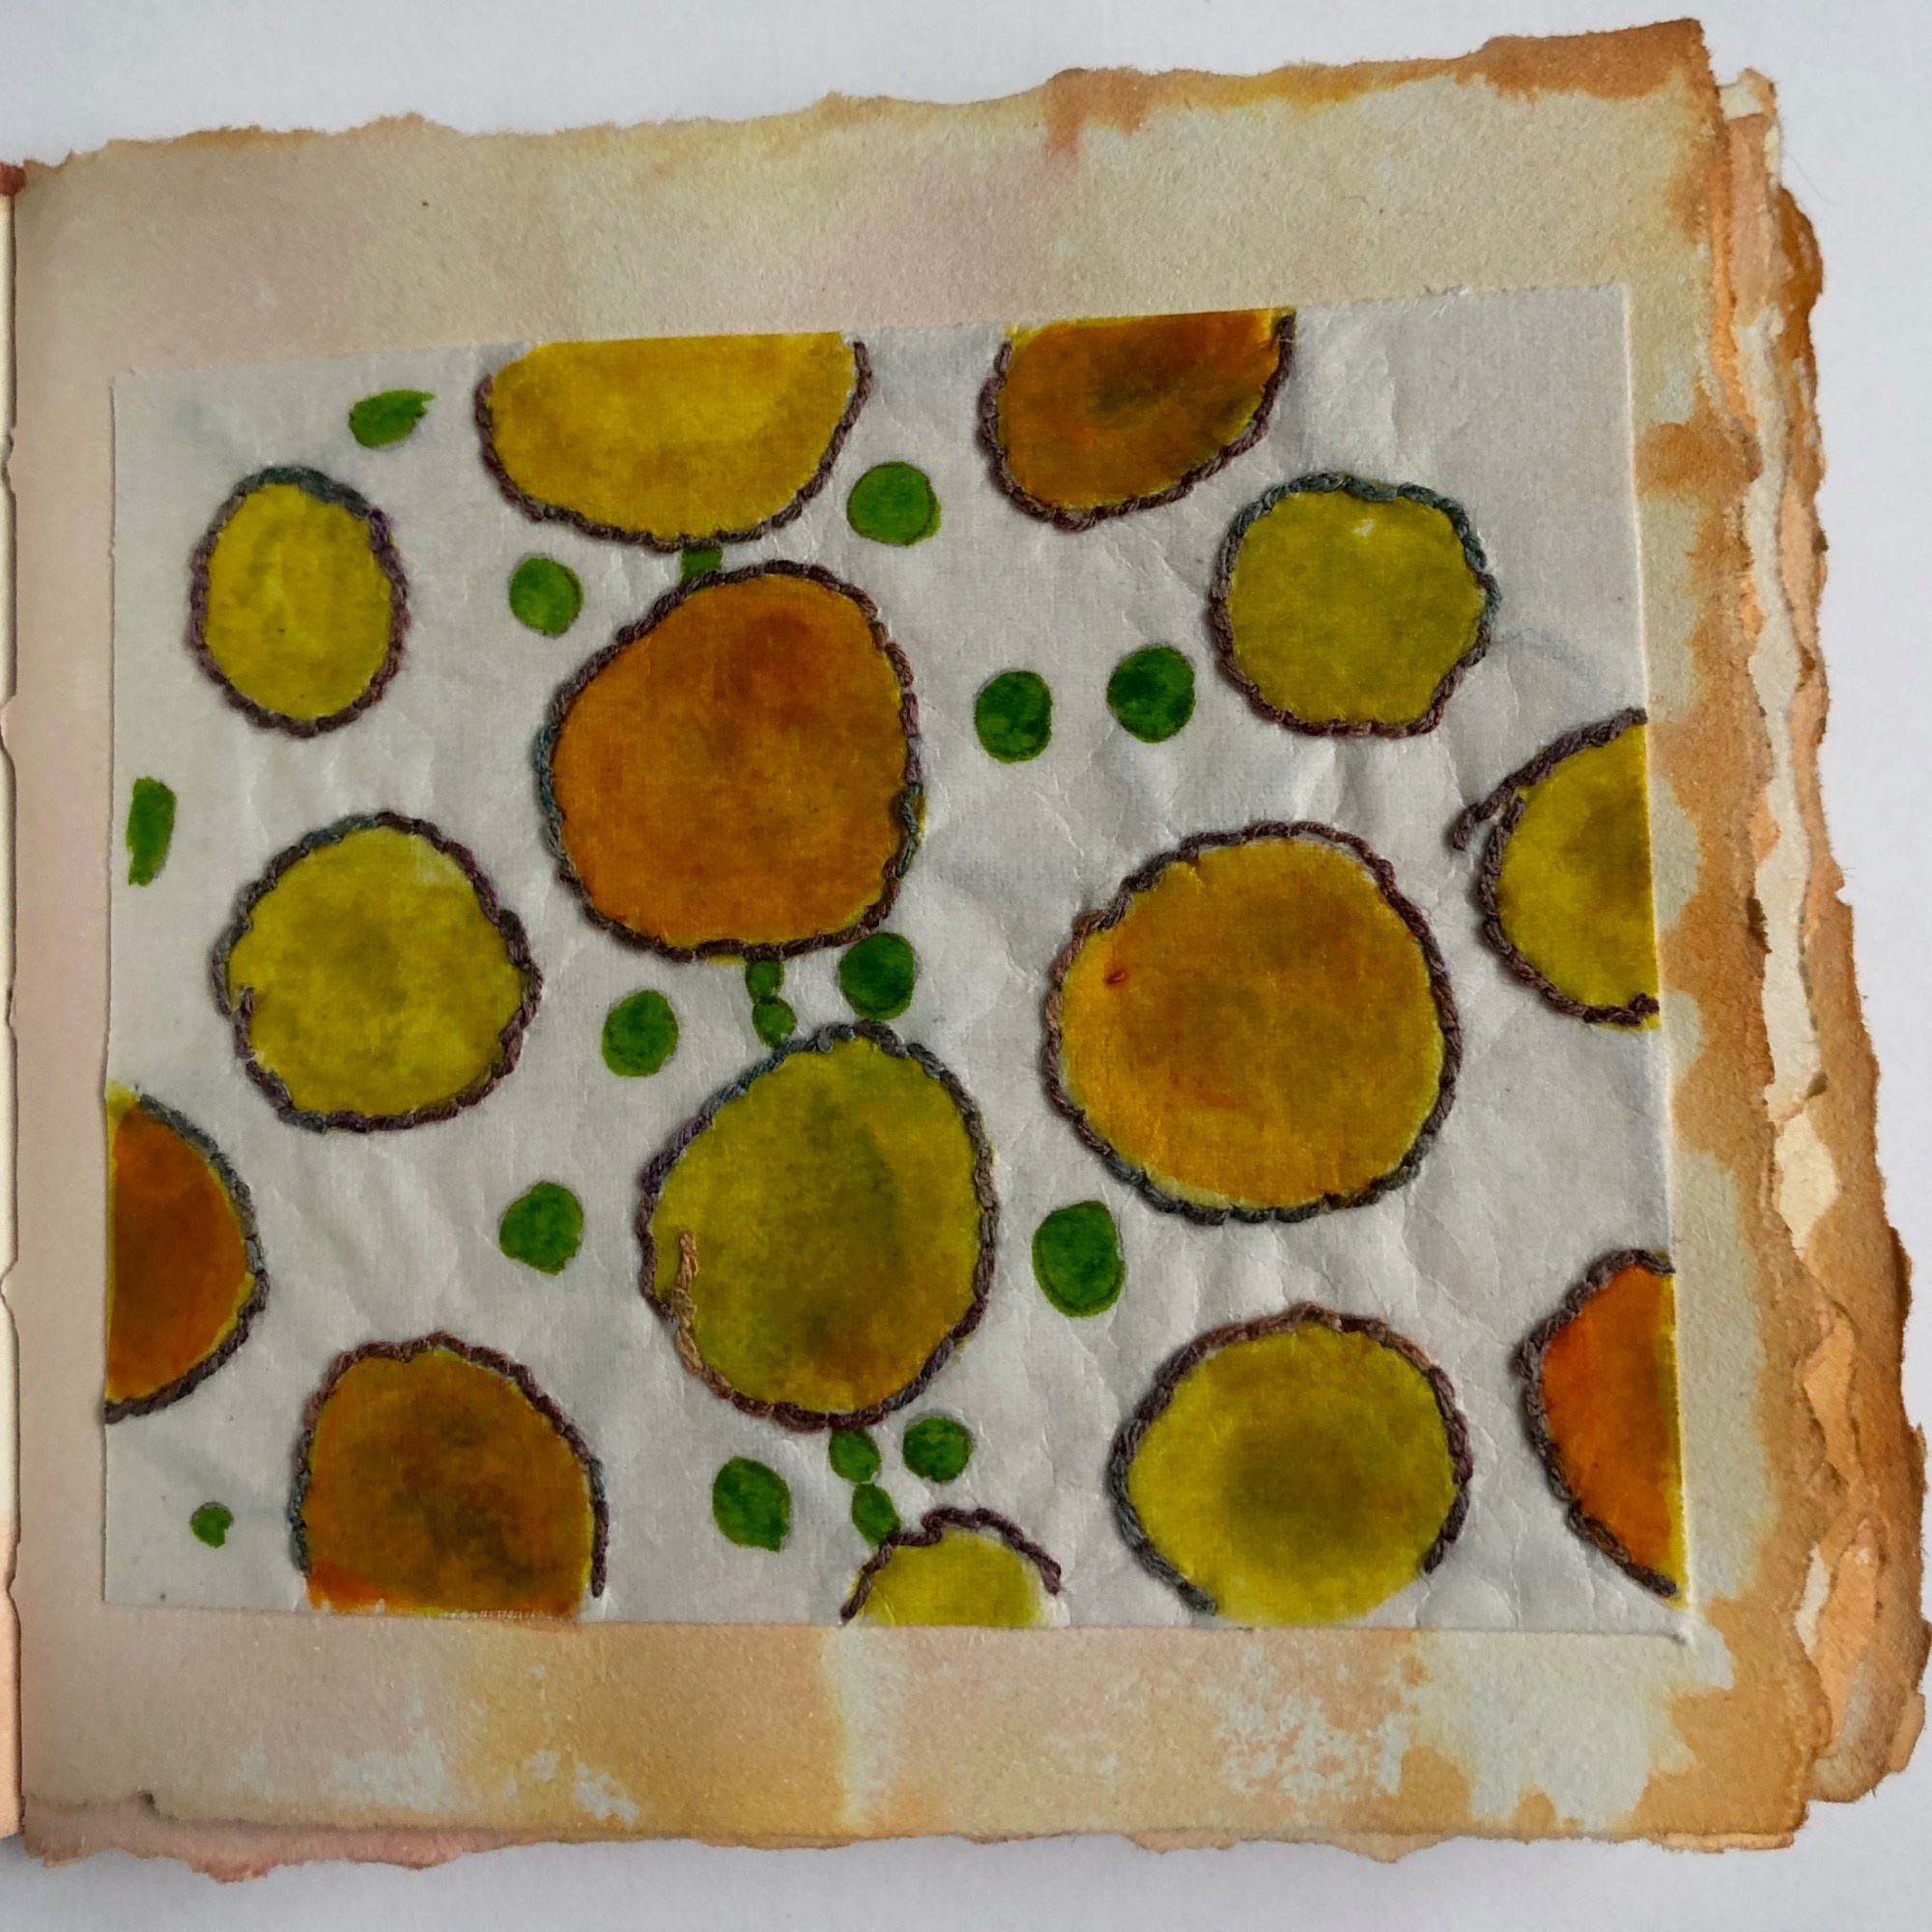
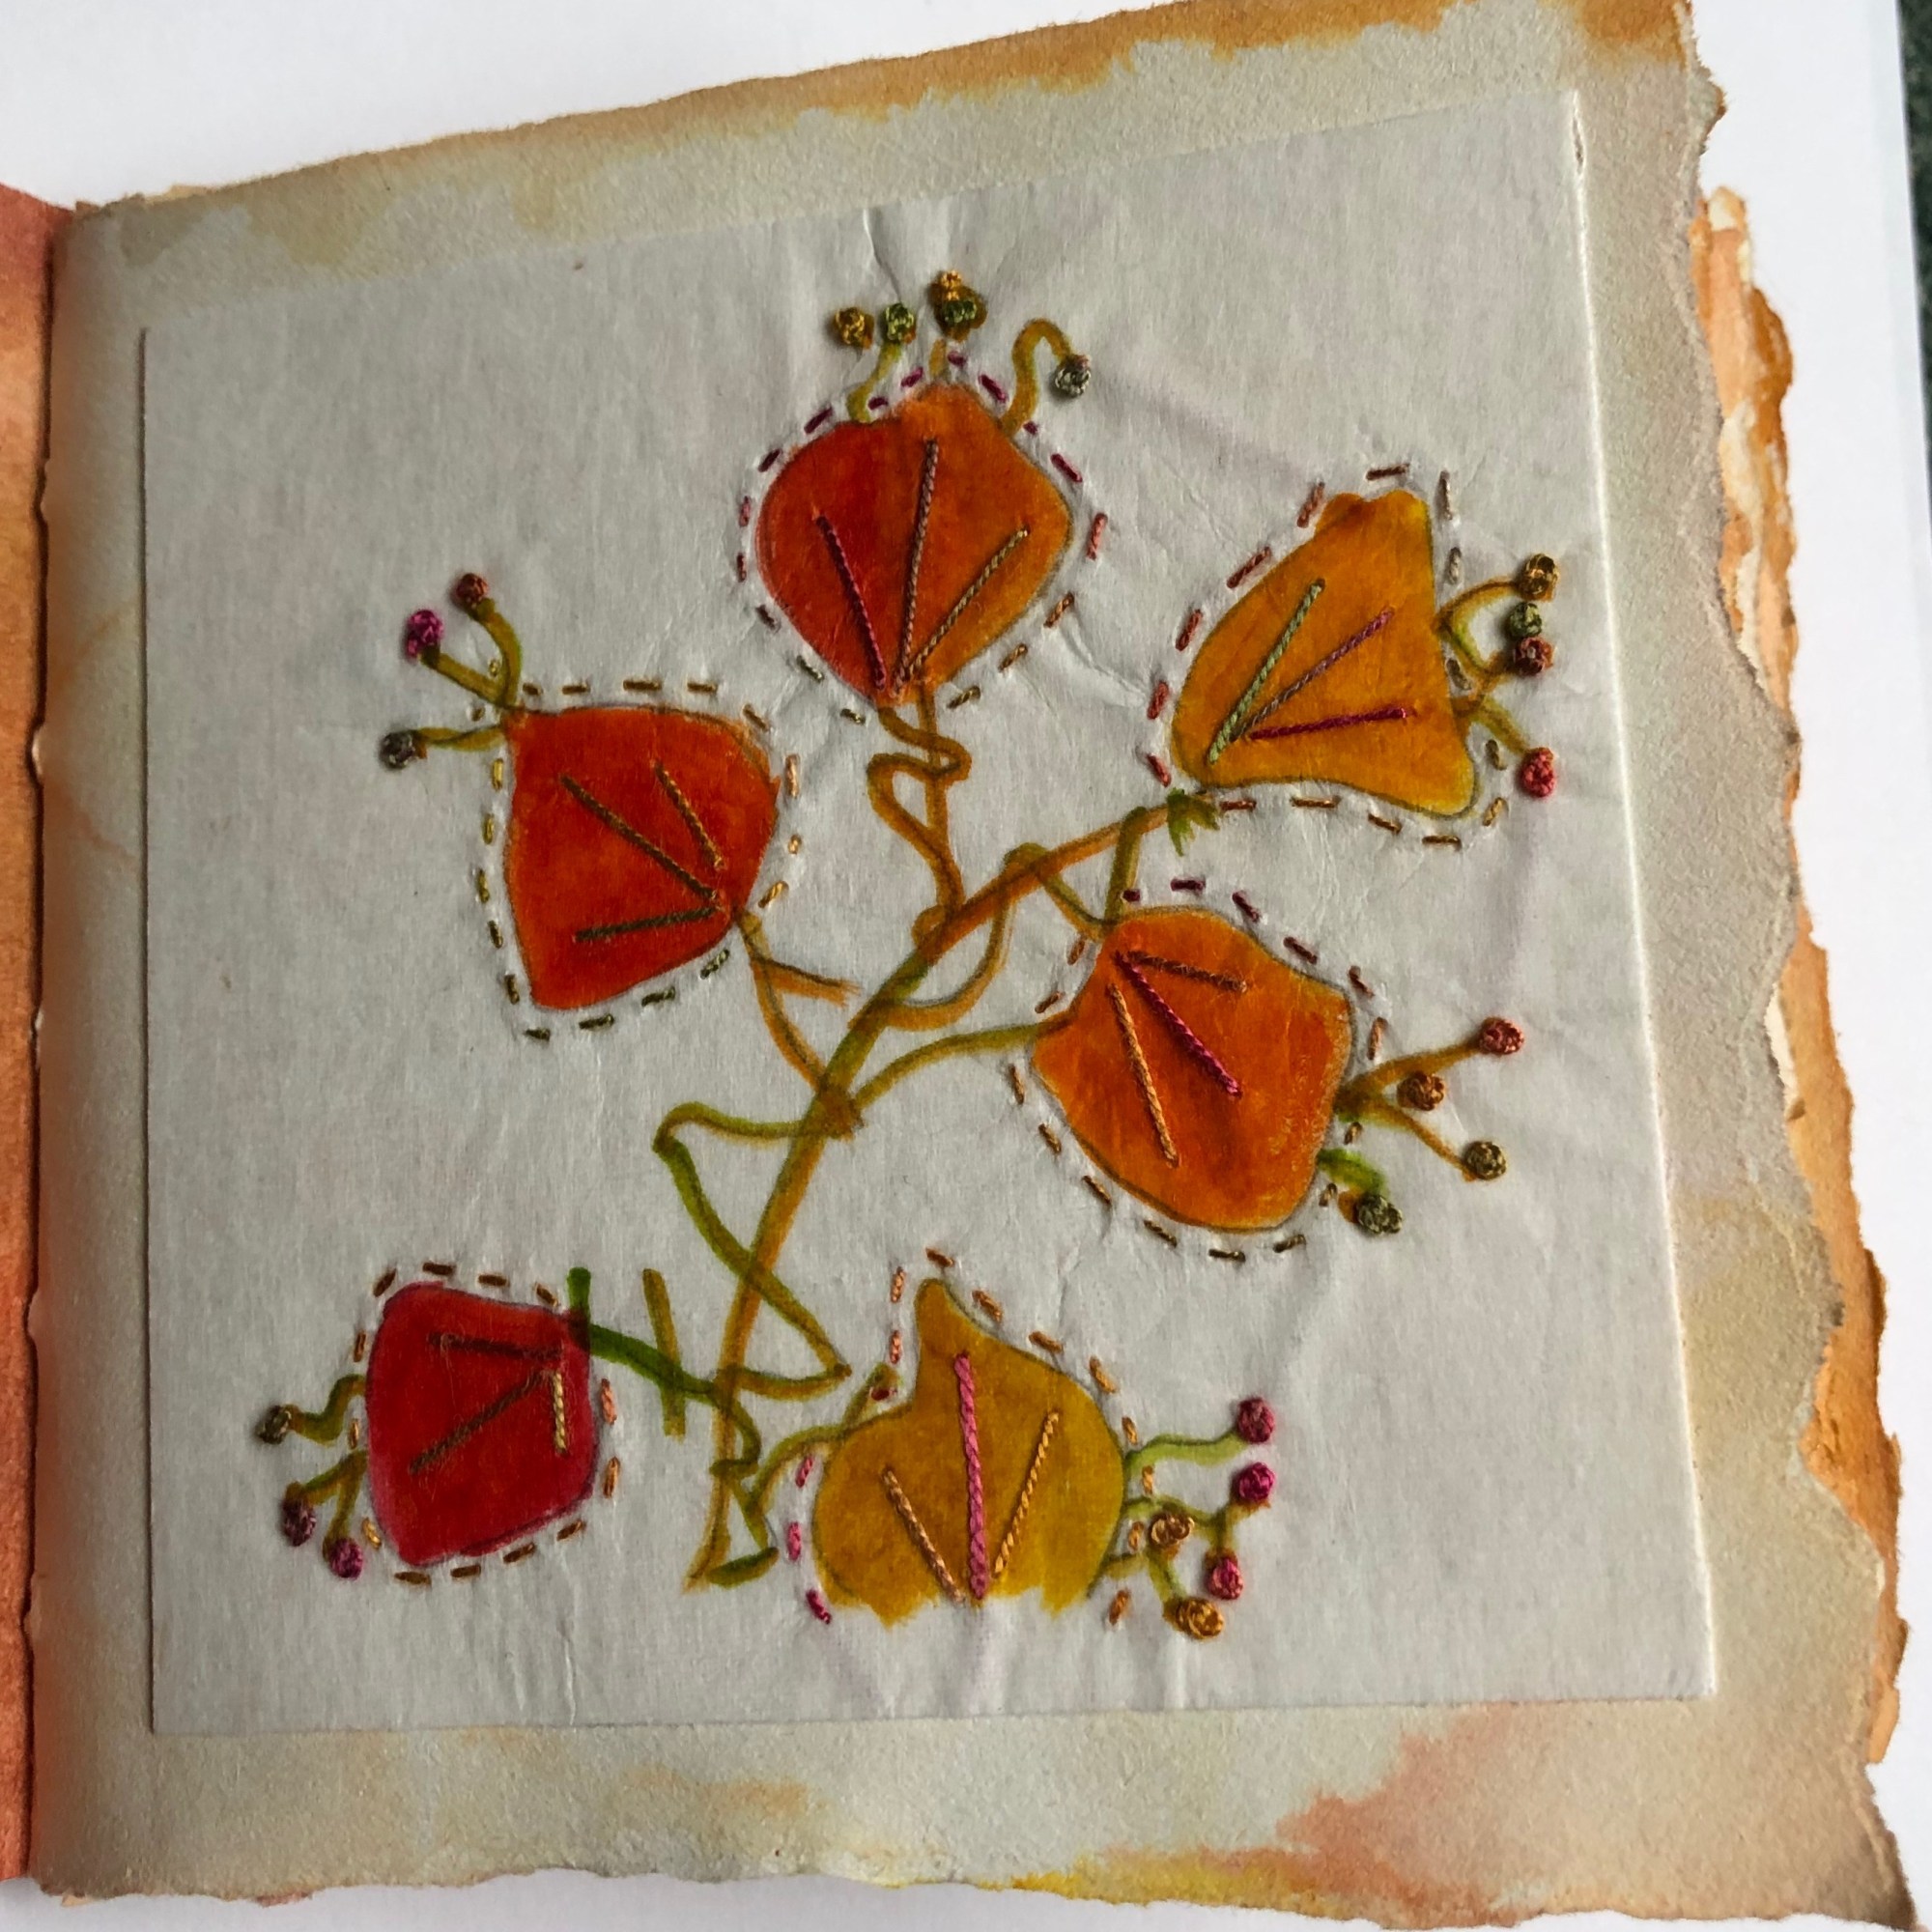
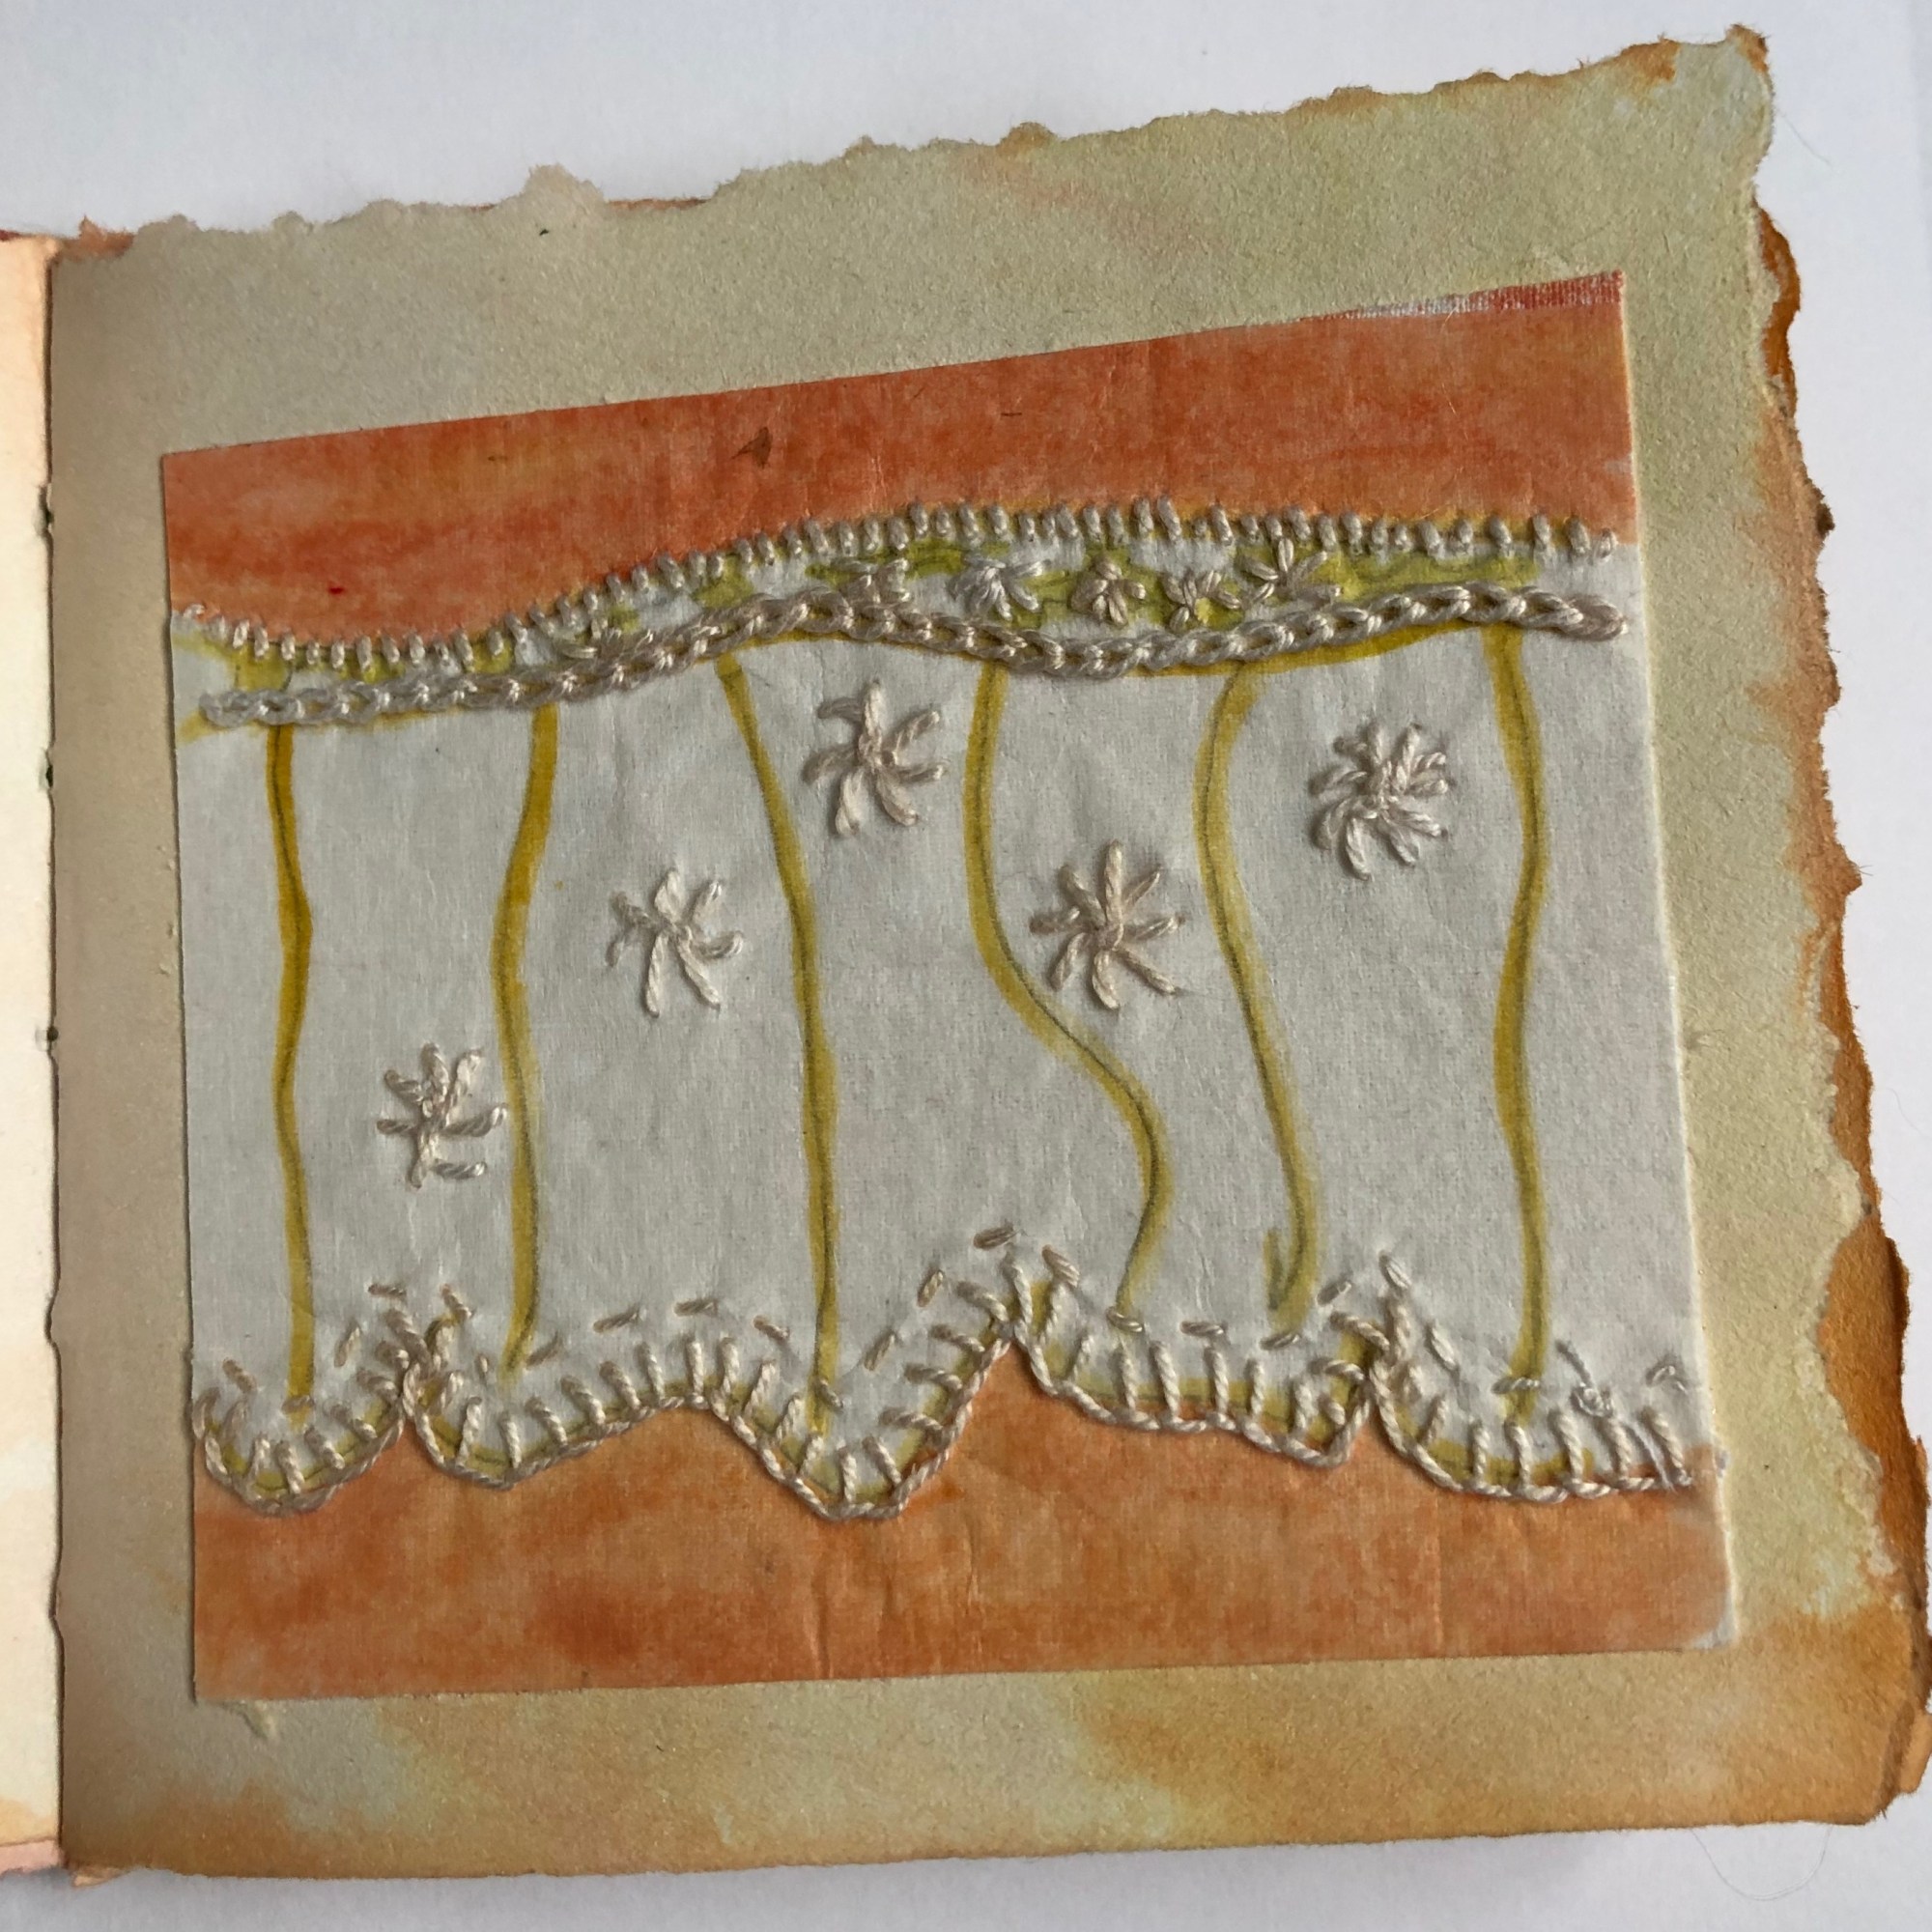
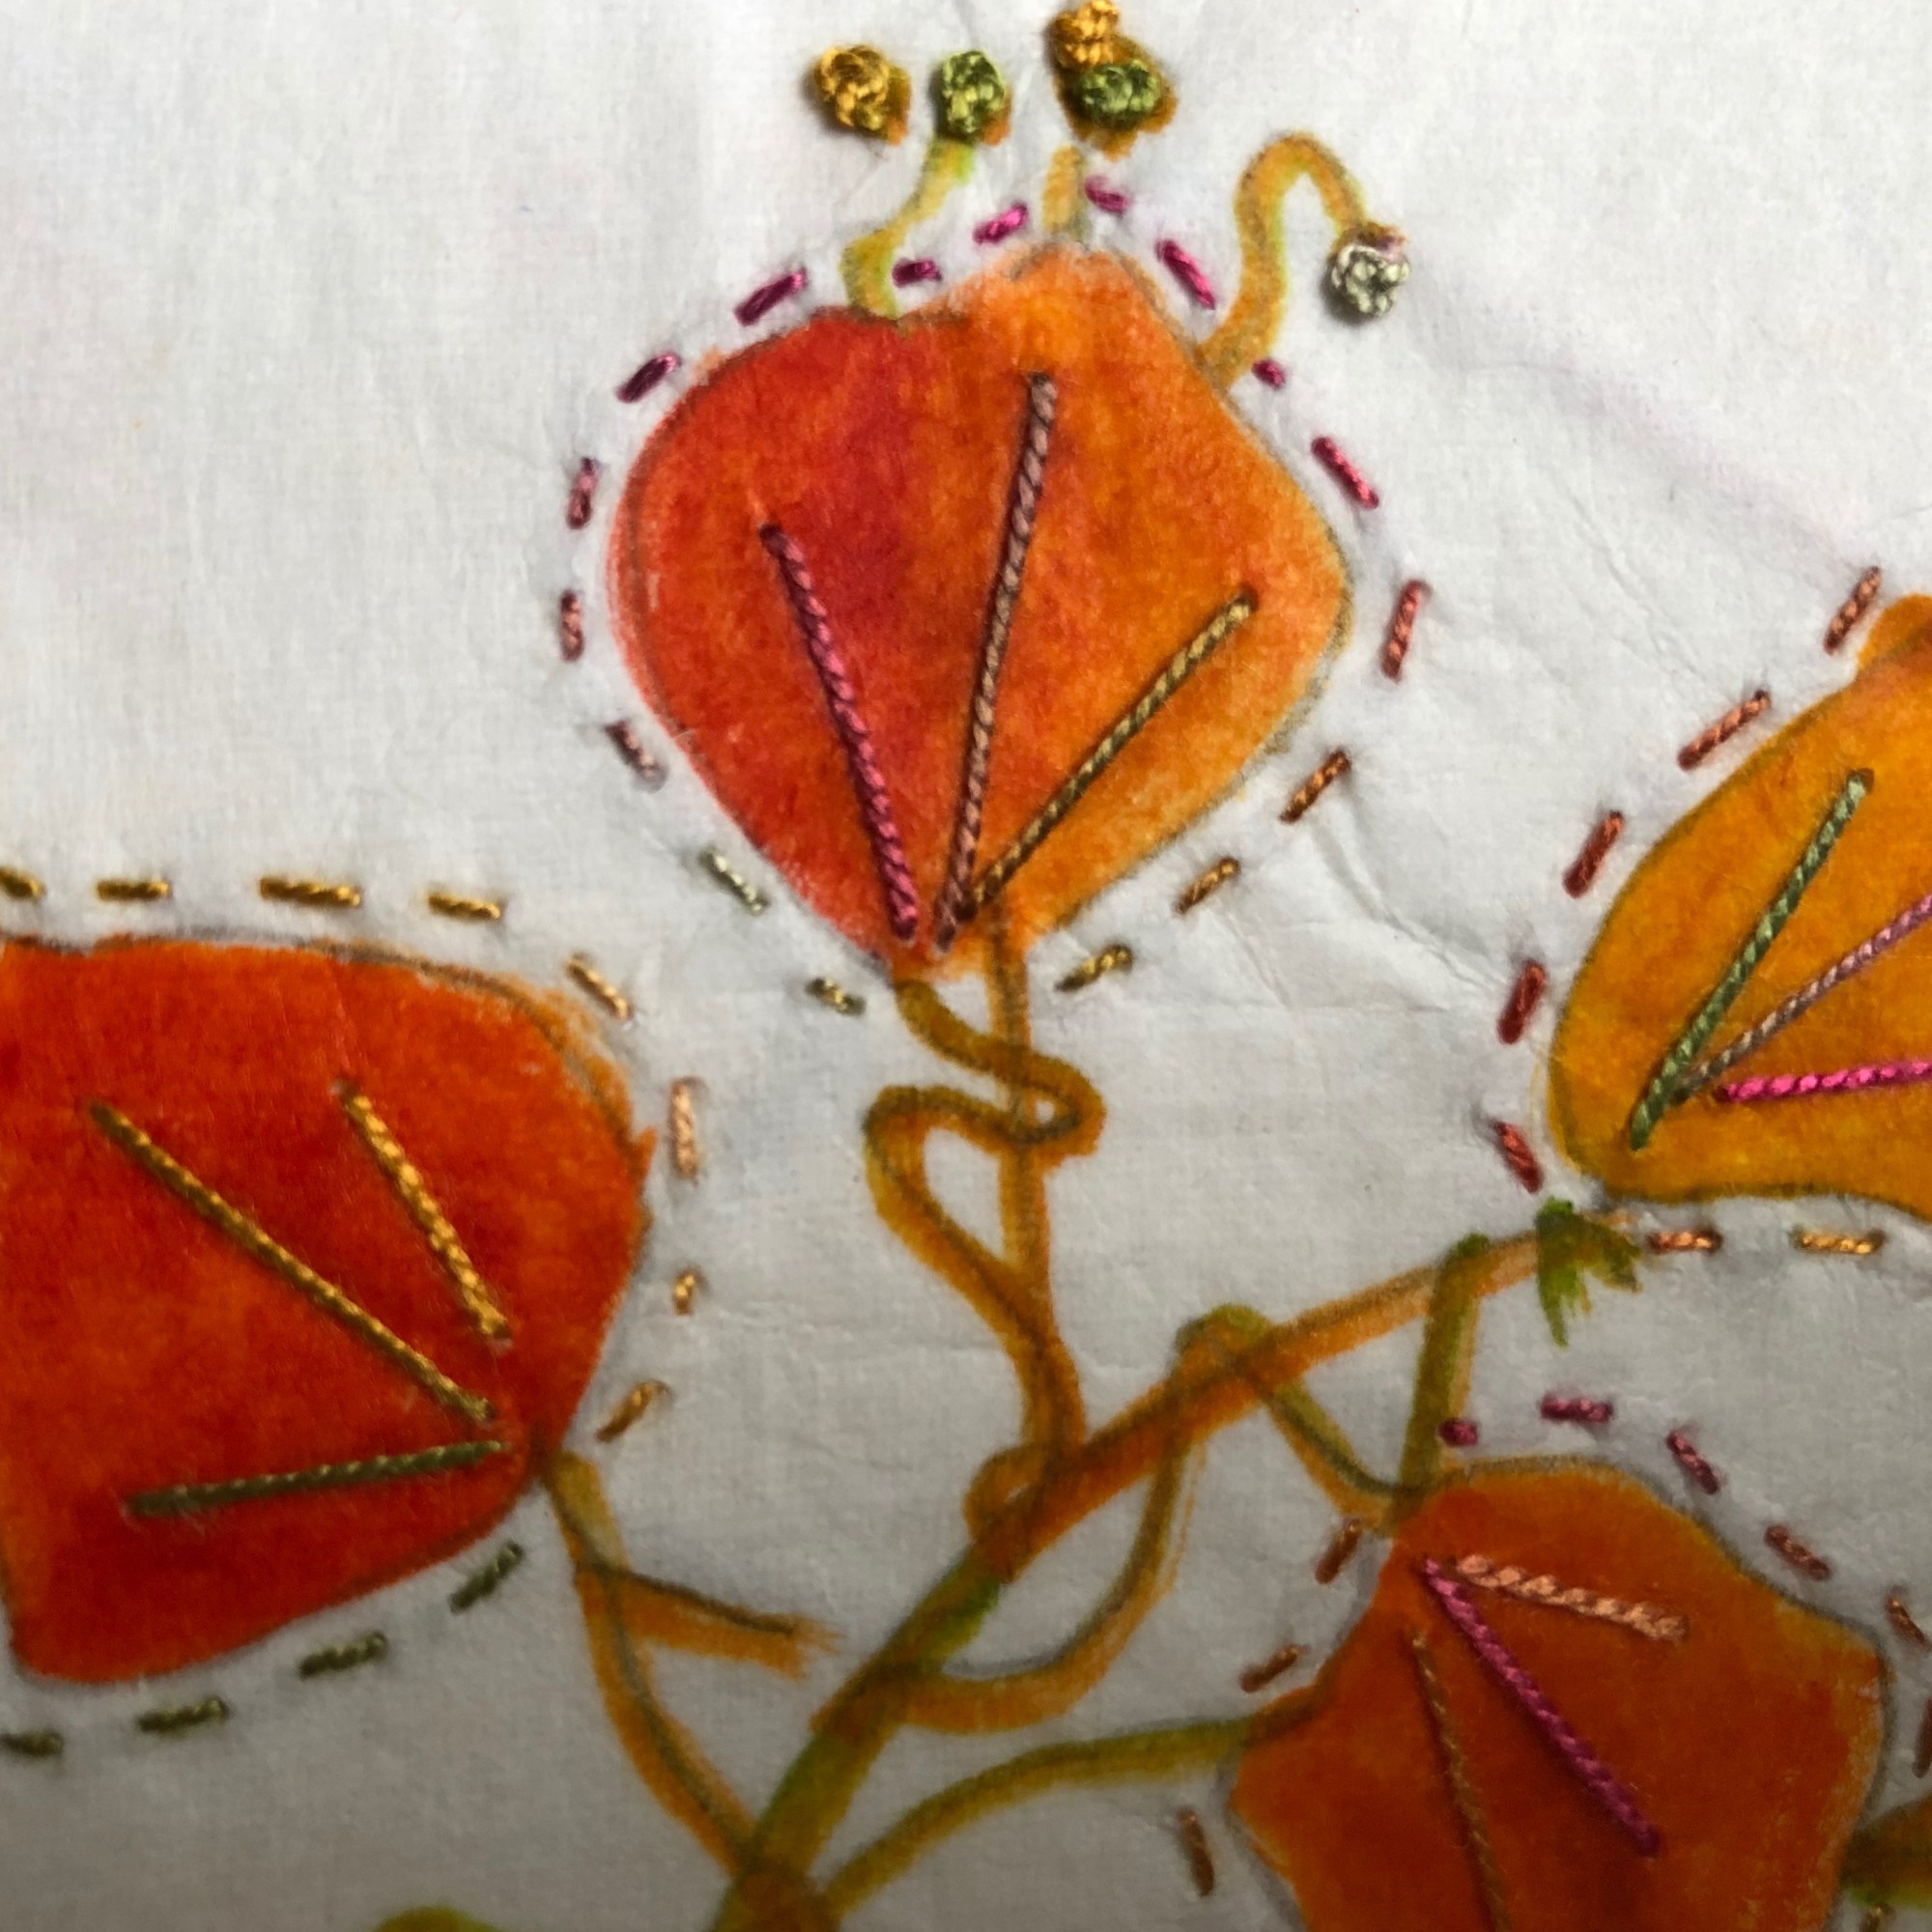
Throughout my work on assignment 2 I have been looking at the work and ideas of textile artist Cas Holmes. Cas works with found and reclaimed items and also uses a process of destroying and remaking. She collects all types of paper such as envelopes, brown paper, magazines, tissues etc together with textiles and found objects, and creates new pieces.

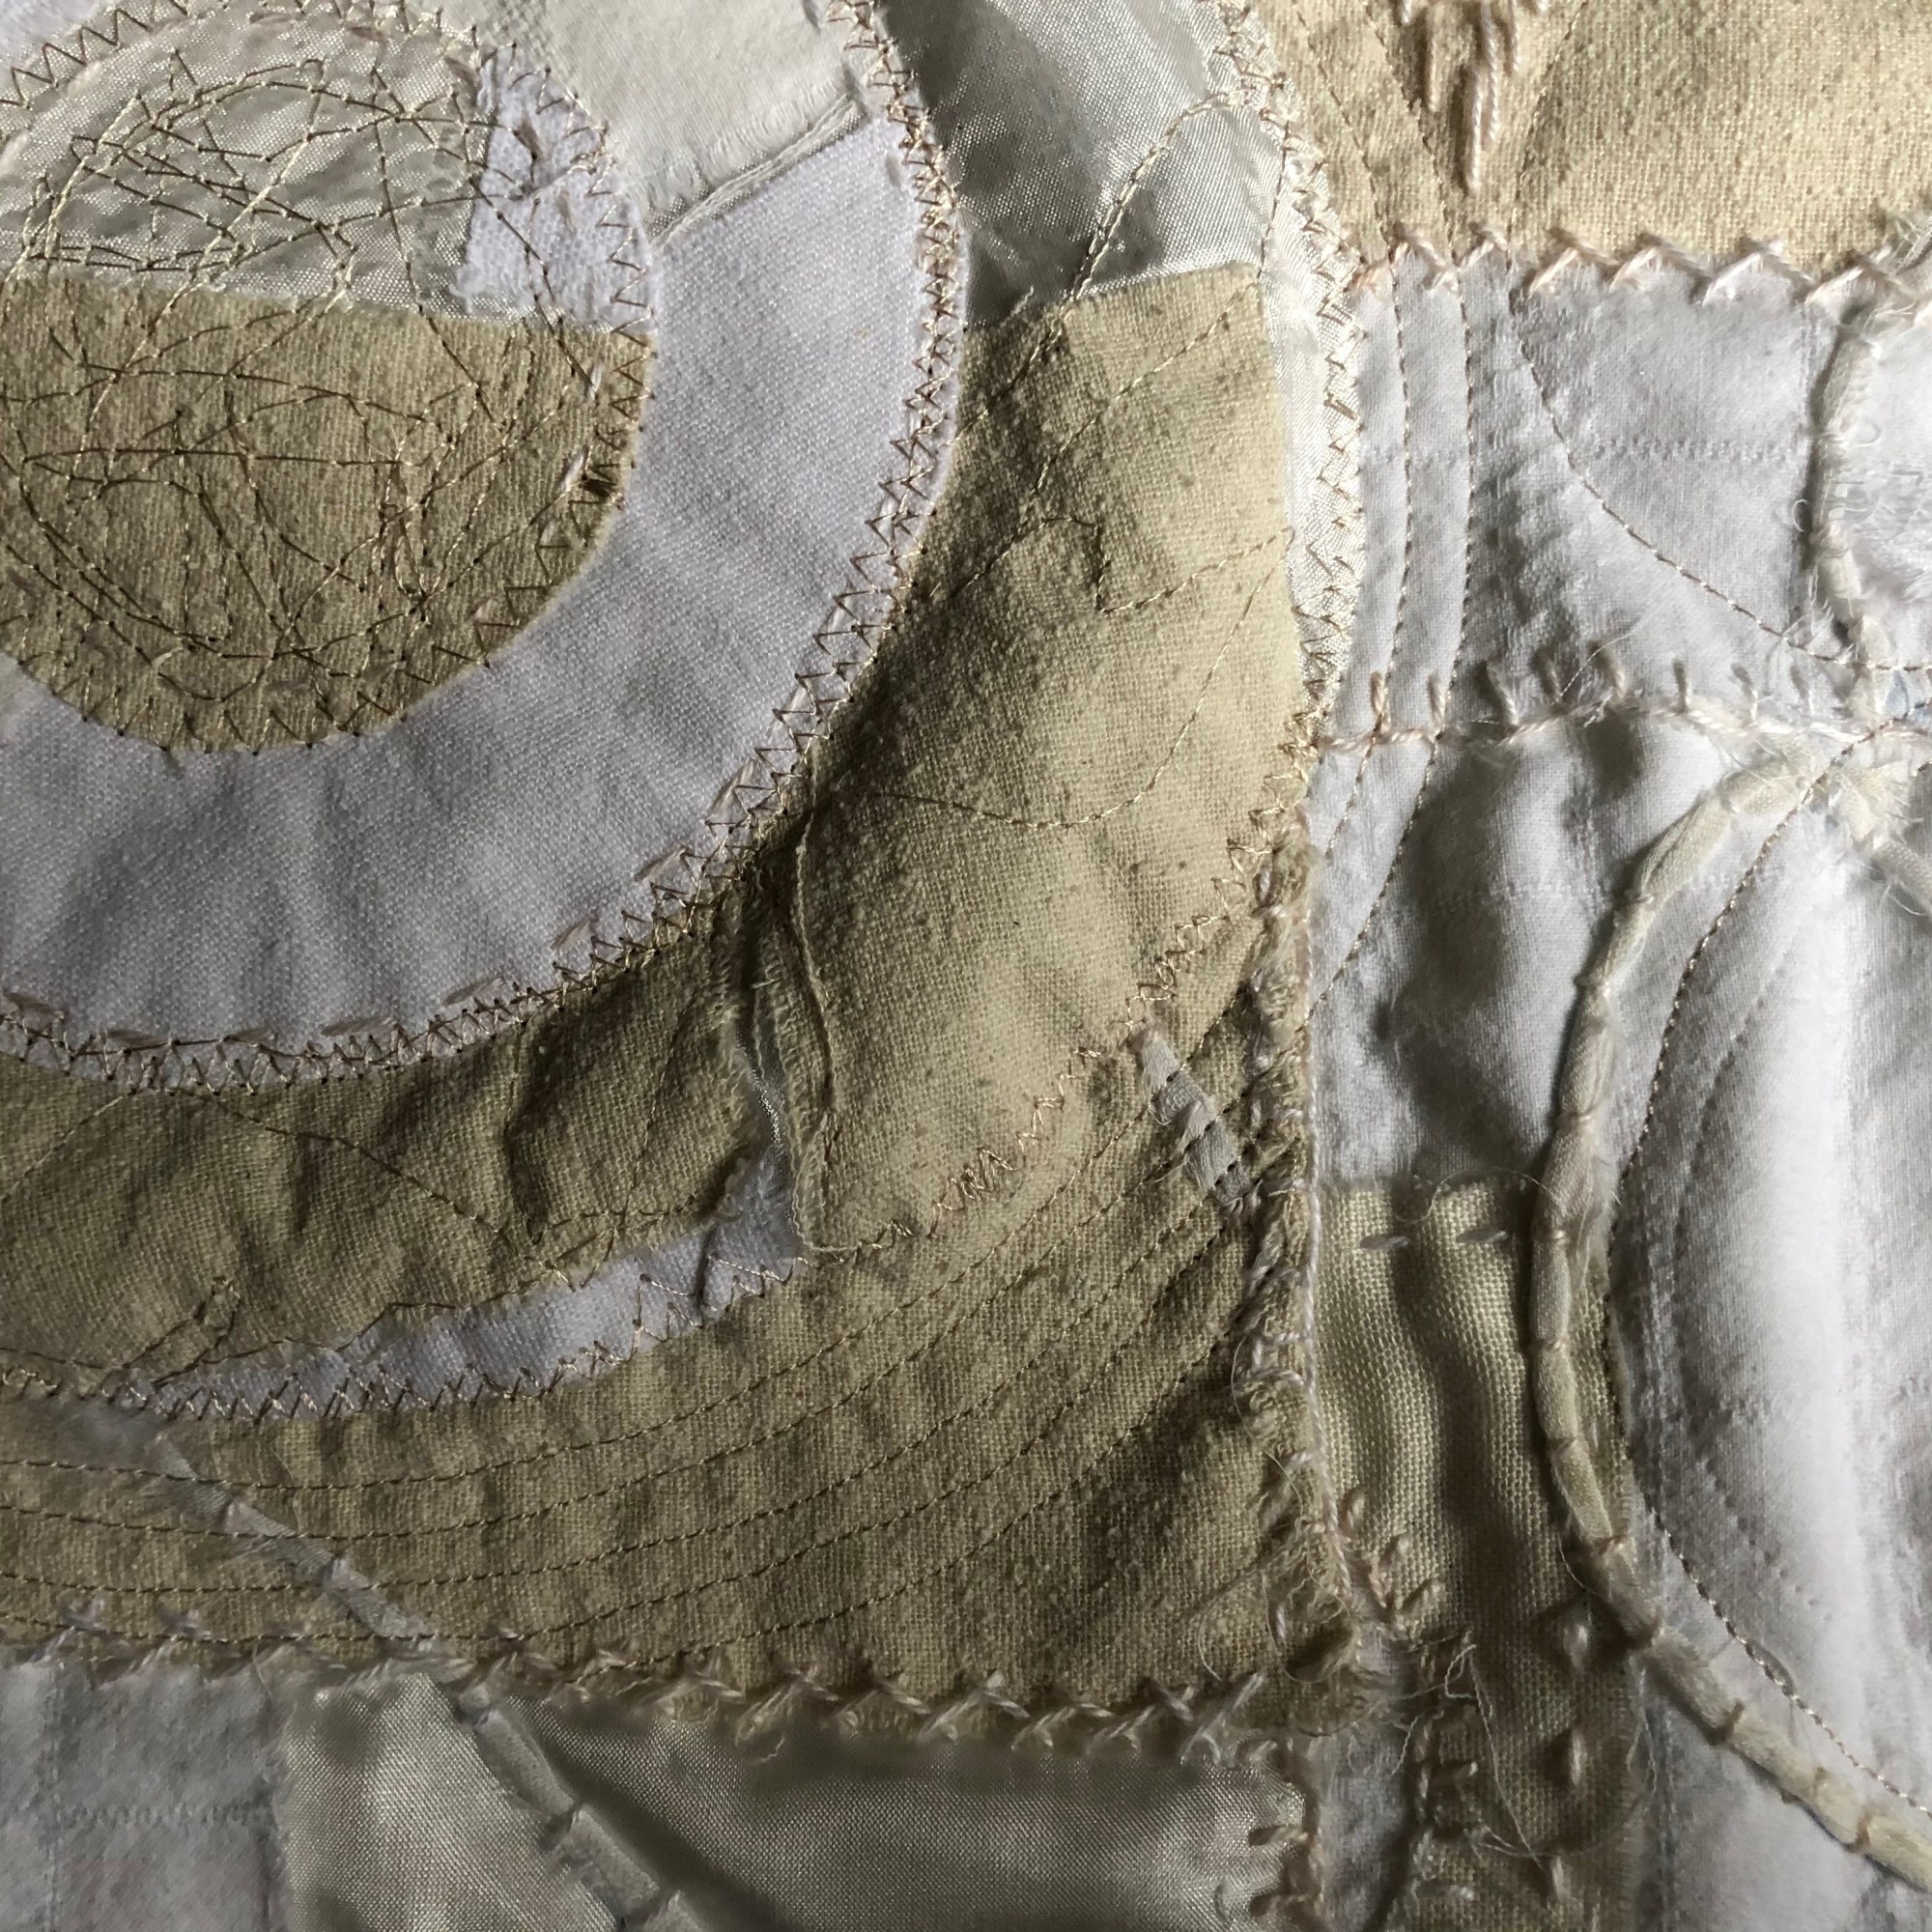
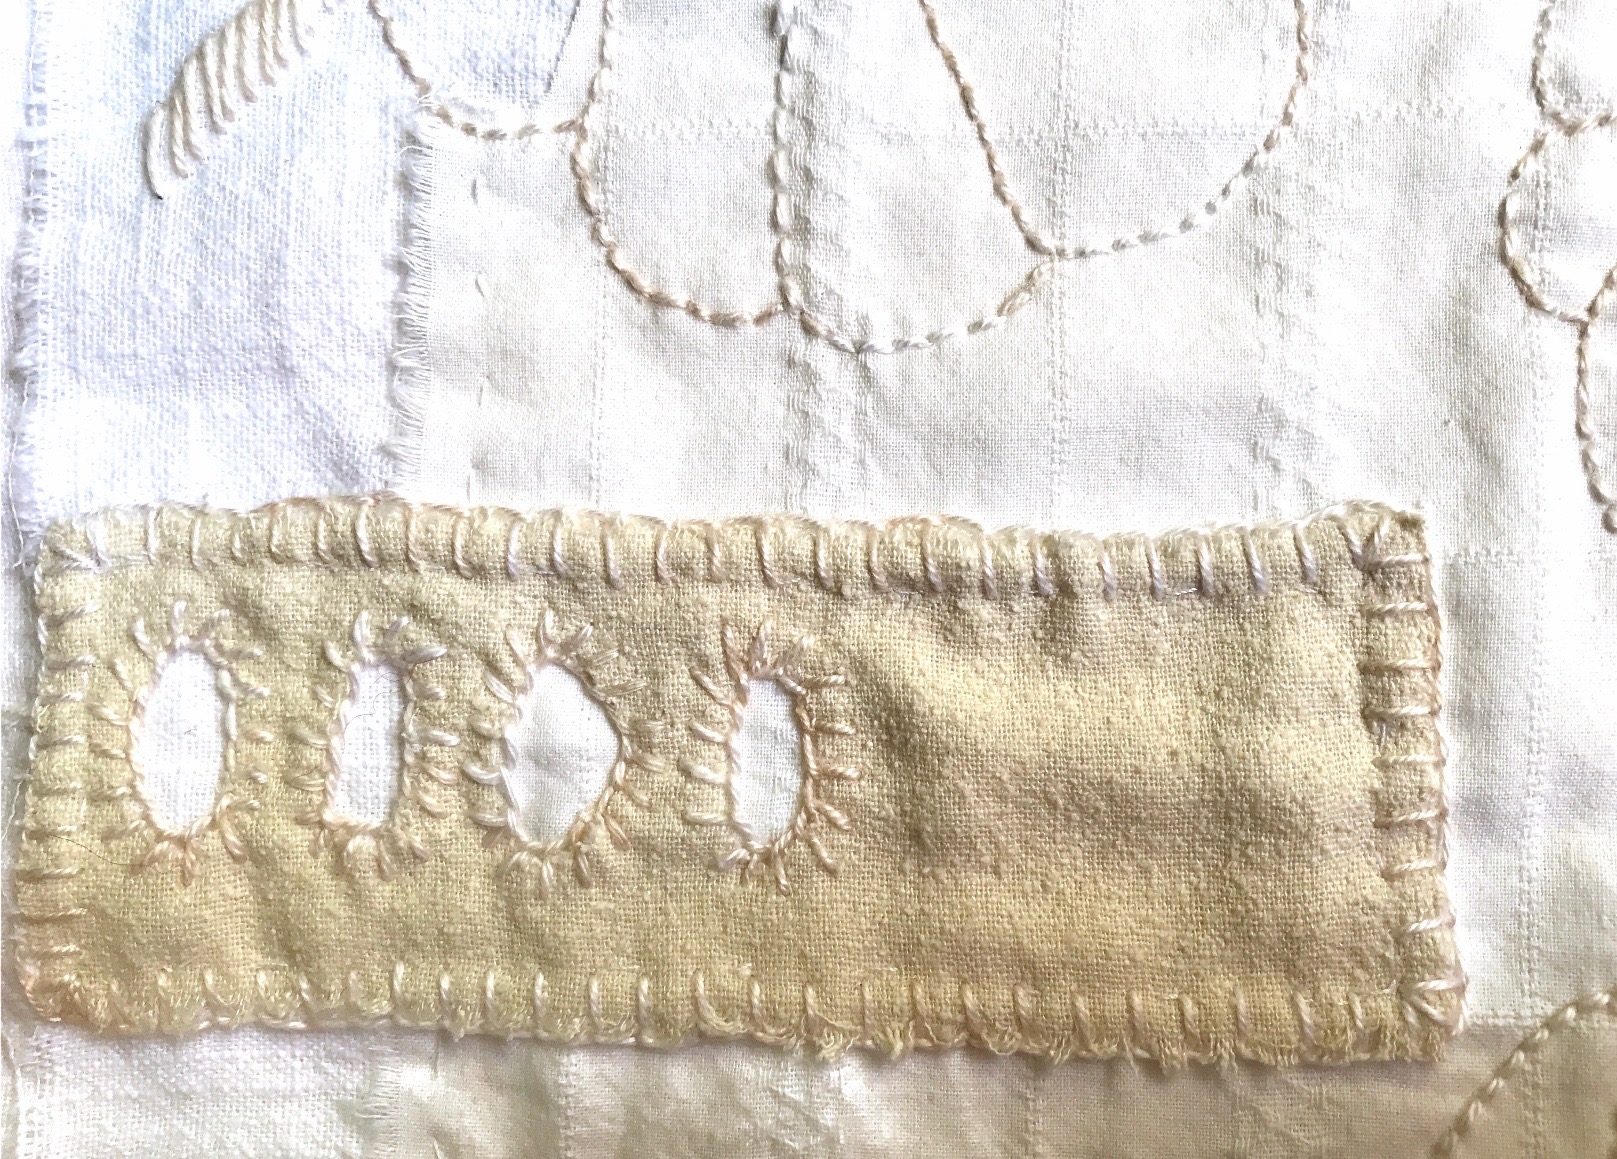
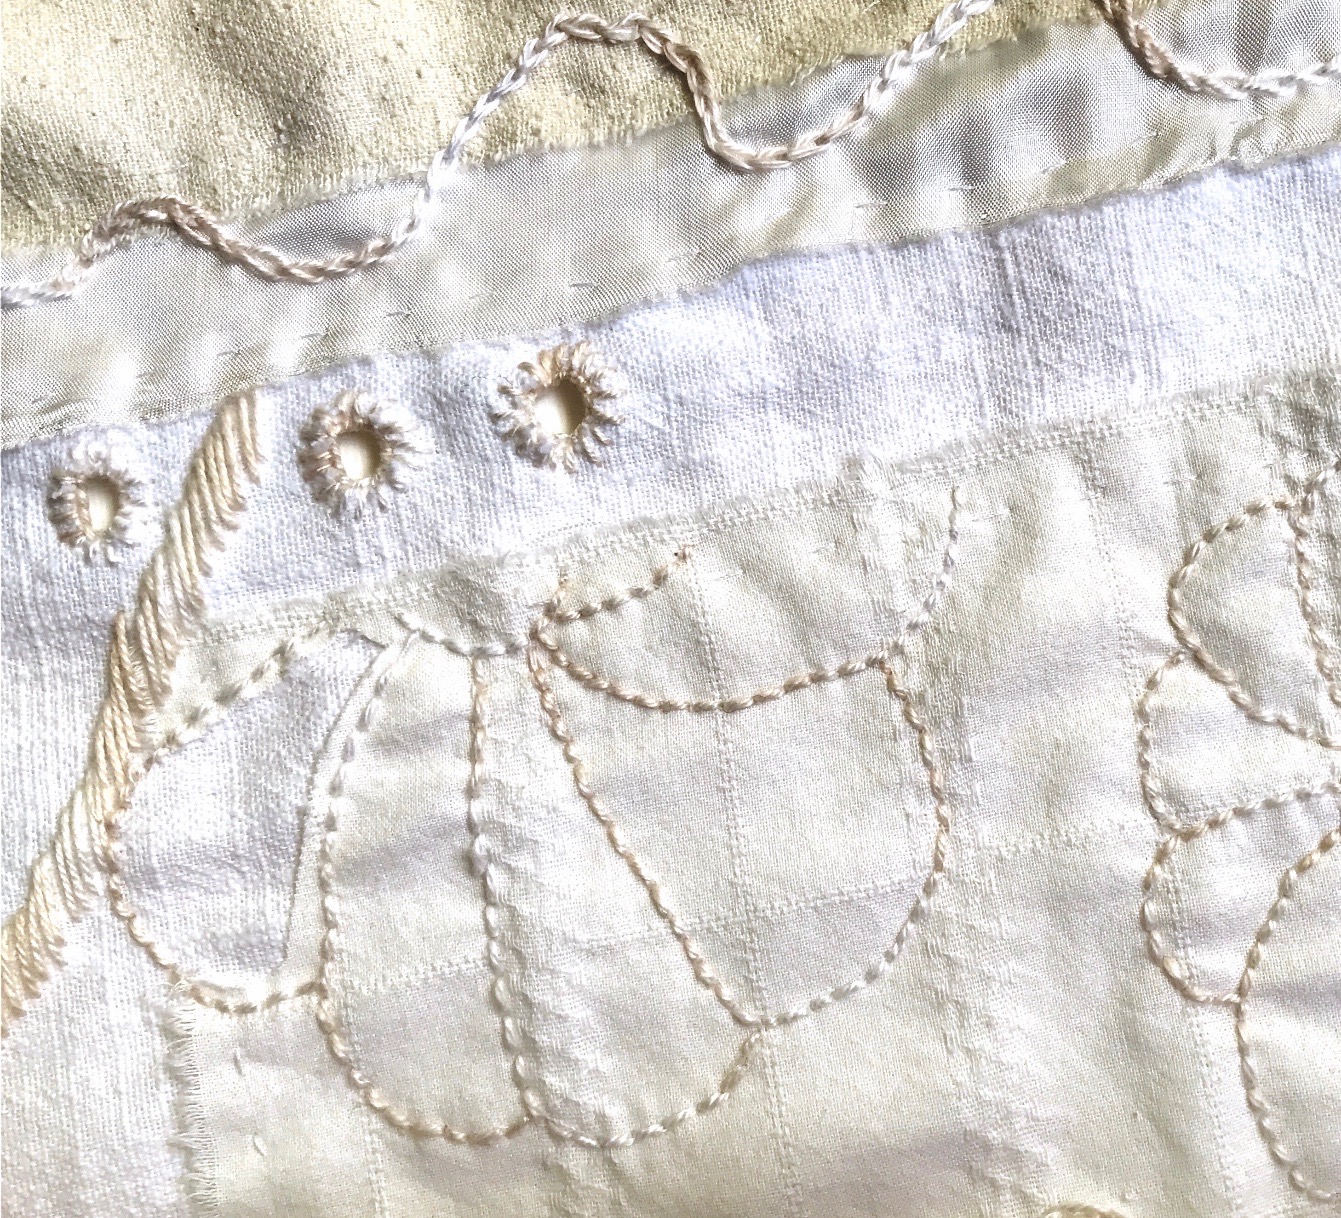
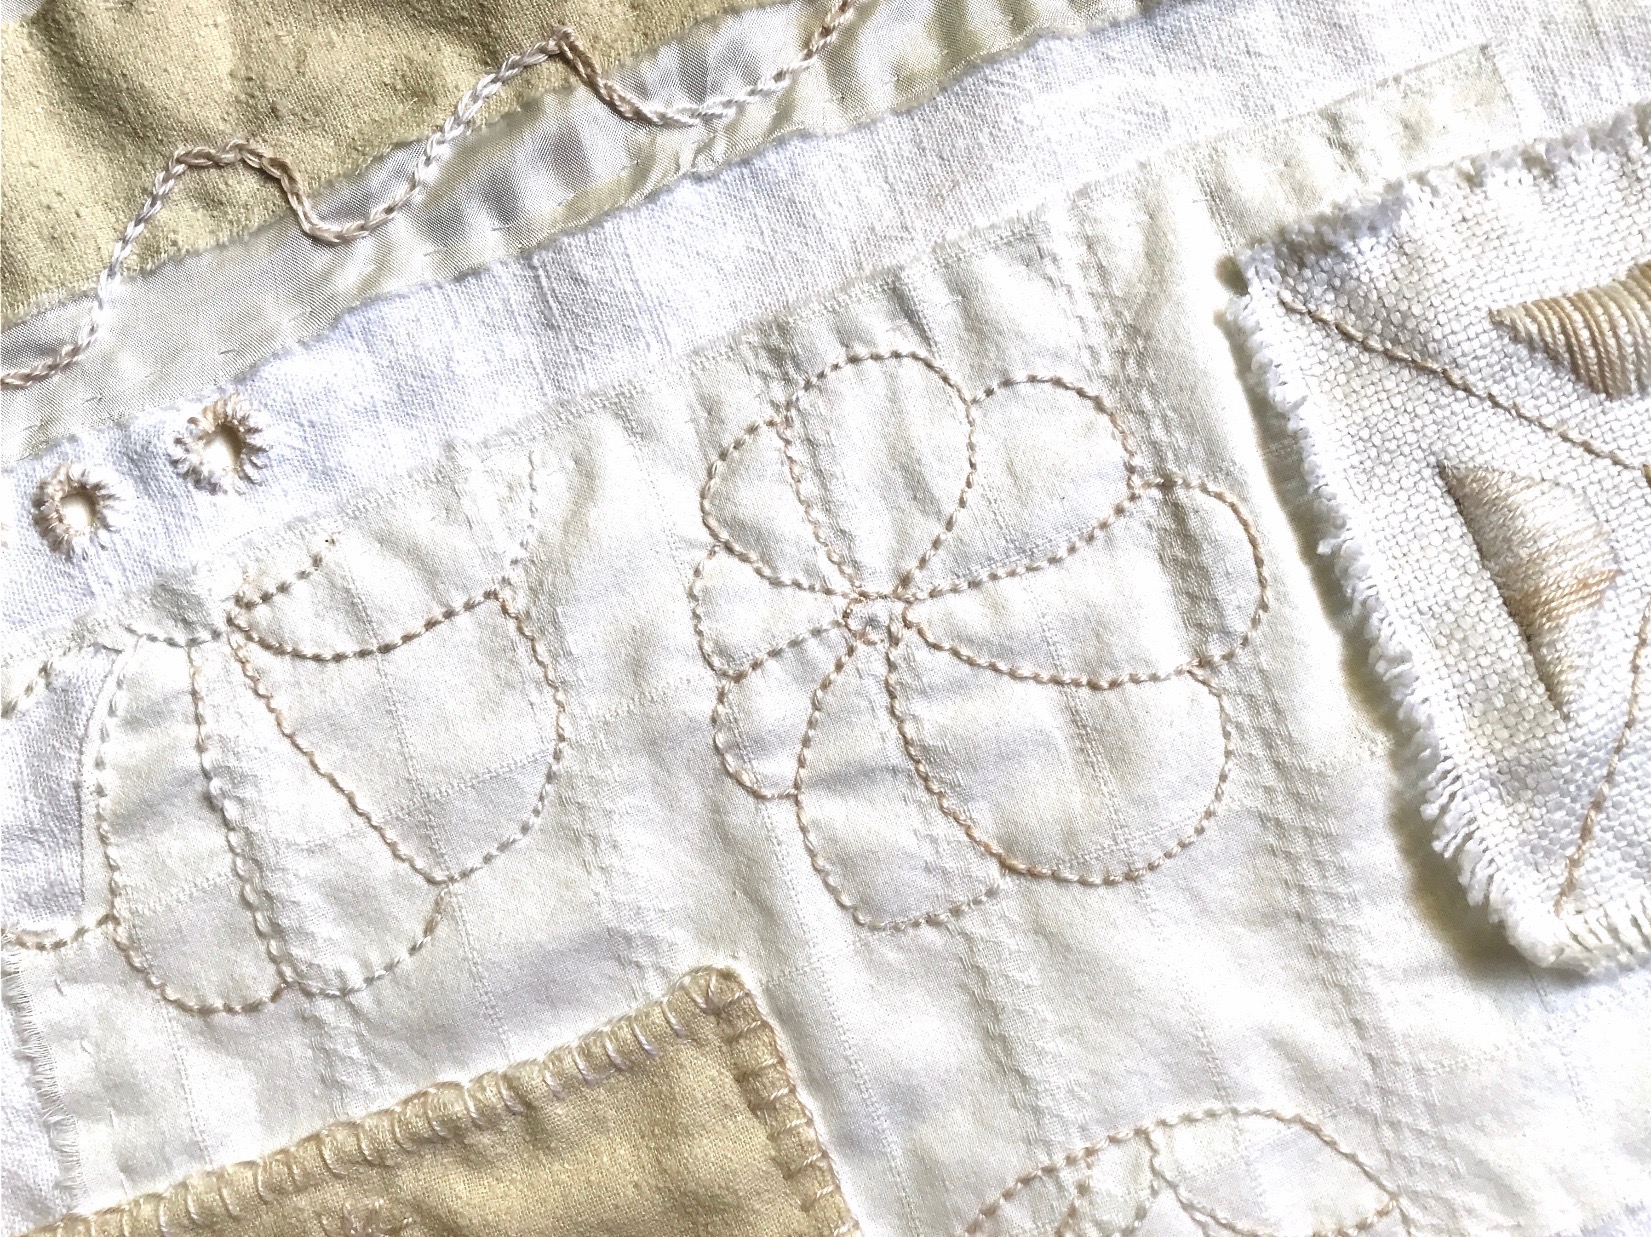
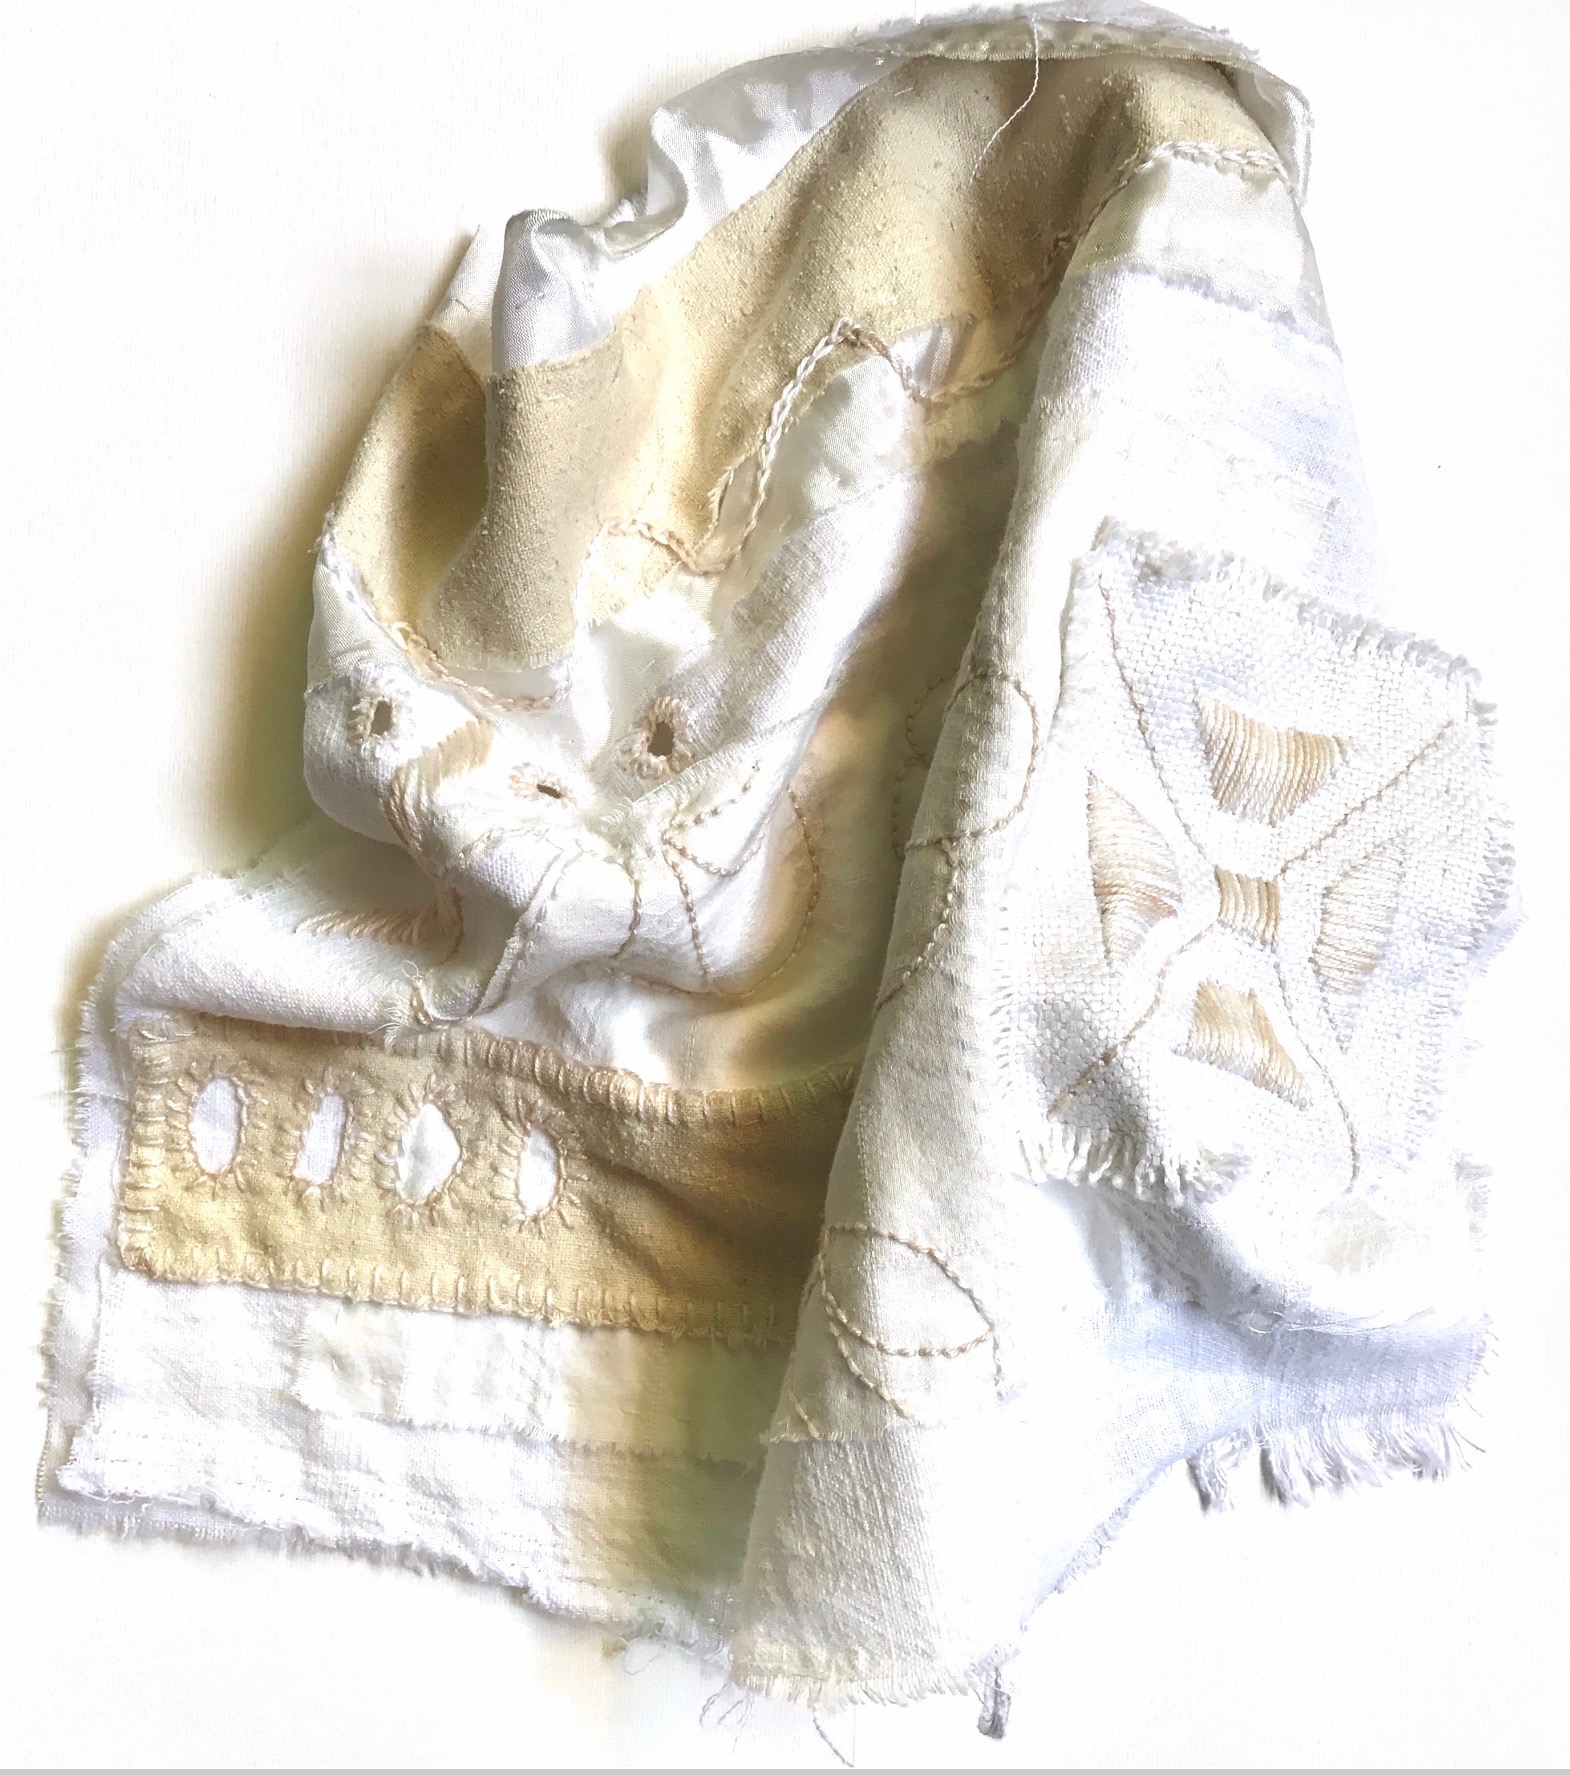
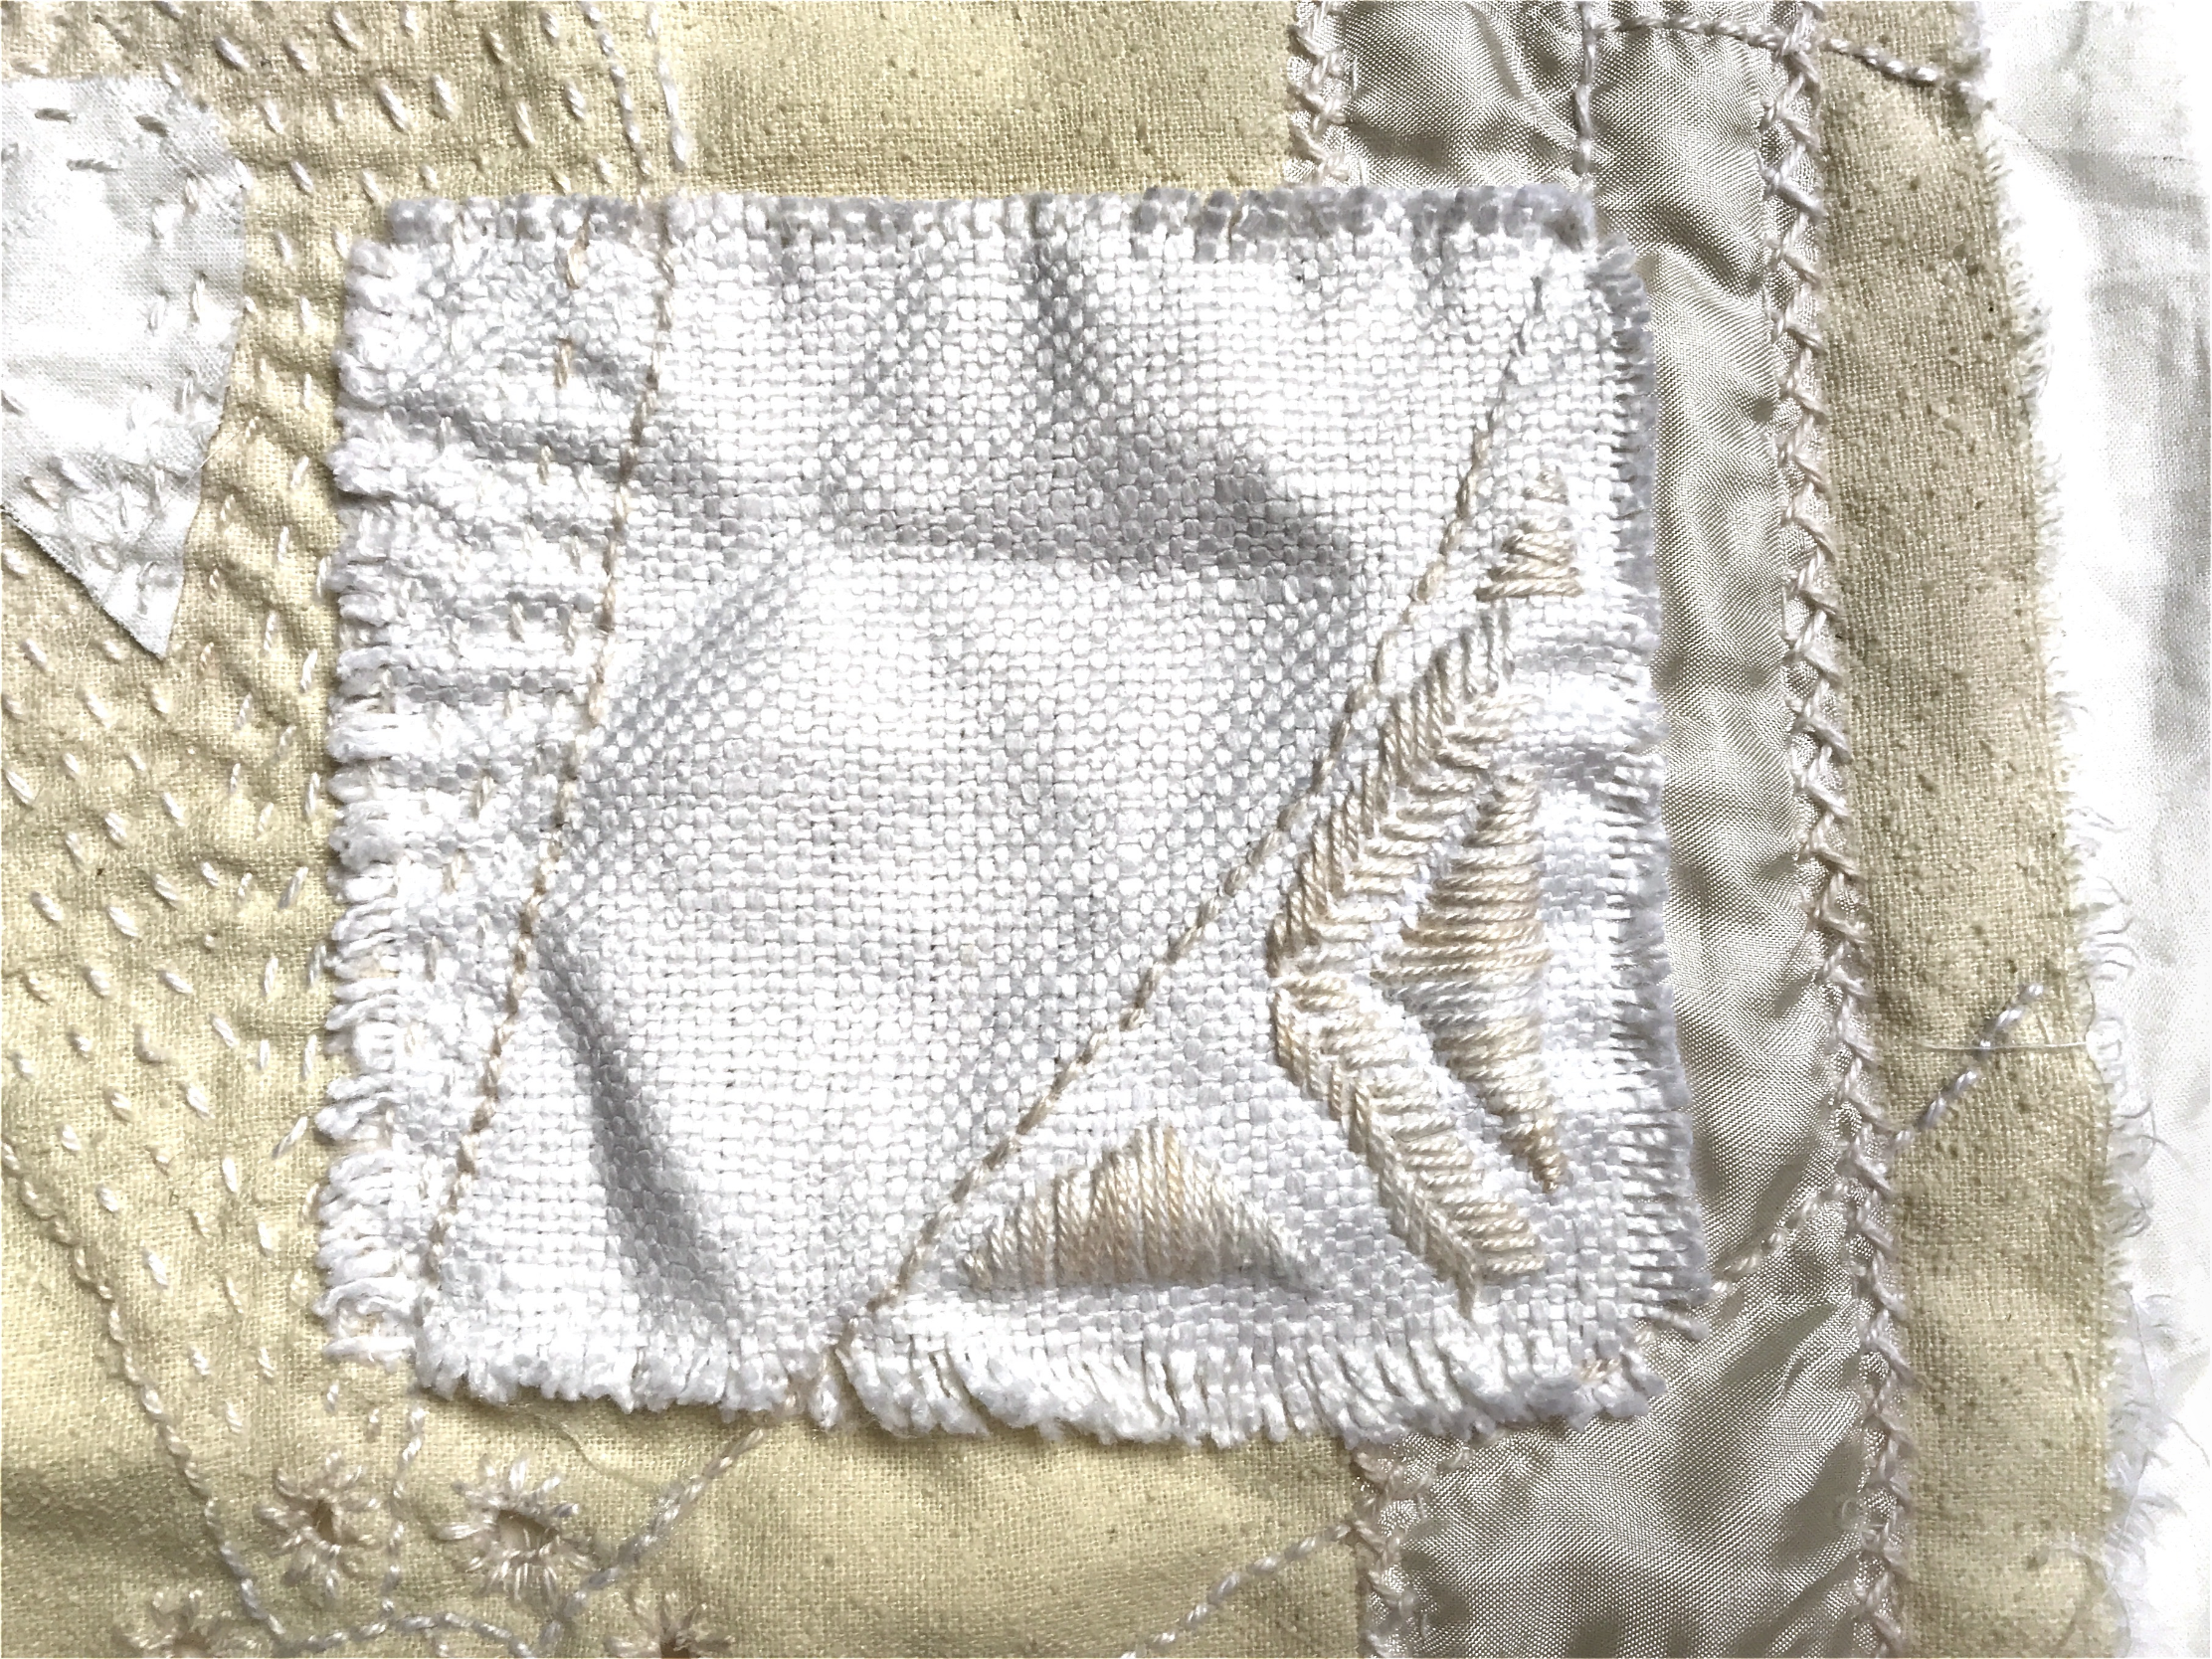
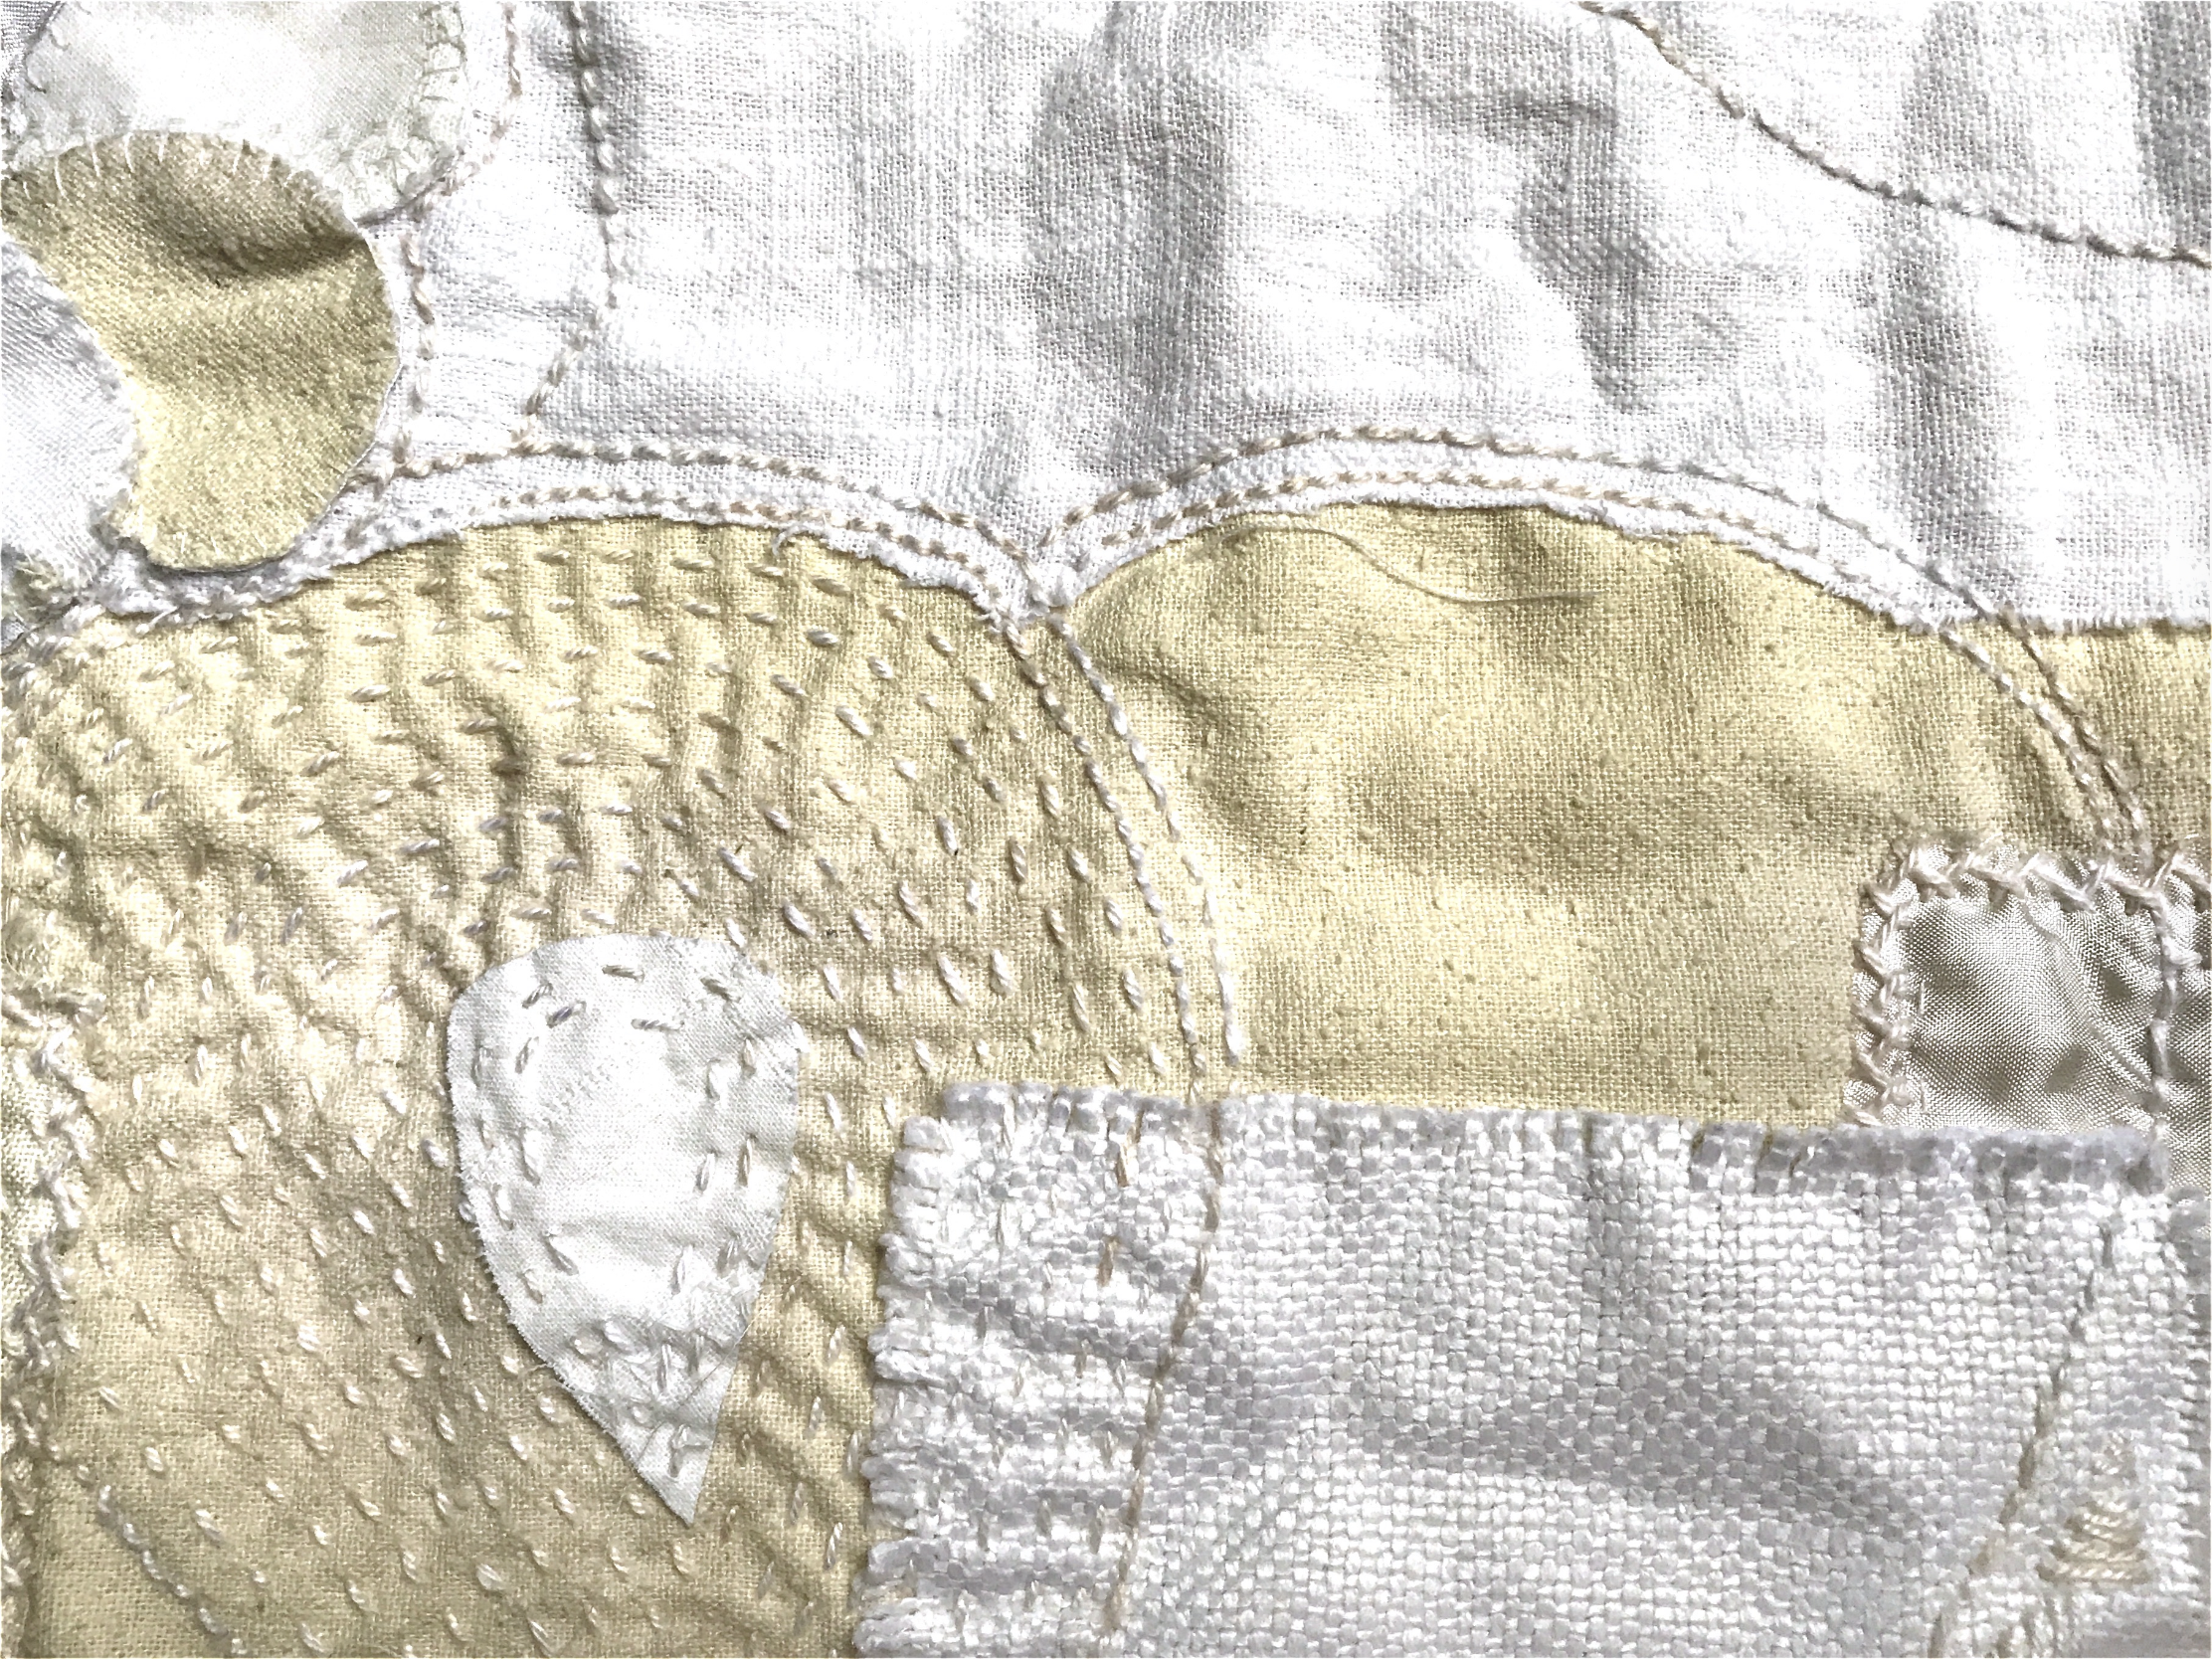
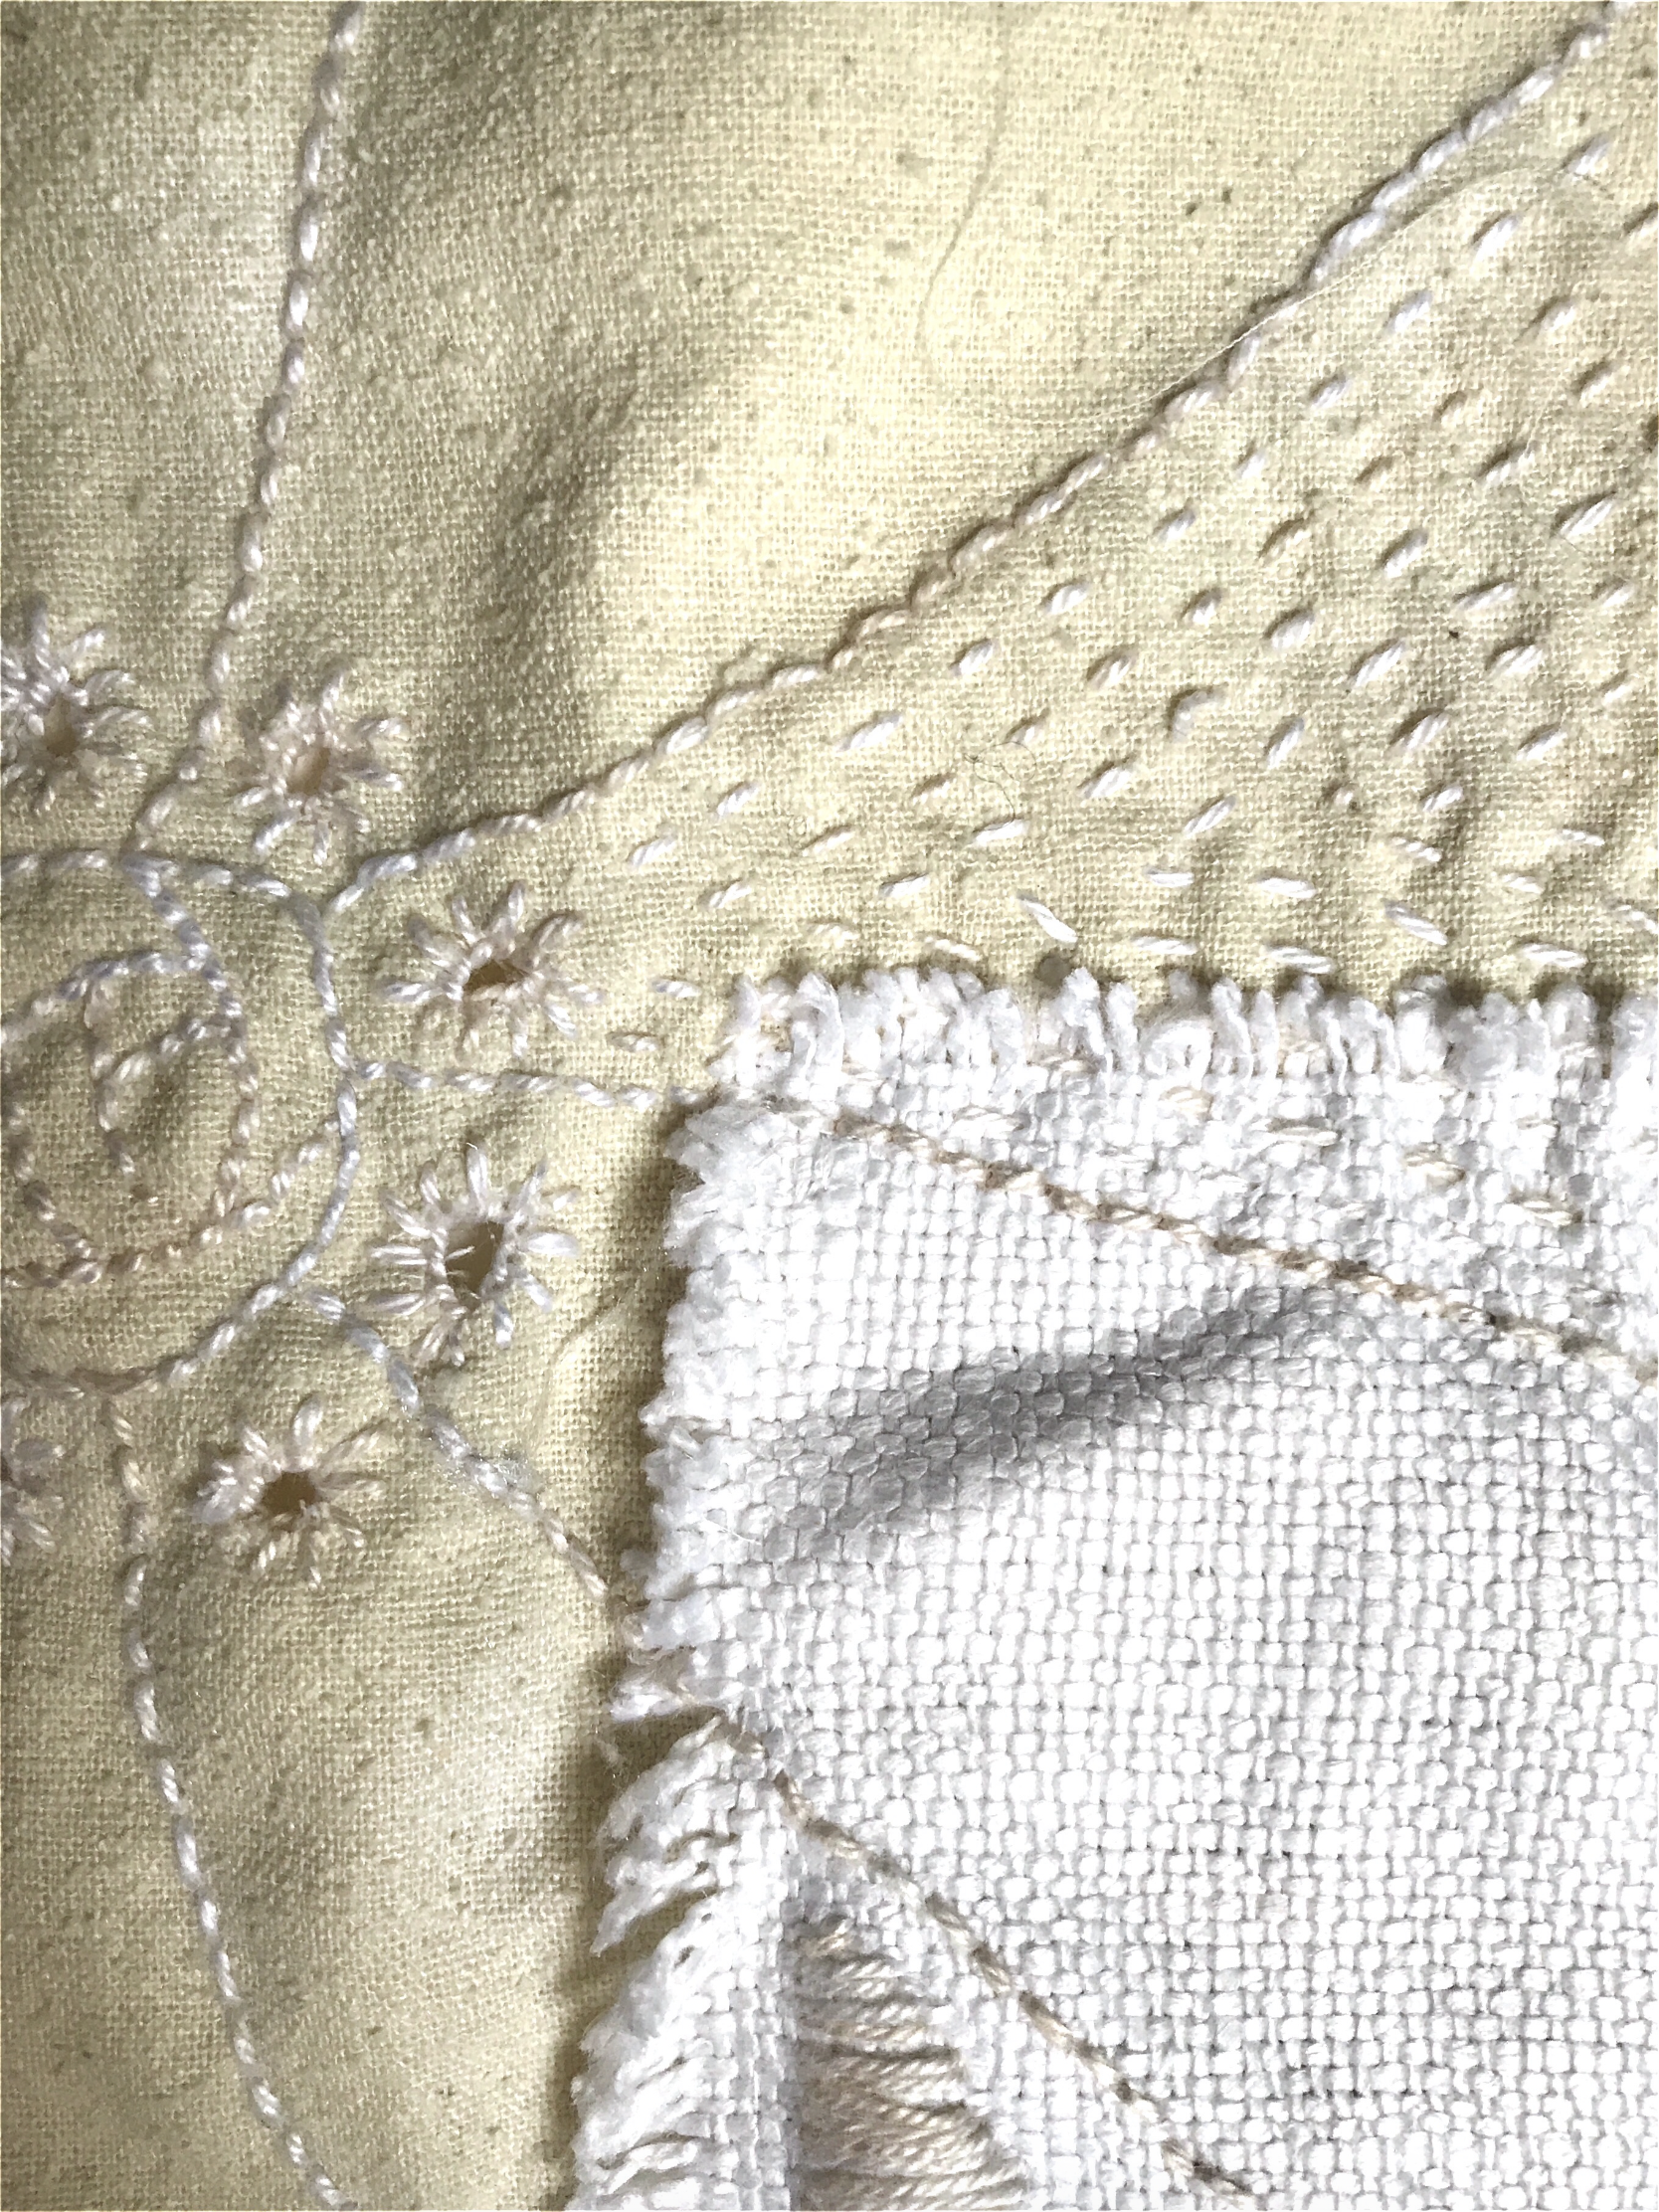
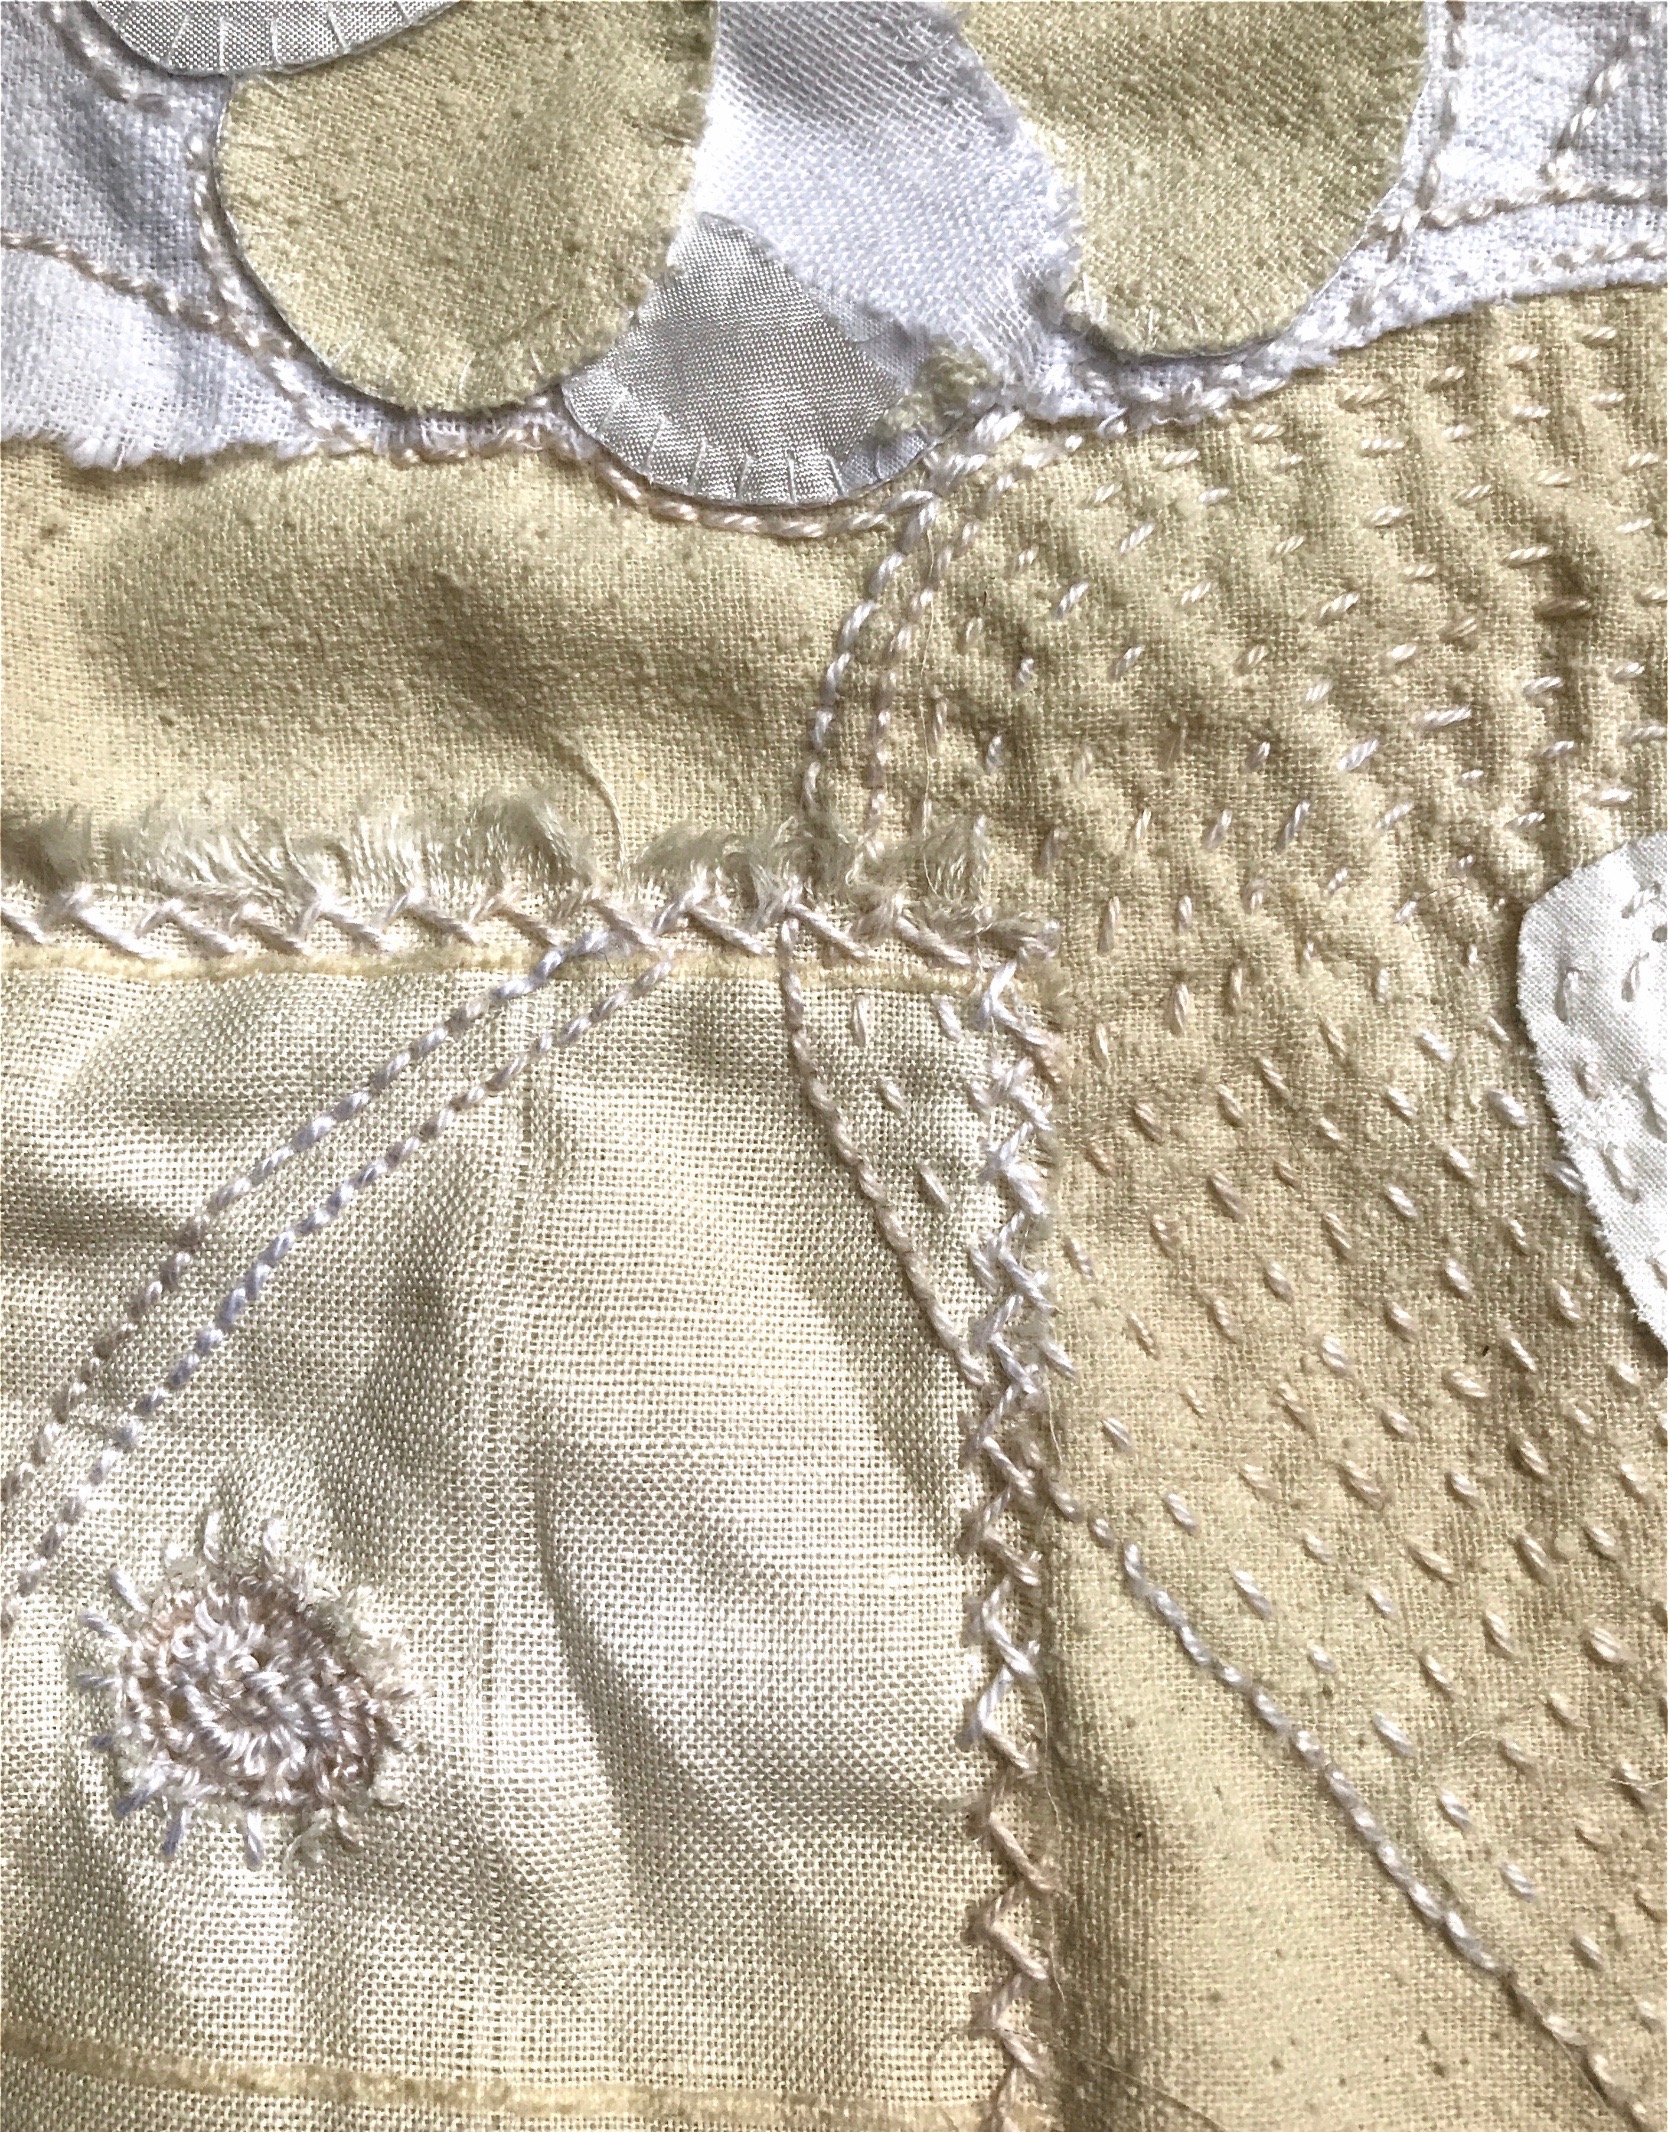
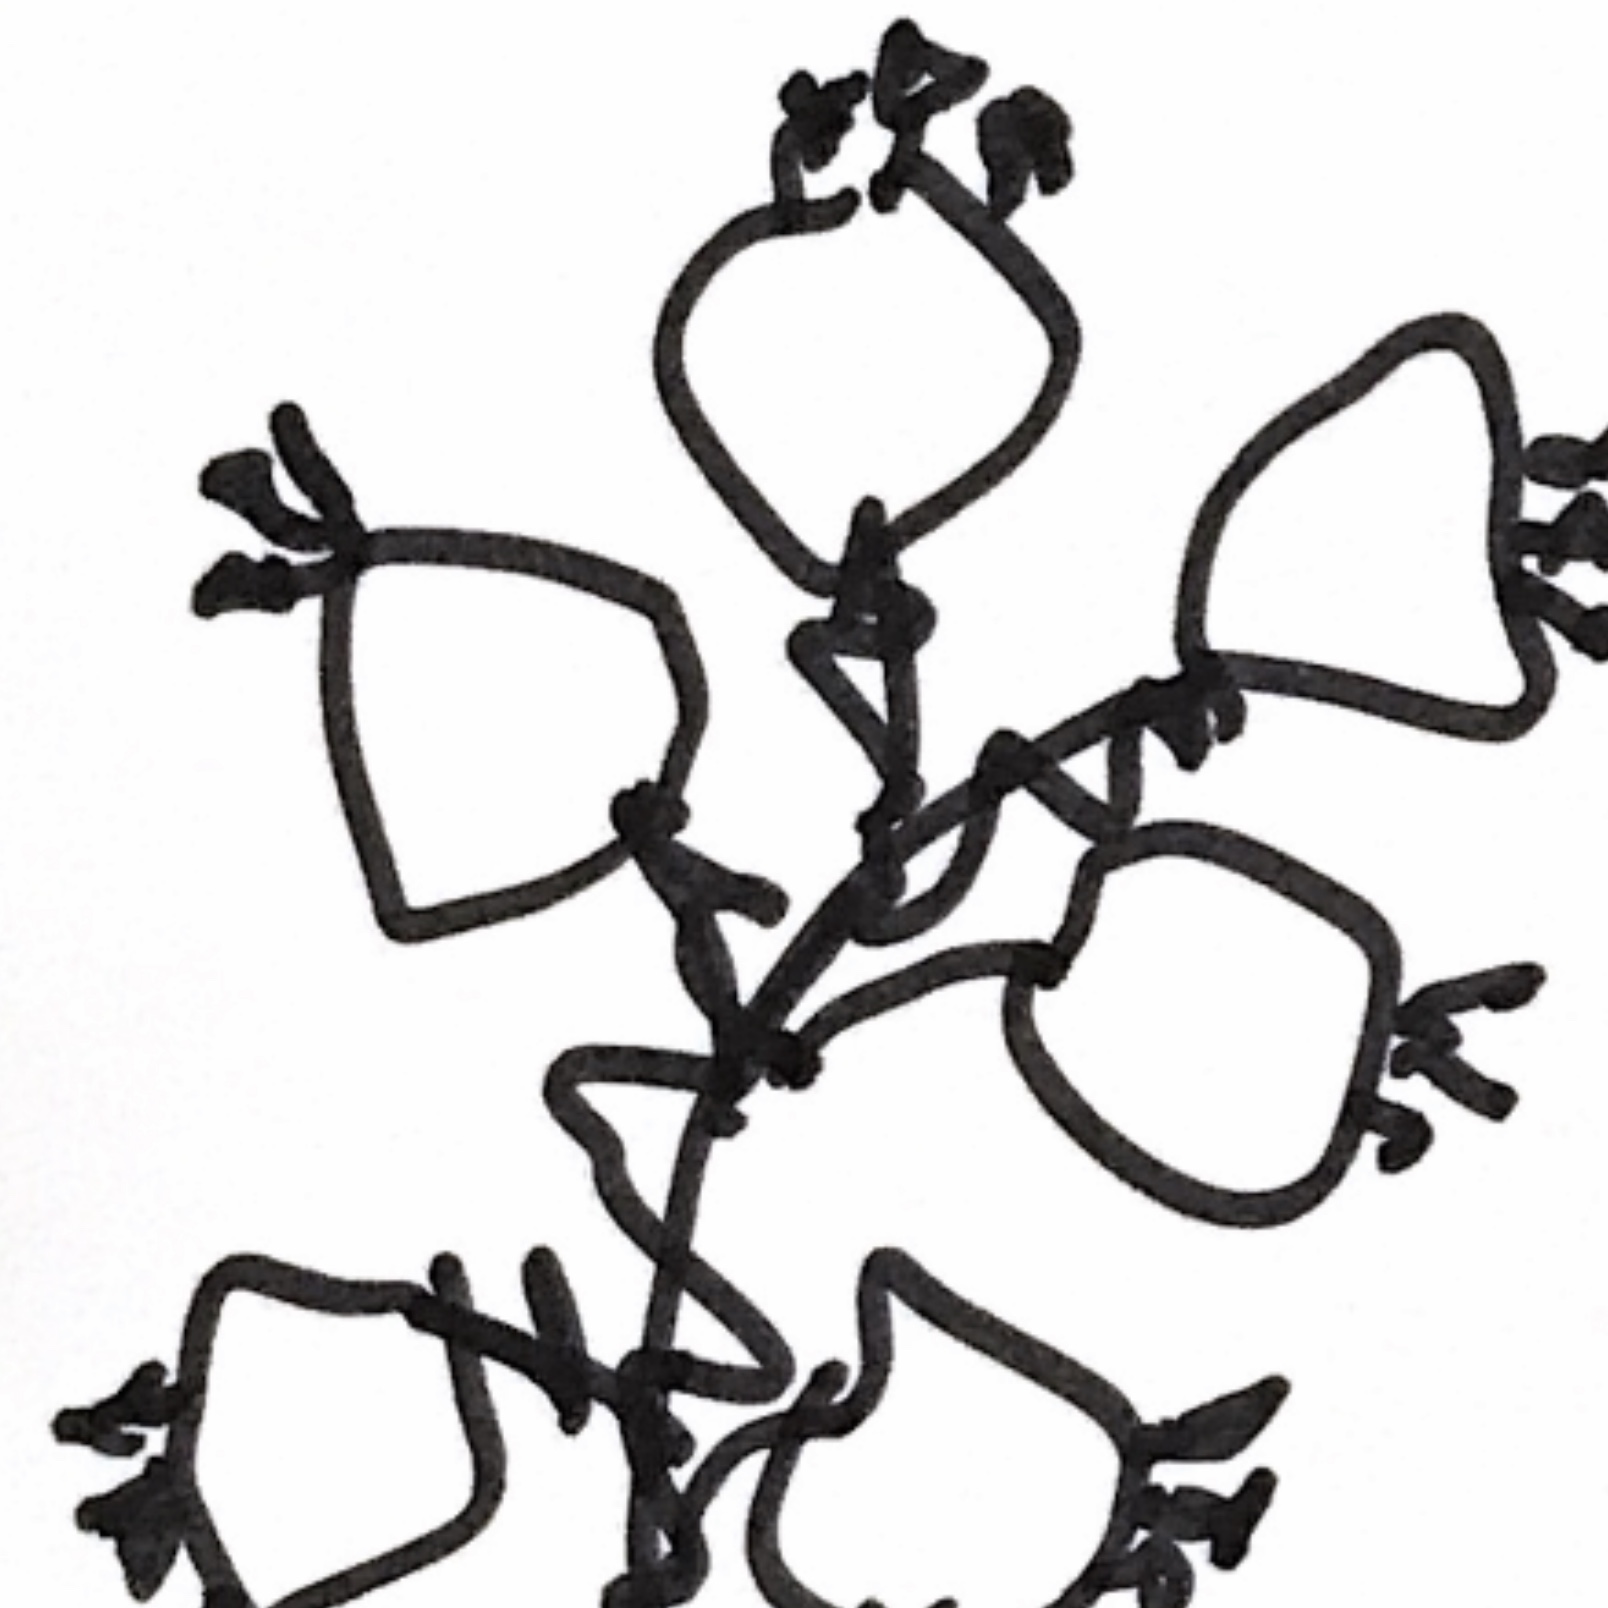
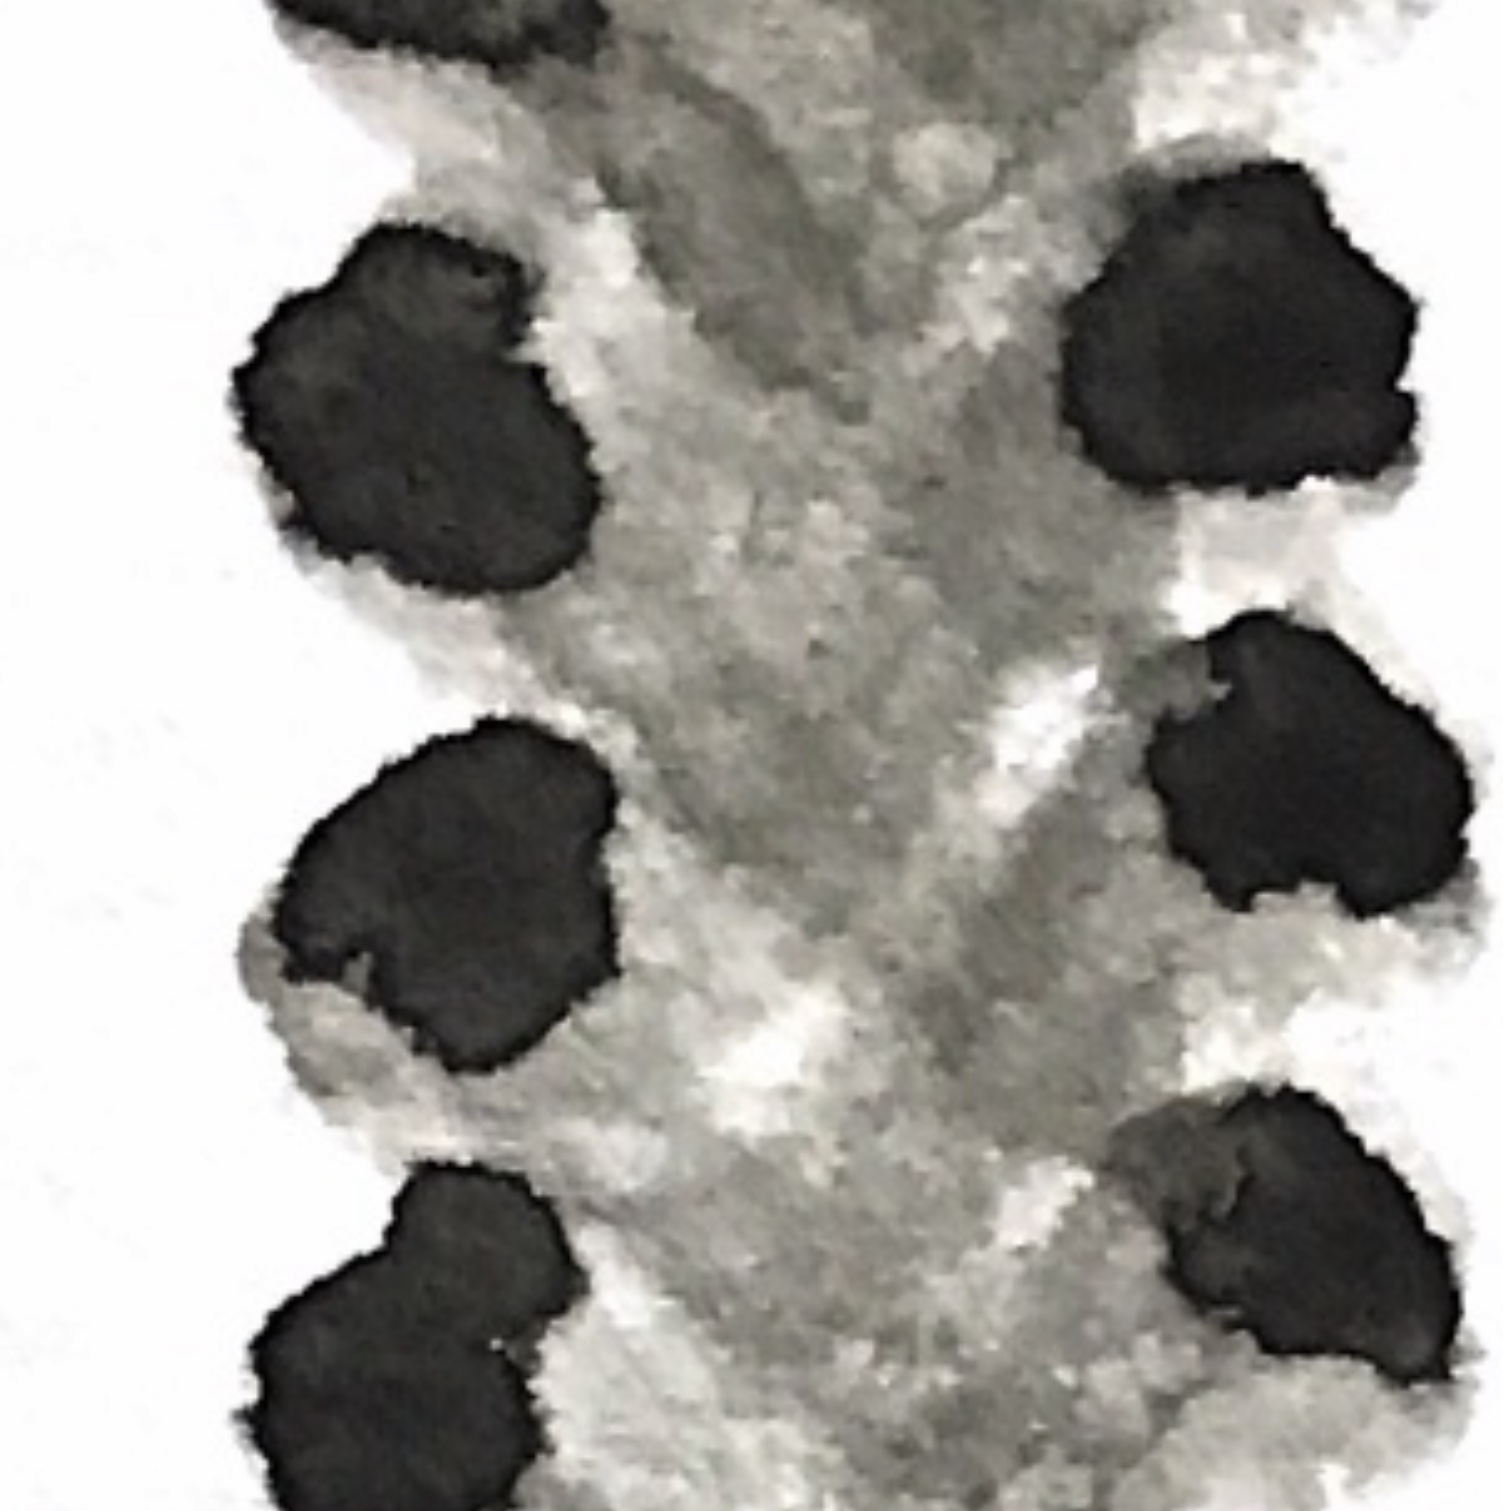
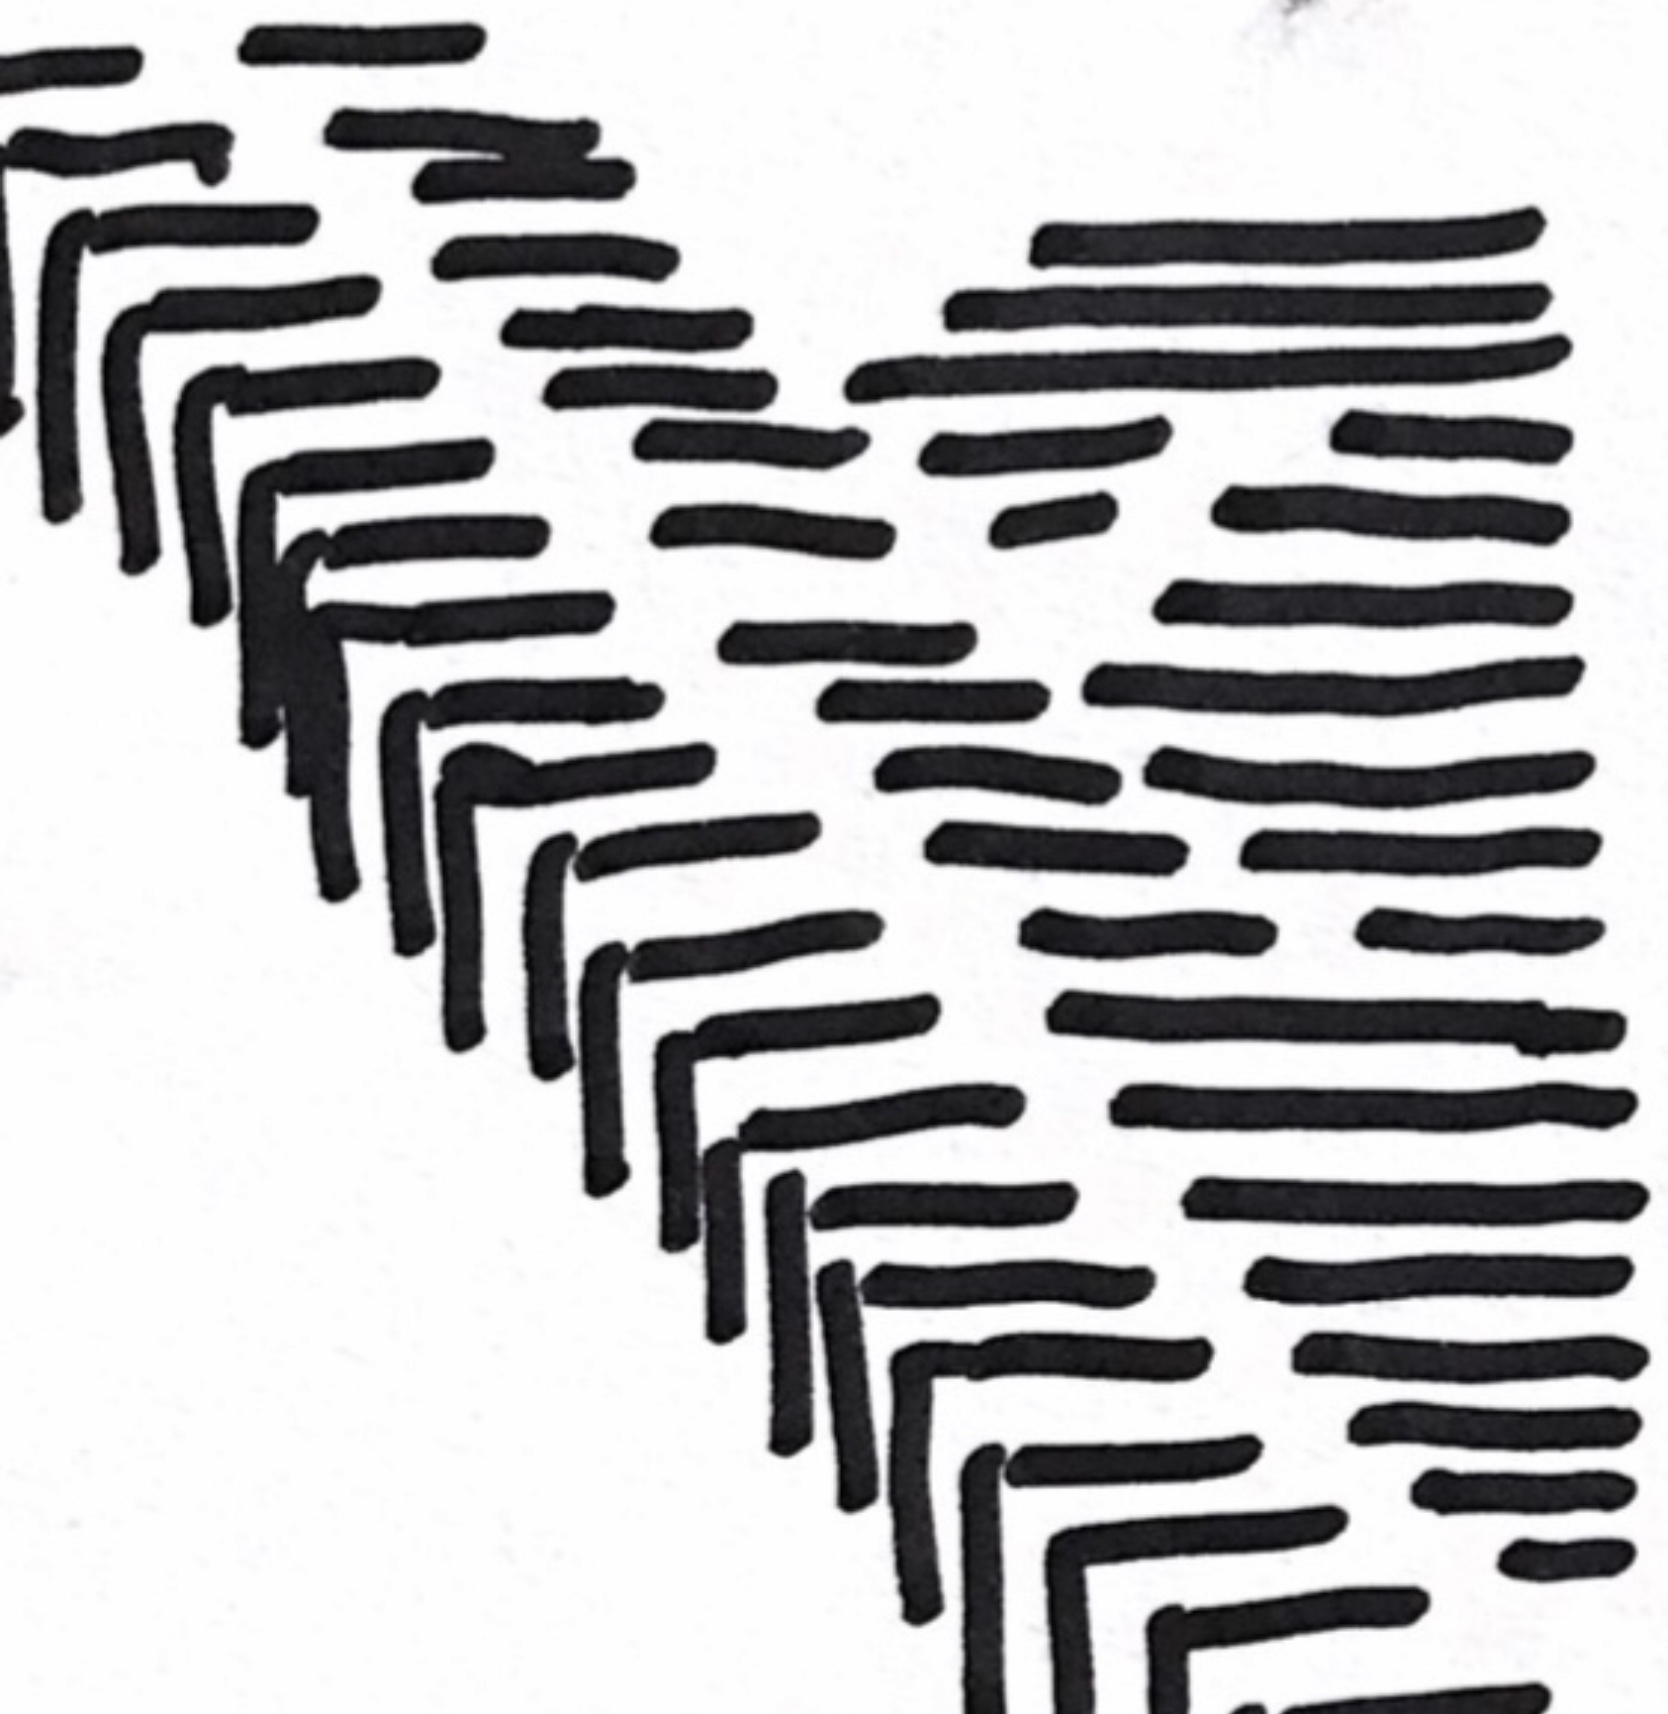
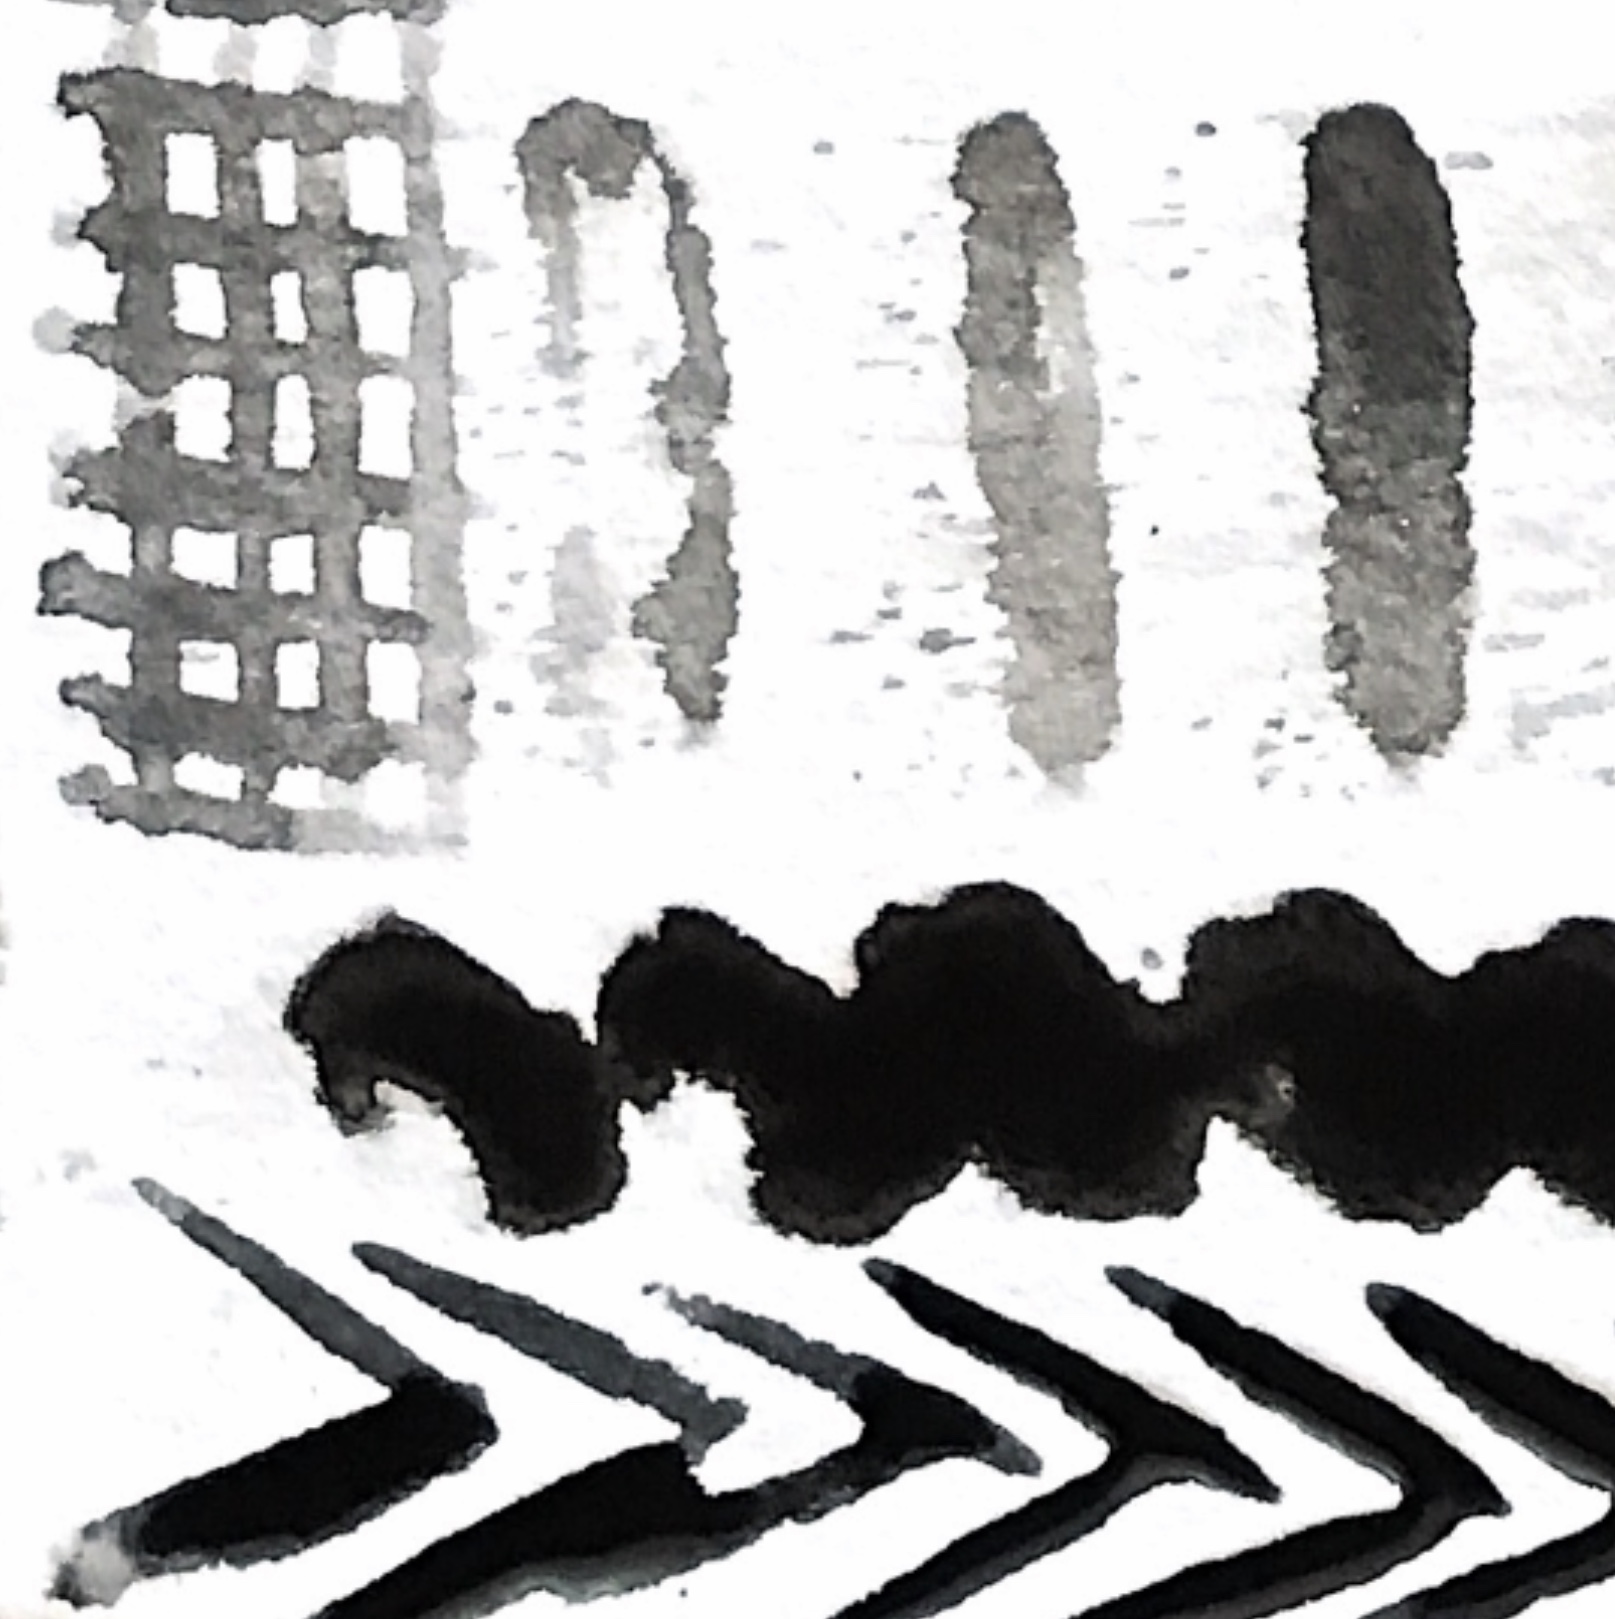
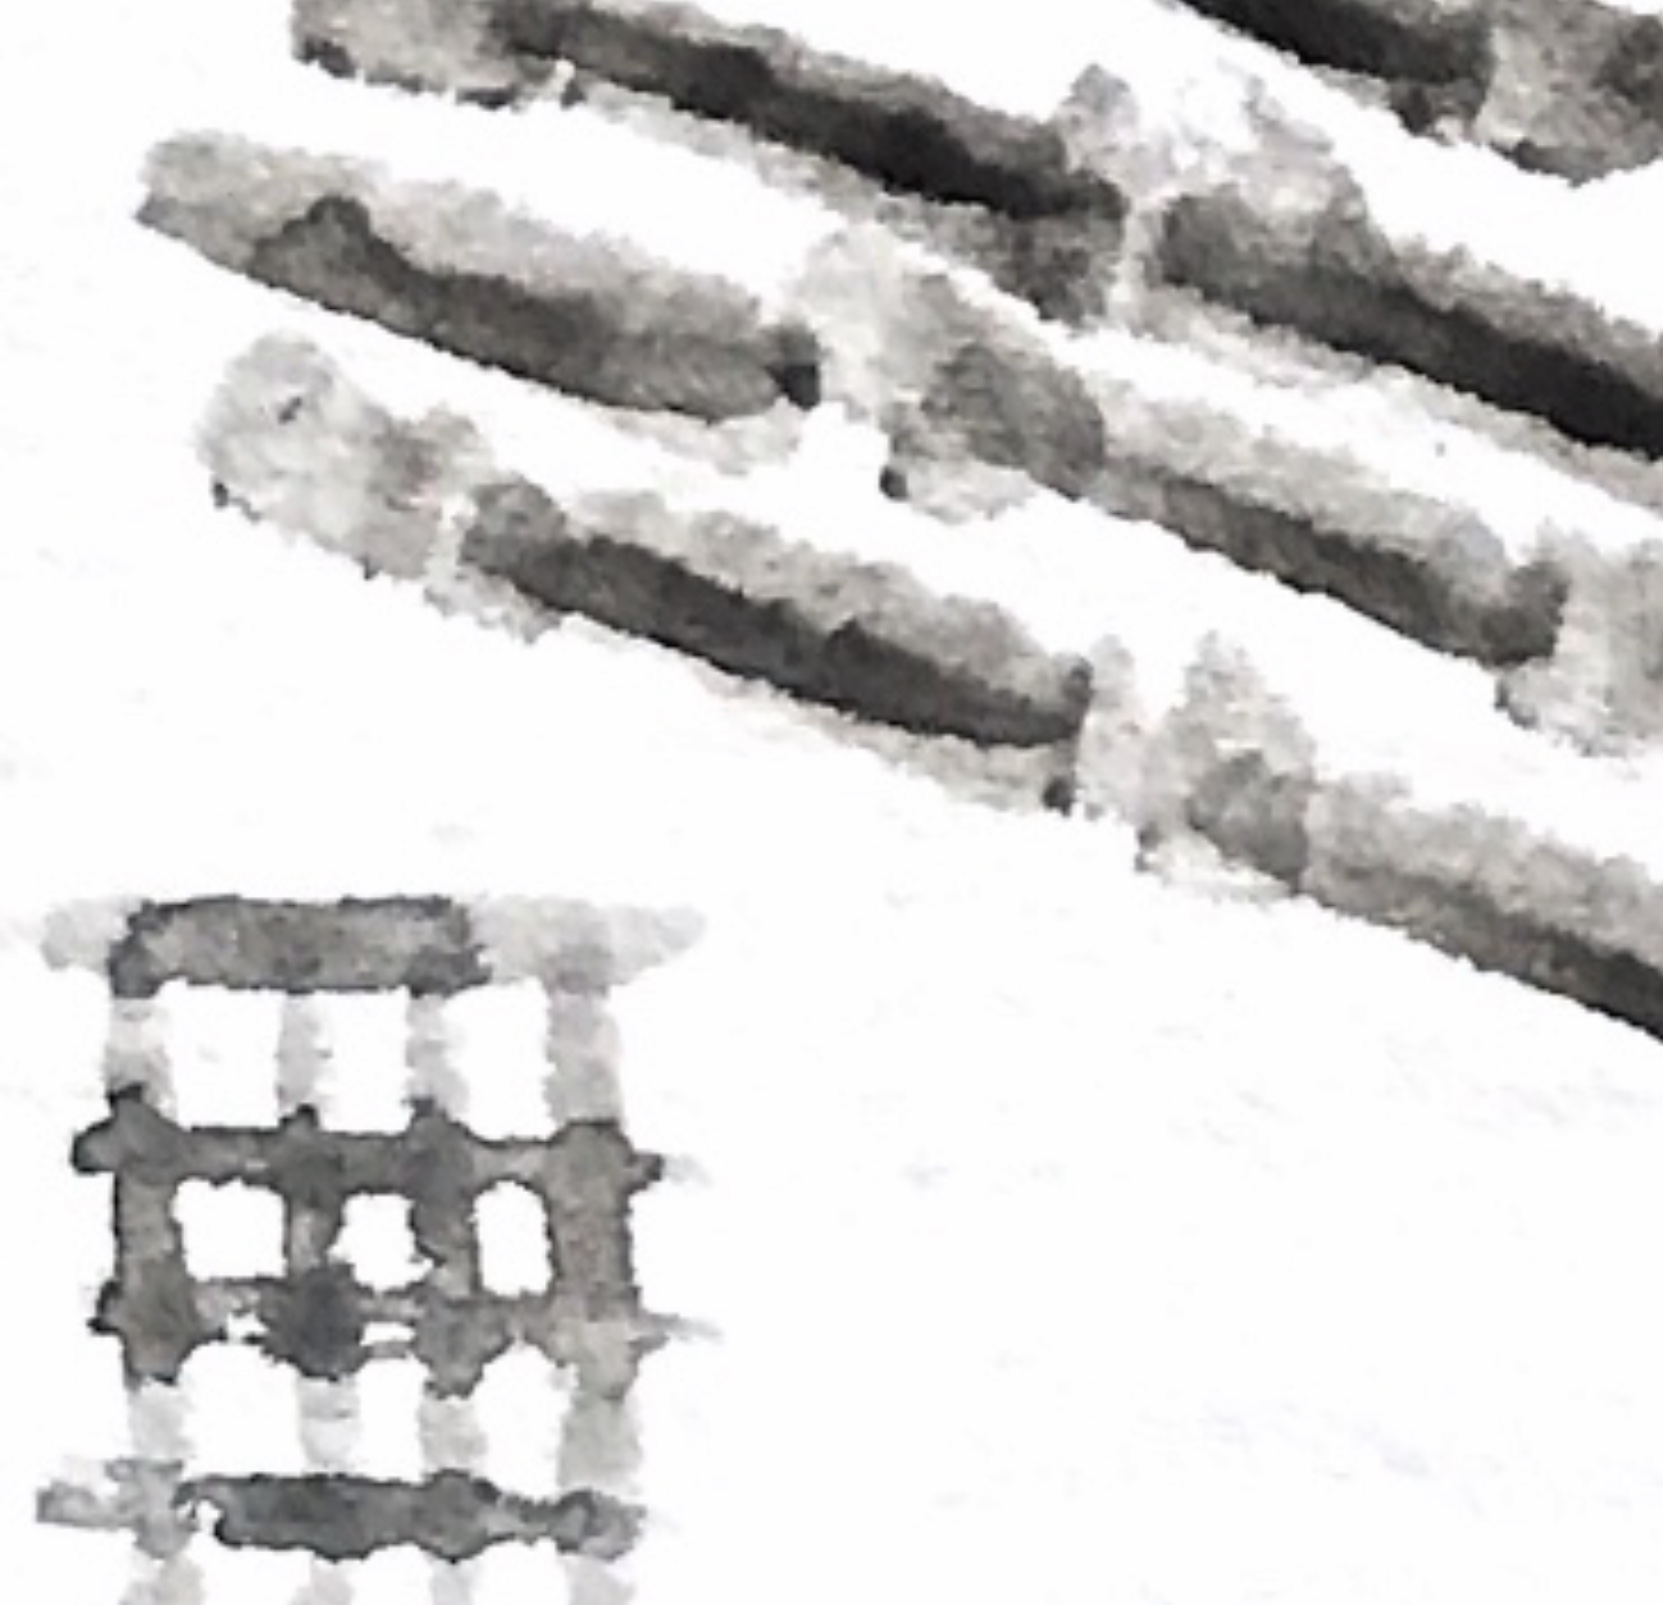
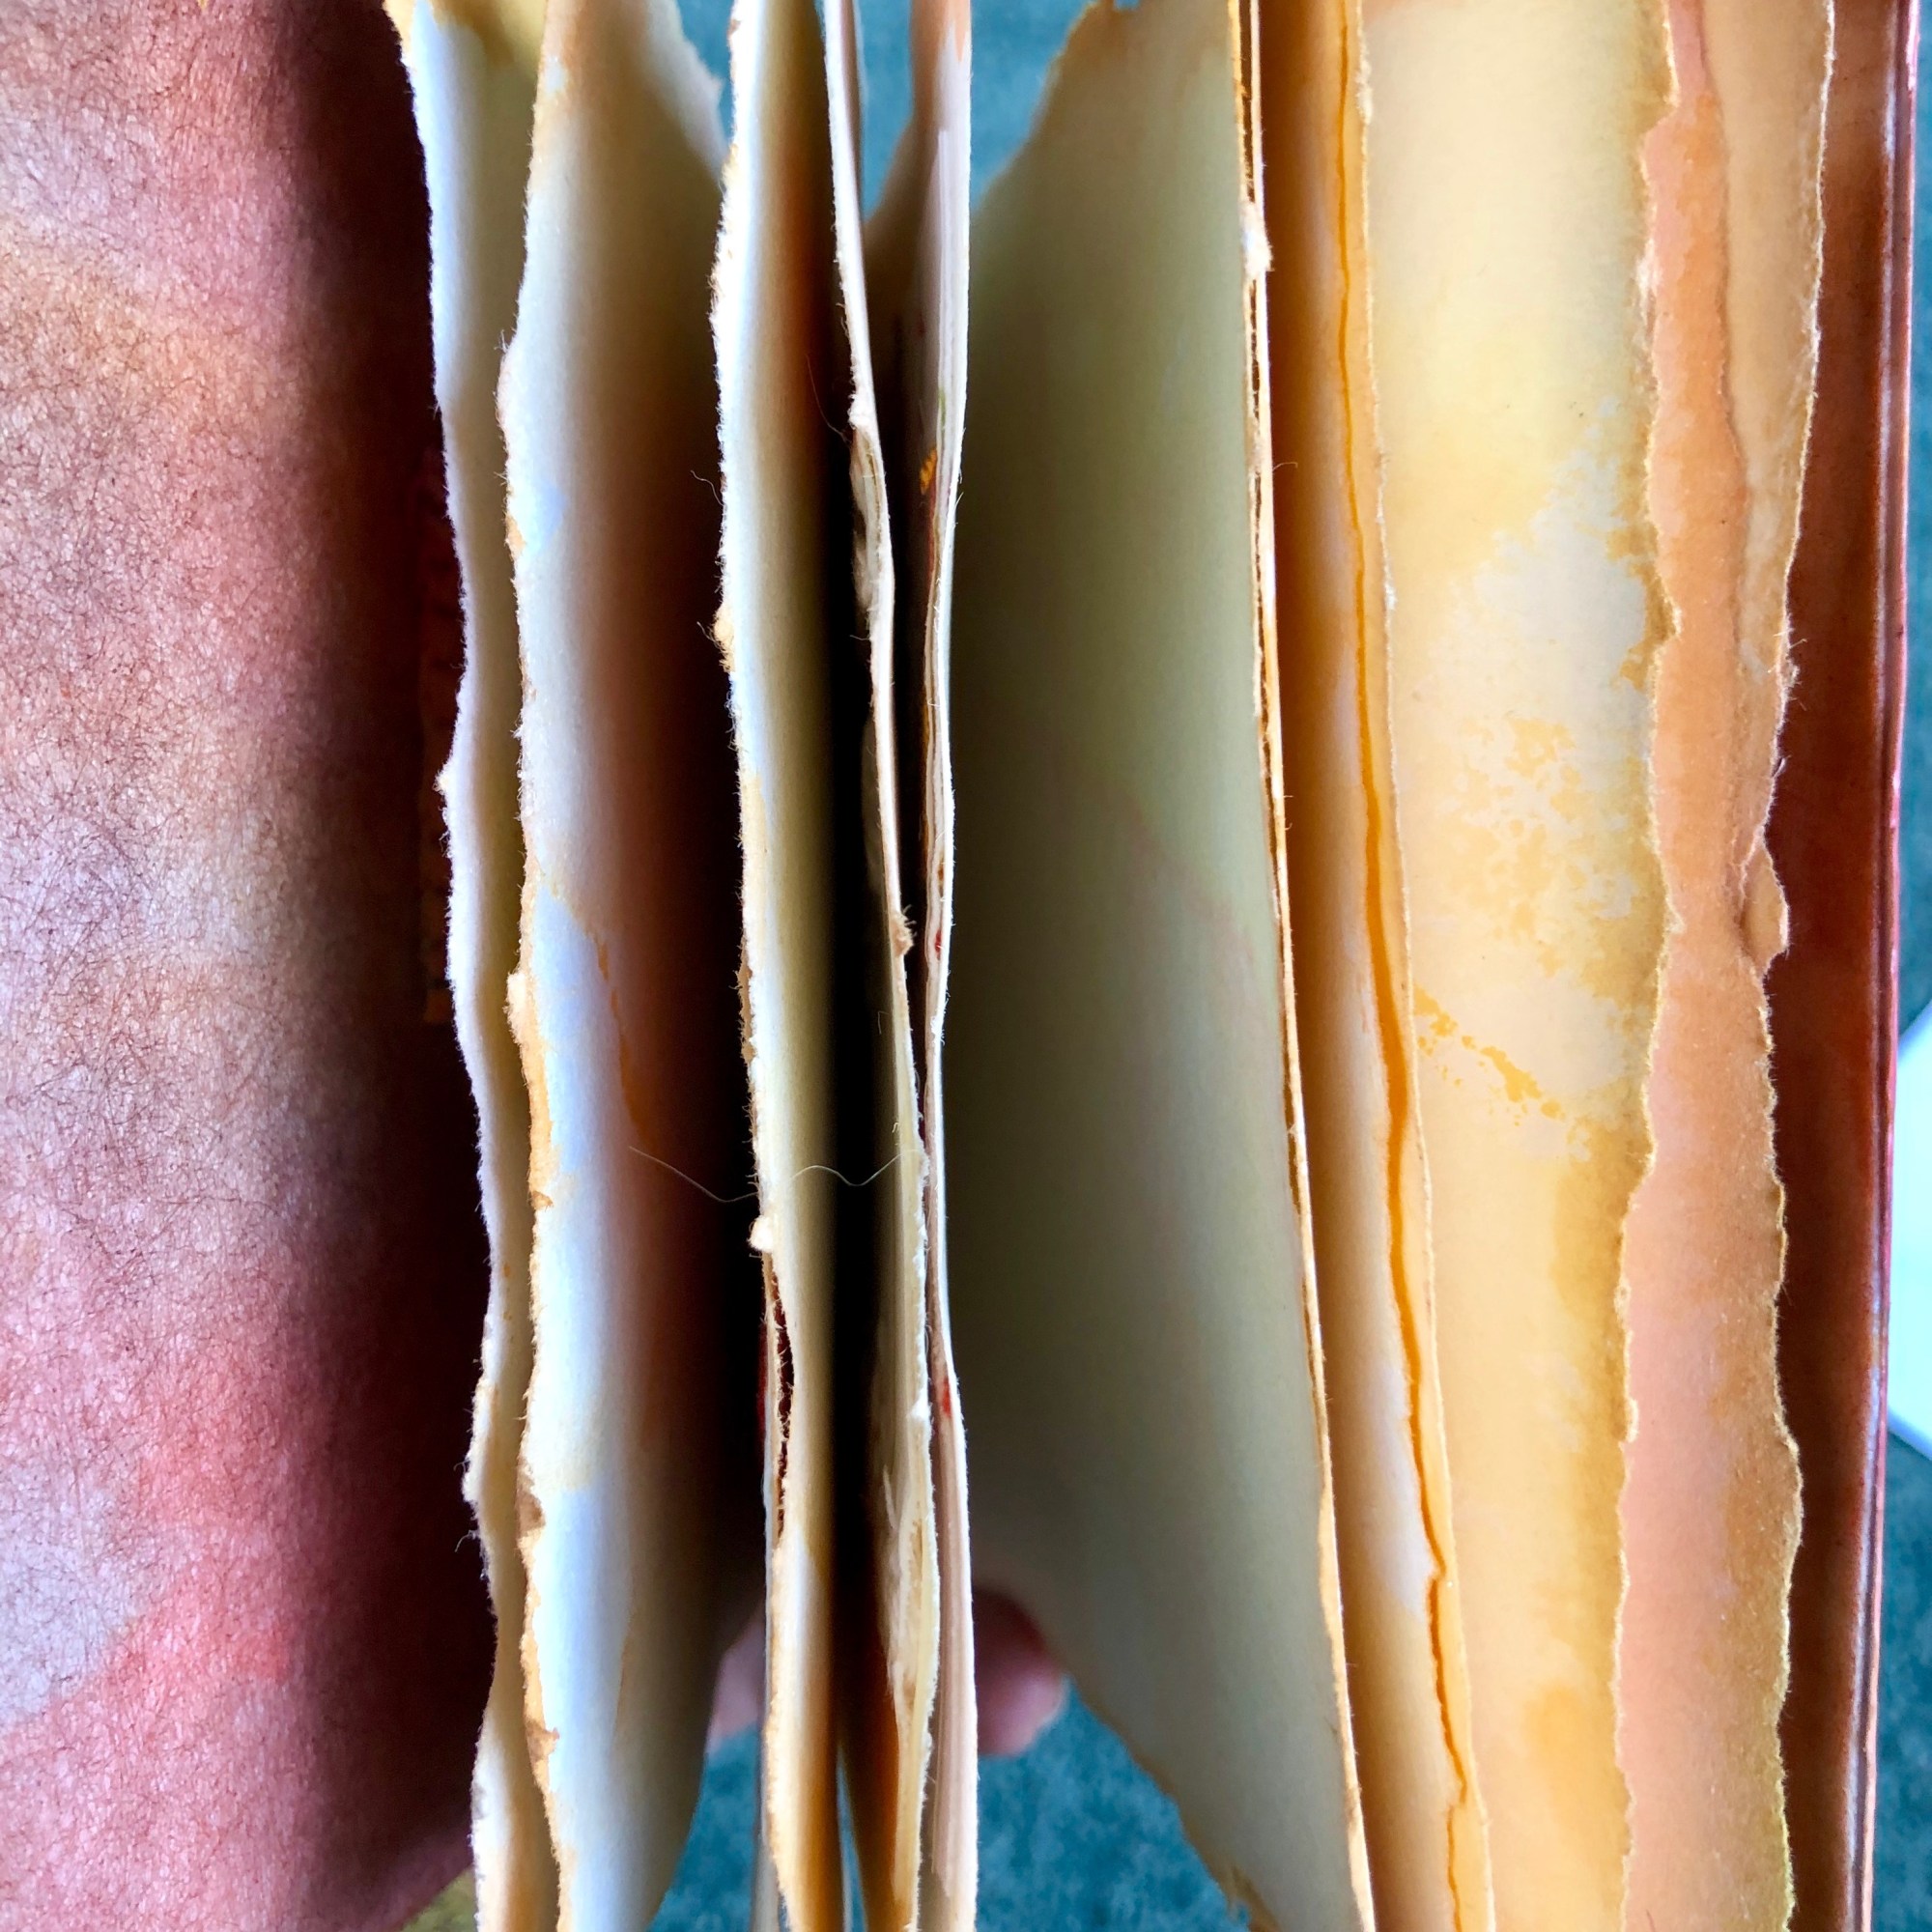
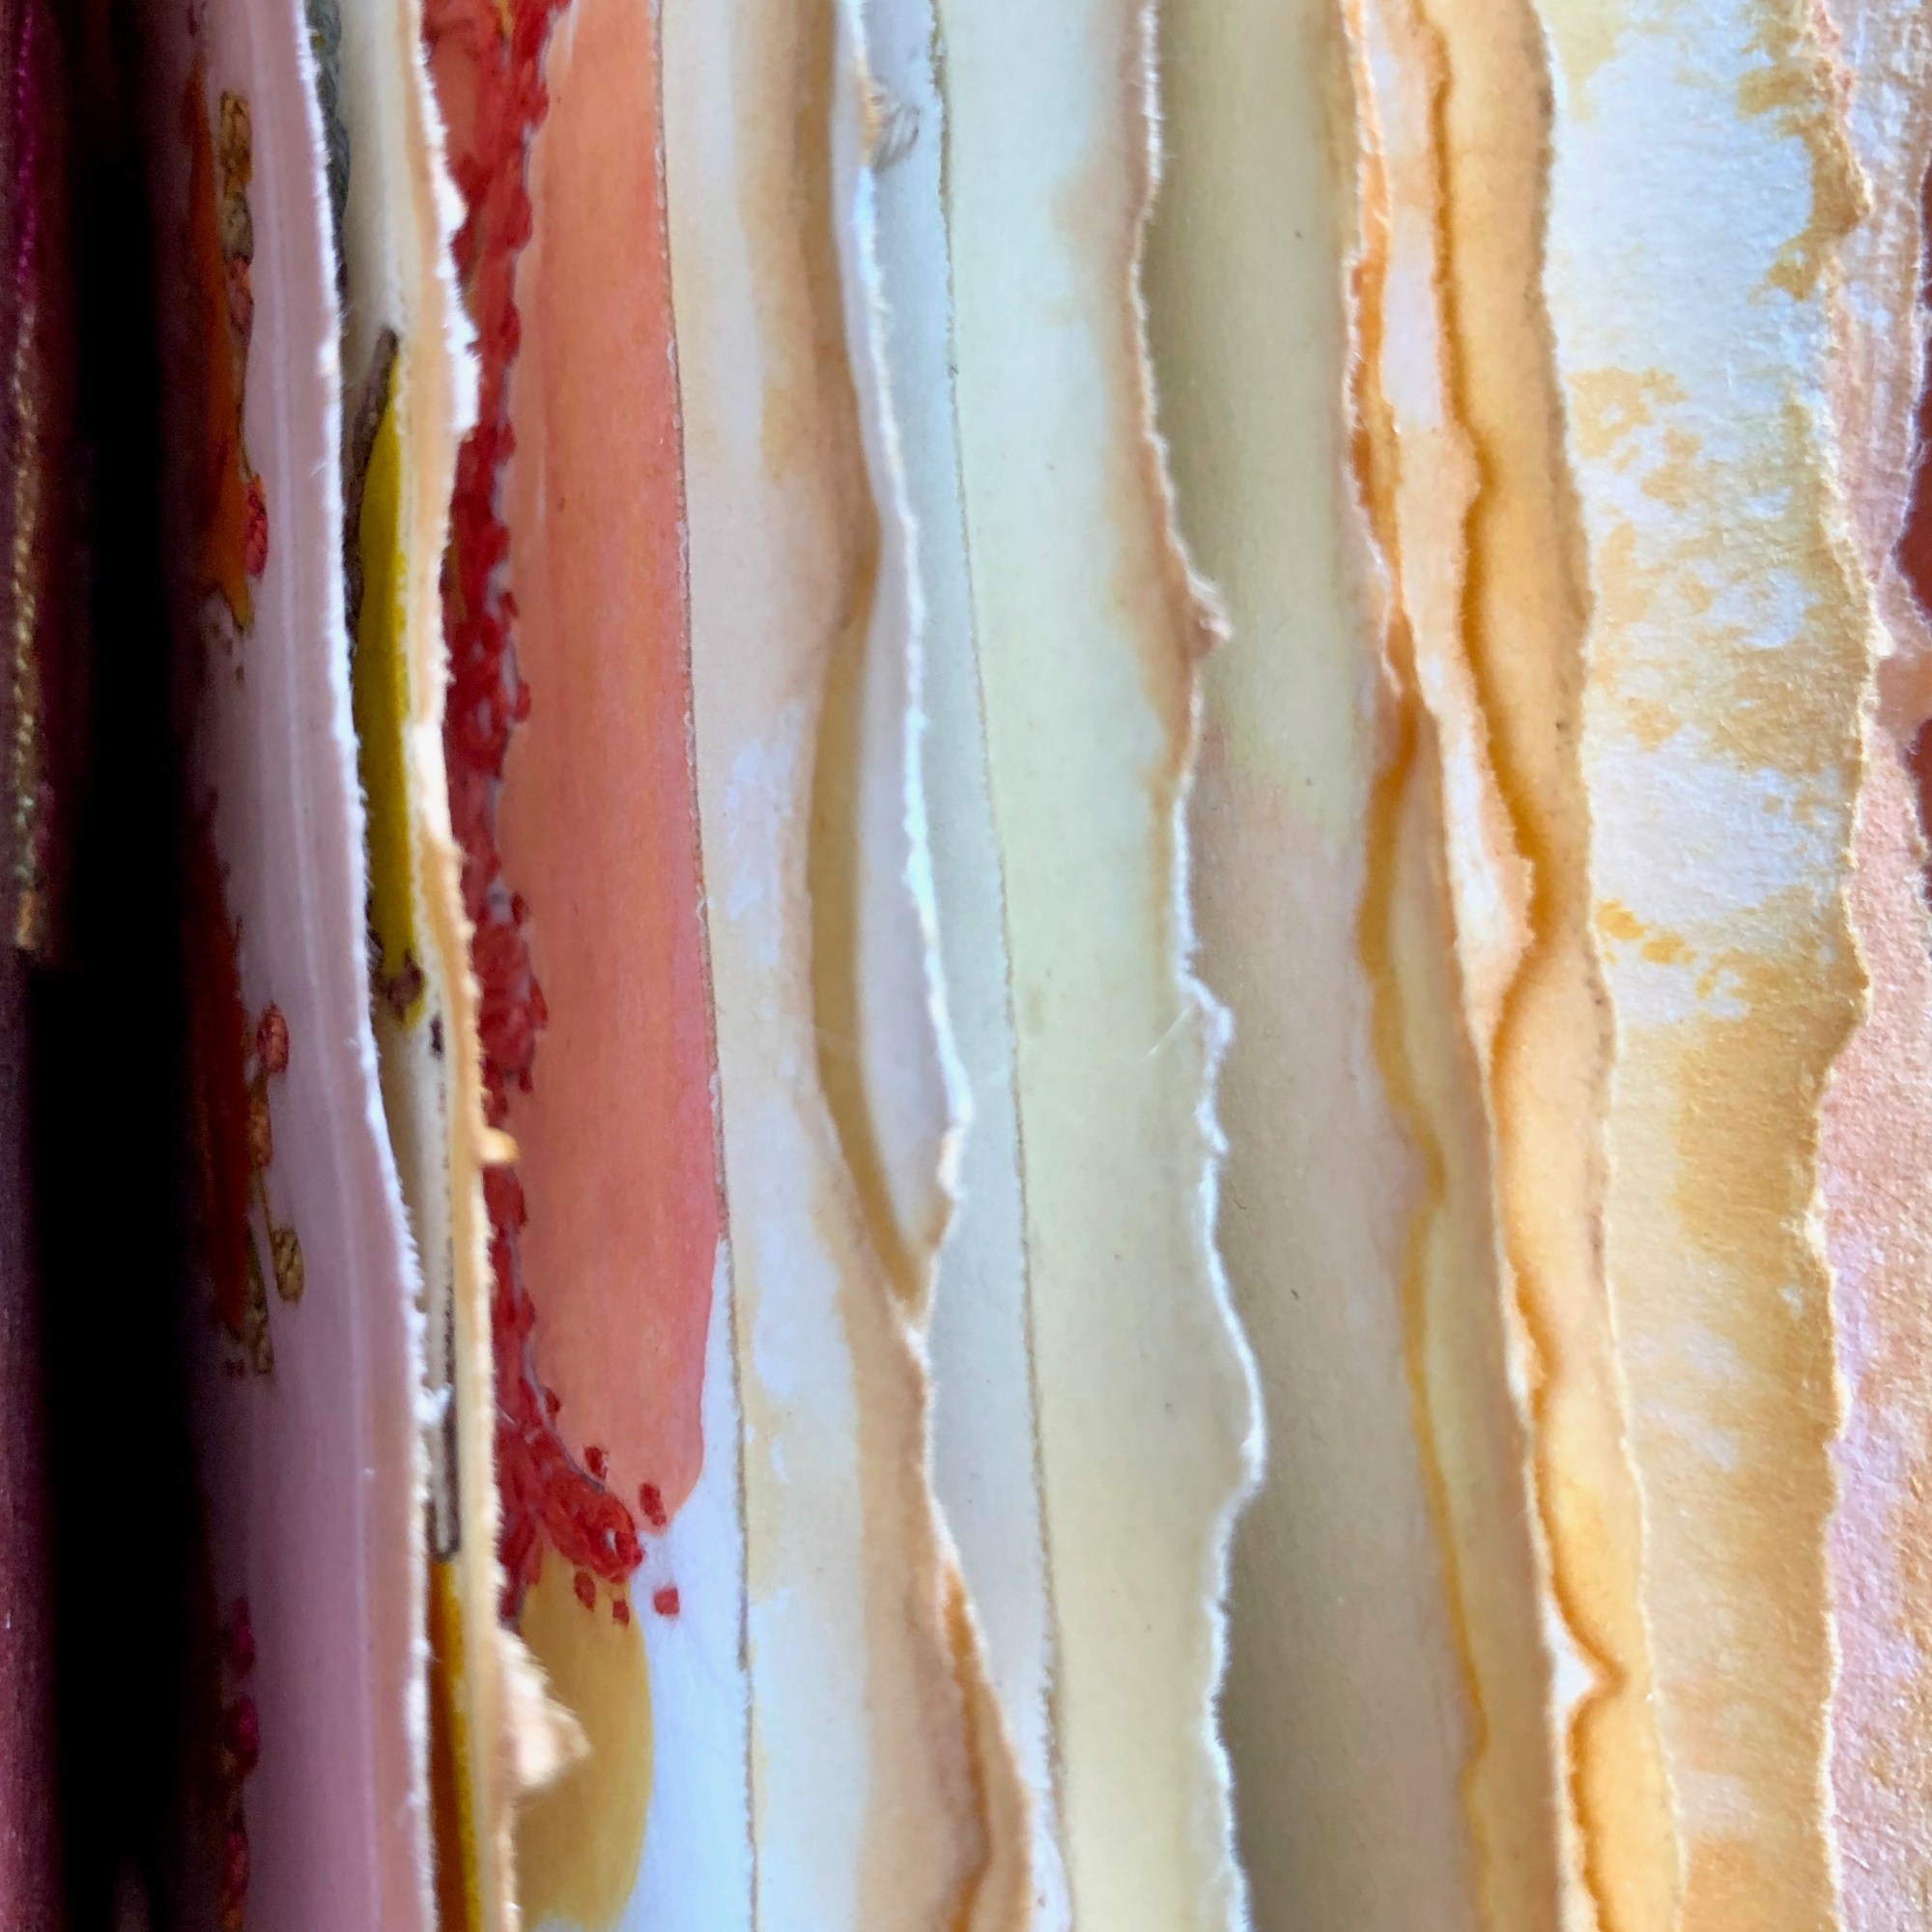
Cas uses processes to change her found papers and other materials such as crumpling and tearing, and then layers and organises the pieces to create a new piece. Having worked on these pieces with dyes and printing she often then ‘destroys and remakes., cutting away to reveal what is underneath, tearing, patching, cutting up and rearranging, and scraping amongst other things. (The found object in textile art. Cas Holmes 2010)

Work by Cas Holmes (Textileartist.org)

In an interview with Cas Holmes on ‘textileartist.org’ she was asked what initially attracted her to textiles as a medium and replied –

‘I hit on a method of destroying and reconstruction when painting over a previously painted canvas as part of an art project at college. The original image kept coming through, and in frustration, I ripped up the canvas.

I looked at it and said, ‘Oh, this is more exciting.’ I thought the substance of the canvas was more important than what was on it. As resources and finances grew tight I started to experiment with waste paper and fabric for surfaces to work on, the next logical stage to make larger works was to piece them together somehow and stitch seemed the most obvious way.’

Cas likes the human connection in the things she reuses and in her interview on textileartist.org she says that ‘Many of the textiles and papers I use are written accounts of family memories and everyday waste paper, and cast-off clothing and household fabrics, things gathered in my travels. I’m interested in the history of these fabrics, what we do with them. Sheets, clothing; the familiarity we have in our own life.’

I am very interested in using things that have a history of some sort to them and also to keep working on pieces by reworking and revising until I am happy with them – cutting and repiecing is a favourite way of working and I want to explore this further.

Assignment 2 Stitching placed and spaced

Stitched piece number 3

I wanted to move out of my comfort zone with this piece and although I found it hard I feel I have tried different techniques and achieved a different look to pieces 1 and 2.

Ideas

I started with a similar approach to the first two pieces but then cut the piece up, reassembled, and then added a bowl as a placement piece. To attach the bowl and add detail I added machine stitch.

Finished piece again with inspiration from the drawings of ‘Balance and harmony’. The original stitched piece having been cut up and reassembled.
I stuffed the edge of the bowl with wadding to create a 3d shape, emphasised by the flat stitched centre.
Hand and machine stitching work well together to give a mended, well used, mended feel to the piece. The bowl retains its shape while the rest of the piece has a soft handle.

Assignment 2 : Stitching placed and spaced.

Stitched piece number 1

I’ve decided to base this assignment on the drawings I made for the introductory project, with inspiration also from my study of the whitework collar in Project 1.

Drawings from Introductory project ‘Balance and Harmony’.
Initial thoughts
Piece so far using applique, cut away, and embroidery, with some repetition. The fabric handle made it lovely to work on.

The embroidered piece drapes and handles beautifully and I tried screwing it up as if it had been used and left on a table.

Piece rolled up in the style of a napkin

Although I haven’t fully completed the first piece I want to move onto the second piece now and will experiment more with scale and some 3D elements.

Stitched piece number 2

Here I have experimented with scale, starting again with a pieced background and stitching large stylised flowers over the whole piece. I have also experimented with cut out shapes and with applique to create a statement piece.

This needs more work to draw some of the elements together but for now I am going to move onto piece number 3.

Developed and composed samples

I have chosen two drawings to develop into two larger stitched pieces.

Having laid out my earlier samples and drawings I have used two ideas – strong lines and delicate whitework.

The first drawing I have chosen for its bold shapes, clear definition and geometric feel, inspired by stitches and fabric.

The second I have chosen for its feeling of lightness and delicacy with a strong stitched image of stylised flowers.

Starting with the first image I began by sketching a design

I then made pieces with papers to stitch together and checked that the proportions looked right.

This is the piece so far – not finished.

More work to do on this and the second sample to compose…

Second piece drawings

Drawing with stitch onto paper

So I now have my small pieces of manipulated paper – this was a challenge in itself to cut out a piece without ruining the original!

I have started stitching using simple stitches and have found that some pieces have been easier than others to interpret. I have tried to do something different with each piece. I isolated parts of my drawings from earlier exercises to use as inspiration..

Tassels of different threads through the twirls of paper. I didn’t want to do too many as I wanted to be able to see the original twirls and swirls.
I used a fine thread on this delicate paper to create spidery circles while still seeing the holes.
This piece was inspired by the piece of whitework that I originally drew and I think it is very successful. It retains its fragility whilst having heavy stitching all over it. I also like the way that the stitching shows through from the back of the work.
I have added thread wraps to this fringed paper to enhance the twisted fringing. I also stitched and gathered the top piece to strengthen it and add movement and interest. The threads were left hanging after knotting. There is lots to look at in this piece and it is also very tactile.
The weaving gave me a structure to work in a geometric way with bold lines and stitches.
Again this piece has a strong geometric appearance but this time I used white cotton thread on the white background (as in whitework). The holes where the thread enters the paper are very visible, because I used a larger needle, and a mistake is visible in the lower left corner!
I have crocheted with black thread into the crocheted paper strips to create a messy piece full of movement. This could be explored further with more crochet and extra paper.
I have used straight stitches built up with chain stitch over the top to emphasise the cut lines. The scrunched up leaf shape contrasts nicely with the clean lines of the stitching.
This delicate paper which had been scrunched around buttons to create circular shapes presented a challenge to stitch and I decided to sew lightly to enhance the circular shapes.
This waxy tracing paper is see through and stitches show through from the back. I like this shadowy effect. The strong tassels along the lower edge have torn the holes through which they were threaded. Some tassels face one way and some the opposite.

Embroidered book course with Frances Pickering

This week I went to Knuston for a two day course entitled ‘Hard but easy’ – making books with paper, pelmet vilene, mount board, and stitch.

I used the drawings I have selected for this project (in my last blog post) to inspire both my covers which were decorated with glue and dyes, and the stitched pieces on the covers and pages. I used a limited colour range of oranges, reds and yellows with a bit of green.

The front and back covers

The spine was decorated with a dyed and stitched piece of cotton

The pages were made from torn wallpaper lining paper and dyed with diluted Koh-i-noor inks

I have used abaca tissue bonded to cotton sheeting for each of the embroideries. I traced the images from my drawings and then painted them with dyes. I have stitched on each of them, trying to capture the stitches and feel of the original pieces in some cases.

I have lots of pages still to fill!

Drawing with stitch

Now I’m getting excited about using my papers to stitch on.

I’ve selected some pieces from my six selected drawings using my iPad as I haven’t got the original drawings back yet. This proved a successful way of isolating marks and shapes for interpreting with stitch.

I have also cut some small samples from my paper samples to stitch on

Assembled threads ready to start stitching

Paper manipulation library

As I said in my last post this task both concerned and excited me – I didn’t really know where to start and didn’t want to be too influenced by other people’s ideas do I didn’t research too much before I started. I found interesting things in each of the drawings I selected but found the more abstract images difficult to interpret.

I have used papers I had around the house – paper napkins, copier paper, handmade paper, book pages, card making paper, tissue paper, strong tissue, waxy tracing paper and brown paper.

1.The first shapes that I worked on were the circles as these had an obvious structure and pattern.

Wet paper napkin layered over buttons and left to dry. I think this piece looks fragile and old and it has a delicacy which echos the delicacy of the whitework fabric.


Another try at layering smaller pieces of wet napkin over buttons and allowing to dry. This also has a very aged and fragile appearance and feel.
Soft fibrous paper with holes made by using water and the end of a paintbrush to make holes. Again this has a worn, fragile and delicate appearance.
White and black paper and book pages cut to strips and curled, then stuck down to create a rhythmic, pleasing pattern. The circles in this piece are bold and patterny like the circles of the drawing from the ‘Tree of life’.
Strips of paper stuck to make paper rolls like paper beads. These were stuck together and then applied to a piece of purchased hand made paper which I cut to make a fringe. I love the delicacy of the background which contrasts with the bold strong circles.

2. After this I tried some weaving, looking carefully at the brush marks I made in response to the ‘Tree of life’ and ‘Kashmir stole’ patterns.

Heavy textured paper woven together in an even pattern.
This time I tried a different weaving pattern using book pages. I passed each strip over two strips and then under one on the warp and weft.
Black and white card making paper woven at an angle.

3. Using the watercolour flower paintings as inspiration, I wanted to try folding and scrunching different papers to give a background which had a feel of the drawing rather than trying to mimic the actual marks on it. This was probably the most frustrating thing to try but I am generally pleased with the feel and overall effect of the pieces I have made and I can see that I need to move away from pattern.

Scrunched up brown paper – flattened and scrunched again to create a soft feeling piece with abstract lines and patterns.
White soft paper scrunched in one direction creating creases and lines.
White copier paper scrunched in one direction creating non-uniform lines, folds and shadows.
Soft paper scrunched in various places to give movement and areas of interest. I used my flower drawing to inspire this.
Soft paper twisted and holes cut at the point of twist
Lightweight paper scrunched around buttons to create a pattern of circles.
Folds made at 90 degrees to create small uneven squares.
Waxy tracing paper folded to create rectangles as in the introductory project drawing.
Strips of paper folded and stuck down to create a bold geometric pattern inspired by a zigzag edge, as in the Whitework shawl.

4. I tried some cutting to create a different effect.

Square of waxy tracing paper folded into four and then cut with leaf and circle patterns.
Copy paper
Small rounded corner rectangles applied to a light paper background.
Flower pattern cut with a knife and laid over a book page using the patterns in the Introductory project drawing.
Copier paper scored with a knife to suggest stems, and flowers/leaves cut and scrunched then tucked into the cuts.
Holes torn into soft paper
Waxy tracing paper folded and then cut into fringes with multicut scissors.
Fringing pattern

5. I really wanted to explore the lines and fringe marks with soft paper and fibrous paper.

Fringe cut into fibrous paper twisted .
Fringe torn into handmade paper and knots tied into the ends.
Fibrous paper cut into strips and twisted and then crocheted into a chain.
Fibrous paper cut into strips, twisted and knotted.

I found it difficult to think of ideas for some of the drawings and on reflection I think the most successful pieces for me are the torn circles and fringing as these are more natural and organic and have a pleasing tactile quality that makes me want to handle and move them. They also have an ethereal quality and can be manipulated further while keeping their initial qualities.

Some papers are more pleasing to work with – I really like the look and feel of book pages and fibrous/handmade papers. Brown paper has a lovely fabric like drape and feel once it has been scrunched up multiple times . Copier paper has crisp lines when cut and folded as does the waxy tracing paper but I do not find this as pleasing to work with and do not like the results as much – I find torn edges more pleasing. I like the delicacy and fragility of softer papers which have been twisted and manipulated, and this evokes a feeling of age and use which suggests a story behind the piece.